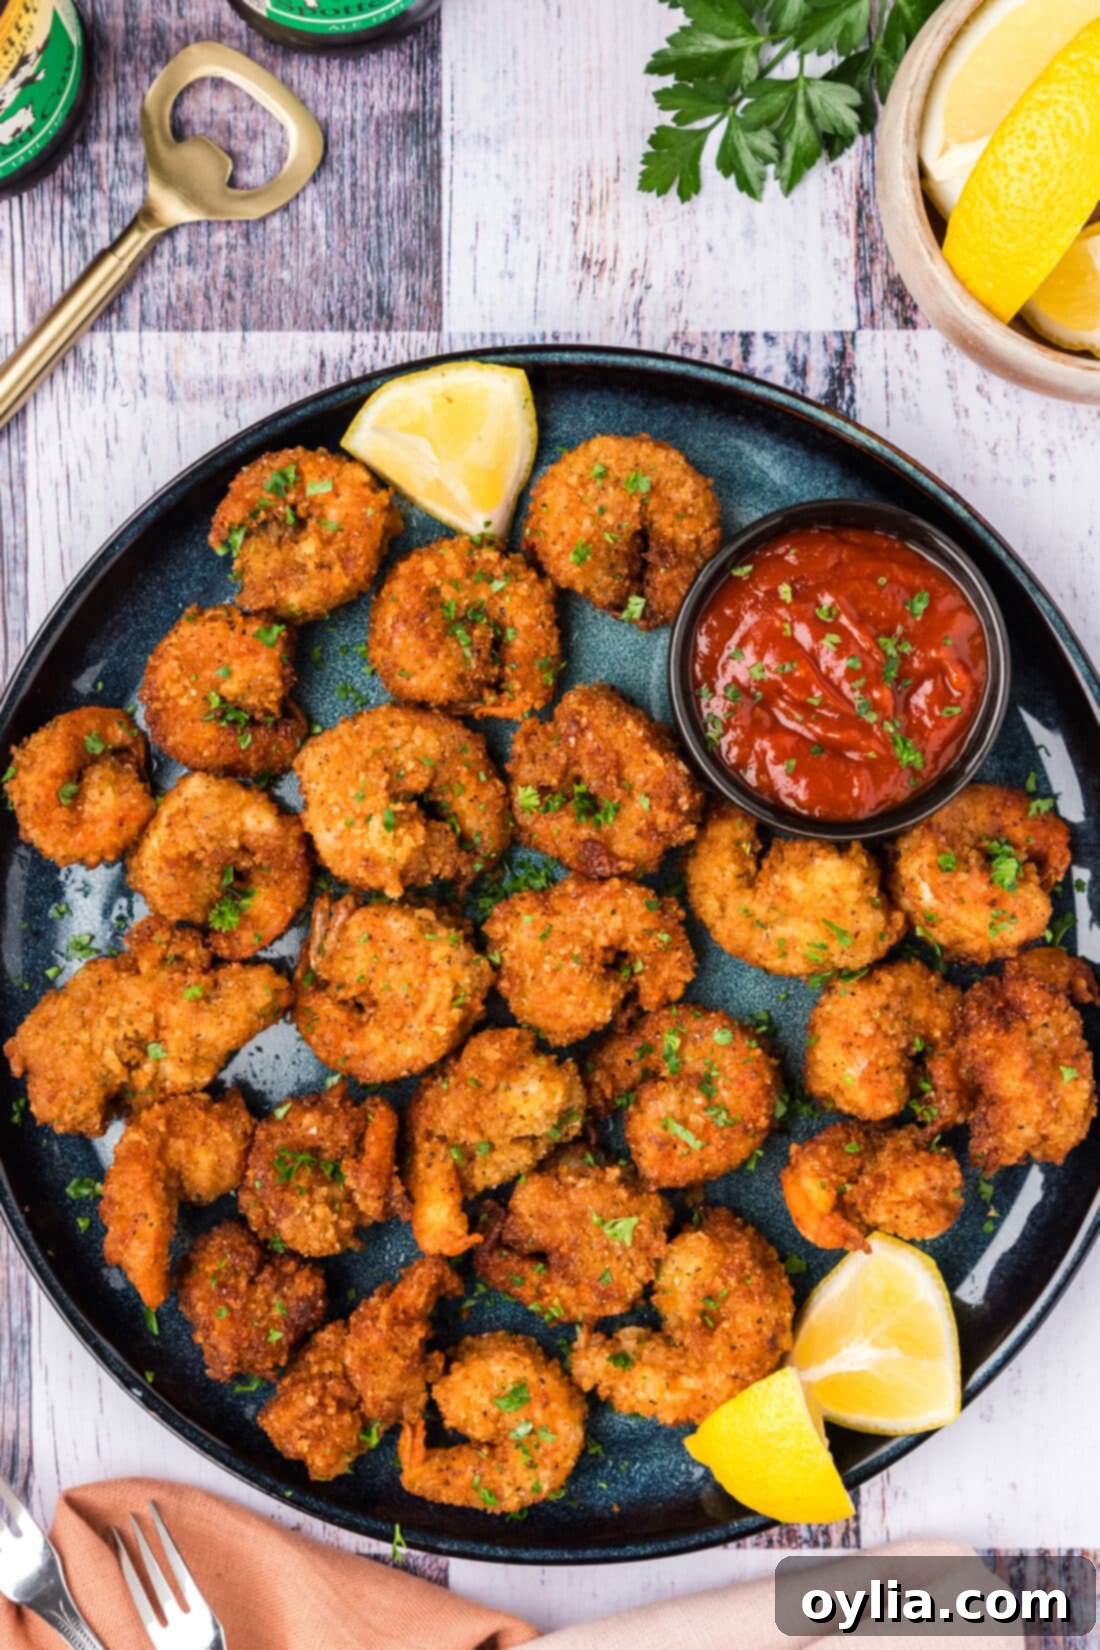
Crispy Golden Breaded Shrimp: Your Ultimate Guide to a Quick & Delicious Meal
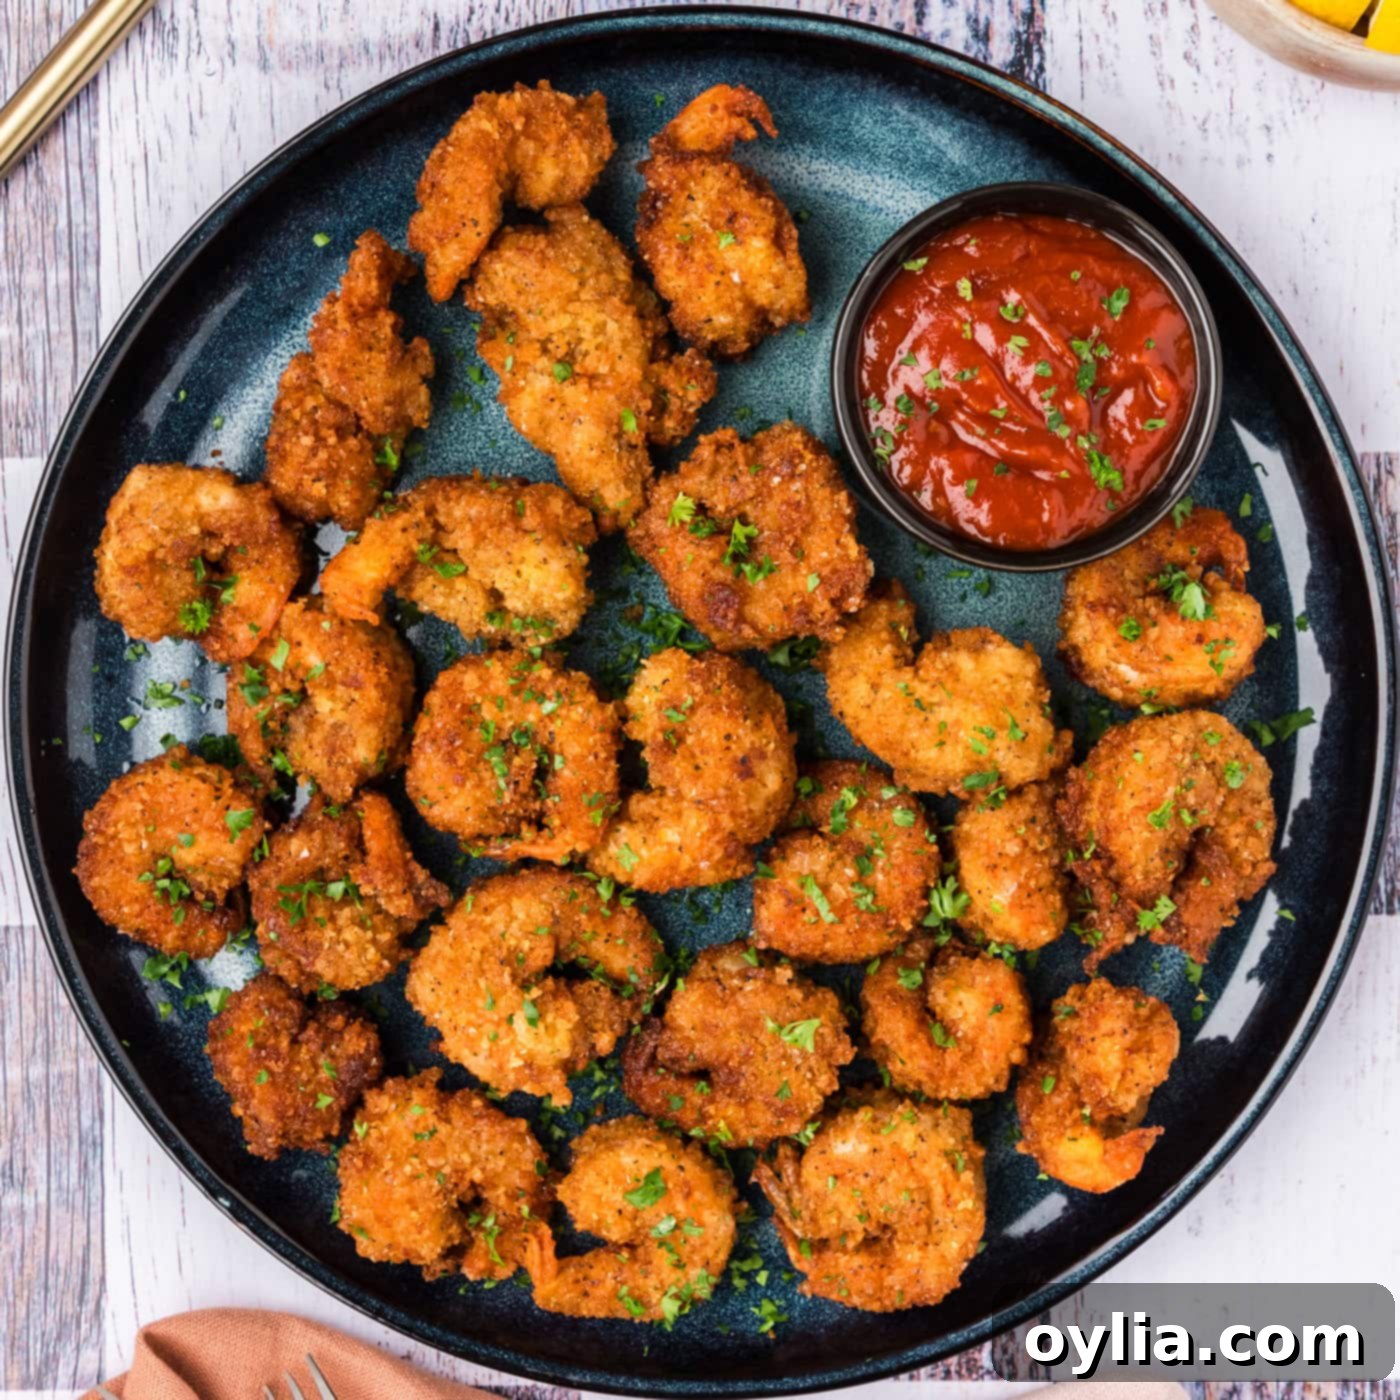
Prepare for a culinary delight with this incredibly easy breaded shrimp recipe. Each succulent shrimp is generously coated in a special blend of breadcrumbs, then fried to a perfect crispy, crunchy golden brown. In just around 20 minutes, you’ll have a mouthwatering dish that’s ideal as a crowd-pleasing appetizer or a satisfying main course. Get ready to enjoy homemade breaded shrimp that rivals your favorite restaurant!
Why This Breaded Shrimp Recipe is a Must-Try
This breaded shrimp recipe stands out for its masterful blend of two types of breadcrumbs: Panko and traditional plain breadcrumbs. This strategic combination ensures a coating that is remarkably light, yet delivers an intensely satisfying crunch with every bite. Unlike recipes that rely solely on cornmeal, which offers a different kind of crispness (like our fried shrimp recipe), the dual breadcrumb approach creates an unparalleled texture that’s truly addictive.
When it comes to fried foods, texture is paramount, and this recipe absolutely nails it. The Panko adds an airy, super-crispy exterior, while the plain breadcrumbs contribute a more substantial, finely textured crunch. Together, they form a perfect shield around the tender, juicy shrimp. This method not only enhances the eating experience but also helps to achieve that desirable golden-brown finish quickly and efficiently, making it a stellar choice for both busy weeknights and special gatherings. You’ll understand why it’s a favorite as soon as you take your first bite!
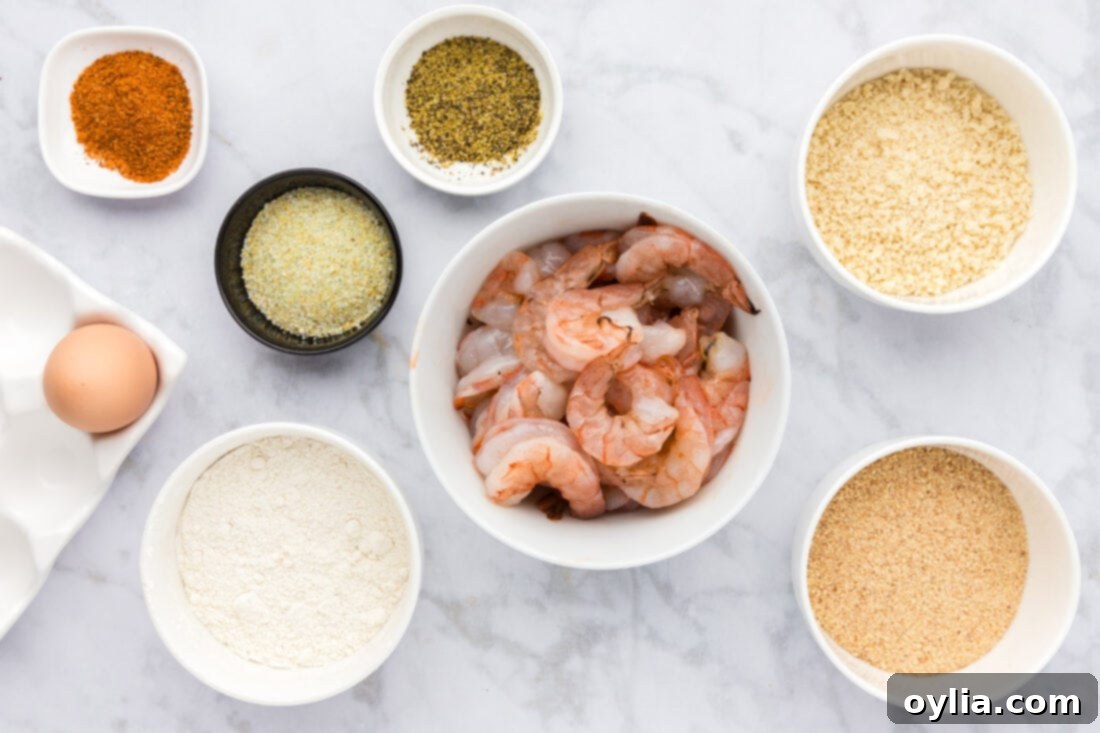
Key Ingredients for Perfect Breaded Shrimp
All exact measurements, specific ingredients, and detailed step-by-step instructions are available in the convenient printable recipe card located at the very end of this comprehensive guide. Gather your ingredients, and let’s make some amazing breaded shrimp!
Ingredient Information & Expert Substitution Suggestions
Each ingredient plays a crucial role in achieving perfectly crispy and flavorful breaded shrimp. Here’s what you need to know, along with some helpful substitution tips:
SHRIMP – For this breaded shrimp recipe, we highly recommend using fresh jumbo shrimp, preferably peeled and deveined with tails removed for ease of eating, though tail-on can be used for presentation. While jumbo shrimp offer a wonderfully meaty bite, you can adapt this recipe for almost any size of fresh shrimp. If using frozen shrimp, it is absolutely crucial to allow them to thaw completely in the refrigerator and then pat them thoroughly dry with paper towels. Excess moisture is the enemy of crispy breading, as it prevents the coating from adhering properly and can lead to oil splatter during frying. Keep in mind that smaller shrimp will cook much faster than larger ones; they are typically done once they curl into a C-shape and turn opaque and golden brown. Be careful not to overcook, as shrimp can become tough and rubbery very quickly.
SEASONING – The carefully selected blend of garlic salt, seafood seasoning, and lemon pepper creates a vibrant and savory flavor profile that perfectly complements the natural sweetness of the shrimp. Garlic salt provides a foundational savory note, seafood seasoning adds depth and a classic coastal aroma, and lemon pepper infuses a bright, zesty finish. If you wish to customize the flavor, you have several excellent options:
- For an alternative seafood blend, you can easily substitute the seafood seasoning with our homemade shrimp seasoning.
- To introduce a bold, spicy kick, opt for our flavorful Cajun seasoning. This is perfect if you love a bit of heat!
- Other popular additions include a pinch of smoked paprika for color and a subtle smoky flavor, a dash of onion powder, or a touch of cayenne pepper for extra warmth. Remember to adjust the amount of garlic salt if your other seasonings already contain sodium.
BREADING – The secret to our light, crispy, and perfectly crunchy breaded shrimp lies in the ingenious combination of both plain breadcrumbs and Panko breadcrumbs. This duo works in harmony to deliver the best texture:
- Panko Breadcrumbs: These Japanese-style breadcrumbs are renowned for their light, airy, and flaky texture. Panko absorbs significantly less oil during frying compared to traditional breadcrumbs, resulting in a much crisper and less greasy finish.
- Plain Breadcrumbs: While Panko offers superior crispness, plain breadcrumbs provide a finer texture and a denser, more classic crunch. They also help to create a more even and robust coating.
By combining both, you achieve the best of both worlds: the extraordinary crunch and lightness of Panko, balanced with the satisfying substantiality of plain breadcrumbs. This blend ensures your breaded shrimp is truly irresistible. For those with gluten sensitivities, gluten-free Panko and plain breadcrumbs are excellent alternatives that can be used with similar results. You can also infuse extra flavor directly into the breading mixture by adding dried herbs like parsley or oregano, a touch of grated Parmesan cheese, or additional spices to taste.
How to Make Perfectly Crispy Breaded Shrimp
These step-by-step photos and detailed instructions are provided to help you visualize each stage of making this delicious recipe. For a complete, printable version of this recipe, including all measurements and instructions, you can Jump to Recipe at the bottom of this post.
- Prepare Your Workspace: First, set up your dredging station. Line a baking sheet with several layers of paper towels. Place a sturdy wire rack on top of the paper towels. This setup will be used to hold the breaded shrimp before frying and to drain excess oil after frying, ensuring maximum crispness.
- Dry the Shrimp Thoroughly: Using additional paper towels, pat your shrimp thoroughly dry on all sides. This step is critical; any remaining moisture will prevent the breading from sticking properly and can lead to a soggy crust or oil splattering when frying.
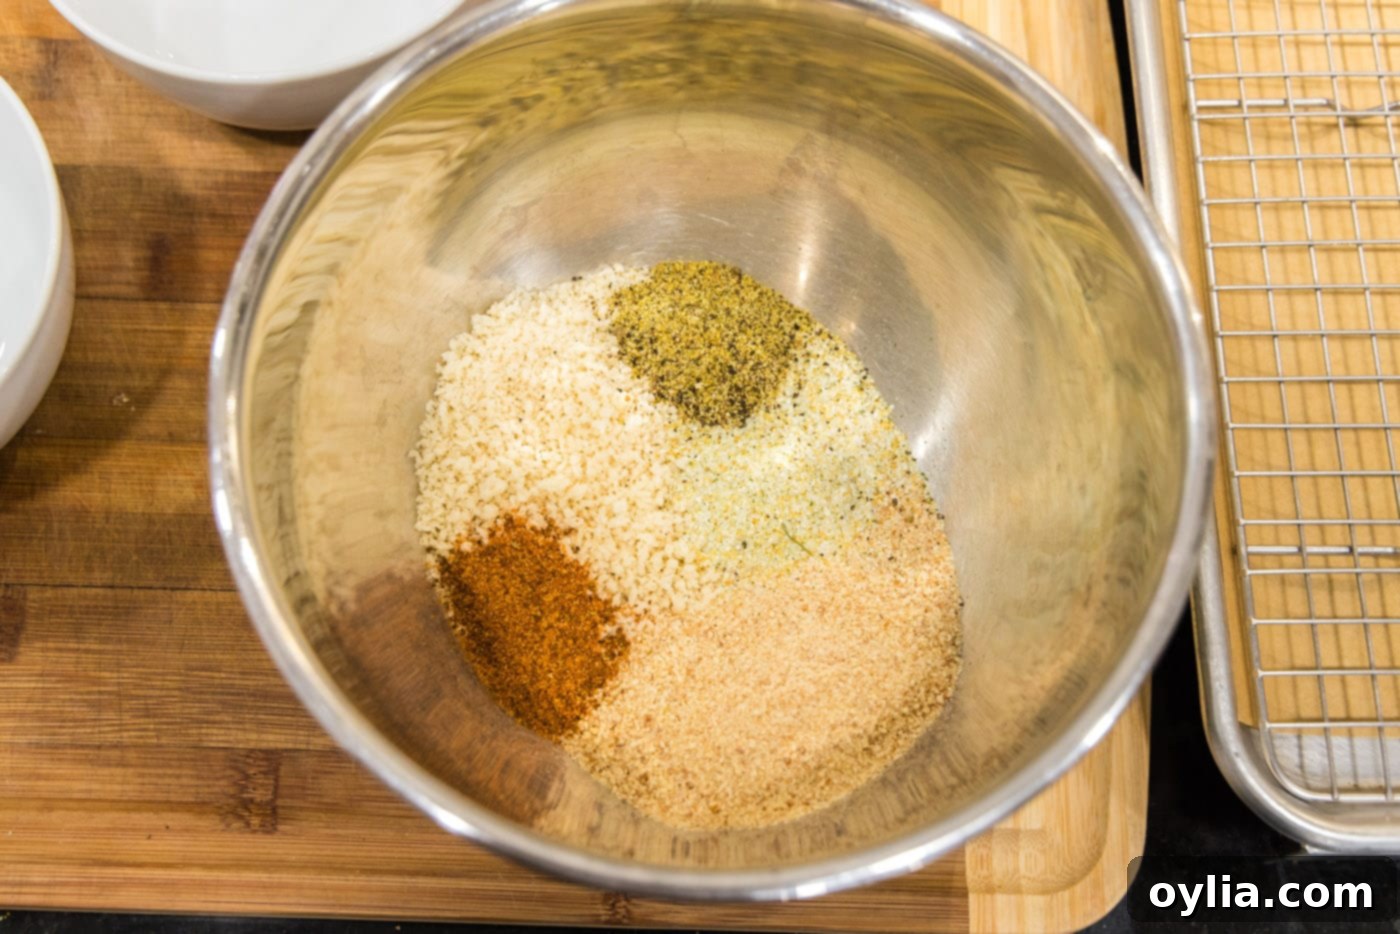
- Combine Breading Mixture: In a large mixing bowl, combine the Panko bread crumbs, plain bread crumbs, garlic salt, seafood seasoning, and lemon pepper. Mix these ingredients thoroughly to ensure the seasonings are evenly distributed throughout the breadcrumbs. This creates a flavorful and textured coating.

- Prepare the Egg Wash: In a separate small bowl, whisk the large egg until the yolk and white are fully combined. This will act as the “glue” for your breading.
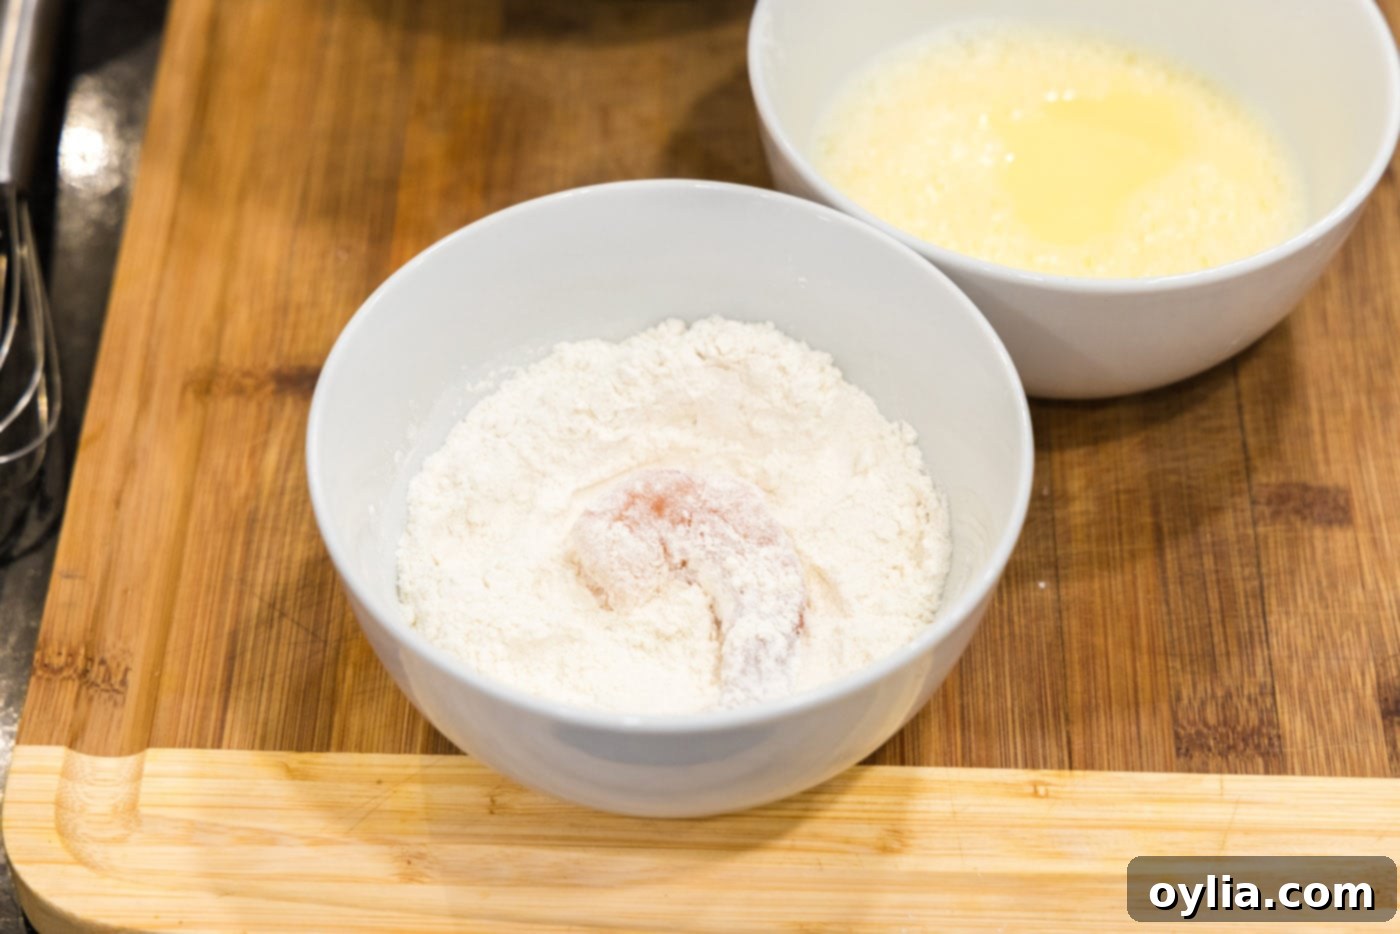
- Set Up the Flour Station: Place the all-purpose flour in a third small, shallow bowl. This is the first step in our standard breading procedure.
- Dredge in Flour: Take one shrimp at a time and dredge it completely in the flour. Ensure it’s fully coated on all sides, then gently shake off any excess flour. This step creates a dry surface for the egg wash to adhere to.

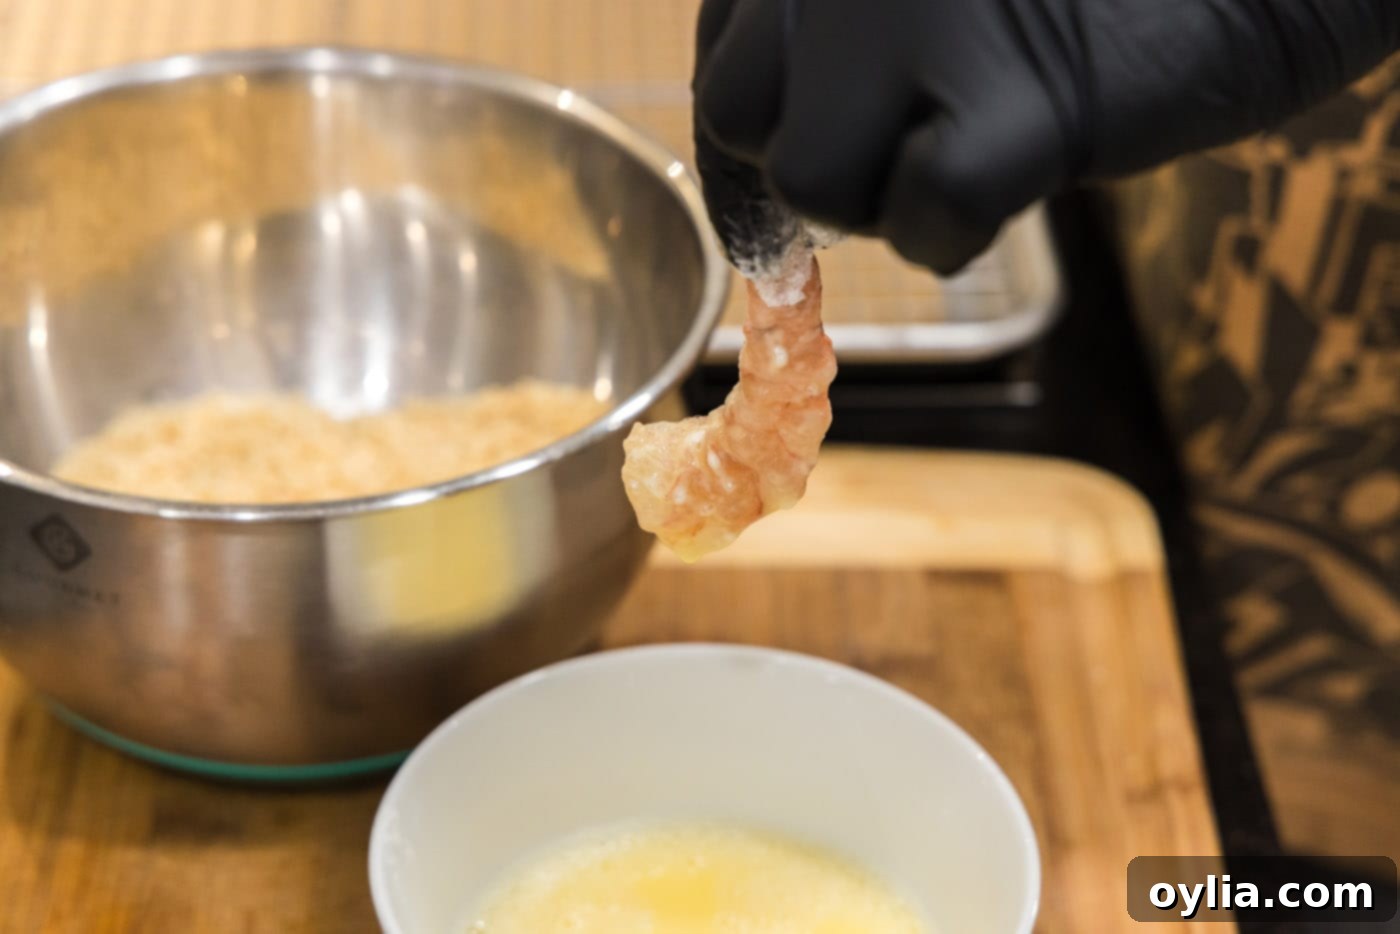
- Dip in Egg: Next, dip the flour-coated shrimp into the whisked egg, ensuring it’s completely covered. Allow any excess egg to drip off.

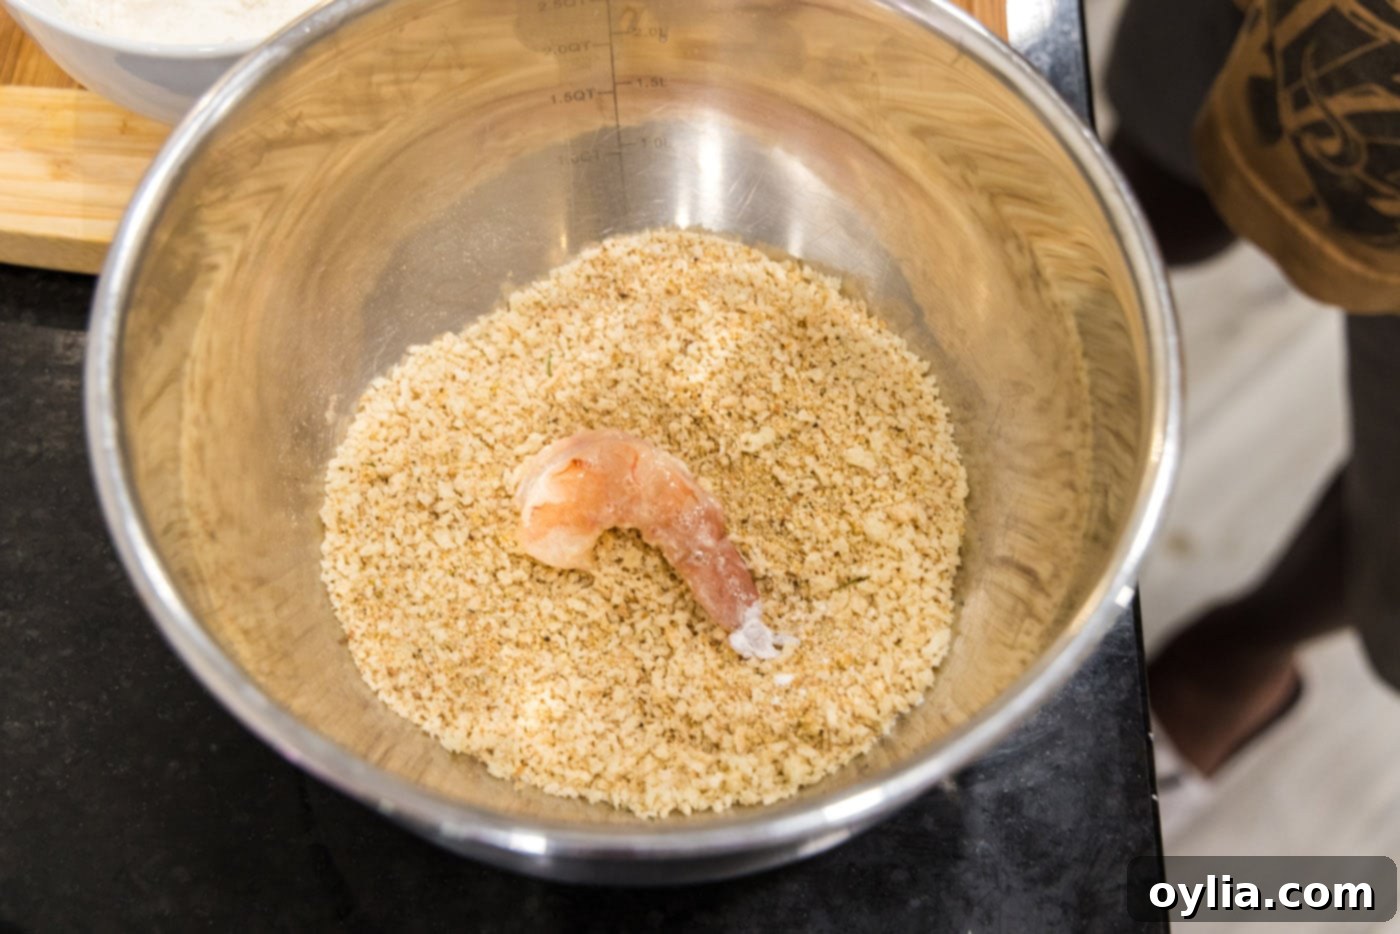
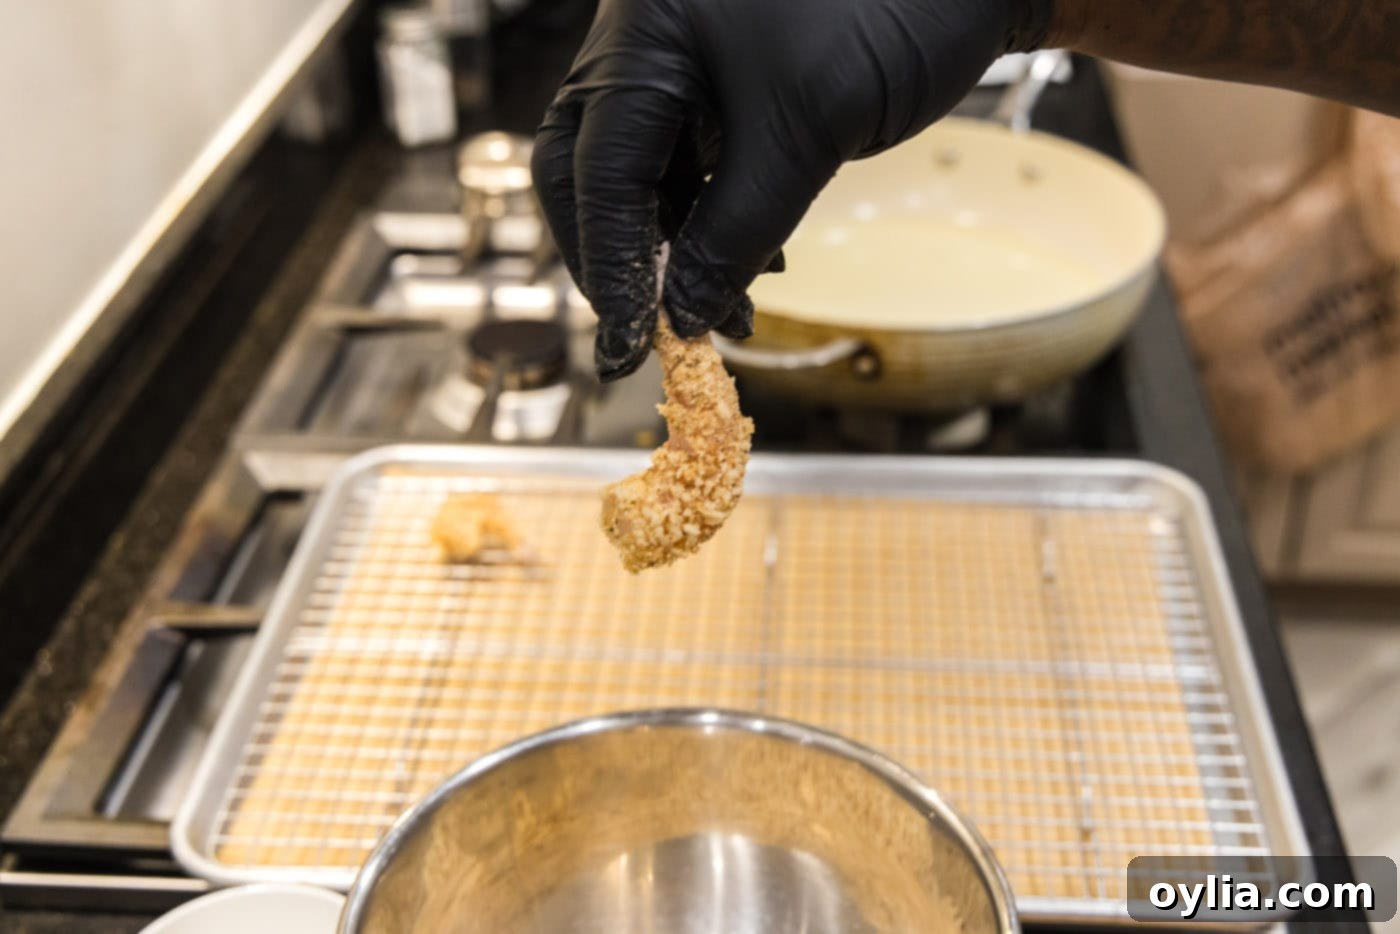
- Coat in Breading: Transfer the egg-dipped shrimp to the bread crumb mixture. Gently press the shrimp into the breadcrumbs, turning to ensure both sides are fully coated. Press firmly but not excessively to ensure good adhesion without compacting the breading too much.


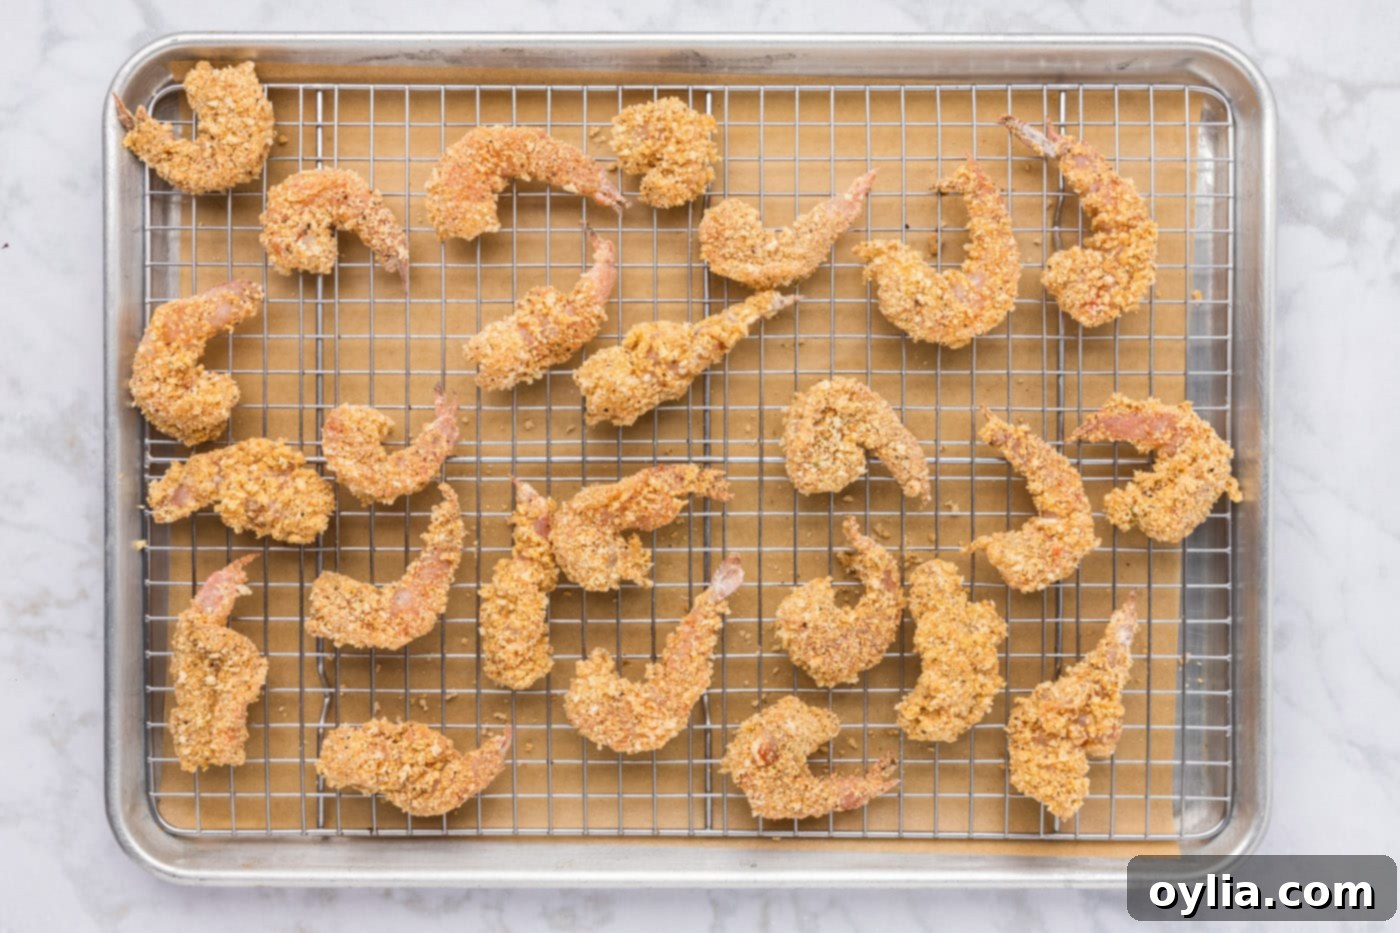
- Prepare for Frying: Place the fully breaded shrimp on the wire rack on your prepared baking sheet. Repeat the flour, egg, and breading steps for all remaining shrimp, placing them in a single layer on the rack, ensuring they do not touch or overlap. This can be done a little in advance if needed.

- Heat the Frying Oil: Pour a neutral cooking oil, such as vegetable, canola, or peanut oil, into a large deep-sided skillet. You’ll need enough oil to reach about 1/2-inch up the sides of the pan. Heat the oil over medium-high heat until it reaches a temperature of 325°F (163°C). Using a kitchen thermometer is highly recommended to ensure the oil is at the correct temperature for even cooking and a non-greasy result.
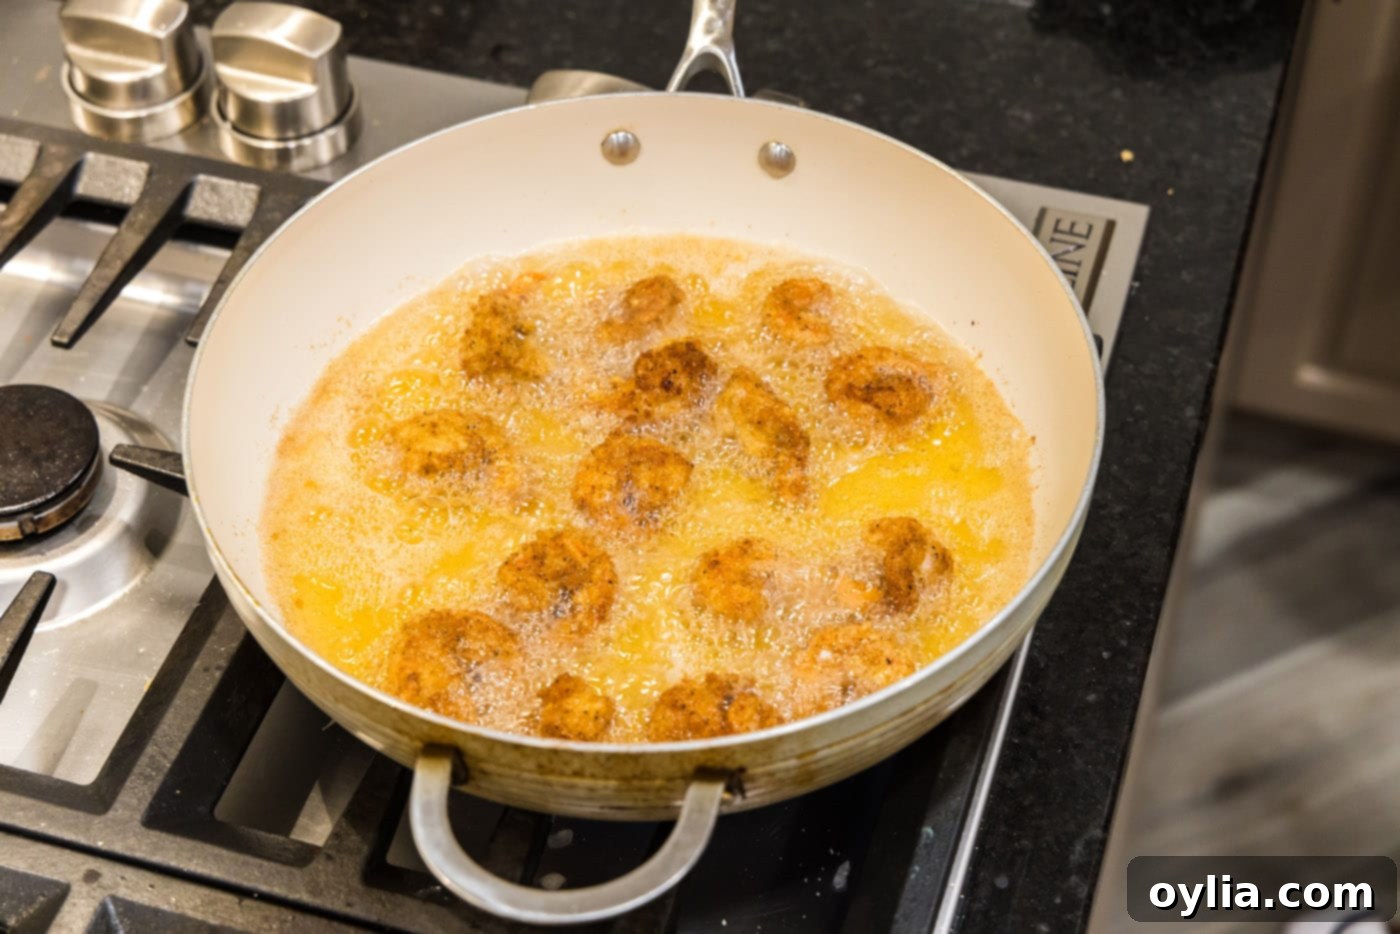
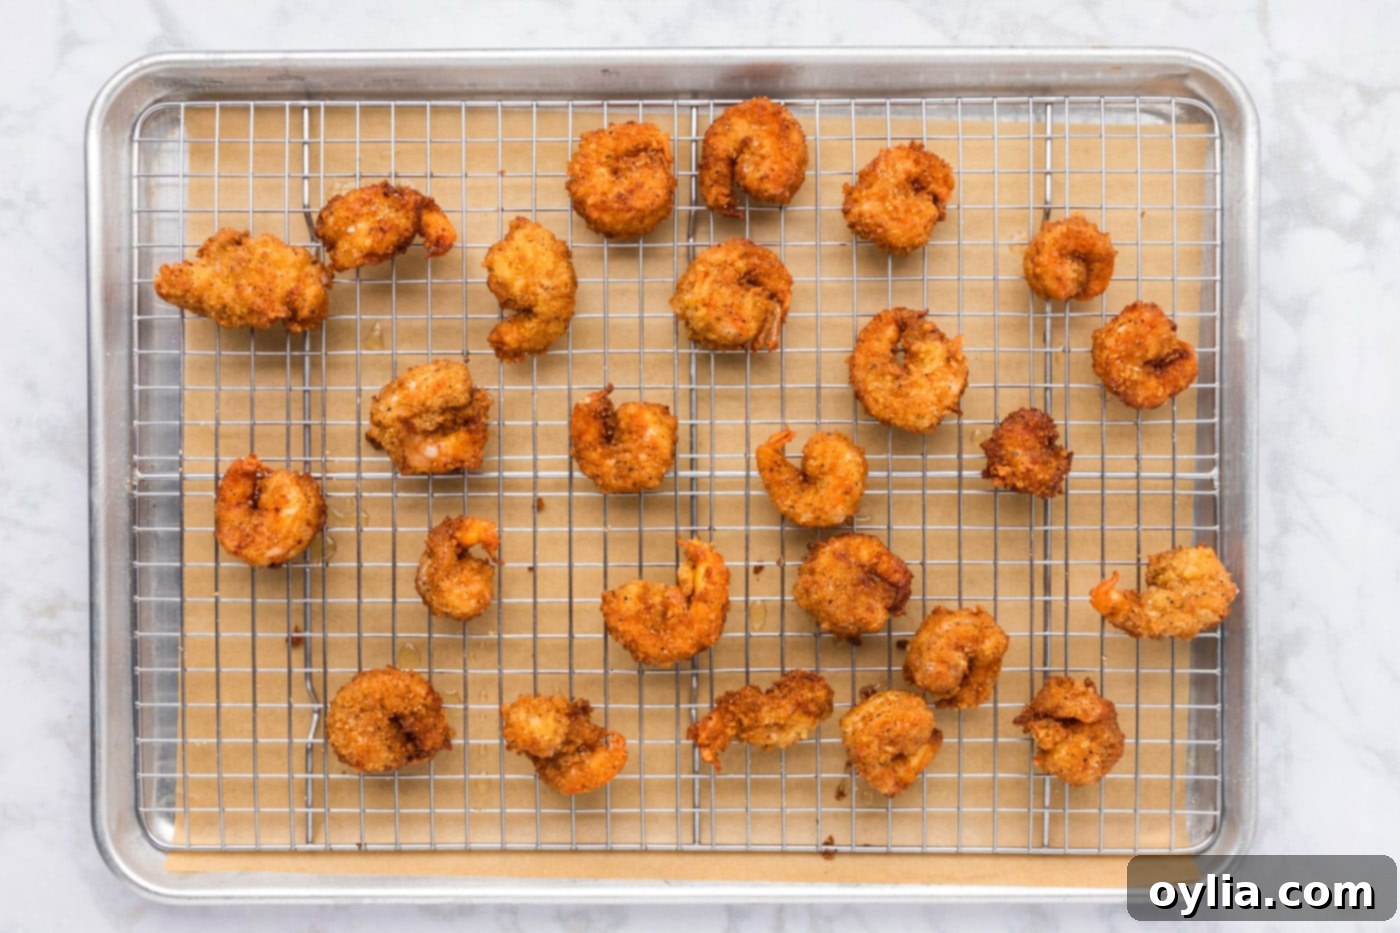
- Fry the Shrimp in Batches: Carefully add a single layer of breaded shrimp to the hot oil, making sure not to overcrowd the pan. Overcrowding will significantly lower the oil temperature, leading to soggy, oily shrimp rather than crispy ones. Cook the shrimp for 2-3 minutes per side, or until they turn a beautiful golden brown and are cooked through. They will naturally coil as they cook.

Once cooked, transfer the golden fried breaded shrimp back to the wire rack on the baking sheet to allow any excess oil to drain off, preserving their crispiness. Continue frying the remaining shrimp in batches until all are perfectly cooked.

Frequently Asked Questions & Expert Tips for Breaded Shrimp
To maintain freshness and flavor, store any leftover breaded shrimp in an airtight container in the refrigerator for up to 3-4 days. This ensures they remain safe to eat while preserving as much of their texture as possible.
Shrimp cooks very quickly, whether breaded or not. You’ll know your breaded shrimp is perfectly cooked when it achieves a beautiful golden-brown color on the outside, curls into a distinct “C” shape, and the flesh inside turns opaque. Avoid overcooking, as this can make the shrimp tough and rubbery.
For the crispiest results, reheating breaded shrimp in an air fryer or oven is highly recommended. For the air fryer, preheat to 350°F (175°C) and cook for 3-5 minutes, shaking the basket halfway through. For oven reheating, preheat to 375°F (190°C), place shrimp on a wire rack over a baking sheet, and bake for 8-10 minutes, or until heated through and crispy. If using a skillet, add a small amount of oil to a pan over medium-low heat and reheat for 1-2 minutes per side, being careful not to overcook, which can lead to a tough texture.
Absolutely! While frying delivers the ultimate crispiness, you can bake or air fry for a healthier option. For air frying, preheat your air fryer to 375°F (190°C), lightly spray the breaded shrimp with cooking spray, and cook in a single layer for 8-12 minutes, flipping halfway, until golden and cooked through. For baking, preheat your oven to 400°F (200°C), place the shrimp on a wire rack over a baking sheet (lightly spray with oil), and bake for 12-18 minutes, flipping halfway, until golden and crispy.
Several factors can lead to less-than-crispy breaded shrimp. Ensure your shrimp are thoroughly patted dry before breading, as moisture will make the coating soggy. Also, make sure your oil is at the correct temperature (325°F/163°C); oil that’s too cool will result in greasy, soft breading. Lastly, avoid overcrowding the pan, as this drops the oil temperature and prevents even crisping.
To streamline the breading process and keep your hands cleaner, set up a “breading station” with three bowls in a row: flour, then egg wash, then the breadcrumb mixture. Use one hand (your “dry hand”) for the flour and breadcrumbs, and the other hand (your “wet hand”) for the egg wash. This technique minimizes mess and ensures a smooth coating process.
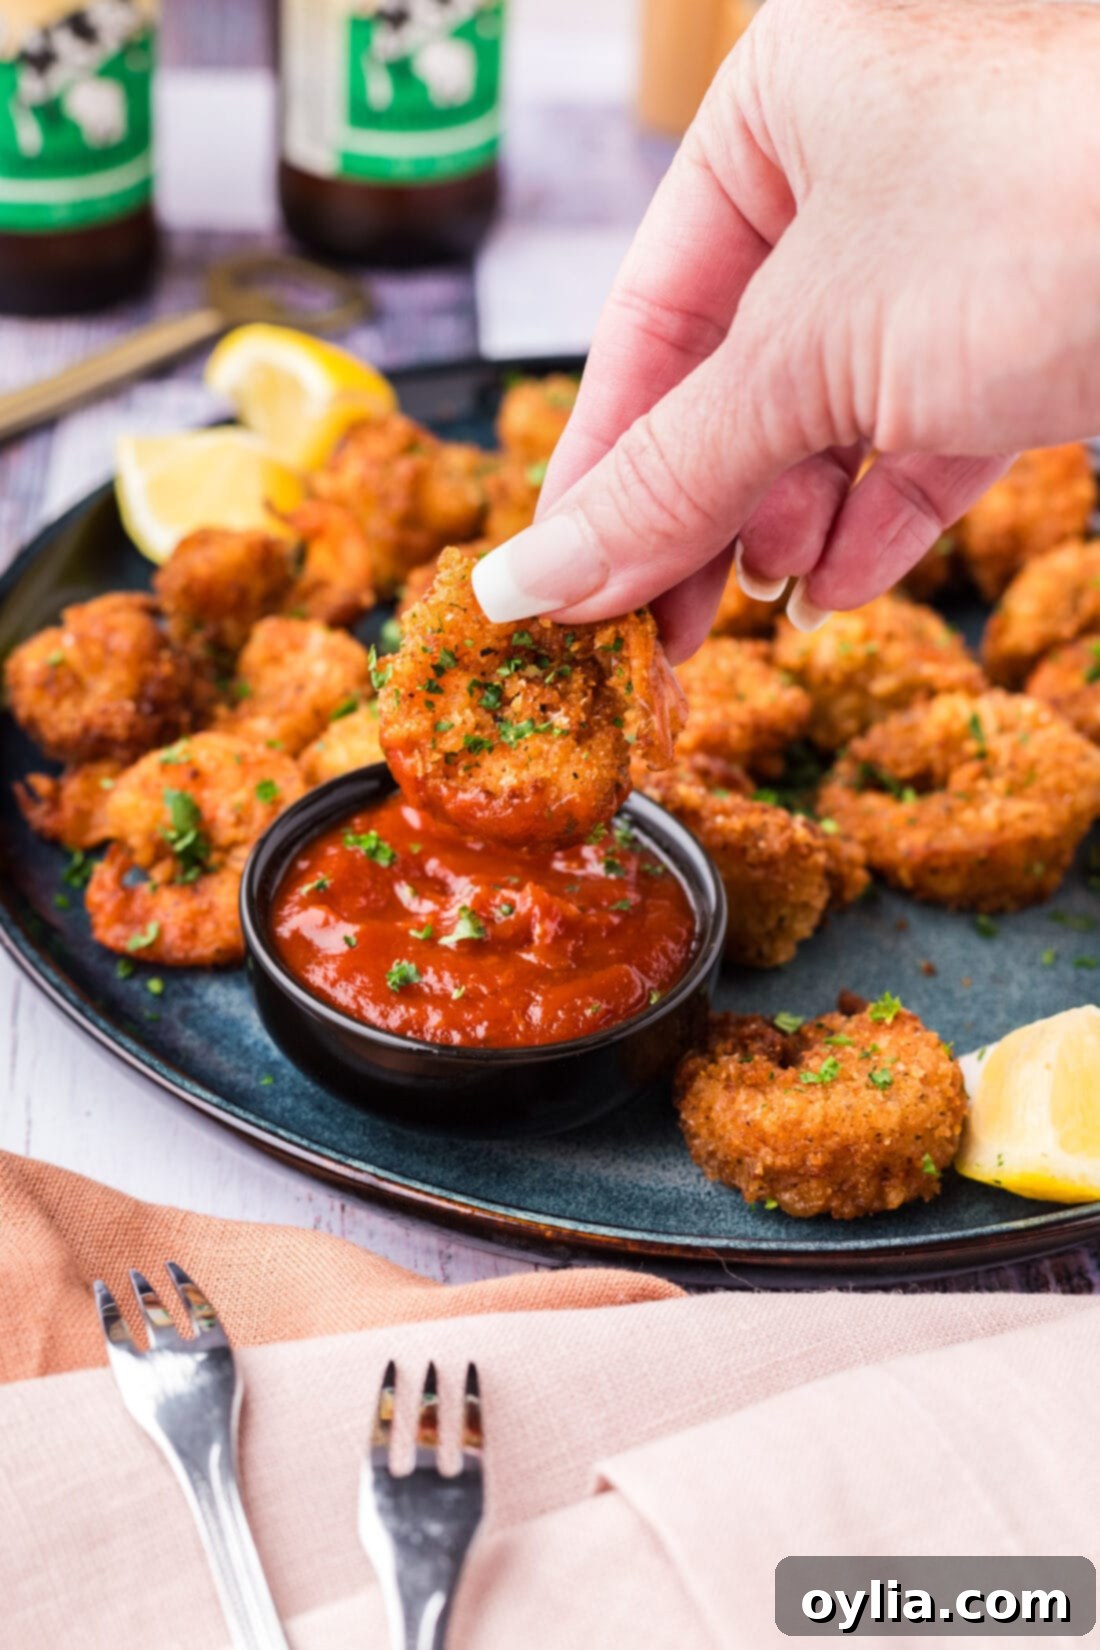
Delicious Serving Suggestions for Breaded Shrimp
Crispy breaded shrimp is incredibly versatile and pairs wonderfully with a variety of dips and side dishes. Serve them immediately, warm from the skillet, for the best texture and flavor.
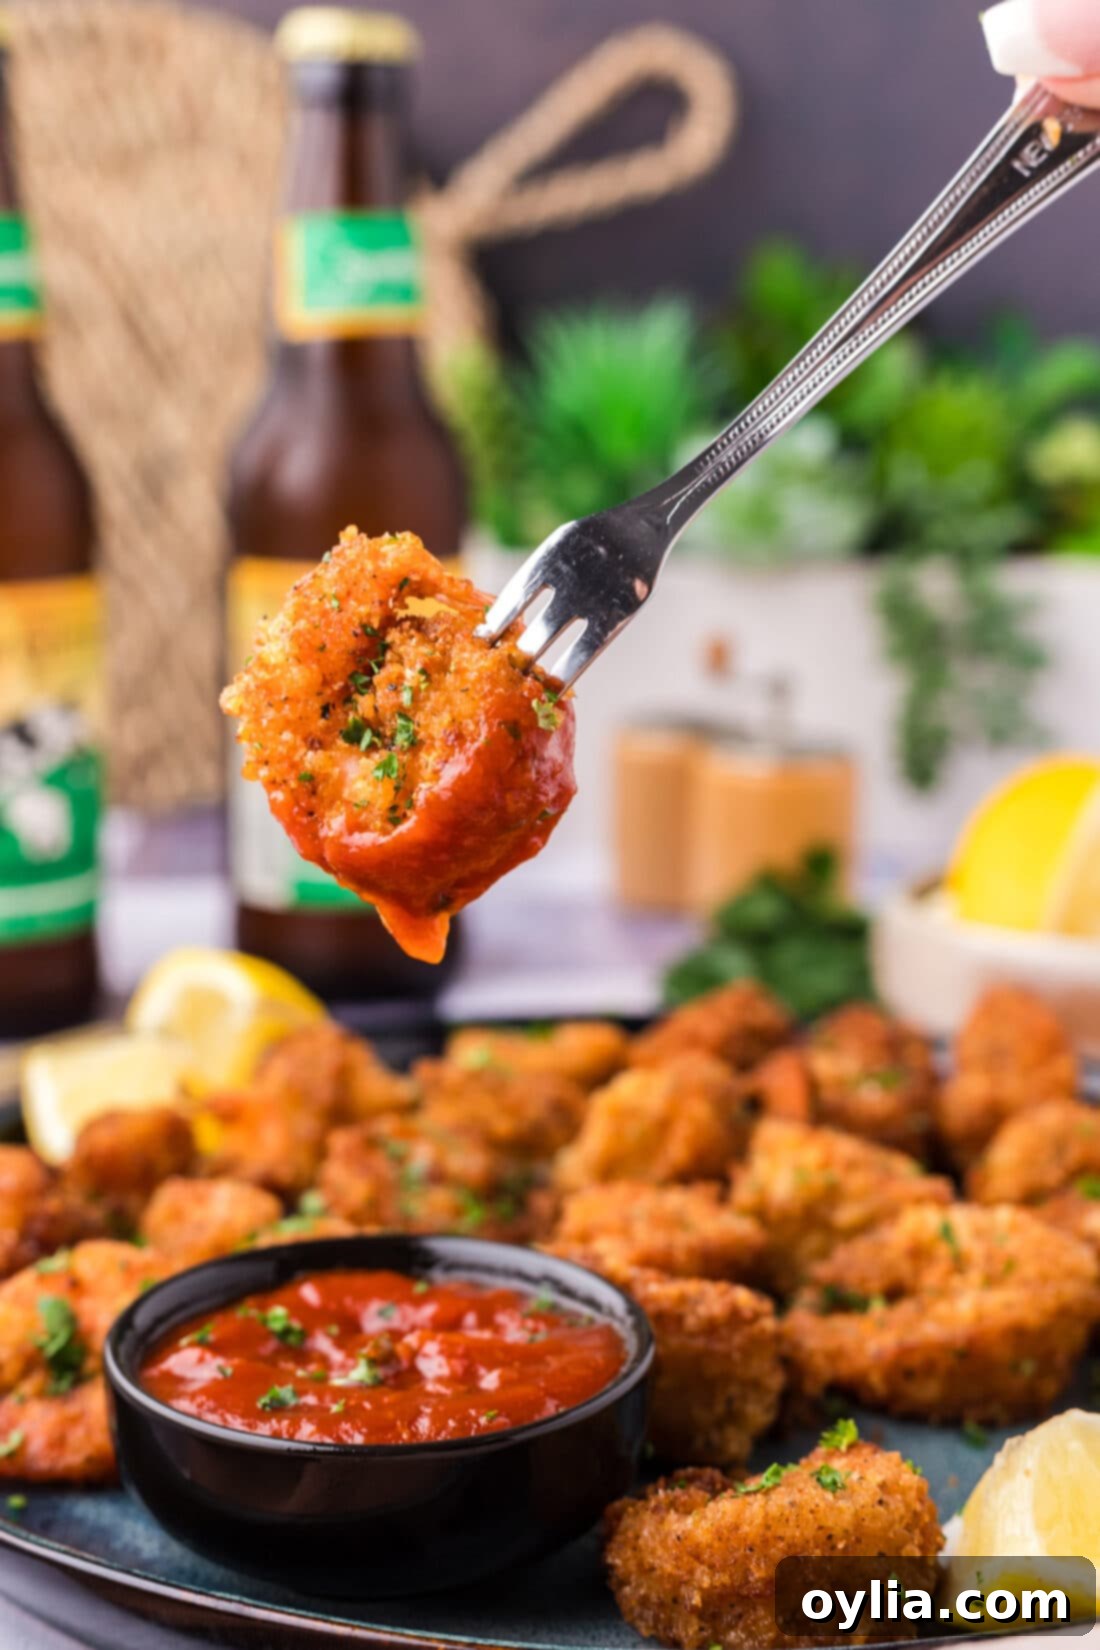
- Dipping Sauces: Elevate your breaded shrimp with classic dipping sauces like tangy cocktail sauce, rich garlic butter sauce, sweet and savory sweet and sour sauce, or our popular creamy yum yum sauce. Other great options include creamy tartar sauce, a spicy remoulade, or even a simple squeeze of fresh lemon juice for a bright finish.
- Classic Sides: For a complete meal, serve your fried shrimp alongside perennial favorites such as golden french fries, a refreshing coleslaw, or sweet corn on the cob.
- Expanded Pairings: Consider adding a crisp green salad, fluffy rice pilaf, or flavorful hush puppies to your breaded shrimp feast. They also make an excellent addition to a seafood platter, or as the star of a homemade shrimp po’boy sandwich. Whether as an appetizer for a party or a delightful main course, these breaded shrimp are sure to be a hit!
More Irresistible Shrimp Recipes to Try
If you love shrimp, be sure to explore some of our other fantastic recipes:
- Crispy Shrimp
- Coconut Shrimp
- Popcorn Shrimp
- Butterfly Shrimp
I love to bake and cook and share my kitchen experience with all of you! Remembering to come back each day can be tough, that’s why I offer a convenient newsletter every time a new recipe posts. Simply subscribe and start receiving your free daily recipes!
Breaded Shrimp
IMPORTANT – There are often Frequently Asked Questions within the blog post that you may find helpful. Simply scroll back up to read them!
Print It
Pin It
Rate It
Save ItSaved!
Ingredients
- 1 pound jumbo shrimp peeled, deveined, tails removed and thoroughly patted dry
- 2 cups panko bread crumbs
- 2 cups plain bread crumbs
- 2 Tablespoons garlic salt
- 1 Tablespoon seafood seasoning
- 1 Tablespoon lemon pepper
- 1 large egg
- 2 cups all purpose flour
- vegetable oil for frying
Things You’ll Need
-
Mixing bowls
-
Baking sheet
-
Wire cooling rack
-
Large deep sided skillet
Before You Begin
- We used fresh jumbo shrimp, though you can use almost any kind of fresh shrimp for this recipe. Frozen shrimp will also work, but be sure you allow them to thaw then pat them dry so the breading can stick. The smaller the shrimp you use, the less time it will take them to fry in the oil. Shrimp cooks quickly, once they begin to turn golden and curl up, they should be finished cooking.
- The mixture of both plain and Panko breadcrumbs helps the breading stay light yet crispy. Panko breadcrumbs soak up less oil compared to plain breadcrumbs, but the plain breadcrumbs produce a lovely crunch – which is why it’s a good idea to use a combination of both when frying.
Instructions
-
Line a baking sheet with paper towels and place a wire rack on top. This setup will be used to hold the breaded shrimp before frying and to drain excess oil after frying, ensuring maximum crispness.
-
Pat shrimp thoroughly dry with paper towels on all sides. This is critical for the breading to adhere properly.
-
In a large mixing bowl, combine Panko bread crumbs, plain bread crumbs, garlic salt, seafood seasoning, and lemon pepper. Mix well.
-
In a small bowl, whisk the egg until yolk and white are fully combined.
-
Place all-purpose flour in another small, shallow bowl.
-
Dredge one shrimp in the flour, coating it completely and gently shaking off any excess.
-
Dip the flour-coated shrimp in the whisked egg, allowing any excess to drip off.
-
Gently press the shrimp into the bread crumb mixture, ensuring both sides are fully coated. Press firmly to ensure good adhesion.
-
Place the breaded shrimp on the wire rack in a single layer, ensuring they do not touch. Repeat these steps for all remaining shrimp.
-
Pour enough vegetable oil into a large, deep skillet to come about 1/2-inch up the sides of the pan. Heat over medium-high heat until the temperature reaches 325°F (163°C). Use a kitchen thermometer to ensure accuracy.
-
Carefully add enough shrimp to the pan so that they do not crowd. Cook for 2-3 minutes per side, or until they are golden brown and cooked through. Transfer cooked shrimp to the wire rack to drain any excess oil. Continue frying in batches until all shrimp are cooked.
Expert Tips & FAQs
- Shrimp cooks very quickly, whether it’s breaded or not. They should be done cooking once they begin to coil into a C-shape and reach a nice golden brown color. Avoid overcooking to prevent tough, rubbery shrimp.
- Store leftovers in an airtight container kept in the refrigerator for 3-4 days. To reheat for best crispiness, use an air fryer (350°F for 3-5 mins) or oven (375°F for 8-10 mins on a wire rack). If using a skillet, add a small amount of oil over medium-low heat and reheat for 1-2 minutes per side. Be careful not to reheat them too long as the shrimp can become tough and chewy.
- For a healthier alternative, this recipe can be adapted for air frying or baking. See the FAQ section above for detailed instructions on these methods.
- Ensure your shrimp are thoroughly dry and your oil is at the correct temperature (325°F / 163°C) to prevent soggy or greasy breading. Using a kitchen thermometer is highly recommended.
Nutrition
The recipes on this blog are tested with a conventional gas oven and gas stovetop. It’s important to note that some ovens, especially as they age, can cook and bake inconsistently. Using an inexpensive oven thermometer can assure you that your oven is truly heating to the proper temperature. If you use a toaster oven or countertop oven, please keep in mind that they may not distribute heat the same as a conventional full sized oven and you may need to adjust your cooking/baking times. In the case of recipes made with a pressure cooker, air fryer, slow cooker, or other appliance, a link to the appliances we use is listed within each respective recipe. For baking recipes where measurements are given by weight, please note that results may not be the same if cups are used instead, and we can’t guarantee success with that method.
