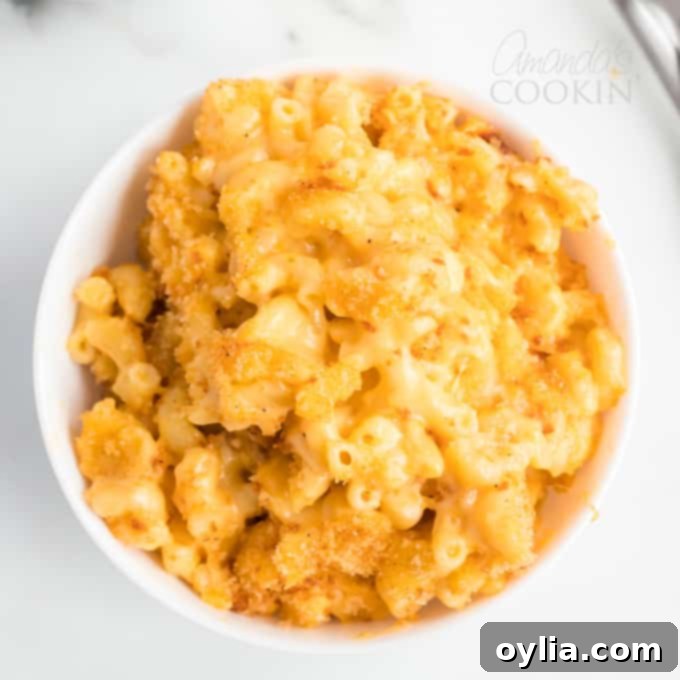
Classic Homemade Baked Macaroni and Cheese: The Ultimate Comfort Food Recipe
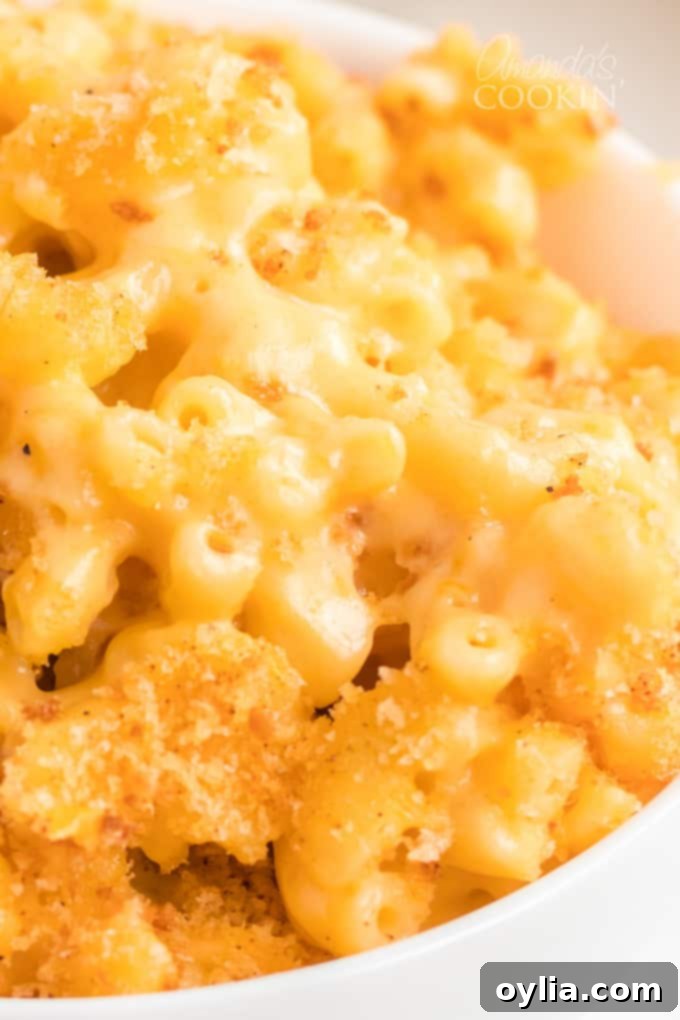
Homemade baked macaroni and cheese is the quintessential comfort food, evoking nostalgic memories of family dinners and grandma’s cooking. This beloved casserole brings together tender elbow macaroni, a rich and creamy homemade cheese sauce, and a delightful crunchy bread crumb topping, baked to golden perfection. If you’re searching for an authentic, easy-to-make, and utterly delicious old-fashioned baked mac and cheese recipe, you’ve come to the right place. We’ll guide you through every step to create a true classic that everyone will adore.
While our Crockpot macaroni and cheese is a go-to for many, we know nothing quite beats the satisfying texture and flavor of a baked version. That’s why we’re excited to share this classic recipe, ensuring you have a perfect baked mac and cheese for any occasion.
The Irresistible Allure of Baked Macaroni and Cheese
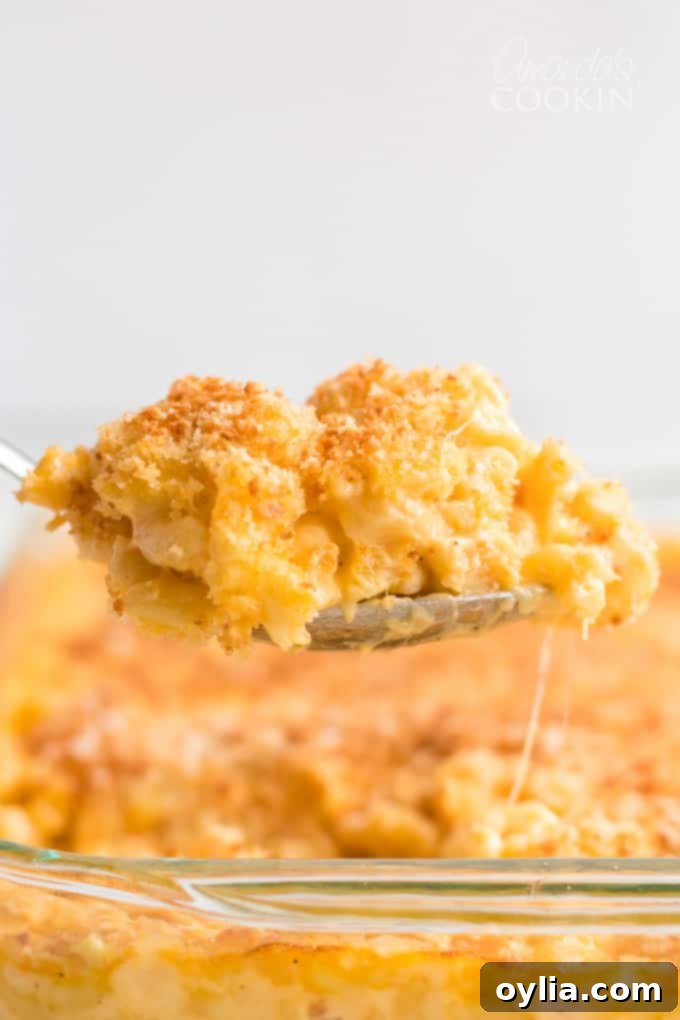
There’s something uniquely special about baked macaroni and cheese that elevates it beyond its stovetop counterpart. The gentle baking process allows the flavors to meld beautifully, creating a deeper, more complex cheesy profile. The edges get slightly crispy, while the center remains incredibly moist and creamy. And, of course, the golden-brown, crunchy bread crumb topping adds an essential textural contrast that makes every bite a delight. It’s the ultimate crowd-pleaser and a staple for family gatherings, potlucks, and cozy nights in.
Many remember their “momma’s” or “grandma’s” old-fashioned baked macaroni and cheese – a dish that instantly brings warmth and happiness. This recipe aims to recreate that cherished memory, delivering a dish that is both comforting and sophisticated. Topped with those crunchy bread crumbs and filled with creamy, cheesy elbow macaroni noodles, it truly is comfort food at its finest and a family favorite that everyone loves.
Looking for another cheesy favorite? Our Panera Mac and Cheese recipe is also incredibly popular!
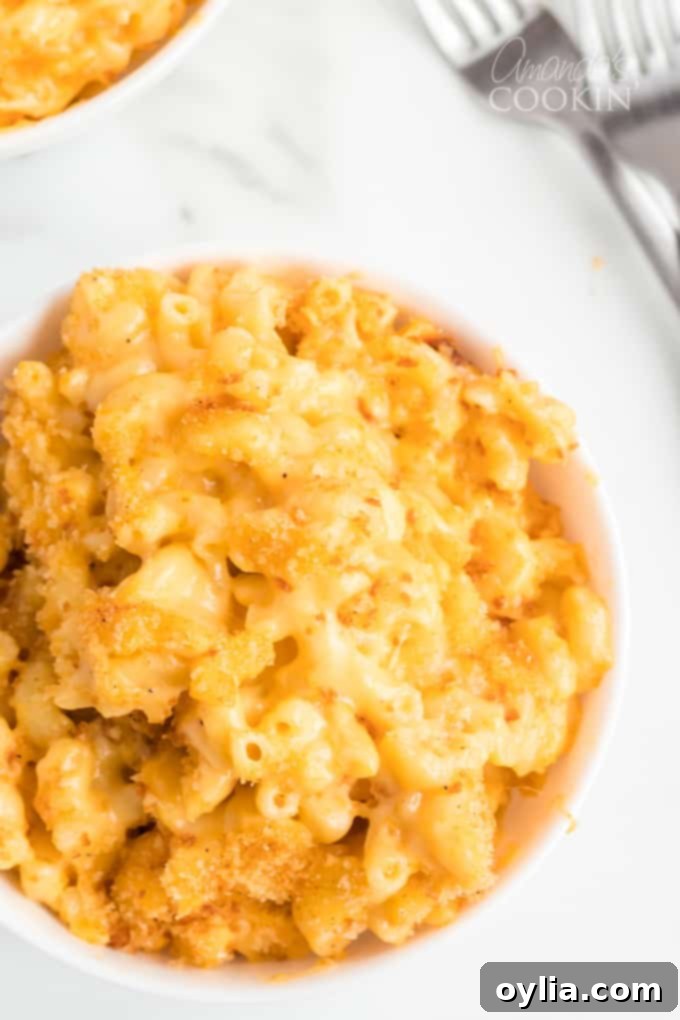
We absolutely agree about the nostalgic power of this dish, which is why we decided it was time to share our grandma’s treasured baked mac and cheese recipe. This recipe is incredibly easy to follow, and the results are consistently amazing. While we adore the crispy bread crumbs on top, you can certainly omit them if you prefer a simpler finish. However, for that authentic old-fashioned experience, those crunchy little gems are highly recommended!
Key Ingredients for Your Perfect Baked Macaroni and Cheese
Crafting the best baked mac and cheese starts with selecting the right ingredients. Here’s a detailed look at what you’ll need and why each component is important:
- Elbow Macaroni: This classic pasta shape is ideal for holding the creamy cheese sauce. While we prefer Barilla brand for its consistent texture, feel free to use your favorite. Remember to cook it al dente (slightly firm) as it will continue to cook in the oven, preventing it from becoming mushy.
- Butter: Essential for building the roux, which forms the base of our luscious cheese sauce. Both salted or unsalted butter work well. If needed, margarine can be used as a substitute, but butter offers a richer flavor.
- Flour: Regular all-purpose flour is key for creating the roux with the butter. It helps thicken the sauce to a perfect consistency, ensuring it coats every piece of macaroni beautifully. Unbleached or regular flour will both work effectively.
- Milk: We highly recommend using whole milk for its fat content, which contributes significantly to the creamy texture of the sauce. However, you can use skim, 1%, or 2% milk if preferred, though the final sauce might be slightly less rich.
- Heavy Cream: This ingredient is crucial for achieving an exceptionally rich and velvety cheese sauce. We strongly urge you not to substitute this if possible, as it truly makes a difference in creating that signature creamy mac and cheese texture we all crave.
- Cheese: The heart of the dish! Our winning combination features extra sharp cheddar cheese for its bold, tangy flavor and Colby Jack cheese for its mild, creamy notes and excellent melting properties. You can certainly use your favorite cheeses, but for the best flavor and texture, we recommend grating your own cheese from blocks. Pre-shredded bagged cheese often contains anti-caking agents that can make your cheese sauce grainy.
- Seasonings: Simple yet effective. We use salt and freshly ground black pepper to taste in our cheese sauce to enhance its overall flavor. A touch of paprika is added to the bread crumbs, not only for a subtle smoky flavor but also for a beautiful golden hue.
- Panko Bread Crumbs: For that irresistible crunch on top! Panko bread crumbs are much lighter, larger, and crispier than regular bread crumbs, creating a superior texture. While regular bread crumbs can be used, panko offers an unmatched delightful crunch that truly elevates the dish.
Helpful Kitchen Tools for Mac and Cheese Mastery:
- 13×9 Baking Pan or Casserole Dish: The ideal size for a family-sized baked mac and cheese, ensuring even baking and a beautiful golden crust.
- Medium Saucepan: Perfect for preparing the creamy, dreamy cheese sauce.
- Wire Whisk: Essential for creating a smooth, lump-free roux and a perfectly emulsified cheese sauce.
- Cheese Grater: A must-have for grating block cheese, leading to a much creamier sauce without any graininess.
- Wooden Spoon: Great for stirring pasta and the cheese sauce without scratching your pans.
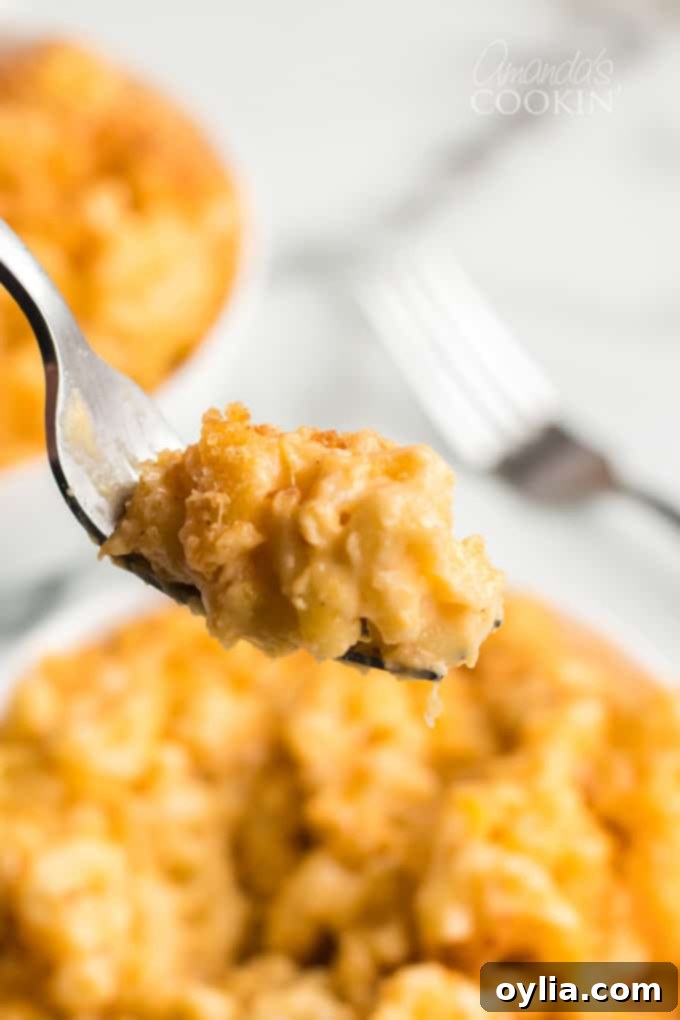
How to Make Our Easy Baked Macaroni and Cheese Recipe
This recipe is surprisingly simple, with just a few key steps to achieve a truly magnificent baked mac and cheese:
- Prepare the oven and baking pan.
- Cook the elbow macaroni until al dente and transfer it to the baking dish.
- Craft the delicious homemade cheese sauce.
- Pour the velvety cheese sauce over the cooked macaroni.
- Season the breadcrumbs and sprinkle them generously over the macaroni mixture.
- Bake in the preheated oven until bubbly and golden.
Detailed Steps for Success:
Step 1: Prep the Pasta and Pan
Start by getting a large pot of salted water boiling for your elbow macaroni. While the water comes to a boil, preheat your oven to 350°F (175°C) and lightly spray your 9×13-inch baking pan with cooking spray. Once the water is boiling, cook the elbow macaroni according to package directions until it’s al dente – meaning it still has a slight bite. Remember, it will finish cooking in the oven, so avoid overcooking at this stage. Drain the pasta thoroughly and add it to your prepared baking dish, spreading it evenly.
Step 2: Create the Velvety Cheese Sauce
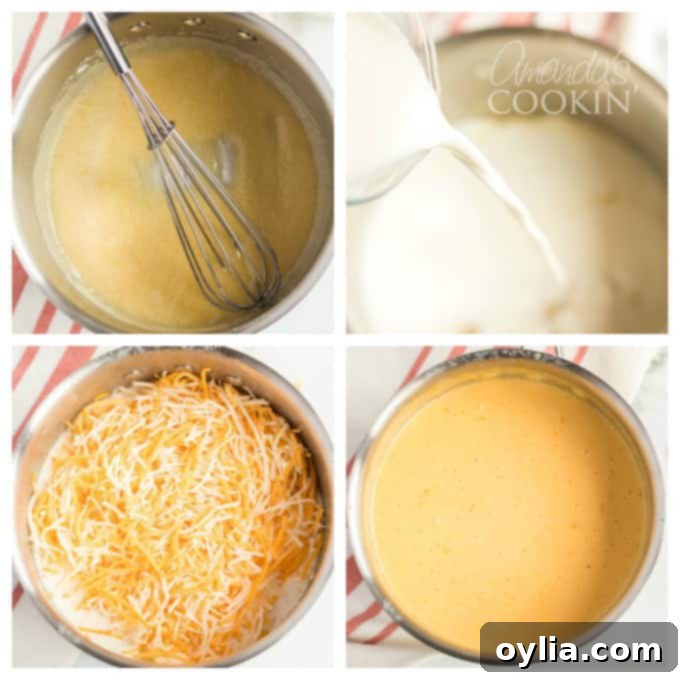
While your pasta is cooking, begin making the star of the show: the cheese sauce. This starts with a simple roux. In a medium saucepan over medium heat, melt the butter. Once the butter is fully melted, whisk in the flour and cook for about 30 seconds, whisking continuously. This cooks out the raw flour taste. Next, slowly whisk in the milk and heavy cream until fully combined and smooth. Bring the mixture to a gentle simmer, stirring constantly, until it begins to thicken slightly. Reduce the heat to low, then gradually add your shredded cheddar and Colby Jack cheeses, stirring until they are completely melted and the sauce is smooth and creamy. Season the sauce with salt and pepper to taste, adjusting as needed.
Step 3: Combine and Top
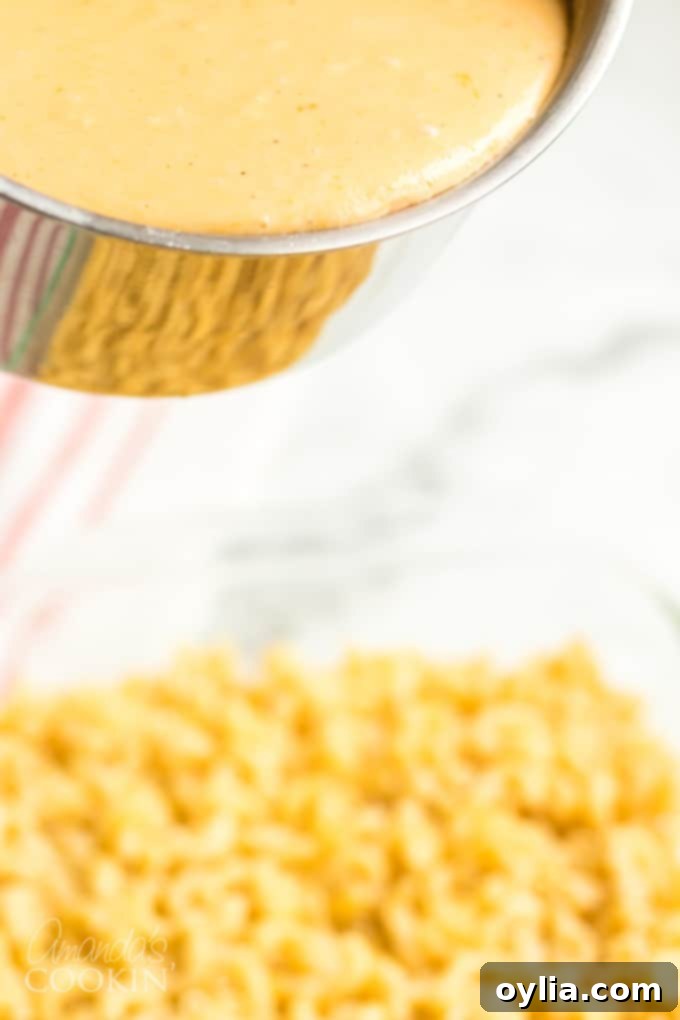
Once your elbow macaroni is drained and in the baking pan, it’s time for the delicious pour. Carefully pour that scrumptious, velvety cheesy sauce evenly over the cooked macaroni noodles, ensuring every piece is generously coated. Give it a gentle stir to combine thoroughly.
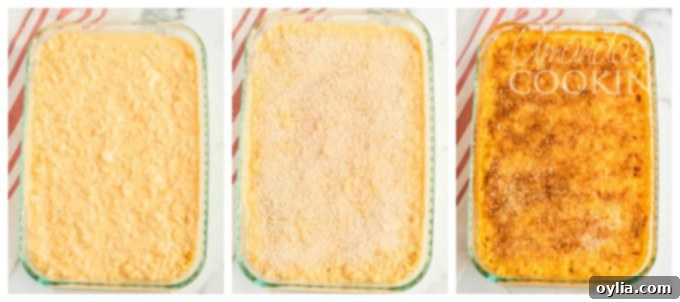
In a small bowl, combine the panko bread crumbs with the paprika. Sprinkle this mixture evenly over the top of the cheese-covered macaroni. For an extra crispy topping, lightly spray the bread crumbs with cooking spray oil. This clever trick, courtesy of Grandma, helps the crumbs achieve a beautiful golden brown and retain their delightful crunch during baking.
Step 4: Bake to Golden Perfection
All that’s left is to bake your masterpiece! Place the baking dish in the preheated oven and bake for approximately 20 minutes, or until the sides are bubbly and the bread crumb topping has turned a lovely golden brown. The bubbling sides indicate that the sauce is hot and perfectly integrated with the pasta. Mmmmmm, the aroma filling your kitchen will be absolutely incredible!
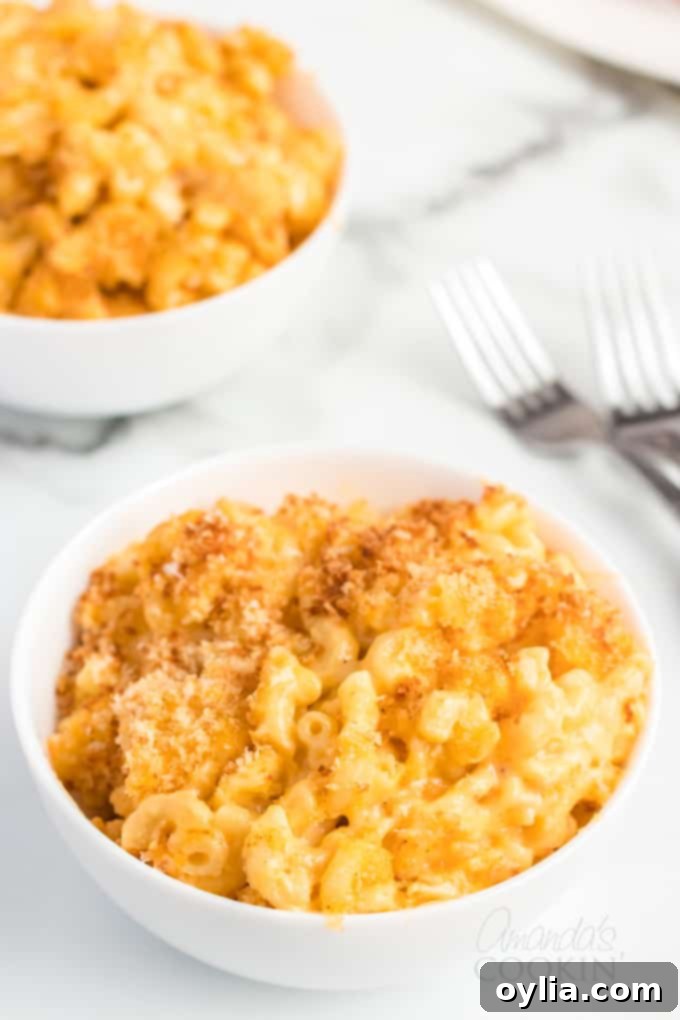
If your bread crumb topping isn’t as golden brown and crispy as you’d like after 20 minutes, you can carefully turn the oven to broil. Pop the dish back in for just a minute or two. Be sure to watch it constantly, as broiling can quickly burn the crumbs!
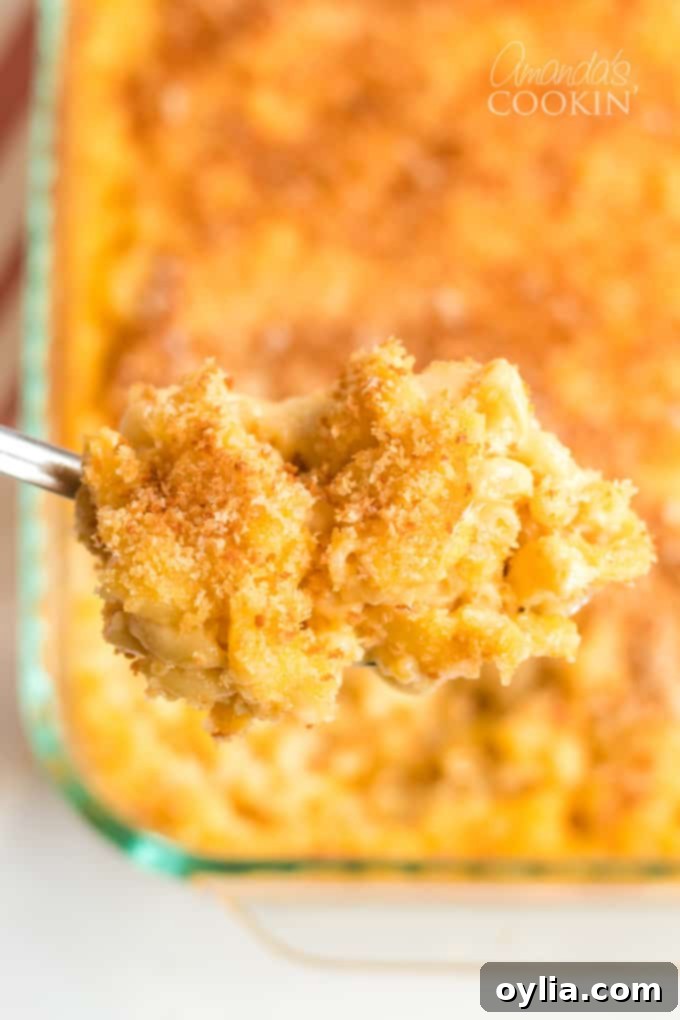
Pro Tips for the Best Baked Mac and Cheese
- Grate Your Own Cheese: This is arguably the most important tip. Pre-shredded cheeses are often coated with cellulose or other anti-caking agents that can prevent them from melting smoothly, resulting in a grainy sauce. Grating cheese from a block ensures a silky, rich cheese sauce.
- Cook Pasta Al Dente: Since the macaroni will continue to cook in the oven, cooking it slightly underdone initially will prevent it from becoming mushy.
- Ensure a Smooth Roux: Whisk vigorously when combining butter and flour, and slowly add milk/cream while continuing to whisk. This prevents lumps and ensures a smooth, creamy base for your cheese sauce.
- Warm the Milk: While not strictly necessary, gently warming the milk and cream before adding them to the roux can help create an even smoother sauce and prevent clumping.
- Don’t Overcook the Sauce: Once the cheese is melted and incorporated, remove the sauce from the heat. Overcooking can cause the cheese to separate and become oily.
- Add Flavor Boosters: A pinch of dry mustard powder (½ tsp) can enhance the cheesy flavor without making the dish taste like mustard. A dash of hot sauce (like Tabasco) can add a subtle kick and complexity.
- Rest Before Serving: Allow the baked mac and cheese to rest for 5-10 minutes after taking it out of the oven. This helps the sauce set slightly, making it easier to serve and preventing it from being too runny.
Recipe Variations to Explore
This classic baked mac and cheese is fantastic as is, but it’s also a wonderful base for creative variations:
- Cheese Blends: Experiment with different cheeses! Gruyere adds a nutty flavor, fontina offers extra creaminess, and a touch of smoked gouda can introduce a smoky depth.
- Add-Ins: Make it a heartier meal by incorporating cooked and crumbled bacon, diced ham, shredded chicken, or even ground beef. For a veggie boost, add steamed broccoli florets, peas, or sautéed mushrooms.
- Topping Alternatives: Instead of panko, try crushed Ritz crackers for a buttery crunch, cornflakes for a subtle sweetness, or even crushed potato chips for a salty, crispy twist.
- Spicy Mac: Introduce a bit of heat with a pinch of cayenne pepper in the cheese sauce or by topping with sliced jalapeños before baking.
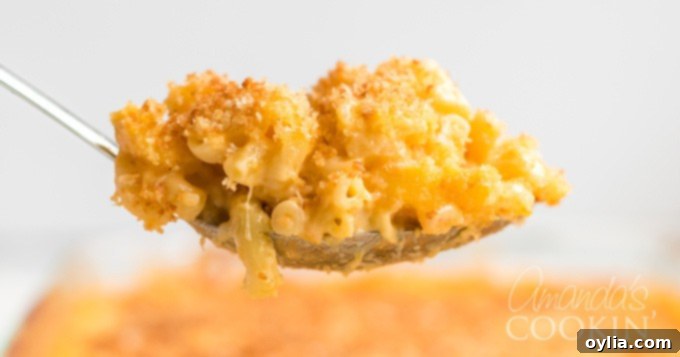
See? I’m sorry, I know your stomach is growling now… so is mine! This baked macaroni and cheese recipe is a wonderful choice for potlucks and parties as it generously serves 8 people as a hearty meal and even more as a delightful side dish. It’s truly a dish that brings people together and satisfies every time.
We truly hope you enjoy this delicious family recipe for easy baked macaroni and cheese. The homemade cheese sauce is the absolute best, creating a deliciously creamy and flavorful end result that will become a beloved staple in your home. Enjoy every warm, cheesy bite!
Frequently Asked Questions (FAQs)
Can I make baked mac and cheese ahead of time?
Yes, you can! You can assemble the entire casserole (without baking) and cover it tightly with plastic wrap, then refrigerate for up to 24 hours. When you’re ready to bake, let it sit at room temperature for about 30 minutes before baking as directed. You might need to add an extra 5-10 minutes to the baking time since it will be going into the oven cold.
How do I store leftover baked mac and cheese?
Store any leftovers in an airtight container in the refrigerator for up to 3-4 days. To reheat, you can warm individual portions in the microwave or place the entire dish (covered with foil) in an oven preheated to 300°F (150°C) until heated through. Adding a splash of milk or cream before reheating can help revive its creaminess.
Can I freeze baked mac and cheese?
Yes, baked macaroni and cheese freezes quite well. Allow the casserole to cool completely after baking. Wrap it tightly in plastic wrap and then aluminum foil, or transfer portions to freezer-safe containers. It can be frozen for up to 2-3 months. Thaw overnight in the refrigerator before reheating.
What kind of pasta works best besides elbow macaroni?
While elbow macaroni is traditional, you can certainly use other small pasta shapes like cavatappi, shells, or penne. Choose a pasta that has crevices or a tubular shape to hold onto that delicious cheese sauce.
How can I prevent my cheese sauce from being grainy?
The most common cause of grainy cheese sauce is using pre-shredded cheese with anti-caking agents. Always grate your own cheese from blocks for the smoothest results. Also, avoid overcooking the cheese sauce once the cheese has melted, as this can cause the proteins to seize and separate.
More Macaroni and Cheese Recipes to Savor
Oh, we absolutely love, love, love different kinds of mac and cheese here at Amanda’s Cookin’! Be sure to try my Instant Pot Mac and Cheese for a quick and easy method – it’s one of my personal favorites. And if you’re craving a full-fledged meal with meat, our Bacon Cheeseburger Pasta is just the thing. One of my favorite unique twists on macaroni and cheese is this delightful Rotini, Peas and Cheese, and for those times when you need comfort in a flash, our super quick Stovetop Mac and Cheese is perfect for a fast and satisfying lunch!
More Delicious Side Dish Recipes
- Roasted Asparagus
- Broccoli Casserole
- Glazed Carrots
- Twice Baked Potatoes
- Crispy Roast Potatoes
- Air Fryer Brussels Sprouts
- Creamed Corn
Baked Macaroni and Cheese
IMPORTANT – There are often Frequently Asked Questions within the blog post that you may find helpful. Simply scroll back up to read them!
Print It
Rate It
Save ItSaved!
Ingredients
- 16 oz elbow macaroni cooked al dente
- 4 tablespoons butter
- 4 tablespoons flour
- 2 cups milk
- 1 cup heavy whipping cream
- 3 cups shredded cheddar cheese
- 2 cups shredded Colby Jack cheese
- Salt and pepper to taste
- ½ cup panko bread crumbs
- ¼ teaspoon paprika
Instructions
-
Preheat oven to 350°F (175°C). Lightly spray a 9×13 inch baking pan with cooking spray. Cook elbow macaroni according to package directions until al dente. Drain well and add the cooked macaroni to the prepared baking pan, spreading it evenly.
-
In a medium saucepan, over medium heat, melt the butter. Once melted, whisk in the flour and cook for about 30 seconds, whisking continuously, to create a smooth roux.
-
Slowly whisk in the milk and heavy cream until fully combined and the mixture begins to thicken slightly.
-
Reduce heat to low. Add the shredded cheddar and Colby Jack cheeses, stirring continuously until all the cheese is melted and the sauce is smooth and creamy. Do not overcook the sauce once the cheese is melted.
-
Add salt and pepper to taste, adjusting seasoning as needed for your preference.
-
Pour the finished cheese mixture evenly over the macaroni in the baking pan, ensuring the pasta is well coated. Gently stir to combine.
-
In a small bowl, combine the panko bread crumbs and paprika. Sprinkle this mixture evenly over the top of the macaroni and cheese.
-
Lightly spray the bread crumb topping with cooking spray oil. This step helps the crumbs become extra crispy and achieve a beautiful golden brown color during baking.
-
Bake in the preheated oven at 350°F (175°C) for approximately 20 minutes, or until the macaroni and cheese is bubbly around the edges and the topping is golden brown and crispy.
-
Serve warm and enjoy your homemade baked mac and cheese!
Nutrition
The recipes on this blog are tested with a conventional gas oven and gas stovetop. It’s important to note that some ovens, especially as they age, can cook and bake inconsistently. Using an inexpensive oven thermometer can assure you that your oven is truly heating to the proper temperature. If you use a toaster oven or countertop oven, please keep in mind that they may not distribute heat the same as a conventional full sized oven and you may need to adjust your cooking/baking times. In the case of recipes made with a pressure cooker, air fryer, slow cooker, or other appliance, a link to the appliances we use is listed within each respective recipe. For baking recipes where measurements are given by weight, please note that results may not be the same if cups are used instead, and we can’t guarantee success with that method.
