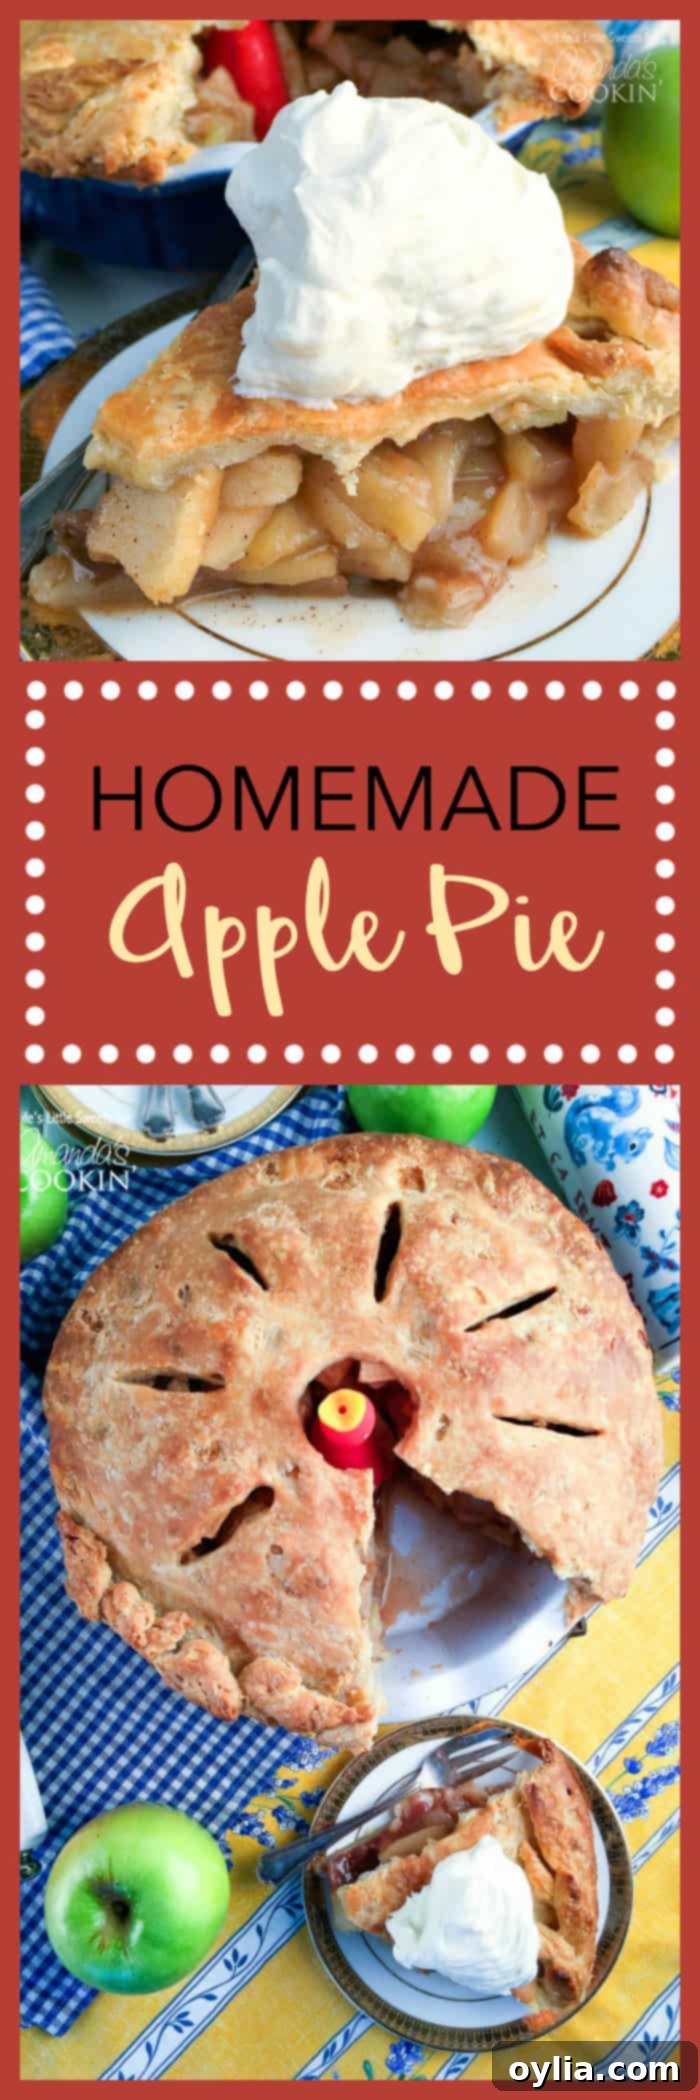
The Ultimate Guide to Baking a Classic Homemade Apple Pie: Flaky Crust & Perfect Filling
There’s nothing quite like the comforting aroma and taste of a perfectly baked **homemade apple pie**. This classic dessert embodies warmth, tradition, and pure culinary bliss. Imagine a pie with an unbelievably buttery, crisp crust that shatters with every bite, revealing a tender, perfectly spiced apple filling brimming with natural sweetness and a hint of tang. This isn’t just a dream; it’s the reality of this exceptional apple pie recipe, meticulously crafted to bring an epic culinary experience to your table. Prepare to be the star of your next holiday gathering, as this pie is guaranteed to draw rave reviews and joyous fanfare!
The Irresistible Aroma of Homemade Apple Pie
The moment this particular **homemade apple pie** enters the oven, your kitchen transforms. An absolutely intoxicating aroma begins to waft through the air, a complex symphony of sweet and spicy notes that promises pure delight. This captivating scent comes from the harmonious blend of fresh apples, warm cinnamon, sweet honey, rich vanilla, and a touch of coconut sugar. Each ingredient plays a crucial role in creating a deeply fragrant and flavorful filling that is simply divine. It’s an aroma that evokes memories, creates anticipation, and truly sets the stage for a memorable dessert.
Looking for more holiday favorites? Be sure to explore our delightful recipes for Traditional English Trifle or Homemade Pecan Pie to complete your festive spread for the holiday season!
Demystifying Pie Baking: A Journey to Flaky Perfection
For many, the thought of baking a pie from scratch can feel daunting. However, I’ve learned through years of dedicated practice that good pie baking, while requiring patience and attention to detail, should never be intimidating. I’ve made this classic **apple pie recipe**, along with countless other pie varieties, so many times that each step feels second nature. My journey has taught me that the key to success lies in understanding the process and embracing it as a rewarding culinary adventure.
If this is your first time venturing into pie making, rest assured, you’re in good hands. Take your time, read through the directions carefully, and give yourself ample time for each stage. A fantastic tip for beginners is to break down the process: prepare the **apple pie filling** and/or the **flaky pie crust** the day before. This not only makes the baking day less stressful but also allows the flavors of the apple filling to deepen. Why not invite a friend or family member to join in? Baking together can make the experience even more enjoyable and less daunting. Once the individual components of the pie are ready, it’s simply a matter of assembling and baking your masterpiece.
A Recipe Born of Passion and Perfection
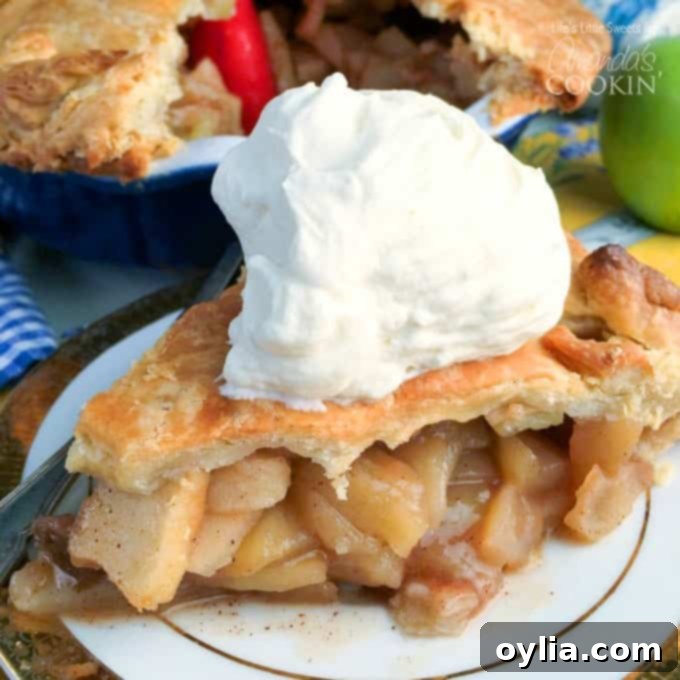
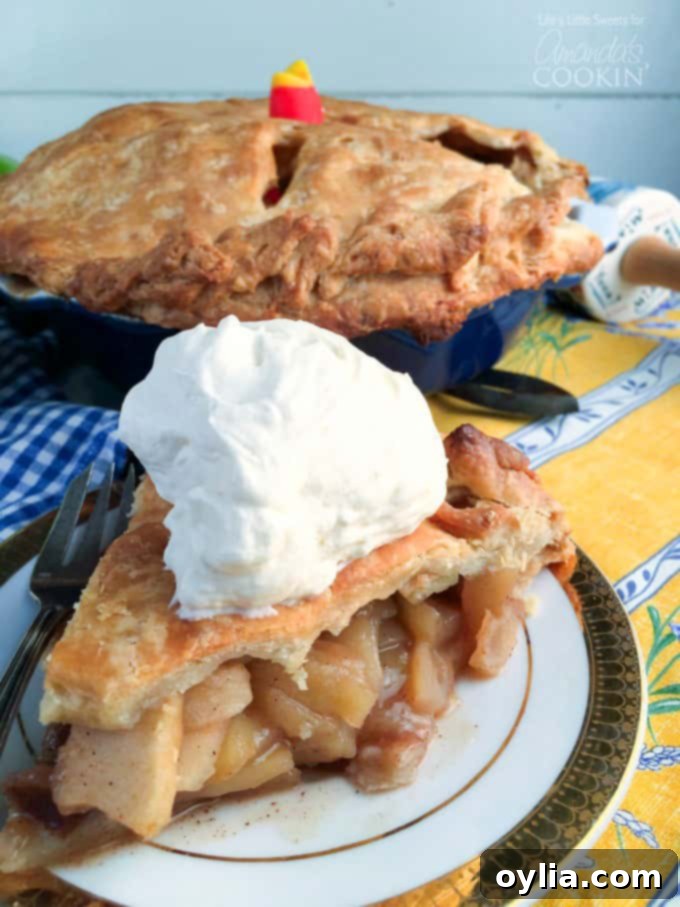
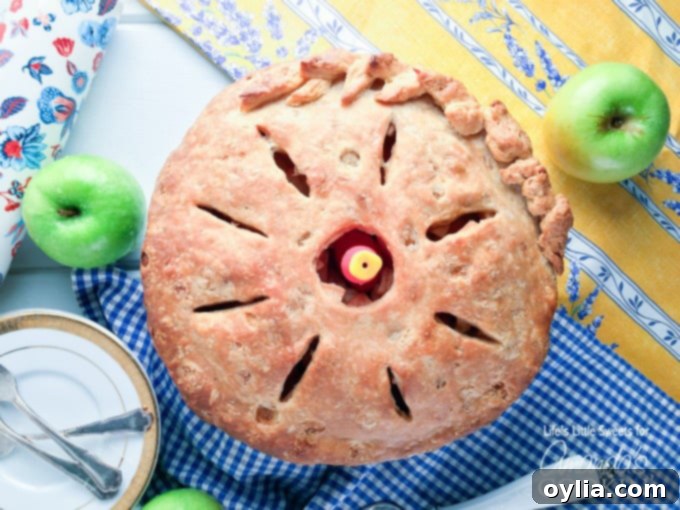
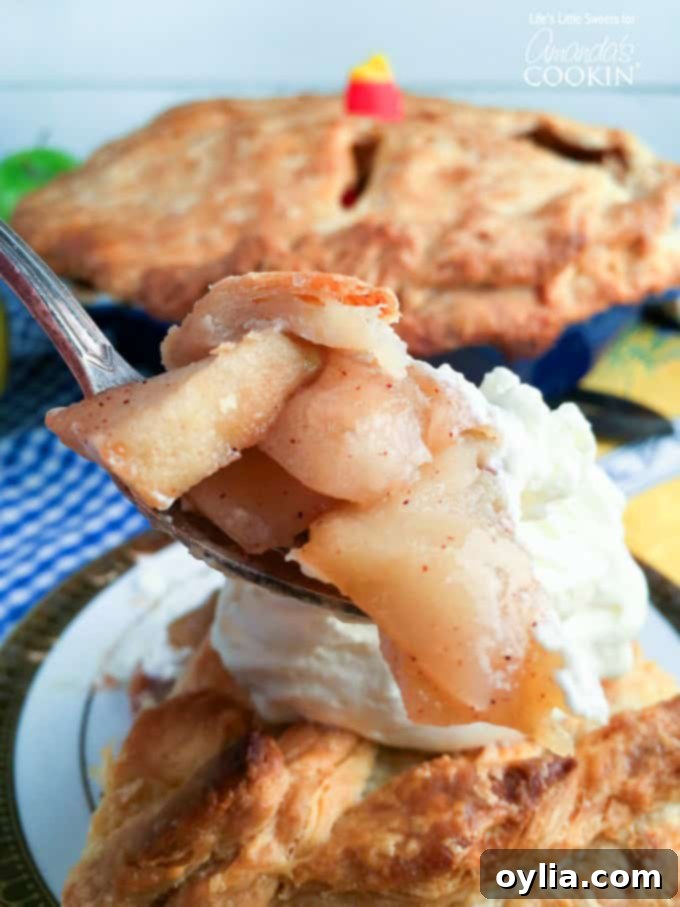
This particular **homemade apple pie recipe** is the culmination of several years of diligent practice, experimentation, and refinement. It draws inspiration from cherished family recipes and my own Mile High Pear Pie recipe, which taught me the nuances of fruit pie construction. The goal was always to achieve a balance of robust flavor in the filling and an exquisitely flaky, sturdy crust that holds up beautifully to slicing. For the ultimate indulgence, I highly recommend serving a warm slice with a generous scoop of creamy vanilla ice cream and/or my recipe for Vanilla Whipped Cream. The contrast of warm pie and cold cream is simply heavenly.
There are affiliate links in this post. That means if you buy something from that link, I will earn a small commission, but it won’t cost you anything additional.
Ingredients for Your Perfect Apple Pie
Crafting the perfect apple pie begins with selecting high-quality ingredients. Here’s what you’ll need for both the luscious filling and the divine double crust:
Filling:
- 3 pounds peeled and sliced (¼ inch thick) Granny Smith Apples or other variety good for baking (like Honeycrisp or Braeburn for a sweeter touch, or a mix for complexity)
- ½ cup white granulated sugar (can substitute coconut sugar for a deeper, caramel-like note)
- ¼ cup brown sugar (adds richness and moisture)
- ¼ cup honey (enhances sweetness and helps create a glossy filling)
- 2-3 tablespoons all-purpose flour (to thicken the juices and prevent a runny filling)
- 1 tablespoon apple cider vinegar (brightens the apple flavor and adds a subtle tang, can substitute fresh squeezed lemon juice)
- 1 teaspoon ground cinnamon (the quintessential spice for apple pie)
- 1 teaspoon vanilla extract (adds a warm, aromatic depth)
- ¼ teaspoon sea salt or kosher salt (balances the sweetness and enhances all flavors)
Double Crust:
- 2-1/3 cups all-purpose unbleached flour, plus extra for rolling out dough (ensure consistent measurements for best results)
- 1 cup butter *solid, chilled (the colder, the flakier the crust; can substitute an equal amount of solid coconut oil for a vegan option), plus more for greasing the pie plate
- 1 tablespoon granulated white sugar (adds a touch of sweetness to the crust, can substitute coconut sugar)
- 1 tablespoon apple cider vinegar (helps tenderize the dough and prevents toughness, can substitute fresh squeezed lemon juice)
- ¼ teaspoon sea salt or kosher salt (enhances the flavor of the crust)
- 3/4 cup ice water, plus more, if needed (cold water is crucial for a flaky crust; the exact amount depends on humidity)
Helpful Kitchen Tools for Making Homemade Pie
Having the right tools can make your pie-baking experience smoother and more enjoyable. Here’s a list of essentials that will aid you in creating your perfect apple pie:
- 9″ x 2″ inch deep pie dish (ensures ample space for the filling and a substantial slice)
- Small, medium, and large mixing bowls (for combining ingredients efficiently)
- Sharp knife and pie serving utensil (for clean slicing and serving)
- Vegetable peeler (for quickly peeling apples)
- Cutting board (a stable surface for preparing ingredients)
- Measuring spoons and measuring cups (for accurate ingredient portions)
- Apple slicer (optional, but a time-saver for uniform apple slices)
- Dough scraper (indispensable for dividing and handling cold dough)
- Pie weights or dried beans (essential for blind baking the bottom crust)
- Parchment paper (prevents sticking and aids in blind baking)
- Aluminum foil (useful for preventing over-browning of the crust)
- Pastry blender (helps cut cold butter into flour without overworking)
- Rolling pin (for evenly rolling out the pie dough)
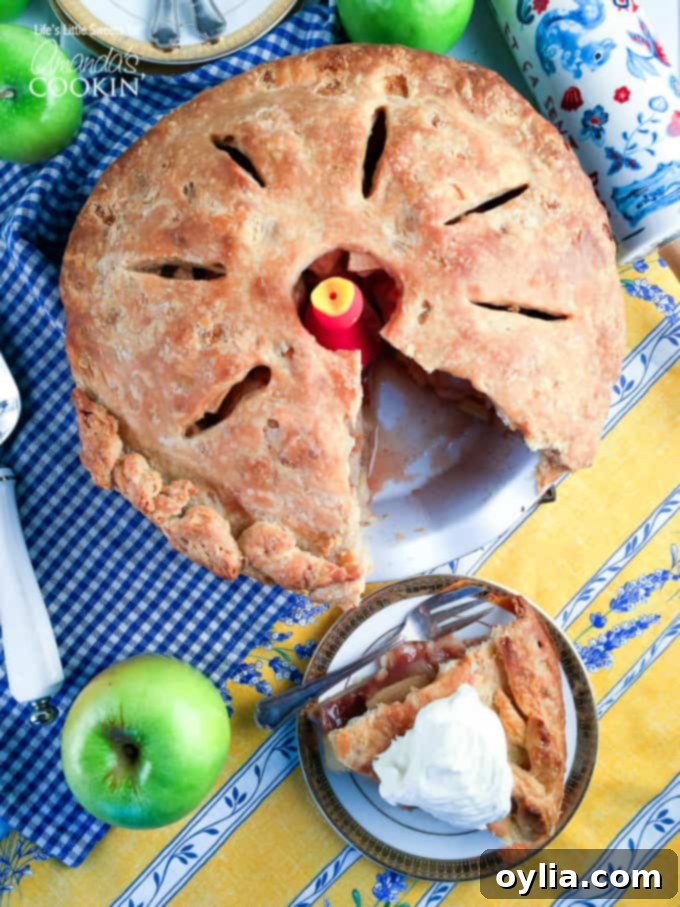
- Pie bird, optional (this charming tool helps vent the pie filling, reducing bubbling over and potentially making the crust more crisp)
- Pastry mat or large cutting board (provides a non-stick surface for rolling dough)
- Favorite cookie cutters (for making decorative cutouts from the pie dough, adding a personal touch)
Expert Tips for Pie Making Success
Achieving that coveted **flaky pie crust** and perfectly set **apple pie filling** requires a few key techniques. These tips, refined over years, will help you master the art of homemade pie:
- Keep Your Butter Cold: This is arguably the most crucial tip for a flaky crust. Cut butter into small cubes and place them in the freezer for at least 15-20 minutes before preparing your dough. The small pieces of cold butter create pockets of steam as they bake, which results in those desirable flaky layers. If the butter melts into the flour before baking, your crust will be tough.
- Utilize Cold Tools: To further maintain the butter’s chill, consider using a rolling pin made of ceramic or marble. These materials naturally stay cooler and can be chilled in the refrigerator for 5-10 minutes before use, preventing the dough from warming up too quickly during rolling.
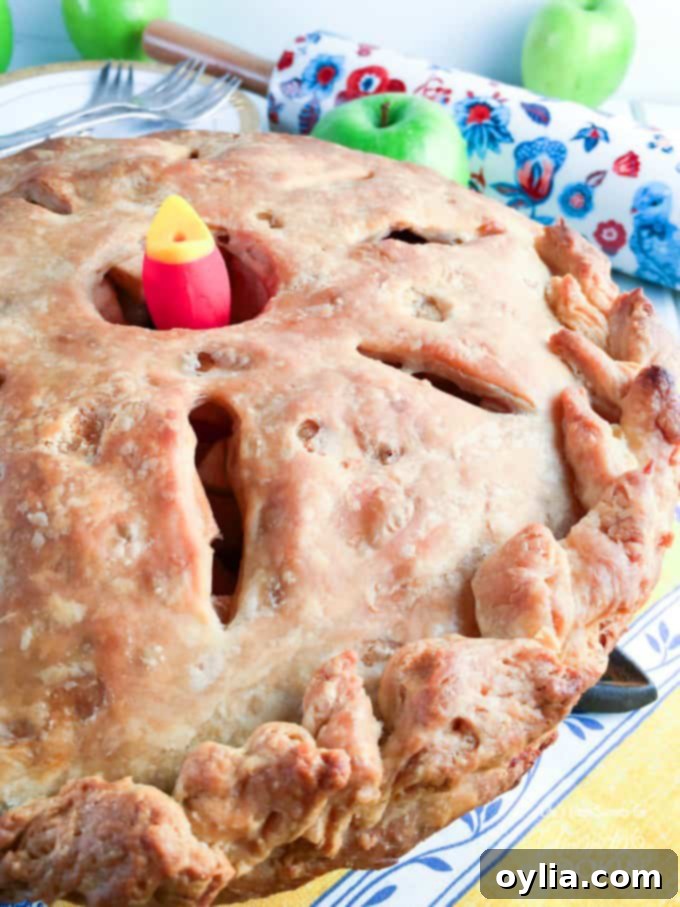
- The Marvel of a Pie Bird: While optional, a pie bird is a charming and functional addition. It sits in the center of your pie, allowing steam to escape from the filling during baking. This helps prevent the filling from bubbling over (though it’s not a foolproof guarantee!) and can contribute to a crispier top crust by preventing steam from making it soggy.
- Protect Your Oven with a Baking Sheet: Always bake your pie on a baking sheet. Even with a pie bird, fruit pies can sometimes bubble over, and a baking sheet will catch any spills, saving your oven from a sticky mess. It also makes it easier and safer to transfer the hot pie in and out of the oven.
- Blind Bake for a Non-Soggy Bottom: To achieve a perfectly crisp bottom crust and prevent it from becoming soggy, especially with juicy fruit fillings, I highly recommend blind baking. Line your bottom crust with parchment paper, fill it with **pie weights** (or dried beans), and bake it partway before adding the filling. This pre-bakes the crust, sealing it against moisture.
- Thicken with Care: If you’re particularly concerned about a very wet filling, an extra tablespoon of cornstarch can be added to the apple mixture. Cornstarch is a powerful thickener and can provide an extra layer of assurance for a beautifully set filling.
- Patience is Key: Cool Completely: This tip is vital! After baking, allow your pie to cool completely for several hours (ideally 3-4 hours or even overnight). This cooling period allows the pie filling to set properly. If you slice into a hot pie, all the delicious, hot juices will run out, resulting in a sloppy slice instead of a firm, beautiful one.
- Mastering Ice Water for Dough: When making the dough, start with about 3/4 to 1 cup of ice water. The exact amount you’ll need can vary significantly depending on the humidity in your kitchen. Add it gradually, a tablespoon at a time, until the dough just comes together. Keep extra ice water on hand in case the dough dries out slightly between chilling or handling sessions.
- Embrace Butter Lumps: When cutting the butter into the flour for the crust, resist the urge to overwork it. You want to see nice, visible chunks of butter, about the size of peas or even a bit larger. These butter lumps are what create those wonderful flaky layers. The dough should come together but should not be overly sticky or crumbly.
- Chill Your Top Crust Strategically: For easier handling of the top crust, roll it out on a large cutting board covered with parchment paper. Aim for about ¼-inch thickness. Once rolled, cover it with plastic wrap and chill it in the refrigerator for at least 30 minutes. Chilling the dough between handling sessions (about 30 minutes each time) is more time-consuming but absolutely worth it for a **perfect crust** that’s easy to work with and wonderfully flaky.
- Customize Your Crust Thickness: You have flexibility with the crust thickness. A ¼-inch thick crust is my personal favorite, as it provides a sturdy base for slicing and a satisfying bite. This thickness also ensures you have enough dough to cover the pie with a slight overhang. Alternatively, if you plan to create intricate decorative cutouts for the top of your pie, you can roll the dough to an 1/8-inch thickness, saving any trimmings for your designs.
- Order of Operations for Filling & Crust: The recipe suggests preparing the **apple pie filling** first and then working on the **double crust**. This allows the apples to marinate and absorb all the delightful flavors. However, you can reverse this order if it fits your schedule better, especially if you’re spreading the pie-making process over two days. If making the crust first, ensure the filling is well covered and refrigerated.
- Choose the Right Apples: I highly recommend using **Granny Smith apples** for their perfect balance of tartness and firm texture. They hold their shape beautifully during baking and prevent the pie from becoming overly sweet. A mix with sweeter apples like Honeycrisp or Braeburn can also create a wonderful flavor profile.
- Homemade vs. Store-Bought Crust: While purchasing a pre-made double crust can save time, the flavor and texture of a homemade crust are unparalleled. If you’re willing to invest the extra effort, the reward of a truly delicious, flaky homemade crust is absolutely worth it.
- To Egg Wash or Not to Egg Wash: An egg wash (a whisked egg with a splash of water or milk) applied to the top crust before baking gives it a beautiful golden sheen. This is entirely optional for this recipe. The photos here showcase the pie without an egg wash, as I felt the natural beauty and golden hue of this crust truly shines on its own. If you do use an egg wash, keep an eye on the pie as it bakes, as it might brown more quickly.
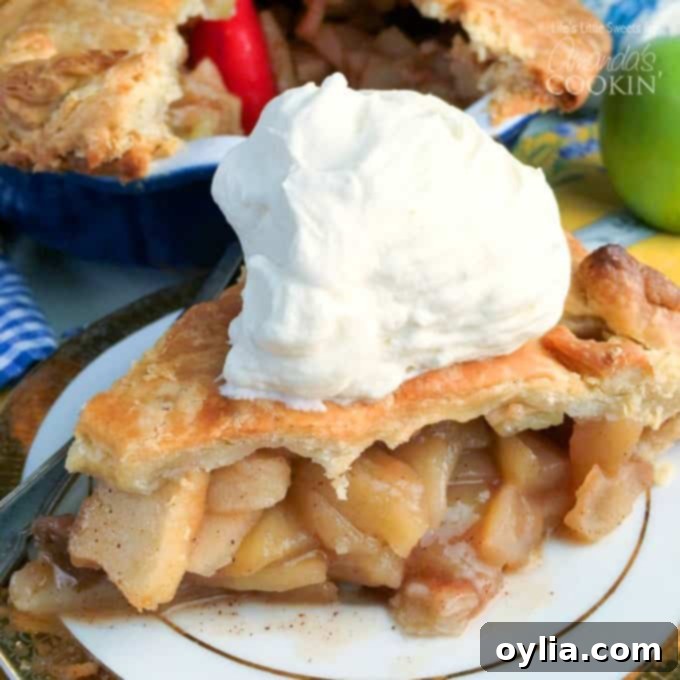
I sincerely hope you enjoy baking and savoring this **homemade apple pie**. It has truly become a cherished family favorite in our home, bringing joy and deliciousness to countless occasions. Its classic appeal and comforting flavors are simply unmatched.
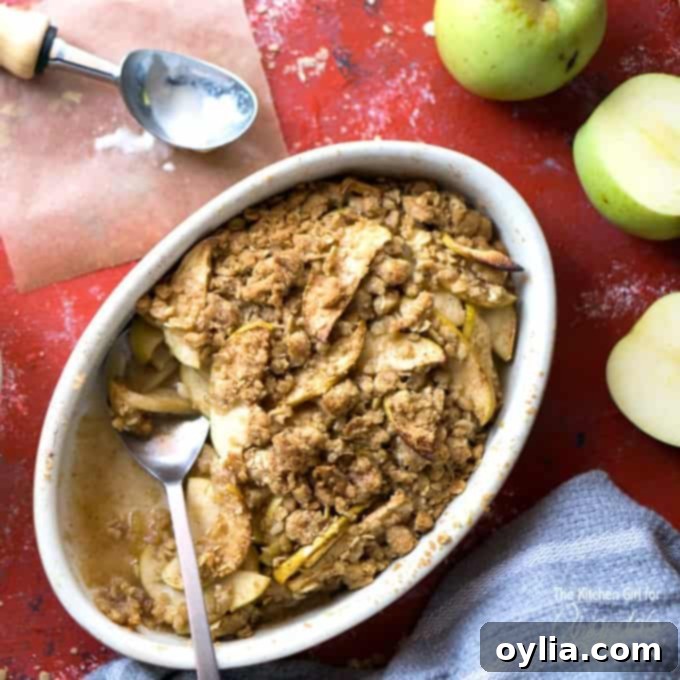
Have you been busy with a lot of apple picking this year? This is the perfect opportunity to use up your fresh apples with this equally delightful Baked Apple Crisp! It’s an easy and incredibly satisfying alternative that the whole family will adore, especially with a scoop of vanilla ice cream on top. If you’re seeking a more unique and challenging baking project, you must try this amazing Christopsomos – a Greek apple pastry that is oh-so delicious and perfect for special occasions!
Don’t forget to bookmark or pin my strawberry pie recipe for later – you absolutely won’t regret it! And for those who love small delights, be sure to check out these adorable mini apple pies!
Explore More Delicious Pie Recipes
If you’ve enjoyed mastering this classic apple pie, you’ll love exploring these other fantastic pie recipes from our collection:
- Blueberry Pie
- French Silk Pie
- Banana Cream Pie
- Homemade Apple Pie (another variation for apple lovers!)
- No Bake Peanut Butter Pie
- Perfect Pumpkin Pie Recipe
- Southern Buttermilk Pie
- Coconut Cream Pie
Apple Pie
IMPORTANT – There are often Frequently Asked Questions within the blog post that you may find helpful. Simply scroll back up to read them!
Print It
Pin It
Rate It
Save ItSaved!
Ingredients
FILLING:
- 3 pounds peeled and sliced ¼ inch thick Granny Smith Apples or other variety good for baking
- ½ cup white granulated sugar can substitute coconut sugar
- ¼ cup brown sugar
- ¼ cup honey
- 2-3 tablespoons flour
- 1 tablespoon apple cider vinegar can substitute fresh squeezed lemon juice
- 1 teaspoon cinnamon
- 1 teaspoon vanilla extract
- ¼ teaspoon sea salt or kosher salt
DOUBLE CRUST:
- 2-1/3 cups all-purpose unbleached flour plus extra for rolling out dough
- 1 cup butter *solid chilled (can substitute equal amount of coconut oil), plus more for greasing the pie plate
- 1 tablespoon granulated white sugar can substitute coconut sugar
- 1 tablespoon apple cider vinegar can substitute fresh squeezed lemon juice
- ¼ teaspoon sea salt or kosher salt
- ¾ cup ice water plus more, if needed
Instructions
APPLE PIE FILLING
-
In a large bowl, combine all apple pie filling ingredients, cover and set aside to marinate.
-
Refrigerate, if preparing the day before.
-
When mixing ingredients, I recommend sprinkling the ingredients over the sliced apples, coating evenly and then mix thoroughly.
DOUBLE PIE CRUST
-
Before starting, make sure all ingredients are cold to ensure the crust comes out flaky. *Please read through my suggestions in the notes section for more details and further explanation of specific steps. Grease a pie dish and set aside.
-
In a large mixing bowl, mix 2-1/3 cups flour, 1 tablespoon sugar, 1 tablespoon apple cider vinegar or fresh lemon juice, 1/4 teaspoon salt and 1 cup chilled butter slices. Using a pastry blender, work the mixture until you get a crumbly texture with about 1/2-inch inch butter chunks.
-
Starting with 1/4 cup ice water, gradually add the ice water into the mixture and using a large fork and then your fingertips, work dough until it just comes together into a ball. If it needs more ice water to form a ball, then you can add more and keep the ice water on hand in case you need more later if the dough dries out.
-
Wrap the dough in plastic wrap to prevent drying and refrigerate for a 1/2 hour before rolling out.
-
After chilling for a 1/2 hour, divide dough ball evenly in half with a dough scraper. Wrap 1 half in the plastic wrap and return to the refrigerator to chill while you work what will be the bottom crust. Roll out the dough half into 1/4-inch thick circle to fit into the greased pie dish, leaving a slight overhang to account for any shrinkage when baking (1/2-inch overhang). Cover with a square of parchment paper, fill in pie weights and return to the refrigerator for 1/2 hour.
-
While you wait for the bottom crust to chill, take out the half that will be the top crust. Cover a large cutting board with parchment paper and lightly flour the surface. Roll out a 1/4-inch thick circle for the top over a lightly floured surface. If any dough is sticky, just use some flour, to ease handling at any step of the way. Cover the dough circle completely with the plastic wrap to prevent it from drying out. Chill for a half hour.
BLIND BAKE THE BOTTOM CRUST
-
When all pie filling ingredients have been prepared and the top dough is chilling for the last time, then preheat oven to 425 degrees F.
-
Pricking the bottom crust is not necessary if you have pie weights, if you don’t have pie weights, then you must prick the bottom crust. Make sure the bottom crust is covered with parchment paper (aluminum foil can also be used), pour the pie weights over the parchment paper and bake for 12-15 minutes until the bottom crust is light golden brown.
BAKE THE PIE:
-
After the bottom crust has been blind baked, place pie bird in the center of the bottom crust. Using a large spoon, spoon in the apple pie filling around the pie bird, pour any excess pie filling juice over the apple slices. You can gently press down on the apple slices to remove air pockets.
-
After the top crust pie dough has chilled for 30 minutes, remove from the refrigerator and cut a small circle in the center, just enough for the pie bird, you can also cut slits around the pie bird after the pie dough is carefully placed over the apple pie filling. Crimp and trim the edges.
-
If there are trimmings you can make cut outs of your choosing.
-
Egg wash is optional, be aware that an egg wash can make the pie look more browned as it bakes, so keep an eye on it in the oven.
-
Bake for 1 hour. Check on it 30-45 minutes in, to make sure the top isn’t getting overly browned. Put a piece of aluminum foil tent with a circle cutout for a vent to reduce browning, if need be (I usually do at 45 mins in). Bake the remaining time.
-
Allow the pie to cool completely, this ensures it sets up before you cut into the pie.
The recipes on this blog are tested with a conventional gas oven and gas stovetop. It’s important to note that some ovens, especially as they age, can cook and bake inconsistently. Using an inexpensive oven thermometer can assure you that your oven is truly heating to the proper temperature. If you use a toaster oven or countertop oven, please keep in mind that they may not distribute heat the same as a conventional full sized oven and you may need to adjust your cooking/baking times. In the case of recipes made with a pressure cooker, air fryer, slow cooker, or other appliance, a link to the appliances we use is listed within each respective recipe. For baking recipes where measurements are given by weight, please note that results may not be the same if cups are used instead, and we can’t guarantee success with that method.
