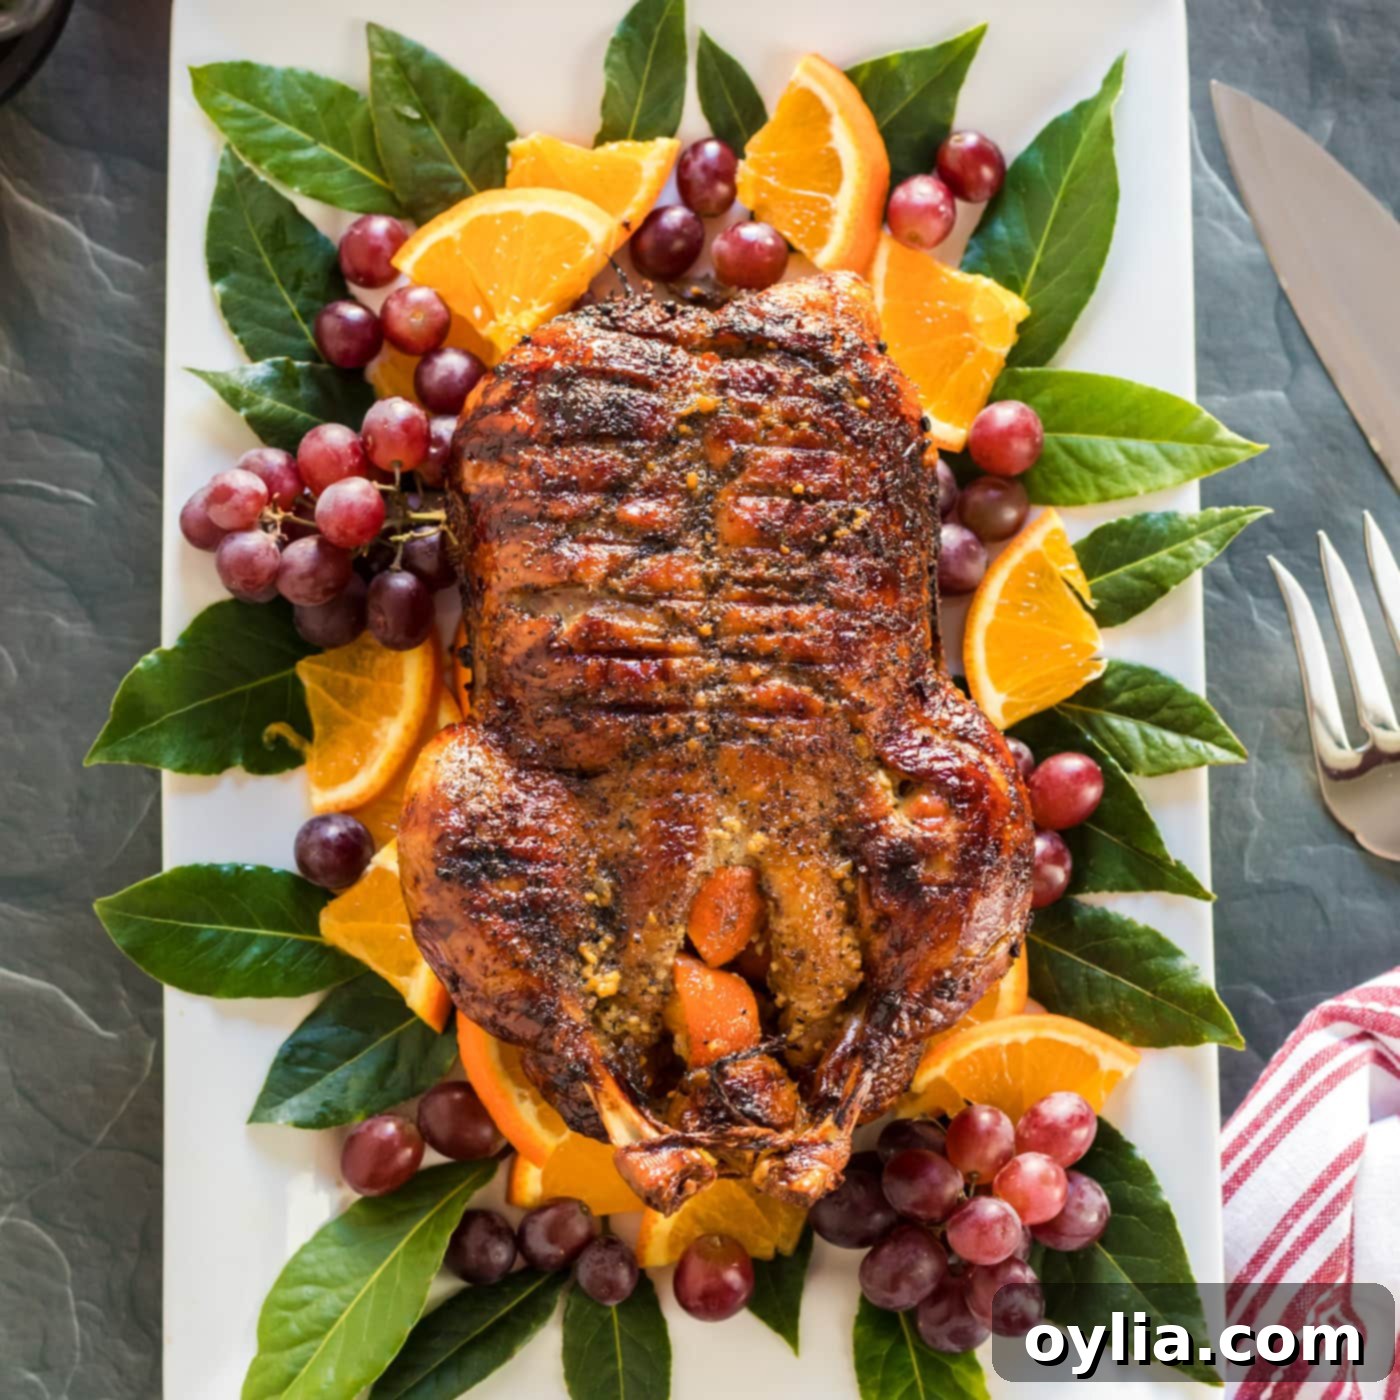
Ultimate Crispy Roast Duck with Mandarin and Honey Glaze
Prepare to elevate your culinary skills and delight your senses with this exceptional roast duck recipe. Imagine a whole duck, slow-roasted to perfection, boasting an unbelievably crispy, golden skin that crackles with every bite. The secret to its exquisite flavor lies in a vibrant stuffing of aromatic garlic cloves and sweet mandarin oranges, coupled with a luxurious basting mixture. This glaze, a harmonious blend of sweet honey, tangy mandarin juice, rich butter, and minced garlic, ensures the duck is imbued with incredible flavor throughout its slow journey in the oven. The result? A show-stopping centerpiece that’s as delicious as it is impressive, making it ideal for holidays, celebrations, or any time you crave a truly special meal.
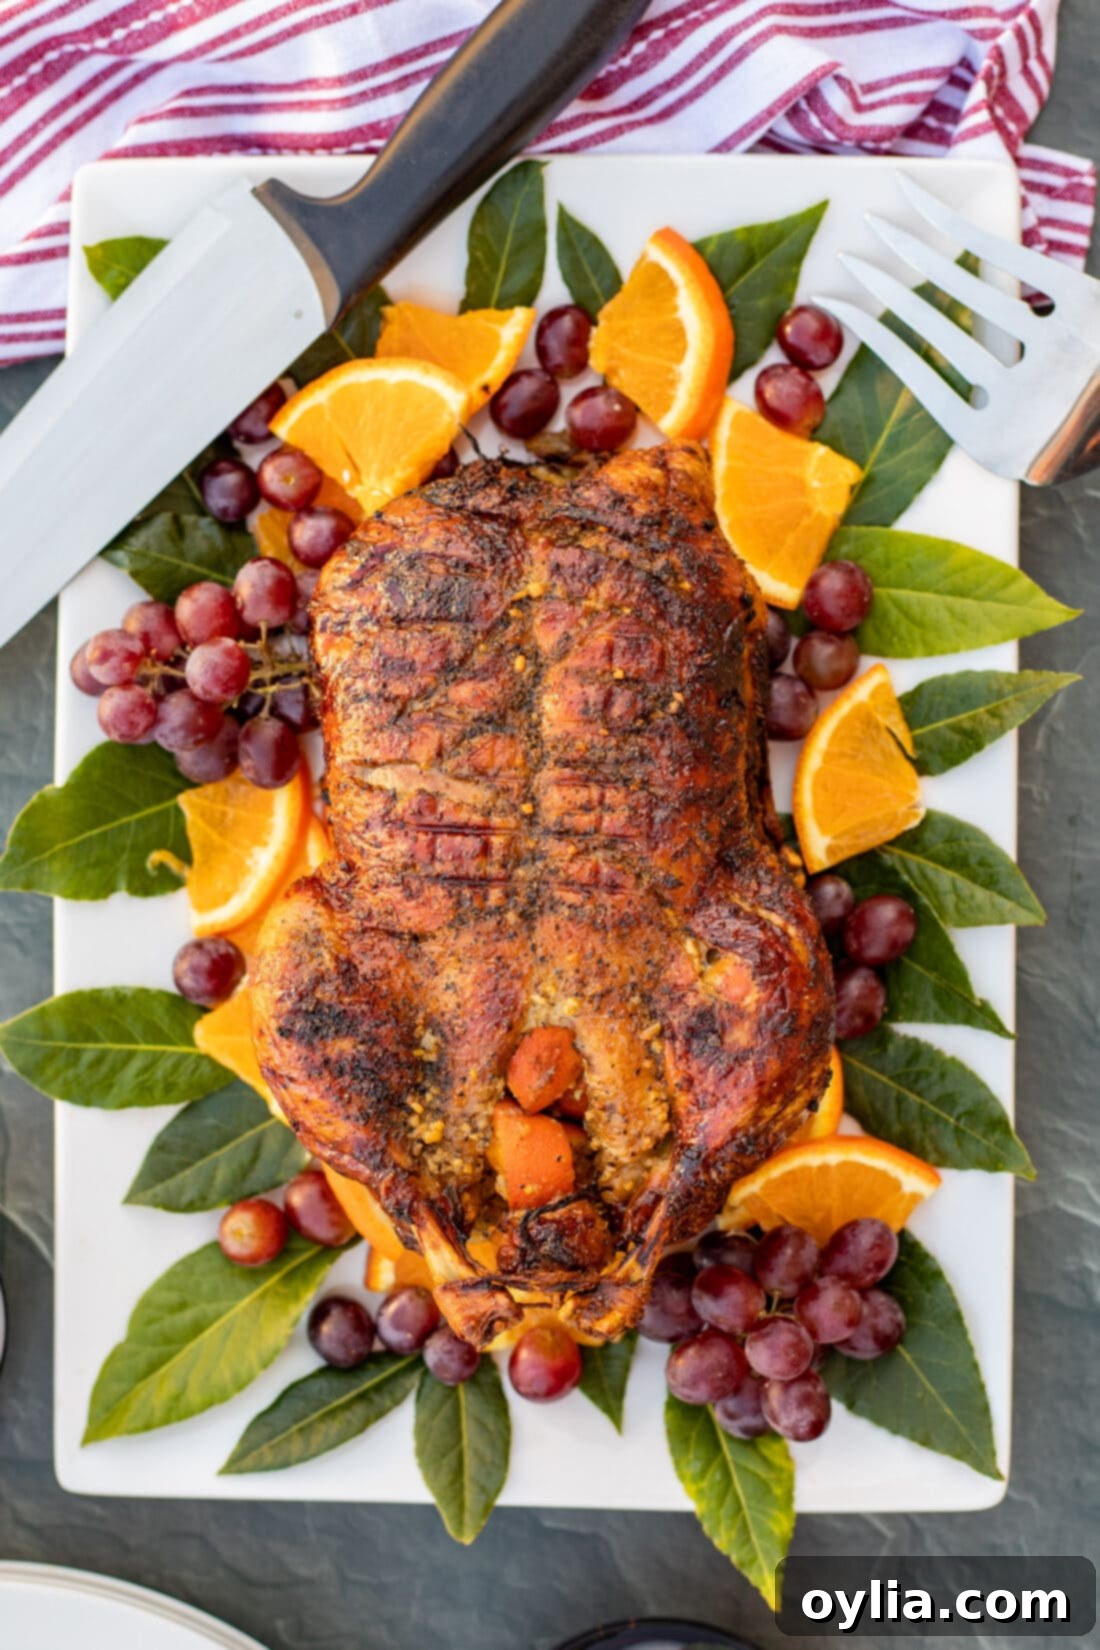
Why This Mandarin Honey Roast Duck Recipe is a Must-Try
If you’re accustomed to the rich, robust flavors of dark poultry meats like chicken thighs and chicken legs, then you are in for an extraordinary treat with this crispy roast duck recipe. While duck is technically poultry, its flavor and texture lean more towards that of red meat, offering a depth and richness that far surpasses ordinary chicken or even pork. This is largely due to its higher fat content, which, when properly rendered, contributes to intensely flavorful, tender meat and, most importantly, that signature crackling skin.
Our recipe takes this inherent richness and elevates it further. The skin, a canvas for flavor, is repeatedly brushed with a luscious mixture of sweet honey and bright mandarin juices. This basting process is key to achieving not only an unbelievably crispy texture but also a beautifully caramelized, golden-brown hue and a complex sweet-savory profile that perfectly complements the succulent, juicy meat beneath. The mandarins don’t just add sweetness; their citrusy notes cut through the duck’s richness, balancing the flavors and preventing any hint of gaminess sometimes associated with duck.
Slow roasting is another crucial technique employed here. Unlike high-heat methods that can dry out the meat, slow roasting allows the duck fat to gradually render, essentially self-basting the meat while simultaneously crisping the skin. This long, gentle cooking process ensures every part of the duck is tender, moist, and infused with the aromatic stuffing. The result is a dish that’s not just a meal, but an experience – a truly impressive creation that will have your guests raving and your taste buds singing.
Essential Ingredients for Your Perfect Roast Duck
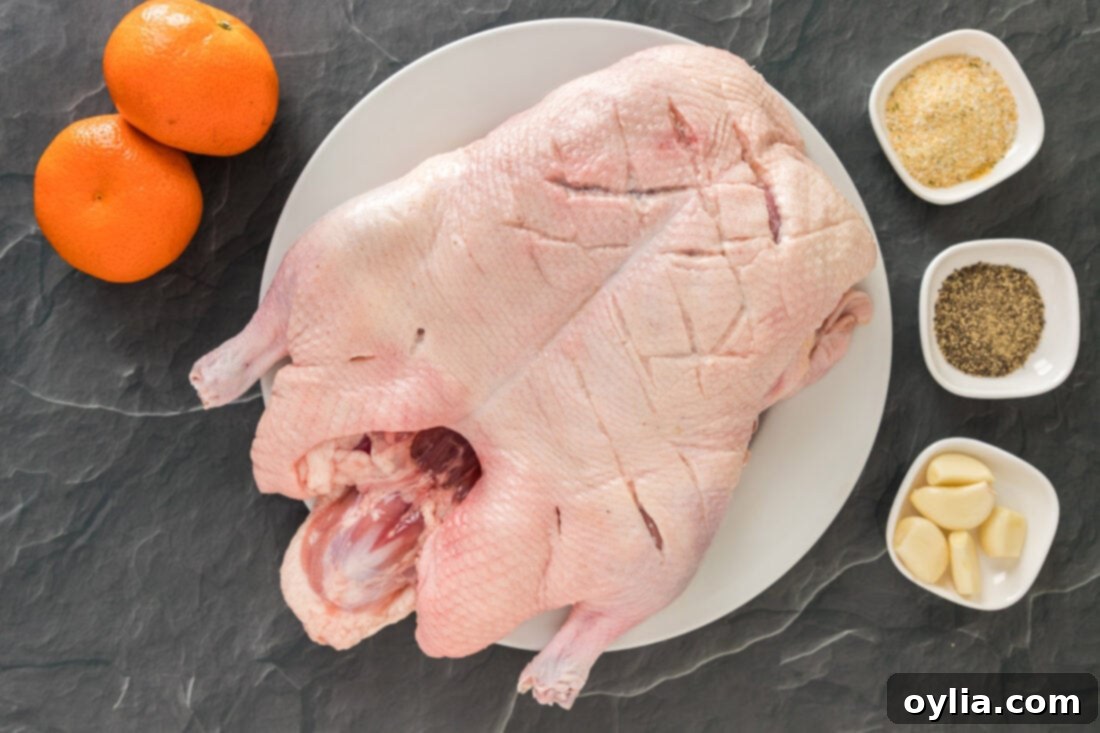
Crafting this magnificent roast duck requires a select few, high-quality ingredients that work in harmony to deliver an explosion of flavors and textures. From the star of the show – the duck itself – to the bright citrus, aromatic garlic, and the sweet, savory basting agents, each component plays a vital role. For precise measurements and detailed instructions, you’ll find the complete printable recipe card at the conclusion of this post. Here’s a quick overview of what you’ll need to gather:
- **Whole Duck:** The foundation of our feast, chosen for its rich flavor and potential for incredibly crispy skin.
- **Garlic Salt & Black Pepper:** The basic seasoning to enhance the duck’s natural taste and promote browning.
- **Mandarin Oranges:** Both quartered for stuffing the cavity and extra for juicing, these provide a sweet, acidic counterpoint to the duck’s richness.
- **Whole Garlic Cloves:** Used to stuff the cavity, they infuse the duck from the inside out with a delicate garlic aroma.
- **Unsalted Butter:** Melted and incorporated into the basting sauce, it adds richness and helps achieve that beautiful golden crust.
- **Honey:** The star sweetener in our glaze, contributing to caramelization and a wonderfully balanced flavor.
- **Fresh Mandarin Juice:** Essential for the basting sauce, offering a bright, tangy zest.
- **Minced Garlic:** A key aromatic for the basting sauce, ensuring garlicky goodness in every brush stroke.
Gathering these ingredients is the first step towards a truly memorable dining experience!
Ingredient Spotlight: Tips for Success and Smart Substitutions
Understanding each ingredient’s role and knowing how to make smart substitutions can significantly enhance your roast duck experience. Here’s a deeper dive:
Mandarin Oranges: The Flavor Balancer
We specifically call for mandarin oranges in this recipe, and for good reason! Mandarins are smaller and inherently sweeter than larger orange varieties, and their bright, slightly tangy flavor is fantastic for balancing the rich, sometimes perceived “gamey” taste of duck. Their delicate acidity cuts through the fat, creating a more harmonious and refreshing profile for the dish. They’re also wonderful as a fresh accompaniment when serving.
- Substitution Suggestions: If mandarins aren’t readily available, you can use other citrus. Navel oranges or Valencia oranges, while larger and less sweet, will still provide a good citrus note. Adjust the amount of honey in the basting mixture slightly if using a tarter orange. For a more exotic twist, kumquats or even a mix of lemon and orange zest can be considered, but be mindful of their stronger acidity.
The Duck: Unlocking Crispy Perfection
Duck is a naturally fatty bird, and this is its superpower! That high fat content is what renders down to create incredibly moist meat and, crucially, that signature crispy skin we’re aiming for. Don’t be deterred by the fat; it’s where a significant portion of the flavor resides. You will notice a considerable amount of fat rendering off during cooking, which is exactly what we want. This rendered duck fat is liquid gold – drain it halfway through cooking if the pan gets too full, and *always* save it! It’s fantastic for roasting potatoes, vegetables, or even making confit.
- Scoring the Skin: This is a non-negotiable step for crispy duck. Carefully scoring the duck skin in a diamond pattern, without cutting into the meat, creates channels for the fat to escape and ensures even crisping. It allows the heat to penetrate the fatty layer more effectively.
- Choosing Your Duck: Look for a whole duck that is plump and has intact skin. If you can find a Pekin duck (often labeled as “Long Island duck”), it’s a popular choice for roasting due to its good meat-to-fat ratio.
- Preparing the Duck: Ensure your duck is completely thawed if frozen. Pat it thoroughly dry with paper towels, both inside and out, before seasoning and scoring. Moisture is the enemy of crispy skin!
The Basting Mixture: Honey-Mandarin Magic
This sweet and savory glaze is what transforms the duck’s exterior into a glistening, flavorful crust. Each component plays a specific role:
- Honey: Provides sweetness for caramelization and creates a beautiful sticky glaze. It contributes to the golden color.
- Melted Butter: Adds richness and helps the glaze adhere to the skin, promoting even browning.
- Mandarin Juice: Offers a bright, fruity acidity that balances the honey and richness of the duck, preventing the sauce from becoming cloyingly sweet.
- Minced Garlic: Infuses the glaze with a savory, pungent aroma that complements the duck beautifully.
Together, these ingredients create a glaze that not only tastes incredible but also helps build layer upon layer of crispy texture on the duck skin. Don’t skimp on the basting!
Mastering the Art of Roasting Duck: Step-by-Step Guide
These step-by-step photos and detailed instructions are designed to help you visualize and master this impressive recipe. For a convenient printable version, complete with all measurements and a concise instruction list, simply jump to the recipe card at the bottom of this post.
- Prepare Your Oven and Roasting Setup: Begin by preheating your oven to 350°F (175°C). This ensures the oven is at the correct temperature for even cooking from the start. Crucially, place a sturdy wire rack inside a large baking sheet. This setup is vital as it allows the duck to be elevated, enabling the rendered fat to drip away into the pan below without the duck sitting in it. This promotes maximum crispiness on all sides.
- Duck Preparation – Remove Giblets: Unpack your duck and carefully remove any giblets (neck, heart, liver, gizzards) from the cavity. While we won’t be using them in this specific recipe, don’t discard them! They can be excellent for making flavorful duck stock, gravy, or even pâté.
- Score the Skin for Ultimate Crispiness: Lay the duck breast side up on a clean cutting board. Using a sharp knife, carefully score the skin in a diamond pattern. The goal is to cut through the skin and the layer of fat underneath, but without piercing the meat itself. This scoring creates channels that allow the fat to render out efficiently during roasting, resulting in exceptionally crispy skin and preventing the meat from becoming greasy.
- Season Generously: Once scored, season the duck’s skin thoroughly with garlic salt and freshly ground black pepper. Rub the seasoning evenly over the entire surface, ensuring it gets into the scored lines. Don’t worry if you don’t use all the seasoning – adjust to your taste. This initial seasoning forms the base layer of flavor.
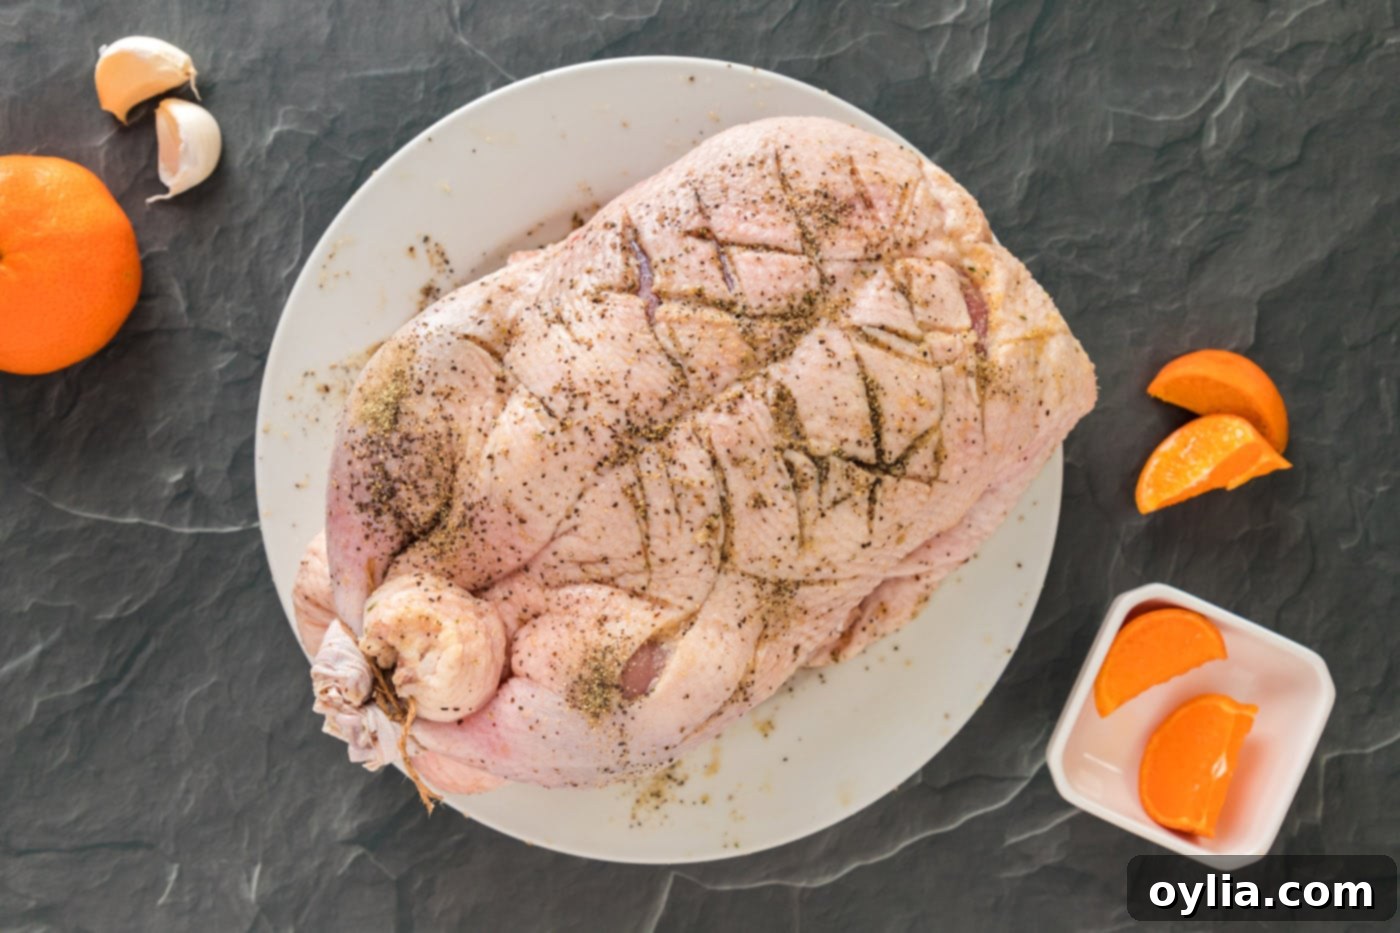
- Stuff with Aromatics: Take the quartered mandarin oranges and whole garlic cloves and generously stuff them into the duck’s cavity. These aromatics will gently steam inside the duck as it cooks, infusing the meat with subtle citrusy and garlicky notes from the inside out.
- Tie the Legs: To ensure the duck cooks evenly and maintains a neat, presentable shape, use butcher’s twine to tie the legs together. This also helps seal the cavity, keeping the stuffing inside.
- Position for Roasting: Carefully transfer the prepared duck to the wire rack on the baking sheet, ensuring it is breast side up. As mentioned earlier, the wire rack is critical here, allowing ample air circulation around the duck and letting the significant amount of rendered duck fat drip down, preventing the duck from boiling in its own fat.
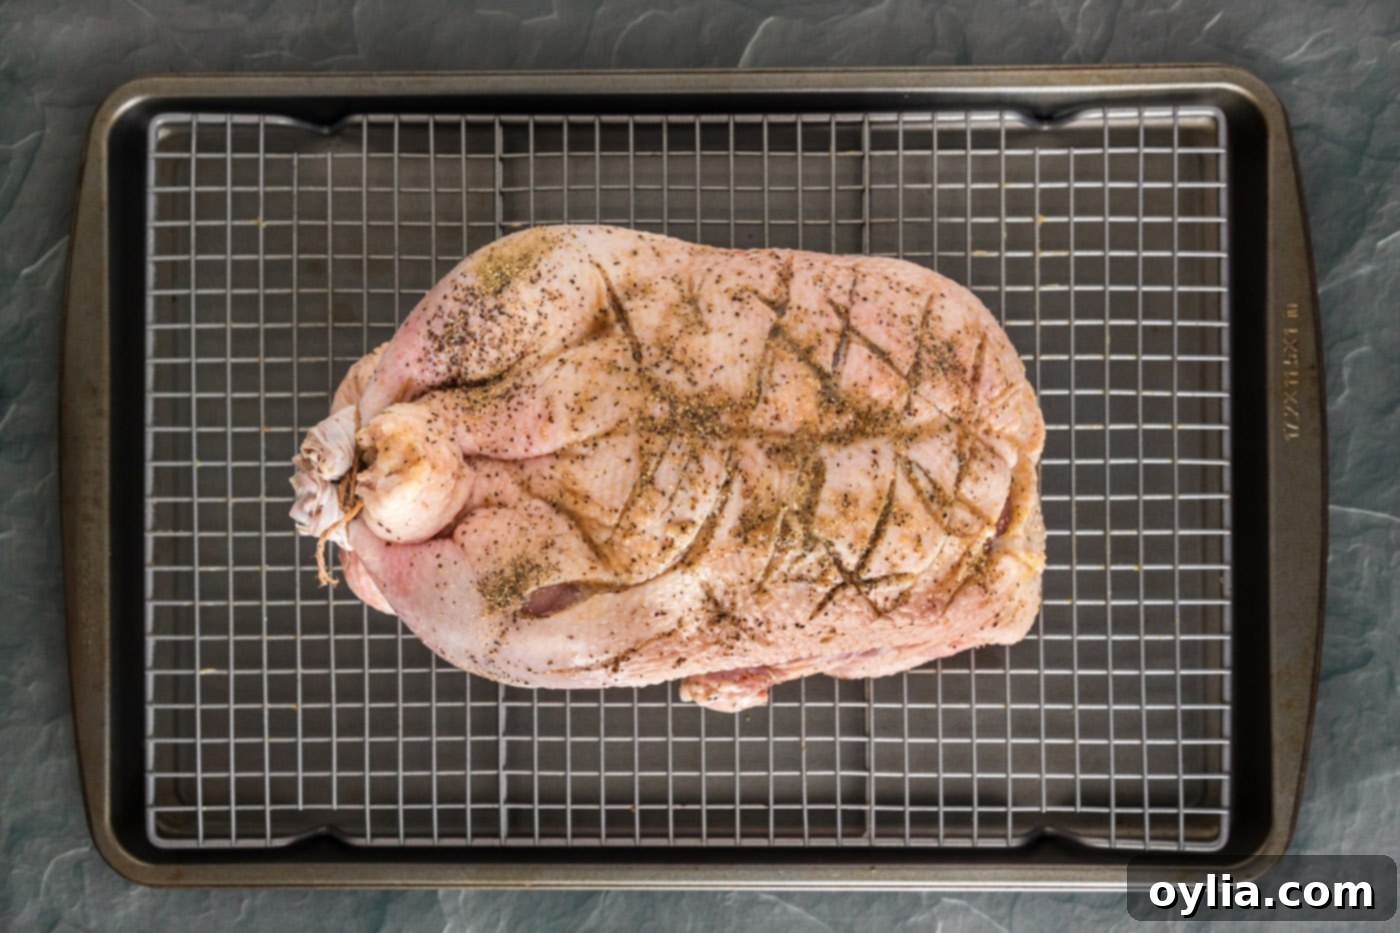
- Initial Slow Roast: Place the duck in the preheated oven. Bake it, breast side up, for one hour. After this initial hour, carefully remove the duck from the oven, flip it over so it’s breast side down, and return it to the oven for another hour. This initial flipping helps render fat from different angles and ensures both the breast and back get a head start on browning and crisping.
- Prepare the Signature Basting Glaze: While the duck is in its second hour of roasting, prepare the glorious basting mixture. In a medium bowl, whisk together the melted butter, sweet honey, fresh mandarin juice (from your extra mandarins), minced garlic, and any remaining garlic salt and pepper from your initial seasoning (if you have any left). Mix until all ingredients are well combined and the glaze is smooth.
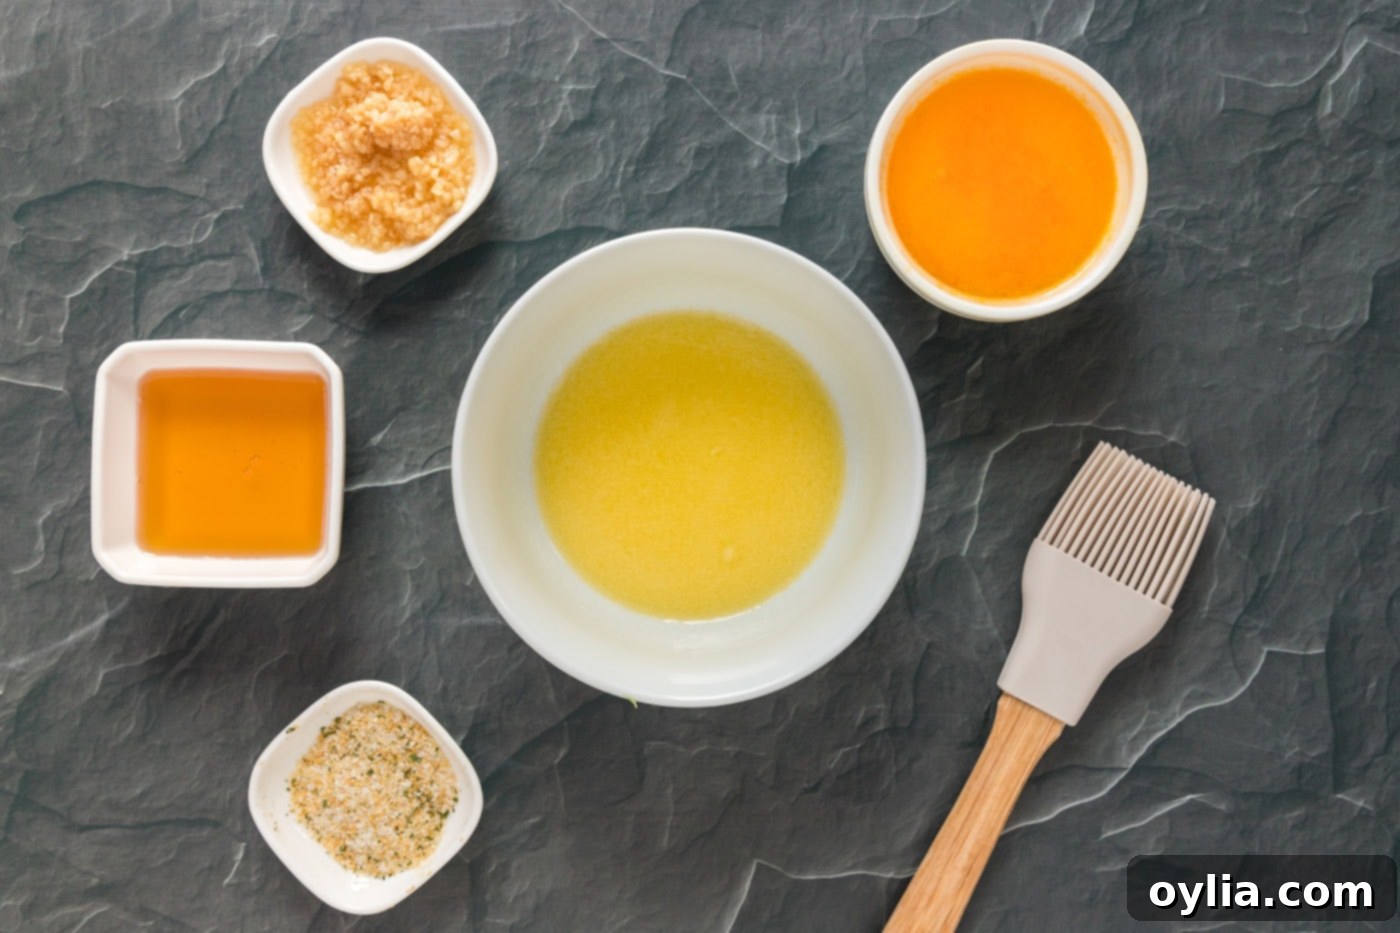
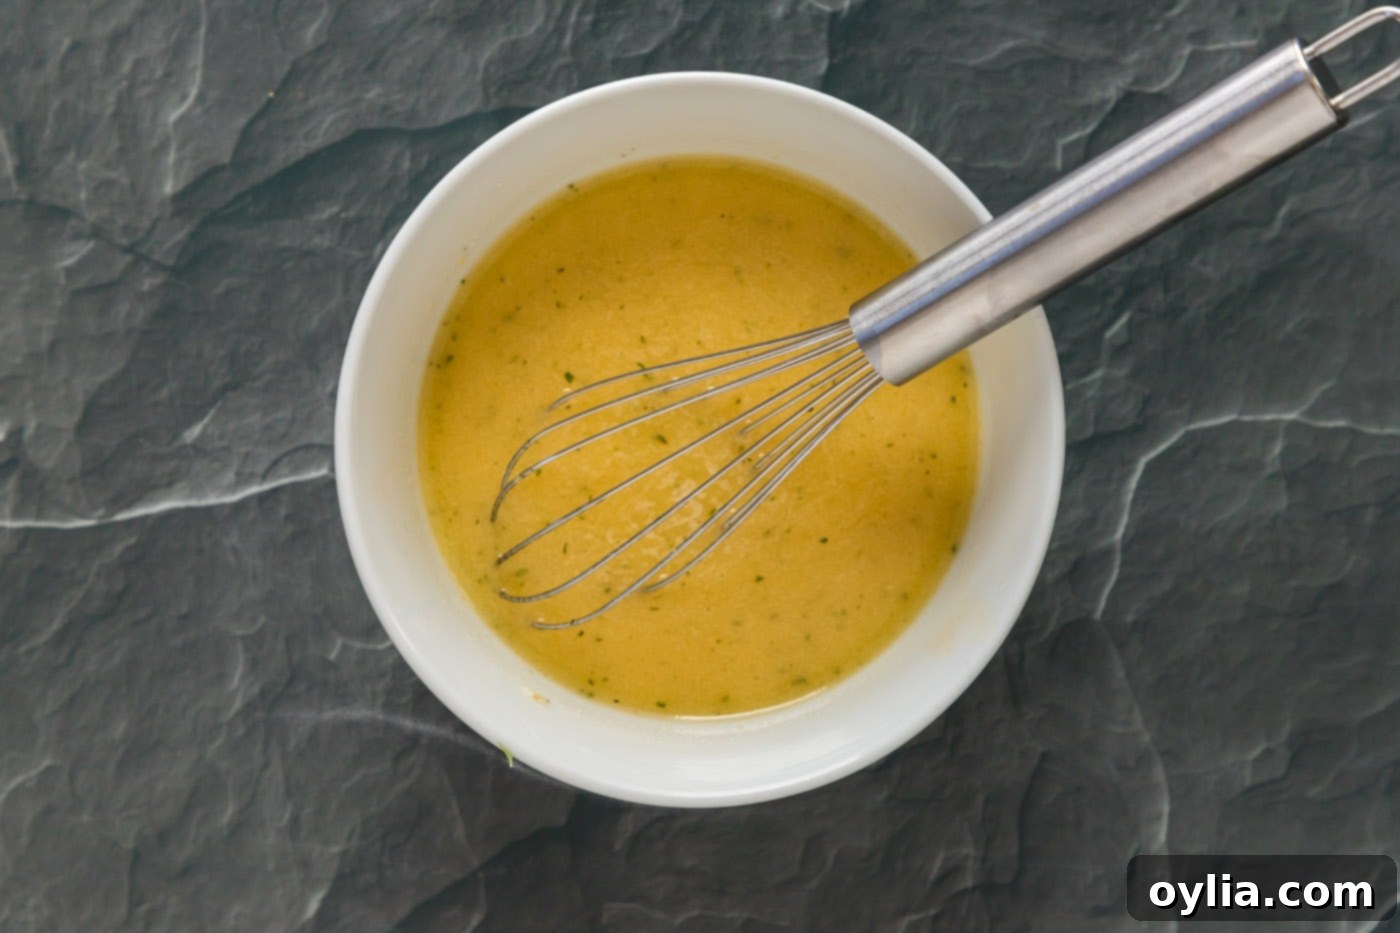
- First Basting Phase (Breast Up): After the second hour of roasting, remove the duck from the oven and carefully flip it back so it is breast side up. Using a pastry brush, generously brush the duck with some of the prepared melted butter mixture. This is where the magic begins – the glaze will start to caramelize and build layers of flavor and crispiness. Return the duck to the oven for another 40 minutes.
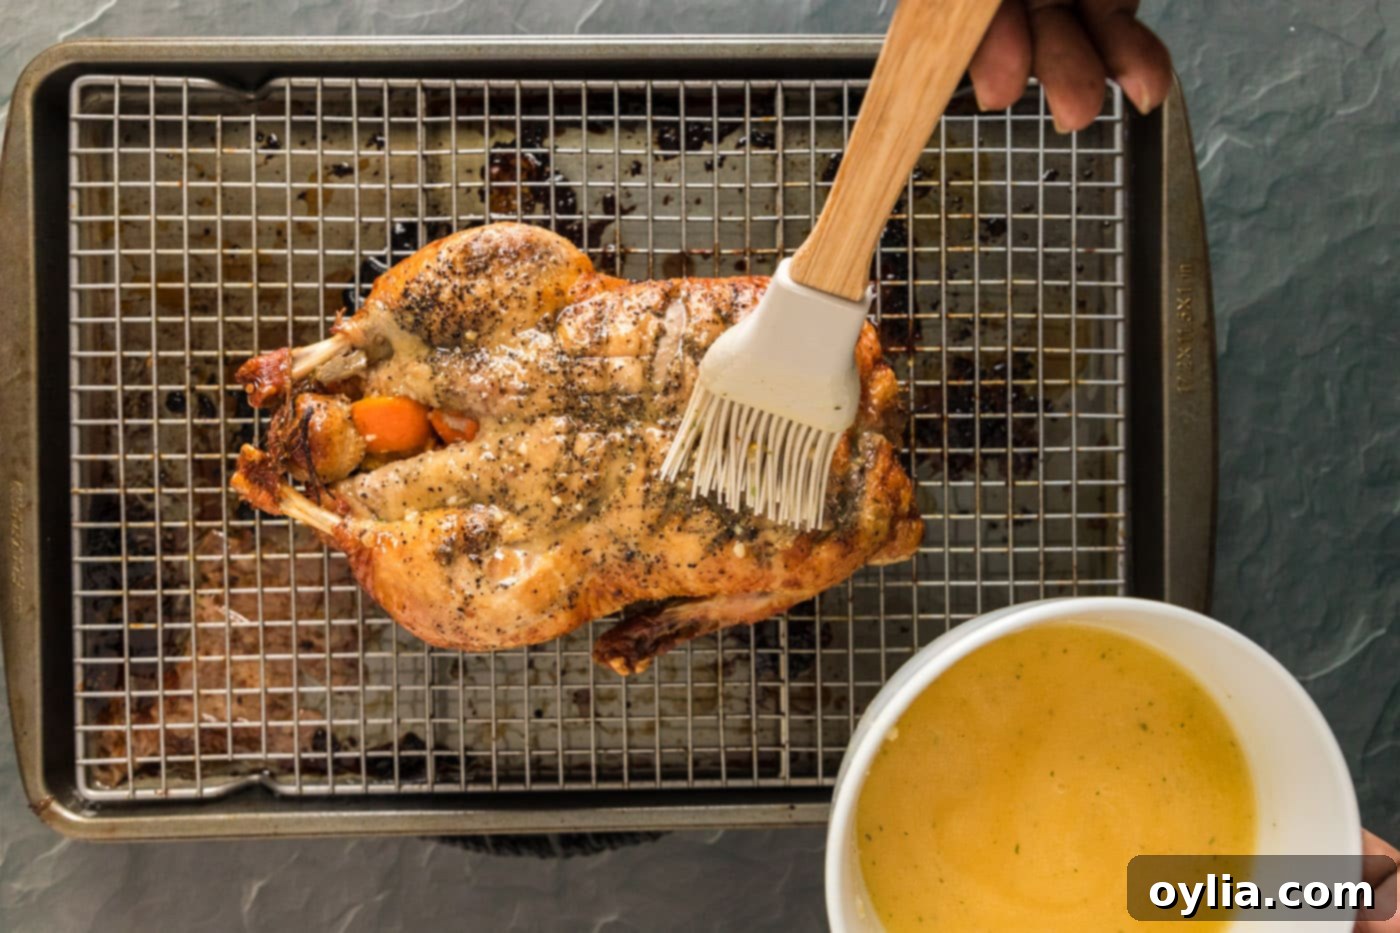
- Second Basting Phase (Breast Down): Remove the duck from the oven once more and flip it over, breast side down this time. Apply another generous brush of the melted butter mixture to the duck. This repeated flipping and basting ensures that every part of the duck receives the glaze and has the opportunity to crisp up beautifully. Return it to the oven for a final 40 minutes. You might notice your kitchen filling with an incredible aroma!
- Rest Before Serving: Once the duck is gloriously golden and crispy, remove it from the oven. This is a critical step often overlooked! Allow the duck to rest on the cutting board for 5-10 minutes before carving and serving. Resting allows the juices to redistribute throughout the meat, ensuring every slice is as tender and succulent as possible.
Frequently Asked Questions & Expert Roasting Tips
Leftover roast duck should be cooled completely and then stored in an airtight container in the refrigerator for up to 2-3 days. To reheat, you can gently warm slices in a skillet or oven, being careful not to dry out the meat. Reheating under the broiler for a minute or two can help re-crisp the skin.
Several factors contribute to ultimate crispy duck skin:
- Pat Dry: Ensure the duck is completely dry, inside and out, with paper towels before seasoning. Moisture creates steam, which prevents crisping.
- Scoring: As detailed in the recipe, scoring the fat allows it to render efficiently.
- Wire Rack: Roasting on a wire rack allows air circulation and lets fat drip away, preventing the skin from getting soggy.
- Slow Rendering: The low and slow roasting process is essential for gradually rendering out the fat beneath the skin.
- High Heat Finish (Optional but Recommended): For an extra crispy finish, you can increase the oven temperature to 400°F (200°C) for the last 15-20 minutes of roasting, after the final basting, keeping a close eye on it to prevent burning.
For safe consumption, duck should reach an internal temperature of 165°F (74°C) when measured in the thickest part of the thigh, without touching the bone. Keep in mind that duck meat, unlike chicken, is often preferred slightly pink, similar to steak. If you prefer it medium-rare, aim for 145-150°F (63-66°C), but be aware of personal preference and food safety guidelines. Always use a reliable meat thermometer.
Do not discard the rendered duck fat! It is a culinary treasure. Carefully pour the hot fat from the baking sheet into a heat-proof jar or container through a fine-mesh sieve (to catch any bits). Once cooled, cover and store it in the refrigerator for months. Use it for roasting potatoes (duck fat roasted potatoes are legendary!), sautéing vegetables, making confit, or even enriching gravies and sauces. It imparts an incredible depth of flavor.
After resting, place the duck on a carving board. First, remove the legs and thighs by cutting through the joint. Then, slice the breast meat off the bone in long, even slices. The wings can be removed as well. Serve the carved meat with portions of crispy skin and the flavorful stuffing from the cavity.
Elevate Your Meal: Perfect Pairings for Roast Duck
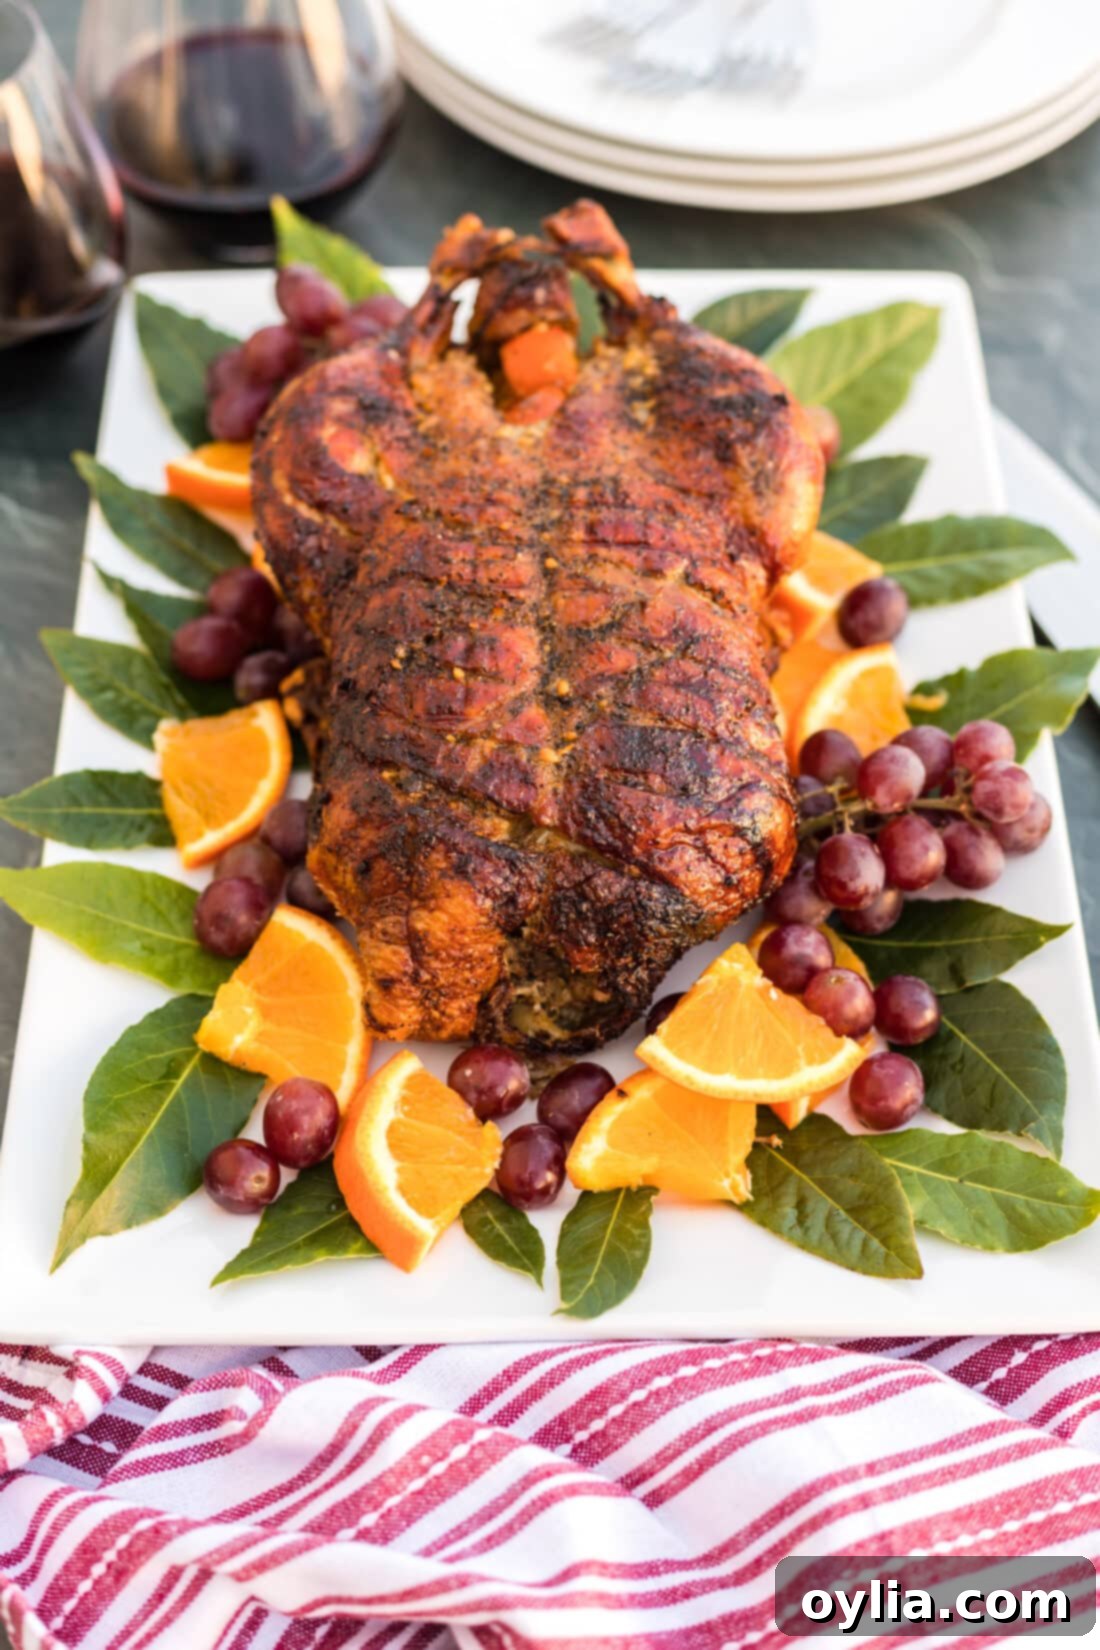
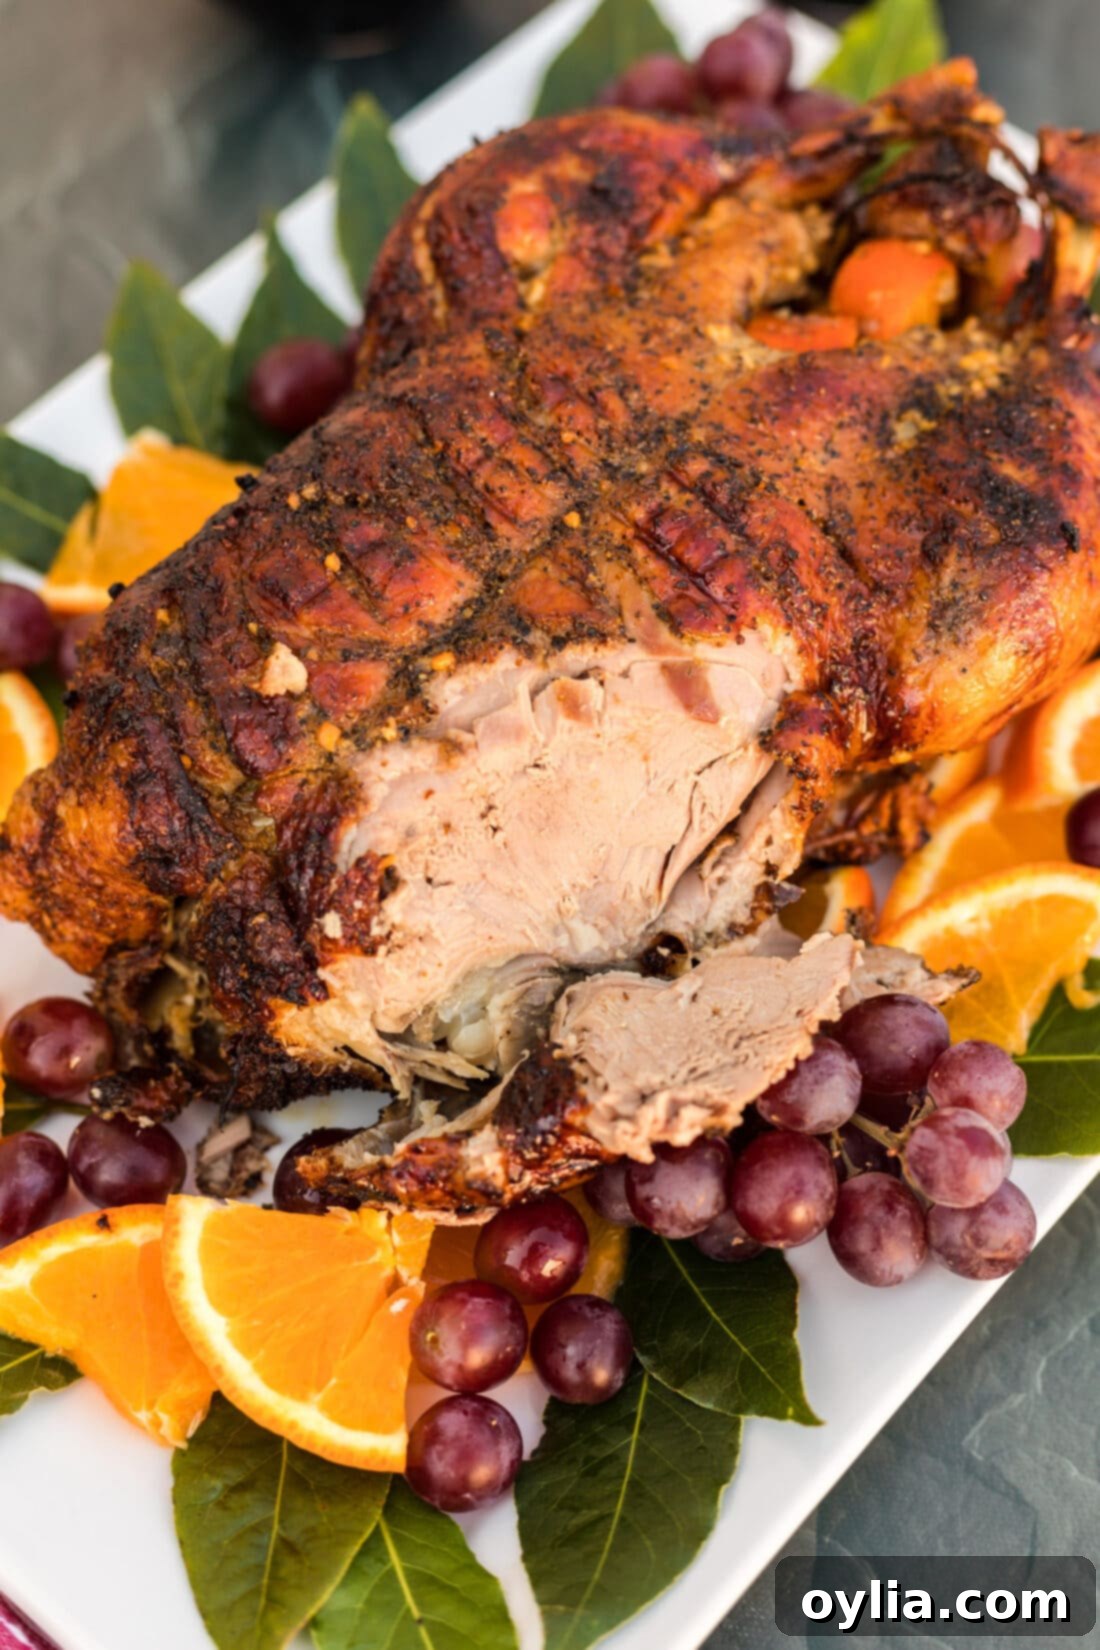
A beautifully roasted duck is a feast for the eyes as much as the palate. For an unforgettable presentation, serve your golden-brown duck on a large platter, generously garnished with fresh mandarin orange slices and vibrant clusters of red or green grapes. The bright colors and fresh fruit provide a wonderful contrast to the rich, savory duck.
When it comes to side dishes, roast duck is incredibly versatile. It pairs exceptionally well with a variety of classic accompaniments that complement its rich flavor profile:
- Potatoes: Think beyond basic mashed potatoes. Consider creamy potato gratin, crispy roasted new potatoes (especially if roasted in duck fat!), or even a wild rice and potato pilaf.
- Green Vegetables: Fresh, crisp vegetables provide a refreshing balance. Steamed or roasted asparagus, tender green beans almondine, or sautéed Brussels sprouts are all excellent choices.
- Roasted Root Vegetables: Carrots, parsnips, and sweet potatoes, particularly when glazed like our glazed carrots, roast beautifully alongside duck and absorb its delicious rendered fat.
- Grain Dishes: A hearty wild rice pilaf or a quinoa salad with dried cranberries and pecans can add texture and additional flavors.
- Sauces: While the basting glaze provides ample flavor, a side of cherry sauce, plum sauce, or even a simple pan gravy made from the duck drippings can further enhance the experience.
For wine pairings, consider a Pinot Noir, which offers fruity notes that complement the duck without overpowering it, or a dry Riesling to cut through the richness with its acidity. Whatever you choose, this roast duck is sure to be the star of your dining table.
More Delightful Roast Recipes to Explore
If you loved the experience of roasting duck, you’ll surely enjoy exploring these other fantastic roast recipes that bring comforting flavors and impressive results to your kitchen:
- Roasted Chicken: A classic comfort food, perfectly seasoned and roasted until golden and juicy.
- Roasted Turkey: Ideal for larger gatherings, this recipe delivers a succulent and flavorful holiday bird.
- Orange Bourbon Glazed Ham: A sweet and savory ham, perfect for any festive occasion or family dinner.
- Slow Roasted Sticky Chicken: Tender chicken pieces with a delicious, sticky glaze, roasted alongside flavorful vegetables.
I love to bake and cook and share my kitchen experience with all of you! Remembering to come back each day can be tough, that’s why I offer a convenient newsletter every time a new recipe posts. Simply subscribe and start receiving your free daily recipes!
Roast Duck with Mandarin Honey Glaze
IMPORTANT – There are often Frequently Asked Questions within the blog post that you may find helpful. Simply scroll back up to read them!
Print It
Pin It
Rate It
Save ItSaved!
Ingredients
- 5 ¼ pound whole duck
- 1 Tablespoon garlic salt
- ½ Tablespoon black pepper
- 6 mandarin oranges quartered, for stuffing. Plus extra for juice and garnish.
- 5 cloves garlic whole, peeled
- 4 Tablespoons unsalted butter melted
- 3 Tablespoons honey
- ½ cup mandarin juice freshly squeezed from about 2-3 mandarins
- 1 Tablespoon minced garlic
Things You’ll Need
-
Wire roasting rack
-
Large baking sheet
-
Pastry brush
-
Butcher’s twine
-
Meat thermometer (optional, but recommended)
Chef’s Notes & Expert Tips
- The duck will render quite a bit of fat during cooking. This is normal and desirable for crispy skin. If the baking sheet fills up, carefully drain off the excess fat halfway through cooking. This rendered duck fat is excellent for roasting potatoes or vegetables later – don’t throw it away!
- The reason for flipping the duck periodically (breast up, then breast down) is to mimic the even cooking and fat rendering process of a rotisserie, ensuring all sides get exposure to heat and crisp up beautifully.
- For maximum crispiness, ensure the duck is thoroughly patted dry with paper towels before seasoning and scoring. Moisture is the enemy of crispy skin!
- Always allow the duck to rest for 5-10 minutes after roasting before carving. This allows the juices to redistribute, ensuring more tender and succulent meat.
- Store leftover roast duck in an air-tight container in the refrigerator for up to 2 days.
Instructions
-
Preheat oven to 350°F (175°C). Place a wire rack inside a baking sheet.
-
Remove any giblets from the duck cavity and pat the duck completely dry with paper towels.
-
With breast side up, carefully score the skin in a diamond pattern, avoiding cutting into the meat.
-
Season the duck skin generously with garlic salt and pepper.
-
Stuff the cavity with quartered mandarin oranges and whole garlic cloves.
-
Use butcher’s twine to tie the duck legs together.
-
Place the duck breast side up on the wire rack within the baking sheet.
-
Bake for 1 hour (breast side up). Remove, flip breast side down, and bake for another 1 hour.
-
In a medium bowl, whisk together melted butter, honey, mandarin juice, minced garlic, and any remaining seasoning.
-
Remove duck from oven, flip breast side up. Brush generously with the butter mixture. Return to oven for 40 minutes.
-
Remove duck from oven, flip breast side down. Brush with more of the butter mixture. Return to oven for a final 40 minutes.
-
Remove from oven and allow to rest 5-10 minutes before carving and serving.
Nutrition Information (Estimated Per Serving)
The recipes on this blog are tested with a conventional gas oven and gas stovetop. It’s important to note that some ovens, especially as they age, can cook and bake inconsistently. Using an inexpensive oven thermometer can assure you that your oven is truly heating to the proper temperature. If you use a toaster oven or countertop oven, please keep in mind that they may not distribute heat the same as a conventional full sized oven and you may need to adjust your cooking/baking times. In the case of recipes made with a pressure cooker, air fryer, slow cooker, or other appliance, a link to the appliances we use is listed within each respective recipe. For baking recipes where measurements are given by weight, please note that results may not be the same if cups are used instead, and we can’t guarantee success with that method.
