The Ultimate Cast Iron Rhubarb Crisp Recipe: Sweet, Tart & Perfectly Crunchy
Embrace the vibrant flavors of spring with this incredible rhubarb crisp recipe baked in a cast iron skillet. This dessert offers a delightful balance of tart and sweet, crowned with a golden, crunchy oat topping that’s simply irresistible. Beyond its mouthwatering taste, what truly makes this recipe a winner is its remarkable simplicity and the rustic charm it gains from being cooked in a cast iron skillet. Perfect for family gatherings, seasonal celebrations, or a cozy night in, this easy-to-follow recipe promises a dessert that’s both comforting and spectacular.
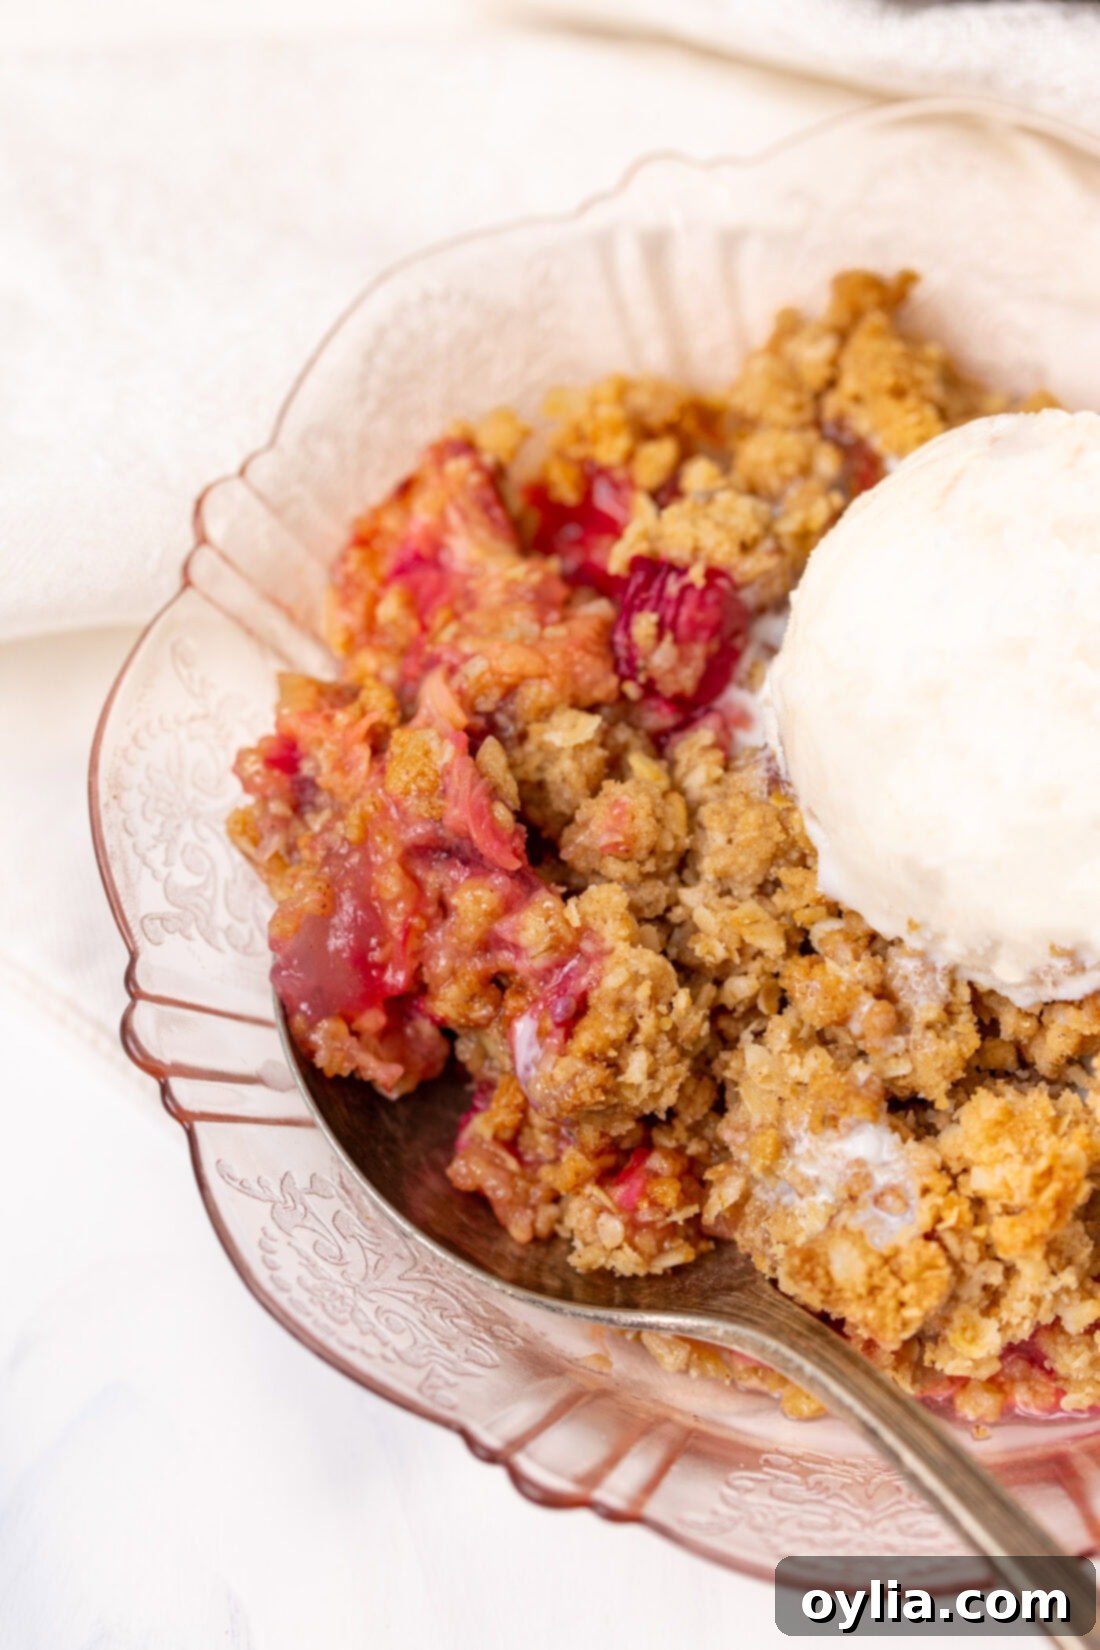
Why This Cast Iron Rhubarb Crisp Recipe Works
While many fruit crumbles and crisps hold a special place in our hearts, this particular rhubarb crisp stands out for several compelling reasons. Unlike recipes that often mix rhubarb with strawberries or other fruits to temper its tartness, this old-fashioned crisp boldly puts rhubarb in the spotlight. This allows the unique, vibrant flavor of rhubarb to truly shine, delivering a pure and authentic taste experience.
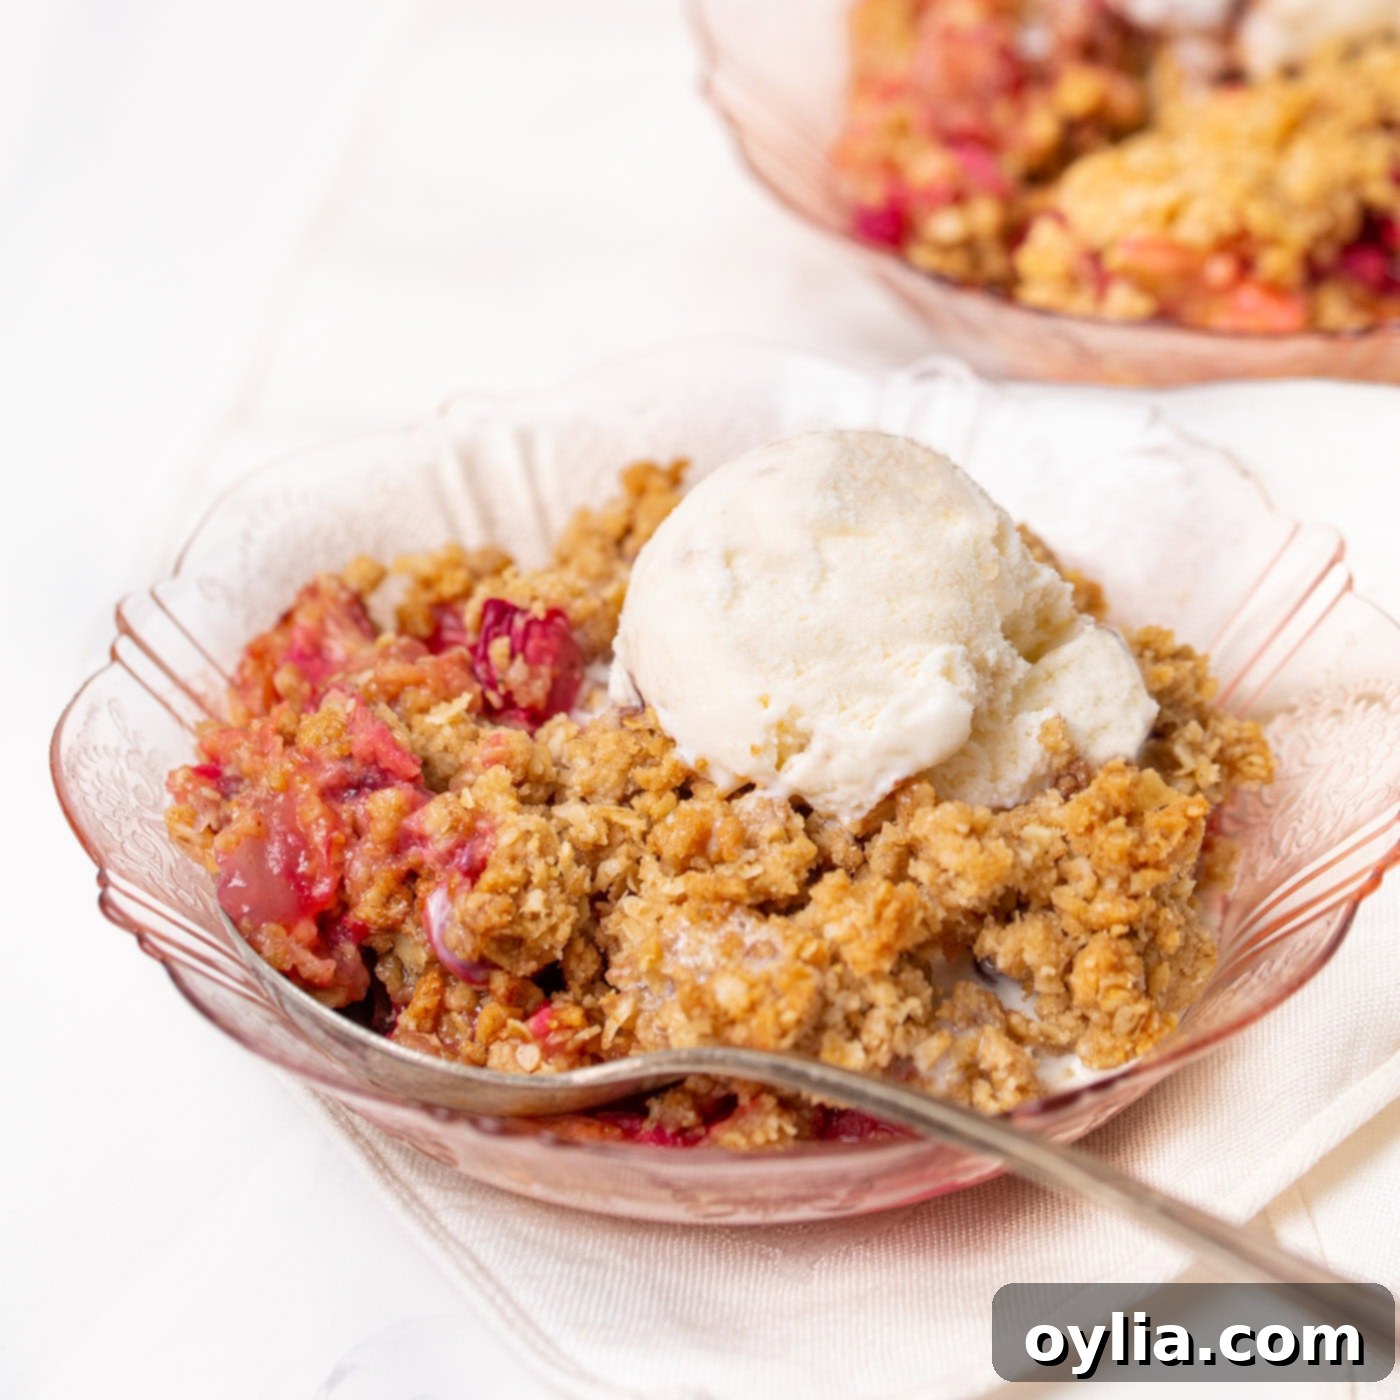
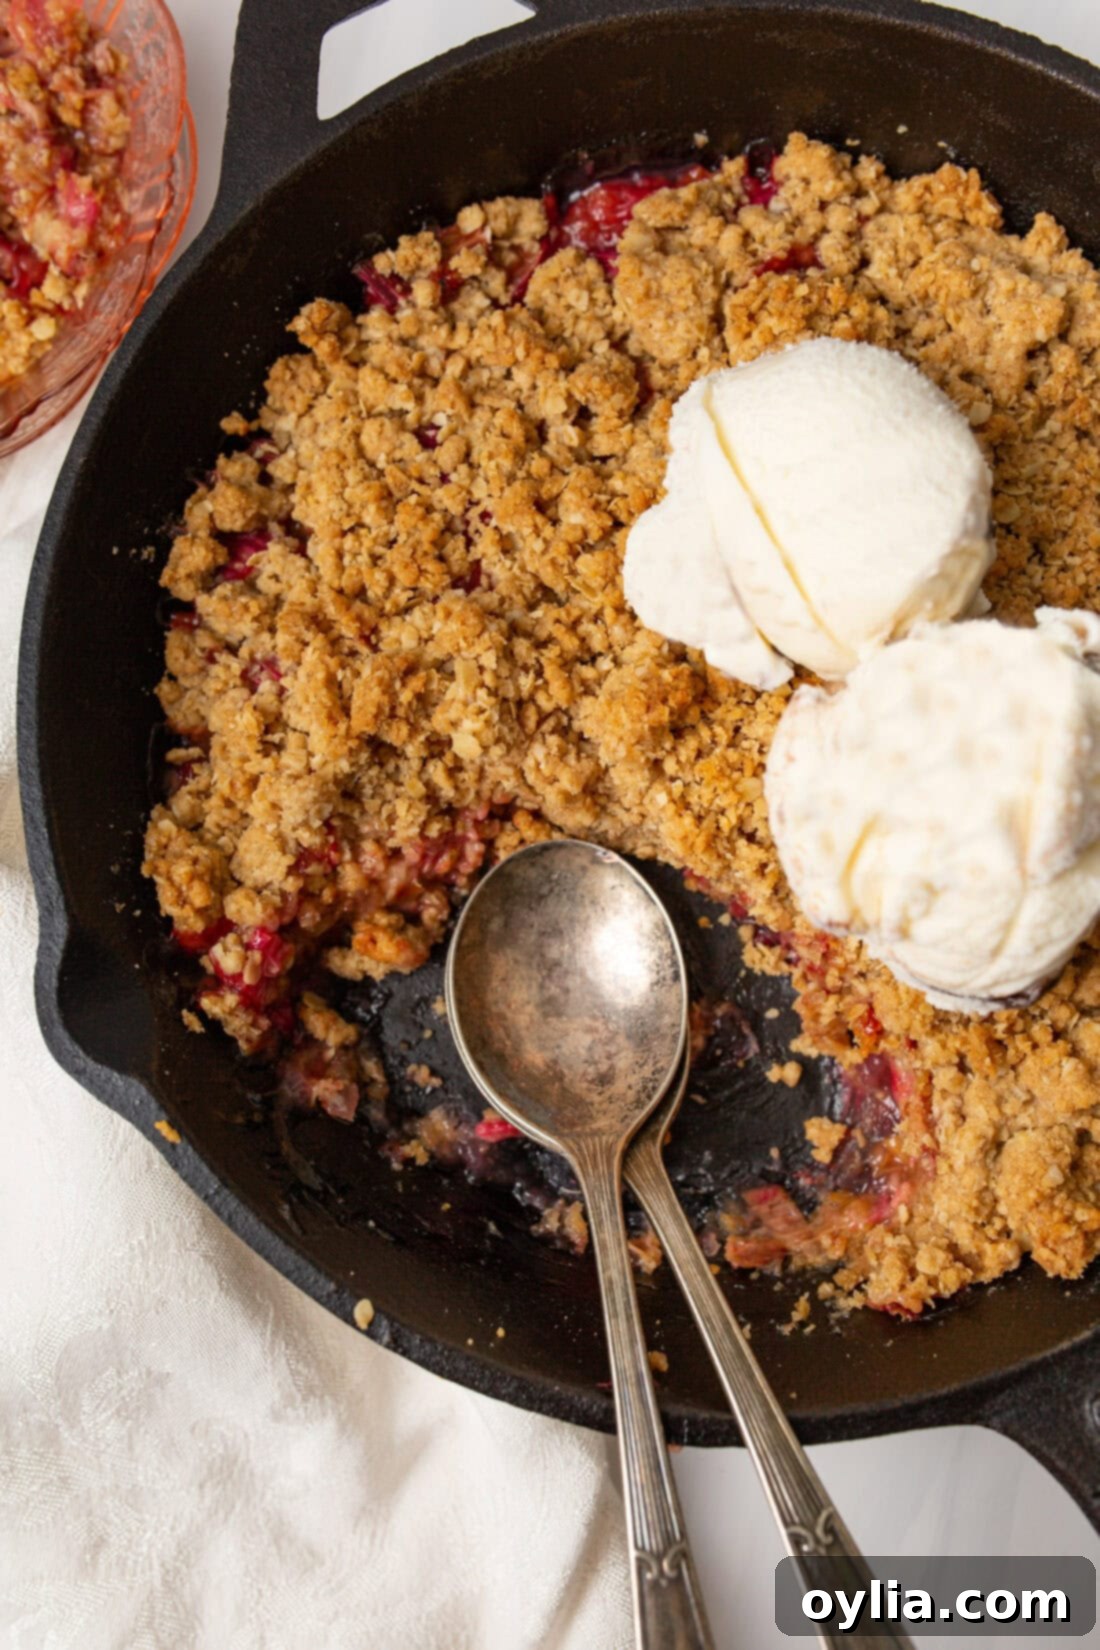
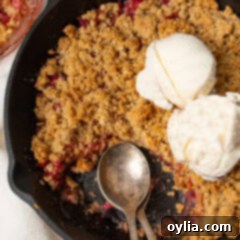
The magic happens when the tangy, tender rhubarb filling meets a golden, buttery oat topping. The contrast of the soft, slightly jammy fruit base with the irresistible crunch of the crisp topping creates a textural symphony that is incredibly satisfying. And when served warm with a melting scoop of creamy vanilla ice cream, it transcends into a truly heavenly dessert. The natural tartness of the rhubarb is perfectly balanced by the sweetness of the topping and ice cream, making every bite an exciting dance of flavors. Cooking it in a cast iron skillet not only ensures even baking and a beautifully caramelized bottom but also adds a rustic, comforting aesthetic that makes it ideal for serving directly from oven to table. This combination of simple ingredients, straightforward method, and robust flavor profile makes this cast iron rhubarb crisp a guaranteed family favorite that you’ll want to make again and again.
Key Ingredients for Homemade Rhubarb Crisp
Crafting the perfect rhubarb crisp requires a handful of simple, wholesome ingredients that work together to create a harmonious blend of flavors and textures. From the star of the show, fresh rhubarb, to the buttery, crunchy topping, each component plays a vital role. You’ll find all exact measurements, a complete list of ingredients, and detailed instructions in the printable recipe card located at the end of this post.
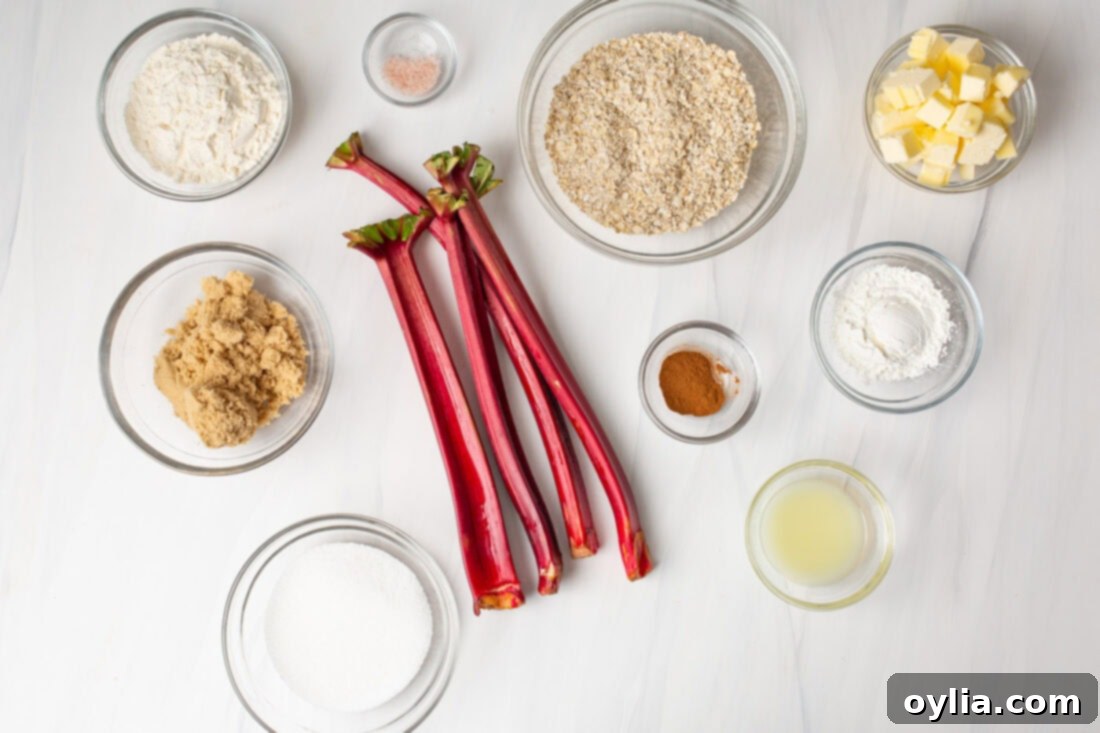
Ingredient Spotlight & Smart Substitutions
Understanding each ingredient’s role can elevate your baking experience and help you make smart substitutions when needed:
- RHUBARB: The Tart Star
Rhubarb is typically available in grocery stores for much of the year, but its peak season, when it’s at its freshest and most flavorful, runs from April through June. When selecting rhubarb, look for firm, crisp stalks with a vibrant red or pink hue. Avoid any stalks that appear limp, mushy, or have brown or discolored spots. Remember, only the stalks are edible; the leaves are poisonous and should always be discarded. If fresh rhubarb isn’t readily available, frozen rhubarb is an excellent alternative. You can use it directly from the freezer, though you might need to extend the baking time slightly, or thaw it and incorporate any juices into your filling for extra flavor.
- FILLING BOOSTERS: Lemon Juice, Sugar, and Cornstarch
- Lemon Juice: A splash of fresh lemon juice brightens the rhubarb’s flavor and helps to prevent it from tasting flat. It also adds a subtle aromatic note.
- Granulated Sugar: This is crucial for balancing rhubarb’s intense tartness. You can adjust the amount slightly based on your personal preference and the tartness of your rhubarb.
- Cornstarch: Acts as a thickening agent, ensuring your rhubarb filling is perfectly tender and luscious, not watery. If you don’t have cornstarch, all-purpose flour can be used as a substitute, but cornstarch generally provides a clearer, glossier finish.
- CRUNCHY TOPPING: Oats, Flour, Brown Sugar, Cinnamon, Salt, and Butter
The crisp topping is what truly makes this dessert shine, providing that irresistible texture contrast. It’s a simple combination of dry and wet ingredients:
- Instant Oats: While old-fashioned rolled oats can also be used, instant oats tend to create a slightly finer, crispier texture in the topping. They provide a lovely nutty flavor and structural integrity to the crumble.
- All-Purpose Flour: Binds the topping ingredients together, creating that classic crumble texture.
- Brown Sugar: Adds a deeper, more molasses-like sweetness and helps create a lovely caramelization as the crisp bakes. Light or dark brown sugar will work.
- Ground Cinnamon: A touch of cinnamon complements the rhubarb beautifully, adding warmth and a hint of spice. You could also experiment with a pinch of nutmeg or cardamom for a different twist.
- Salt: A small amount of salt enhances all the other flavors, preventing the crisp from tasting overly sweet.
- Cold Cubed Butter: Key to a truly crumbly topping! Using cold butter and blending it into the dry ingredients by hand (or with a pastry cutter) ensures that pockets of butter remain. As these pockets melt during baking, they create steam, resulting in a perfectly tender yet crisp topping. Avoid using melted butter, as it will lead to a dense, cookie-like crust rather than a light, crumbly one.
Step-by-Step Guide: How to Make Rhubarb Crisp in a Cast Iron Skillet
These step-by-step photos and detailed instructions are here to help you visualize how to make this recipe perfectly. For a quick overview or the printable version with all measurements and instructions, you can Jump to Recipe at the bottom of this page.
- Prepare Your Oven: Begin by preheating your oven to 350°F (175°C). This ensures the oven is at the correct temperature when your crisp goes in, leading to even baking and a perfectly golden topping.
- Craft the Rhubarb Filling:
- First, thoroughly clean your rhubarb stalks and chop them into uniform 1-inch by 1/2-inch pieces. Consistency in size helps them cook evenly.
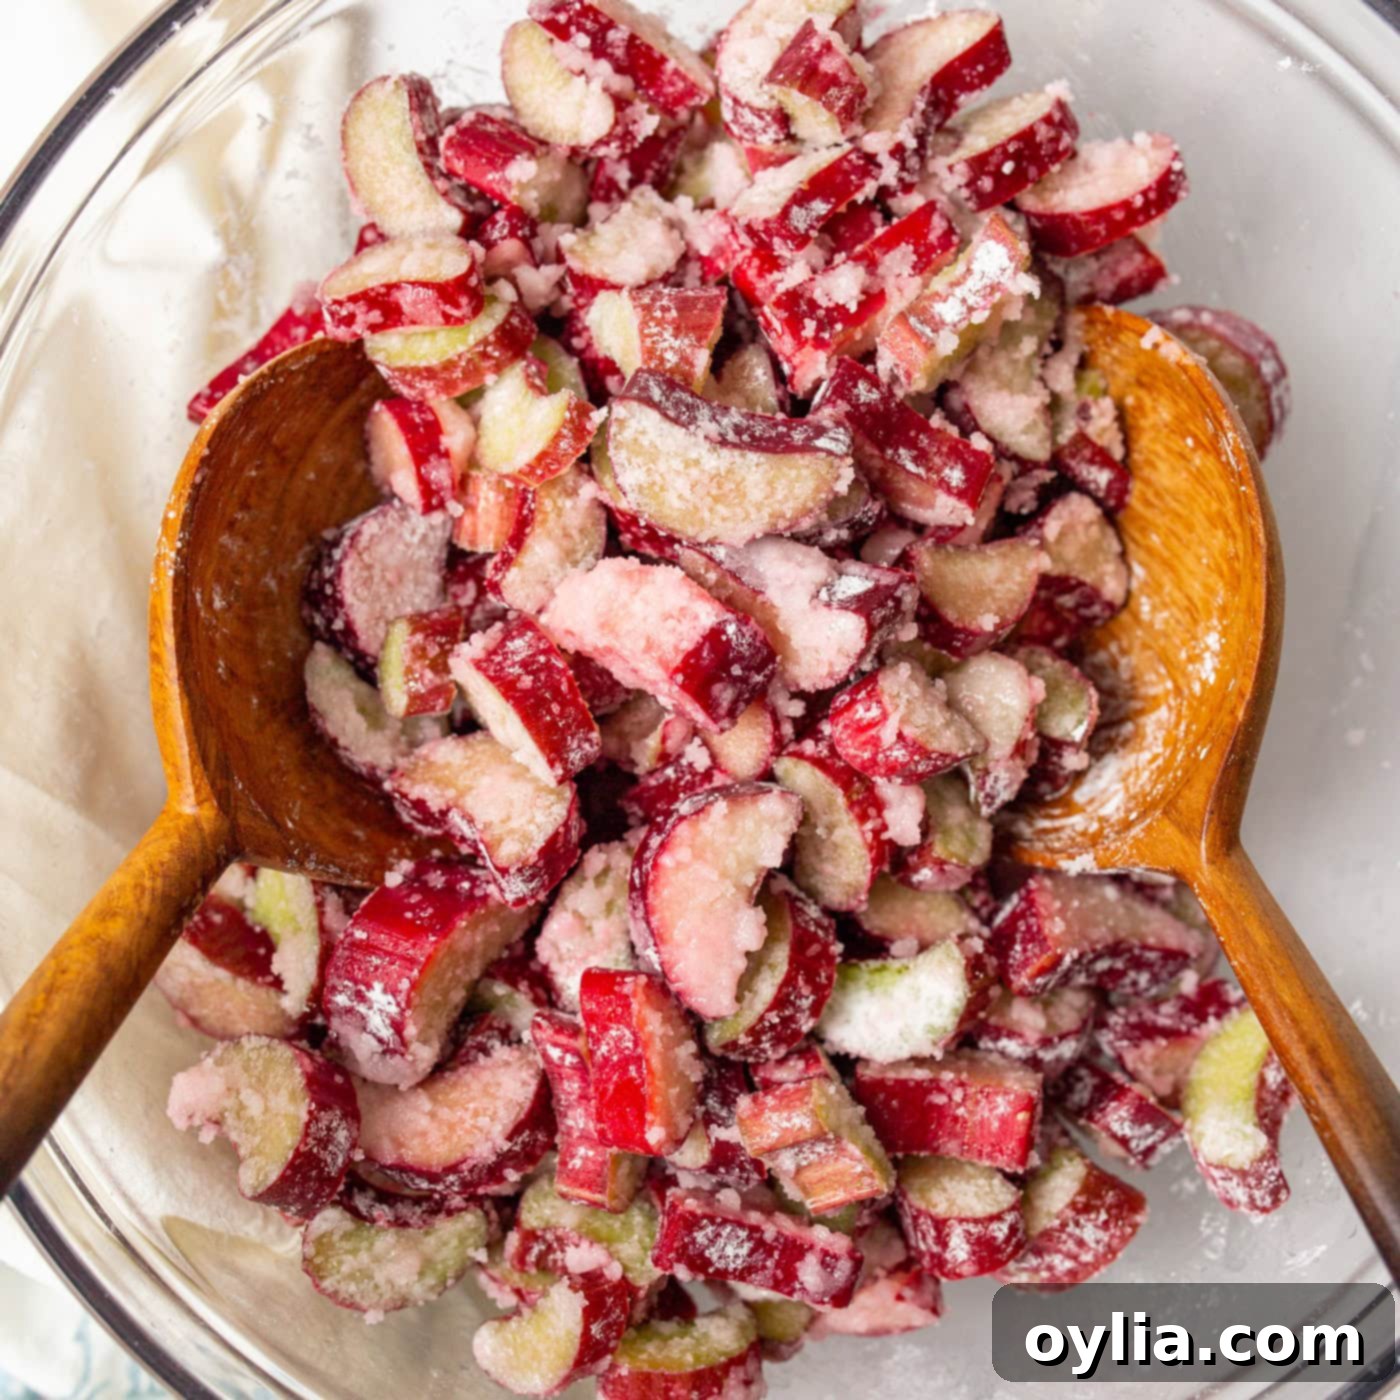
- Transfer the chopped rhubarb to a large mixing bowl. Add the lemon juice, granulated sugar, and cornstarch.
- Toss everything together until the rhubarb pieces are thoroughly coated. The cornstarch will help thicken the juices released during baking, and the sugar will balance the tartness.
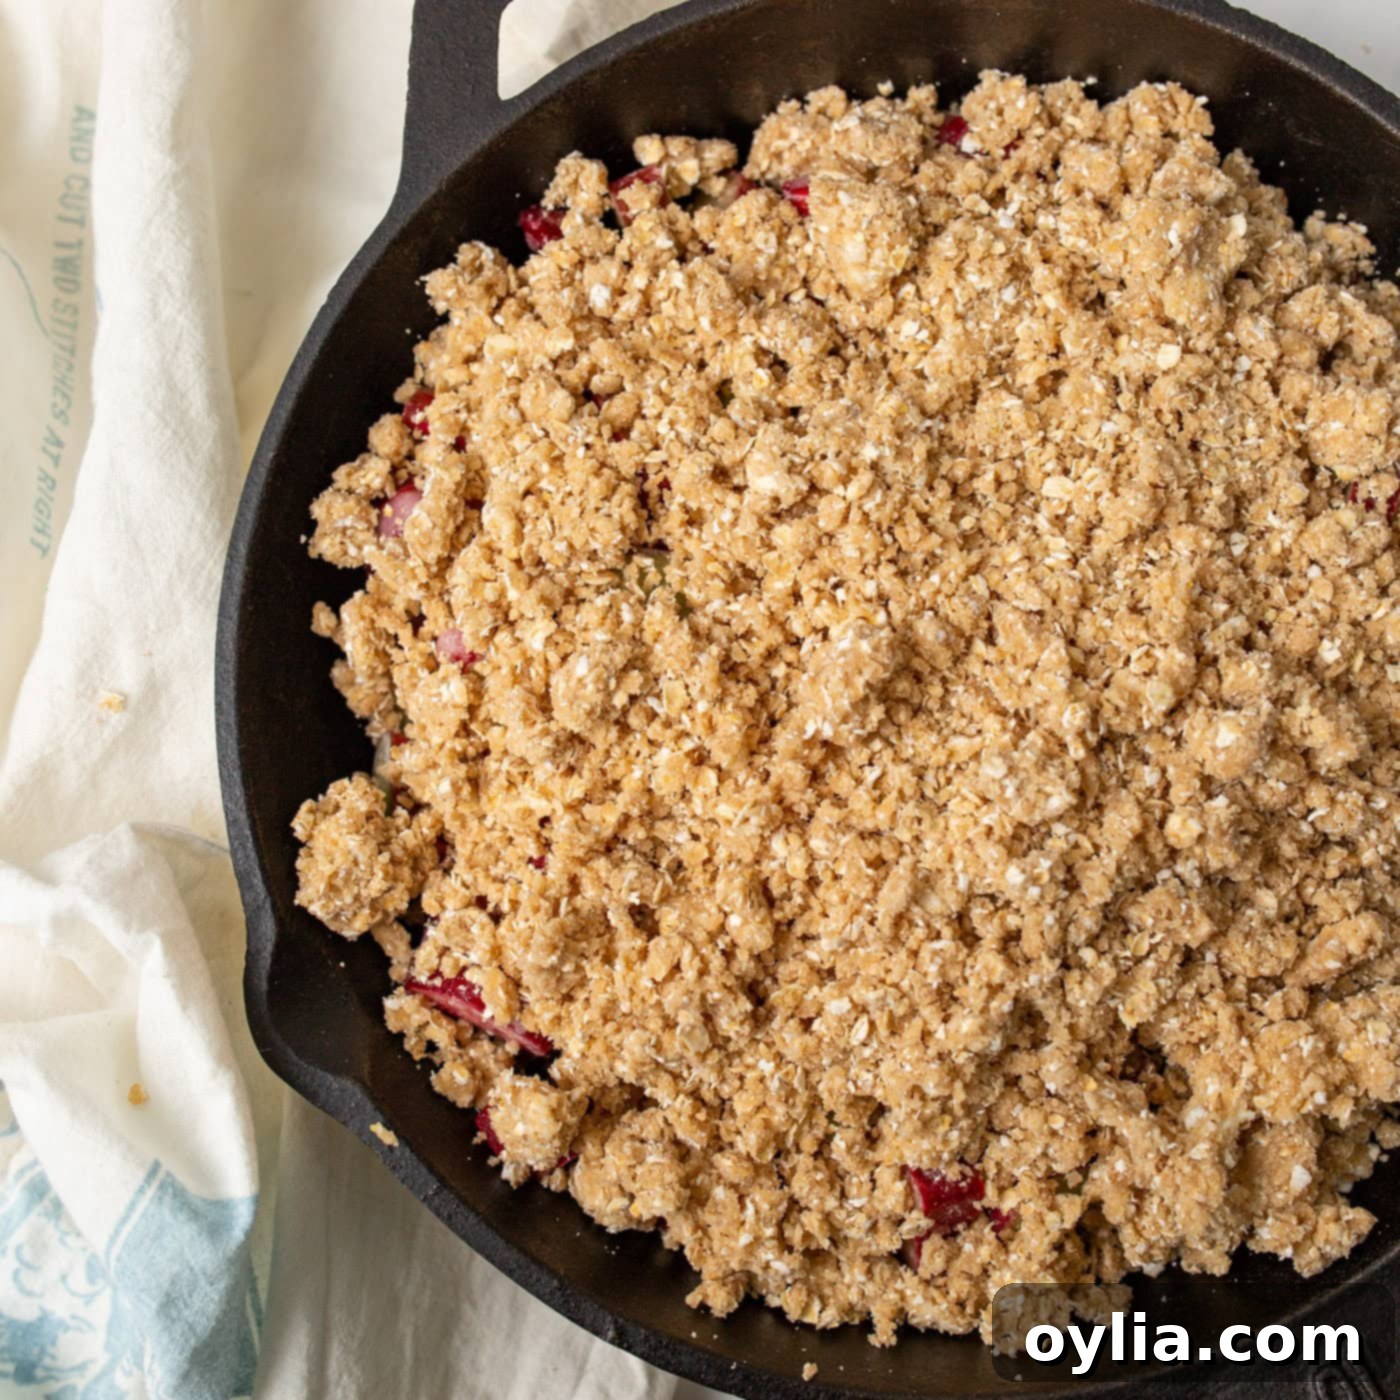
- Carefully pour the coated rhubarb mixture into a 10-inch cast iron skillet. Spread it evenly across the bottom. The cast iron skillet is excellent for heat retention and provides a beautiful rustic presentation.

- Prepare the Irresistible Crisp Topping:
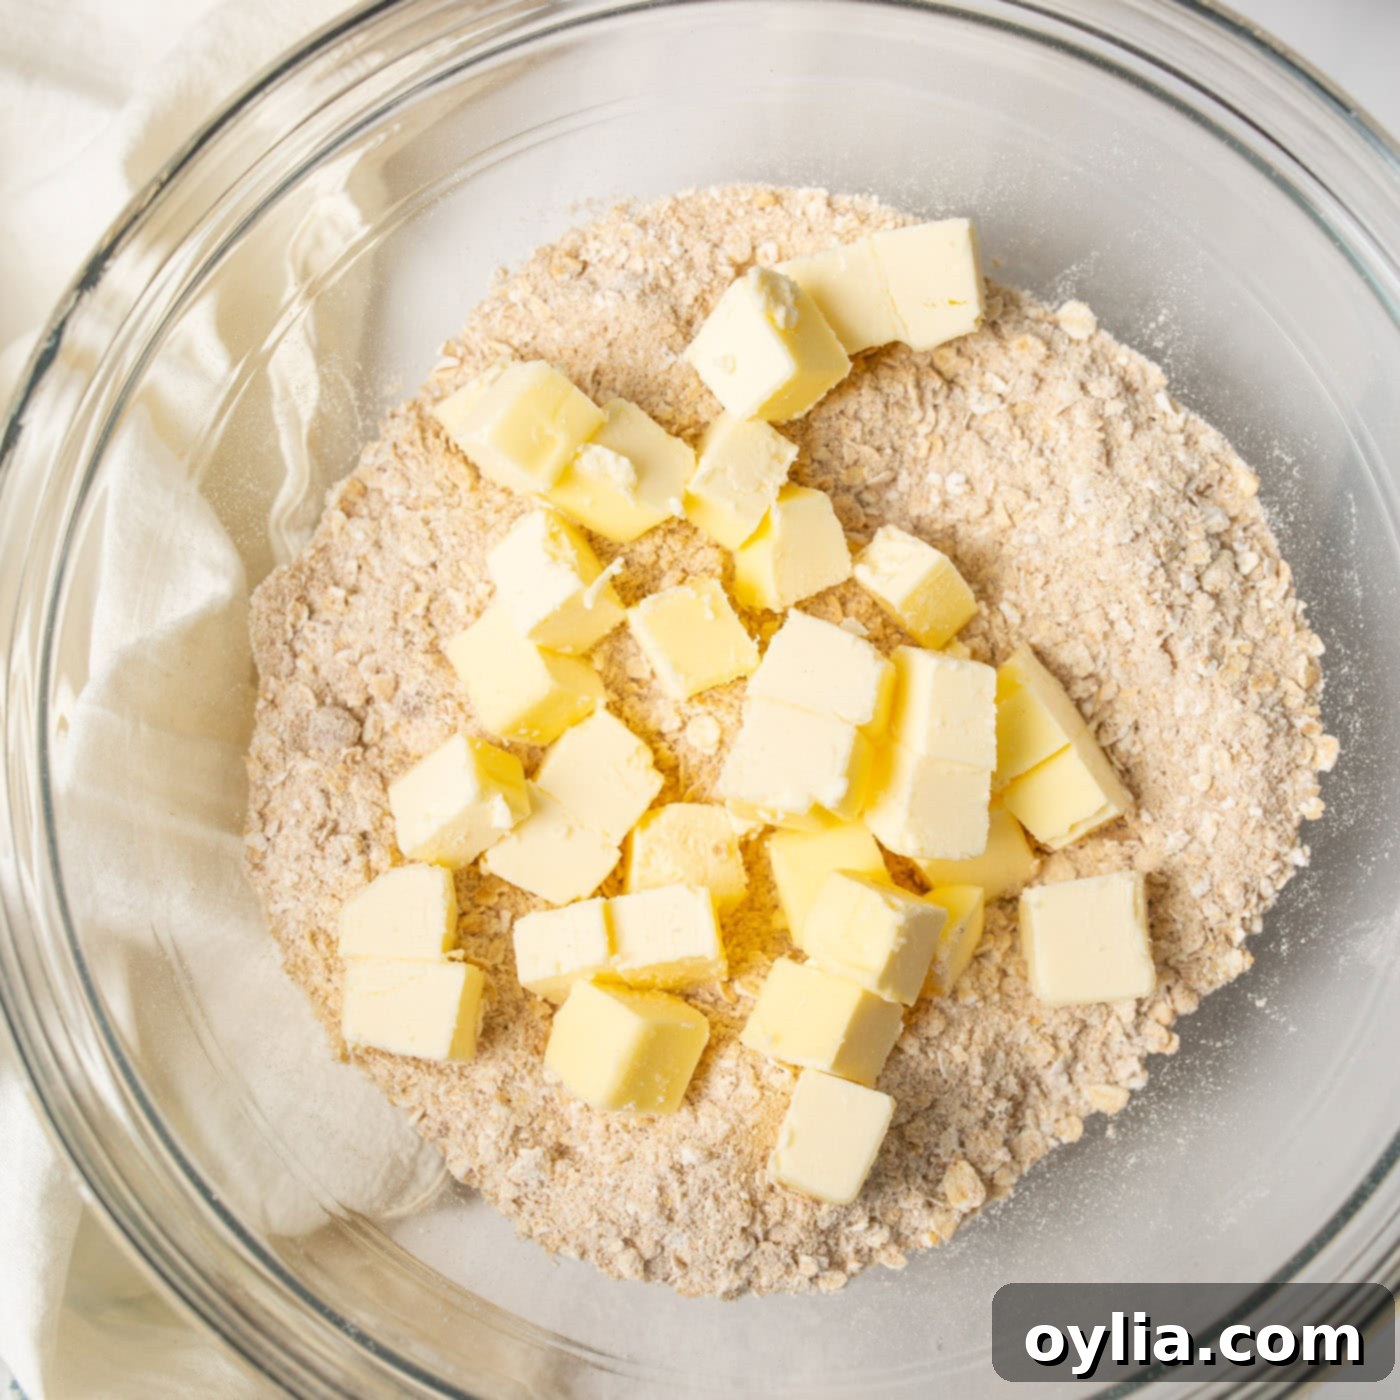
- In a separate large bowl, combine the dry topping ingredients: instant oats, all-purpose flour, brown sugar, ground cinnamon, and salt. Whisk them together until well combined.
- Add the cold, cubed butter to the dry mixture. Using your fingertips or a pastry cutter, work the butter into the dry ingredients until the mixture resembles coarse crumbs, with some pea-sized pieces of butter remaining. Avoid overmixing, as you want pockets of butter for flakiness. The butter should be fully incorporated but not melted into a paste.
- Evenly sprinkle this crumbly topping over the unbaked rhubarb mixture in the cast iron skillet.

- Bake to Golden Perfection:
- Place the skillet in your preheated oven and bake for approximately 40 minutes. The crisp is ready when the topping is golden brown and the rhubarb filling is bubbling around the edges, indicating it’s tender and cooked through.
- Once baked, remove the skillet from the oven and allow it to cool for at least 10 minutes. This cooling period allows the filling to set slightly, preventing it from being too runny.
- Serve warm, either directly from the skillet for a charming presentation or scoop into individual dishes. A generous dollop of vanilla ice cream is the classic accompaniment, creating a sublime hot-and-cold contrast.

Frequently Asked Questions & Expert Tips for Rhubarb Crisp
Absolutely! Frozen rhubarb works wonderfully in crisp recipes. You have a couple of options: you can thaw the rhubarb completely, making sure to collect any juices that are released during thawing. Incorporate these flavorful juices along with the rhubarb into your filling mixture. Alternatively, you can bake the frozen rhubarb directly from the freezer. If you choose this method, be aware that you might need to increase the baking time by an additional 10-15 minutes, or until the rhubarb is tender and the filling is bubbling thickly. Adjusting the baking time ensures your crisp is perfectly cooked through.
While this recipe highlights the pure flavor of rhubarb, it’s incredibly versatile! You can easily enhance it by adding other fruits. Popular choices include blueberries, strawberries, raspberries, blackberries, or even tart apples. For best results, aim for a 1/2 and 1/2 ratio of rhubarb to your chosen additional fruit. If you’re mixing more than two ingredients, a 1/3 ratio for each fruit/vegetable works well. This ensures a balanced flavor profile where no single ingredient overpowers the others, and you still get to appreciate the rhubarb’s unique tang.
Yes, you can definitely do some prep work in advance! The crisp topping can be made ahead of time and stored in an airtight container in the freezer for up to 2-3 months. This is a great time-saver! Similarly, chopped rhubarb can be frozen for up to a year, making it easy to enjoy this seasonal treat year-round. However, for the best texture and freshness, I highly recommend assembling and baking the entire crisp on the same day you plan to serve it. This prevents the topping from becoming soggy and ensures the rhubarb filling is perfectly tender and juicy.
To keep your rhubarb crisp fresh, allow it to cool completely after baking. Then, cover it tightly with plastic wrap or transfer it to an airtight container. Store the crisp in the refrigerator, where it will remain delicious for 2-3 days. Reheat individual portions gently in the microwave or oven for a warm, comforting treat.
Selecting quality rhubarb is paramount for a delicious crisp. Look for firm, crisp stalks that show no signs of mushiness, wilting, or unsightly speckled spots. While some people believe redder stalks are sweeter, the color actually depends on the variety; freshness and firmness are the key indicators of quality. Always remember to discard the leaves, as they contain oxalic acid and are poisonous to both humans and pets. Garden-fresh rhubarb is typically best during its peak season from April through June. If you’re lucky enough to harvest your own, you can chop the stalks and freeze them for up to a year, allowing you to enjoy homemade rhubarb crisp well beyond spring.
Generally, if you have fresh, in-season rhubarb, peeling the stalks is not necessary. The skin is usually tender enough to cook down beautifully. However, if your rhubarb is a bit older, past its prime season, or if the stalks feel unusually hardy and tough, you might want to consider peeling them. A light peel can improve the overall texture of your crisp, ensuring every bite is tender and pleasant, free from any stringy bits.
Baking in a cast iron skillet offers several advantages. Cast iron distributes heat incredibly evenly, which helps the rhubarb filling cook consistently and prevents hot spots. It also retains heat exceptionally well, keeping your crisp warm long after it comes out of the oven – perfect for serving family-style directly at the table. Furthermore, cast iron promotes a fantastic caramelization on the bottom of the fruit layer, adding an extra depth of flavor and texture. Plus, the rustic appearance of a cast iron skillet adds a wonderful charm to your presentation!
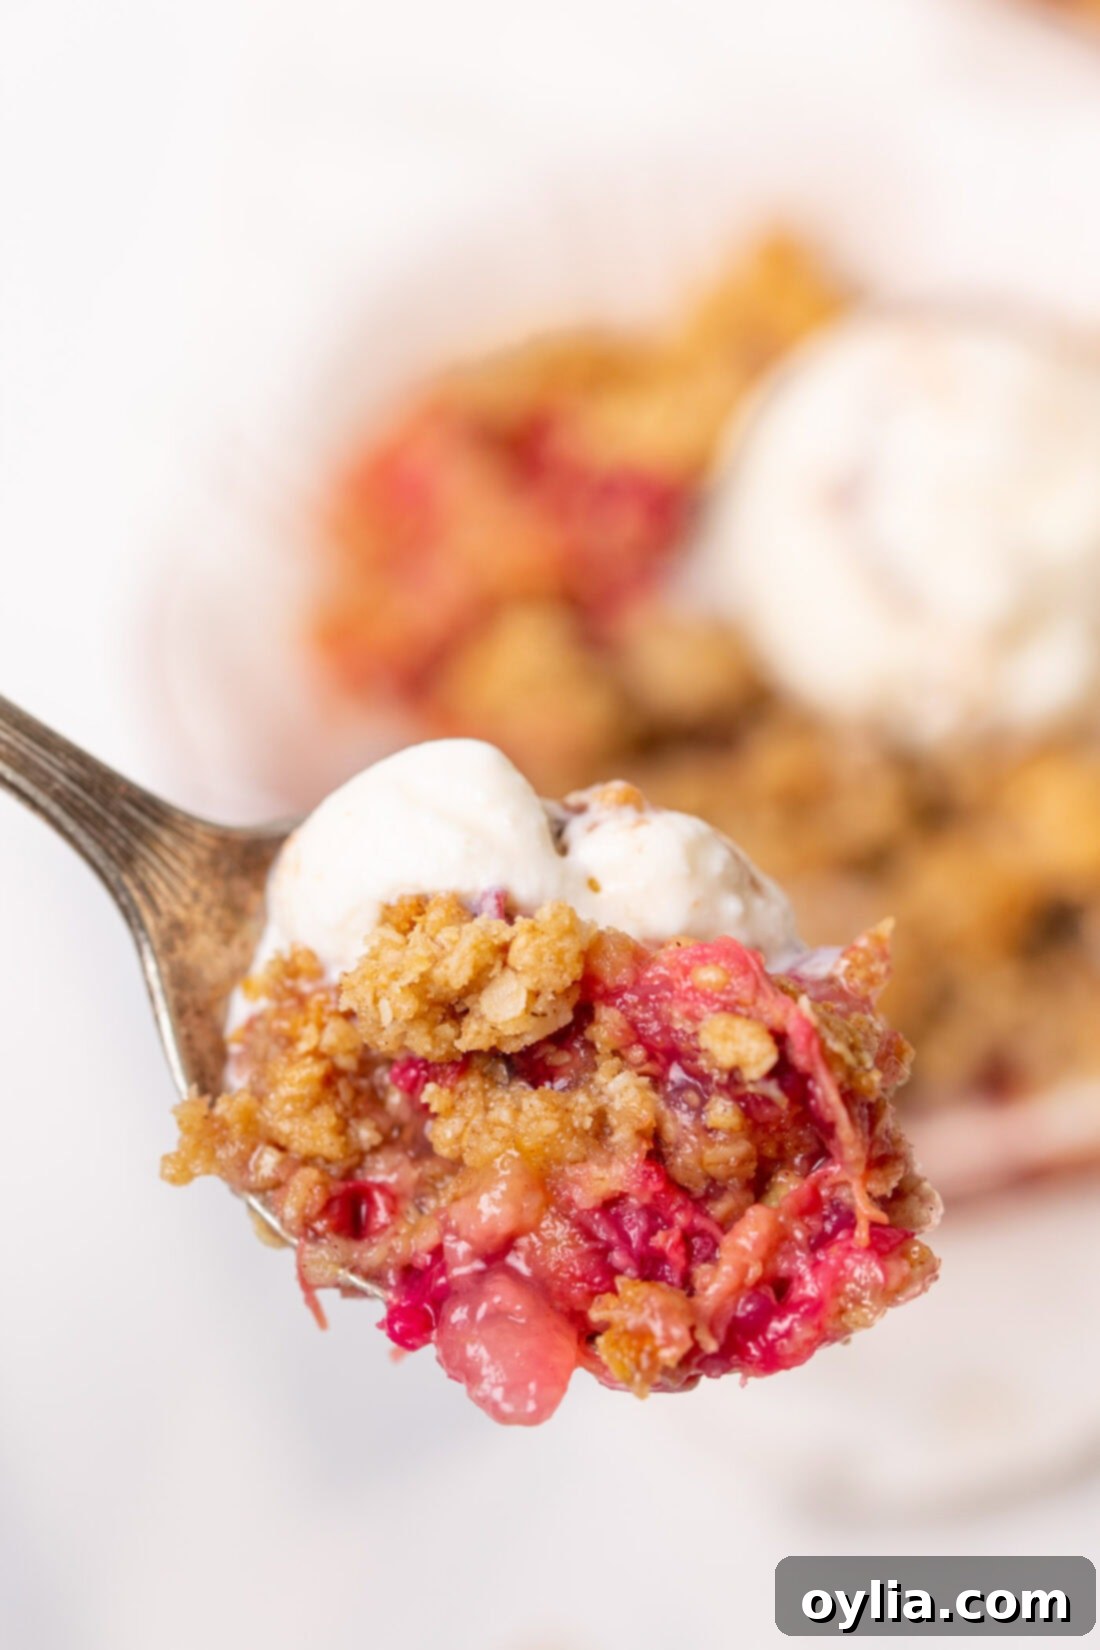
Elevate Your Rhubarb Crisp: Serving Suggestions
A warm rhubarb crisp is a delightful dessert on its own, but it truly shines when paired with a few thoughtful additions. The most iconic pairing is, of course, a generous scoop of creamy vanilla ice cream. The contrasting temperatures and the way the cold ice cream slowly melts into the warm, tart-sweet crisp creates an exquisite sensory experience that’s hard to beat. Beyond vanilla, consider other ice cream flavors like cinnamon, ginger, or even a subtle berry swirl.
If you’re not an ice cream fan, freshly whipped cream is another fantastic option, adding a light, airy richness. A sprinkle of toasted slivered almonds, chopped pecans, or even a drizzle of caramel sauce can add extra layers of flavor and texture. For a touch of freshness and color, garnish with a few fresh mint leaves or some additional berries (if you didn’t add them to the filling). Rhubarb crisp is best enjoyed immediately after baking while it’s still warm and the topping is at its crispiest, making it the perfect end to any meal or a comforting treat on a cool evening.
More Delightful Crisp and Cobbler Recipes to Try
If you’ve fallen in love with the comforting charm of this rhubarb crisp, you’ll be thrilled to discover more delicious crisp and cobbler recipes from our kitchen. These desserts are perfect for showcasing seasonal fruits and are always a crowd-pleaser. Explore some of our other favorites:
- Blueberry Cobbler: A classic, sweet, and juicy dessert perfect for summer berries.
- Summer Fruit Crisp: A versatile recipe showcasing a medley of your favorite seasonal fruits.
- Crockpot Apple Cobbler: An incredibly easy, hands-off way to make a warm and tender apple cobbler.
- Apple Cranberry Crisp: The perfect blend of sweet apples and tart cranberries, ideal for fall.
- Crockpot Chocolate Cherry Cobbler: A decadent and effortless chocolatey fruit dessert.
- Peach Cobbler Dump Cake: An unbelievably simple, three-ingredient recipe for a quick and satisfying peach cobbler.
I absolutely adore sharing my passion for baking and cooking with all of you! To ensure you never miss out on a new recipe, I offer a convenient newsletter that delivers fresh ideas directly to your inbox every time a new post goes live. Simply subscribe here and start receiving your free daily recipes to inspire your culinary adventures!
Rhubarb Crisp
IMPORTANT – There are often Frequently Asked Questions within the blog post that you may find helpful. Simply scroll back up to read them!
Print It
Pin It
Rate It
Save ItSaved!
Ingredients
- 5 cups rhubarb chopped into 1-inch x 1/2-inch pieces
- 1 Tablespoon lemon juice
- 1 cup granulated sugar
- 3 Tablespoons cornstarch
- 1 cup instant oats
- ½ cup all-purpose flour
- ½ cup brown sugar packed
- ½ teaspoon ground cinnamon
- ¼ teaspoon salt
- ½ cup butter 1 stick, cold and cubed
Things You’ll Need
-
10 inch cast iron skillet
-
Mixing bowls
Before You Begin
- You can make your crisp topping ahead of time and store in the freezer for 2-3 months. You can also freeze your chopped rhubarb for up to 1 year. However, I would recommend assembling the crisp the day of.
Instructions
-
Preheat the oven to 350F.
-
Clean and chop the rhubarb. Add to a large bowl with lemon juice, sugar, and cornstarch. Toss until well coated. Pour contents into a 10 inch skillet.
-
In another large bowl, mix together the oats, flour, brown sugar, cinnamon, and salt. Add the cubed butter and blend well with hands until the butter is fully incorporated, but not melted. Pour the topping over the unbaked rhubarb.
-
Bake for 40 minutes at 350F. Remove from the oven and allow to cool for 10 minutes. Top with vanilla ice cream either in the skillet or individual dishes.
Expert Tips & FAQs
- Store your rhubarb crisp tightly covered with plastic wrap or an air-tight lid in the refrigerator for 2-3 days.
Nutrition
The recipes on this blog are tested with a conventional gas oven and gas stovetop. It’s important to note that some ovens, especially as they age, can cook and bake inconsistently. Using an inexpensive oven thermometer can assure you that your oven is truly heating to the proper temperature. If you use a toaster oven or countertop oven, please keep in mind that they may not distribute heat the same as a conventional full sized oven and you may need to adjust your cooking/baking times. In the case of recipes made with a pressure cooker, air fryer, slow cooker, or other appliance, a link to the appliances we use is listed within each respective recipe. For baking recipes where measurements are given by weight, please note that results may not be the same if cups are used instead, and we can’t guarantee success with that method.
This post was originally published here on May 14, 2021, and has been updated to provide more comprehensive information and tips.
