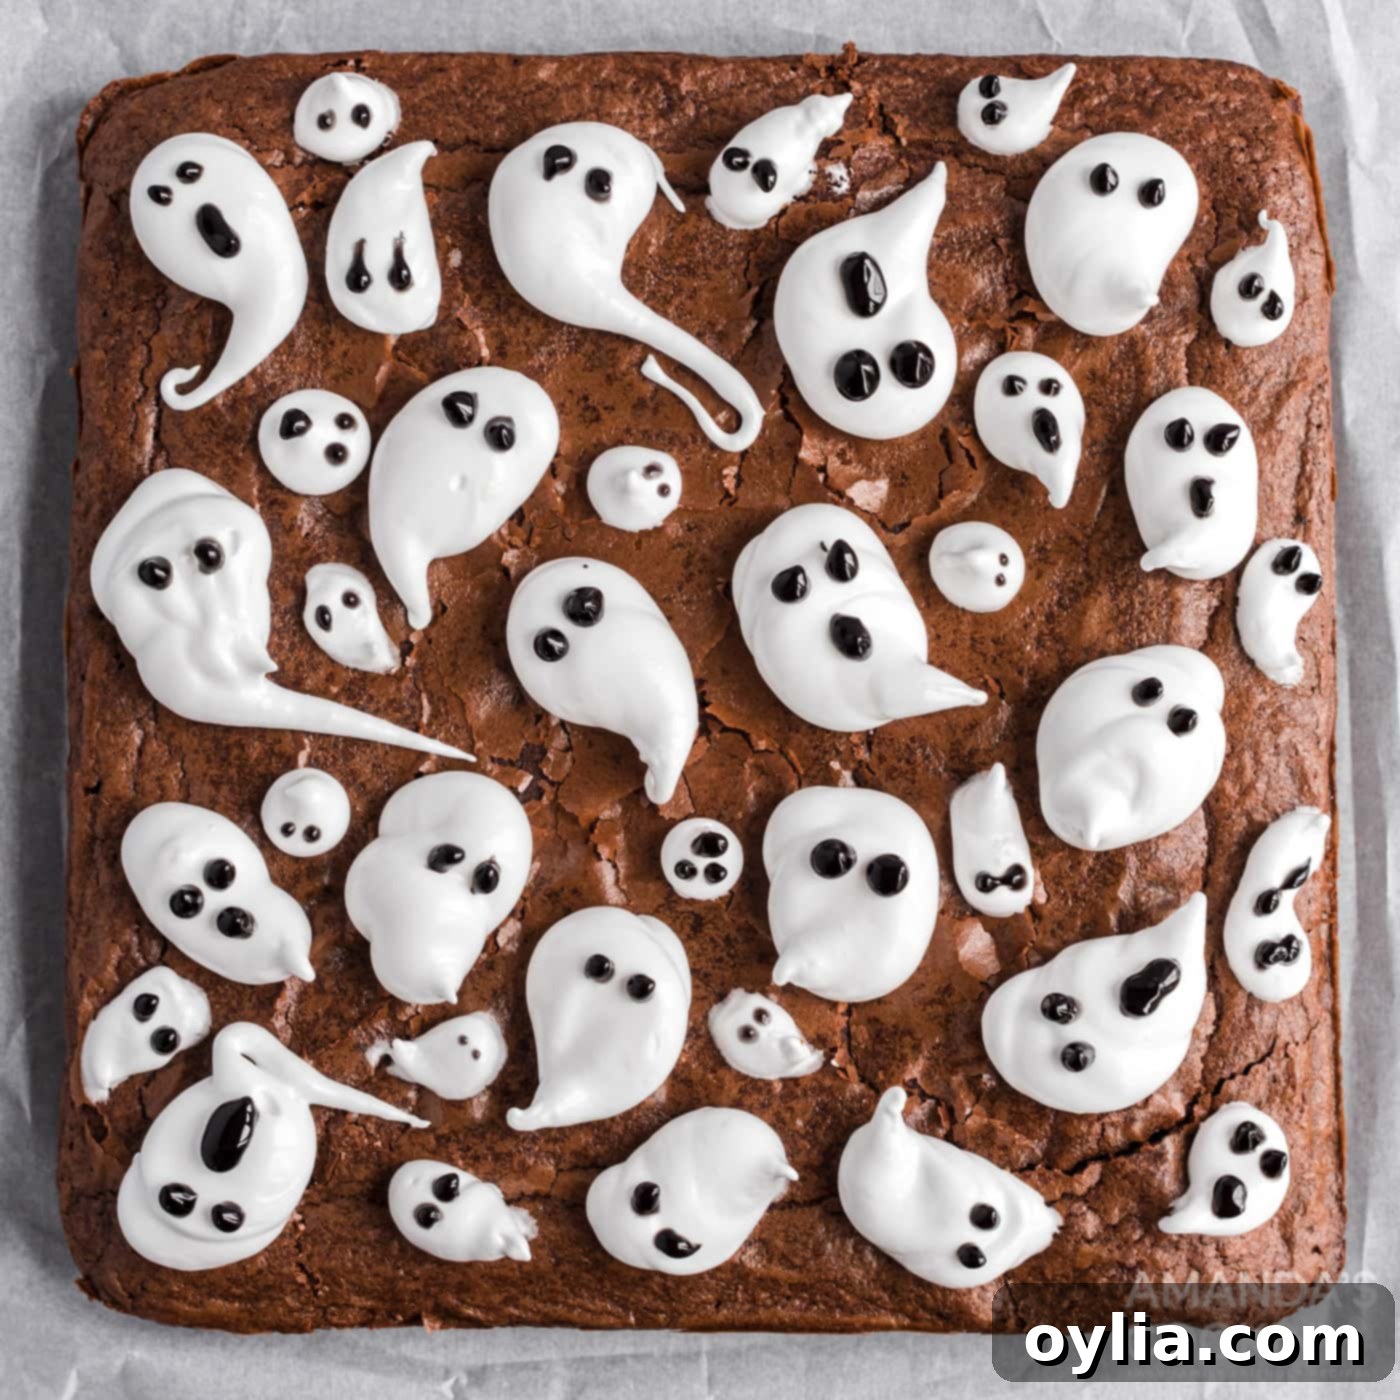
Decadent Ghost Brownies: Your Ultimate Recipe for Spooky Halloween Treats
Prepare to delight your taste buds and impress your Halloween guests with these incredibly cute and delightfully spooky Ghost Brownies! Imagine a base of rich, fudgy, and intensely chocolatey brownies, perfectly baked to chewy perfection. Topped with whimsical, homemade marshmallow ghosts, these treats are not just a dessert; they’re a festive masterpiece that captures the spirit of Halloween in every bite. Whether you’re hosting a ghoulish gathering or simply want to add some festive fun to your dessert table, these ghost brownies are surprisingly easy to make and guaranteed to be a hit!
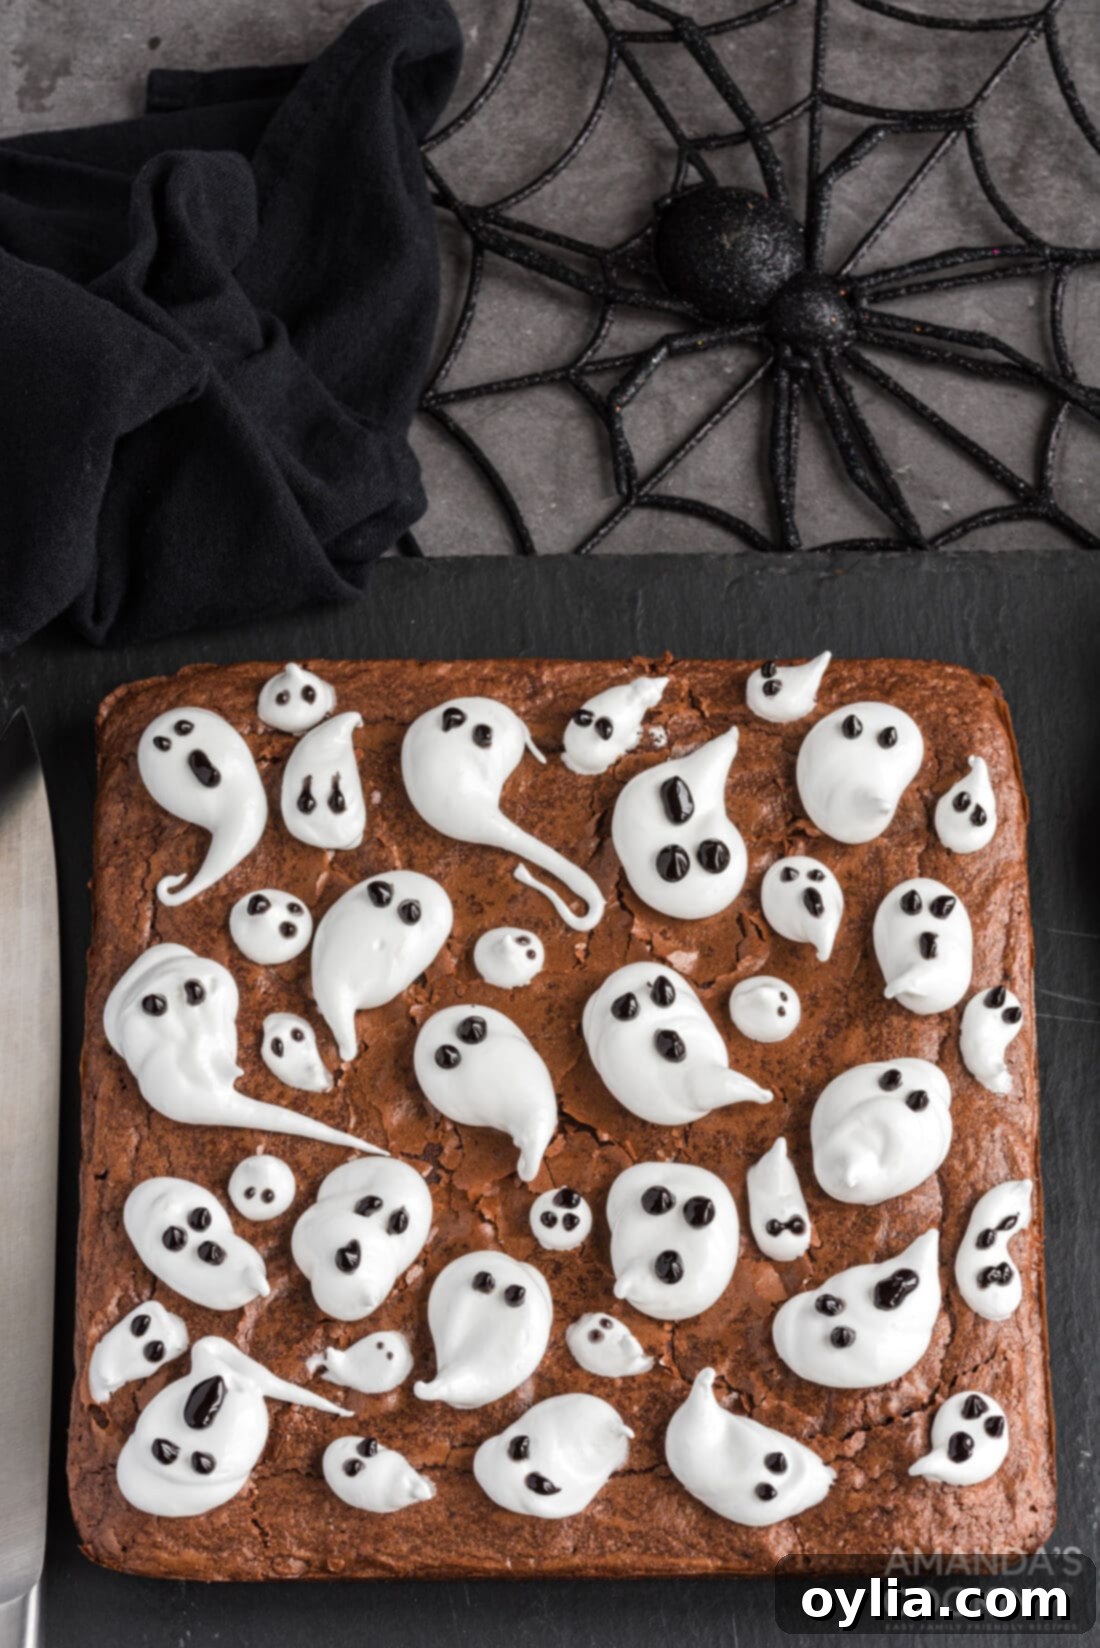
Why These Spooky Ghost Brownies Will Be Your Halloween Favorite
These ghost brownies aren’t just another dessert; they’re a celebration of all things Halloween, brought to life in your kitchen. This recipe stands out because it combines the best of two worlds: an incredibly rich and chewy fudge brownie base that’s moist and deeply chocolatey, paired with the light, ethereal sweetness of homemade piped marshmallow ghosts. The contrast in textures – the dense, decadent brownie against the fluffy, melt-in-your-mouth marshmallow – creates an unforgettable experience.
What truly makes this recipe a winner is the simplicity of creating your own marshmallow ghosts. You might think homemade marshmallows are complicated, but we’ll show you just how easy they are to whip up. Once you master the technique of piping these adorable specters, you’ll find yourself wanting to adorn everything from cupcakes and cakes to hot chocolate with these charming marshmallow creations. It’s a fun, engaging project for all skill levels and a fantastic way to add a personalized, spooky touch to your Halloween spread.
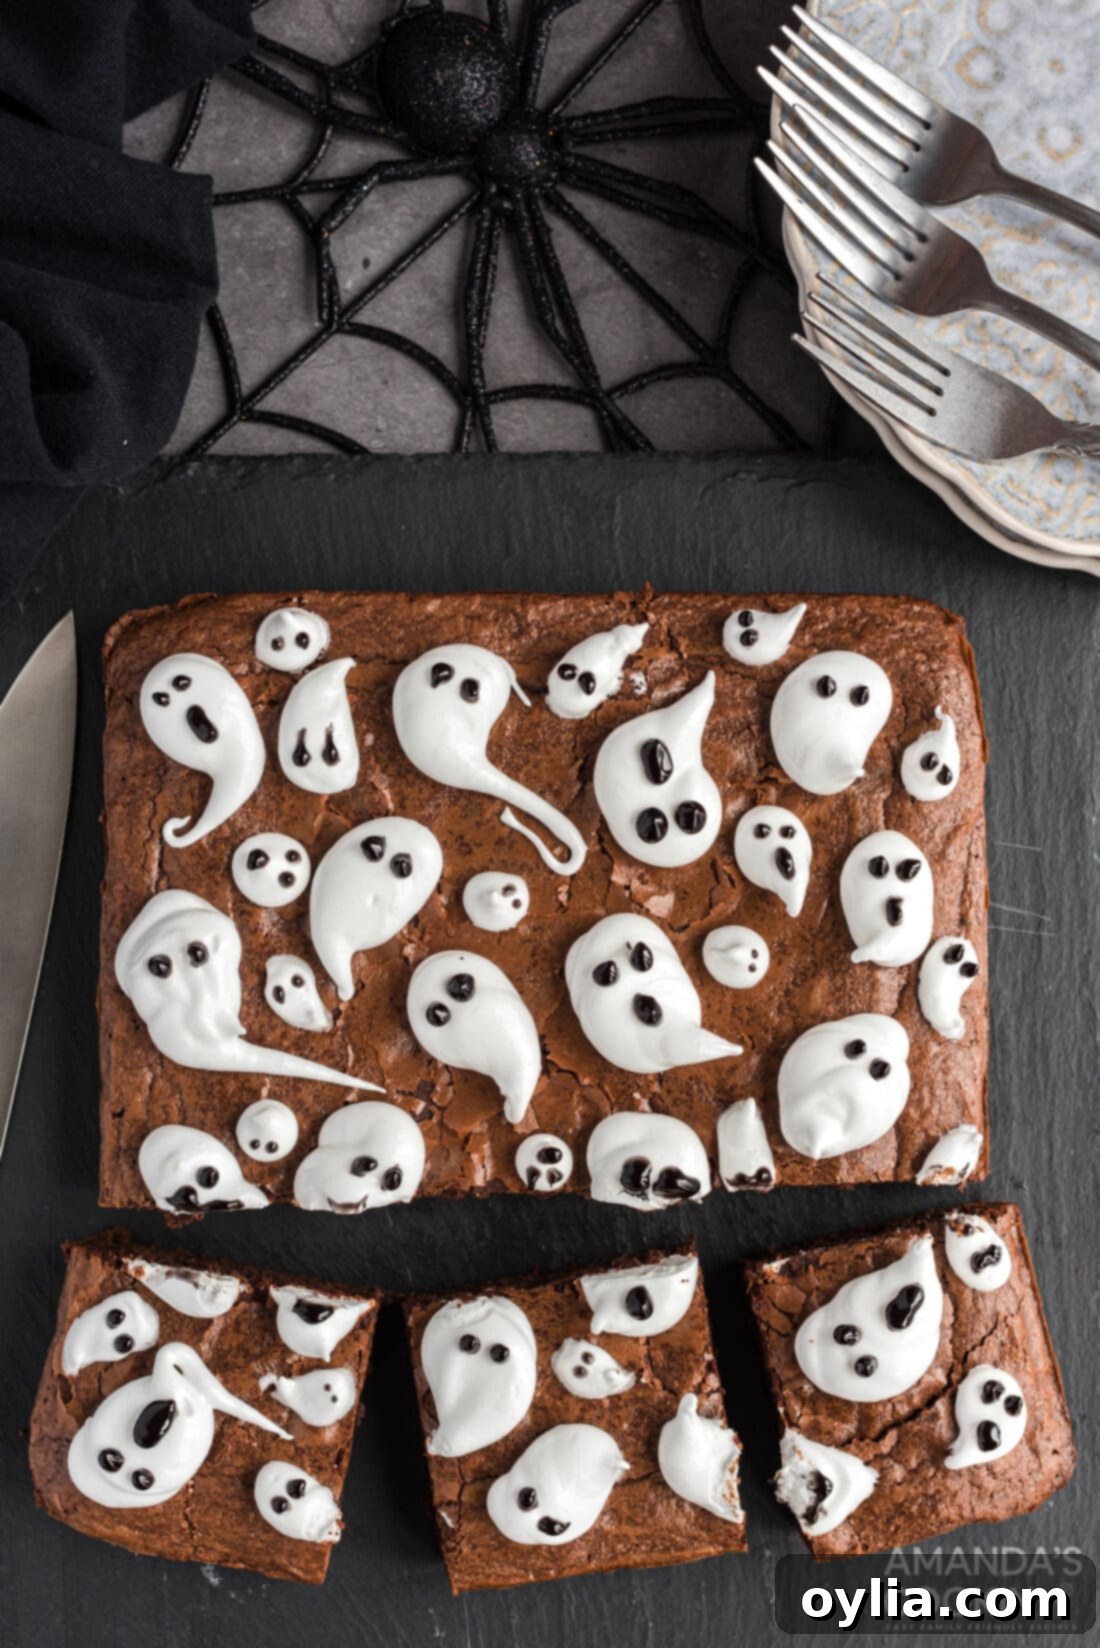
Key Ingredients for Your Homemade Ghost Brownies
Gathering your ingredients is the first exciting step towards creating these hauntingly good treats. You’ll need separate sets of ingredients for the rich fudge brownie base and the delightful marshmallow ghosts. The quality of your ingredients, especially for the brownies, will significantly impact the final flavor and texture, so choose wisely!
For the precise measurements and a detailed list of everything you’ll need, be sure to check out the printable recipe card located at the end of this comprehensive guide. We’ve laid out every component to ensure your baking process is smooth and successful, resulting in perfect Halloween ghost brownies every time.
Ingredient Insight & Creative Substitutions for Your Halloween Brownies
Crafting the perfect Ghost Brownies involves understanding each ingredient’s role and knowing when and how to make smart substitutions without compromising on flavor or texture. Here’s a deeper dive into the components of this festive treat:
BROWNIE Base – For an unparalleled experience, we enthusiastically recommend using our signature fudge brownie recipe. This recipe consistently delivers brownies that are perfectly chewy, intensely fudgy, and undeniably our all-time favorite. The secret lies in the balance of cocoa and chocolate, along with a precise mixing technique that ensures a dense, moist interior. However, we understand that time is often of the essence, especially during busy Halloween preparations. If you’re looking to significantly reduce prep time, a high-quality boxed brownie mix can be a convenient alternative. Just be sure to follow the package instructions for a fudgy, rather than cakey, result. Adding an extra egg yolk or a splash of brewed coffee to a box mix can also enhance its richness and chewiness!
GHOSTS – The marshmallow ghosts are what truly bring these Halloween brownies to life! We’ll guide you through making homemade pipable marshmallow from scratch using simple ingredients: gelatin, water, and sugar. This method creates a stable, fluffy marshmallow that pipes beautifully and holds its shape once set. It’s an incredibly satisfying process and results in a superior texture compared to store-bought alternatives.
- Homemade Marshmallow Method (Recommended): This involves blooming gelatin in cold water, then combining it with a hot sugar syrup. The mixture is then whipped until it transforms into a light, fluffy, and pipeable marshmallow. The stability of the gelatin ensures your ghosts hold their adorable forms perfectly.
- Marshmallow Fluff Shortcut: If you’re short on time or prefer a quicker route, you can use store-bought marshmallow fluff. Simply transfer the fluff into a piping bag (or a large Ziploc bag with a corner snipped off) and pipe it directly onto your cooled brownies. While it might be slightly less firm than homemade marshmallow, it still creates charming ghost shapes with ease.
- Melted Whole Marshmallows Alternative: For another quick option, take whole marshmallows and melt them in the microwave with just a touch of water (about 2-3 tablespoons per cup of marshmallows). Heat in 10-second intervals, stirring well after each, until smooth and pourable. Transfer this melted marshmallow mixture immediately to a piping bag and pipe before it cools and hardens. This method works best if you work quickly, as melted marshmallows can become sticky and difficult to pipe as they cool.
- Meringue Ghosts: For a slightly different texture and a touch of elegance, you could also fashion your ghosts from meringue. Meringue provides a light, crisp texture once baked. You could pipe the meringue onto the brownies and then gently toast them with a kitchen torch for a slightly browned, hauntingly delicious effect, or bake them briefly at a low temperature until crisp. Meringue ghosts would add a lovely textural contrast to the fudgy brownies.
For the eyes and mouths, black gel icing is the easiest and most striking option, creating those iconic spooky expressions. Alternatively, mini chocolate chips, small candy eyes, or even tiny pieces of licorice can be used to give your marshmallow ghosts personality.
Step-by-Step Guide: Crafting Your Spooky Ghost Brownies
These step-by-step photos and detailed instructions are here to help you visualize how to make this delightful recipe. You can Jump to Recipe to get the printable version of this recipe, complete with measurements and instructions at the bottom.
Crafting the Homemade Marshmallow Ghosts:
- Begin by preparing your gelatin. In a medium-sized bowl, sprinkle the unflavored gelatin over the cold water. Give it a quick stir to ensure all the gelatin is moistened, then set it aside for about 5-10 minutes. This process, known as “blooming,” allows the gelatin to soften and absorb the liquid, ensuring a smooth marshmallow texture.
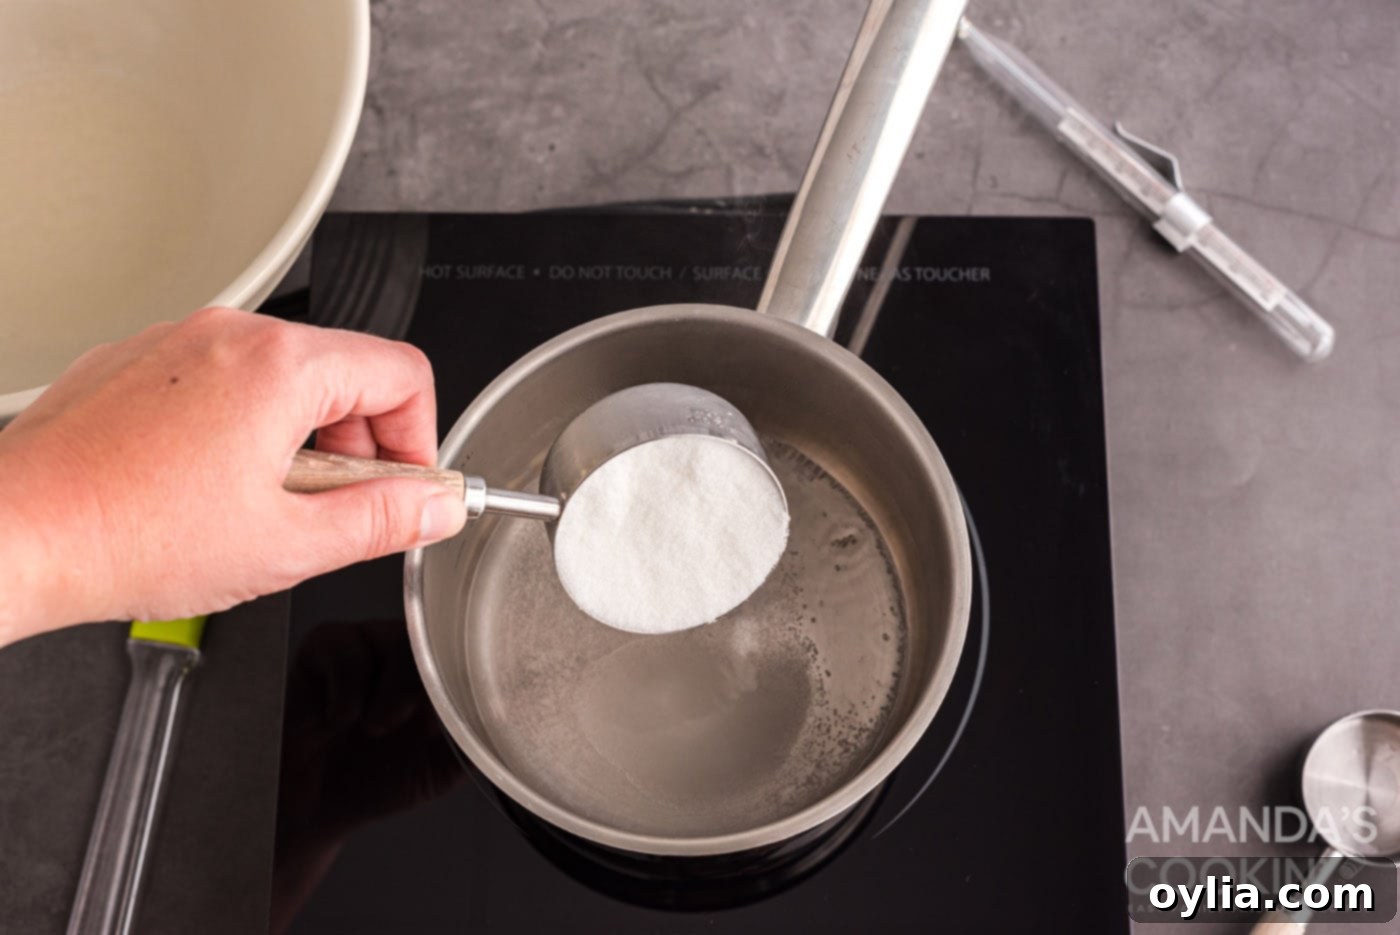
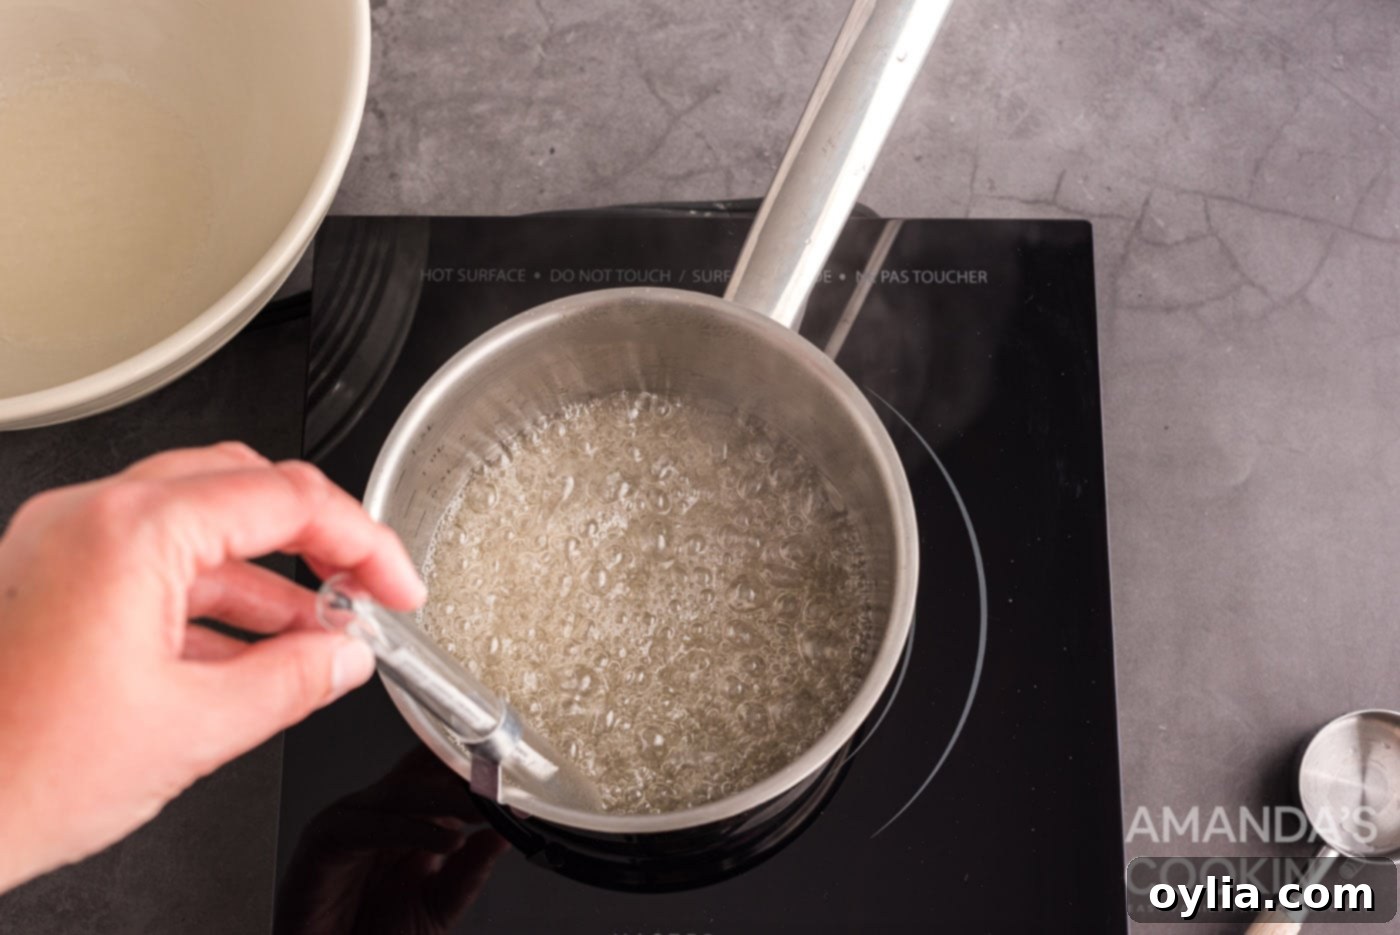
- Next, prepare your sugar syrup. In a small saucepan, combine the granulated sugar and the second portion of water. Place the saucepan over medium-high heat and stir gently until the sugar completely dissolves. Once the mixture starts to boil, stop stirring. Insert a candy thermometer into the syrup, making sure it doesn’t touch the bottom of the pan. Allow the sugar mixture to boil undisturbed until its temperature reaches precisely 238°F (114°C). This is the “soft-ball” stage, crucial for the right marshmallow consistency.
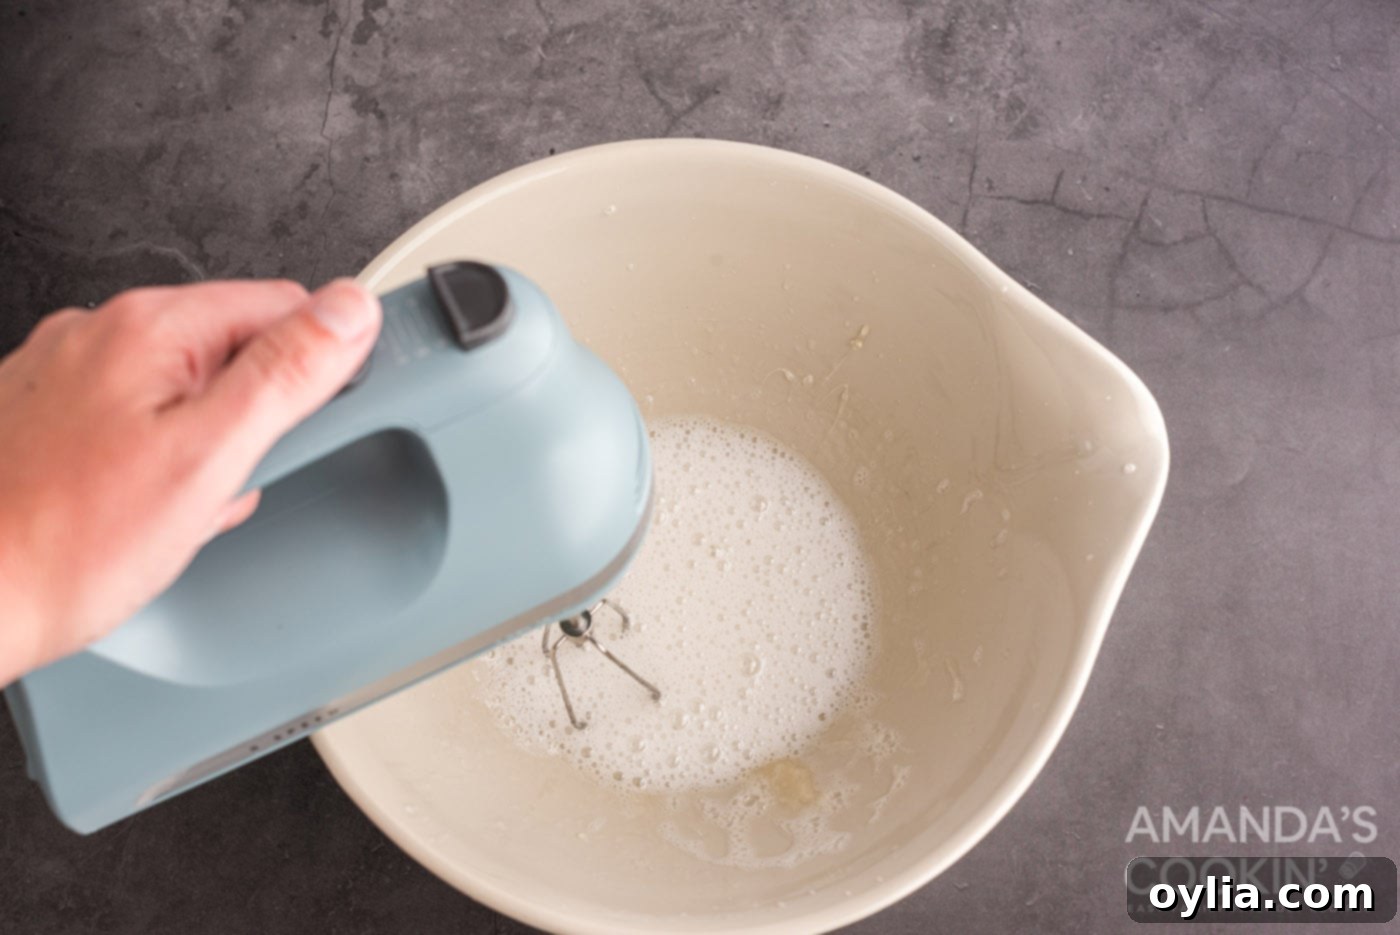
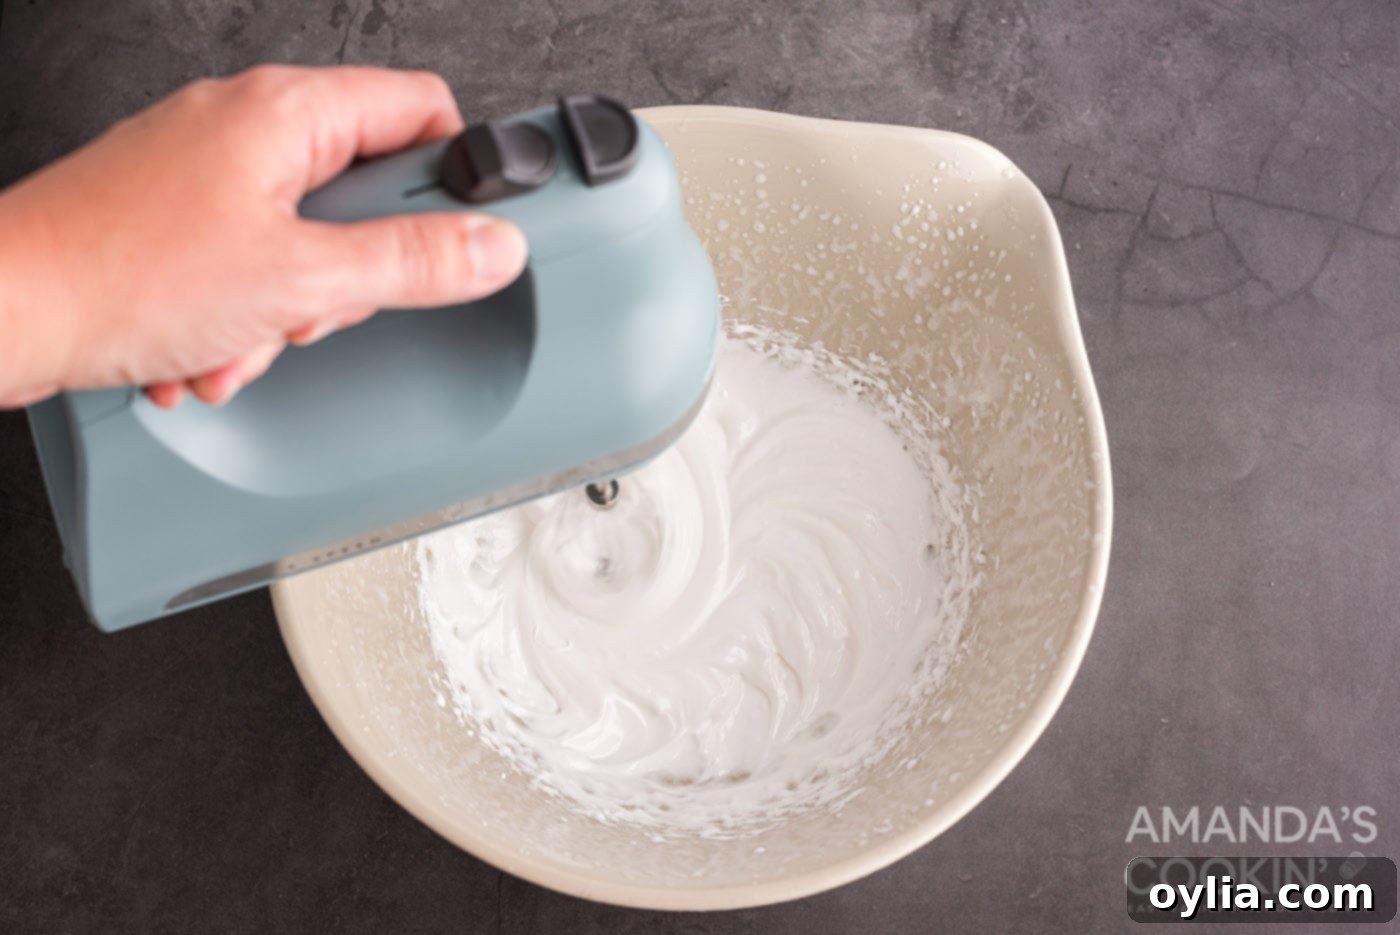
- Once the sugar syrup reaches 238°F, carefully remove it from the heat. Pour the hot syrup over your bloomed gelatin mixture in the bowl. Immediately begin beating the mixture using a hand mixer, starting at medium speed, for about 3 minutes. After this initial whipping, increase the speed to high and continue beating. You’ll notice the mixture transforming, becoming thick, glossy, and white. Continue beating until soft peaks form, meaning when you lift the beaters, the marshmallow holds a gentle, soft peak that curls slightly at the tip. This typically takes another 5-7 minutes, depending on your mixer.
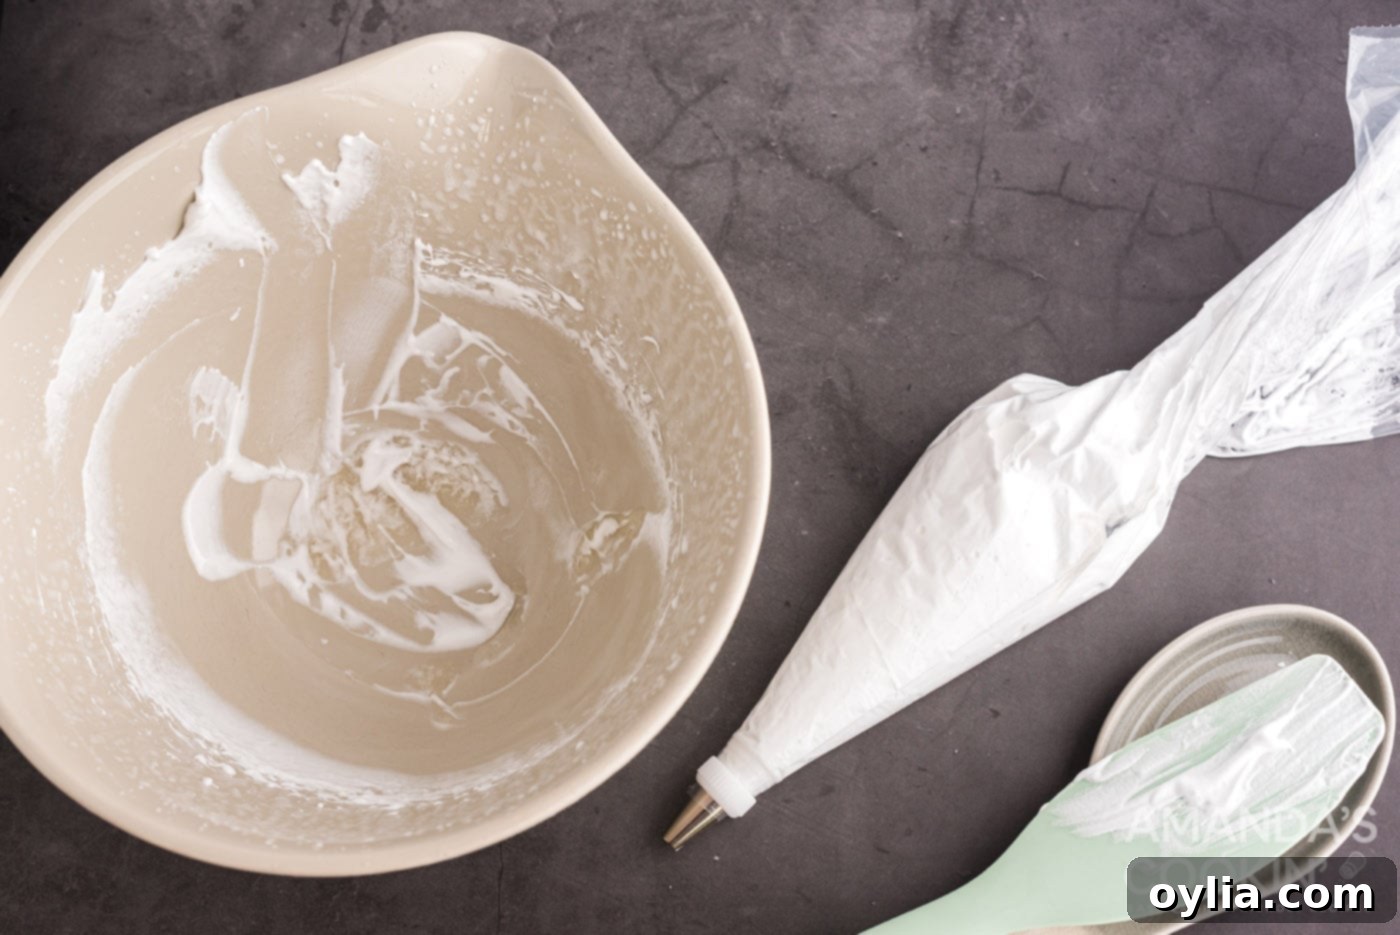
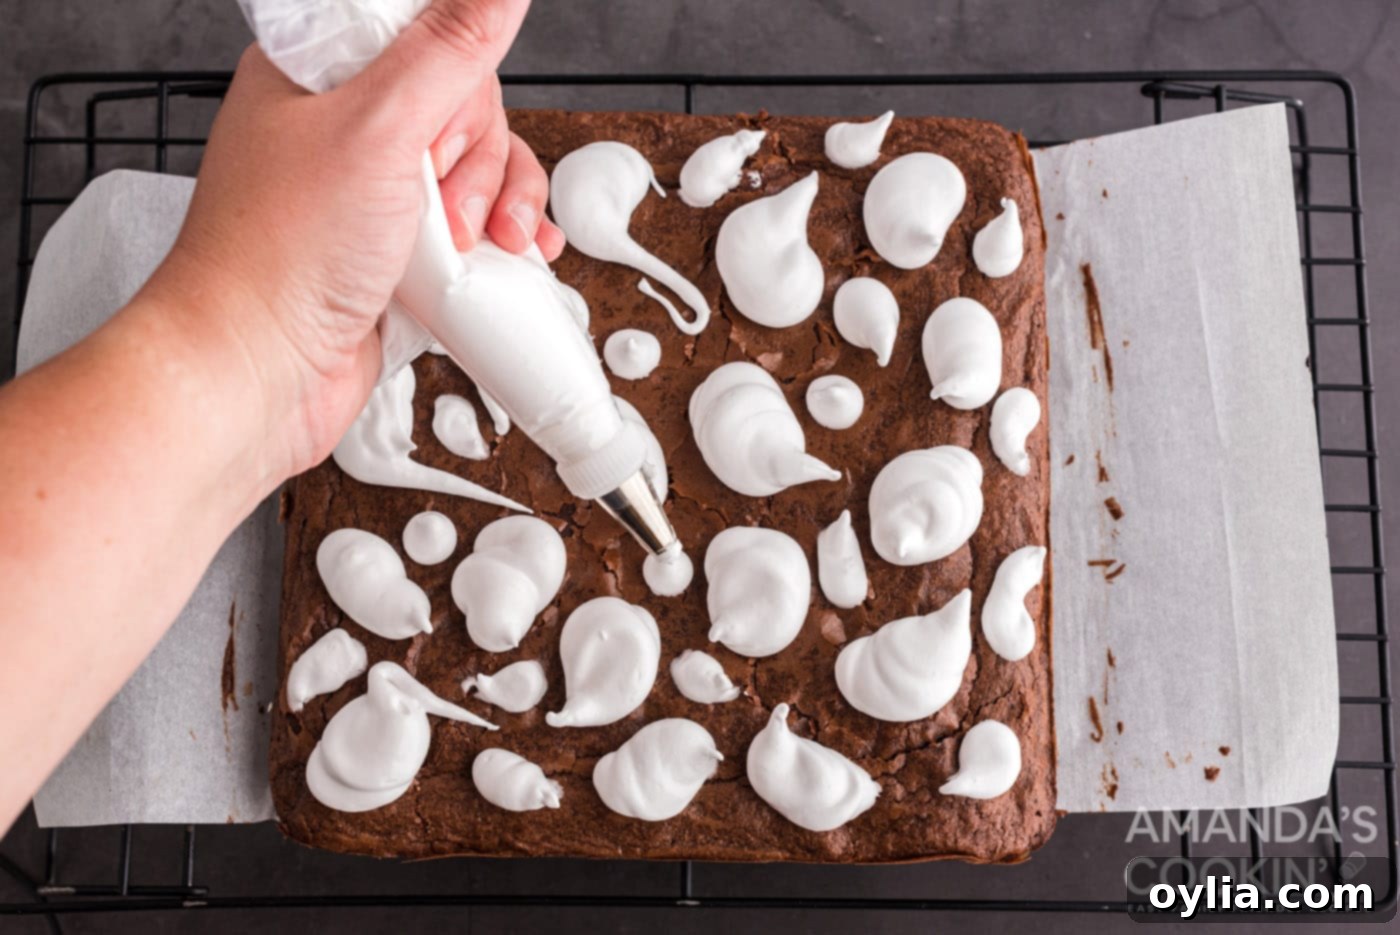
- Once your marshmallow mixture is ready, immediately transfer it to a piping bag fitted with a round tip (or simply snip off the corner of the bag for a wider opening). Ensure your brownies are completely cooled before you start piping the ghosts. Pipe the marshmallow directly onto the center of each brownie. To create the iconic ghost shape, start with a heavy squeeze at the top to form the head, then gradually release pressure as you pull the marshmallow downwards, creating a tapered, wispy body.
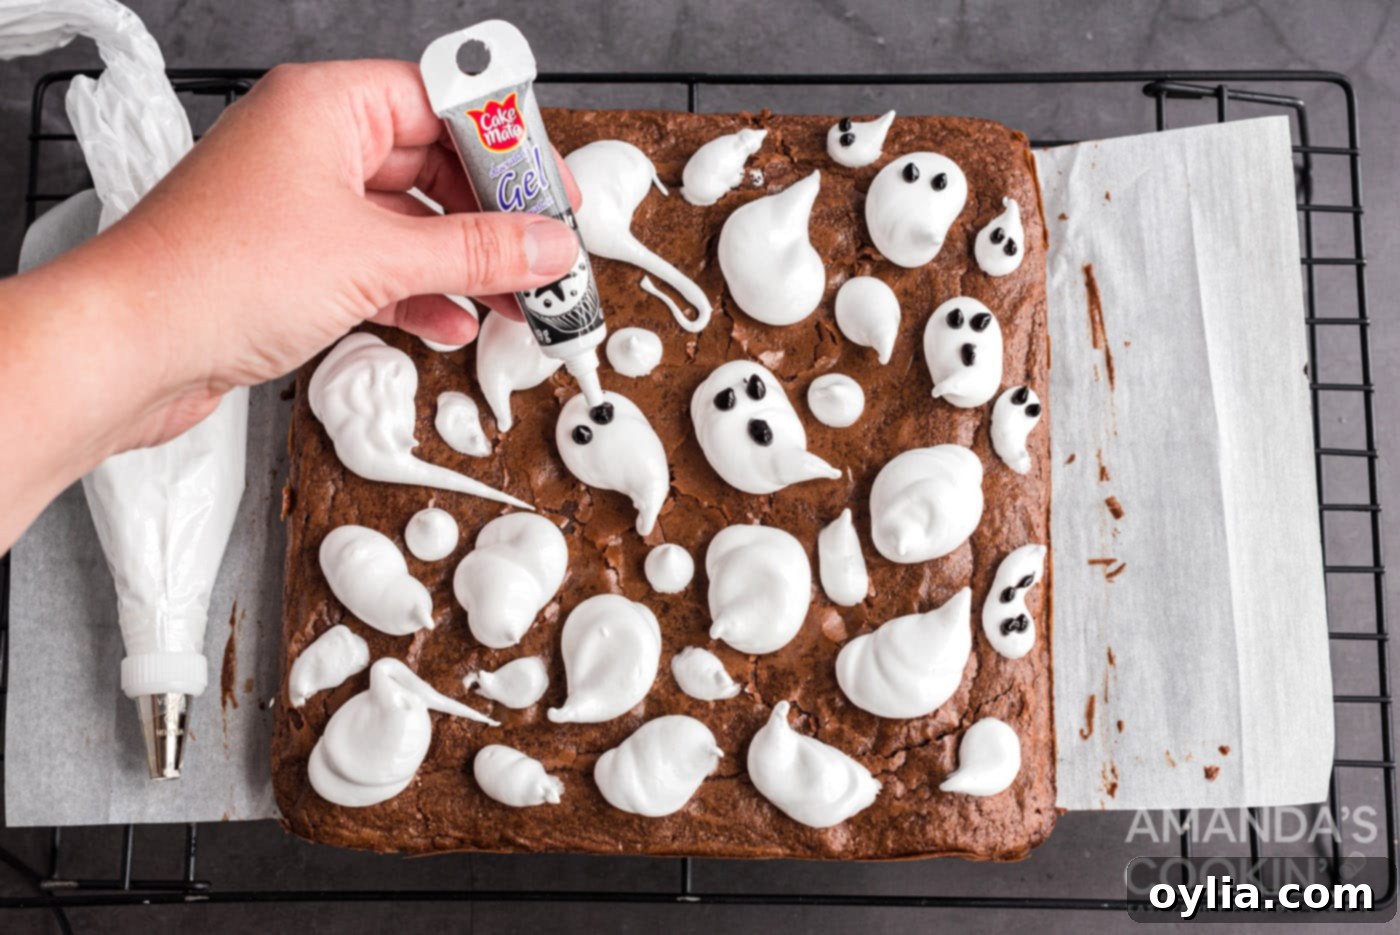
- Once all your marshmallow ghosts are piped, it’s time to give them some personality! Use black gel icing to pipe on small, round eyes and a quirky mouth for each ghost. Get creative with their expressions – some can be happy, some surprised, and others a little bit mischievous. After decorating, allow the ghosts to set undisturbed for 1-2 hours at room temperature. This setting time is crucial, as it allows the marshmallow to firm up, making the brownies easier to slice and handle without disfiguring your adorable ghosts.
Frequently Asked Questions & Expert Tips for Perfect Ghost Brownies
This is a common question, and the answer largely depends on your preference for presentation and ease of serving. If you cut the brownies into individual squares before piping, your ghosts will remain perfectly intact when served. However, separating the cut brownies might slightly disfigure the edges of the marshmallow. If you pipe the marshmallow onto the entire cooled brownie slab and then cut, some ghosts might get “sliced” through the middle, altering their appearance. Both methods result in delicious treats! For the most visually appealing individual ghosts, we recommend cutting the brownies first, arranging them slightly apart on your cooling rack, and then piping a ghost onto each one. If you choose to pipe onto a whole slab, ensure the marshmallow is fully set (chilling can help) before using a hot, sharp knife to cut between the ghosts.
Absolutely! While homemade marshmallow offers the best texture, there are several convenient alternatives. As mentioned above, using premade marshmallow fluff is a great shortcut. Simply spoon it into a piping bag and pipe away! You can also quickly melt whole marshmallows in the microwave with a tiny bit of water and pipe them. If you’re feeling adventurous and want a different texture, consider making meringue ghosts. Pipe small meringue peaks onto the brownies and bake lightly until just firm, or even use a kitchen torch for a slightly toasted, golden-brown effect. For decorating the eyes and mouths, feel free to get creative! Instead of black gel icing, try using mini chocolate chips, small candy eyes (readily available during Halloween season), or even tiny dots of melted dark chocolate for expressive faces.
Yes, these ghost brownies are excellent for making ahead, which is perfect for party planning! You can bake the brownies up to one day in advance. Once cooled completely, store them in an airtight container at room temperature. For optimal freshness and to maintain the marshmallow’s texture, it’s best to pipe the ghosts on the same day you plan to serve them, or at most, a few hours before. If you must pipe them further in advance, store the finished ghost brownies in an airtight container at room temperature. Avoid refrigerating, as it can dry out the brownies and make the marshmallow sticky. They are best enjoyed within 1-2 days after assembly.
If your marshmallow mixture isn’t forming stiff peaks, it usually means it needs more whipping time or the sugar syrup didn’t reach a high enough temperature. Continue beating on high speed; it can sometimes take longer than expected. Ensure your bowl and beaters are completely grease-free, as any fat can prevent the marshmallow from whipping properly. If after extended whipping it’s still too soft, you might need to try again, being extra diligent with the candy thermometer for the sugar syrup stage.
Absolutely! These ghost brownies are a fantastic base for more festive decorations. Consider sprinkling edible glitter around the ghosts for a magical, ethereal effect. You could also add orange or purple sprinkles to the brownie base before piping the ghosts. Mini candy corn, edible spider webs made from melted white chocolate, or even small plastic spiders can be strategically placed around your ghost brownies to enhance the spooky theme!
Serving Suggestions for Your Halloween Dessert Table
These adorable ghost brownies are not just a dessert; they are a festive centerpiece, destined to be the star of your Halloween party food table. Their playful appearance and rich flavor make them perfect for any spooky celebration. Arrange them artfully on a tiered serving tray, or mix them in with other themed treats to create an inviting and visually engaging spread. They pair wonderfully with a glass of cold milk, a warm mug of hot chocolate, or even a Frankenstein Margarita for the adults!
For more inspiration on appetizers and treats that complement these delicious brownies, be sure to explore our extensive collection of Halloween Food Ideas. You’ll find everything from savory snacks to sweet delights to complete your ultimate spooky feast!
More Hauntingly Delicious Halloween Recipes
- Mummy Meatloaf
- Witch Finger Cookies
- Halloween Candy Apples
- Jalapeno Popper Mummies
- Roasted Halloween Vegetables
- Vampire Sandwich Cookies
- Marshmallow Frankensteins
- Frankenstein Rice Krispie Treats
- Frankenstein Margarita
I absolutely love to bake and cook, and there’s nothing I enjoy more than sharing my kitchen adventures and delicious creations with all of you! Remembering to come back each day for new recipes can be tough, which is why I offer a convenient newsletter every time a new recipe posts. Simply subscribe and start receiving your free daily recipes straight to your inbox – it’s the easiest way to stay updated on all the culinary fun!
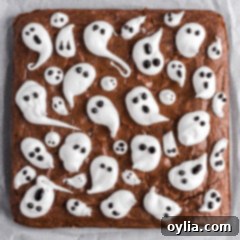
Ghost Brownies
IMPORTANT – There are often Frequently Asked Questions within the blog post that you may find helpful. Simply scroll back up to read them!
Print It
Pin It
Rate It
Save ItSaved!
Ingredients
Fudge Brownies
- ¾ cup unsalted butter melted
- ⅔ cup semi-sweet chocolate chips
- 3 large eggs
- ½ cup unsweetened cocoa powder
- 1 ½ cups granulated sugar
- 1 tsp vanilla extract
- ⅞ cup all-purpose flour 1 cup minus 2 tablespoons
Marshmallow Ghosts
- 1 ¼ tsp unflavored gelatin
- ½ cup granulated sugar
- black gel icing
- ¼ cup cold water to be added to gelatin
- ¼ cup water to be mixed with sugar
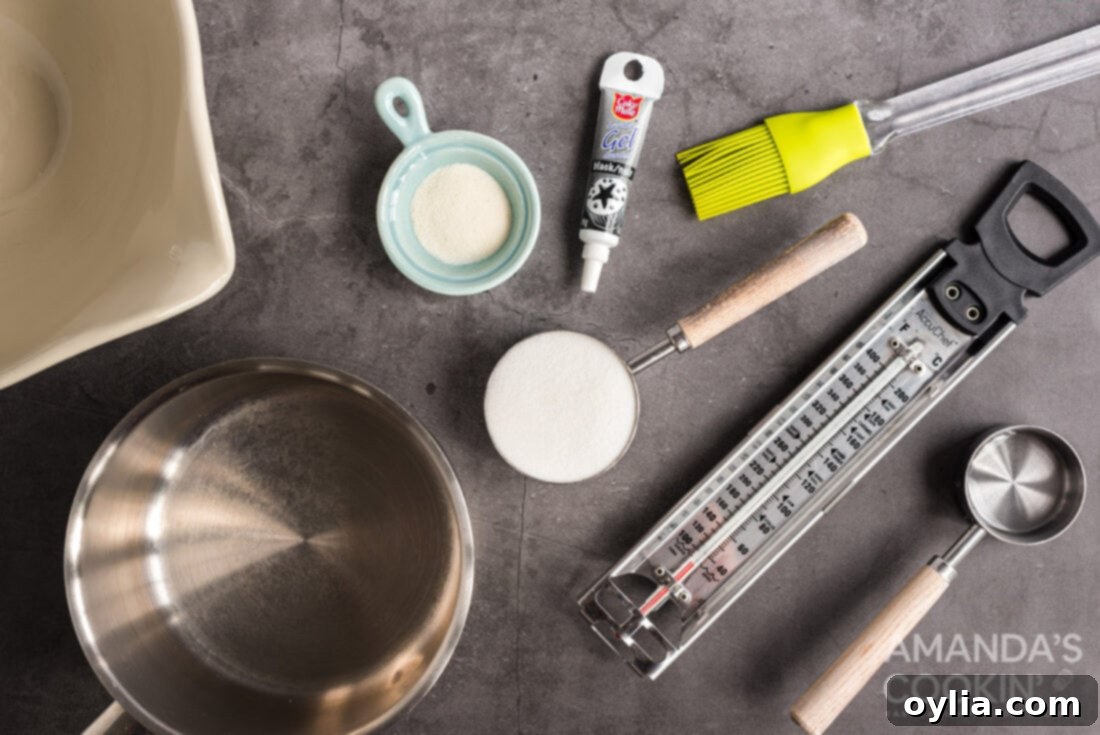
Things You’ll Need
-
Hand mixer
-
9×9 baking pan
-
Candy thermometer
Before You Begin
- Don’t overmix the batter for the brownies. Use a wooden spoon or spatula instead of a hand mixer and only stir until all dry traces are gone. Overmixing develops gluten, leading to a cakey rather than fudgy brownie.
- Ovens may vary significantly in temperature, so always use an inexpensive oven thermometer to ensure accuracy. Start checking for doneness with the toothpick test in the middle after 30 minutes, but be prepared to adjust baking time as needed.
- When making the marshmallow, you may want to gently wipe down the sides of the saucepan with a wet pastry brush while dissolving the sugar in the water. This helps prevent sugar crystals from forming on the sides of the pan and falling back into the syrup, which can cause the entire batch to crystalize.
Instructions
To Make The Fudge Brownies
-
Preheat your oven to 350°F (175°C). Line a 9×9 inch baking pan with parchment paper, allowing the parchment to overhang on two sides. These overhangs will serve as convenient handles later for lifting the brownies out of the pan.
-
In a large mixing bowl, pour the melted unsalted butter over the semi-sweet chocolate chips. Let it sit for about a minute or two to allow the residual heat from the butter to soften the chocolate chips. Then, stir gently with a wooden spoon or a spatula until the chocolate chips are mostly melted and the mixture is smooth and glossy.
-
To the chocolate mixture, add the large eggs, unsweetened cocoa powder, granulated sugar, and vanilla extract. Stir these ingredients thoroughly until they are well combined and the mixture is homogenous.
-
Gently stir in the all-purpose flour. Mix just until no more traces of dry flour remain. It’s crucial not to overmix at this stage, as overmixing can lead to tough, cakey brownies rather than the desired fudgy texture.
-
Scrape the brownie batter into your prepared 9×9 inch baking pan and spread it evenly with a spatula. Bake for approximately 30 minutes, or until a toothpick inserted into the center of the brownies comes out with moist crumbs attached, but not wet batter.
-
Allow the baked brownies to cool in the pan for at least five minutes. Using the parchment paper overhangs as handles, carefully lift the brownies out of the pan and transfer them to a wire cooling rack. It is absolutely essential to allow the brownies to cool completely to room temperature before attempting to pipe on the delicate marshmallow ghosts. Piping onto warm brownies will cause the marshmallow to melt and spread.
To Make The Marshmallow Ghosts
-
Add the unflavored gelatin along with the cold water to a medium bowl. Stir briefly to combine, ensuring all gelatin granules are moistened, then set aside to bloom for about 5-10 minutes.
-
In a small saucepan, mix together the granulated sugar and ¼ cup of water. Place over medium-high heat, stirring until the sugar completely dissolves and the mixture begins to boil. Once boiling, stop stirring and insert a candy thermometer. Allow the sugar mixture to boil until it reaches a precise temperature of 238°F (114°C).
-
Carefully pour the hot sugar syrup over the bloomed gelatin mixture in the bowl. Immediately begin beating with a hand mixer set to medium speed for 3 minutes. After 3 minutes, increase the speed to high and continue beating until the mixture becomes thick, glossy, and forms soft peaks when the beaters are lifted (this may take another 5-7 minutes).
-
Transfer the marshmallow to a piping bag. Pipe directly onto the completely cooled brownies. Start with a firm squeeze at the top to create the ghost’s head, then gently reduce pressure and pull the marshmallow downwards to form the tapered body. Once the marshmallow ghosts are piped, use black gel icing to add eyes and mouths, giving each ghost its unique character.
-
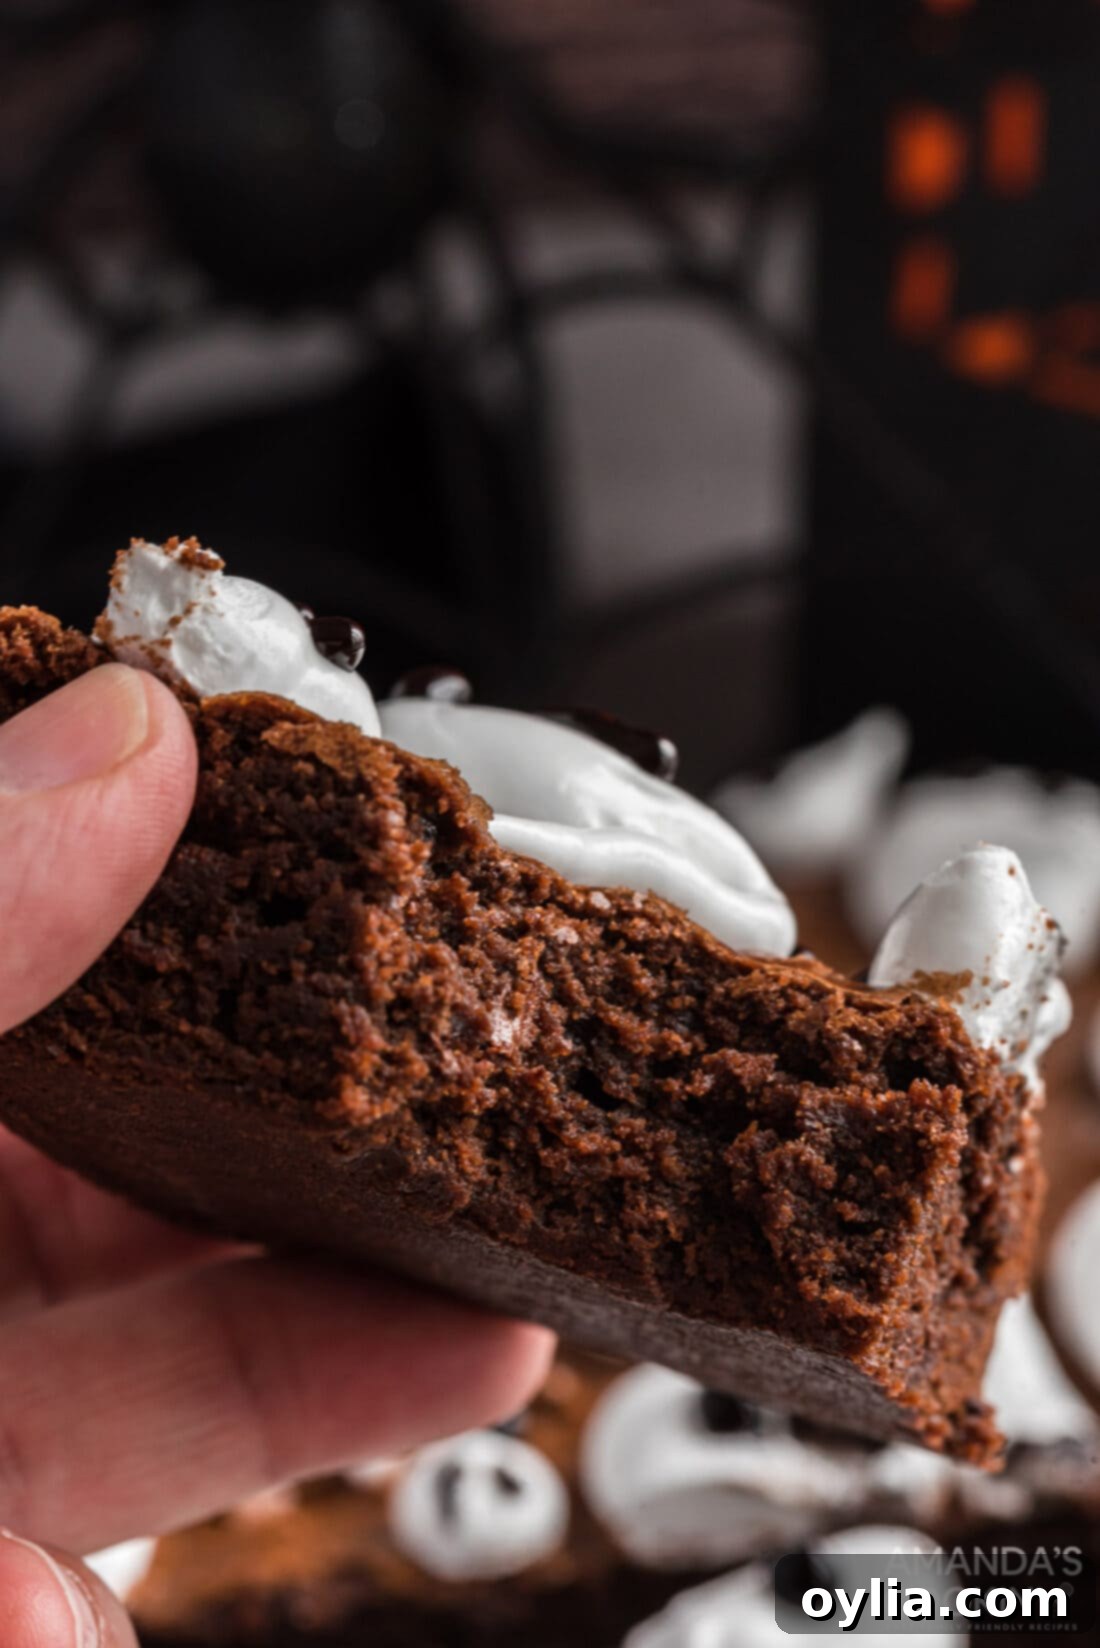
Allow the marshmallow ghosts to set at room temperature for 1-2 hours before slicing and serving. This ensures they firm up beautifully and maintain their shape.
Nutrition
The recipes on this blog are tested with a conventional gas oven and gas stovetop. It’s important to note that some ovens, especially as they age, can cook and bake inconsistently. Using an inexpensive oven thermometer can assure you that your oven is truly heating to the proper temperature. If you use a toaster oven or countertop oven, please keep in mind that they may not distribute heat the same as a conventional full sized oven and you may need to adjust your cooking/baking times. In the case of recipes made with a pressure cooker, air fryer, slow cooker, or other appliance, a link to the appliances we use is listed within each respective recipe. For baking recipes where measurements are given by weight, please note that results may not be the same if cups are used instead, and we can’t guarantee success with that method.
This cute marshmallow ghost recipe and inspiration comes from Country Living.
