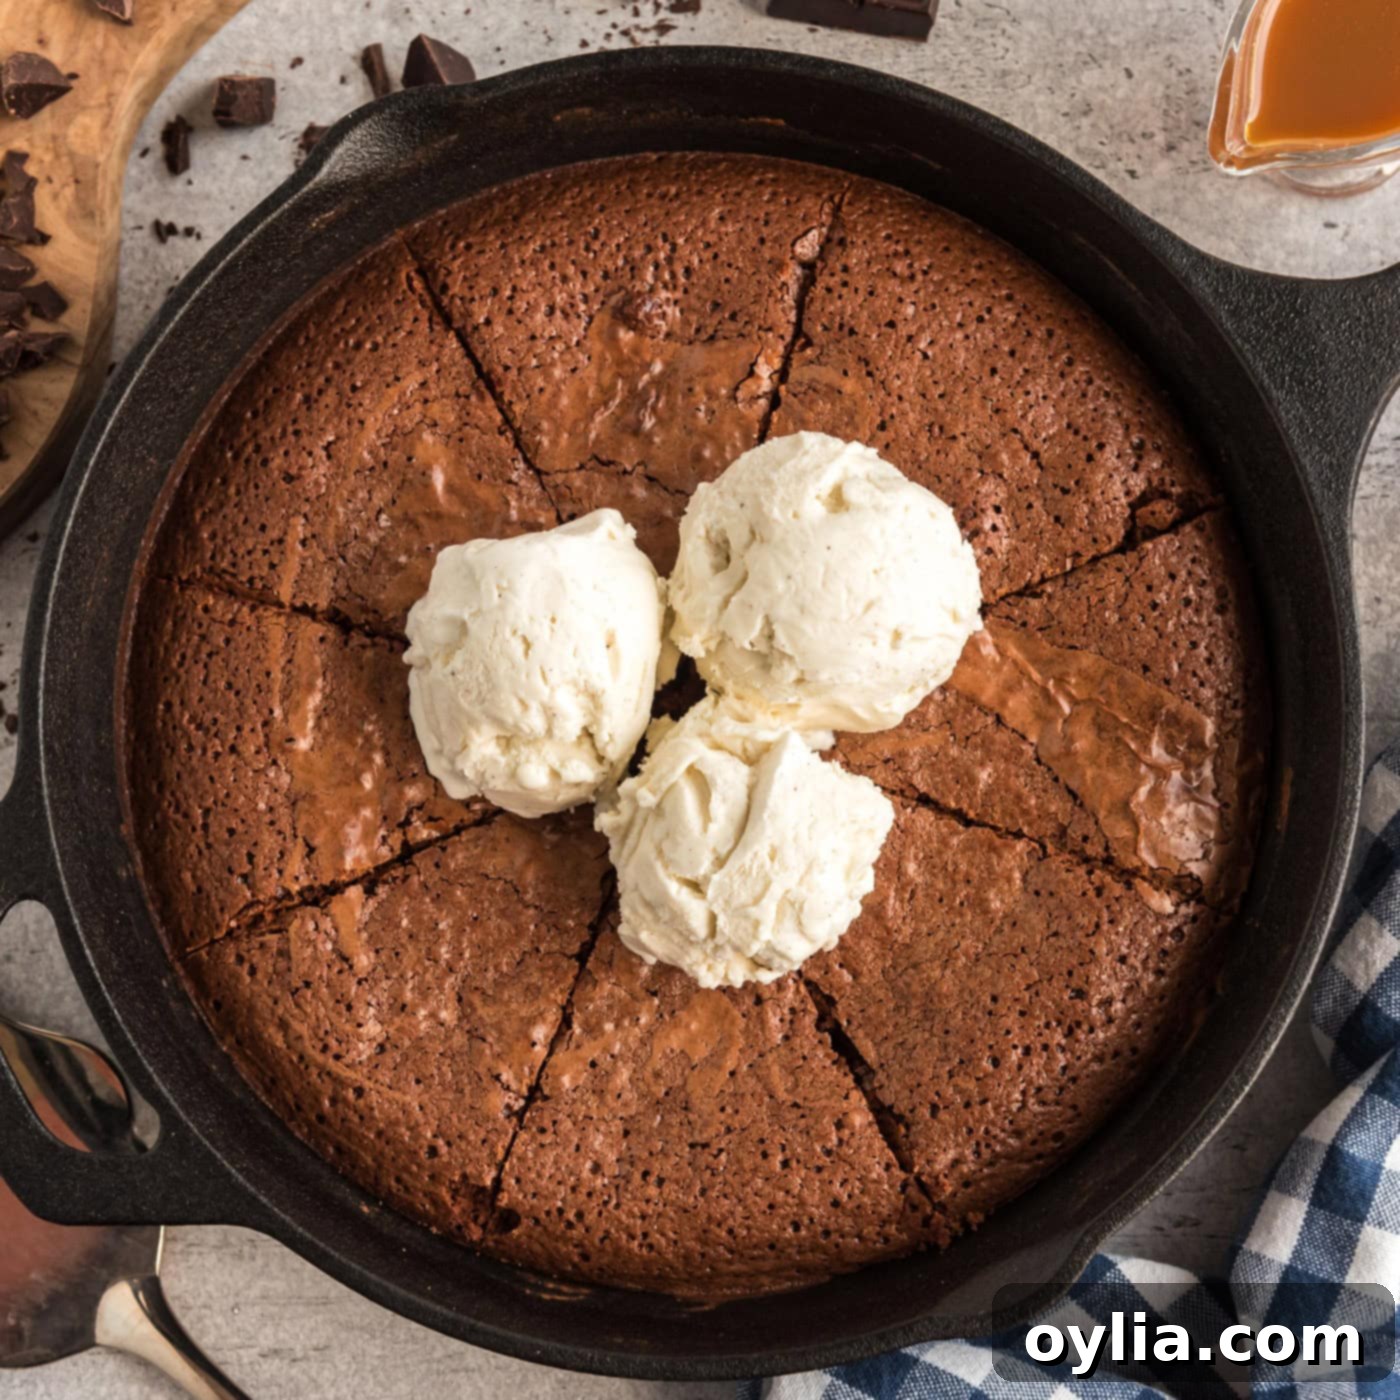
Irresistible One-Pan Fudgy Cast Iron Skillet Brownies: The Ultimate Easy Dessert
Imagine biting into a warm, deeply fudgy brownie, complete with that coveted crackled top and perfectly crisp edges, all made effortlessly in a single cast iron skillet. Top it off with a generous scoop of vanilla ice cream, and you’ve got dessert perfection! These cast iron skillet brownies are not just delicious; they’re incredibly simple to make, requiring no extra bowls and minimizing cleanup. Get ready for the best homemade brownies you’ve ever tasted, designed for maximum flavor and minimum fuss.
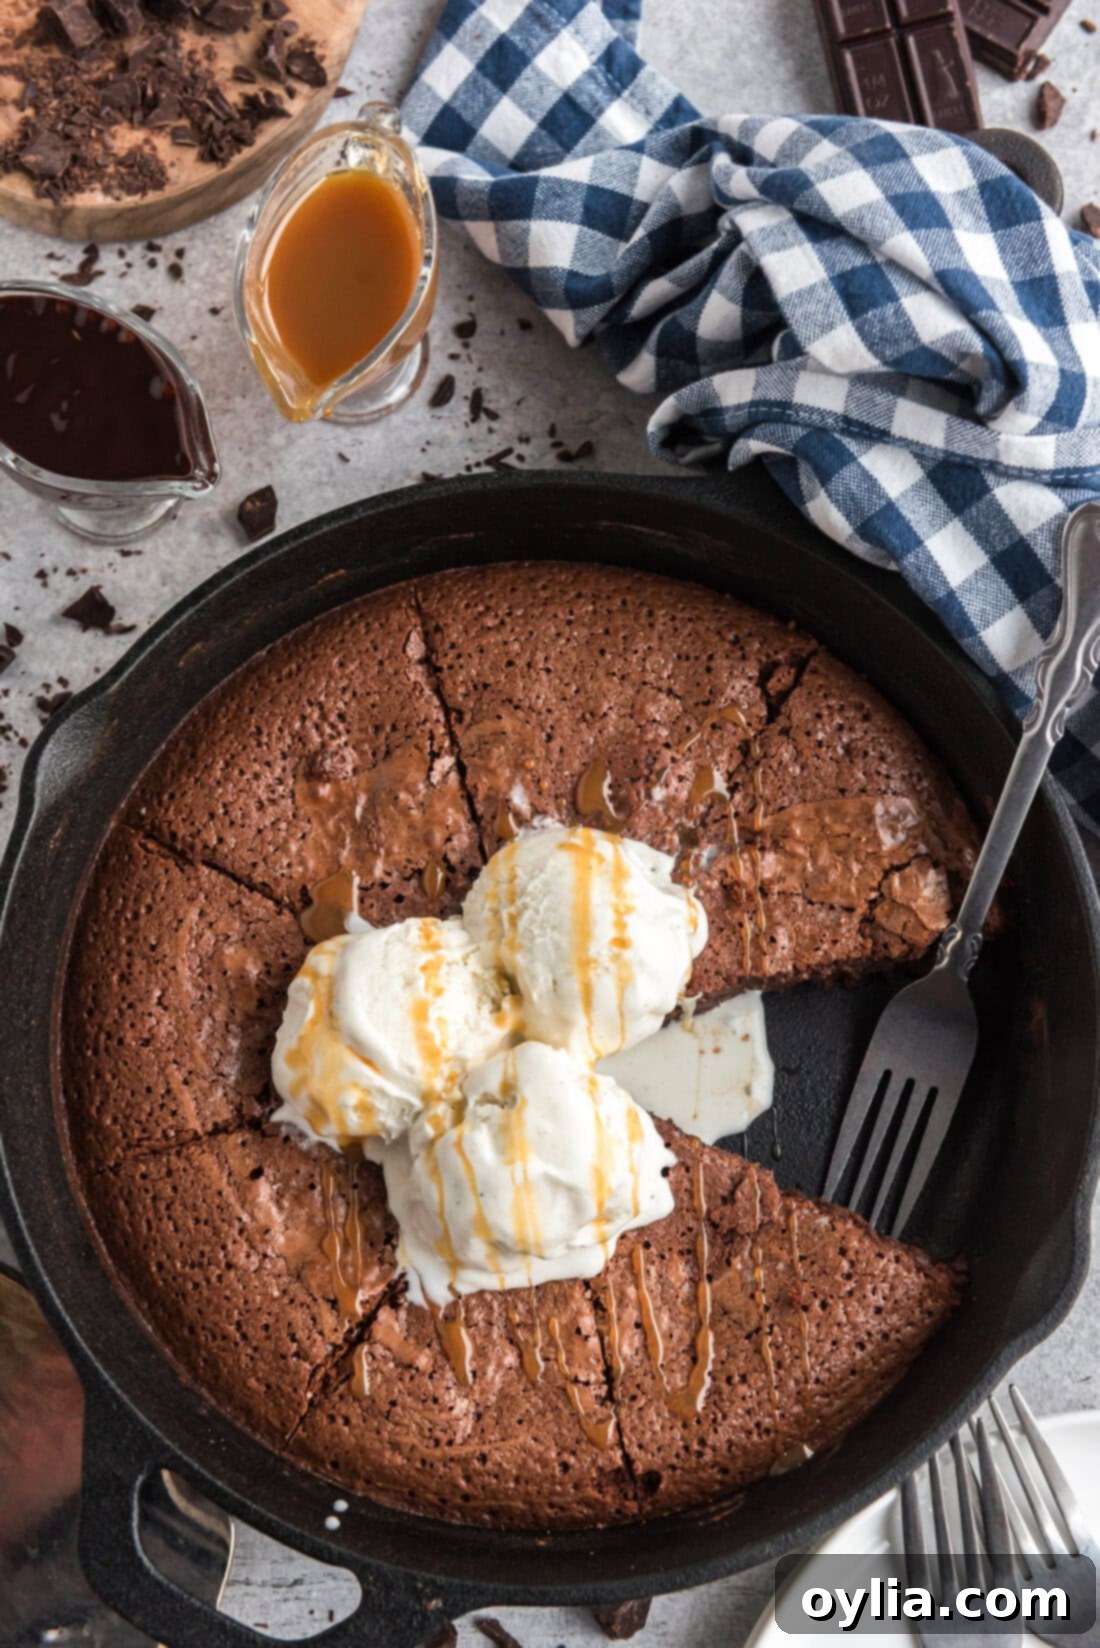
Why These One-Skillet Brownies Are the Best
When it comes to homemade desserts, skillet brownies truly stand out. They embody everything a perfect fudgy brownie recipe should be: wonderfully thick, delightfully chewy, and intensely rich. I’ve been perfecting this particular recipe since 2010, and in that time, countless batches of these decadent brownies have emerged from my oven. There’s an undeniable comfort and rustic charm to serving old-fashioned brownies directly from a cast iron skillet.
The secret to their exceptional quality lies, of course, in the cast iron skillet itself. Cast iron is renowned for its superior heat distribution, which ensures an even bake and consistently decadent brownies every single time. This even heating contributes to the coveted crisp edges and that irresistible crackled top, while keeping the center perfectly fudgy. Plus, serving individual wedge slices directly from the pan is an experience in itself – a true “chef’s kiss” moment. Or, if you’re like me and prefer a more casual approach, simply grab a spoon and dig in, much like you would with a cookie skillet. The natural seasoning of your cast iron skillet also plays a crucial role, preventing the brownies from sticking and eliminating the need for extra greasing in most cases. Best of all, the entire brownie batter comes together in the skillet itself, meaning virtually no dirty mixing bowls to wash afterwards. It’s a fuss-free, delicious experience from start to finish!
Essential Ingredients for Your Skillet Brownies
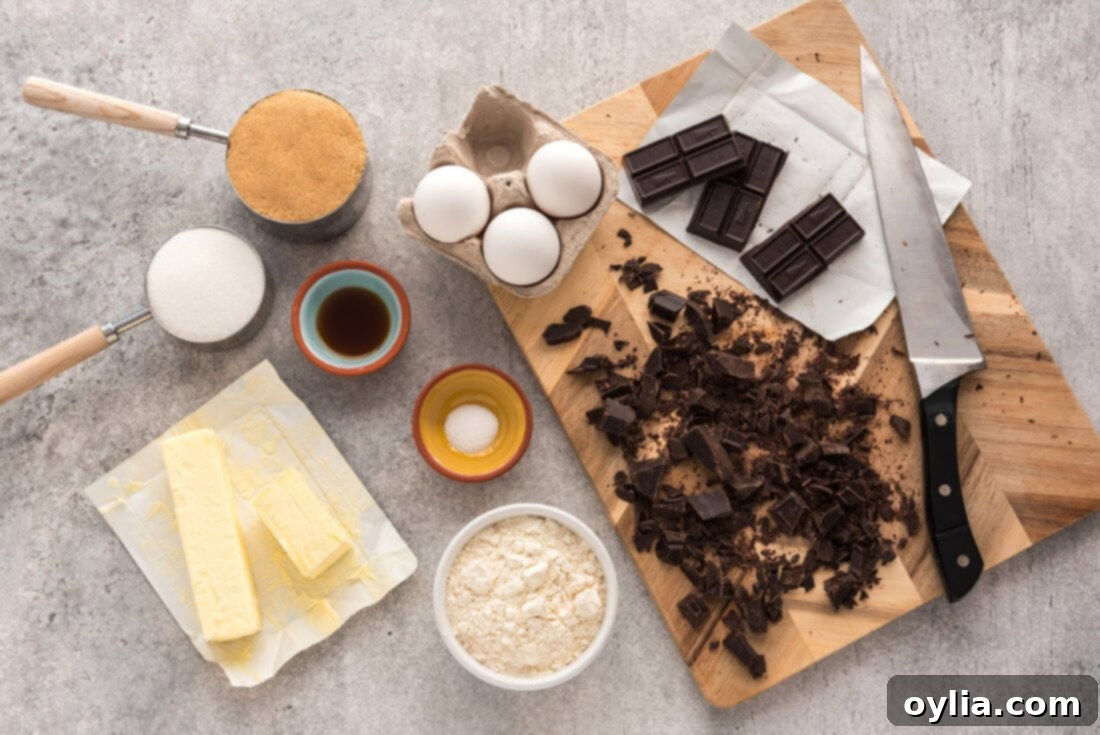
Creating these sensational skillet brownies calls for a few simple pantry staples. The magic truly happens when these high-quality ingredients come together in your cast iron pan. You’ll find all the precise measurements and detailed instructions in the printable recipe card located at the very end of this post. For now, let’s explore the key components that give these brownies their signature flavor and texture.
Detailed Ingredient Information and Smart Substitutions
Understanding each ingredient’s role is key to baking perfect brownies. Here’s a closer look at what goes into our skillet brownies and how you can adapt the recipe:
CHOCOLATE – Unlike many recipes that rely on cocoa powder, we use coarsely chopped unsweetened baking chocolate as the foundation for these brownies. This choice is deliberate: real unsweetened chocolate delivers an unparalleled richness and deep, complex chocolate flavor that cocoa powder simply can’t match. The higher fat content in baking chocolate also contributes to the incredibly fudgy texture. For a slightly less intense, but still rich, flavor, you can absolutely substitute with a bar of bittersweet baking chocolate. However, for that ultimate fudgy, deep chocolate experience, stick with unsweetened.
BUTTER – Unsalted butter is crucial for achieving the moist, tender crumb and rich flavor profile of these brownies. It provides the necessary fat for a fudgy texture and helps carry the chocolate flavor. Using unsalted butter also gives you complete control over the salt content in your recipe. If you only have salted butter on hand, you can use it, but consider slightly reducing the added salt (about 1/8 teaspoon less).
SUGARS (Light Brown & Granulated) – The combination of light brown sugar and granulated sugar is no accident. Brown sugar contributes moisture and a delicious chewiness, thanks to its molasses content, helping to keep the brownies soft and fudgy. Granulated sugar, on the other hand, ensures sweetness and helps create that iconic crackled top that brownie lovers adore. This blend is key to achieving both the texture and appearance we’re aiming for.
EGGS – Eggs are vital binders in this recipe, providing structure and contributing significantly to the rich, dense texture. Adding them one at a time and mixing thoroughly helps create an emulsion with the fats and sugars, which is essential for that perfect fudgy consistency and the shiny, crackly top. Don’t rush this step!
PURE VANILLA EXTRACT – A splash of pure vanilla extract might seem small, but it elevates the entire chocolate flavor, adding depth and warmth without overpowering the star ingredient. Always opt for pure vanilla for the best results; imitation vanilla won’t deliver the same aromatic complexity.
UNBLEACHED ALL-PURPOSE FLOUR – Just enough flour is used to bind the ingredients without making the brownies cakey. Unbleached all-purpose flour provides the necessary structure while allowing the fudgy richness to shine. Resist the urge to add more flour than specified, as this can lead to dry, tough brownies.
SALT – A pinch of salt is essential for balancing the sweetness and enhancing the deep chocolate notes. It’s a flavor enhancer that makes all the other ingredients taste even better, preventing the brownies from being overly sweet or flat.
Effortless Steps to Making Perfect Skillet Brownies
These step-by-step photos and detailed instructions are designed to help you visualize each stage of making this incredible recipe. For a convenient printable version, complete with all measurements and full instructions, simply Jump to Recipe at the bottom of this post.
- Preheat your oven to 325 F. This ensures your oven is at the correct temperature for even baking once the batter is ready. Place your cast iron skillet directly on a stovetop burner over low heat.
- Cut your butter into six uniform chunks and add them to the skillet along with the coarsely chopped unsweetened chocolate. Cook this mixture over very low heat, stirring occasionally with a wooden spoon. The key here is patience; melting slowly prevents the chocolate from scorching and the butter from browning too quickly, which can alter the flavor.
PRO TIP – Because we’re using very low heat, the melting process will take some time. Use this opportunity to measure out your remaining ingredients. This prevents the temptation to crank up the heat, ensuring a perfectly smooth and melted chocolate-butter base without any burning.
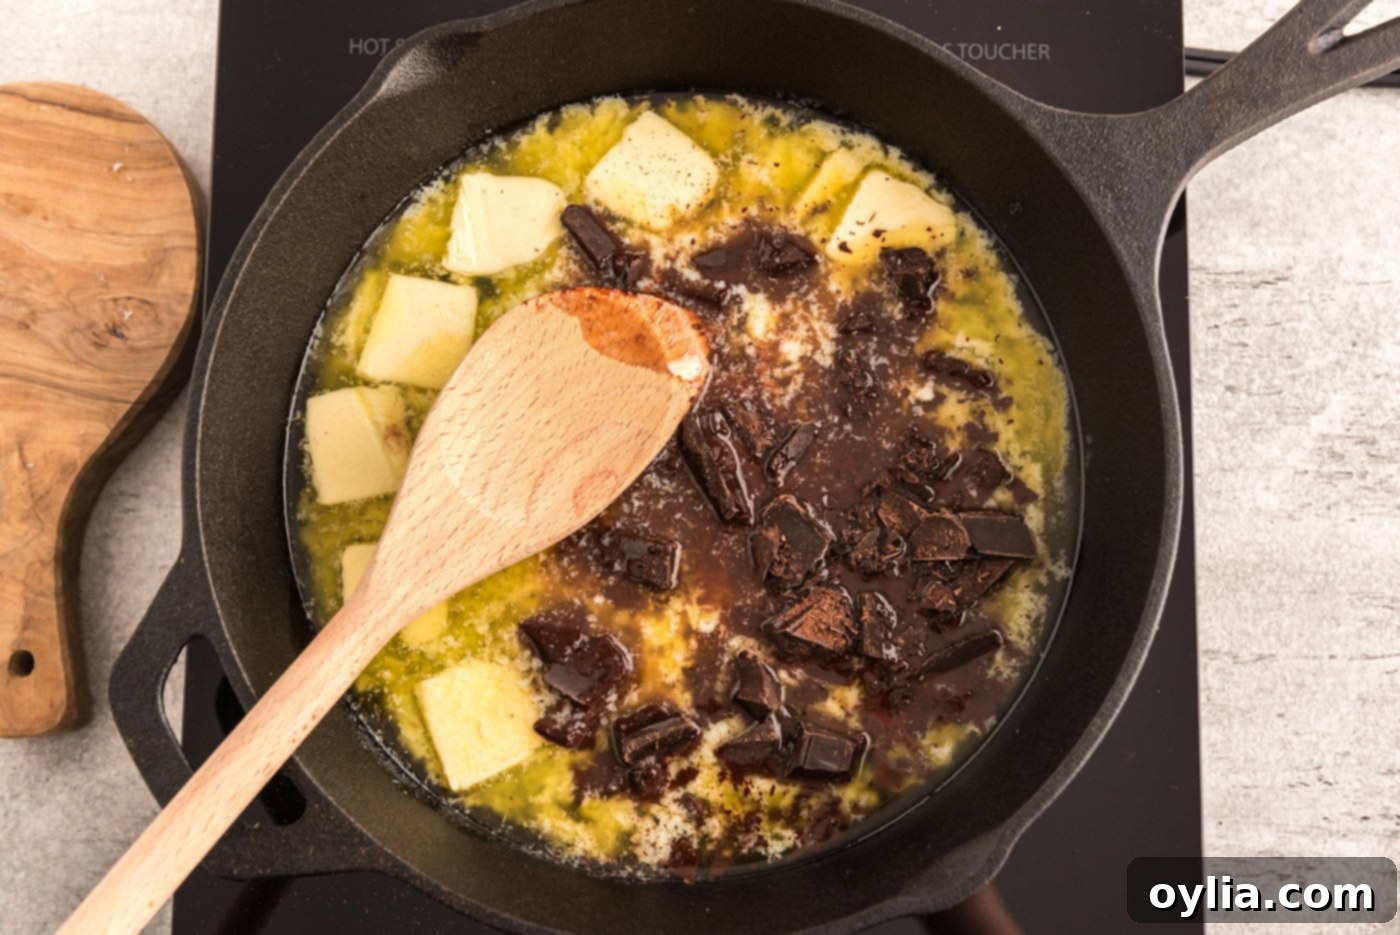
- Once the chocolate and butter are fully melted and smoothly combined, remove the skillet from the heat. Immediately add both the light brown sugar and granulated sugar. Stir vigorously until both sugars are completely dissolved and fully incorporated into the chocolate mixture. This vigorous stirring is key to creating that signature crackled top and ensuring uniform sweetness throughout.
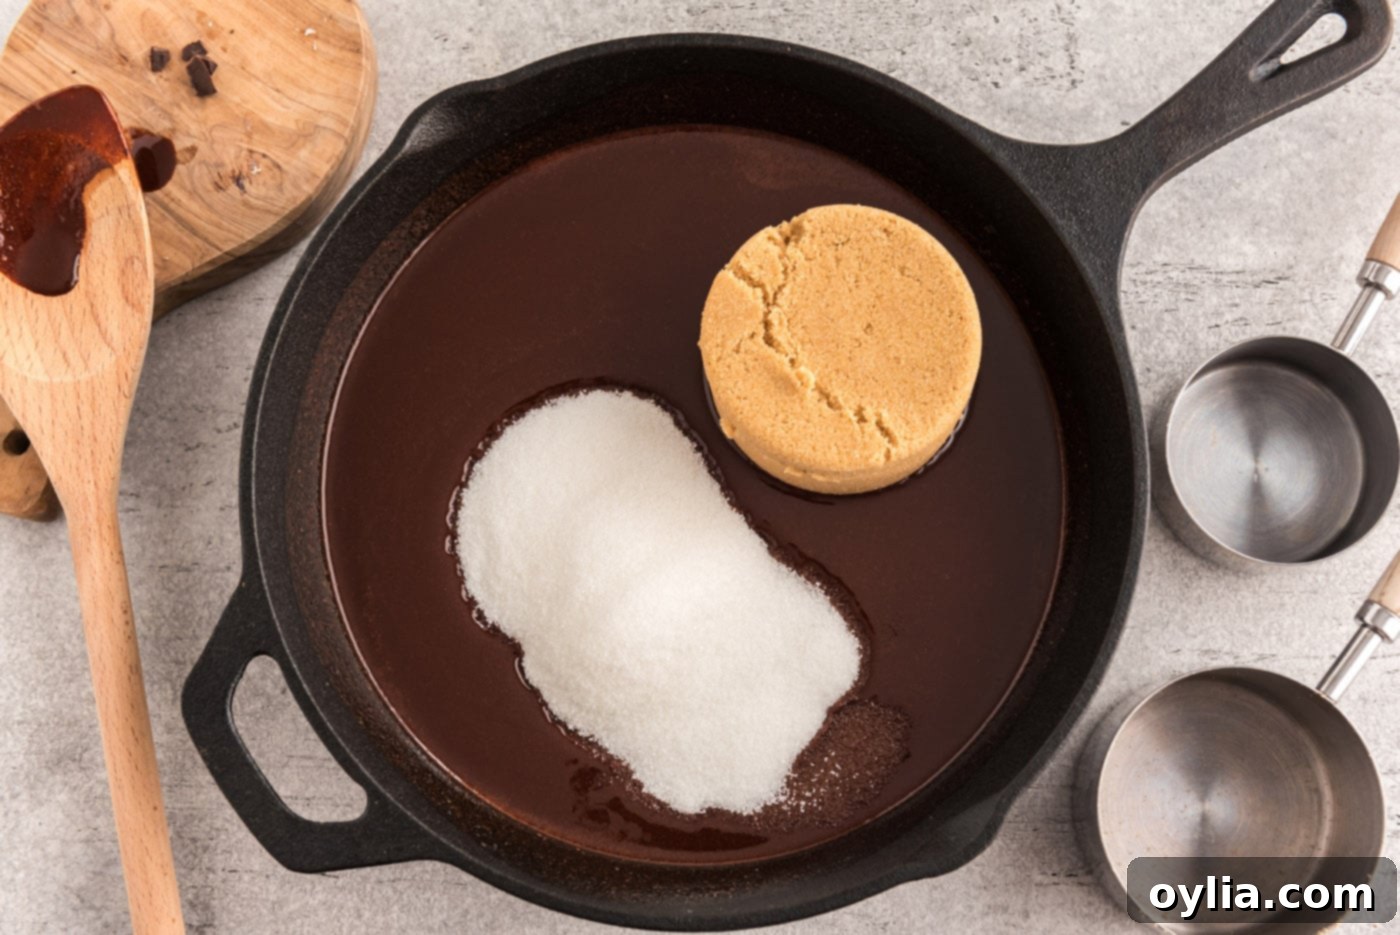
- Add the eggs, one at a time, making sure to stir exceptionally well after each addition. This methodical approach ensures that each egg is fully emulsified into the batter, which is critical for a uniform, fudgy texture and helps set the stage for that gorgeous crackled top. Don’t skimp on the stirring!
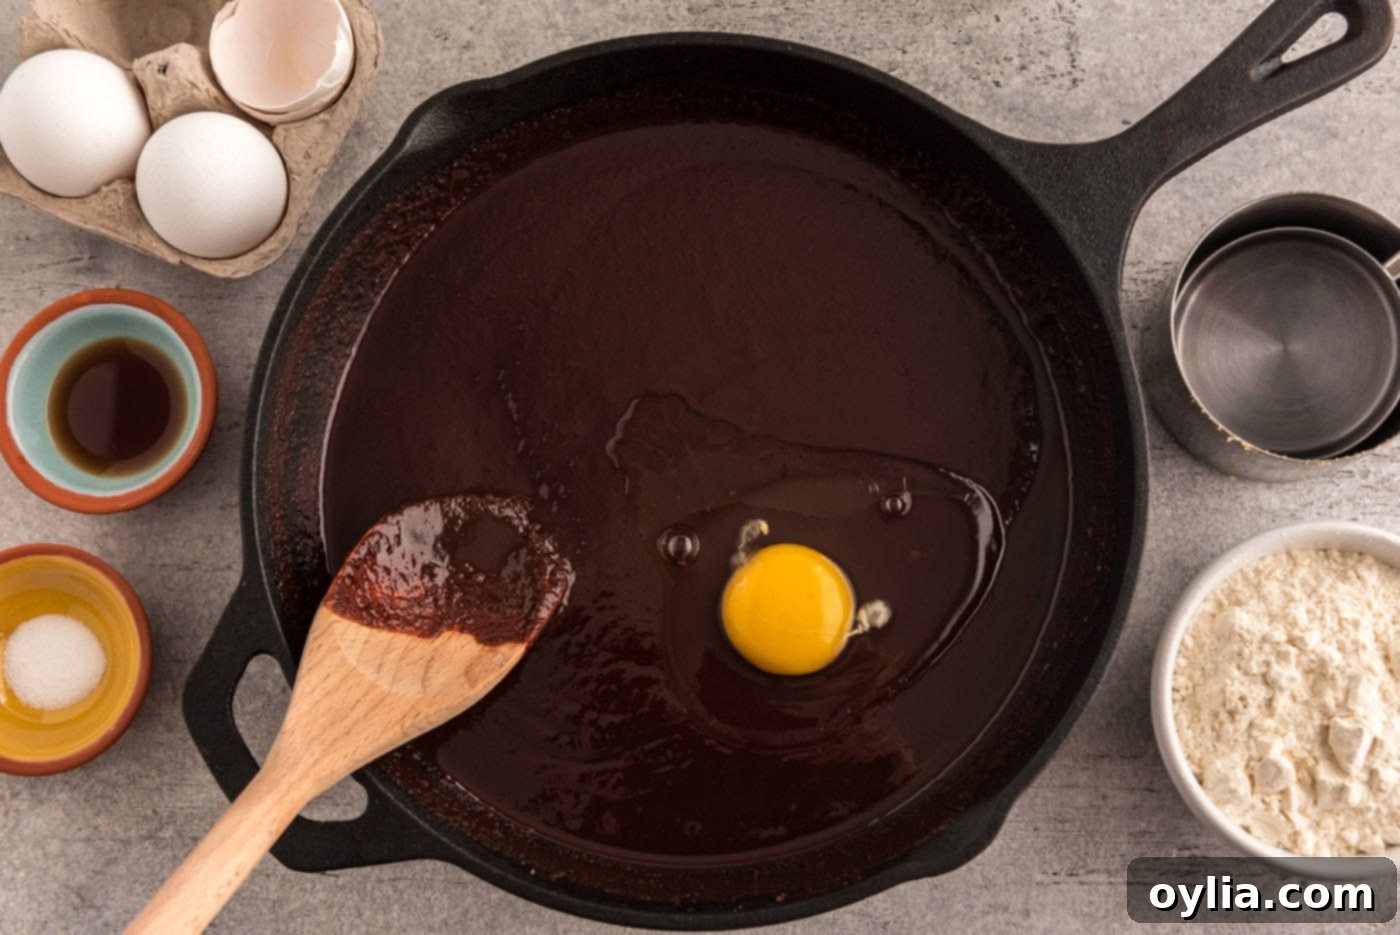
- Stir in the pure vanilla extract until it is fully blended into the mixture. Vanilla is a flavor enhancer that brings out the best in the chocolate.
- Add the flour and salt to the skillet. Gently stir until there are no visible traces of dry flour left. Be careful not to overmix; over-mixing develops gluten, which can lead to tough, cakey brownies rather than the desired fudgy texture. Stop mixing as soon as the flour disappears.
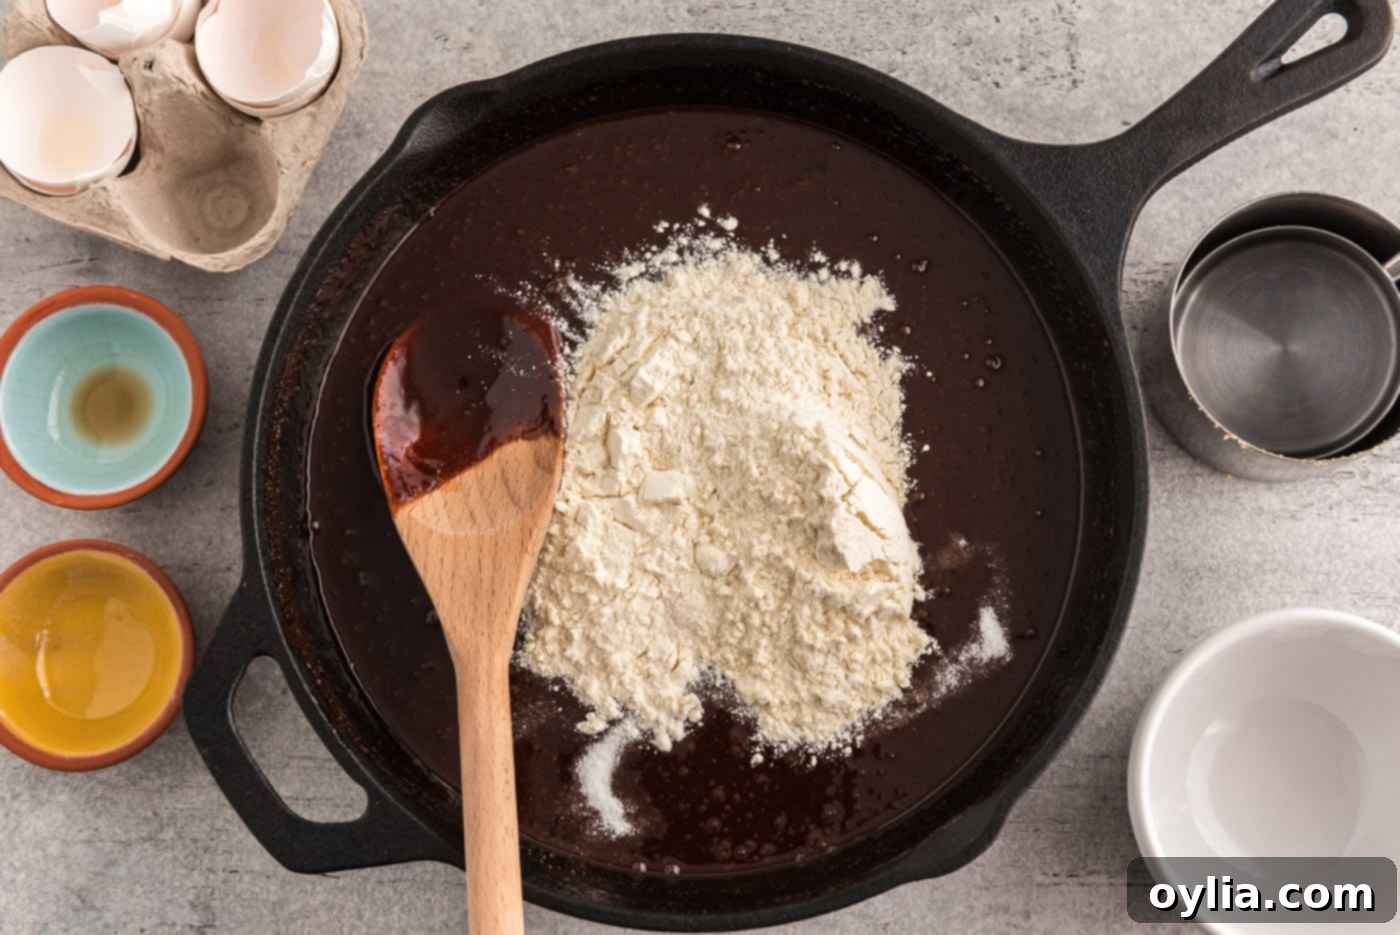
- Using a rubber spatula, carefully scrape down the sides of the pan to ensure all the batter is incorporated and smoothed into the center. This helps ensure even baking and a beautiful presentation.
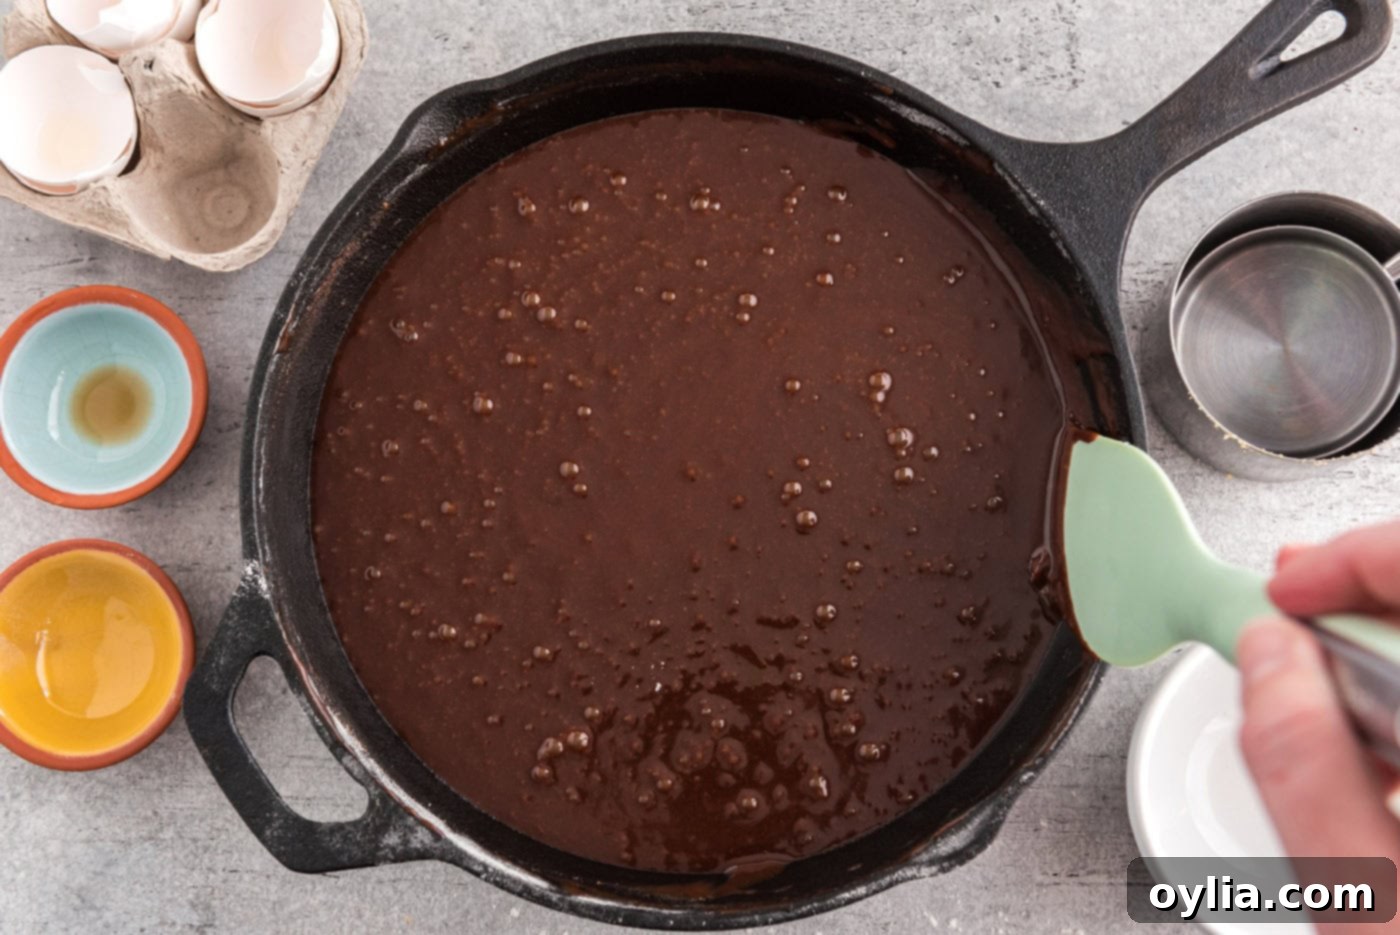
- Place the skillet into your preheated oven and bake for approximately 50 minutes. To test for doneness, insert a toothpick into the very center of the brownies. For fudgy brownies, the toothpick should come out mostly clean, with a few moist crumbs attached. If it’s still wet with raw batter, return it to the oven and bake in 5-minute increments, checking each time, until just right. Avoid overbaking, as this can lead to dry brownies.
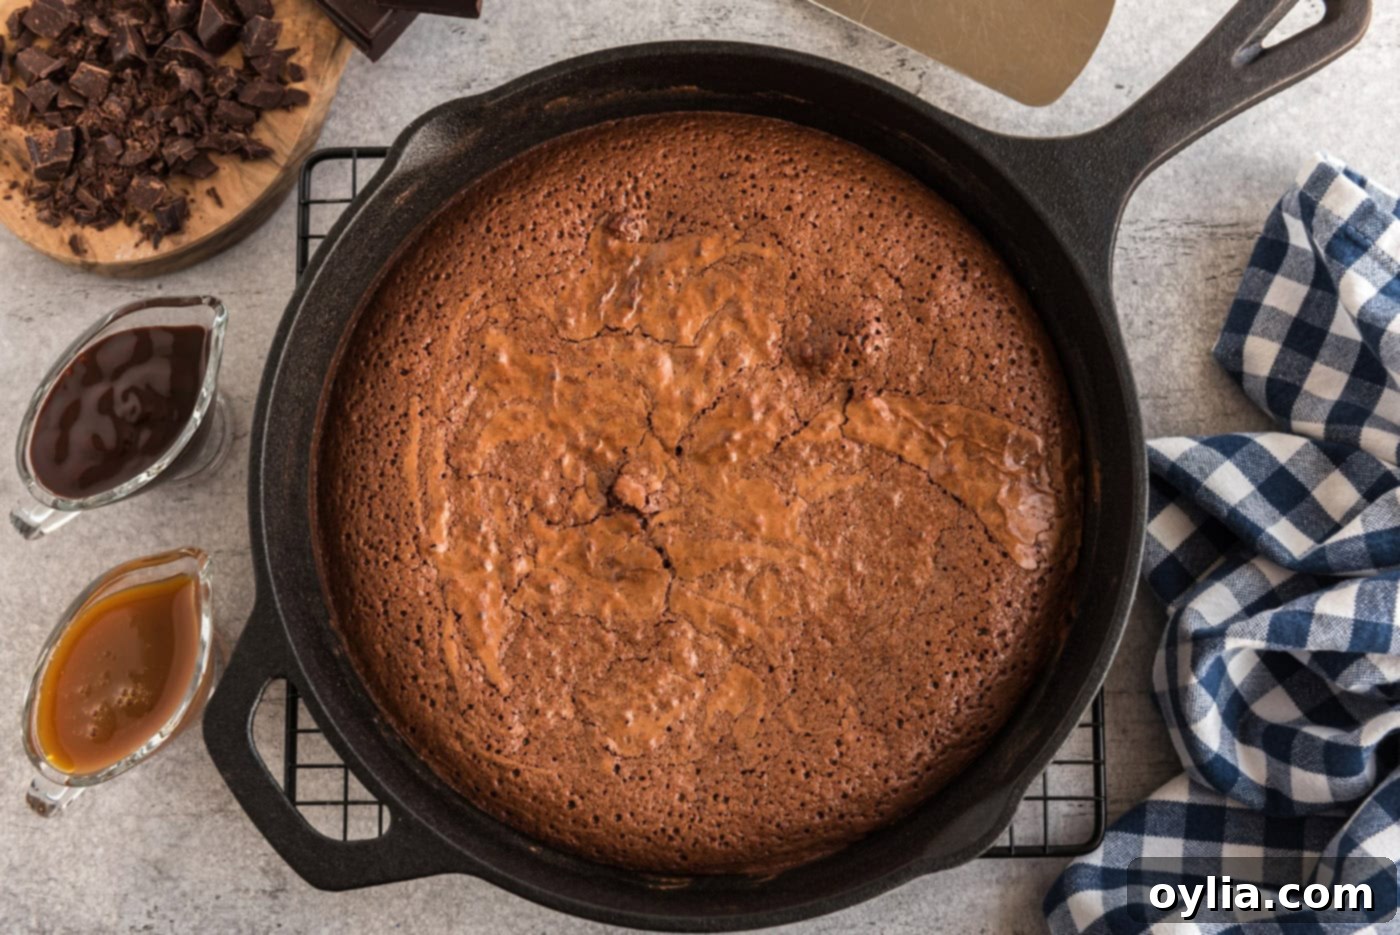
- Allow the brownies to cool on a wire rack for about 15 minutes. This initial cooling period helps them set slightly. If you’re eager to enjoy warm brownies with melting ice cream and a drizzle of chocolate sauce, now is the perfect time to cut a wedge. Otherwise, for cleaner, more defined slices, let the brownies cool completely in the skillet before cutting them into wedges.
Frequently Asked Questions & Expert Tips for Perfect Brownies
I achieved these wonderfully thick brownies using a 9 3/4-inch cast iron skillet. This size creates a dense, rich brownie. You can certainly use a larger skillet, but be aware that your brownies will be thinner, and you’ll likely need to adjust the baking time. Thinner brownies will cook faster, so start checking for doneness around the 35-40 minute mark. Always bake until a toothpick inserted into the center comes out mostly clean, with a few moist crumbs, but no wet batter!
Absolutely, mix-ins are a fantastic way to customize your skillet brownies! While I personally love the depth of coarsely chopped baking chocolate, adding chocolate chips is a delightful option. Feel free to use semi-sweet, dark, or even milk chocolate chips. Nuts like chopped walnuts or pecans also make a wonderful addition, enhancing the texture and flavor. Stir in about 1/2 to 1 cup of your preferred mix-ins at the same time you add the flour and salt. A brownie only gets better with a few delicious surprises, right?
To keep your leftover skillet brownies fresh, first ensure they are completely cooled. Then, you can transfer the brownie wedges to an airtight container or a large resealable zip-top bag. Store them at room temperature, and they will remain wonderfully fudgy for up to 5 days. For longer storage, you can freeze individual wedges wrapped tightly in plastic wrap and then foil for up to 3 months. Thaw at room temperature or gently warm for a fresh-baked taste.
If your cast iron skillet is well-seasoned, a light greasing with butter or baking spray is usually sufficient to prevent sticking. The natural non-stick properties of seasoned cast iron are one of its many benefits. However, for extra assurance, especially if your seasoning isn’t perfect, a thin layer of butter or a quick spray of non-stick cooking spray before adding the batter is always a good idea.
Dry or cakey brownies are typically the result of one of two things: overbaking or overmixing the batter. Overbaking removes too much moisture, leading to a dry texture. Keep a close eye on the baking time and rely on the toothpick test (a few moist crumbs are good, but no wet batter). Overmixing the flour activates too much gluten, which can make brownies tough and cake-like instead of fudgy. Mix just until the flour disappears.
Delightful Serving Suggestions for Skillet Brownies
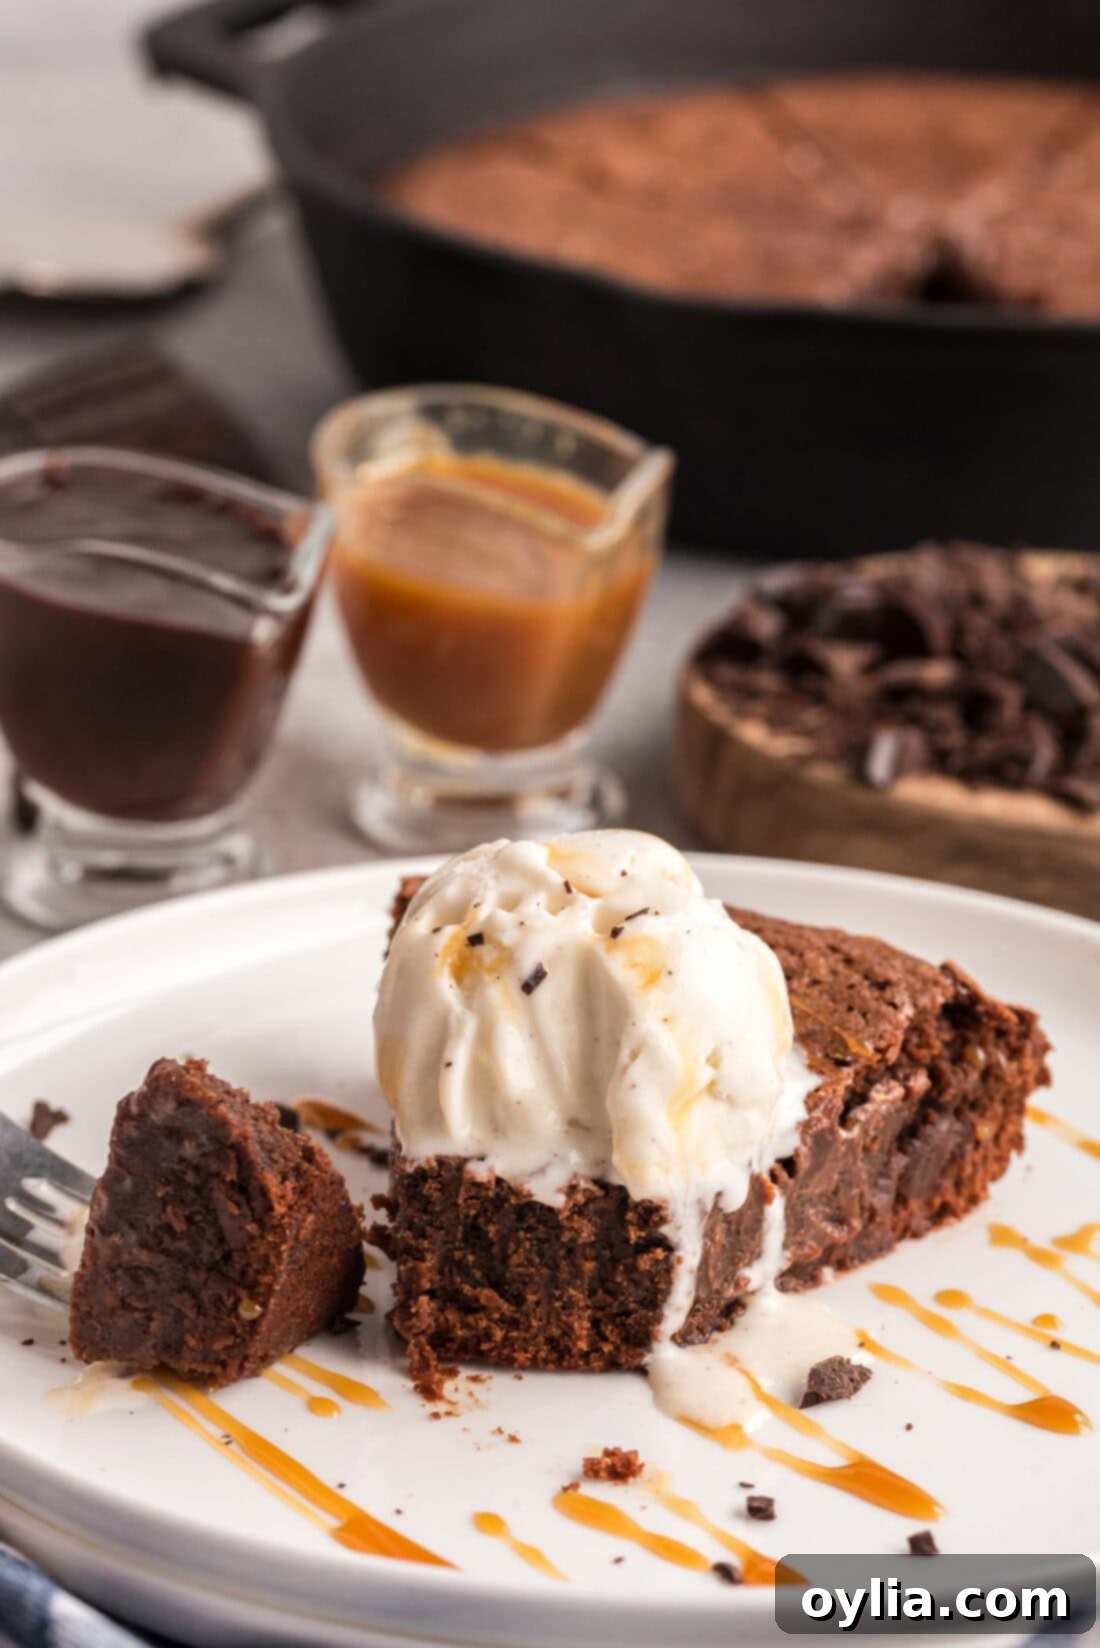
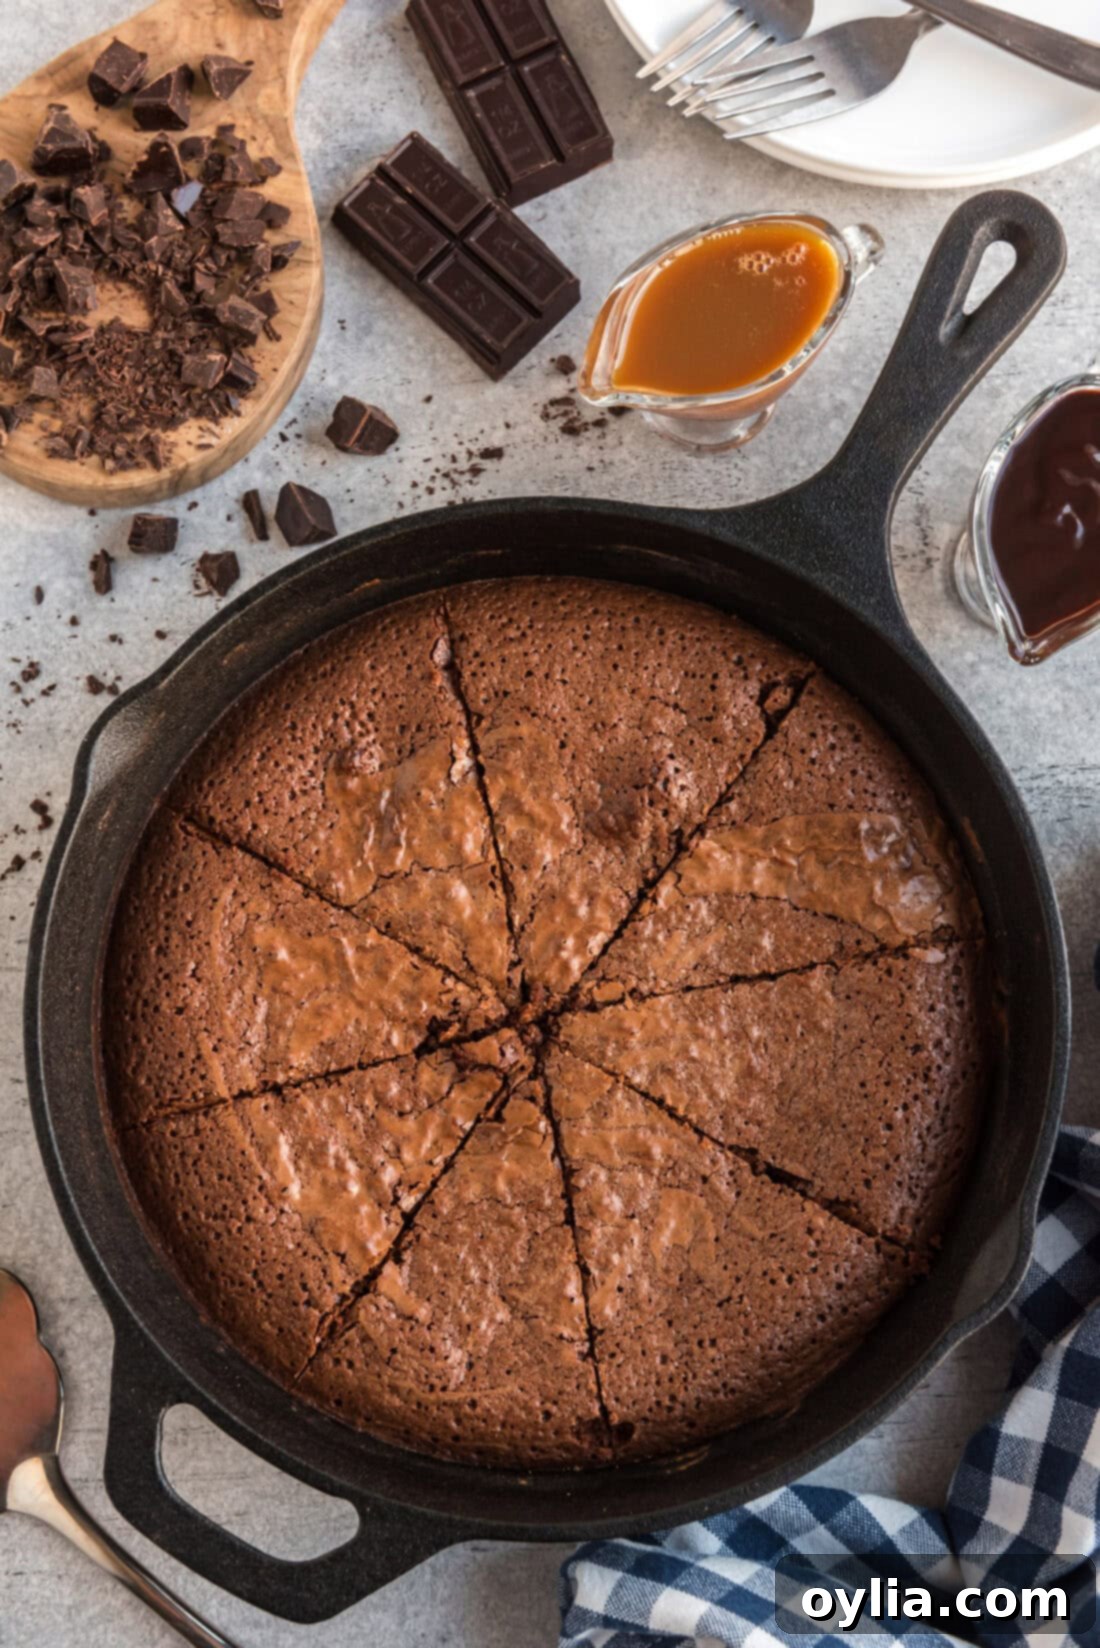
The beauty of these cast iron skillet brownies is their versatility in serving. For the ultimate indulgent experience, serve them warm straight from the skillet. The warmth allows them to be wonderfully gooey, perfect for topping with a generous scoop (or three!) of creamy vanilla ice cream. Take it up a notch with a decadent drizzle of homemade chocolate syrup, luscious caramel sauce, or even a sprinkle of sea salt to enhance the chocolate. If vanilla isn’t your preference, consider coffee-flavored ice cream for a sophisticated pairing or even a dollop of fresh whipped cream and some fresh berries for a lighter touch.
In my humble opinion, the most authentic and satisfying way to enjoy a skillet brownie is to grab a spoon and dig right in – there’s nothing quite like that communal, warm, gooey experience! However, if you’re planning to share with guests, host a gathering, or simply want to save some for later (if there are any leftovers!), you can elegantly slice them into individual wedges, just like a pie. No matter how you choose to enjoy them, these fudgy treats are guaranteed to be a crowd-pleaser. Happy indulging!
Explore More Irresistible Brownie Recipes
If you’ve fallen in love with these skillet brownies, you’re in for a treat! We have an array of other fantastic brownie recipes that cater to every craving:
- Quick & Easy Brownie in a Mug
- Luxurious Millionaire Brownies
- Sweet & Salty Salted Brownie Cookies
- Decadent Chocolate Cheesecake Brownies
I absolutely adore baking and cooking, and it brings me so much joy to share my kitchen adventures and perfected recipes with all of you! Remembering to check back for new creations can be tricky, which is why I offer a convenient newsletter delivered straight to your inbox every time a new recipe is posted. Simply subscribe today and start receiving your free daily dose of delicious recipes!
Skillet Brownies
IMPORTANT – There are often Frequently Asked Questions within the blog post that you may find helpful. Simply scroll back up to read them!
Print It
Pin It
Rate It
Save It
Saved!
Prevent your screen from going dark
Course:
Dessert
Cuisine:
American
9
wedges
1 hour
5 minutes
379
Amanda Davis
Ingredients
-
¾
cup
unsalted butter
1 1/2 sticks -
3
ounces
unsweetened baking chocolate
coarsely chopped -
1
cup
light brown sugar
firmly packed -
½
cup
granulated sugar -
3
eggs -
1
teaspoon
pure vanilla extract -
¾
cup
unbleached all purpose flour -
¼
teaspoon
salt
Things You’ll Need
-
9 inch cast iron skillet -
Rubber spatula
Before You Begin
- I used a 9 3/4″ cast iron skillet for wonderfully thick brownies. Using a larger skillet will result in thinner brownies, and you’ll need to adjust the baking time accordingly (start checking earlier). Bake until a toothpick inserted into the center comes out mostly clean, with a few moist crumbs, but no wet batter.
- For an alternative, you can substitute the unsweetened baking chocolate with a bar of bittersweet baking chocolate if desired, for a slightly less intense but still rich chocolate flavor.
- This recipe is designed for a one-pan experience. All mixing happens directly in the skillet to minimize cleanup.
- Ensure your cast iron skillet is well-seasoned to prevent sticking. A light greasing before starting is always recommended, even for seasoned pans.
Instructions
-
Preheat your oven to 325 F. Place your cast iron skillet on a stovetop burner over very low heat.
-
Cut butter into 6 chunks and place in skillet with the chocolate. Cook over very low heat, stirring occasionally with a wooden spoon until completely melted and smooth.
TIP – Because the heat is low, it can take some time. Use this opportunity to measure out your other ingredients so you aren’t tempted to turn up the heat and risk scorching the chocolate!
3/4 cup unsalted butter,
3 ounces unsweetened baking chocolate -
When the chocolate and butter are completely melted, remove the pan from the heat. Add both sugars and stir vigorously until everything is combined and the sugars are dissolved.1 cup light brown sugar,
1/2 cup granulated sugar -
Add the eggs, one at a time, stirring exceptionally well after each addition until fully incorporated.3 eggs
-
Add the pure vanilla extract and stir well to combine.1 teaspoon pure vanilla extract
-
Add the flour and salt. Stir gently until there are no traces of flour left. Be careful not to overmix to maintain a fudgy texture.3/4 cup unbleached all purpose flour,
1/4 teaspoon salt -
Use a rubber spatula to scrape around the edge of the pan, gathering all the batter into the middle and smoothing the top for even baking.
-
Place the skillet in the preheated oven and bake for 50 minutes. Insert a toothpick into the center to test for doneness. It should come out mostly clean with a few moist crumbs. If still wet, bake at 5-minute intervals until done.
-
Allow the brownies to cool on a wire rack for about 15 minutes. If you desire warm brownies with ice cream and chocolate sauce, cut a wedge now. Otherwise, cool completely before cutting into clean wedges.
Expert Tips & FAQs
- Transfer the cooled brownie wedges to an air-tight container or a large zip-top bag and store at room temperature for up to 5 days.
- For an extra indulgent treat, gently warm individual brownie slices in the microwave for 10-15 seconds before serving with ice cream.
- Don’t be afraid to experiment with mix-ins! White chocolate chips, chopped nuts (walnuts, pecans), or even a swirl of caramel can elevate your brownies.
- Always use a good quality unsweetened baking chocolate for the richest flavor. It makes a significant difference compared to cocoa powder.
- Patience with low heat for melting butter and chocolate is crucial to prevent scorching and ensure a smooth base.
Nutrition
Serving:
1
wedge
|
Calories:
379
cal
|
Carbohydrates:
46
g
|
Protein:
4
g
|
Fat:
22
g
|
Saturated Fat:
13
g
|
Polyunsaturated Fat:
1
g
|
Monounsaturated Fat:
6
g
|
Trans Fat:
1
g
|
Cholesterol:
95
mg
|
Sodium:
97
mg
|
Potassium:
148
mg
|
Fiber:
2
g
|
Sugar:
35
g
|
Vitamin A:
552
IU
|
Calcium:
44
mg
|
Iron:
3
mg
Tried this Recipe? Pin it for Later!
Follow on Pinterest @AmandasCookin or tag #AmandasCookin!
The recipes on this blog are tested with a conventional gas oven and gas stovetop. It’s important to note that some ovens, especially as they age, can cook and bake inconsistently. Using an inexpensive oven thermometer can assure you that your oven is truly heating to the proper temperature. If you use a toaster oven or countertop oven, please keep in mind that they may not distribute heat the same as a conventional full sized oven and you may need to adjust your cooking/baking times. In the case of recipes made with a pressure cooker, air fryer, slow cooker, or other appliance, a link to the appliances we use is listed within each respective recipe. For baking recipes where measurements are given by weight, please note that results may not be the same if cups are used instead, and we can’t guarantee success with that method.
This post originally appeared on this blog on June 10, 2010 and has since been updated with new photos and expert tips.
