Crispy Panko Fried Fish Sliders: Your Ultimate Guide to Flavorful Mini Seafood Sandwiches
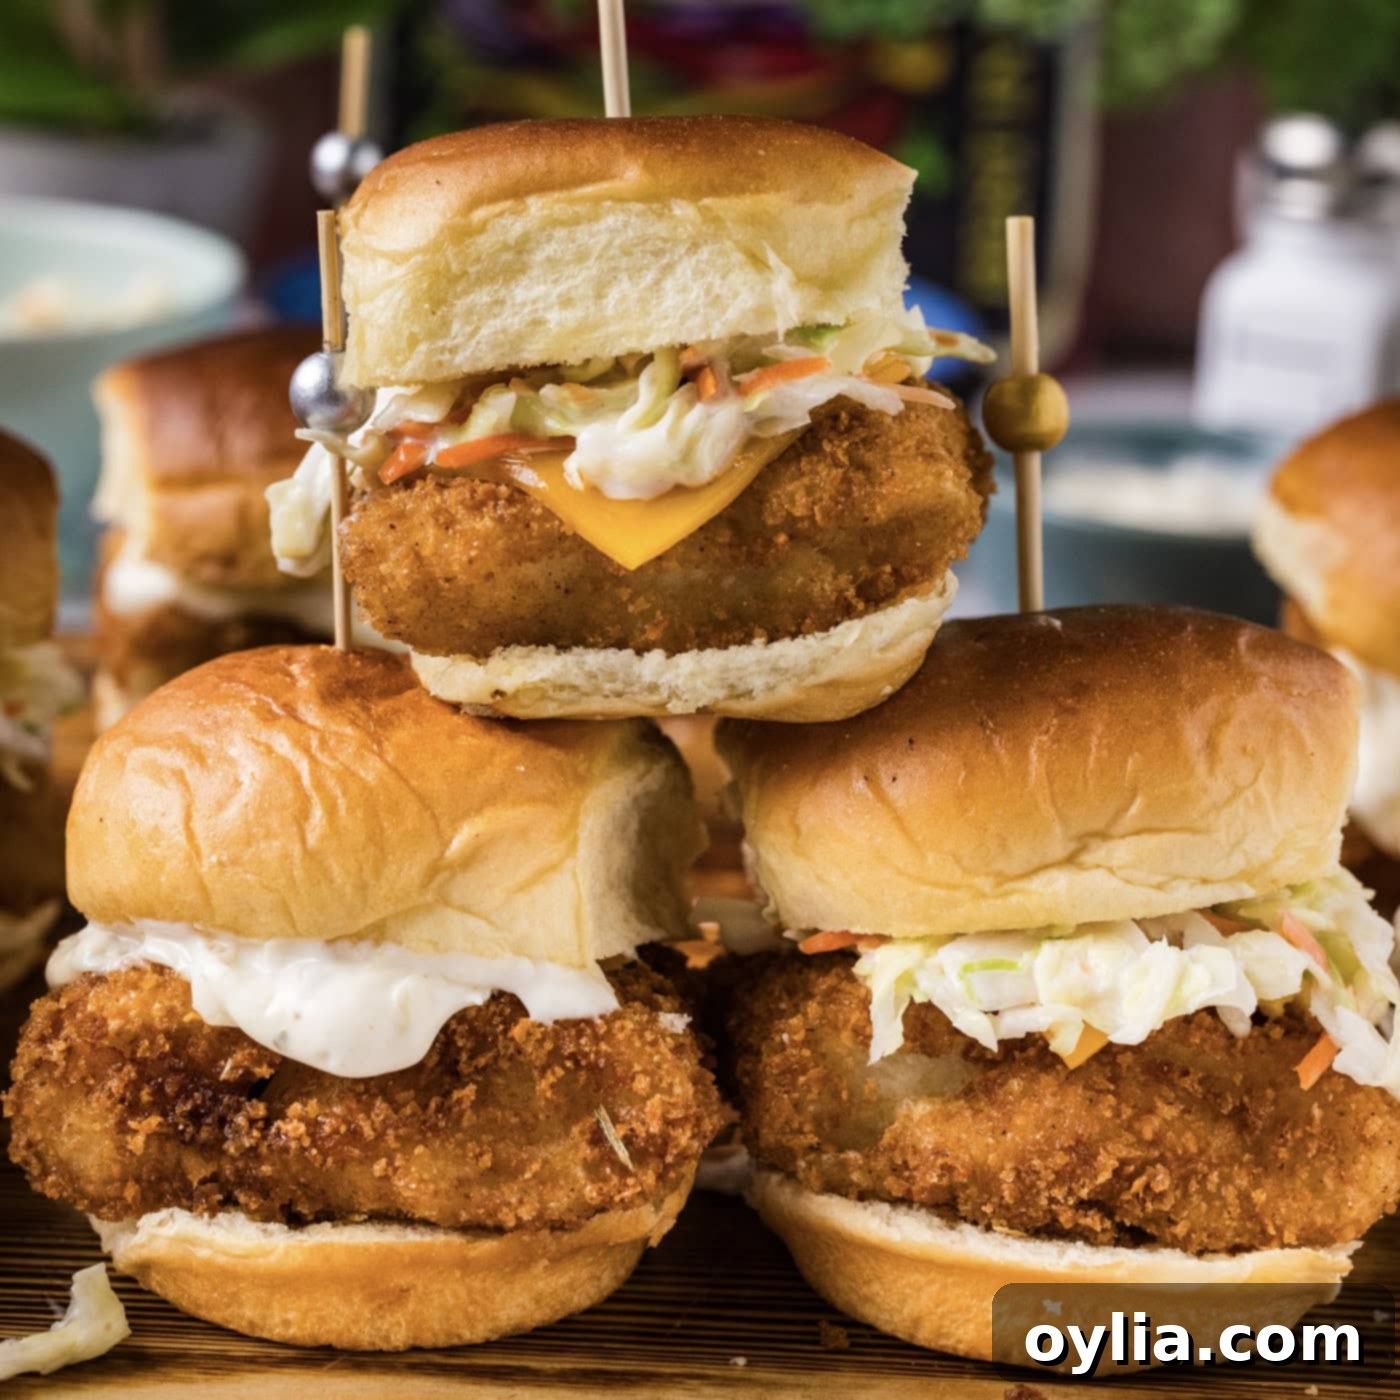
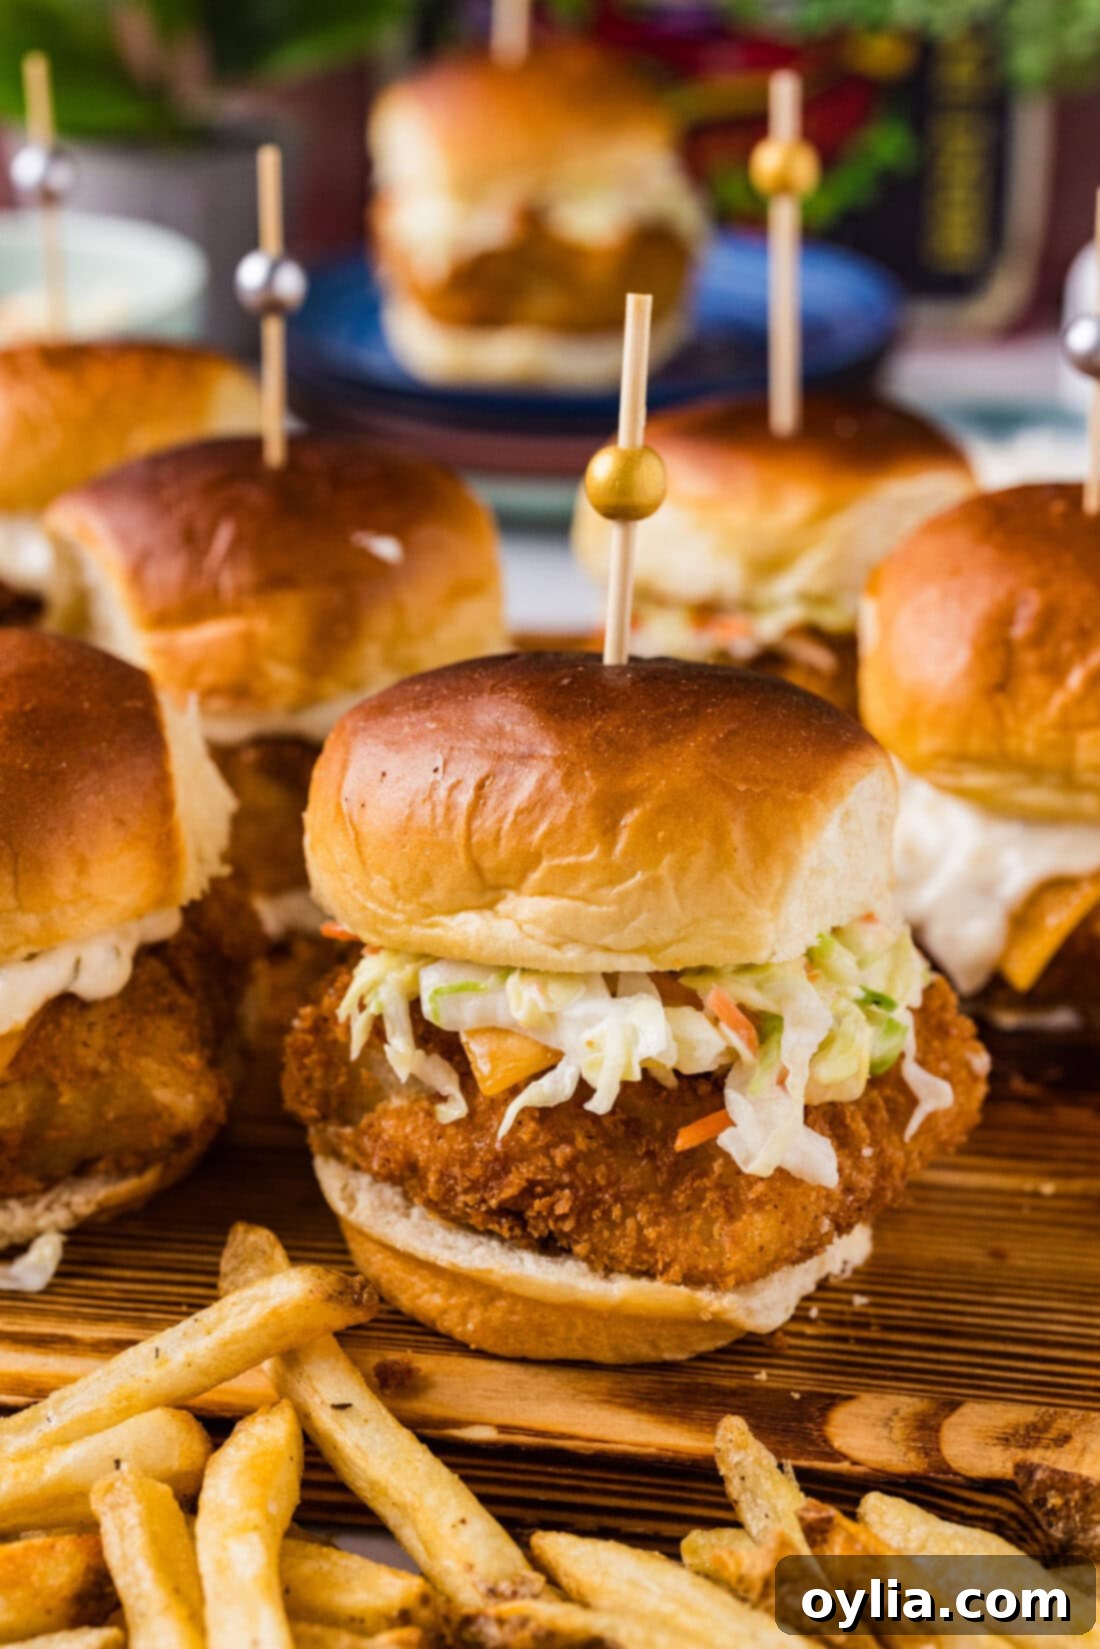
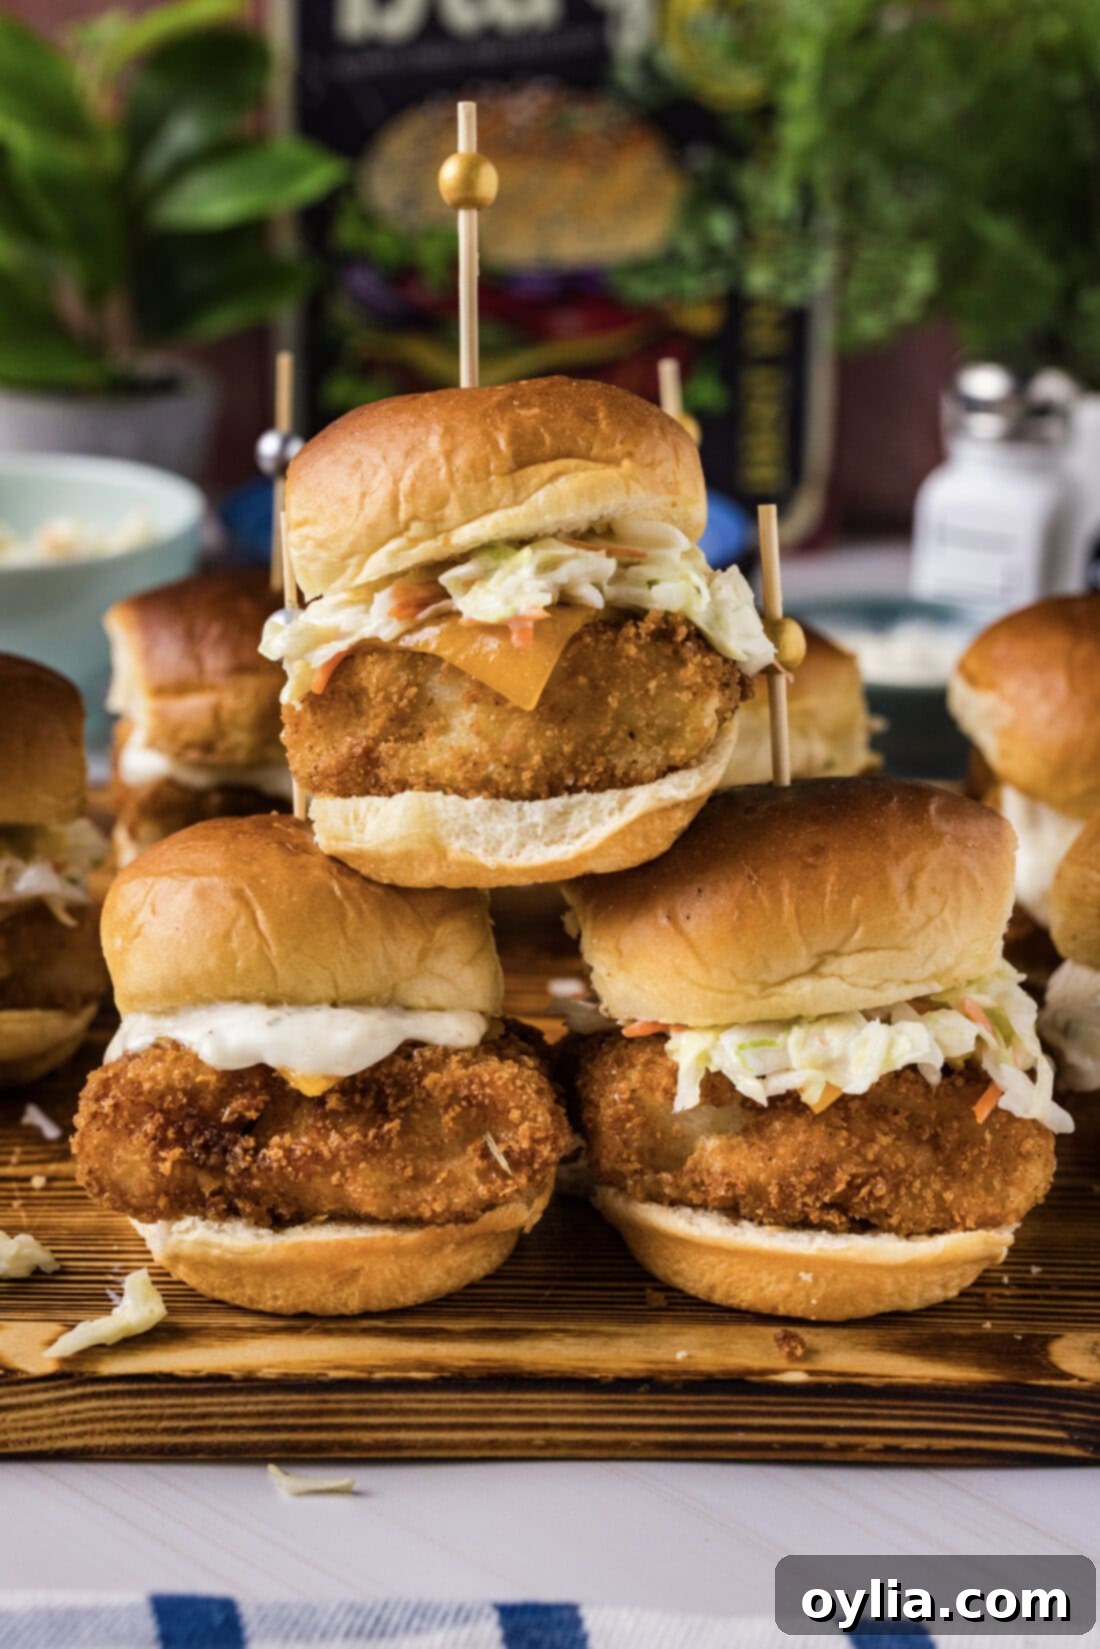
Prepare for a burst of flavor in every bite with these irresistibly crispy panko fried fish sliders! This recipe features succulent, flaky cod patties encased in a golden, crunchy coating, perfectly sized for soft slider buns. Customize your mini fish sandwiches with classic toppings like cheese, creamy coleslaw, and tangy tartar sauce, or explore fresh options such as crisp lettuce, thinly sliced onion, and ripe tomato for a lighter touch. These sliders are not just incredibly delicious; they’re also surprisingly easy to make, making them an ideal choice for a fun family dinner, a party appetizer, or a delightful game-day snack.
Why These Fish Sliders Will Be Your New Favorite
These fish sliders aren’t just a meal; they’re an experience in miniature! We’ve perfected the art of delivering immense flavor and satisfying texture in every small package. The magic begins with robust white fish, which gets a delightful triple coating: first in seasoned flour, then a light egg wash, and finally, a generous dredge in crispy panko breadcrumbs. This meticulous breading process ensures that each fish patty emerges from a quick sizzle in hot oil perfectly golden and incredibly crunchy.
The result? A tender, flaky interior that contrasts beautifully with the super crispy exterior. Nestled between soft, pillowy slider buns, these fish patties become the star of a customizable sandwich. We love to elevate them with a slice of melting cheese, a scoop of creamy coleslaw, and a generous dollop of our homemade tartar sauce for that quintessential fish sandwich taste. Their small size makes them incredibly versatile – easy for kids to handle, perfect for mingling at parties, and quick enough for a weeknight dinner that feels like a special treat. They’re a guaranteed crowd-pleaser and a refreshing alternative to traditional sliders.
Essential Ingredients for Your Fish Sliders
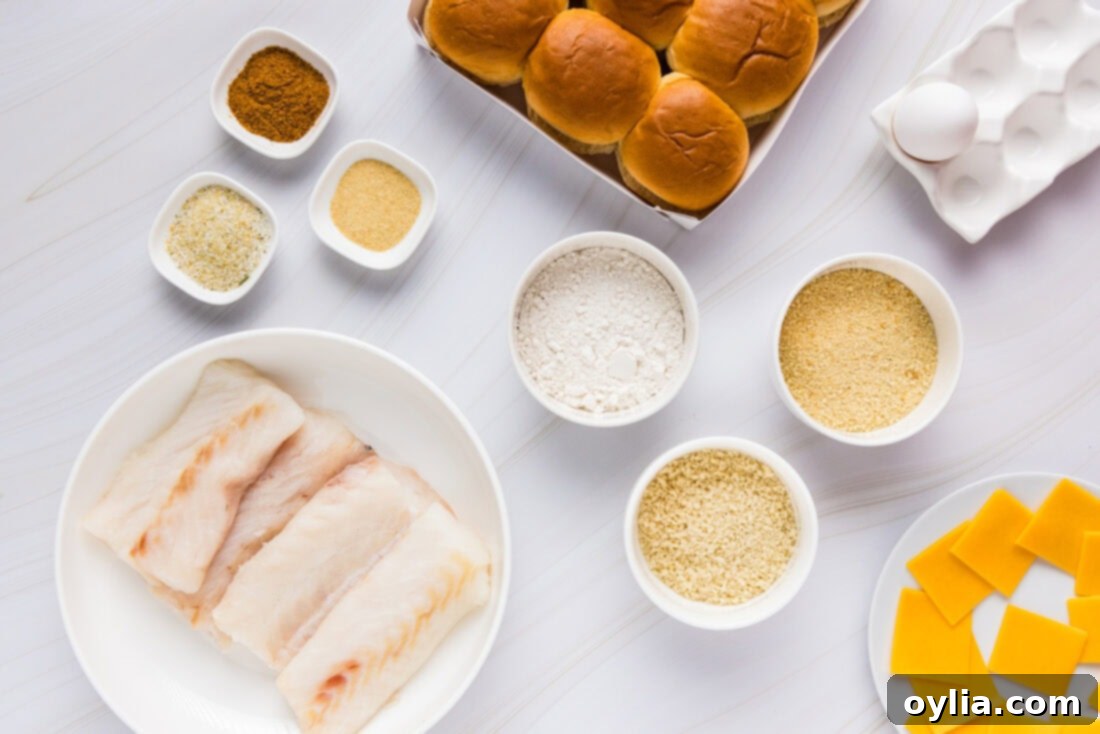
Gathering your ingredients is the first step to creating these delightful fish sliders. You’ll find a complete list of measurements, ingredients, and detailed instructions in the printable recipe card located at the very end of this post. For now, here’s a visual overview of what you’ll need to get started:
Ingredient Breakdown & Smart Swaps
Choosing the right ingredients and knowing your substitution options can make all the difference in achieving the perfect fish slider.
- FISH – For this recipe, we specifically used fresh cod fillets from the seafood counter, known for their mild flavor and flaky texture. However, the beauty of this recipe is its adaptability. You can easily substitute cod with any other hearty white fish. Excellent choices include haddock, tilapia, pollock, or catfish. When selecting your fish, ensure it’s firm and fresh. If you opt for frozen fillets, remember that proper thawing and drying are crucial for achieving that desired crispy crust. Thaw them completely in the refrigerator, then gently drain any excess moisture with paper towels and pat them thoroughly dry before breading and frying. This step prevents a soggy coating and ensures maximum crispiness.
- BREADING – Our recipe relies on a combination of regular breadcrumbs and panko breadcrumbs. Panko, a Japanese-style breadcrumb, is lighter and flakier, absorbing less oil and resulting in an exceptionally crisp texture. The seasoned flour and egg wash create the perfect adhesive layer for the breadcrumbs, locking in moisture and flavor.
- SEASONING – Onion powder, Old Bay seasoning, and garlic salt are the flavor powerhouses in our breading mixture. Old Bay, in particular, adds a classic, savory seafood flavor that complements the cod beautifully. Feel free to adjust these to your taste or experiment with other spices like paprika, cayenne pepper for a kick, or dried dill for a fresh, herbal note.
- TOPPINGS – The topping choices are where you can truly make these sliders your own!
- Cheese: While American or cheddar cheese are our go-to choices for their meltability and classic flavor profile, don’t hesitate to use your favorite. Provolone, Monterey Jack, or even a mild Swiss would also work wonderfully. For best results, have your cheese slices ready and add them immediately to the hot fish patties after frying. The residual heat will ensure a perfectly gooey, melted layer before you assemble your sandwiches. We found that cutting each slice into four pieces worked well for slider-sized fillets, but adjust the amount to your preference.
- Sauces: No fish slider is complete without a delicious sauce! Our homemade tartar sauce is a must-try, offering a creamy, tangy balance. Other fantastic options include a zesty remoulade, simple mayonnaise, a rich garlic aioli, or a spiced mayo mixture like sriracha mayo for those who enjoy a little heat.
- Fresh Veggies: Creamy coleslaw adds a delightful crunch and a tangy contrast that is simply fantastic on these sliders. Beyond that, crisp lettuce, juicy tomato slices, and thinly sliced red onion or pickles are excellent fresh additions to balance the richness of the fried fish.
Crafting Your Own Crispy Fish Sliders: Step-by-Step
These step-by-step photos and instructions are here to help you visualize how to make this recipe successfully. You can Jump to Recipe to get the printable version of this recipe, complete with precise measurements and comprehensive instructions at the bottom of this page.
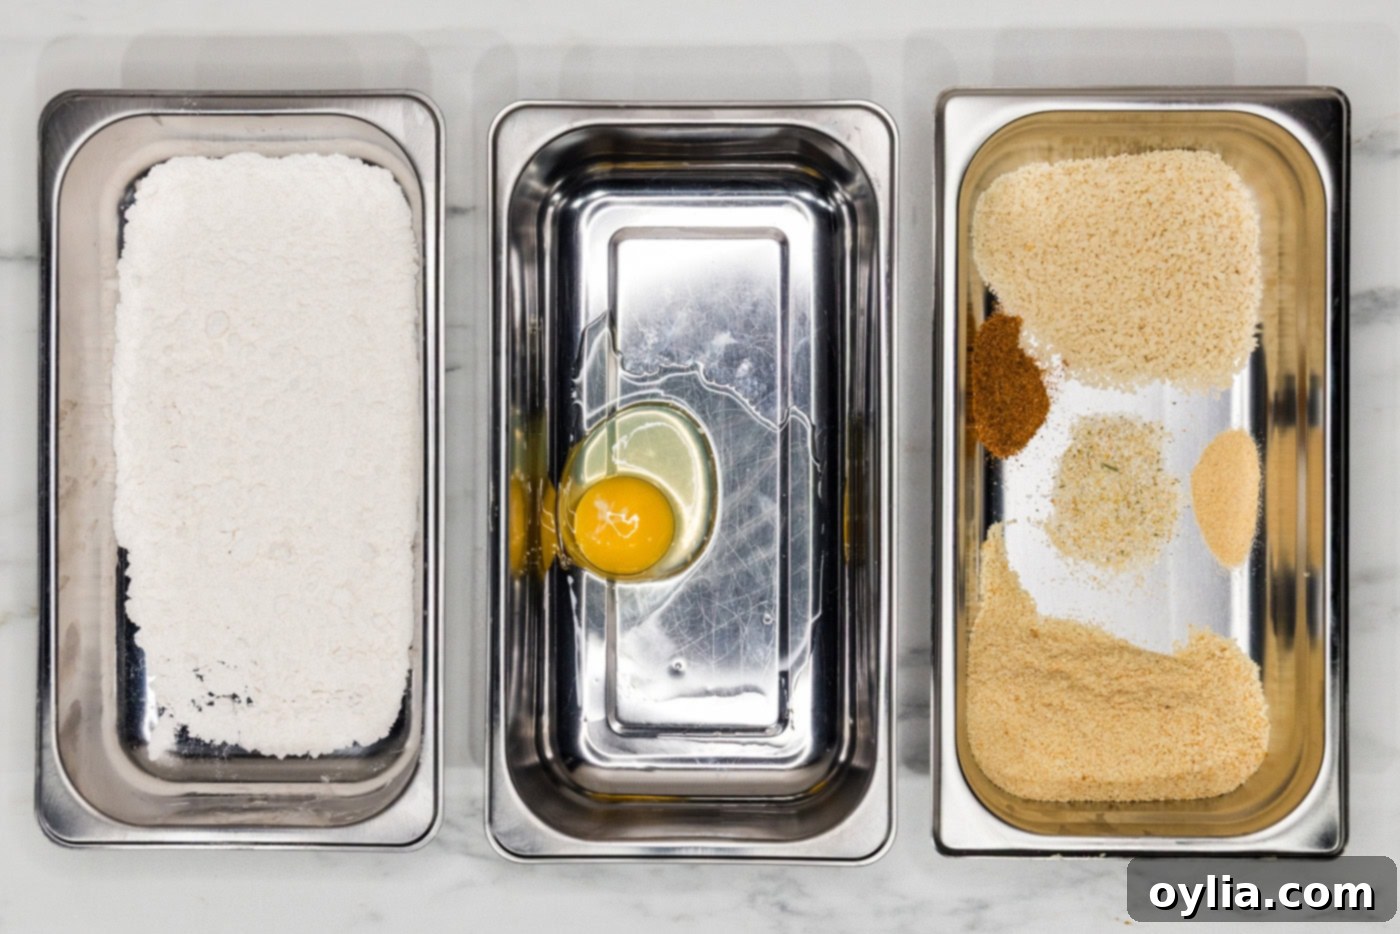
- Prepare Breading Stations: Set up your dredging station in three separate breading trays or shallow dishes.
- Place the all-purpose flour in the first tray.
- Crack the large egg into the second tray and whisk in the water until well combined.
- In the third tray, combine both types of breadcrumbs (regular and panko), onion powder, Old Bay seasoning, and garlic salt. Mix them thoroughly to ensure the spices are evenly distributed.

- Cut Fish Fillets: Carefully cut your cod fillets into square or rectangular pieces that will fit neatly onto your slider buns. For typical slider buns, cutting each of our four large fillets in half lengthwise and then again widthwise resulted in perfect slider-sized portions.
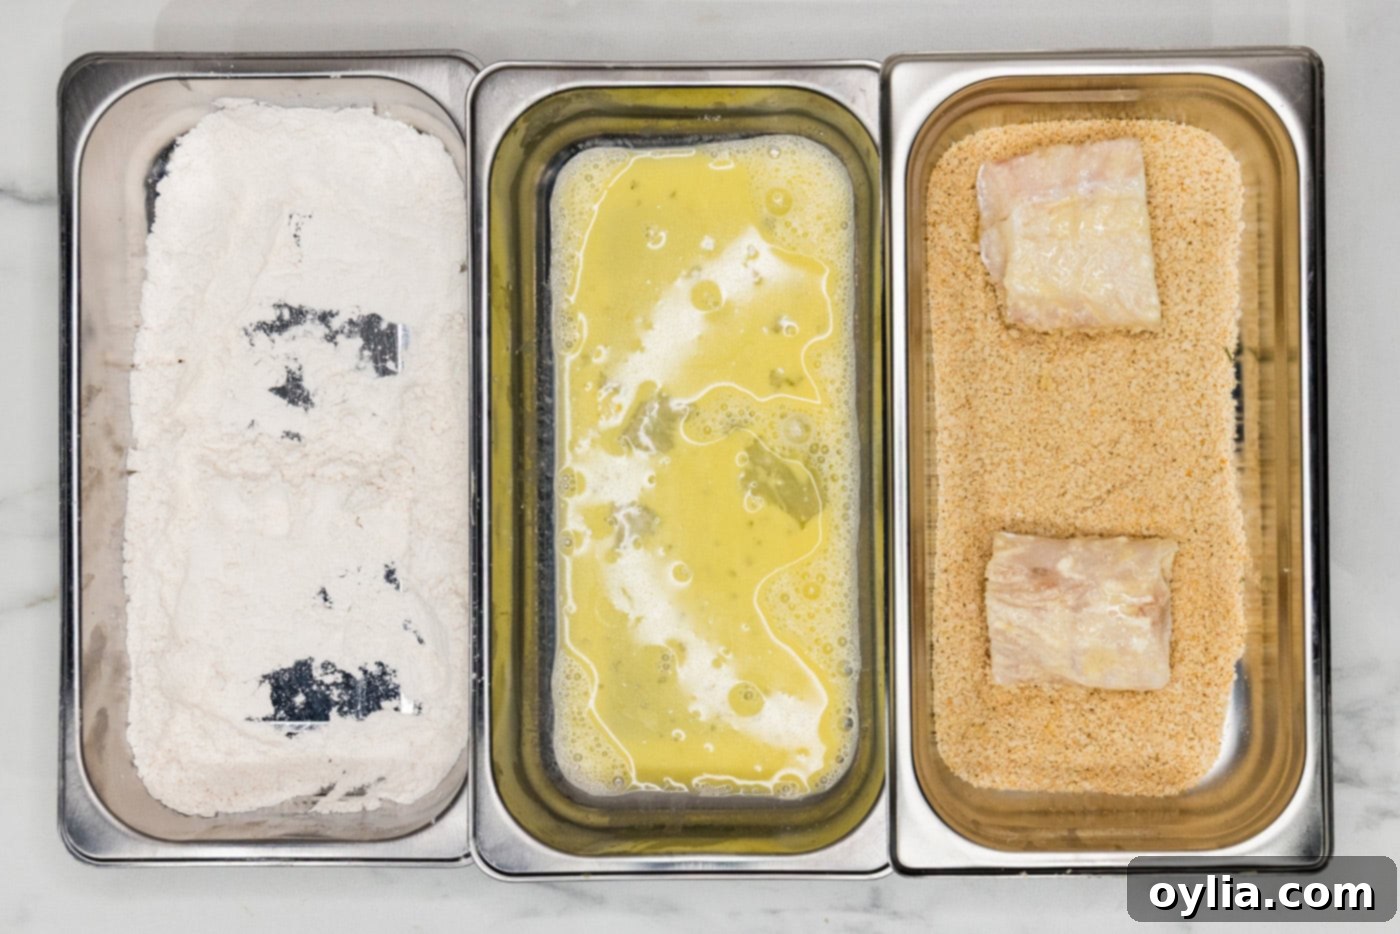
- Breading the Fish: Work with one or two fish pieces at a time to maintain a clean process.
- First, dredge each fillet in the flour, ensuring both sides are fully coated. Gently shake off any excess flour.
- Next, place the floured fillets into the egg wash, turning to coat them completely. Allow any excess egg to drip back into the tray.
- Finally, transfer the egg-coated fillets to the breadcrumb mixture. Gently press the breadcrumbs onto both sides of the fish to ensure they adhere well, creating a thick, even crust.
Move the breaded fillets to a clean baking sheet as you finish each one, and repeat the entire breading process for the remaining fish.

- Preheat Fryer: Allow the breaded fillets to rest for a few minutes while your deep fryer preheats. Add your chosen frying oil (vegetable or canola work best) to the deep fryer and heat it to 375°F (190°C). Maintaining the correct oil temperature is vital for achieving a crispy crust without making the fish greasy.
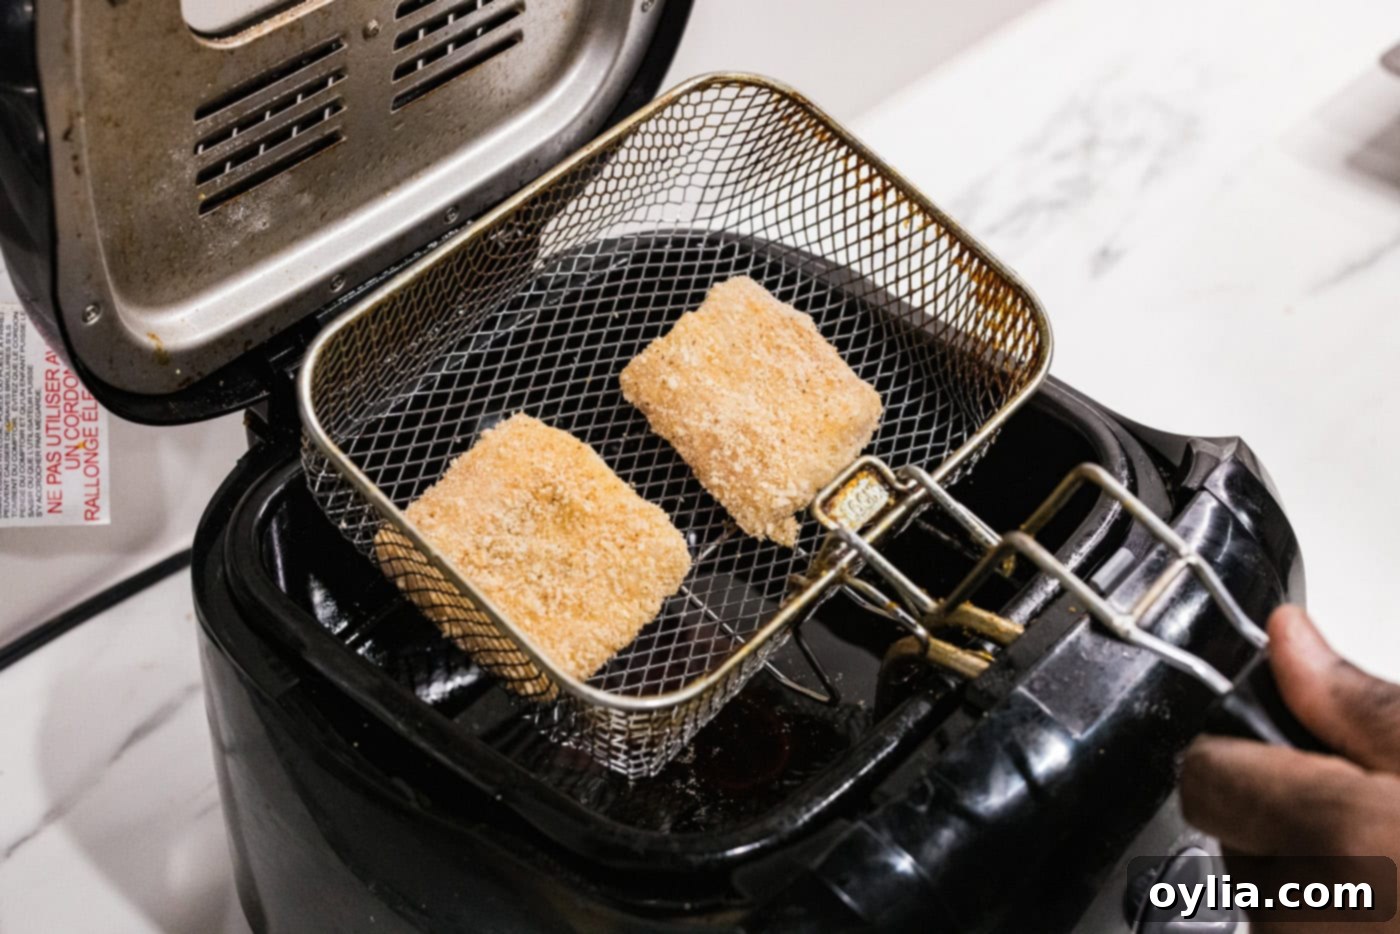
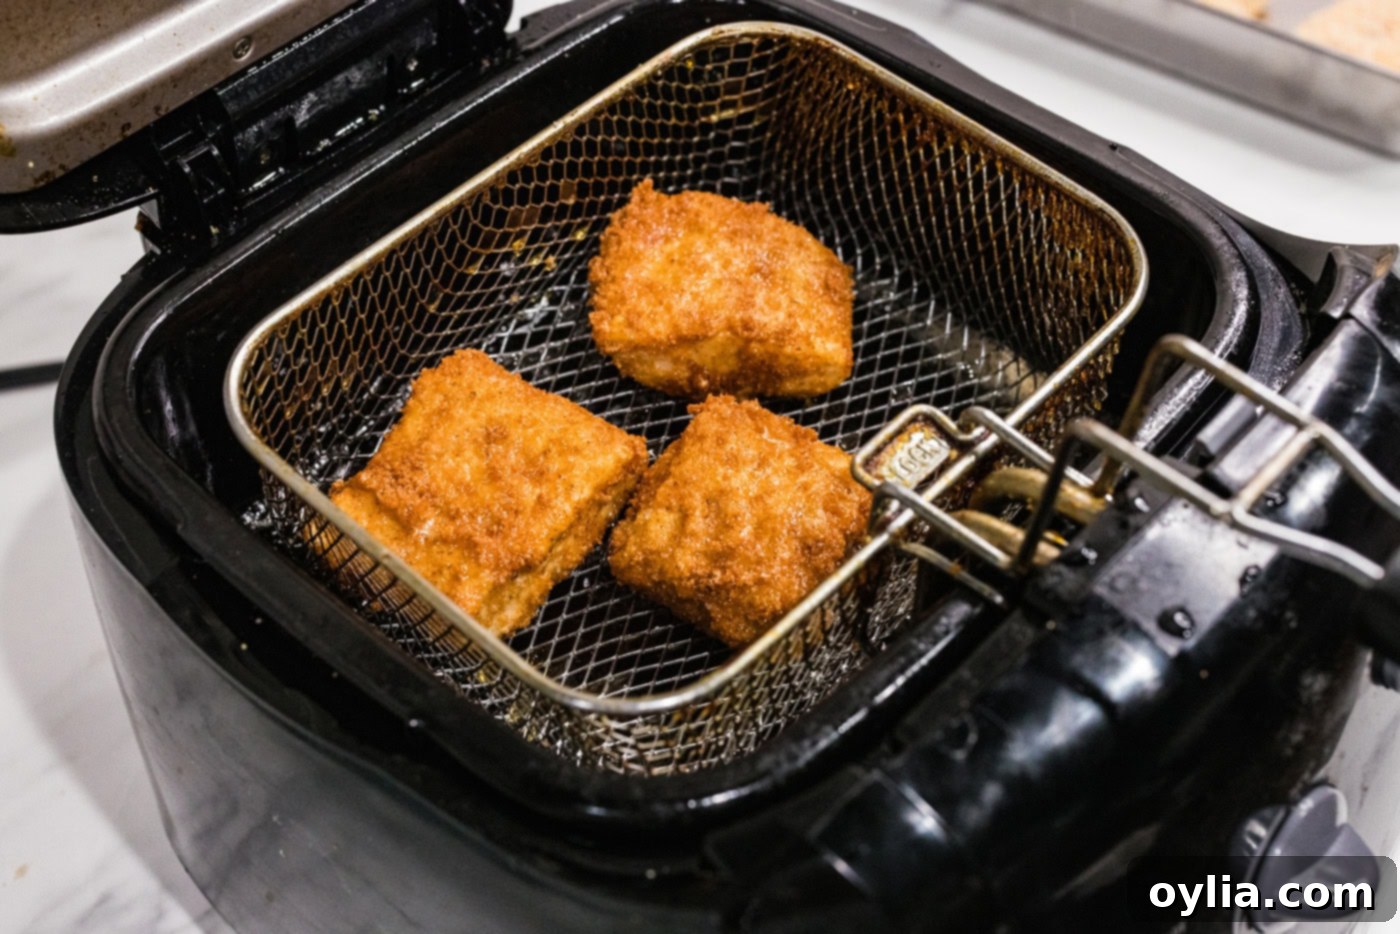
- Fry the Fish: Once the fryer is ready, carefully place 2-3 breaded fillets into the fryer basket. Avoid overcrowding the basket, as this can lower the oil temperature and lead to soggy, rather than crispy, fish. Overcrowding can also cause the fillets to stick together.

- Cook to Perfection: Gently lower the basket into the hot oil. Cook for approximately 5 minutes, or until the fish is golden brown and cooked through. Occasionally shake the basket gently to prevent sticking and ensure even cooking. The most accurate way to confirm doneness is by checking the internal temperature with an instant-read thermometer; it should reach 145°F (63°C).

- Drain and Assemble: Once cooked, carefully remove the fillets from the fryer and place them on a plate lined with paper towels to drain any excess oil. While you continue to cook the remaining fillets in batches, immediately add your cheese slices to the hot patties so they begin to melt. Once all fish is cooked, serve them hot on slider buns with your desired toppings.
Frequently Asked Questions & Expert Tips for Fish Sliders
To ensure your fish sliders are always perfect, here are some common questions and our expert tips:
Absolutely! While a deep fryer offers consistent temperature control, you can easily use a deep-sided skillet or Dutch oven instead. Pour enough oil into the skillet so that it comes at least halfway up the sides of your fish fillets. Heat the oil to 375°F (190°C) using a kitchen thermometer to monitor the temperature. Fry the fish in batches, turning them halfway through to ensure both sides get a beautiful golden crust. This method works perfectly well for achieving crispy fish patties.
For best results and to maintain crispiness, it’s ideal to store the fish patties separately from the slider buns and any wet toppings like coleslaw or sauces. Place the cooked fish patties in an airtight container and store them in the refrigerator for 2-3 days. If you’ve already assembled the sliders (buns and all), they can be stored in the fridge for a day or two, but be aware that the buns may become soft or soggy due to moisture from the fish and toppings.
To bring back that delicious crispiness, I highly recommend reheating the fish patties in an air fryer or a conventional oven. Preheat your air fryer or oven to 375°F (190°C). Place the fish patties in a single layer and reheat for approximately 8-12 minutes in the oven, or 5-8 minutes in an air fryer, until they are thoroughly warmed through and crispy again. Avoid the microwave, as it will make them soggy.
While cod fillets are fantastic for this recipe due to their mild flavor and flaky texture, you have many excellent options. Any hearty white fish will work well. Consider tilapia, halibut, pollock, haddock, or catfish. The key is to choose a firm, white fish that holds up well to frying and offers a mild taste that complements the breading and toppings.
The most reliable way to ensure your fish patties are perfectly cooked and safe to eat is by using an instant-read thermometer. Insert the thermometer into the thickest portion of the fish patty. The fish is fully cooked when it reaches an internal temperature of 145°F (63°C). Visually, the fish should be opaque throughout and flake easily with a fork.
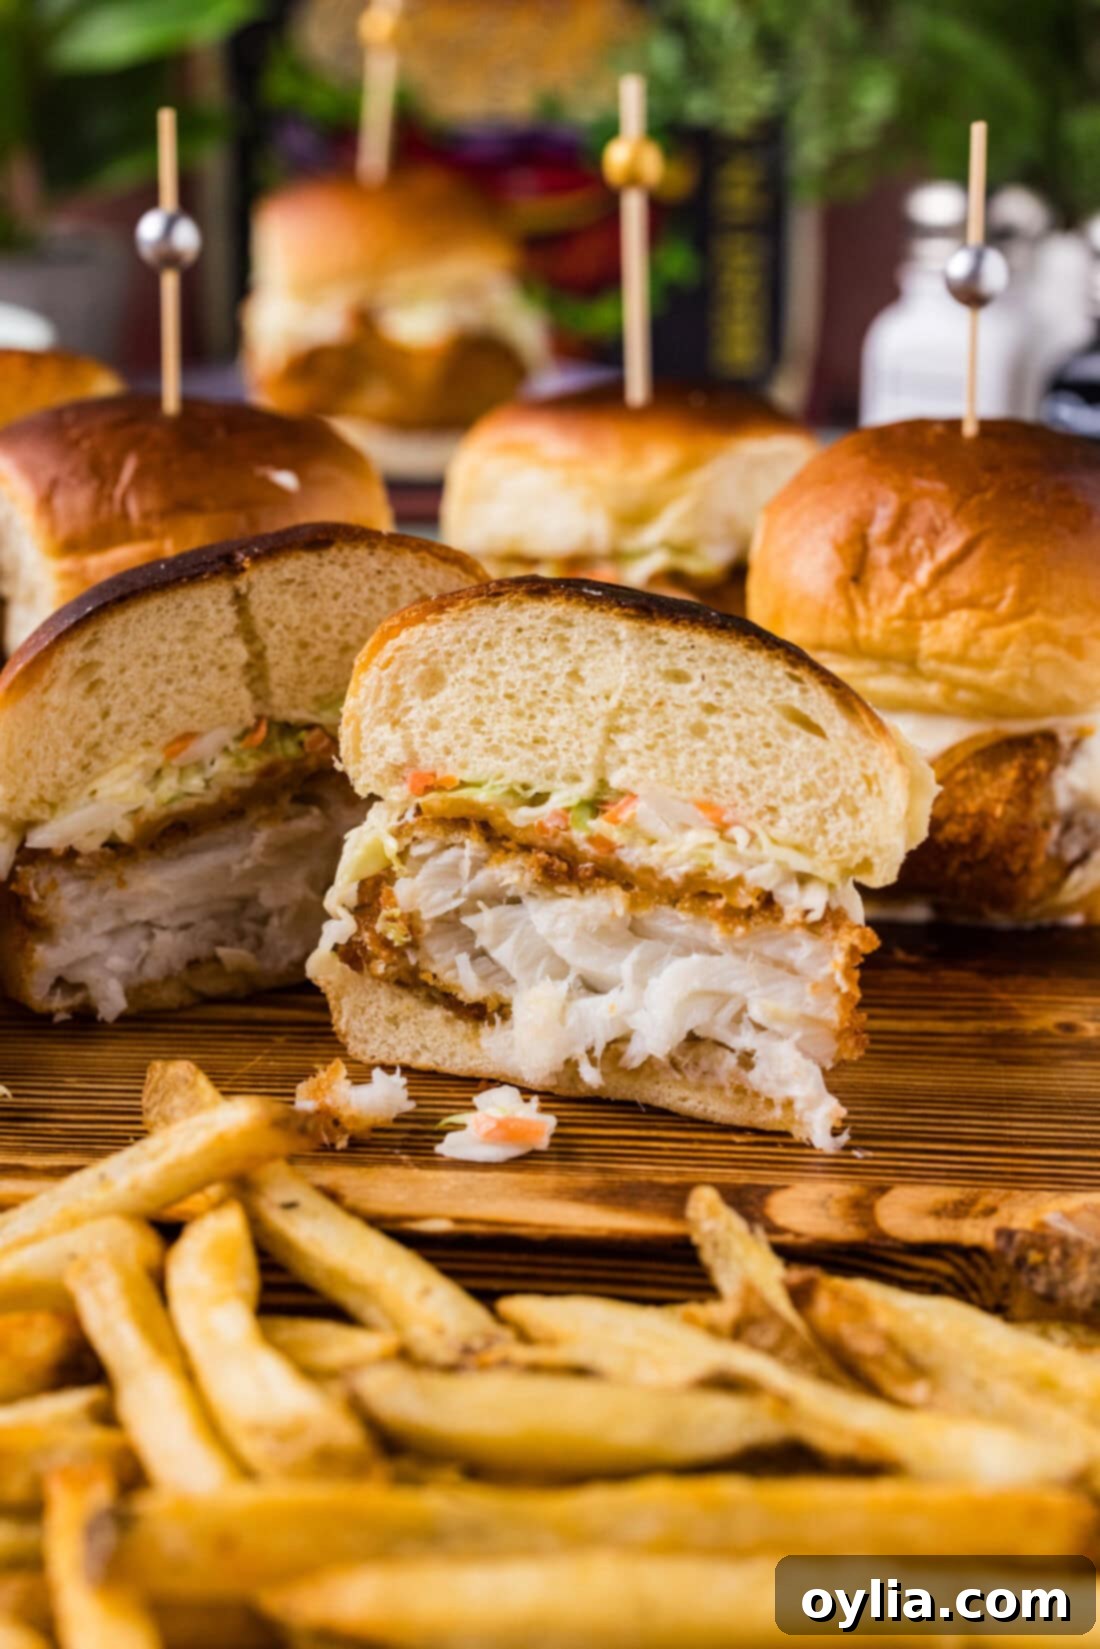
Delicious Serving Suggestions & Pairings
These crispy fish sliders are incredibly versatile and can be customized to suit any palate or occasion. Here are some fantastic ways to serve them:
- Classic Toppings: Sandwich your fish patties between soft slider buns with creamy coleslaw or crisp lettuce, fresh tomato slices, and tangy pickles. A slice of melted American or cheddar cheese is always a welcome addition.
- Sauce It Up: Elevate your sliders with a variety of delectable sauces. Beyond traditional tartar sauce, consider a spicy remoulade, a rich garlic aioli, or even a simple Sriracha mayo for a flavorful kick. Classic mayonnaise is also a great choice.
- Perfect Pairings: Complete your meal with classic sides. Crispy french fries, crunchy potato chips, homemade onion rings, or a refreshing side salad are all excellent companions. For a slightly healthier option, serve them with roasted vegetables or a light pasta salad.
- Garnish for Flair: A sprinkle of fresh chopped parsley or dill can add a pop of color and freshness. A lemon wedge on the side allows guests to add a squeeze of bright citrus.
- Occasion Versatility: These sliders are perfect for a casual weeknight dinner, a fun family lunch, or a fantastic appetizer for parties, game days, or summer gatherings. Their mini size makes them easy to eat while socializing.
No matter how you choose to serve them, these fish sliders are best enjoyed warm, allowing the crispy crust and tender fish to shine through.
More Irresistible Slider Recipes to Try
If you loved these fish sliders, you’re in for a treat! Sliders are fantastic for entertaining and offer endless customization options. Here are a few more slider recipes from our collection that are sure to be a hit:
- Salmon Sliders
- Cheeseburger Sliders
- Pulled Pork Sliders
- Mississippi Pot Roast Sliders
I love to bake and cook and share my kitchen experience with all of you! Remembering to come back each day can be tough, that’s why I offer a convenient newsletter every time a new recipe posts. Simply subscribe and start receiving your free daily recipes!
Fish Sliders
IMPORTANT – There are often Frequently Asked Questions within the blog post that you may find helpful. Simply scroll back up to read them!
Print It
Pin It
Rate It
Save ItSaved!
Ingredients
- ½ cup all purpose flour 2.25 ounces, or 64g
- 1 large egg
- 2 Tablespoons water
- ½ cup breadcrumbs
- ½ cup panko breadcrumbs
- 1 teaspoon onion powder
- 1 teaspoon Old Bay seasoning
- 1 teaspoon garlic salt
- 1.25 pounds cod fish filets 20 ounces or 567g
- 8 slider buns
- oil for frying such as vegetable or canola
For Serving
- 2-4 slices cheese of your choice
- coleslaw
- tartar sauce
Things You’ll Need
-
Deep fryer
-
Breading trays
Before You Begin
- We used cod filets we bought from the seafood counter. You can use any hearty white fish such as haddock, tilapia, pollock, or catfish for this recipe. If you buy frozen filets, be sure to thaw them first and drain on paper towels, then pat dry before frying.
- You can use any cheese you like; we prefer American or cheddar. We cut each slice into 4 pieces and found them to be a bit small for these filets. Use however much you like. We suggest having the slices ready and adding them to the hot filets so they will melt a bit before assembling the sandwiches.
- A good way to know when your fish is done cooking is to check it with an instant-read thermometer. Insert the thermometer into the thickest portion of the fish to test. The thermometer should reach an internal temperature of 145F when it is done cooking.
Instructions
-
Place flour in the first breading tray.1/2 cup all purpose flour
-
Crack egg into the second breading tray. Whisk in water.1 large egg, 2 Tablespoons water
-
Combine both types of bread crumbs, onion powder, Old Bay, and garlic salt in the third breading tray.1/2 cup breadcrumbs, 1/2 cup panko breadcrumbs, 1 teaspoon onion powder, 1 teaspoon Old Bay seasoning, 1 teaspoon garlic salt
-
Cut filets into square pieces. For us, this meant cutting our 4 filets in half.1.25 pounds cod fish filets
-
Dredge filets in flour, working with one or two at a time. Dredge both sides and gently shake off excess.
-
Place dredged filets into the egg wash and turn to coat both sides. Allow excess to drip off.
-
Put filets into the bread crumb mixture and gently press to adhere, repeat on other side. Move breaded filets to a baking sheet and repeat the process for remaining filets.
-
Allow filets to rest while the deep fryer is preheating. Add oil to deep fryer and preheat to 375 F.oil for frying
-
When fryer is ready, place 2-3 filets into the basket of your deep fryer. You do not want them to be too crowded or they may stick together.
-
Drop basket carefully into hot oil and allow to cook, gently shaking basket occasionally so they don’t stick, for 5 minutes or until internal temperature reaches 145 F.
-
Place cooked filets on paper towels to drain while you cook the remaining filets.
-
Serve on slider buns with cheese and your choice of toppings.8 slider buns
Expert Tips & FAQs
- You can use a deep sided skillet instead of a deep fryer if needed. Make sure there’s enough oil in the skillet for the oil to go at least halfway up the sides of the filets. Turn to cook the other side.
- If you have leftovers, it’s best to separate the fish from the slider buns. Place the fish patties in an air-tight container and store in the refrigerator for 2-3 days. You can store the assembled sliders (buns included) in the fridge for a day or two, but do note that they may become soggy.
- I would recommend reheating the fish patties in an air fryer or oven set to 375F for around 10 minutes or until warmed through. This will help keep the fish patties crispy.
Nutrition
The recipes on this blog are tested with a conventional gas oven and gas stovetop. It’s important to note that some ovens, especially as they age, can cook and bake inconsistently. Using an inexpensive oven thermometer can assure you that your oven is truly heating to the proper temperature. If you use a toaster oven or countertop oven, please keep in mind that they may not distribute heat the same as a conventional full sized oven and you may need to adjust your cooking/baking times. In the case of recipes made with a pressure cooker, air fryer, slow cooker, or other appliance, a link to the appliances we use is listed within each respective recipe. For baking recipes where measurements are given by weight, please note that results may not be the same if cups are used instead, and we can’t guarantee success with that method.
