The Ultimate Classic Chex Mix Recipe: Your Go-To Savory Snack for Any Occation
Ah, Classic Chex Mix. For many, it’s more than just a snack; it’s a cherished memory, a staple of childhood, and an essential presence at countless gatherings. This iconic savory, crunchy, and utterly addictive mix is the perfect treat for any occasion – from bustling holiday parties and lively game day celebrations to simple on-the-go snacking and cozy movie nights. While the original version holds a special place in our hearts, don’t forget to explore exciting twists like our flavorful Taco Chex Mix, which is equally delicious!

Why the Original Chex Mix Holds a Special Place in Our Hearts
Does the aroma of butter, Worcestershire sauce, and spices baking in the oven instantly transport you back to your mom’s kitchen? It certainly does for me! Pulling a warm cookie sheet full of salty, delicious Chex Mix out of the oven is a memory shared by so many. This isn’t just a recipe; it’s a tradition. It’s one of those magical dishes that truly everyone knows how to make, even the youngest aspiring chefs. I vividly remember helping my mom combine all the ingredients, carefully spreading the mixture onto the baking sheet, and eagerly waiting for it to cool.
The original Chex Mix recipe, often found on the back of the cereal box, has become a beloved American classic for a reason. Its perfect blend of crunchy textures and savory flavors appeals to kids and adults alike, making it an undisputed hit. Imagine a bustling football watch party without a generously sized bowl of homemade Chex Mix taking center stage on the food table – it’s simply unthinkable! Beyond parties, it’s an excellent, satisfying snack to pack in school lunches, for road trips, or simply to enjoy while watching your favorite show. Its timeless appeal and ease of preparation ensure it remains a consistent favorite for generations.
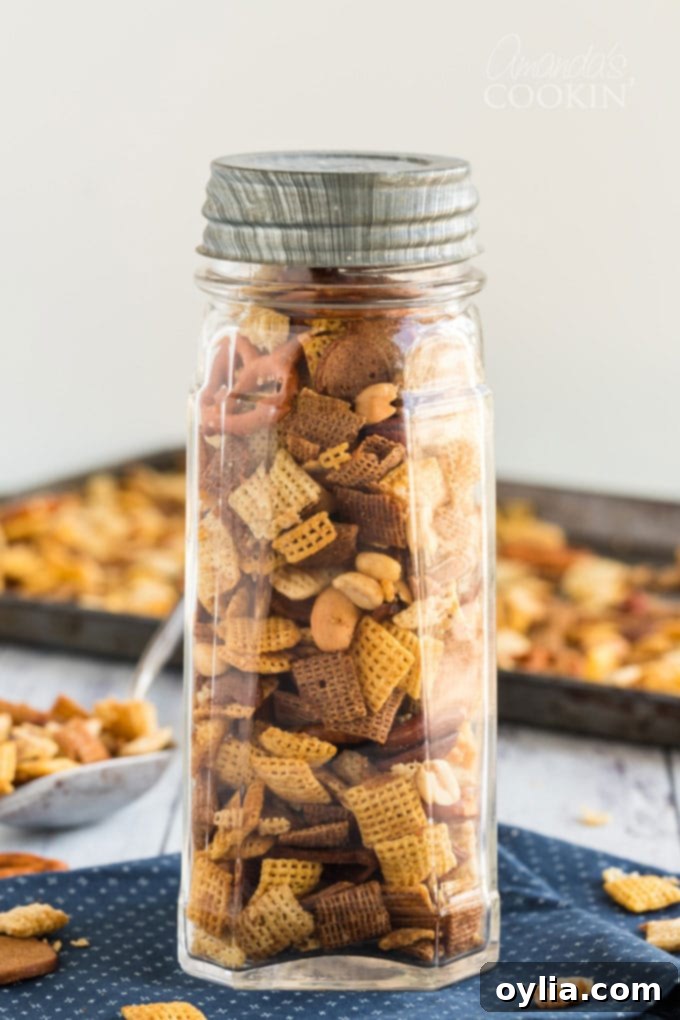
Essential Ingredients for Your Perfect Classic Chex Mix
While Chex Mix is famously simple to prepare, having the exact measurements and ingredients on hand is always helpful. Many of us know the general idea, but few have it completely memorized. So, go ahead and print this recipe off to tape inside your kitchen cabinet – it’s that useful!
Find all precise measurements, specific ingredients, and detailed instructions in the printable recipe card located at the very end of this post.
- A harmonious combination of Corn Chex, Rice Chex, and Wheat Chex cereals forms the base of this classic snack. Each cereal brings its unique texture and light flavor, contributing to the overall satisfying crunch. While the blend offers the most diverse experience, feel free to use just your favorite type of Chex if that’s what you prefer or have on hand!
- The original recipe traditionally calls for mixed nuts, which add a rich, buttery flavor and a substantial crunch. However, if you’re a fan of a specific nut or have dietary considerations, using peanuts by themselves works wonderfully and is a common, delicious substitution.
- For that signature pretzel crunch, I typically opt for bite-size pretzel twists. Their shape allows the seasoning to cling perfectly, and they offer a satisfying snap. Pretzel sticks are also a very common and equally excellent substitution, providing a slightly different, more uniform texture.
- Some people declare the garlic-flavor bite-size bagel chips as their absolute favorite component of Chex Mix! These crispy, flavorful chips add a robust garlic kick and a heartier crunch that beautifully complements the lighter cereals and pretzels. If you can’t find bite-size, regular bagel chips broken into 1-inch pieces work just as well.
- Unsalted or salted butter will work beautifully in this recipe, acting as the crucial binding agent and flavor carrier for all the spices. Margarine is also a perfectly acceptable substitute if you’re looking for a dairy-free option or simply prefer its taste.
- For the indispensable seasonings, you’ll need a quartet of flavor enhancers: Worcestershire sauce, which provides a deep umami and tangy note; seasoned salt, offering an all-in-one savory boost; and finally, garlic powder and onion powder, which deliver essential aromatic depth to the mix.
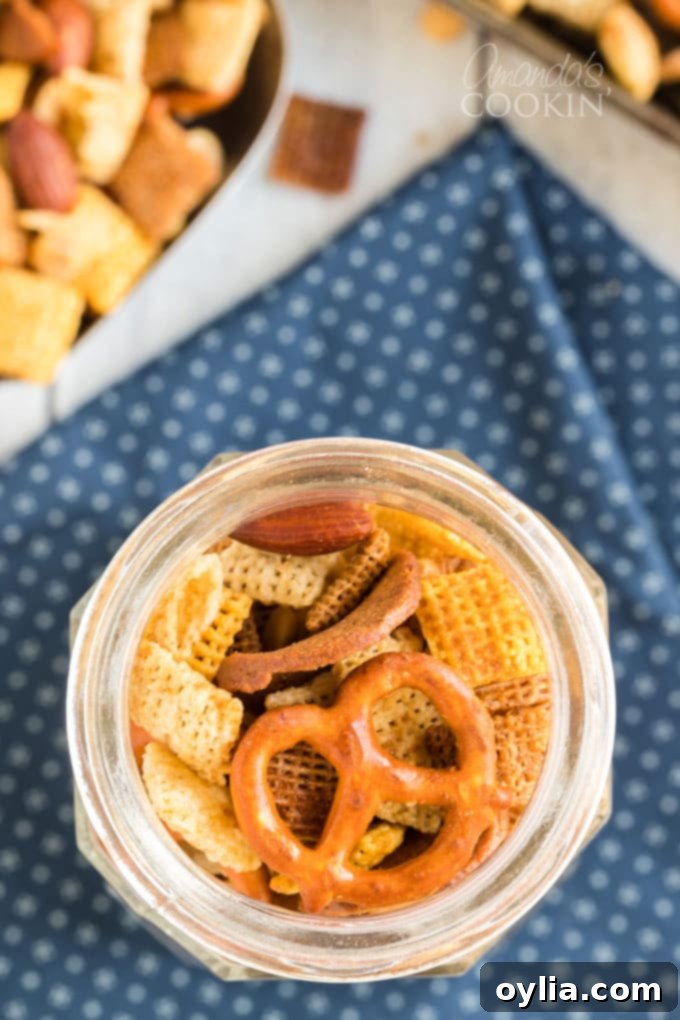
Handy Kitchen Tools for Effortless Chex Mix Making:
- Bag Holders: These clever gadgets come in super handy, especially if you’re making individual bags for school snacks, party favors, or homemade gifts. They can be adjusted from small to large bags, making portioning a breeze and keeping your hands free!
- Large Cookie Sheet: Essential for the oven method, a spacious cookie sheet allows the Chex Mix to spread out in a single layer, promoting even baking and maximum crispness.
- Large Mixing Bowls: You’ll need a substantial bowl to comfortably combine all the dry ingredients and another smaller one for melting the butter and mixing the seasonings.
- Sturdy Spatula or Spoon: A durable spatula is perfect for thoroughly mixing the cereals, nuts, and chips with the seasoned butter, ensuring every piece is evenly coated. It’s also vital for stirring the mix during baking or microwaving.
How to Master the Art of Making Chex Mix
These step-by-step photos and detailed instructions are provided to help you visualize each stage of making this classic recipe. For a concise, printable version of the recipe, simply scroll down to the end of this post!
This is truly the fun part of the process, and it’s an excellent opportunity to get the whole family involved! If you have children, this is one of those fantastic recipes where they can actively help. As mentioned, those bag holders are incredibly useful, especially if you’re preparing individual snack bags for treats or packing lunches. Their adjustable size means they can accommodate various bag dimensions.
We’ll walk you through both the traditional oven method and the quicker microwave method. Regardless of your chosen cooking technique, the initial mixing instructions remain the same. Just remember to use microwave-safe bowls if you opt for the speedy microwave approach.
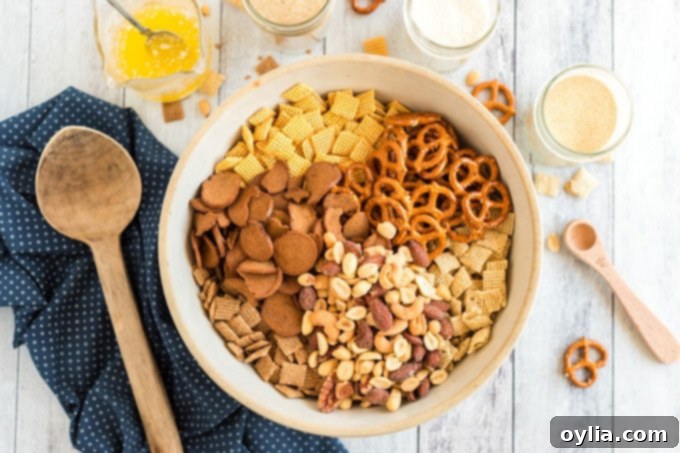
- Combine the Dry Ingredients: In a generously sized mixing bowl, combine all your chosen cereals (Corn Chex, Rice Chex, Wheat Chex), mixed nuts (or peanuts), pretzels, and bagel chips. Give everything a good, gentle toss to ensure all the components are well distributed. Set this mixture aside. This step ensures that when you add the liquid seasoning, it has a diverse landscape to coat, resulting in a perfectly balanced bite every time.
- Melt the Butter: In a separate, small bowl (ensure it’s microwave-safe if using that method), place your butter. Microwave it uncovered on high for approximately 40 seconds, or until it is fully melted and smooth. The melted butter will be the essential base for our savory seasoning blend.
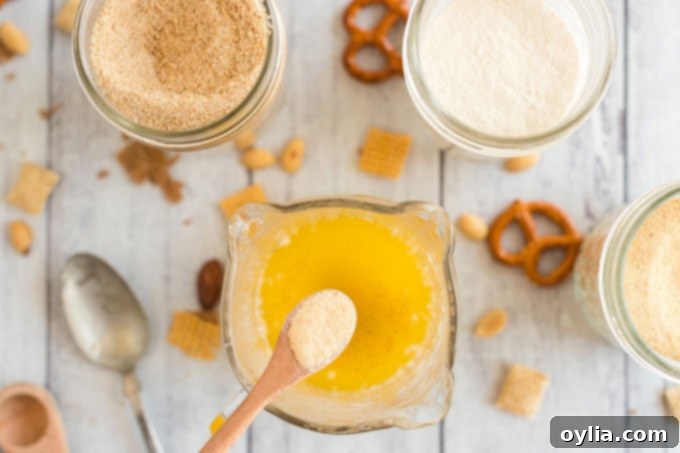
- Prepare the Seasoning Sauce: To the melted butter, add the Worcestershire sauce, seasoned salt, garlic powder, and onion powder. Stir these ingredients together thoroughly until they are well combined. You’ll notice the sauce taking on a beautiful golden-brown hue and releasing an irresistible aroma. This is the heart of the Chex Mix flavor!
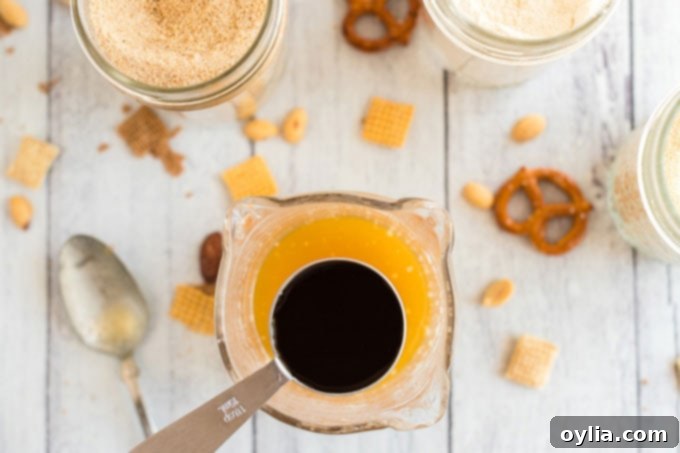
- Coat the Mixture: Pour the prepared seasoning sauce evenly over the dry cereal mixture in the large bowl. Using a sturdy spatula or spoon, stir everything together meticulously. This step is crucial for achieving that signature uniform flavor, so take your time to ensure every single piece of cereal, every nut, pretzel, and bagel chip is thoroughly coated with the delicious butter and spice blend.

Baking Your Chex Mix to Perfection in the Oven
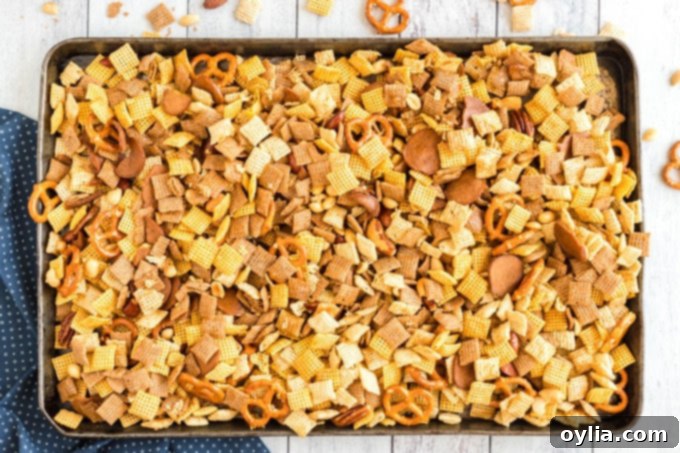
The oven method is a classic for a reason, delivering an incredibly crispy and evenly toasted Chex Mix, especially ideal for larger batches. To start, preheat your oven to 250°F (120°C). Once your oven is ready, carefully transfer your thoroughly coated cereal and seasoning mixture into a large, ungreased roasting pan or two large baking sheets. Ensure the mixture is spread in a single, even layer to allow for consistent baking and to prevent steaming.
Bake for a total of 1 hour, stirring the mixture gently but thoroughly every 15 minutes. This frequent stirring is essential to ensure every piece gets toasted, preventing some from burning while others remain soft. It also helps redistribute the delicious seasoning. As it bakes, your kitchen will fill with an inviting aroma! After 1 hour, remove the pan from the oven. To achieve maximum crispness and prevent sogginess, immediately spread the hot Chex Mix onto several layers of paper towels or a large sheet of parchment paper to cool completely. This cooling process typically takes about 15 minutes, allowing the mix to become perfectly crunchy. Once cool, it’s ready to be devoured!
Quick & Easy: Making Chex Mix in the Microwave
If you’re short on time or making a smaller batch, the microwave method offers a fantastic, quick alternative. After coating your cereal mixture as described in the mixing steps above, transfer it to a large, microwave-safe bowl. Microwave the mixture uncovered on High for 5 to 6 minutes. The key to successful microwave Chex Mix is frequent stirring: make sure to thoroughly stir the mixture every 2 minutes throughout the cooking time. This helps to distribute the heat evenly and prevents hot spots from burning while other areas remain unheated.
Once microwaved, spread the hot Chex Mix onto several layers of paper towels to cool completely. This rapid cooling helps develop its crunch. While the microwave method is incredibly convenient, the oven often provides a slightly crispier and more uniformly toasted result. Both methods yield a delicious batch of homemade Chex Mix that’s perfect for any time of year. Whether it’s a festive addition to your Christmas appetizer table or a delightful snack served at your backyard barbecue, Chex Mix is a classic family favorite that always hits the spot! Once cooled, ensure you store it in an airtight container to maintain its freshness and satisfying crunch.
Serving and Storing Your Homemade Chex Mix
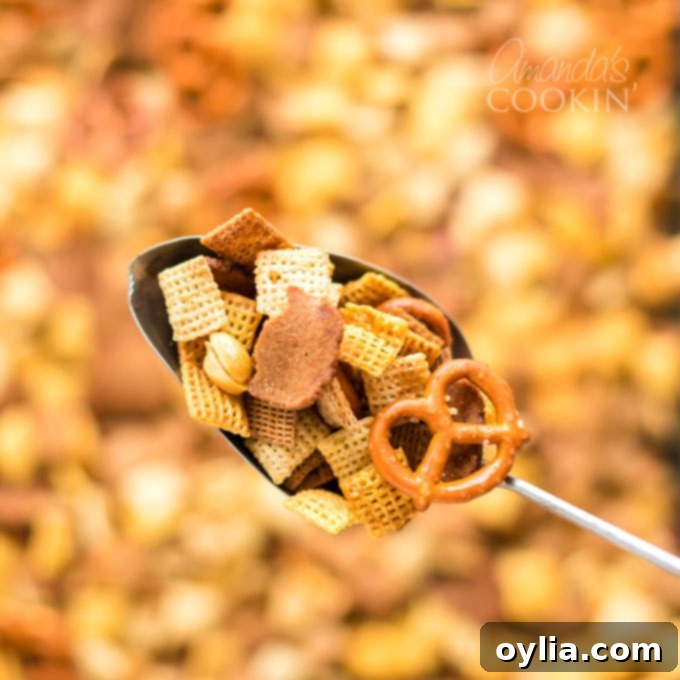
Once your Classic Chex Mix has cooled to crunchy perfection, it’s ready to be enjoyed! This versatile snack is ideal for virtually any occasion. Serve it in a large bowl at your next party, game day gathering, or family movie night. It’s also a fantastic addition to holiday snack tables, offering a savory contrast to all the sweet treats. For a quick and easy snack on the go, portion it into individual baggies for lunchboxes, road trips, or hiking adventures. You can even package it in decorative jars or cellophane bags tied with a ribbon for thoughtful homemade gifts during the holidays or for hostess presents.
To keep your Chex Mix fresh and wonderfully crispy, proper storage is key. Always store it in an airtight container at room temperature. A large Ziploc bag, a plastic container with a tight-fitting lid, or even a glass jar with a sealed top are all excellent options. Stored correctly, homemade Chex Mix will maintain its optimal freshness and crunch for up to two weeks. While it technically can last longer, the flavor and texture are best within the first week or so. It’s generally not recommended to freeze Chex Mix, as this can affect its texture and lead to a less crispy result once thawed.
Explore Exciting Chex Mix Variations
While the original recipe is a beloved classic, Chex Mix is incredibly adaptable and serves as a fantastic base for culinary creativity. Once you’ve mastered the classic, don’t hesitate to experiment with different flavor profiles to suit your mood or occasion:
- Sweet & Salty: For those who love a hint of sweetness, consider adding a drizzle of melted white or dark chocolate after baking, or incorporating powdered sugar and peanut butter for a “Puppy Chow” or “Muddy Buddies” style Chex Mix.
- Spicy Kick: Amp up the heat by adding a dash of cayenne pepper, smoked paprika, or a few drops of hot sauce to your butter and seasoning blend.
- Cheesy Delight: Mix in some grated Parmesan cheese or a sprinkle of cheese powder (like the kind used for popcorn) during the last few minutes of baking or after it cools for a cheesy twist.
- Herbaceous Blend: Incorporate dried herbs like rosemary, thyme, or oregano into the butter mixture for a more sophisticated, aromatic snack.
- Global Flavors: Think beyond the traditional! Our Taco Chex Mix is a perfect example, but you could also explore Indian-inspired spices (curry powder, cumin) or even a lemon-pepper blend.
The possibilities are truly endless, making Chex Mix a consistently exciting snack to prepare and enjoy!
Frequently Asked Questions About Classic Chex Mix
Got questions about making the perfect batch? We’ve got answers!
Q: Can I use different types of Chex cereal, or just one kind?
A: Absolutely! While the classic recipe uses a mix of Corn, Rice, and Wheat Chex for varied textures and flavors, you can certainly use just your favorite type or any combination you prefer. The key is to maintain the total volume of cereal so your seasoning ratio remains correct.
Q: What if I don’t have mixed nuts or prefer not to use them?
A: No problem! You can easily omit the nuts entirely if you have allergies or simply don’t like them. To compensate for the volume and crunch, you can add an extra cup of pretzels, more bagel chips, or even some small crackers.
Q: How long does homemade Chex Mix stay fresh?
A: When stored in an airtight container at room temperature, your Classic Chex Mix will remain fresh and delightfully crunchy for up to two weeks. For optimal flavor and texture, it’s best enjoyed within the first week.
Q: Can I prepare Chex Mix ahead of time for a party?
A: Yes, definitely! Chex Mix is an ideal make-ahead snack. Prepare it a day or two before your event and store it in an airtight container. This allows the flavors to meld beautifully and frees up time on party day.
Q: My Chex Mix isn’t as crispy as I’d like. What went wrong?
A: Crispiness is key! If your Chex Mix is soft, it might not have baked or microwaved long enough, or it wasn’t spread thinly enough to cool properly. Ensure it’s in a single layer during baking/cooling, and don’t skimp on the stirring during cooking. If it cools slowly in a pile, it can retain moisture and become less crispy. A quick re-bake at a low temperature for 10-15 minutes can often revive its crunch.
Q: Is there a dairy-free option for the butter?
A: Yes! Margarine works as an excellent 1:1 substitute for butter in this recipe, making it suitable for dairy-free diets without compromising on flavor or texture.
More Fun Snacks to Satisfy Your Cravings
If you’re a fan of delicious, easy-to-make snacks, you’ve come to the right place! Beyond our beloved Chex Mix, we have a variety of recipes to tempt your taste buds:
- For an extra layer of flavor on your Chex Mix, or for your next movie night, try one of my delicious homemade popcorn seasonings!
- Maybe popcorn is your ultimate thing, if so you’ll absolutely love our perfectly sweet and salty homemade kettle corn recipe!
- If you need something wonderfully sweet to balance out this savory mix, try my delightful popcorn chocolate bark – it’s a match made in heaven.
- And for all the pretzel lovers out there, here’s a fantastic recipe for sweet and salty pretzels, which are absolutely perfect for gift-giving or a simple indulgent treat.
- Craving a hot, savory bite? Don’t miss our incredibly easy and delicious air fryer pretzel bites for a quick and satisfying snack!

Classic Chex Mix
IMPORTANT – There are often Frequently Asked Questions within the blog post that you may find helpful. Simply scroll back up to read them!
Print It
Rate It
Save ItSaved!
Ingredients
- 3 cups Corn Chex cereal
- 3 cups Rice Chex cereal
- 3 cups Wheat Chex cereal
- 1 cup mixed nuts or peanuts
- 1 cup bite-size pretzels or pretzel sticks
- 1 cup garlic-flavor bite-size bagel chips or regular-size bagel chips broken into 1-inch pieces
- 6 tablespoons butter or margarine
- 2 tablespoons Worcestershire sauce
- 1 ½ teaspoons seasoned salt
- ¾ teaspoon garlic powder
- ½ teaspoon onion powder
Instructions
-
In a large microwavable bowl, combine all cereals, nuts, pretzels, and bagel chips; toss gently to mix well. Set aside.
-
In a small microwavable bowl, melt the butter (or margarine) uncovered on High for approximately 40 seconds, or until fully melted.
-
Stir in the Worcestershire sauce, seasoned salt, garlic powder, and onion powder until well combined.
-
Pour the seasoned butter mixture over the cereal mixture. Stir thoroughly with a sturdy spatula until all components are evenly coated.
MICROWAVE METHOD
-
Microwave the mixture uncovered on High for 5 to 6 minutes, ensuring to thoroughly stir every 2 minutes. Once cooked, spread the Chex Mix onto paper towels to cool completely. Store in an airtight container.
OVEN METHOD
-
Preheat your oven to 250°F (120°C). Transfer the coated cereal mixture into an ungreased roasting pan or large baking sheet, spreading it in a single, even layer. Bake for 1 hour, stirring every 15 minutes to ensure even toasting. After baking, spread the Chex Mix on paper towels to cool completely for about 15 minutes, allowing it to become crispy. Store in an airtight container.
Nutrition
The recipes on this blog are tested with a conventional gas oven and gas stovetop. It’s important to note that some ovens, especially as they age, can cook and bake inconsistently. Using an inexpensive oven thermometer can assure you that your oven is truly heating to the proper temperature. If you use a toaster oven or countertop oven, please keep in mind that they may not distribute heat the same as a conventional full sized oven and you may need to adjust your cooking/baking times. In the case of recipes made with a pressure cooker, air fryer, slow cooker, or other appliance, a link to the appliances we use is listed within each respective recipe. For baking recipes where measurements are given by weight, please note that results may not be the same if cups are used instead, and we can’t guarantee success with that method.
