Effortless No-Knead Pull-Apart Dinner Rolls: Your New Go-To Recipe for Soft, Buttery Bread
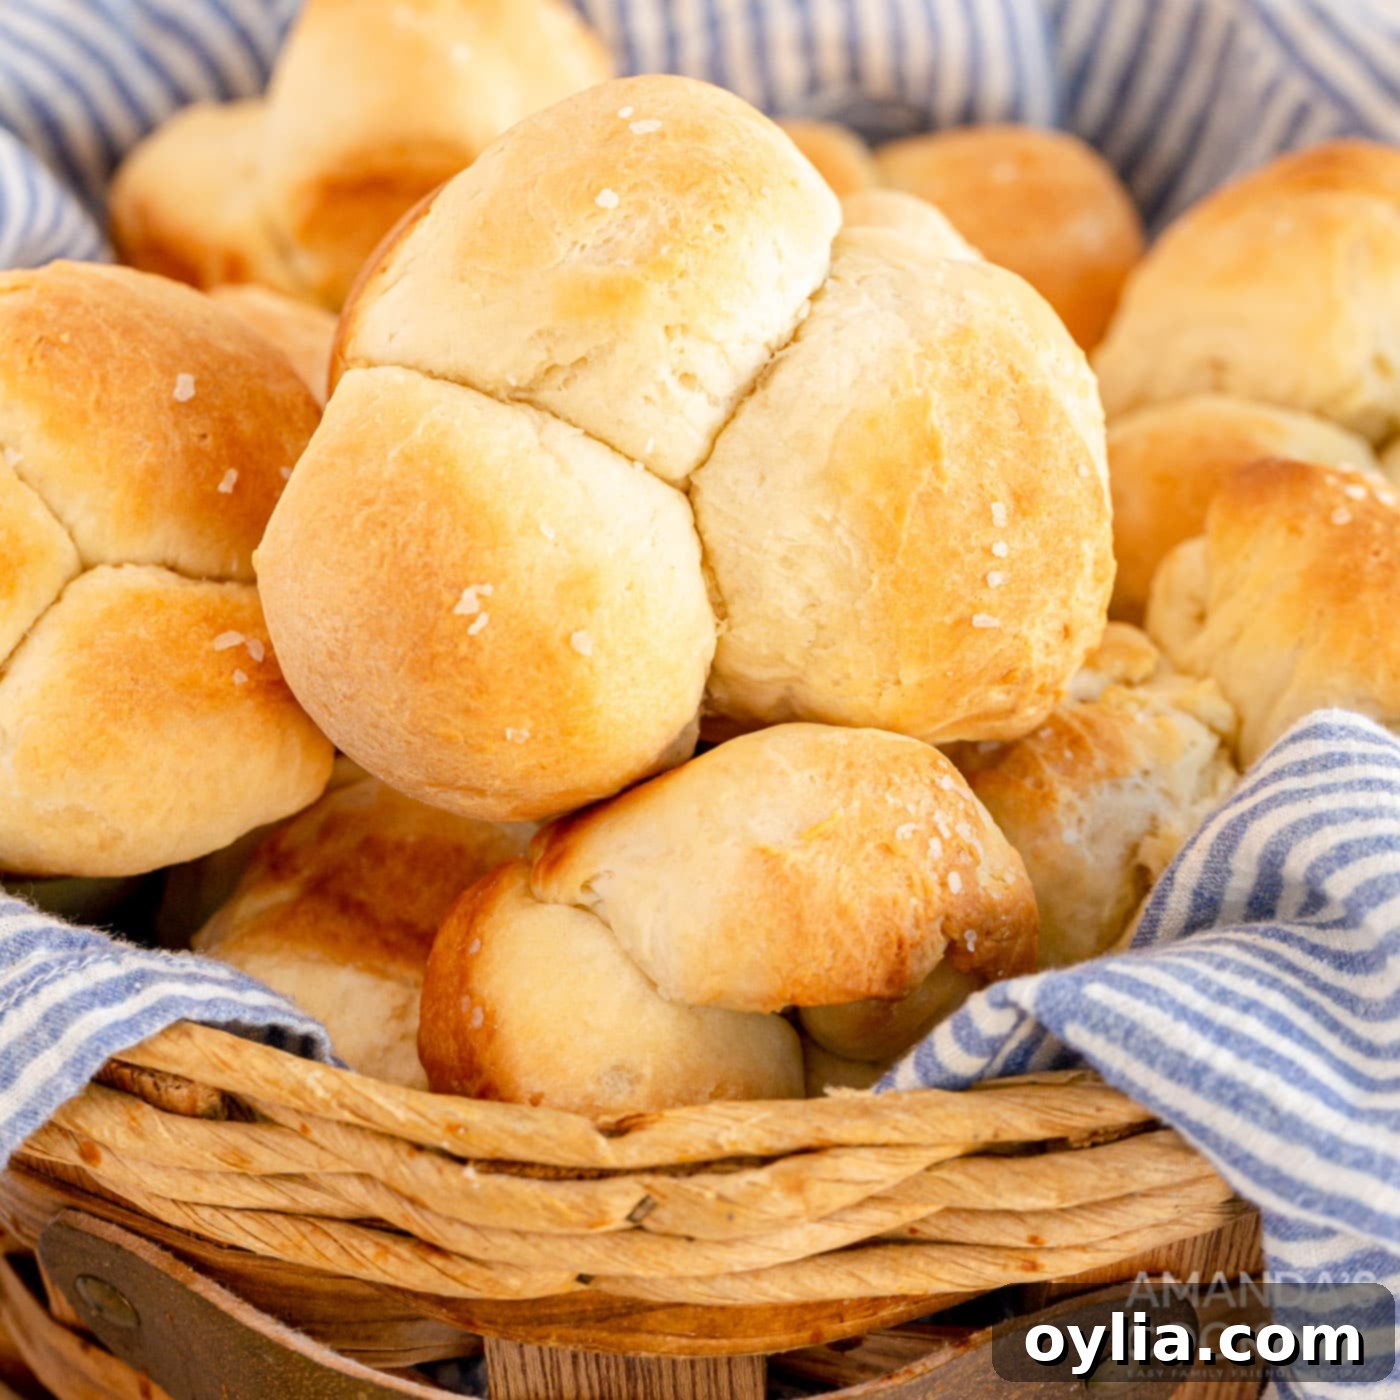
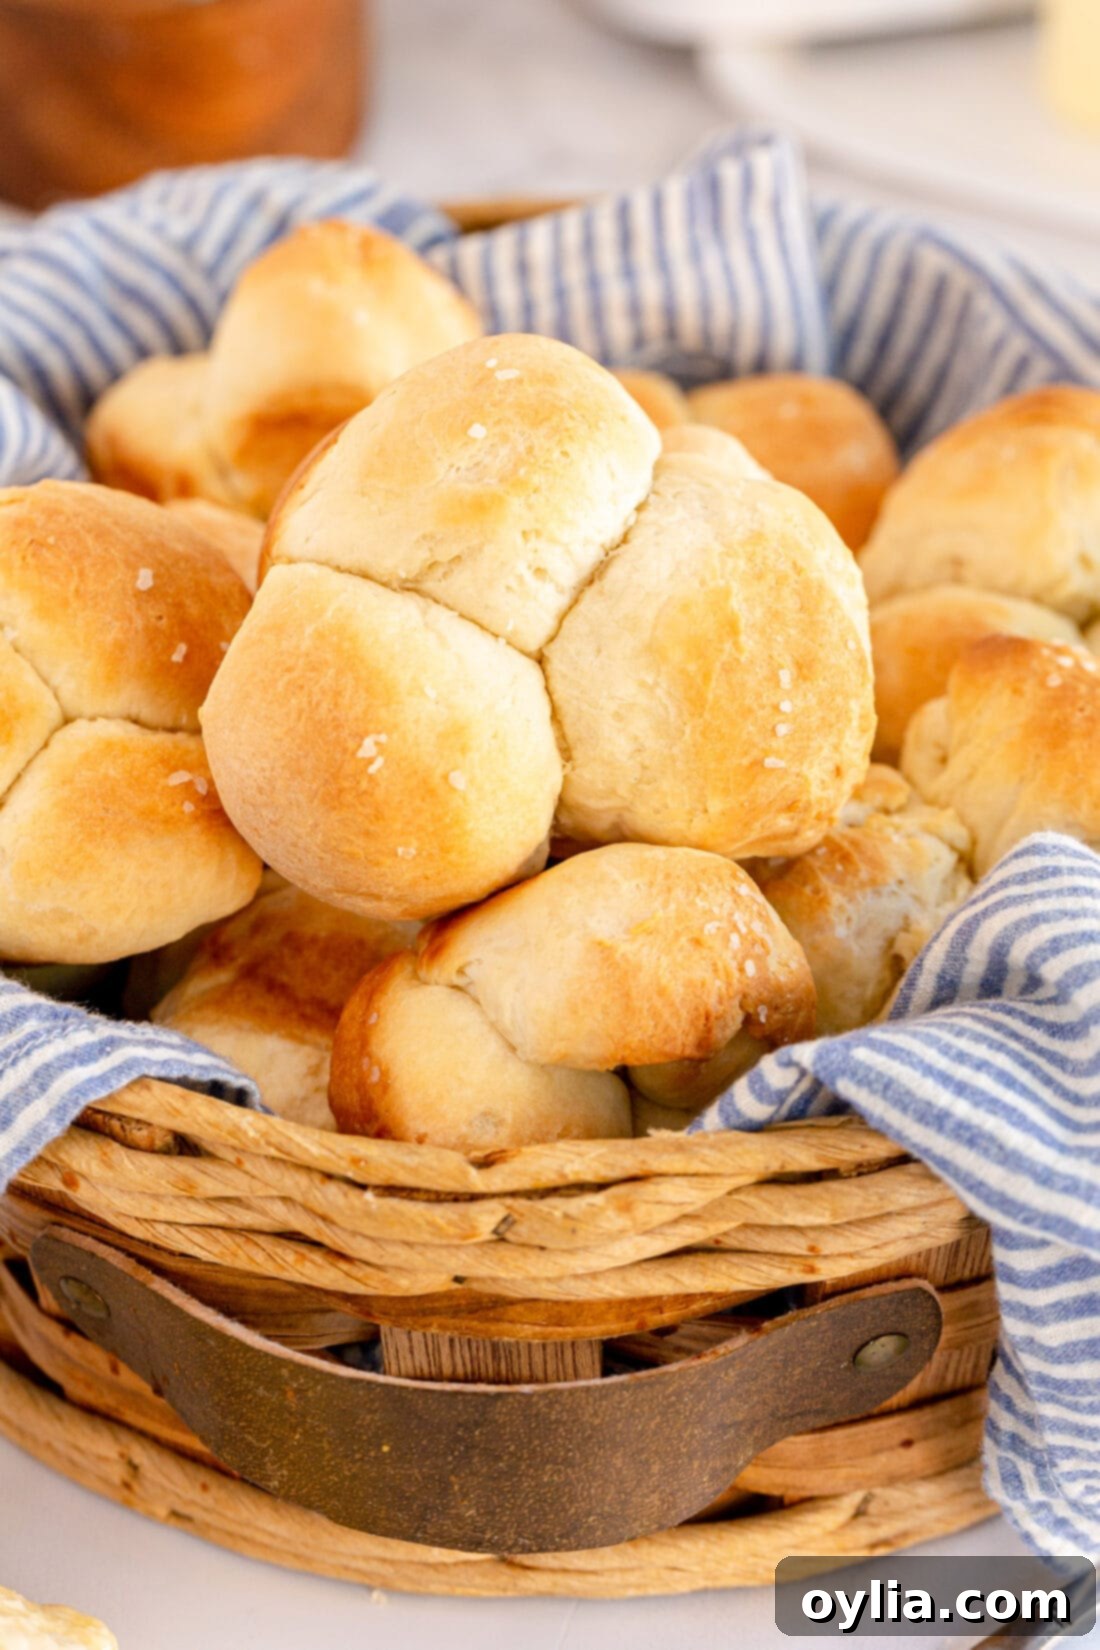
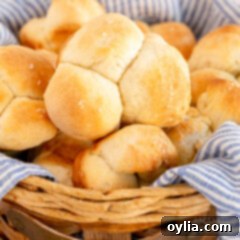
Imagine warm, unbelievably soft, homemade pull-apart dinner rolls, generously smeared with melted butter. The aroma alone is enough to make mouths water! These irresistible rolls are the perfect companion for almost any dinner recipe, elevating a simple meal into something truly special. Forget the hours of kneading and complex steps often associated with homemade bread; this no-knead dinner roll recipe is so straightforward and quick, it’s destined to become a beloved staple in your kitchen. Get ready to impress your family and friends with minimal effort!
Why This No-Knead Dinner Roll Recipe is a Must-Try
If you’ve been searching for a reliable, delicious roll recipe that doesn’t demand hours of your time or strenuous kneading, your search ends here. This recipe for homemade pull-apart dinner rolls is a game-changer. It delivers incredibly soft and fluffy results in just over an hour, making fresh, warm bread an achievable reality even on busy weeknights.
These rolls are an absolute hit, consistently requested at every holiday feast and family gathering. My loved ones wouldn’t dream of Easter, Christmas, or Thanksgiving dinner without a double batch of these golden beauties on the table. Their versatility extends far beyond holidays, though. They make an excellent side for hearty dishes like crockpot roast beef or a succulent sirloin pork roast. They’re equally delightful alongside soups, stews, pot roasts, or simply as a comforting accompaniment to any meal you deem worthy of a truly exceptional bread roll.
What sets this recipe apart is its simplicity. The “no-knead” method means you mix the dough, let it rise, shape it, and bake it – no intensive labor required. This makes it perfect for beginner bakers or anyone looking for a quick and rewarding baking project. The result is always a basket full of tender, buttery rolls that are almost impossible to resist.
Key Ingredients for Perfect Pull-Apart Rolls
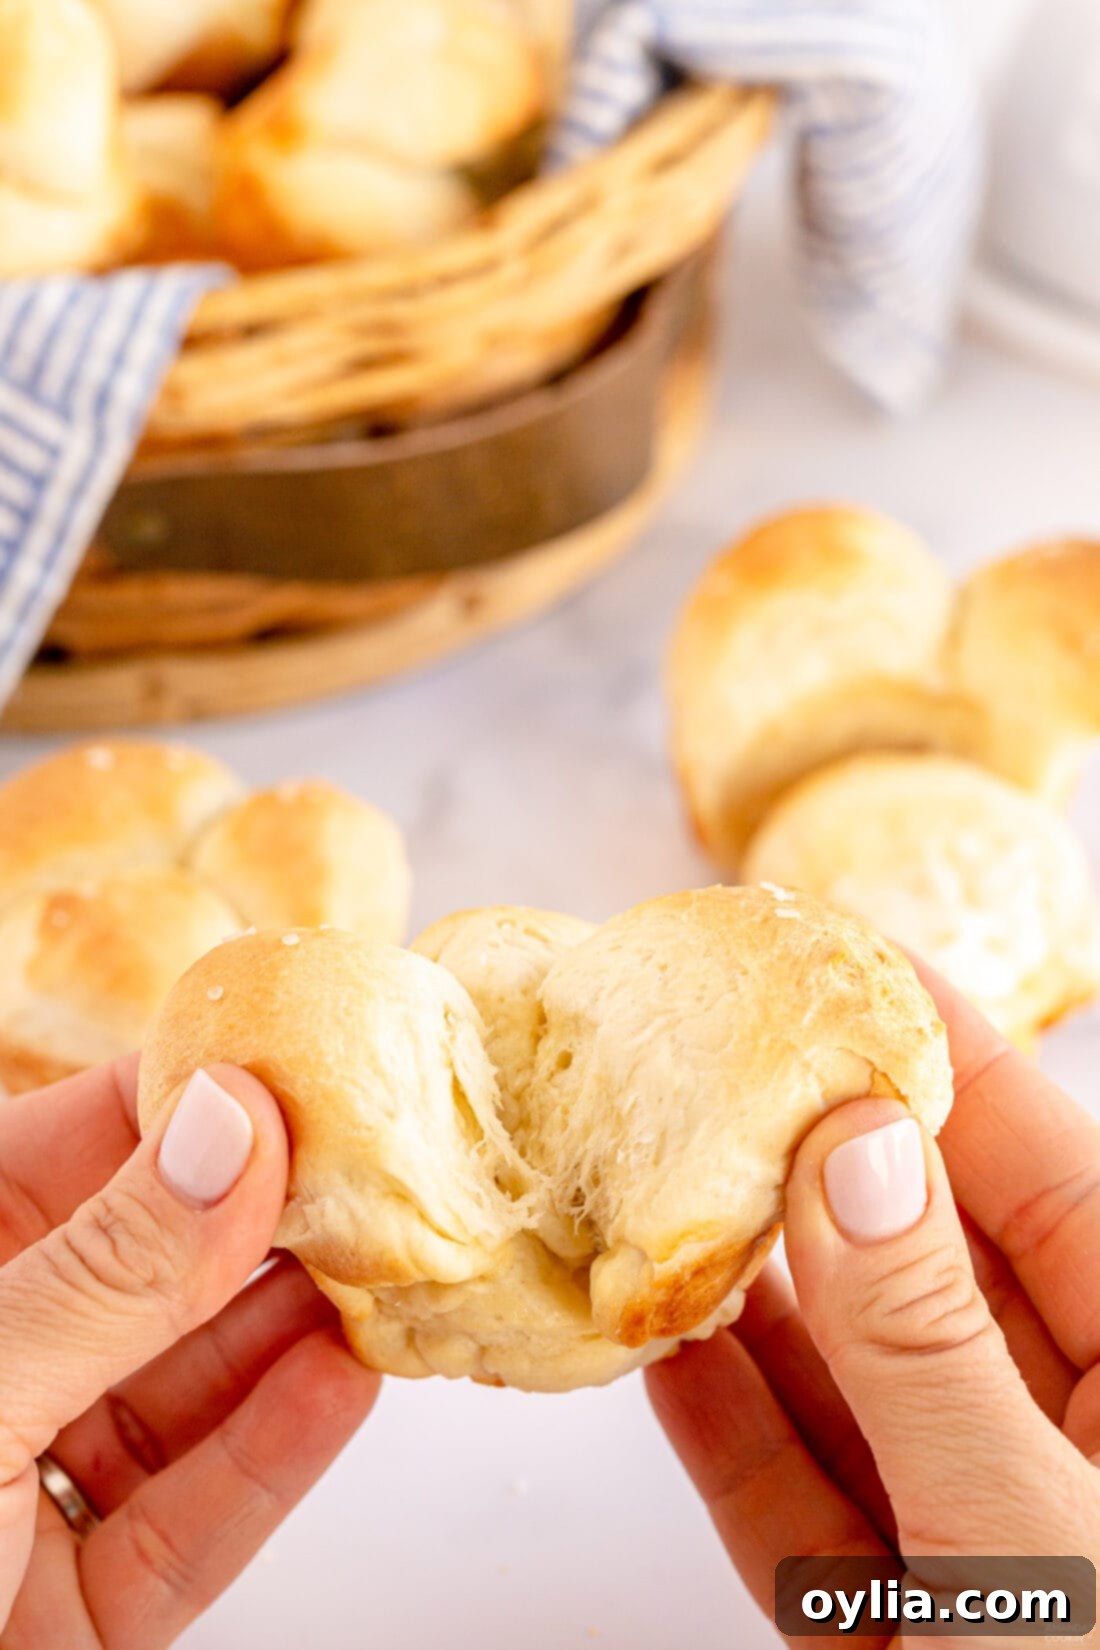
Crafting these delectable pull-apart rolls requires just a few basic ingredients, most of which you likely already have in your pantry. For all exact measurements, detailed instructions, and a printable version of this recipe, be sure to scroll to the end of this post.
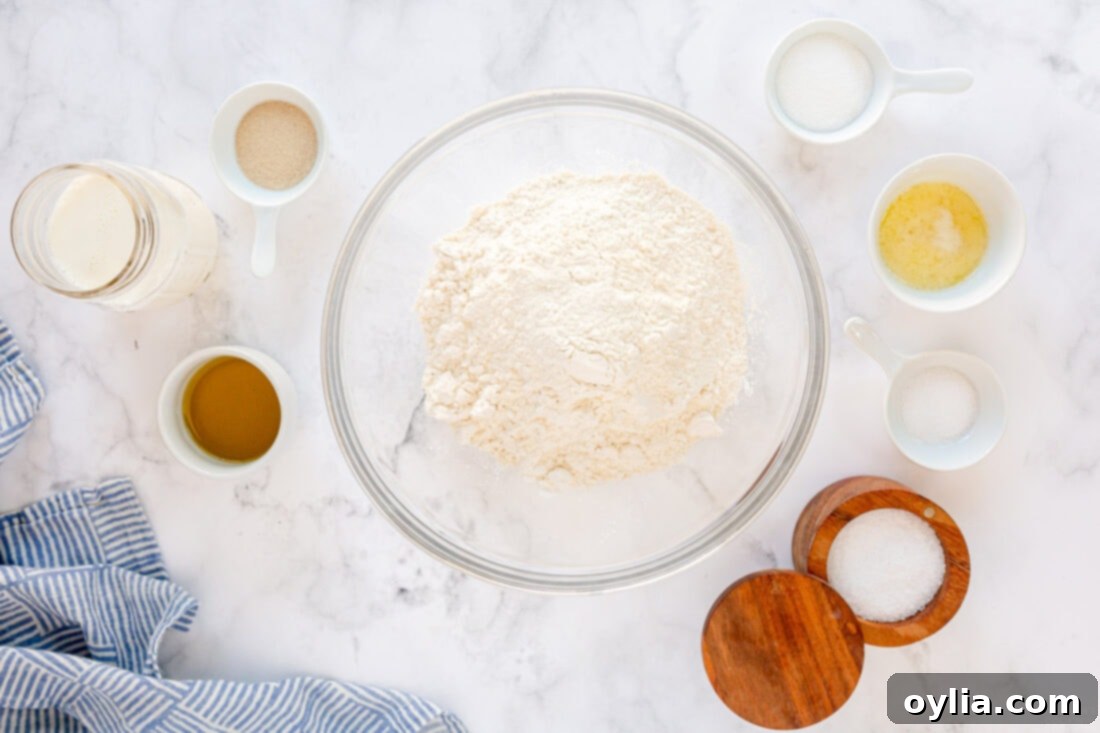
YEAST – Quick-acting dry yeast is absolutely essential for these rolls, as it significantly speeds up the rising process, allowing you to enjoy fresh bread in a fraction of the time. I personally prefer SAF Instant Yeast, but any brand labeled “quick rise,” “instant,” or “fast-rise” will work perfectly. This type of yeast absorbs water more quickly than traditional active dry yeast, leading to a much faster fermentation and rise time. Just be sure to check the expiry date on your yeast packet to ensure it’s still active for optimal results!
FLOUR – We rely on all-purpose flour for its consistent texture and versatility in this recipe. If you’re looking to incorporate whole wheat flour for a slightly healthier, nuttier flavor, I recommend using a 50/50 blend of whole wheat and all-purpose flour. Substituting all of the all-purpose flour with whole wheat can result in rolls that are too dense and heavy, as whole wheat flour contains more bran and germ which can inhibit gluten development. When measuring your flour, always use the “scoop and sweep” method: lightly spoon the flour into your measuring cup until it’s overflowing, then use the straight edge of a knife to level it off. This method prevents overpacking, which can add too much flour by weight and lead to dry, crumbly rolls.
MILK – Warm milk is crucial for activating the yeast. The ideal temperature range is between 105°F and 115°F (40°C-46°C). Milk that’s too cold won’t activate the yeast, while milk that’s too hot will kill it, resulting in a dough that won’t rise. Whole milk tends to give the richest, most tender rolls, but 2% or even skim milk can be used if preferred, though the texture might be slightly different.
SUGAR – Just a touch of sugar in this recipe does more than add sweetness; it feeds the yeast, helping it to activate and produce those wonderful air pockets that make the rolls so light and fluffy. Granulated sugar works perfectly here.
OIL – Extra virgin olive oil adds moisture and tenderness to the dough without making it greasy. It also contributes to a beautiful golden crust. Vegetable oil or canola oil can be used as alternatives if olive oil isn’t on hand.
SALT – Salt is vital for enhancing flavor and controlling yeast activity. Don’t skip it! It balances the sweetness and brings out the natural flavors of the bread.
BUTTER & COARSE SALT – Melted butter brushed over the rolls before and after baking adds an incredible richness and a soft crust. A sprinkle of coarse salt (like sea salt or kosher salt) on top before baking provides a lovely textural contrast and a gourmet touch.
How to Make Homemade Pull Apart Dinner Rolls (Step-by-Step)
These step-by-step photos and instructions are here to help you visualize how to make this recipe successfully. For a printable version of this recipe, complete with precise measurements and full instructions, you can Jump to Recipe at the bottom of this post.
-
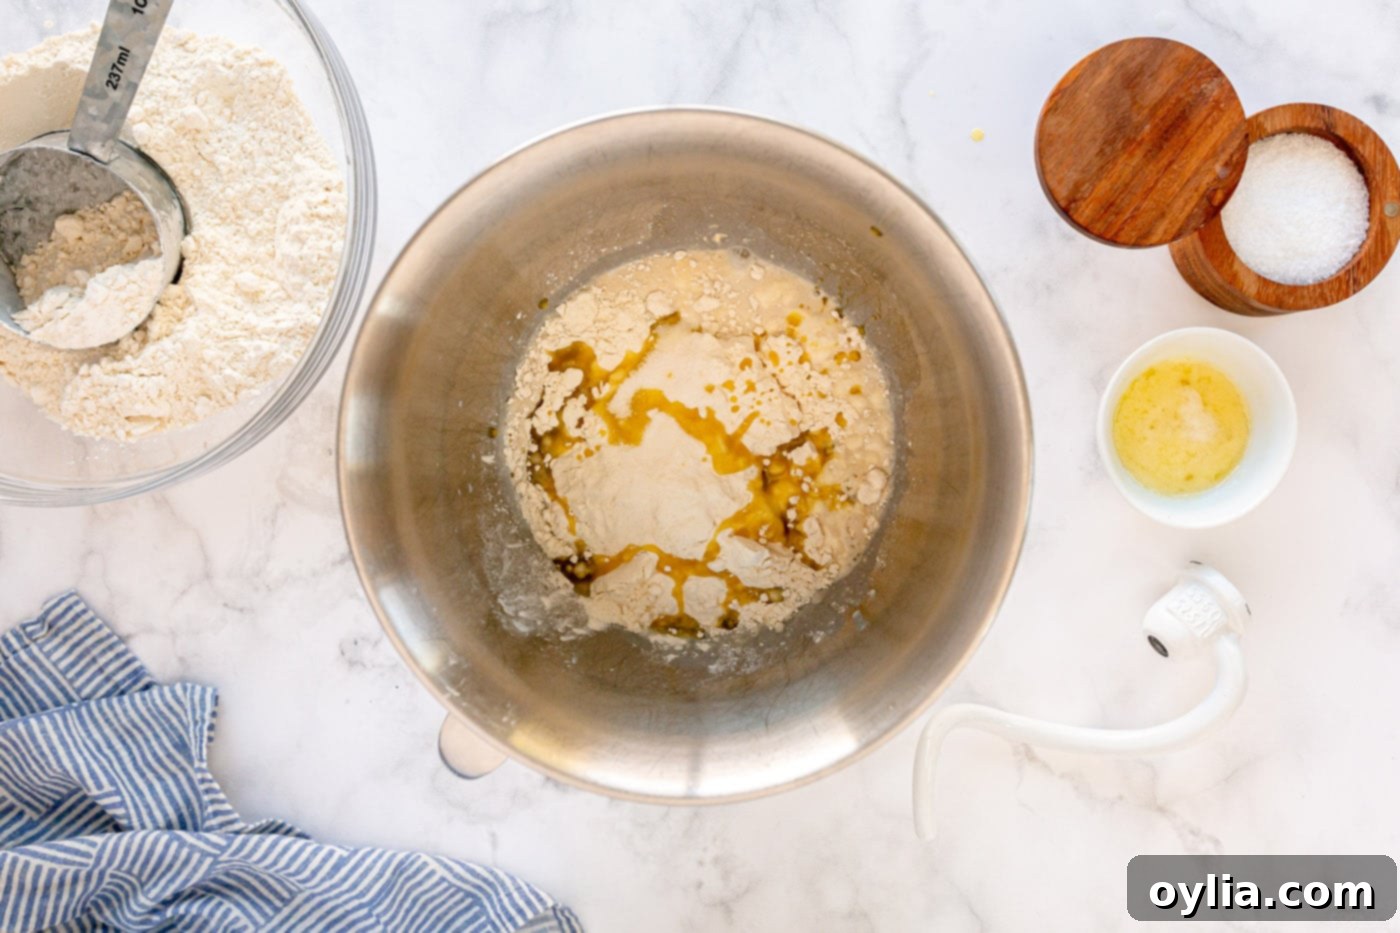
Dissolve yeast in warm milk with sugar in an electric mixer bowl. Stir in 1 cup flour, oil, and salt. Beat until smooth. The mixture should look slightly frothy and uniform.
EXPERT TIP– The temperature of your milk is critical! Use an instant-read thermometer to ensure it’s between 105°F and 115°F (40°C-46°C). If the milk is too hot, it will kill the yeast, and your dough won’t rise. If it’s too cold, the yeast won’t activate, leading to a dense dough. Precise temperature guarantees a lively yeast and a perfectly sticky-but-manageable dough.

-
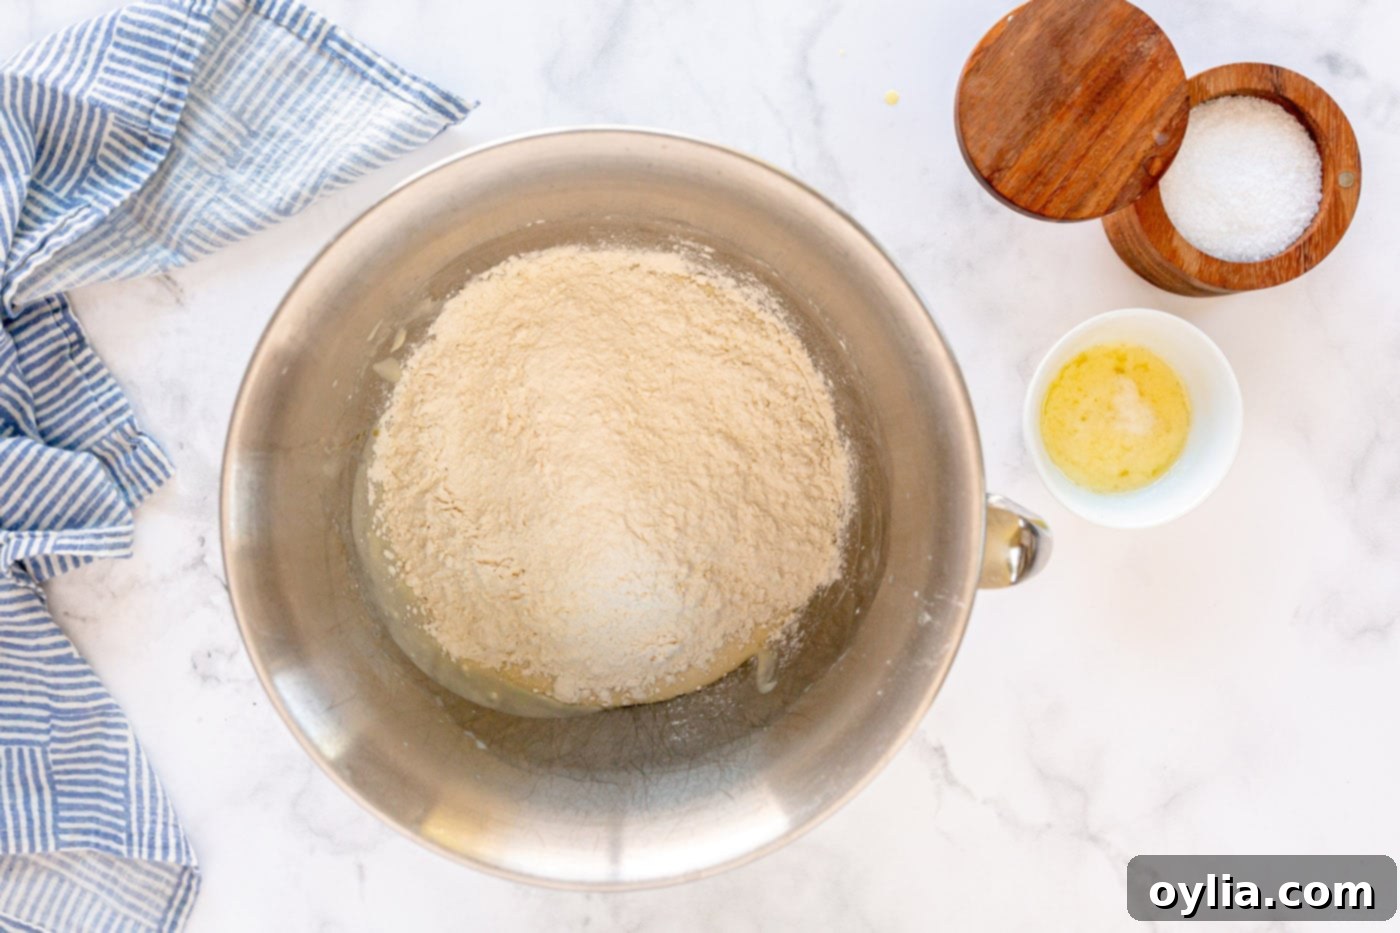
Gradually stir in the remaining flour, using a spatula or spoon to scrape the dough from the sides of the bowl as needed, until a soft dough forms. The dough will still be slightly sticky, but it should pull away from the sides of the bowl. Avoid adding too much extra flour at this stage, as it can lead to dry rolls.

-
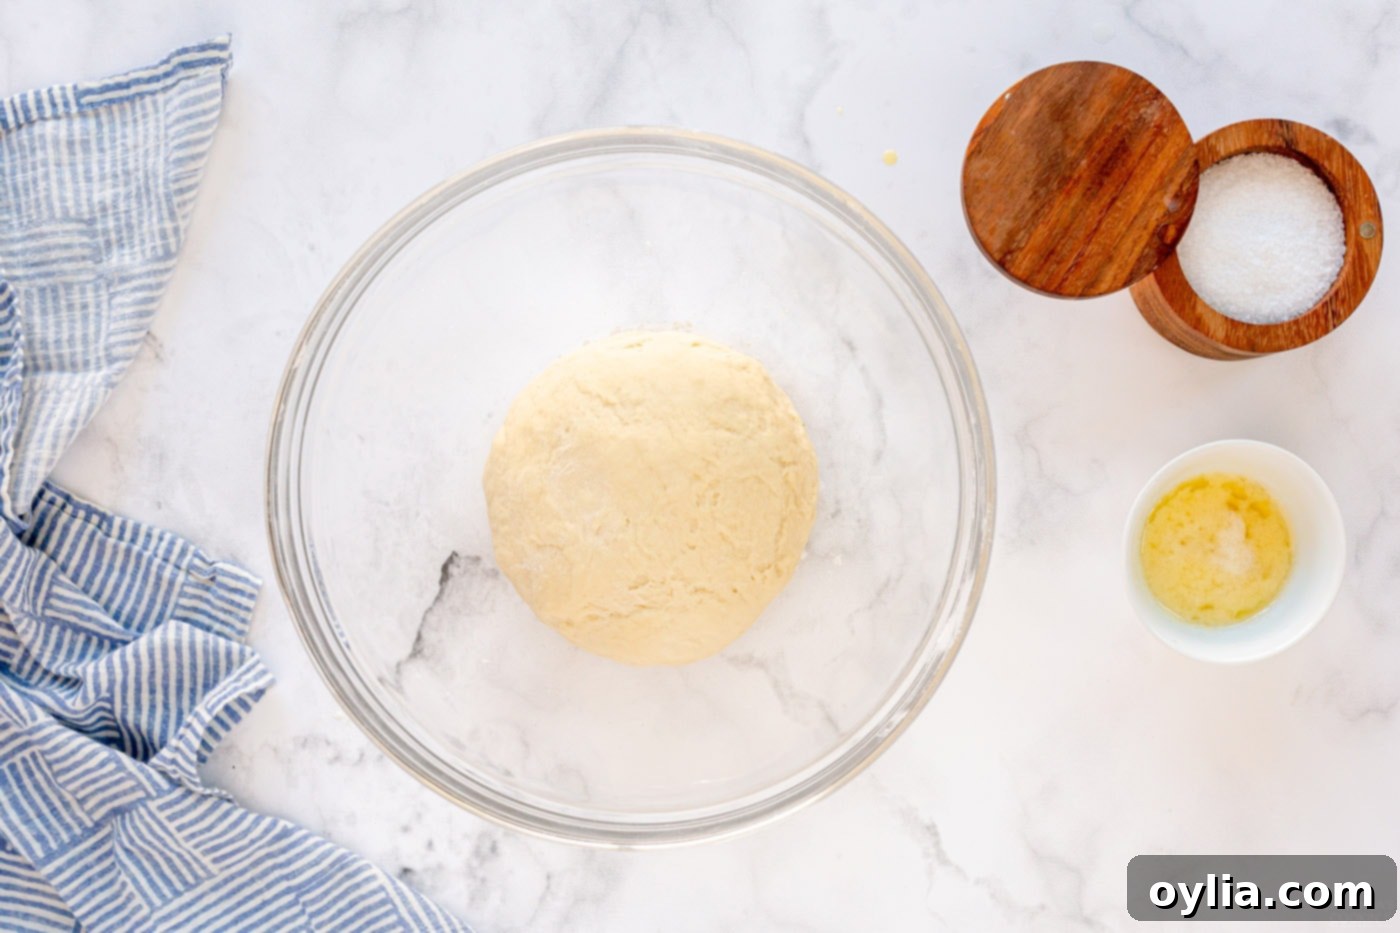
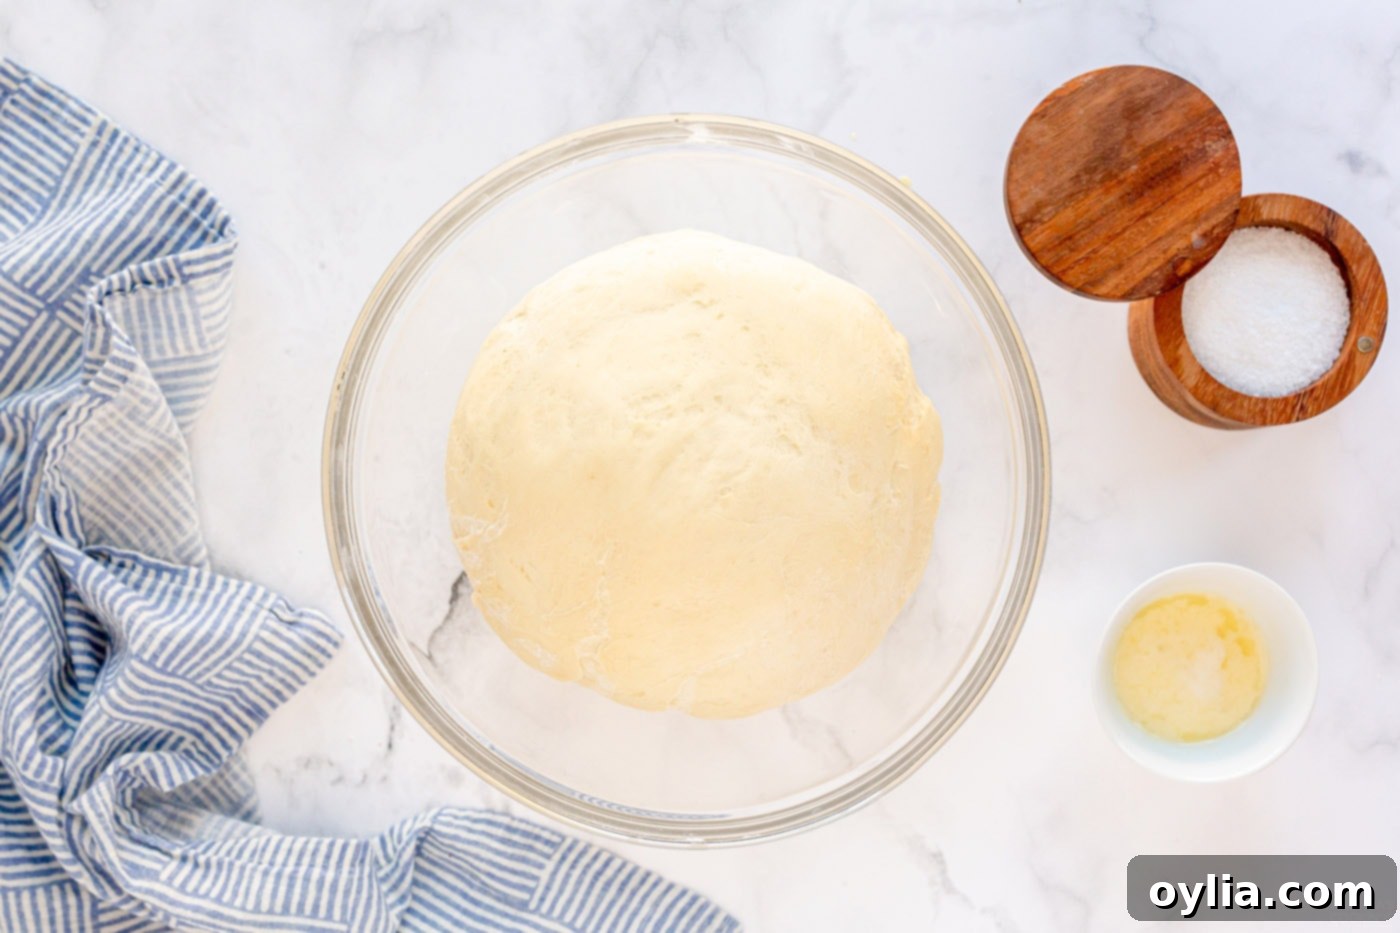
Cover the bowl with a clean kitchen towel or plastic wrap and let the dough rise in a warm, draft-free place until it has doubled in size. This usually takes about 45 minutes to an hour, depending on the warmth of your environment.
EXPERT TIP– A slightly warm oven (turned off, but briefly heated to about 100°F and then turned off) or a sunny spot on your countertop can create the perfect environment for dough to rise quickly and effectively. Ensure your bowl is well-covered to prevent a crust from forming on the dough surface, which can hinder rising.


- Preheat your oven to 400 degrees F (200°C). Once the dough has risen, gently punch it down in the center to release the air, then fold it over a few times. Lightly grease a 12-cup muffin pan with non-stick cooking spray or butter.
-
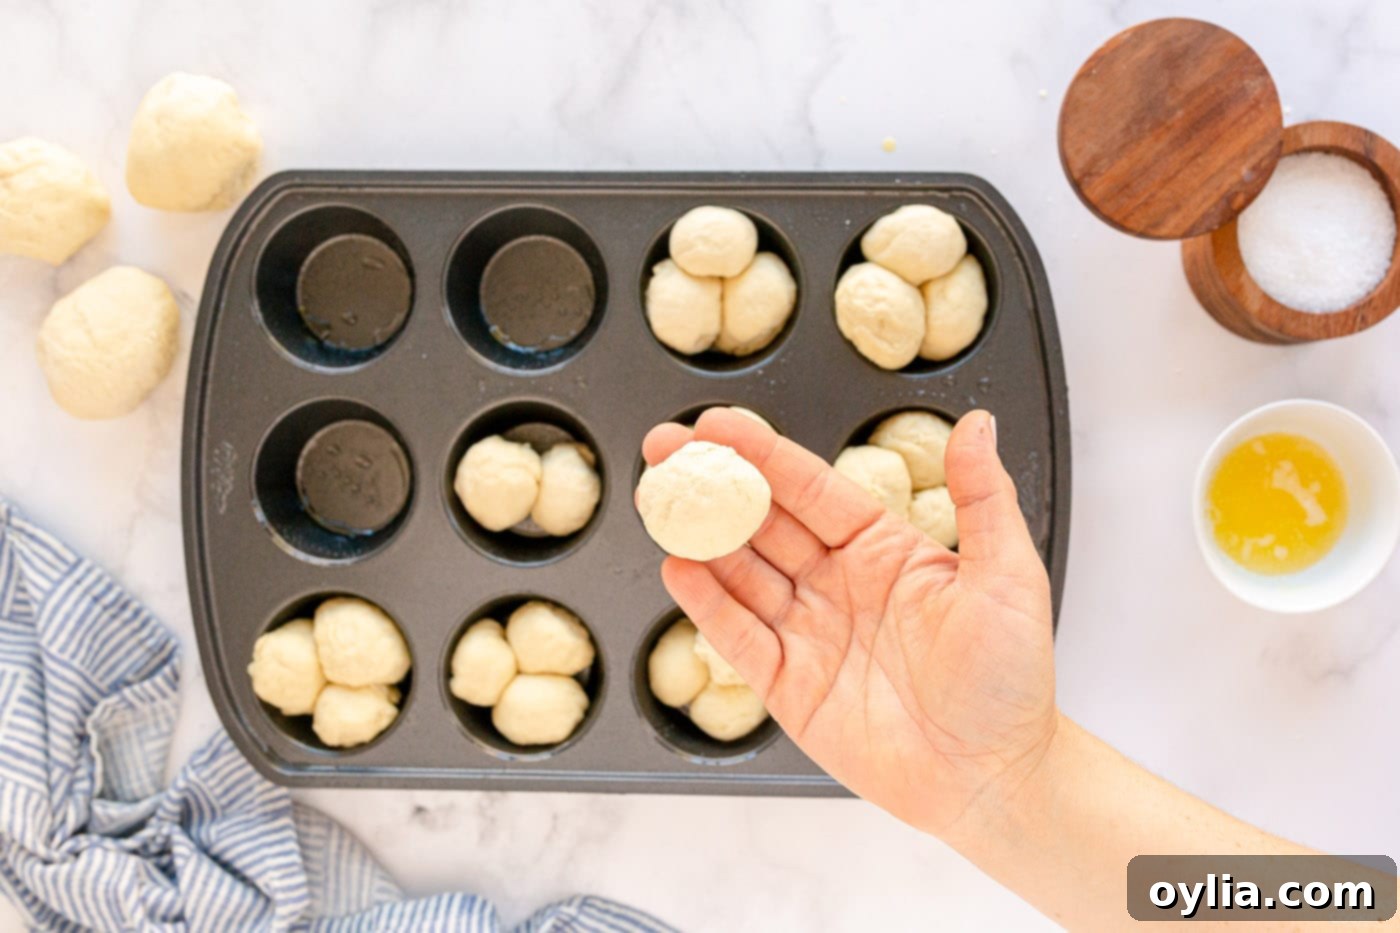
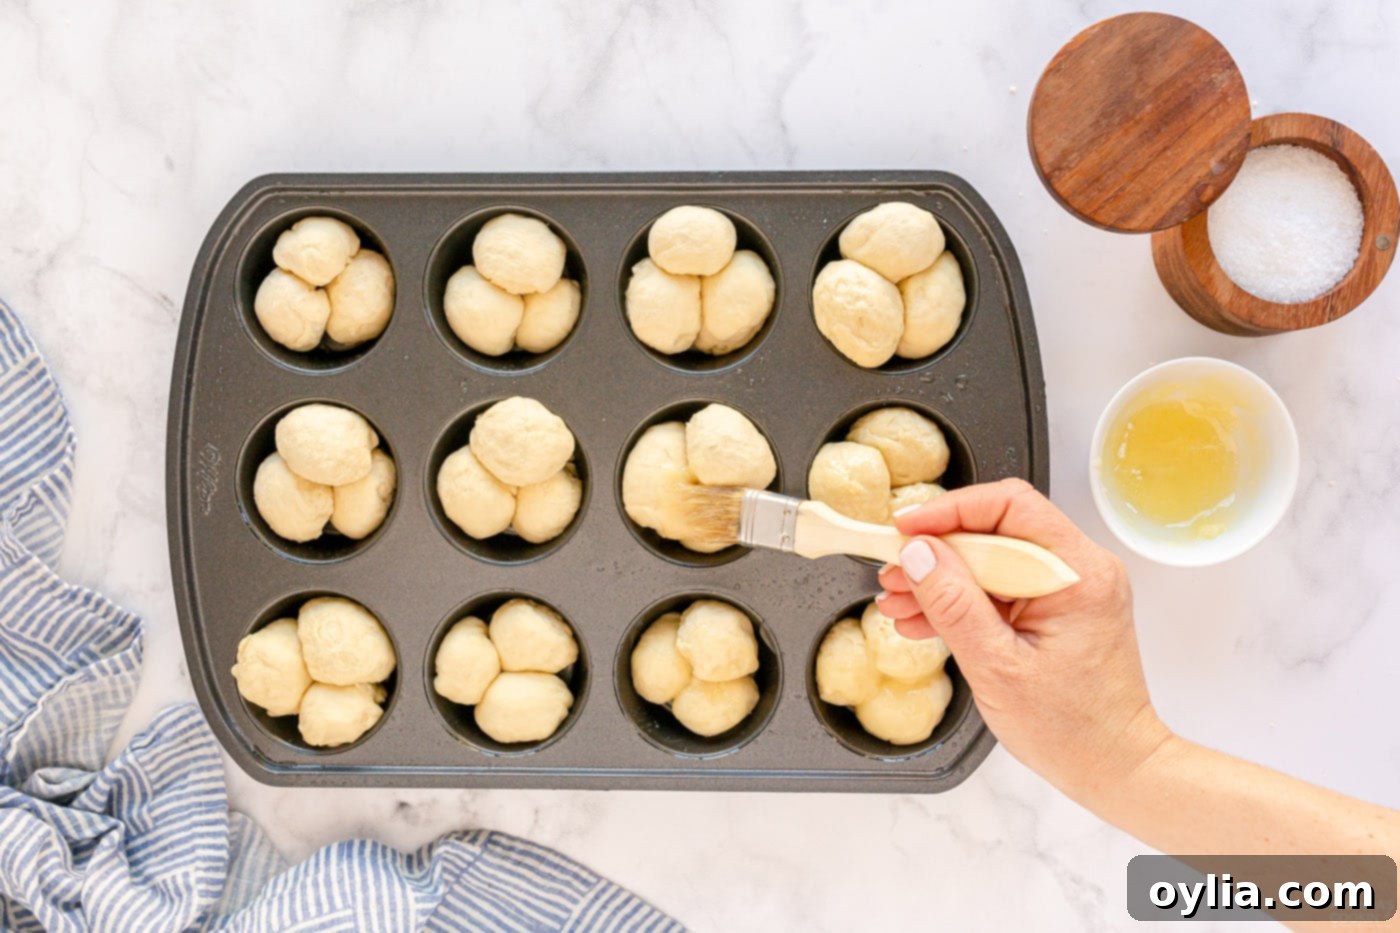
Pinch off small, roughly 1-inch balls of dough. Quickly roll each piece into a smooth ball between the palms of your hands. Place three dough balls into each muffin cup. This clustering creates the “pull-apart” effect. Brush the tops of the dough balls generously with melted butter, then sprinkle with a pinch of coarse salt for a lovely finish.


-
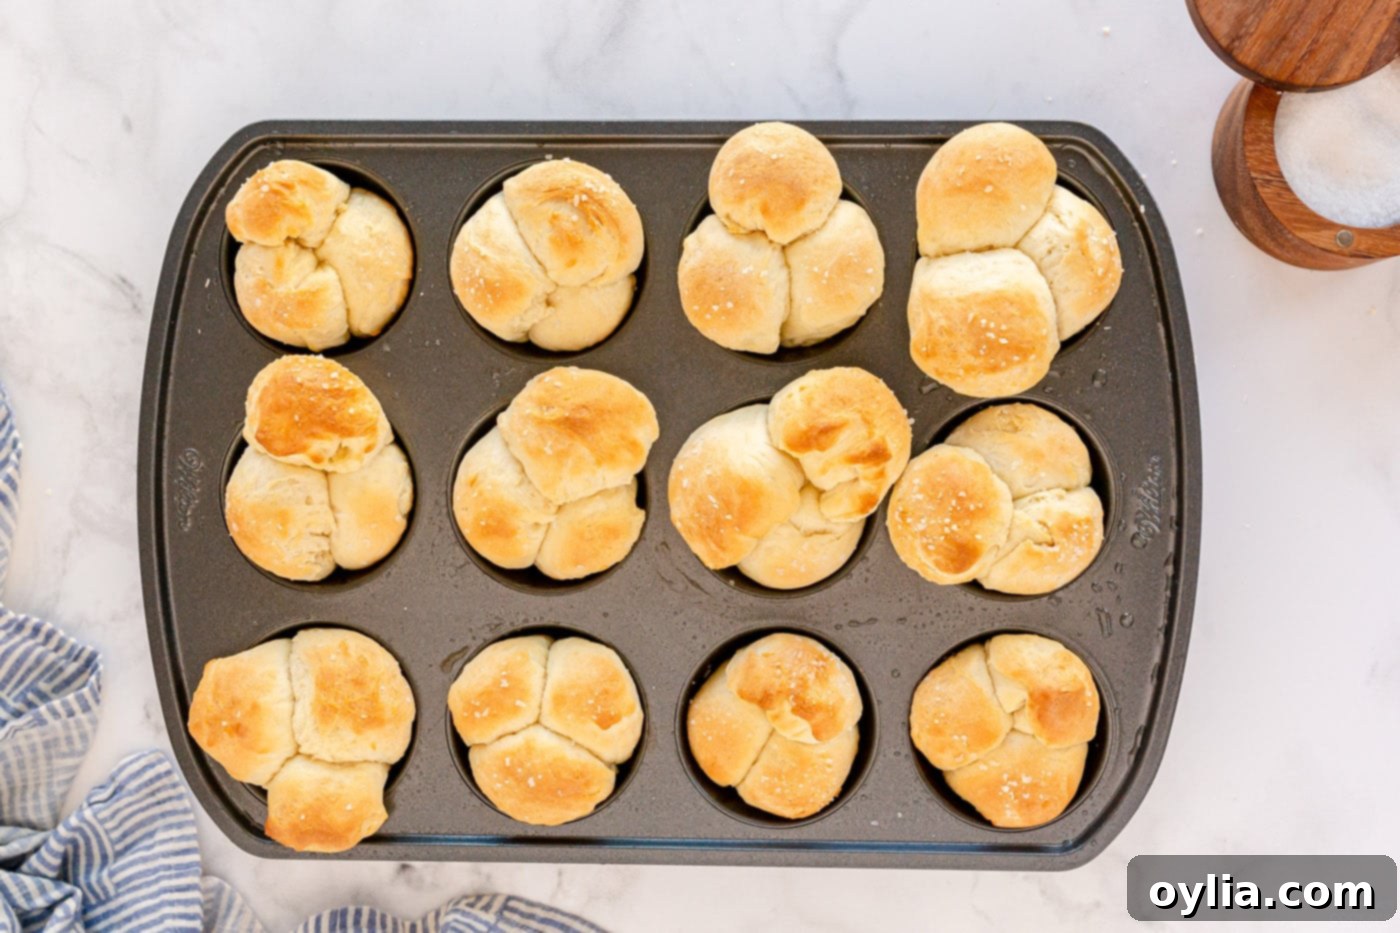
Bake the rolls in the preheated oven for approximately 15 minutes, or until the crust is a beautiful light golden brown. Keep a close eye on them towards the end of the baking time, as oven temperatures can vary. Once baked, immediately remove the rolls from the muffin pan to prevent them from becoming soggy. Store any leftover rolls loosely covered at room temperature.

Frequently Asked Questions About Dinner Rolls
Yes, you absolutely can use active dry yeast. The main difference is that active dry yeast usually requires “proofing” first. To proof, dissolve the yeast with the sugar in the warm milk (105-115°F) and let it sit for 5-10 minutes until it becomes foamy. This indicates the yeast is active. If it doesn’t foam, your yeast might be old or the liquid wasn’t the right temperature, and you should start with fresh yeast. Once proofed, proceed with the recipe as directed.
Yes, you can certainly use bread flour. Bread flour has a higher protein content than all-purpose flour, which means it will develop more gluten. This can result in rolls with a slightly chewier texture, which some people prefer. Simply substitute equal amounts of bread flour for the all-purpose flour called for in the recipe.
While it’s best to bake these rolls fresh for optimal texture, you can prepare the dough ahead of time. After the first rise, you can punch down the dough, form the balls, and place them in the muffin pan. Cover the pan tightly with plastic wrap and refrigerate for up to 24 hours. When you’re ready to bake, remove the pan from the refrigerator and let it sit at room temperature for about 30-60 minutes to allow the rolls to warm up and slightly re-rise before baking as directed. Be aware that the longer yeast dough proofs, even slowly in the fridge, the more it can affect the final texture.
It’s normal for this dough to be a bit sticky after mixing and before its first rise. It should be manageable but still soft and slightly tacky to the touch. If your dough is excessively sticky and difficult to handle, a common trick is to lightly spray your hands with non-stick cooking spray before shaping the balls. As a last resort, you can gently sprinkle the dough with a tablespoon or two of additional flour and lightly fold it over a few times. However, use caution: adding too much extra flour can dry out the dough, resulting in dense, less tender rolls.
To keep these rolls fresh, first allow them to cool completely. Then, wrap them tightly in aluminum foil and place them inside a sealed Ziploc bag or an airtight container. They will stay fresh at room temperature for up to 4 days. If you want to store them longer, these rolls freeze beautifully! Once completely cooled, place them in a freezer-safe bag or container and freeze for up to 3 months. To reheat, thaw at room temperature, then warm them in a 350°F (175°C) oven for about 5-10 minutes, or until heated through.
The most common reasons for dough not rising are inactive yeast or incorrect milk temperature. Ensure your quick-acting yeast is fresh (check the expiry date). The milk needs to be warm enough to activate the yeast (105-115°F/40-46°C) but not too hot, which would kill it. Using an instant-read thermometer is highly recommended. Also, make sure your rising environment is warm and draft-free.
Absolutely! These rolls are a fantastic base for customization. You can incorporate dried herbs like rosemary or thyme into the dough, or sprinkle them on top with the coarse salt. For a touch of sweetness, consider brushing with honey butter after baking, or adding a pinch of garlic powder to the melted butter for savory garlic rolls.
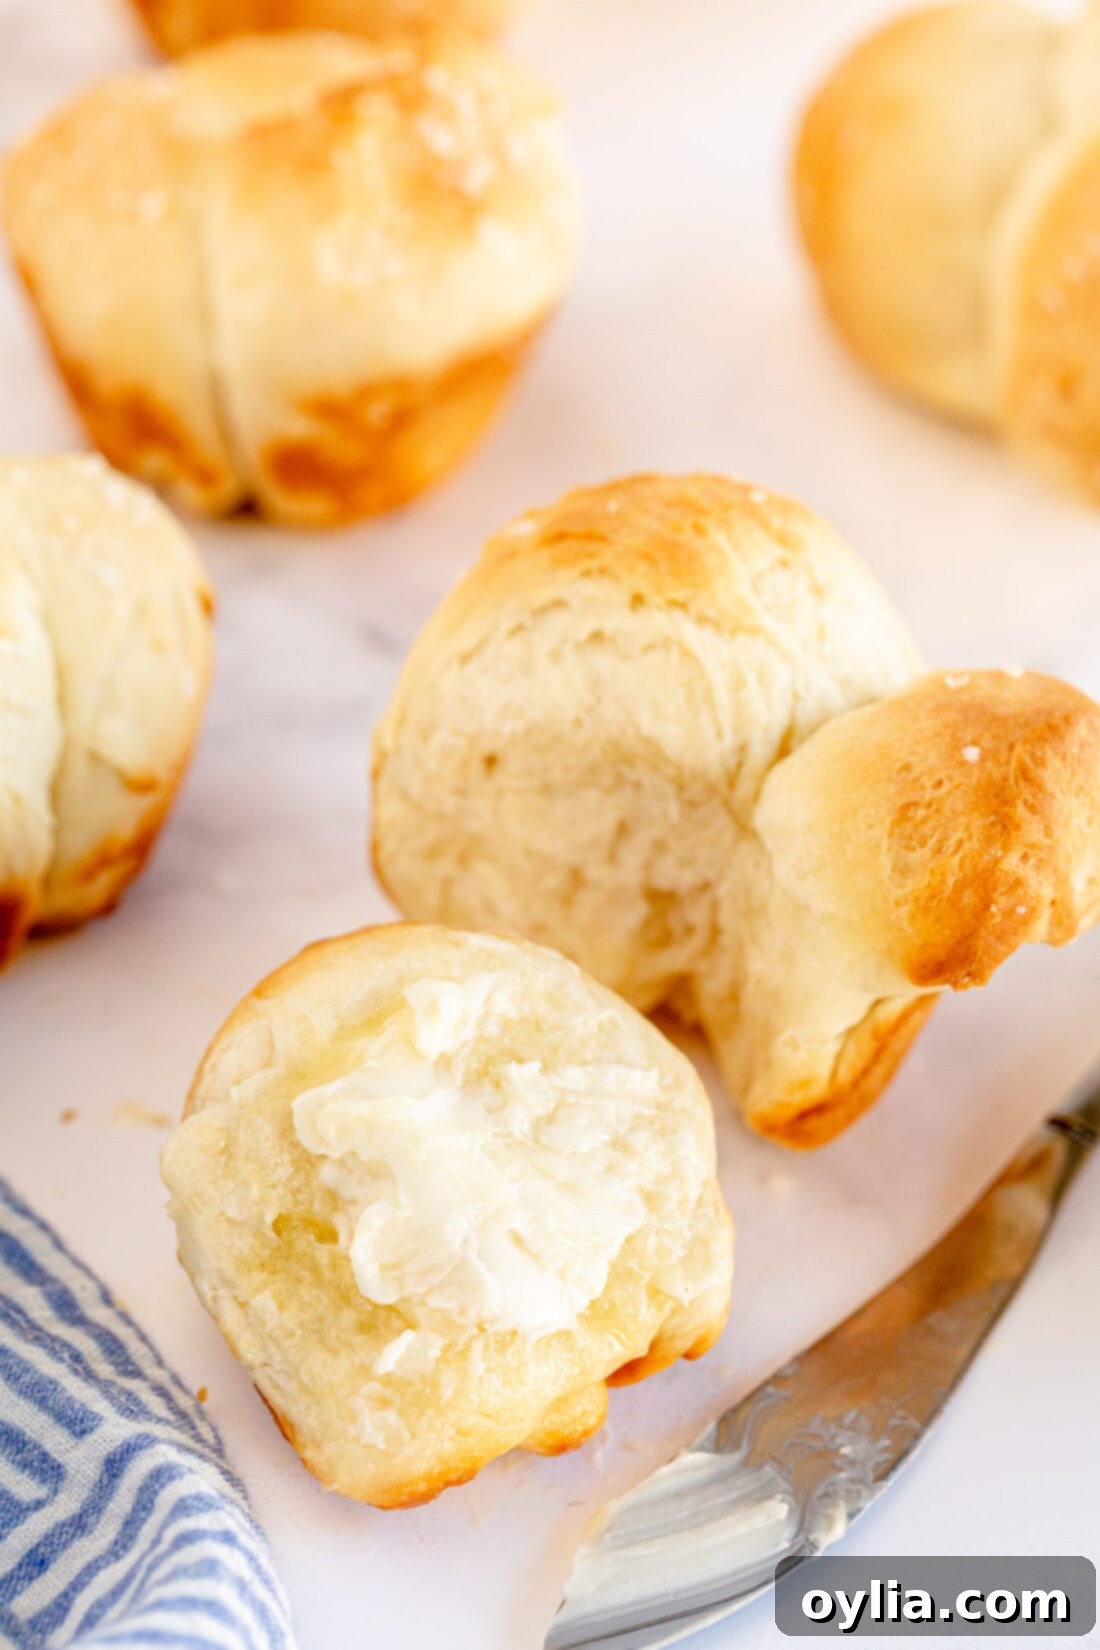
This recipe consistently yields 12 piping hot, incredibly soft rolls, each one practically begging for a pat of butter. Gently pull them apart and watch the steam escape, revealing their tender, fluffy interior. The satisfying texture and rich flavor make these rolls an instant crowd-pleaser and a perfect addition to any meal, from a casual weeknight dinner to a festive holiday spread.
More Irresistible Roll and Biscuit Recipes
If you loved making these pull-apart rolls, you’ll surely enjoy exploring more delicious bread recipes. Expand your baking repertoire with these fantastic options:
- Gooey Garlic Cheese Rolls
- Bretzel Rolls (Pretzel Sandwich Rolls)
- Parmesan Garlic Rolls
- Homemade Hawaiian Rolls
- Classic Homemade Biscuits
- Herby Buttermilk Biscuits
- Easy Garlic Knots
I absolutely adore sharing my passion for baking and cooking with all of you! To make sure you never miss out on a new recipe, I offer a convenient newsletter. Simply subscribe today and start receiving free daily recipes directly to your inbox!
Homemade Pull Apart Dinner Rolls
IMPORTANT – Don’t forget to check the Frequently Asked Questions (FAQs) section within the blog post for helpful tips and troubleshooting. Scroll back up to read them!
Print It
Pin It
Rate It
Save ItSaved!
Course: Breads, Side Dish
Cuisine: American
Ingredients
- 1 package quick-acting yeast also known as instant yeast
- 1 ⅓ cup milk at 105 to 115F degrees
- 3 cups all purpose flour
- 3 Tablespoons extra virgin olive oil
- 1 Tablespoon sugar
- 1 teaspoon salt
- 1 Tablespoon butter melted
- coarse salt for topping
Things You’ll Need
-
Electric mixer (Stand mixer with paddle attachment recommended)
-
Muffin pan (12-cup standard size)
-
Instant-read thermometer (for milk temperature)
-
Clean kitchen towel or plastic wrap
Helpful Tips Before You Begin
- Flour Measurement: When measuring flour, always use the “scoop and sweep” method. Gently spoon flour into your measuring cup and then level it off with a straight edge. This prevents overpacking, which can lead to dense, dry rolls.
- Flour Substitutions: While we use all-purpose flour for the best results, you can use a 50/50 blend of whole wheat and all-purpose flour if desired. Using only whole wheat flour may result in rolls that are too dense.
- Yeast Type: Quick-acting (also known as instant, rapid-rise, or fast-rise) dry yeast is crucial for this recipe’s fast rise time. Any brand will work, but ensure it’s fresh and within its expiry date.
- Milk Temperature: The milk temperature is vital for yeast activation. Use an instant-read thermometer to ensure your milk is between 105°F and 115°F (40°C-46°C). Too hot will kill the yeast; too cold won’t activate it.
- Rising Environment: Find a warm, draft-free spot for your dough to rise. A turned-off oven (preheated briefly and then cooled slightly) or a warm corner of your kitchen works well. Covering the bowl with a towel or plastic wrap is essential.
- Dough Consistency: The dough will be soft and slightly sticky after mixing. This is normal! Avoid adding too much extra flour unless absolutely necessary (see FAQ for sticky dough tips), as it can dry out the rolls.
Instructions
-
In the bowl of an electric mixer, dissolve the quick-acting yeast in warm milk (105-115°F/40-46°C) along with the sugar. Stir in 1 cup of all-purpose flour, the olive oil, and salt. Beat the mixture until it is smooth and well combined. Gradually add the remaining flour, scraping down the sides of the bowl as needed, until a soft, slightly sticky dough forms.
-
Cover the dough bowl with a clean kitchen towel or plastic wrap and place it in a warm, draft-free location. Allow the dough to rise until it has doubled in size, which should take approximately 45 minutes.
-
Preheat your oven to 400°F (200°C). Once the dough has doubled, gently punch it down in the center to release the air and fold it over a few times. Prepare a 12-cup muffin pan by lightly coating it with non-stick cooking spray. Pinch off small portions of dough, about 1-inch in size, and quickly roll them into smooth balls between your palms. Place three dough balls into each muffin cup. Brush the tops of the dough balls generously with melted butter and sprinkle with coarse salt.
-
Bake the rolls for about 15 minutes, or until the crust is a beautiful light golden brown. Immediately remove the hot rolls from the muffin pan to a wire rack to prevent them from becoming steamy and soggy. Serve warm with extra butter, and store any loosely covered leftovers at room temperature.
Nutrition Information
Tried this Recipe? Pin it for Later!Follow on Pinterest @AmandasCookin or tag #AmandasCookin!
The recipes on this blog are tested with a conventional gas oven and gas stovetop. It’s important to note that some ovens, especially as they age, can cook and bake inconsistently. Using an inexpensive oven thermometer can assure you that your oven is truly heating to the proper temperature. If you use a toaster oven or countertop oven, please keep in mind that they may not distribute heat the same as a conventional full sized oven and you may need to adjust your cooking/baking times. In the case of recipes made with a pressure cooker, air fryer, slow cooker, or other appliance, a link to the appliances we use is listed within each respective recipe. For baking recipes where measurements are given by weight, please note that results may not be the same if cups are used instead, and we can’t guarantee success with that method.
Big thanks go out to Jill of Simple Daily Recipes for sharing this fantastic recipe foundation.
This recipe originally appeared here on Dec 27, 2008, and has since been updated and expanded with new photos, expert tips, and additional information to enhance your baking experience.
