Irresistible Easter M&M Cookies: A Perfect Springtime Dessert Recipe
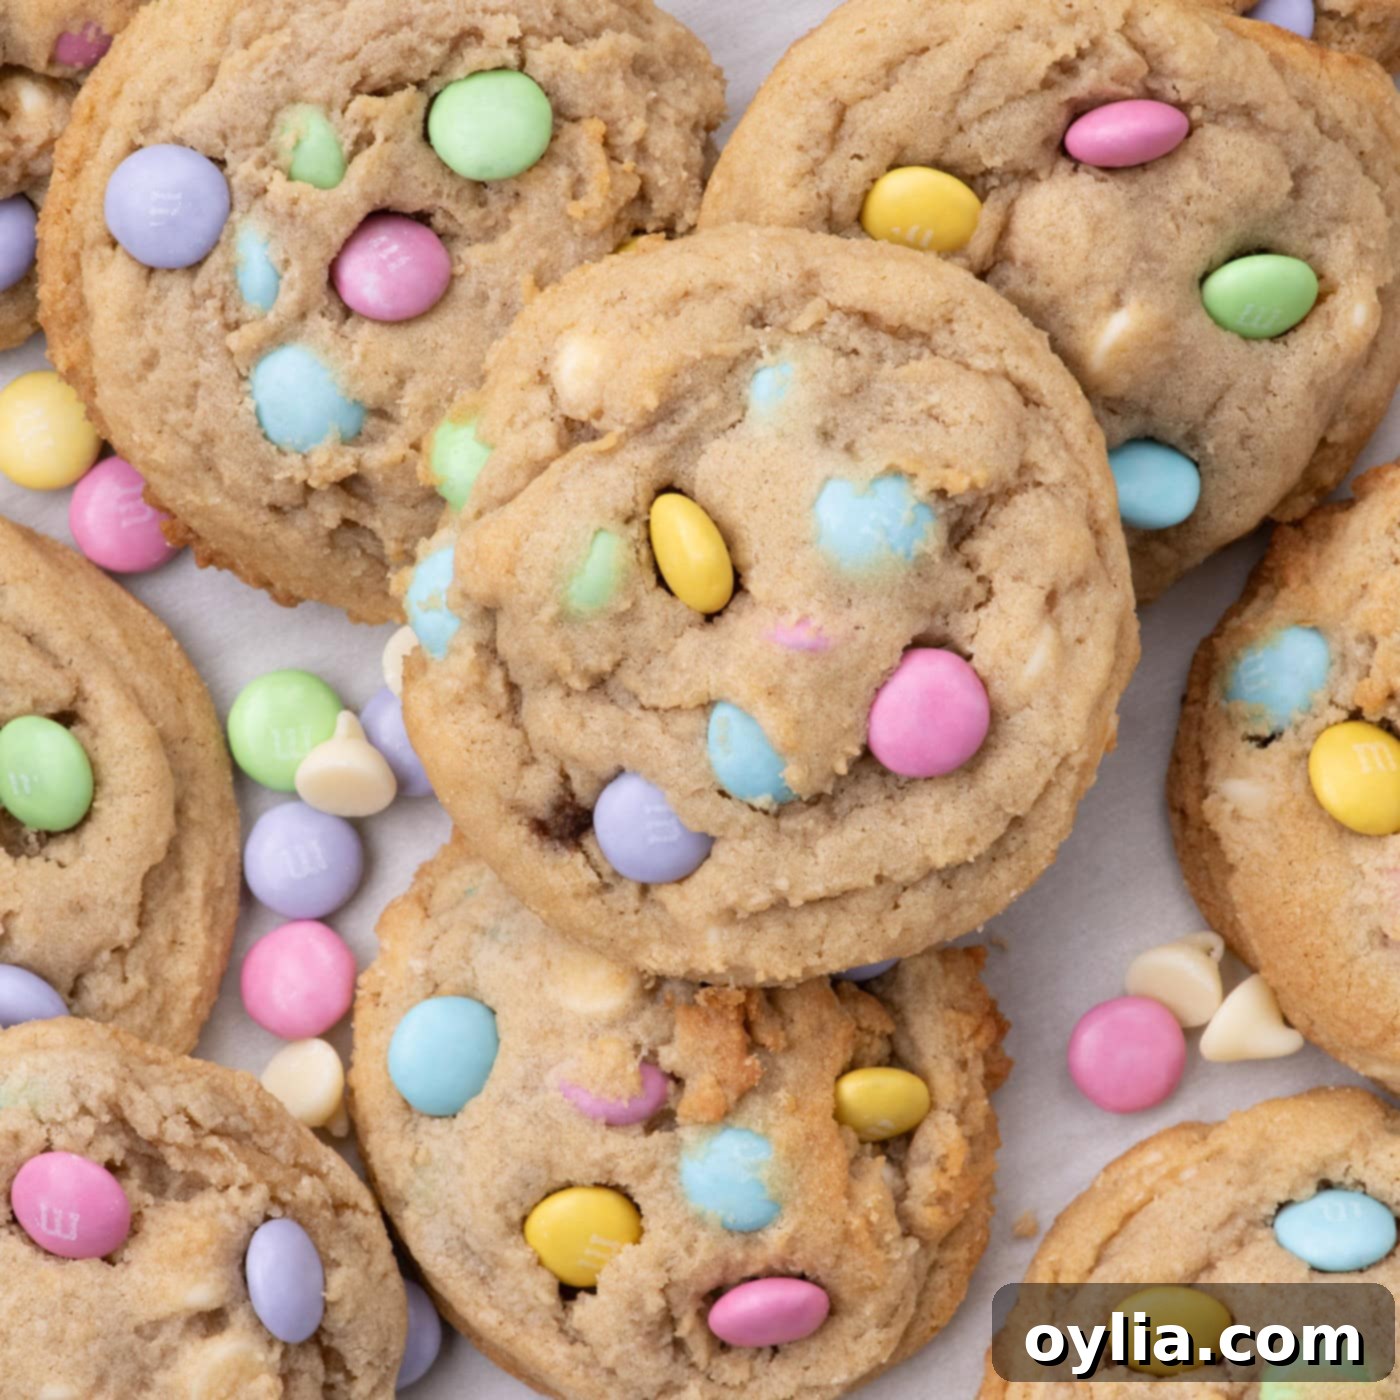
Get ready to bake the most delightful Easter M&M cookies that boast perfectly crispy, buttery edges, a wonderfully soft, chewy center, and are generously studded with melty white chocolate chips and festive pastel candies. These vibrant treats are not just a feast for the taste buds but also a joyous sight, making them the ultimate addition to your spring celebrations.
Why This Easter Cookie Recipe Works Perfectly Every Time
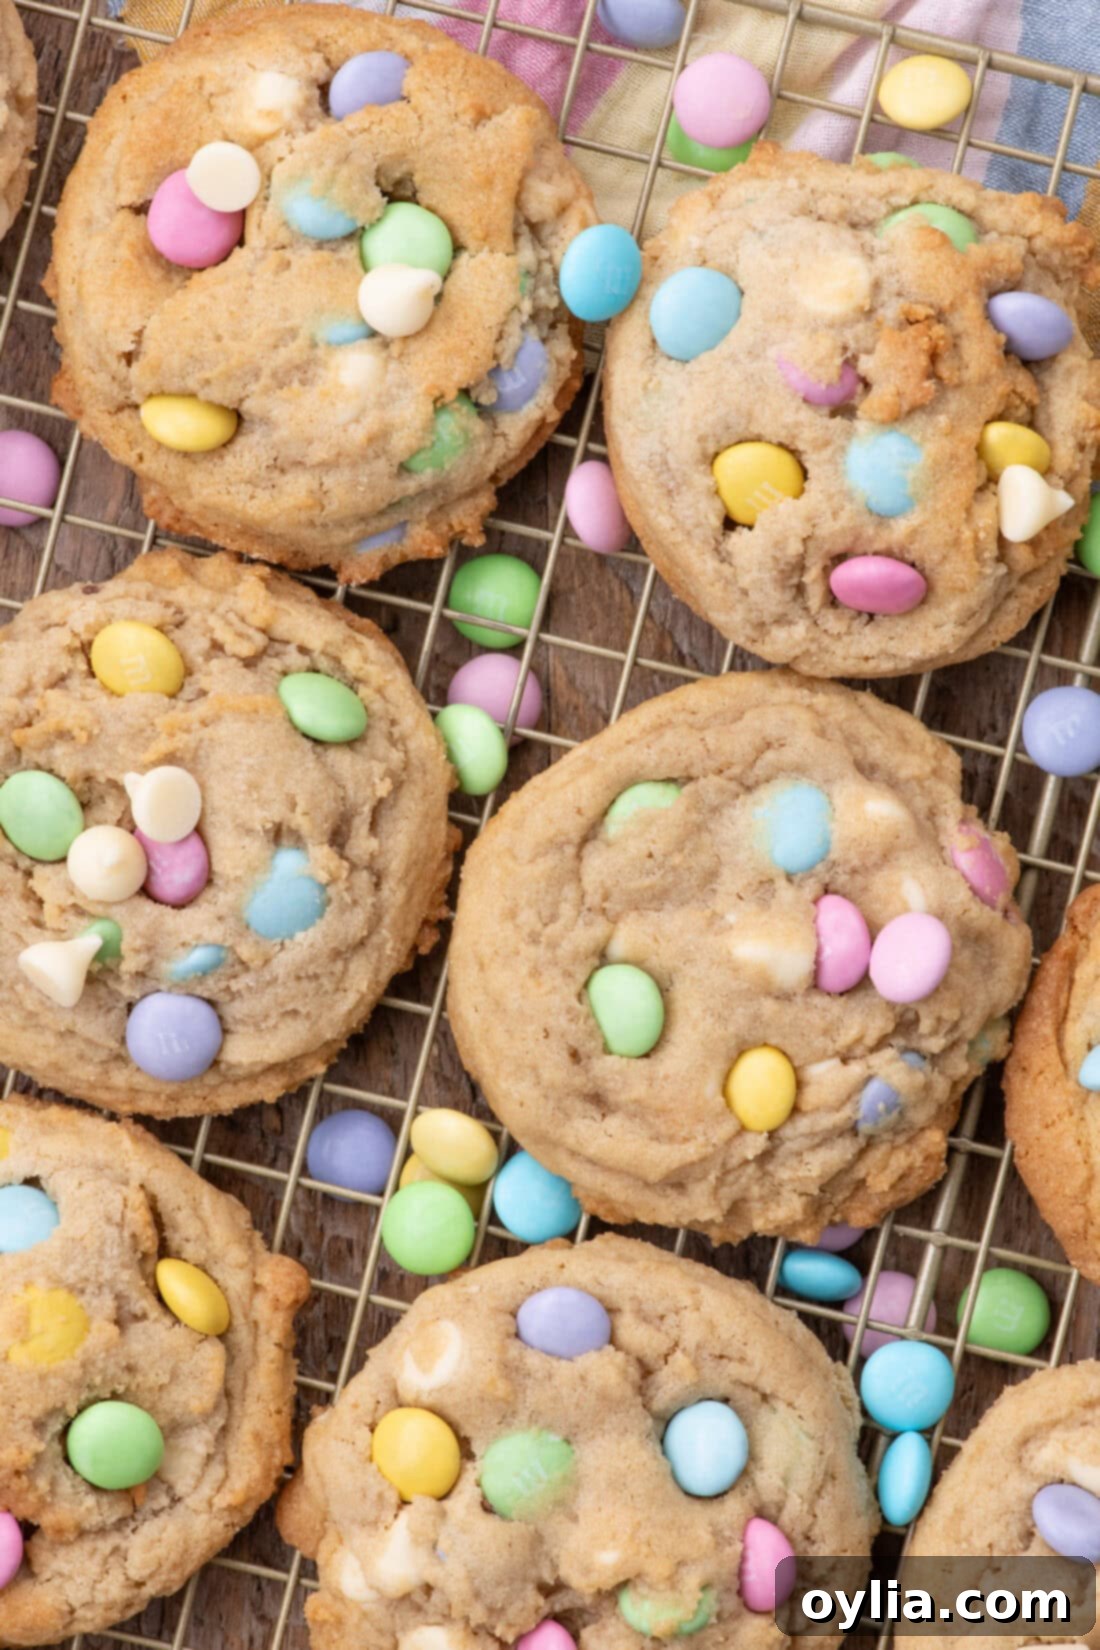
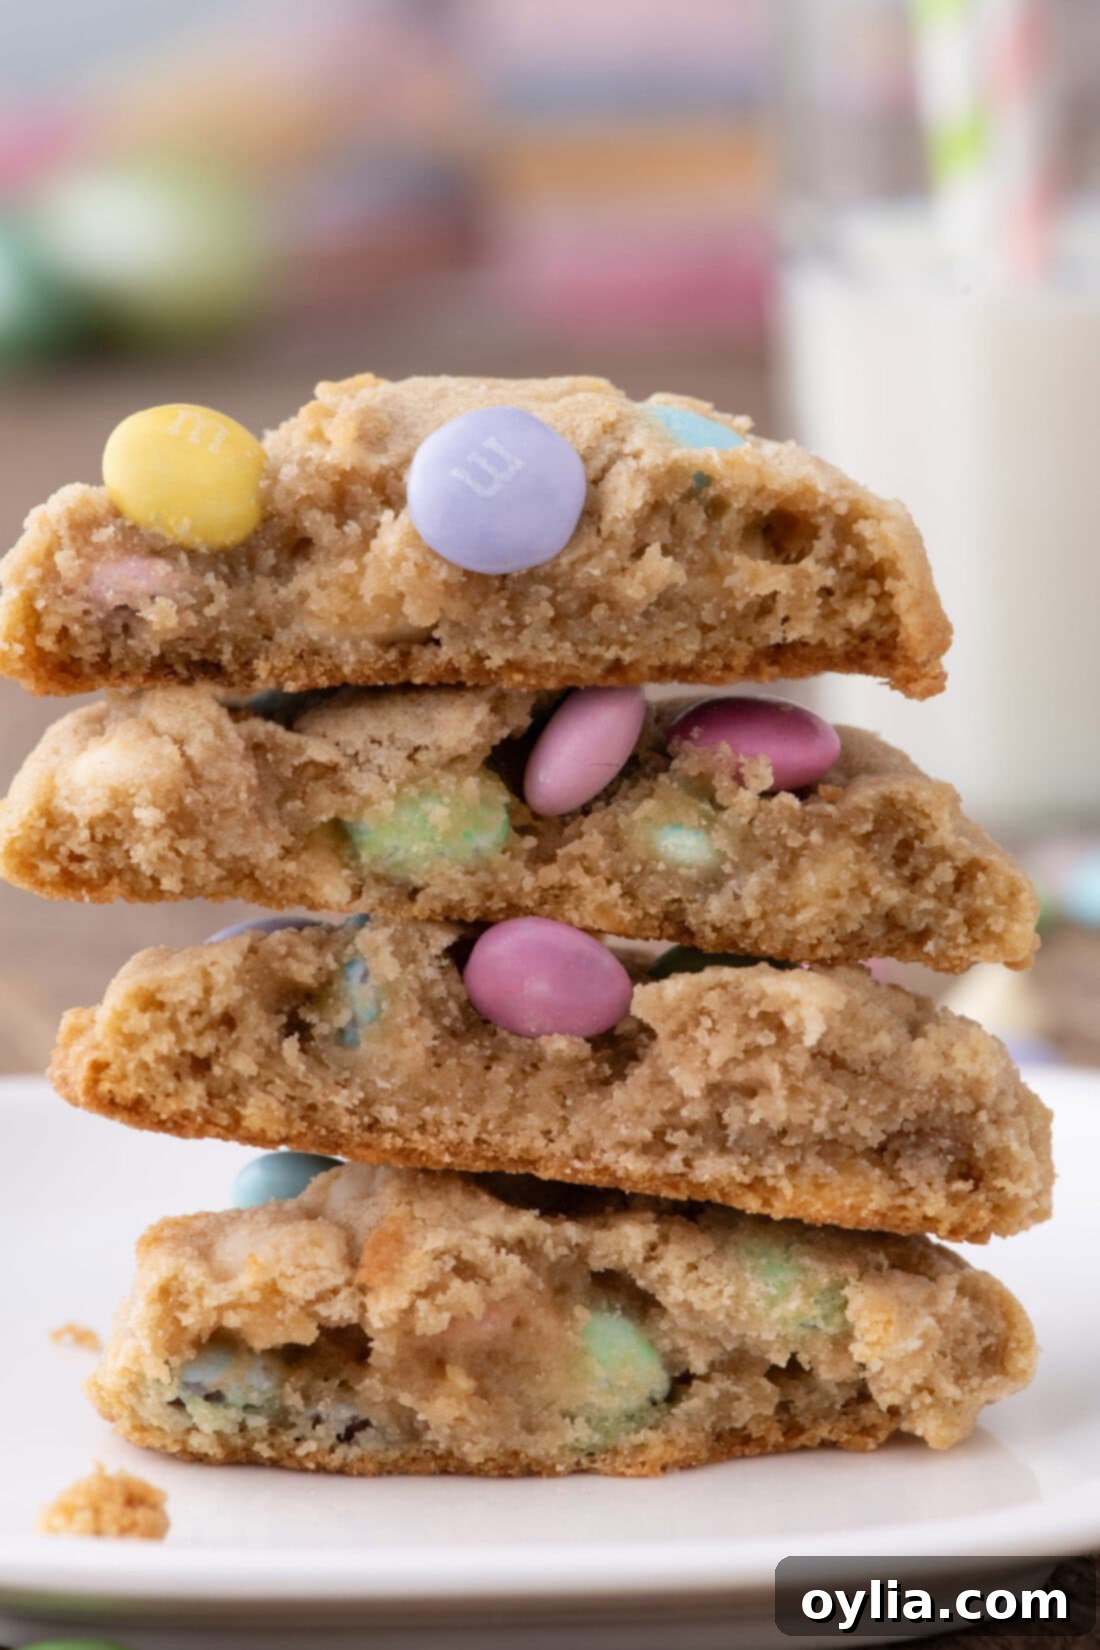
These Easter M&M cookies are more than just a seasonal treat; they’re a symphony of textures and flavors designed to bring joy. Each bite offers a delightful contrast: the satisfying crunch of golden, buttery edges gives way to a wonderfully soft and chewy center. The addition of creamy white chocolate chips introduces a smooth, sweet element that perfectly complements the rich cookie base. Meanwhile, the iconic M&M’s provide a playful burst of color and a subtle textural crunch, elevating a classic cookie into something truly special for Easter. Their pastel hues are inherently festive, making them an instant showstopper on any dessert table.
What makes this recipe truly outstanding is its versatility and simplicity. It’s a beloved extension of our tried-and-true classic chocolate chip M&M cookies, ingeniously adapted for spring. The key adjustments — swapping traditional chocolate chips for white chocolate and using pastel-colored M&M’s — are minor yet transformative, perfectly capturing the essence of Easter. This foundational cookie recipe is incredibly adaptable, allowing you to customize it for virtually any holiday or special occasion. We’ve successfully adapted it for the Fourth of July with red, white, and blue M&M’s, for Valentine’s Day with pink and red, and for Christmas with festive green and red candies. This means you’re not just learning one recipe, but a versatile method for creating celebratory cookies year-round.
Essential Ingredients for Your Easter M&M Cookies
Crafting these delectable Easter M&M cookies requires a few pantry staples and some festive additions. For a complete list of measurements, ingredients, and detailed instructions, please refer to the printable recipe card located at the end of this post. Having all your ingredients prepped and measured before you begin will ensure a smooth and enjoyable baking process.
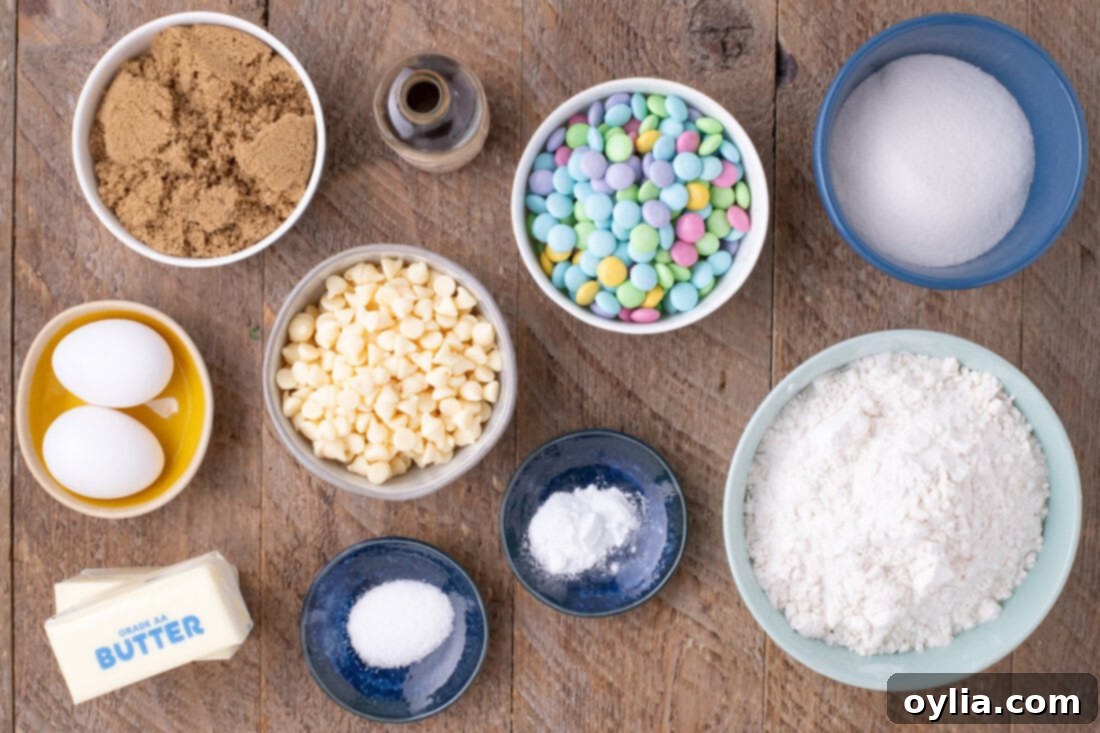
Ingredient Information & Smart Substitution Tips
Understanding your ingredients is key to successful baking. Here’s a closer look at what you’ll need and how you can adapt the recipe to your preferences:
DRY INGREDIENTS – Achieving the perfect cookie texture heavily relies on precise measurements, especially for flour and sugars. We highly recommend investing in a kitchen scale to weigh your ingredients. This is a game-changer! Scooping flour directly from the bag often results in packing too much into your measuring cup, leading to a dough that’s too dry and cookies that are crumbly and dense. Weighing ensures you get the exact amount needed for consistently soft, chewy, and perfectly textured cookies. For the best results, use all-purpose flour. The combination of light brown sugar and granulated sugar is crucial; brown sugar adds moisture and chewiness, while granulated sugar contributes to those desirable crispy edges.
WET INGREDIENTS – Room temperature unsalted butter is non-negotiable for that light and fluffy texture. If your butter is too cold, it won’t cream properly with the sugars, and if it’s melted, it will yield flat, greasy cookies. Eggs should also be at room temperature to emulsify better with the butter and sugar mixture, creating a smoother, more uniform dough. Don’t skip the vanilla extract; it enhances all the other flavors, giving the cookies a warm, inviting aroma and taste.
CHOCOLATE CHIPS – We’ve opted for white chocolate chips in this Easter cookie recipe, as their creamy color beautifully complements the pastel M&M’s, creating a truly elegant and festive look. However, feel free to get creative! These cookies are equally delicious with semi-sweet, milk, or even dark chocolate chips for a richer flavor profile. A combination of white chocolate with a darker variety can also add depth and visual appeal. You could also try chopped white chocolate bars for irregular, meltier pockets of chocolate.
EASTER M&M CANDIES – The pastel colors of Easter M&M’s are what give these cookies their signature holiday charm. These are usually readily available in the spring season. If you can’t find specific Easter M&M’s, you can always pick out the pastel colors from a regular bag, or simply use any M&M’s you prefer. As mentioned earlier, this recipe is highly adaptable, allowing you to swap out M&M colors for any holiday or theme you wish to celebrate!
How to Make Delicious Easter M&M Cookies: Step-by-Step Guide
These step-by-step photos and instructions are designed to help you visualize each stage of making this delightful recipe. For the complete printable version, including all measurements and instructions, please Jump to Recipe at the bottom of this post.
- Prepare Your Baking Sheets: Begin by lining two baking sheets with parchment paper. This prevents sticking, ensures even baking, and makes for easy cleanup.
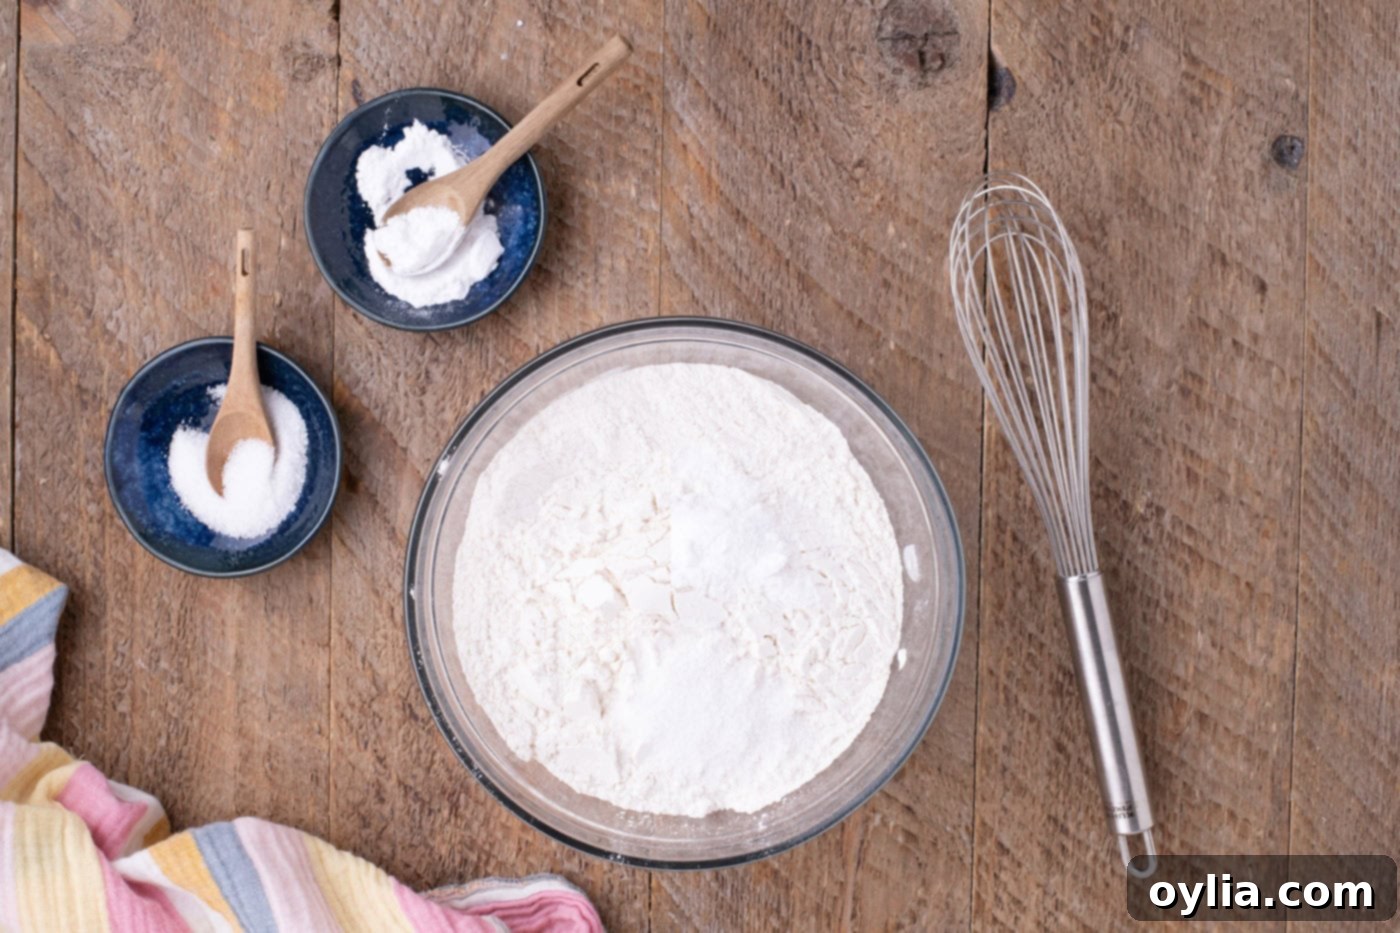
- Whisk Dry Ingredients: In a small bowl, combine the all-purpose flour, baking soda, and salt. Whisk them together thoroughly to ensure the leavening agents and salt are evenly distributed. Set this bowl aside.

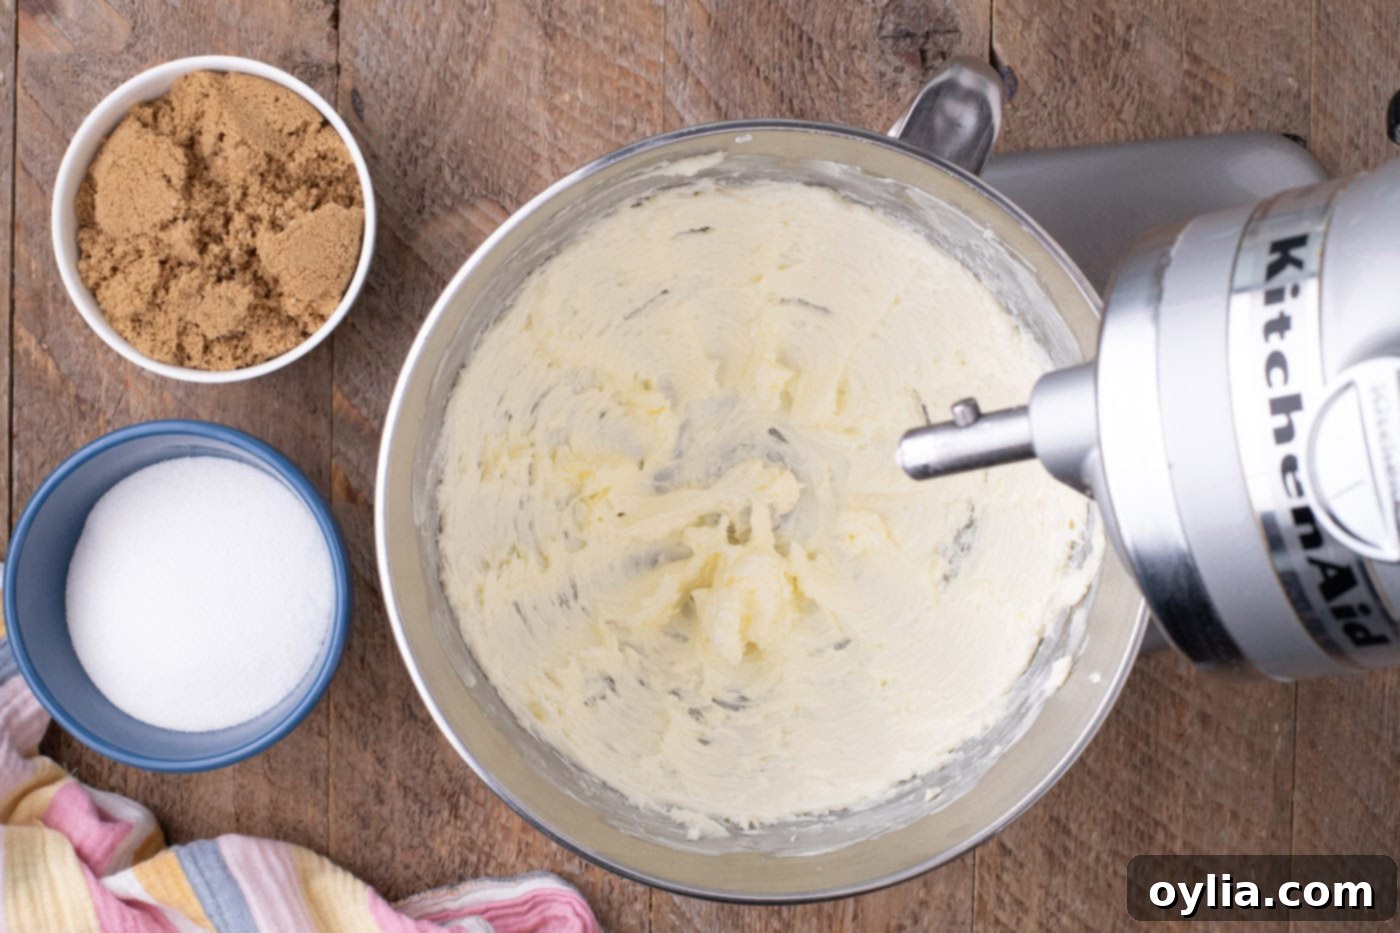
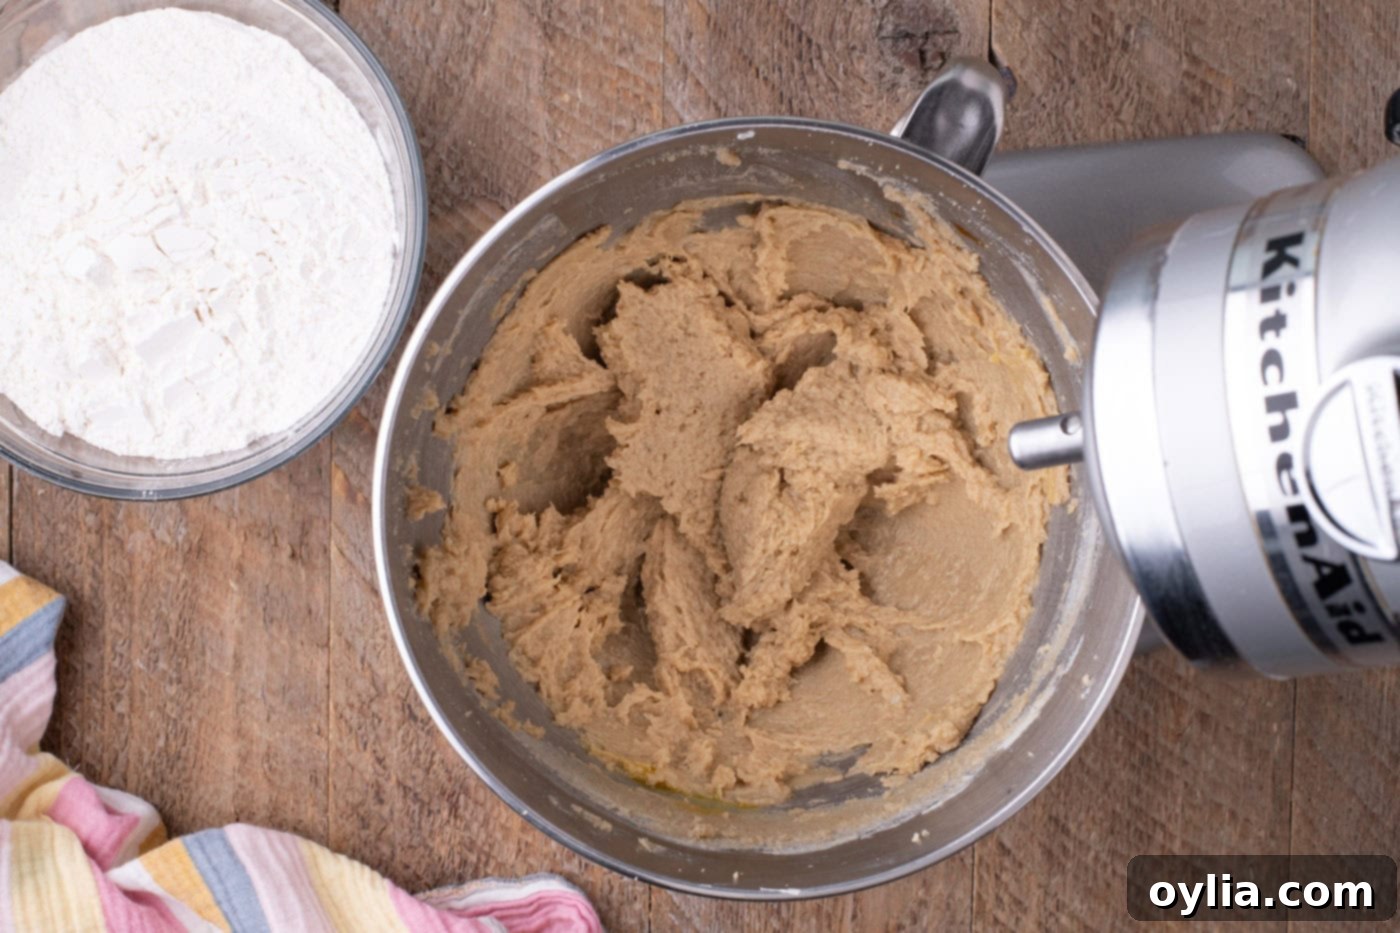
- Cream the Butter: In the bowl of a stand mixer fitted with the paddle attachment, beat the room temperature unsalted butter on medium-high speed until it becomes light, pale, and fluffy. This usually takes 2-3 minutes. Proper creaming incorporates air, which is crucial for soft cookies.

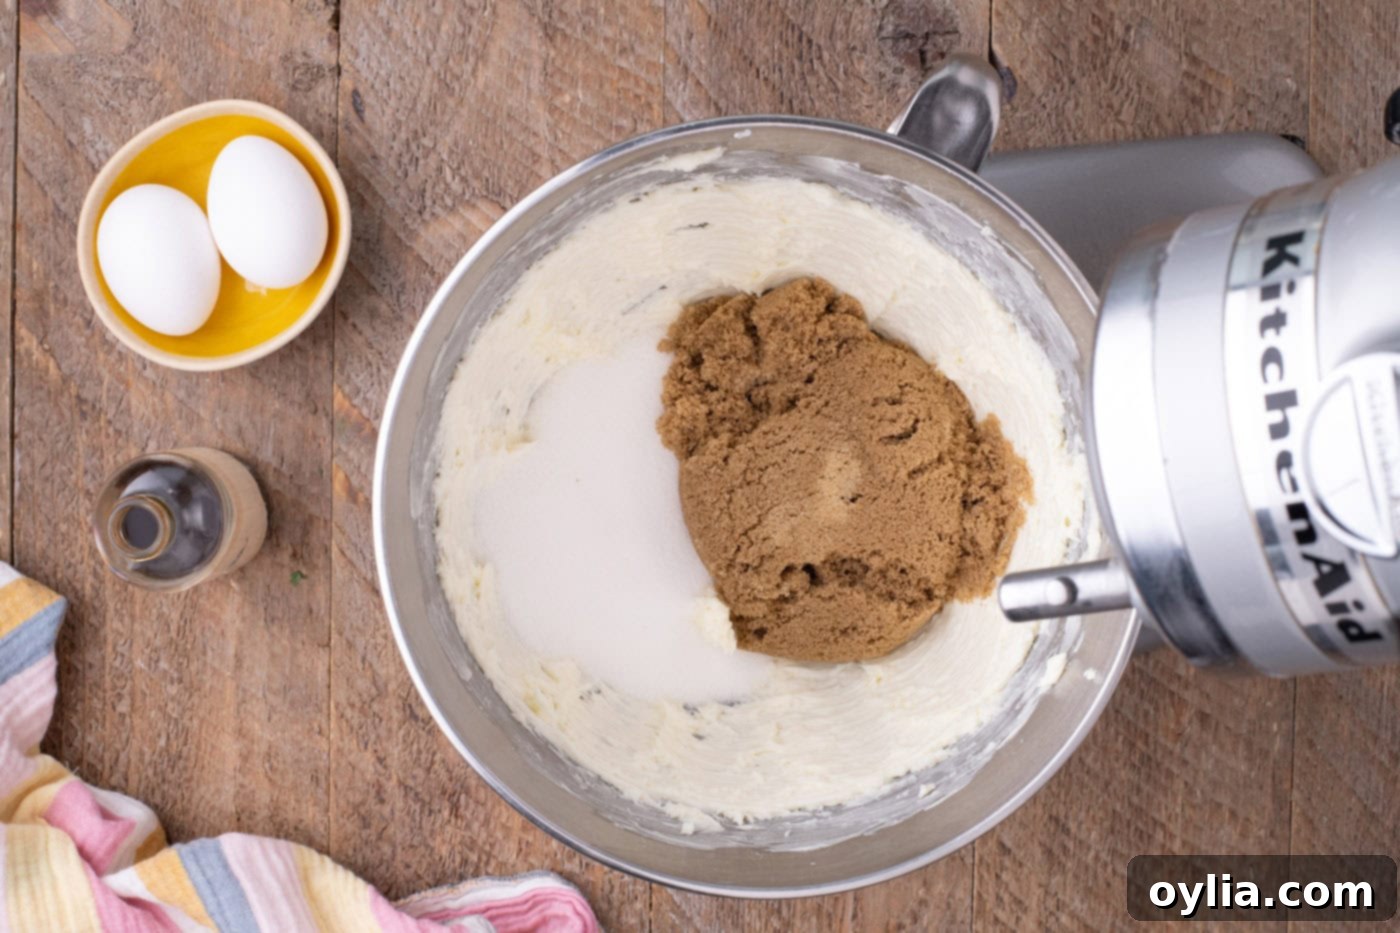
- Add Sugars and Continue Beating: Gradually add the light brown sugar and granulated sugar to the creamed butter. Continue beating on medium-high speed for another 2 to 3 minutes. The more air incorporated into this mixture, the fluffier and softer your final cookies will be. Make sure to scrape down the sides of the bowl with a soft silicone spatula periodically to ensure everything is well combined.

- Incorporate Eggs and Vanilla: Add one large egg to the butter and sugar mixture, mixing on low speed until it’s just combined. Then, add the second egg along with the vanilla extract and mix until fully incorporated. Be careful not to overmix at this stage.

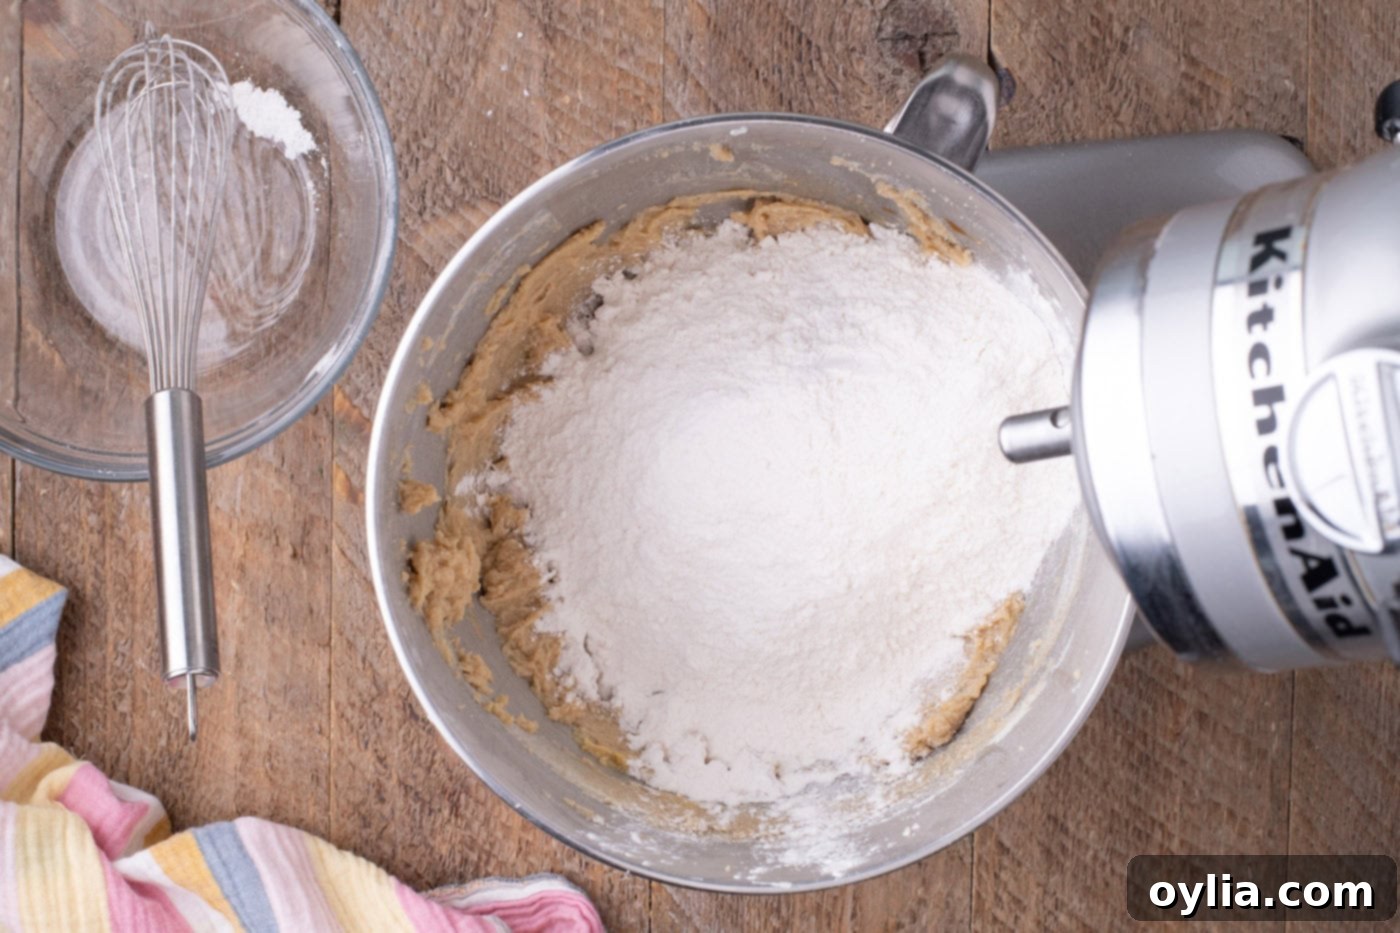
- Combine Wet and Dry Ingredients: Gradually add the reserved flour mixture to the wet ingredients. Mix on low speed until the ingredients are just combined and no streaks of flour remain. Be very careful not to overmix the dough, as this can develop the gluten too much, resulting in tough, dry cookies.


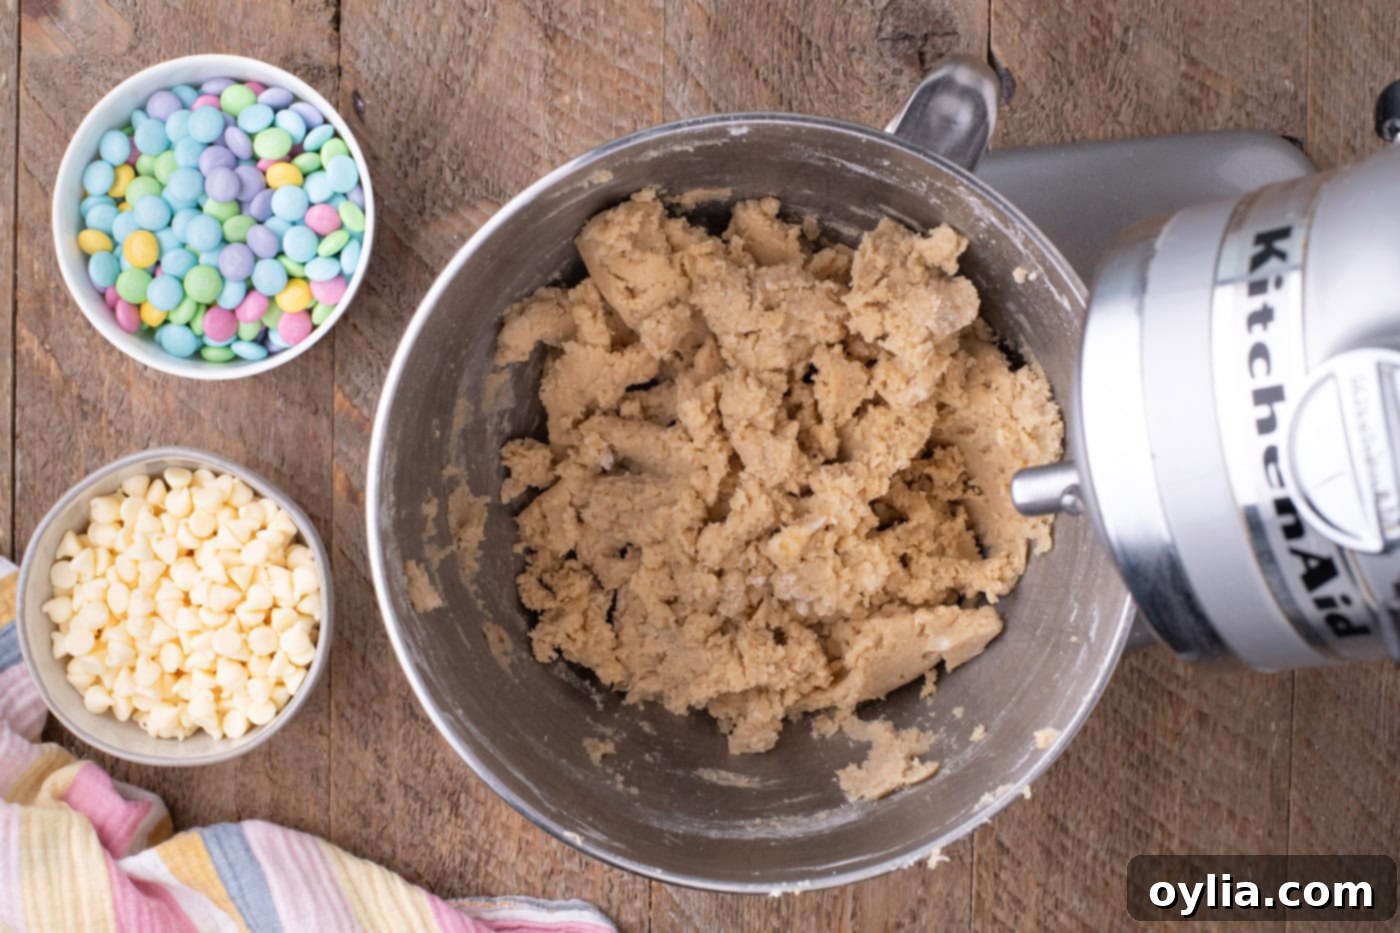
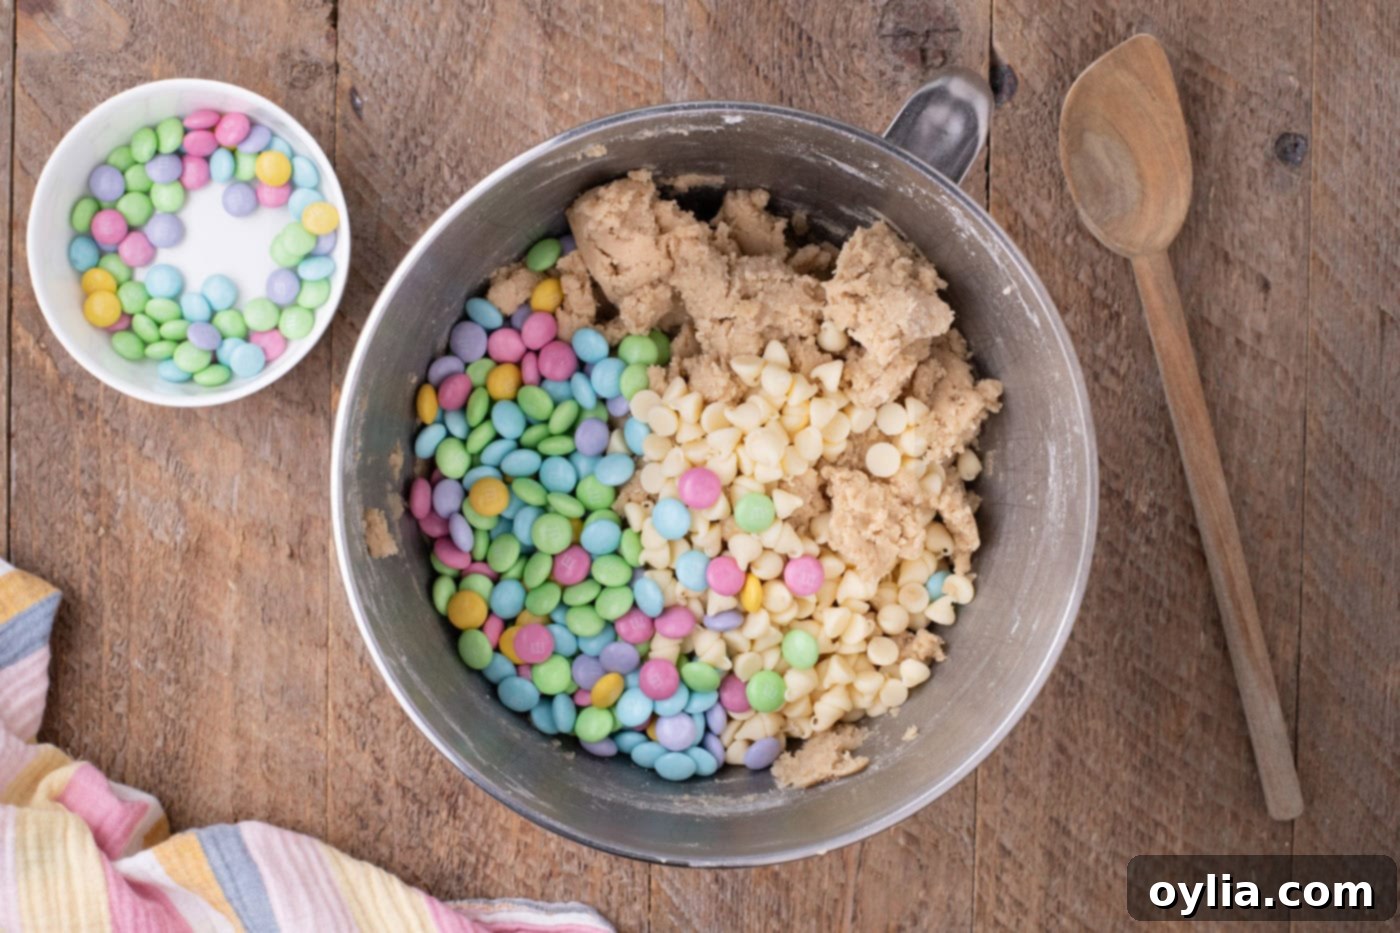
- Fold in Chips and Candies: Gently fold in 1 cup each of the white chocolate chips and Easter M&M’s using your spatula. Ensure they are evenly distributed throughout the dough.

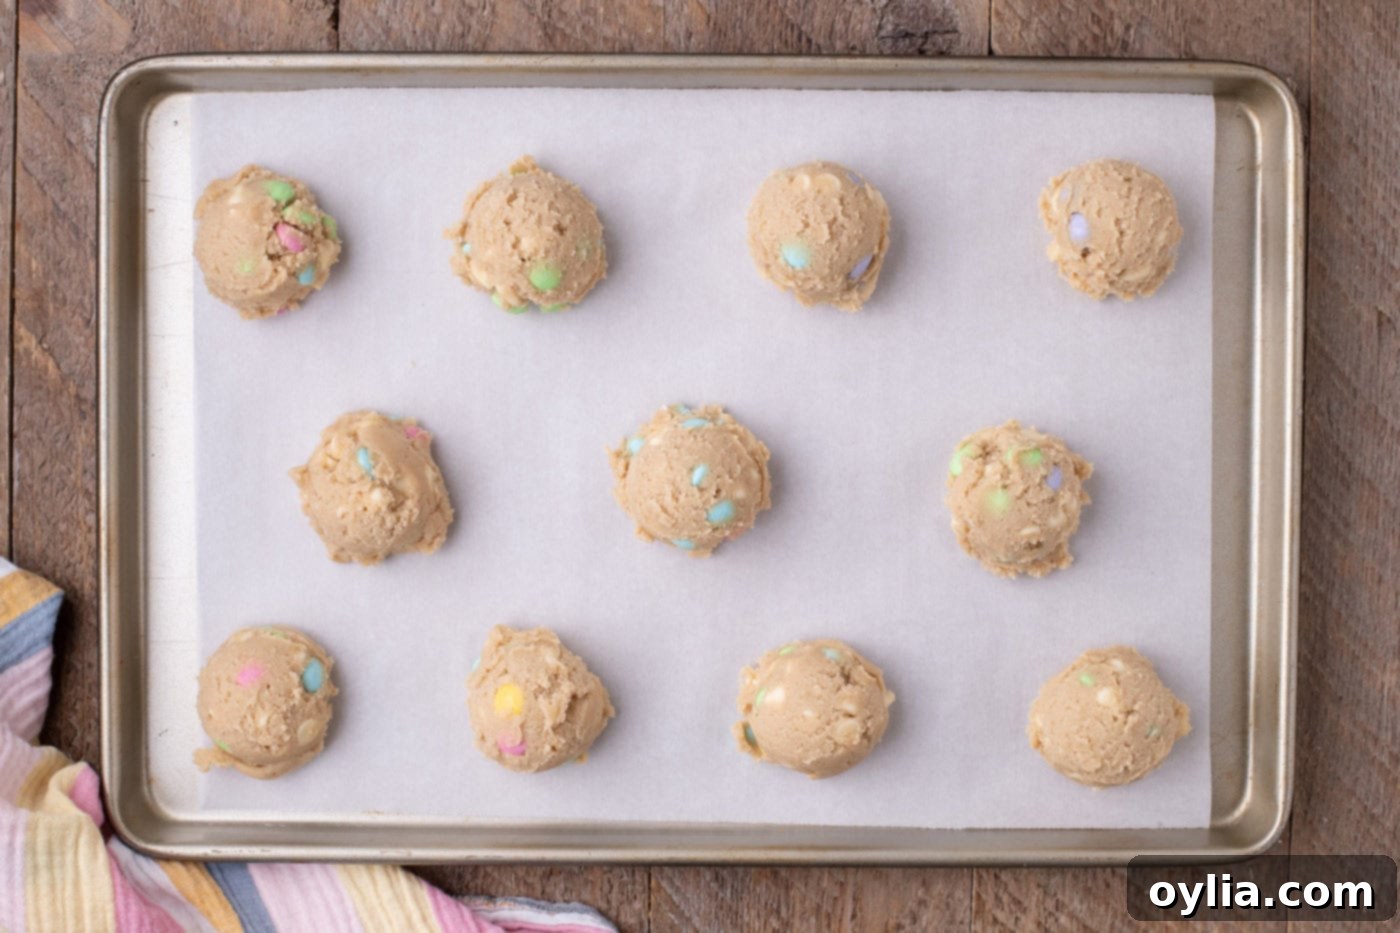
- Scoop and Chill the Dough: Using a large 3-tablespoon cookie scoop, portion the dough into even mounds and place them on the prepared baking sheets, ensuring they are spaced about 2 inches apart to allow for spreading.

- Refrigerate and Preheat: Refrigerate the scooped cookie dough mounds for a minimum of 40 minutes. Chilling the dough is a crucial step that helps prevent the cookies from spreading too much, resulting in a thicker, chewier cookie. While the dough chills, preheat your oven to 350°F (175°C).
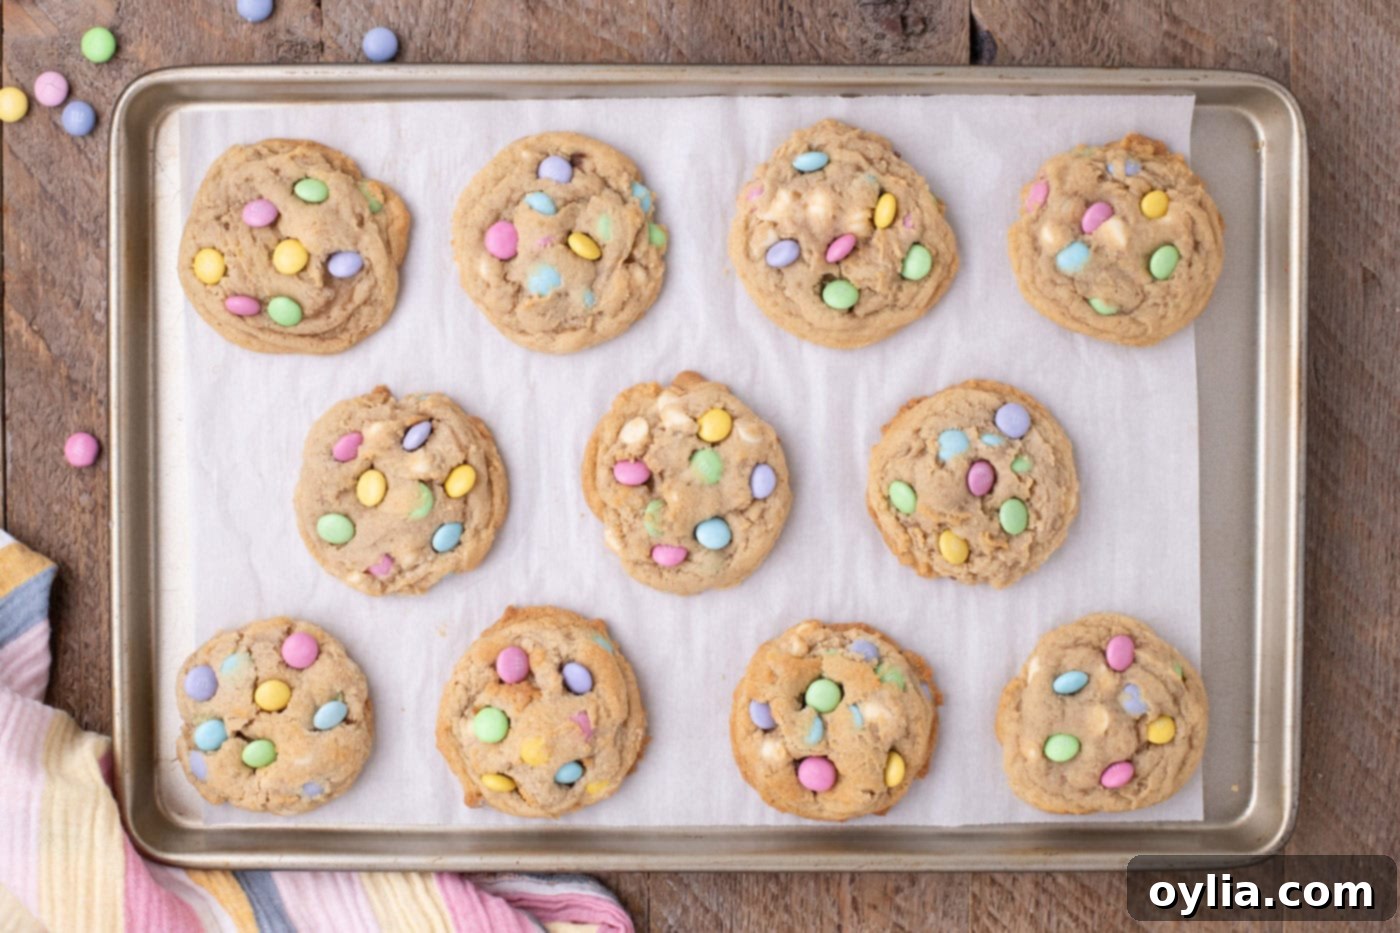
- Bake to Perfection: Bake the cookies for 12-15 minutes, or until their tops are puffy and the edges are beautifully golden brown. The centers should still look slightly soft; they will continue to set as they cool.
- Add Extra Toppings (Optional but Recommended!): Immediately after removing the baking sheets from the oven, and while the cookies are still warm and soft, gently press the remaining white chocolate chips and M&M’s onto the tops of the cookies. This step enhances their visual appeal and adds extra bursts of flavor.

- Cool Completely: Allow the cookies to set on the hot baking sheet for 3-5 minutes. This helps them firm up slightly before you attempt to move them. Then, carefully transfer them to a wire rack to cool completely. Enjoy these festive treats warm or cooled!
Frequently Asked Questions & Expert Baking Tips
Absolutely! These cookies freeze exceptionally well, both in dough form and after baking. For unbaked dough, pre-scoop the cookie dough into balls and place them on a parchment-lined baking sheet. Flash freeze them until solid (about 1-2 hours), then transfer the frozen dough balls to an air-tight freezer-safe container or a large ziptop bag. You can bake them directly from frozen, adding a couple of extra minutes to the baking time. Baked cookies also freeze beautifully. Once completely cooled, place them in a single layer in an air-tight container, separating layers with parchment paper, or in a large ziptop bag. Both unbaked and baked cookies can be frozen for up to 3 months, offering a convenient way to enjoy fresh cookies whenever a craving strikes!
Flat cookies are a common issue, but usually easily remedied. Here are the most likely culprits:
- Butter Temperature: Ensure your butter is at true room temperature (soft but not melted). If the butter is too warm and greasy, it won’t cream properly, and the air whipped into it will escape, leading to flat cookies. If it’s too cold, it won’t combine well.
- Insufficient Chilling: Chilling the dough is paramount! It solidifies the butter, which then melts slower in the oven, preventing excessive spreading. Aim for at least 40 minutes, but longer (24-48 hours, see expert tips) yields even better results.
- Overmixing the Dough: Overmixing develops gluten, which can make cookies tough and contribute to them spreading more. Mix only until ingredients are just combined.
- Oven Temperature: An inaccurate oven temperature can cause issues. If your oven is too cool, the butter melts before the cookie sets, leading to spreading. An inexpensive oven thermometer can help verify your oven’s accuracy.
- Flour Measurement: Too little flour can also cause spreading. Always weigh your flour for accuracy, or if using cups, spoon the flour into the measuring cup and level it off rather than scooping directly.
Yes, absolutely! If our large, indulgent cookies are a bit too big for your preference, you can easily make them smaller. Simply use a 2-tablespoon cookie scoop for medium-sized cookies. When reducing the size, you’ll also need to adjust the baking time. For medium cookies, bake them for approximately 8-10 minutes, keeping an eye on them until the edges are golden and the centers are just set.
To keep your baked Easter M&M cookies fresh and delicious, allow them to cool completely on a wire rack first. Once cooled, store them in an air-tight container or a large ziptop bag at room temperature. They will maintain their best quality for 3-4 days. For longer storage, consider freezing them as described in the previous FAQ.
Chilling cookie dough serves several crucial purposes that contribute to superior cookies. Firstly, it solidifies the butter in the dough. When the chilled dough enters a hot oven, the butter melts more slowly, allowing the cookies to spread less and retain a thicker, chewier texture. Secondly, chilling allows the flour to fully hydrate, which leads to a more tender crumb. Lastly, the flavors in the dough have time to meld and deepen, resulting in a richer, more complex taste. While a minimum of 40 minutes is suggested, chilling for 24-48 hours truly maximizes these benefits.

Creative Serving Ideas for Your Easter M&M Cookies
These delightful Easter M&M cookies are designed to brighten any occasion! Their cheerful pastel colors and inviting aroma make them a quintessential addition to your Easter dessert spread. Imagine them alongside other festive treats, creating a vibrant and appealing display. They’re also perfect for starting a sweet family tradition; gather the kids to help decorate, or simply enjoy them together after an Easter egg hunt. For a thoughtful gift, wrap a few cookies in cellophane baggies, tied with a pretty pastel ribbon – they make charming party favors or hostess gifts.
Beyond Easter, remember the incredible versatility of this recipe. As highlighted, you can easily adapt these cookies for almost any holiday or special event simply by swapping out the M&M colors. Picture red and green for Christmas, black and orange for Halloween, or school colors for a graduation party. Each swap transforms the cookies into an entirely different-looking treat, while maintaining the same dreamy texture and irresistible flavor that everyone loves. Serve them with a cold glass of milk, a warm cup of coffee, or even alongside a scoop of vanilla ice cream for an extra indulgent experience.
Discover More Festive Easter Dessert Recipes
Looking to complete your Easter feast with more delectable desserts? Here are some fantastic recipes that are sure to delight your guests and add extra sweetness to your celebrations:
- Easter Dirt Cake: A fun, no-bake dessert layered with creamy pudding, crushed cookies, and festive candy.
- Easter Muddy Buddies: An addictive snack mix featuring crunchy cereal coated in chocolate and peanut butter, then dusted with powdered sugar and M&M’s.
- Carrot Rice Krispie Treats: Adorably shaped and easy to make, these sweet treats are perfect for little hands.
- Easter Egg Oreo Truffles: Rich, chocolatey truffles shaped like Easter eggs, a delightful no-bake bite.
I love to bake and cook and share my kitchen experience with all of you! Remembering to come back each day can be tough, that’s why I offer a convenient newsletter every time a new recipe posts. Simply subscribe and start receiving your free daily recipes!

Easter M&M Cookies
IMPORTANT – There are often Frequently Asked Questions within the blog post that you may find helpful. Simply scroll back up to read them!
Print It
Pin It
Rate It
Save It
Saved!
Prevent your screen from going dark
Course:
Dessert
Cuisine:
American
22
large cookies
1 hour
15 minutes
322
Amanda Davis
Ingredients
-
3
cups
all purpose flour
360g -
1
teaspoon
baking soda -
1
teaspoon
salt -
1
cup
unsalted butter
room temperature. 226g -
1
cup
light brown sugar
packed. 213g -
¾
cup
granulated sugar
149g -
2
large
eggs -
2
teaspoons
vanilla extract -
1
cup
white chocolate chips
divided -
1
cup
Easter M&M candies
Topping
-
¼
cup
white chocolate chips -
¼
cup
Easter M&M candies
Things You’ll Need
-
Kitchen scale -
Stand mixer -
Rubber spatula -
Baking sheet -
3 tablespoon cookie scoop
Before You Begin
- If you prefer smaller cookies, use a 2-tablespoon cookie scoop. Remember to reduce the baking time to 8-10 minutes accordingly to prevent over-baking.
- For consistently perfect cookies, it is highly recommended to weigh your dry ingredients using a kitchen scale. This precision prevents adding too much flour, which is a common cause of dry, crumbly cookies. Weighing guarantees the ideal ratio for a soft and chewy texture every time.
- For an truly outstanding cookie, we highly recommend refrigerating the scooped cookie dough for 24-48 hours before baking. This extended chilling period allows the flavors to deepen and the butter to fully solidify, resulting in a more complex flavor profile and a superior texture that is chewier and less prone to spreading. It’s truly worth the wait!
Instructions
-
Line 2 baking sheets with parchment paper.
-
In a small bowl, whisk together the flour, baking soda, and salt. Set aside.3 cups all purpose flour,
1 teaspoon baking soda,
1 teaspoon salt -
In the bowl of a stand mixer, beat the butter on medium-high speed until light and fluffy.1 cup unsalted butter
-
Add the sugars and continue beating for 2 to 3 minutes. (The more air that is whipped into the sugar mixture, the fluffier your cookies will be). Scrape down the sides of the bowl with a soft silicone spatula.1 cup light brown sugar,
3/4 cup granulated sugar -
Add one of the two eggs and mix on low speed until just combined, then add the next egg and vanilla extract.2 large eggs,
2 teaspoons vanilla extract -
Add the flour mixture and continue mixing until just combined. Do not overmix the dough; this will make your cookies tough.
-
Fold in 1 cup each of the white chocolate chips and Easter M&M’s.1 cup white chocolate chips,
1 cup Easter M&M candies -
Using the large 3-tablespoon cookie scoop, portion the dough onto the prepared cookie sheets (spacing them 2 inches apart).
-
Refrigerate the mounds of cookie dough for a minimum of 40 minutes and preheat the oven to 350°F.
TIP – For an outstanding-tasting cookie, refrigerate the scooped cookie dough for 24-48 hours beforehand and then bake according to directions. It’s worth the wait!
-
Bake for 12-15 minutes or until the tops are puffy and golden.
-
Working quickly and while the cookie is still warm, gently push the remaining chocolate chips and M&M’s on to the tops of the cookies.1/4 cup white chocolate chips,
1/4 cup Easter M&M candies -
Allow the cookies to set on the baking sheet for 3-5 minutes, then transfer them to a wire rack to cool.
Expert Tips & FAQs
- For optimal freshness, store the baked and completely cooled Easter M&M cookies in an air-tight container or a large ziptop bag. Kept at room temperature, they will remain delicious for 3-4 days.
- Freezing for Future Enjoyment: You can easily prepare these cookies ahead of time by freezing the dough or baked cookies. To freeze dough, pre-scoop individual cookie dough balls onto a parchment-lined baking sheet and flash freeze them until solid. Once firm, transfer the dough balls to an air-tight container or heavy-duty freezer bag. Baked cookies also freeze exceptionally well! Ensure they are thoroughly cooled before placing them in an air-tight container, optionally separating layers with parchment paper. Both unbaked and baked cookies can be safely frozen for up to 3 months.
- Achieving Perfectly Round Cookies: For that bakery-style perfect round shape, immediately after removing the cookies from the oven, use a large round cookie cutter (slightly larger than your cookies) or the back of a spoon to gently push the edges of each warm cookie inwards. This technique helps reshape any irregular edges into a beautiful circle.
- Don’t Overbake: For the softest, chewiest cookies, it’s better to slightly underbake them than overbake. They will continue to cook and set on the hot baking sheet even after being removed from the oven. Look for golden edges and slightly puffy, still-soft centers.
Nutrition Information
Serving:
1
cookie
|
Calories:
322
cal
|
Carbohydrates:
44
g
|
Protein:
4
g
|
Fat:
15
g
|
Saturated Fat:
9
g
|
Polyunsaturated Fat:
1
g
|
Monounsaturated Fat:
3
g
|
Trans Fat:
0.4
g
|
Cholesterol:
43
mg
|
Sodium:
184
mg
|
Potassium:
70
mg
|
Fiber:
1
g
|
Sugar:
30
g
|
Vitamin A:
312
IU
|
Vitamin C:
0.1
mg
|
Calcium:
50
mg
|
Iron:
1
mg
Tried this Recipe? Pin it for Later!
Follow on Pinterest @AmandasCookin or tag #AmandasCookin!
The recipes on this blog are tested with a conventional gas oven and gas stovetop. It’s important to note that some ovens, especially as they age, can cook and bake inconsistently. Using an inexpensive oven thermometer can assure you that your oven is truly heating to the proper temperature. If you use a toaster oven or countertop oven, please keep in mind that they may not distribute heat the same as a conventional full sized oven and you may need to adjust your cooking/baking times. In the case of recipes made with a pressure cooker, air fryer, slow cooker, or other appliance, a link to the appliances we use is listed within each respective recipe. For baking recipes where measurements are given by weight, please note that results may not be the same if cups are used instead, and we can’t guarantee success with that method.
