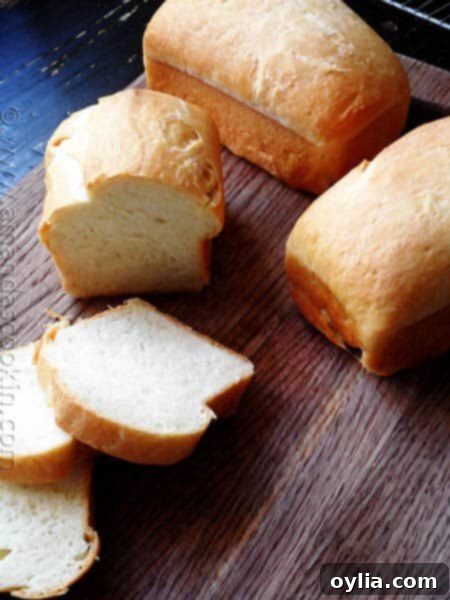
Homemade Amish White Bread Mini Loaves: A Delightful & Versatile Recipe
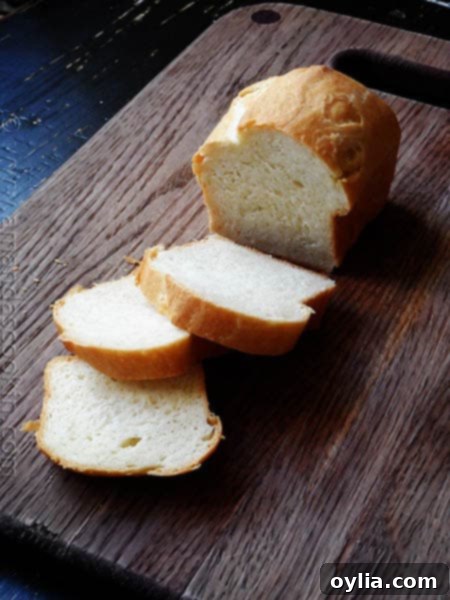
There’s an undeniable magic in the aroma of freshly baked bread wafting through your kitchen. It’s a scent that promises comfort, warmth, and deliciousness, a simple pleasure that brings joy to any home. And while a large loaf of homemade bread is always a treat, there’s something uniquely special about individual mini loaves. Imagine presenting each of your guests with their very own warm, soft, and fluffy bread at the table. These adorable mini Amish white bread loaves are not just a delightful culinary experience; they also offer a charming and personalized touch, perfect for any gathering, especially during the holidays. You can even dress them up with a little tag, transform them into edible place cards, or present them as thoughtful, homemade gifts.
The Irresistible Charm of Homemade Mini Loaves
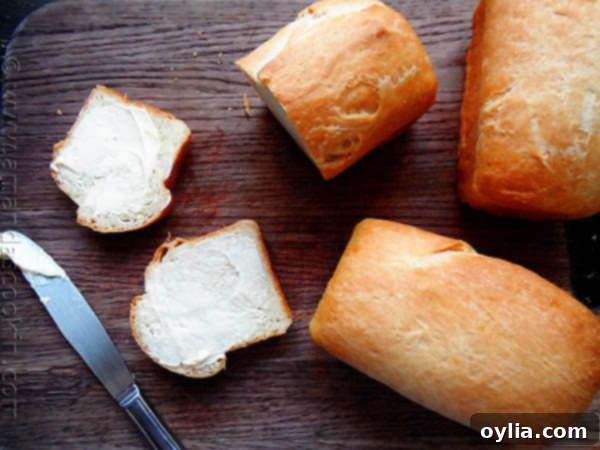
Homemade bread, in any form, is a culinary triumph, but these mini Amish white bread loaves elevate the experience. Each small loaf is a perfect single serving, reducing waste and ensuring everyone gets a piece of that coveted fresh-from-the-oven goodness. Their size makes them incredibly versatile. Planning a holiday feast? These miniature breads can serve as elegant and delicious place cards. Simply tie a small tag with each guest’s name onto a beautifully wrapped loaf, and you have a personalized detail that will surely impress. For those who can’t finish their loaf, it’s easily packaged for them to take home, extending the warmth and hospitality of your table.
Beyond formal dinners, mini loaves are ideal for so many other occasions. Pack them in lunch boxes for a special treat, serve them alongside soup or salad for a cozy meal, or simply enjoy them with butter and jam for a comforting snack. They are also fantastic for gifting; tie a ribbon around a few, and you have a heartfelt present that shows you care.
Reconnecting with a Classic: Our Beloved Amish White Bread Recipe
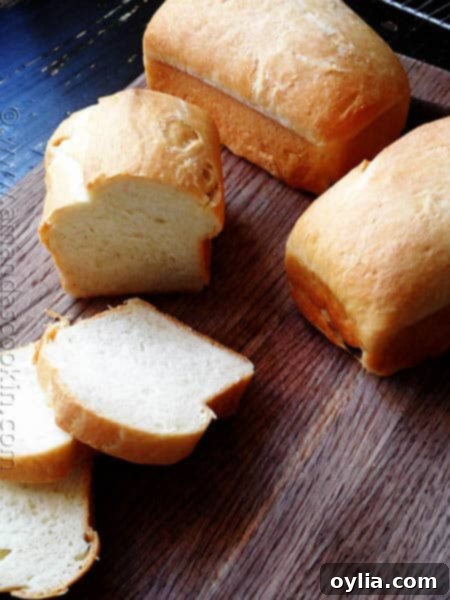
A few years ago, I shared my recipe for this incredibly delicious Homemade Amish White Bread, and it quickly became a favorite among readers. It’s a classic for a reason: simple ingredients, straightforward method, and an unbelievably soft, flavorful crumb. Like many of you, I sometimes let older recipes on the blog get buried under newer content. But recently, I rediscovered this gem and decided it was time to bring it back into the spotlight, but with a delightful twist: mini loaves!
The original recipe is fantastic for a full-sized loaf, but adapting it for miniature pans creates an entirely new experience. The process remains the same, yielding the same tender texture and subtly sweet flavor, but in a charming, personal format. It truly was a treat to revisit this recipe and transform it into these adorable individual portions. Whether you’re a seasoned baker or new to the world of yeast breads, this recipe provides a rewarding experience and results you’ll be proud to share.
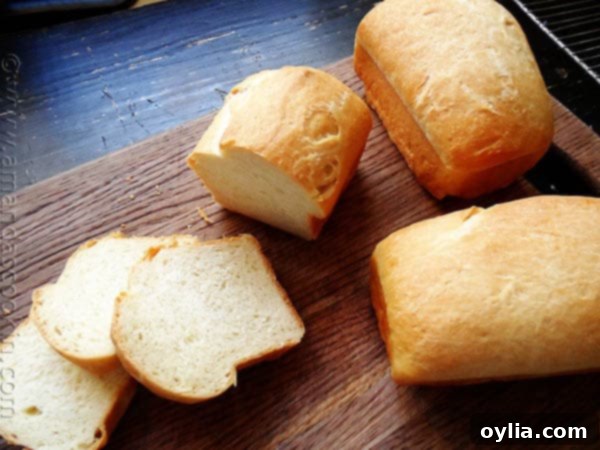
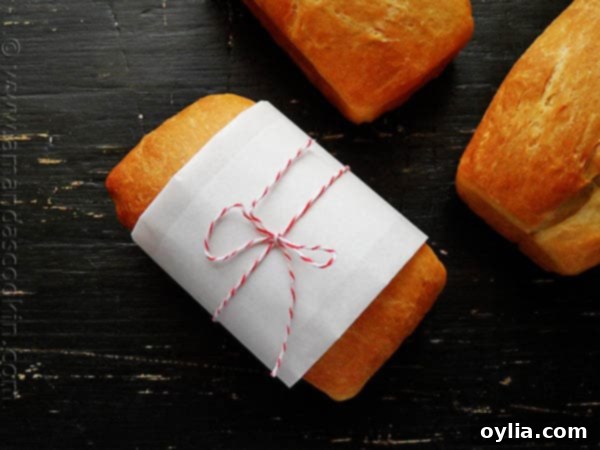
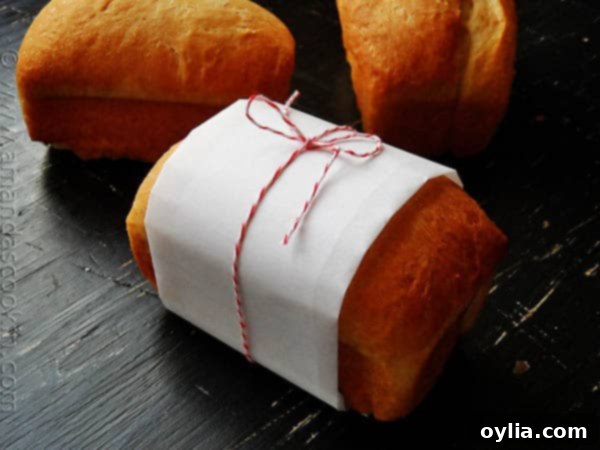
That’s when the creative ideas really started flowing! I experimented with wrapping the mini loaves in a bit of parchment paper and tying them with baker’s twine. This simple presentation instantly elevated them, making them feel like a special gift. I immediately thought of how wonderful these would be as a personal addition to my holiday place settings. Imagine the delight of your guests as they find a beautifully presented, warm mini loaf of homemade bread waiting for them.
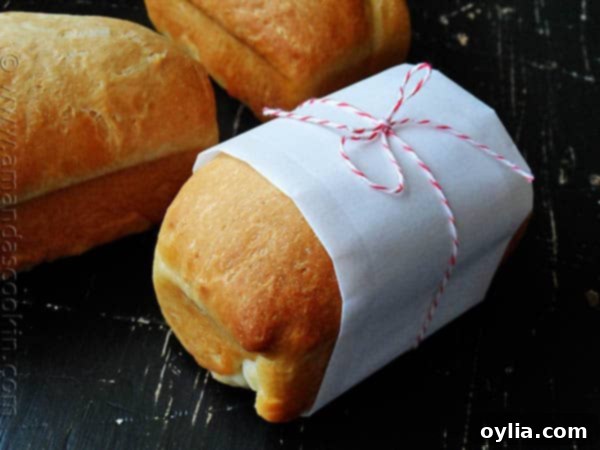
To truly personalize them, you can attach a small card or a white label, or even write directly on the parchment paper with a food-safe marker, adding the names of your dinner guests. This transforms a simple bread roll into a memorable part of their dining experience. And the best part? Any portion they don’t finish can easily be taken home as a delightful leftover, a sweet reminder of a wonderful meal.
Crafting Your Mini Loaves: A Step-by-Step Journey
Making bread can seem daunting, but this Amish white bread recipe is incredibly forgiving and yields consistently delicious results. For ultimate convenience, I often use a food processor to mix the dough ingredients. It’s remarkably faster and often more efficient than a stand mixer, especially for quick kneading. However, don’t feel limited! You can absolutely achieve the same fantastic results using a stand mixer with a dough hook, or even by hand with a sturdy bowl and wooden spoon, followed by traditional hand-kneading. The key is to ensure all ingredients are well combined and the dough develops proper gluten structure.
The journey begins with activating your yeast. Warm water and a touch of sugar provide the perfect environment for the instant yeast to come alive, creating that frothy, bubbly evidence that your yeast is active and ready to work its magic. This step is crucial for light and airy bread.
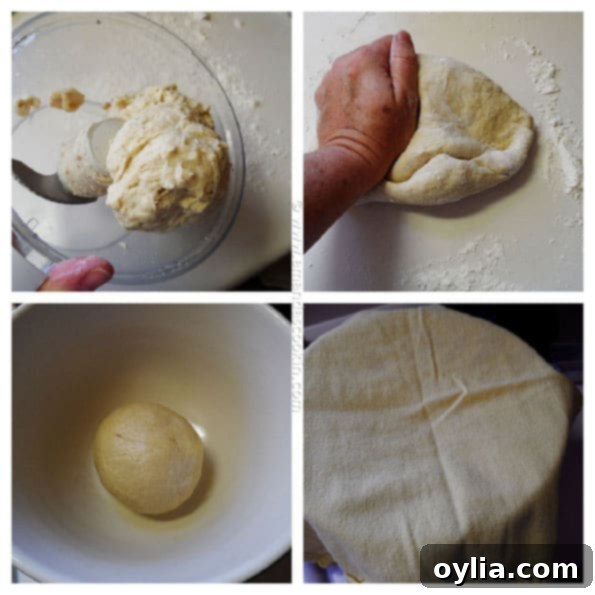
Once your yeast is active, you’ll incorporate the remaining wet ingredients – warm milk, salt, and vegetable oil – followed by the bread flour. Bread flour is recommended here for its higher protein content, which contributes to a chewier, more structured loaf. Add the flour gradually to ensure it’s fully absorbed, and continue processing or kneading until the dough comes together, becoming smooth and elastic. This proper kneading develops the gluten, which is essential for the bread’s rise and texture. After kneading, the dough needs its first rise in an oiled bowl, covered, until it doubles in size. This “bulk fermentation” builds flavor and allows the gluten to relax.
From Dough to Golden Perfection: Baking Your Mini Treats
After the first rise, gently punch down the dough to release the air, then give it a few more kneads. This step redistributes the yeast and prepares the dough for its final shaping. Divide the dough into four equal parts – this ensures uniform mini loaves. Carefully shape each portion into a small loaf and place them into greased mini loaf pans. These little pans are key to achieving the perfect individual size and shape.
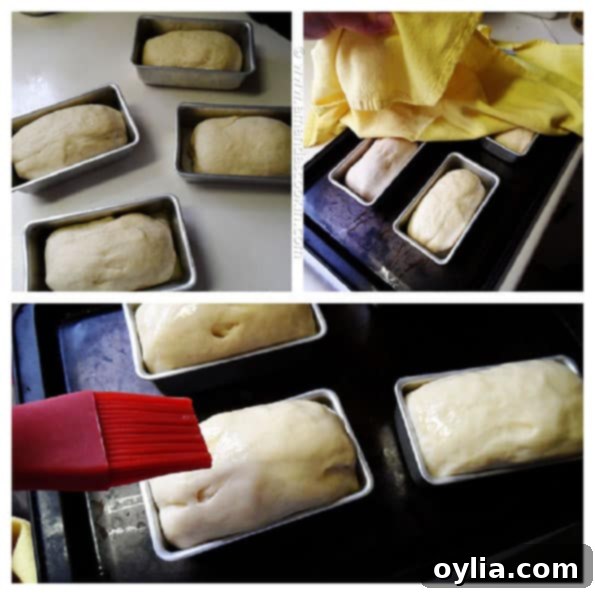
Cover the pans and let them rise again for their second proof, until the dough has gracefully risen about an inch above the edges of the pans. This second rise, often called the “final proof,” is critical for a light crumb. Just before they go into the preheated oven, brush the tops of each mini loaf with melted butter. This butter wash isn’t just for shine; it helps create that beautiful, golden-brown crust and adds a subtle richness to the exterior.
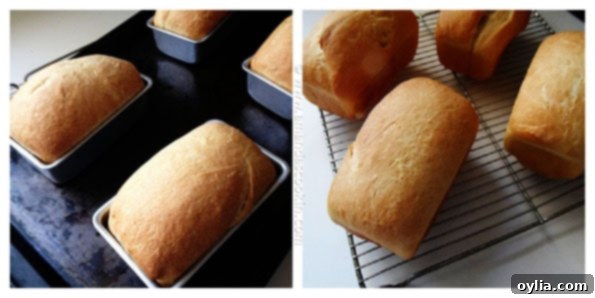
Bake them until they are wonderfully golden. Once out of the oven, allow them to cool in their pans for about ten minutes. This brief cooling period helps the loaves set and makes them easier to remove. After ten minutes, transfer them to a wire rack to cool completely. Cooling on a rack is important to prevent the bottoms from becoming soggy, ensuring an even texture throughout.
Serving & Presentation Ideas: More Than Just Bread
These mini Amish white bread loaves are incredibly versatile and can be presented in numerous ways to suit any occasion. Their individual size makes them inherently charming, but with a little creativity, you can transform them into true showstoppers.
- Edible Place Cards: As mentioned, wrapping them in parchment paper and tying them with baker’s twine creates a rustic yet elegant presentation. Add a small handwritten tag or a printed label with your guest’s name for a personalized touch that doubles as a delightful appetizer.
- Thoughtful Gifts: Bundle a couple of wrapped mini loaves in a small basket with a jar of homemade jam or honey, and you have a heartwarming gift for neighbors, teachers, or hosts. Perfect for any holiday or just to show appreciation.
- Soup & Salad Companion: Serve a warm mini loaf alongside a hearty bowl of soup or a fresh, crisp salad. Its soft texture and mild flavor complement almost any dish.
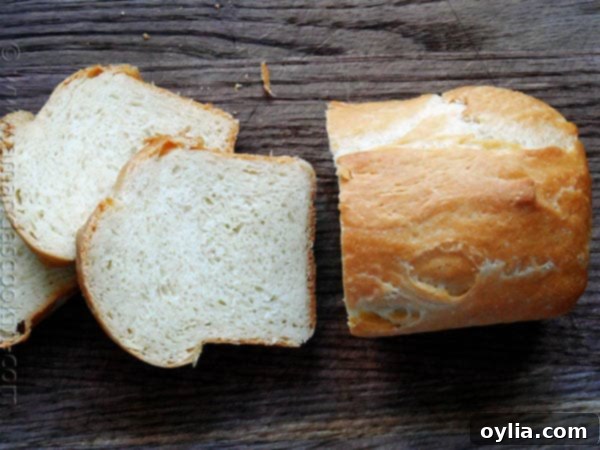
- Breakfast or Brunch Delight: Slice them and serve with butter, preserves, or even a savory spread like cream cheese and chives. They’re perfect for a special breakfast or a lavish brunch spread.
- Kids’ Favorite: Children adore their personal-sized bread. It’s a fun way to encourage them to eat homemade goods and can be a healthier alternative to store-bought options.
- Mini Sandwiches: For a unique twist, slice a mini loaf horizontally and fill it with your favorite sandwich fillings for delightful small sliders or party sandwiches.
The possibilities are endless, and the joy of sharing something so delicious and homemade is truly priceless.
Tips for Baking Success: Achieving Bakery-Quality Mini Loaves
Baking bread, especially yeast bread, can sometimes feel intimidating, but with a few simple tips, you can ensure your mini Amish white bread loaves turn out perfectly every time:
- Yeast Activation is Key: Always check that your instant yeast is active. The warm water and sugar step is designed for this. If your mixture doesn’t get foamy after 5-10 minutes, your yeast might be old or inactive, and it’s best to start with fresh yeast.
- Temperature Matters: Ensure your water and milk are around 110°F (43°C). Too hot will kill the yeast, and too cold won’t activate it properly, both leading to a poor rise. An instant-read thermometer is your best friend here.
- Don’t Skimp on Kneading: Proper kneading develops the gluten, which gives bread its structure and chewiness. Whether by food processor, stand mixer, or hand, make sure the dough is smooth and elastic. It should spring back when lightly poked.
- Warm Place for Rising: Yeast loves warmth! Find a cozy, draft-free spot for your dough to rise. This could be a slightly warmed oven (turned off!), near a sunny window, or just on your counter in a warm room. The rising time is a guide; always go by visual cues (doubled in size) rather than strictly by the clock.
- Grease Your Pans Well: Mini loaf pans can be tricky. Ensure they are thoroughly greased to prevent sticking, especially in the corners. A quick spray with non-stick cooking spray followed by a light dusting of flour can help.
- Don’t Overbake: Mini loaves bake faster than a full-sized loaf. Keep an eye on them, and rely on visual cues (golden brown crust) and internal temperature (around 190-200°F or 88-93°C) for doneness. Overbaking can lead to dry bread.
- Cooling is Crucial: Resist the urge to slice into your hot bread immediately! Cooling on a wire rack allows steam to escape, preventing a gummy texture, and allows the crumb to set properly.
Storage and Enjoyment
These mini loaves are best enjoyed fresh, ideally on the day they’re baked. However, if you have leftovers, store them in an airtight container or a plastic bag at room temperature for up to 2-3 days. For longer storage, they freeze beautifully. Wrap individual cooled loaves tightly in plastic wrap, then place them in a freezer-safe bag or container. They can be frozen for up to 2-3 months. To enjoy, simply thaw at room temperature and warm gently in the oven for that “freshly baked” experience.
Frequently Asked Questions About Mini Amish White Bread
Here are some common questions you might have when making these delicious mini loaves:
- Can I use all-purpose flour instead of bread flour?
- How can I tell if my yeast is still good?
- What if my dough isn’t rising?
- Can I prepare the dough ahead of time and bake later?
- How many mini loaves does this recipe make?
- What are the best mini loaf pans to use?
- Can I add other flavors to the bread, like herbs or cheese?
While the full blog post provides details, remember to check the recipe card below for specific instructions and ingredient quantities.
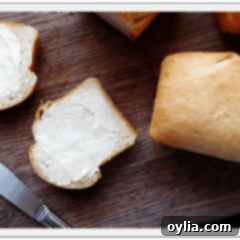
Amish White Bread Mini Loaves
IMPORTANT – There are often Frequently Asked Questions within the blog post that you may find helpful. Simply scroll back up to read them!
Print It
Pin It
Rate It
Save ItSaved!
Ingredients
- ½ cup warm water 110 degrees
- 3 tablespoons sugar
- 2 ¼ teaspoon instant yeast quick rise
- ½ cup warm milk 110 degrees
- ¾ teaspoon salt
- 2 tablespoons vegetable oil
- 3 cups bread flour
- 1 tablespoon unsalted butter melted
Instructions
-
NOTE: These instructions use a food processor for convenience sake. You can make this by hand using a bowl and wooden spoon, or use your electric mixture. The results will be the same.
-
In food processor combine warm water, sugar and yeast. Process for 10 seconds. Allow to sit until yeast bubbles and appears foamy.
-
Add warm milk to the yeast mixture and process for 5 seconds. Add salt and oil and process 10 seconds more.
-
Add one cup of the flour and process for 10 seconds. Add remaining two cups of flour and process until dough balls up and comes together.
-
Turn dough out onto a floured surface and knead until smooth, 5 or 6 minutes.
-
Place dough in well oiled bowl; turn to coat top. Let rise about 30-40 minutes, or until doubled in size.
-
Preheat oven to 350 F.
-
Punch dough down, knead a few times. Divide dough into four equal parts.
-
Shape into loaves and place into 4 greased mini loaf pans. Place loaves onto a cookie sheet and cover with a soft cloth. Allow to rise 20-30 minutes or until dough has risen about 1-inch above pans.
-
Melt one tablespoon of butter and brush on the tops of the loaves. Bake for 28-30 minutes.
-
Remove from oven and allow to cool on a rack for 10 minutes, then remove from pans to cool the rest of the way.
Nutrition
The recipes on this blog are tested with a conventional gas oven and gas stovetop. It’s important to note that some ovens, especially as they age, can cook and bake inconsistently. Using an inexpensive oven thermometer can assure you that your oven is truly heating to the proper temperature. If you use a toaster oven or countertop oven, please keep in mind that they may not distribute heat the same as a conventional full sized oven and you may need to adjust your cooking/baking times. In the case of recipes made with a pressure cooker, air fryer, slow cooker, or other appliance, a link to the appliances we use is listed within each respective recipe. For baking recipes where measurements are given by weight, please note that results may not be the same if cups are used instead, and we can’t guarantee success with that method.
