Easy Patriotic Mini Cheesecakes: Your Perfect Red, White, and Blue Fourth of July Dessert!
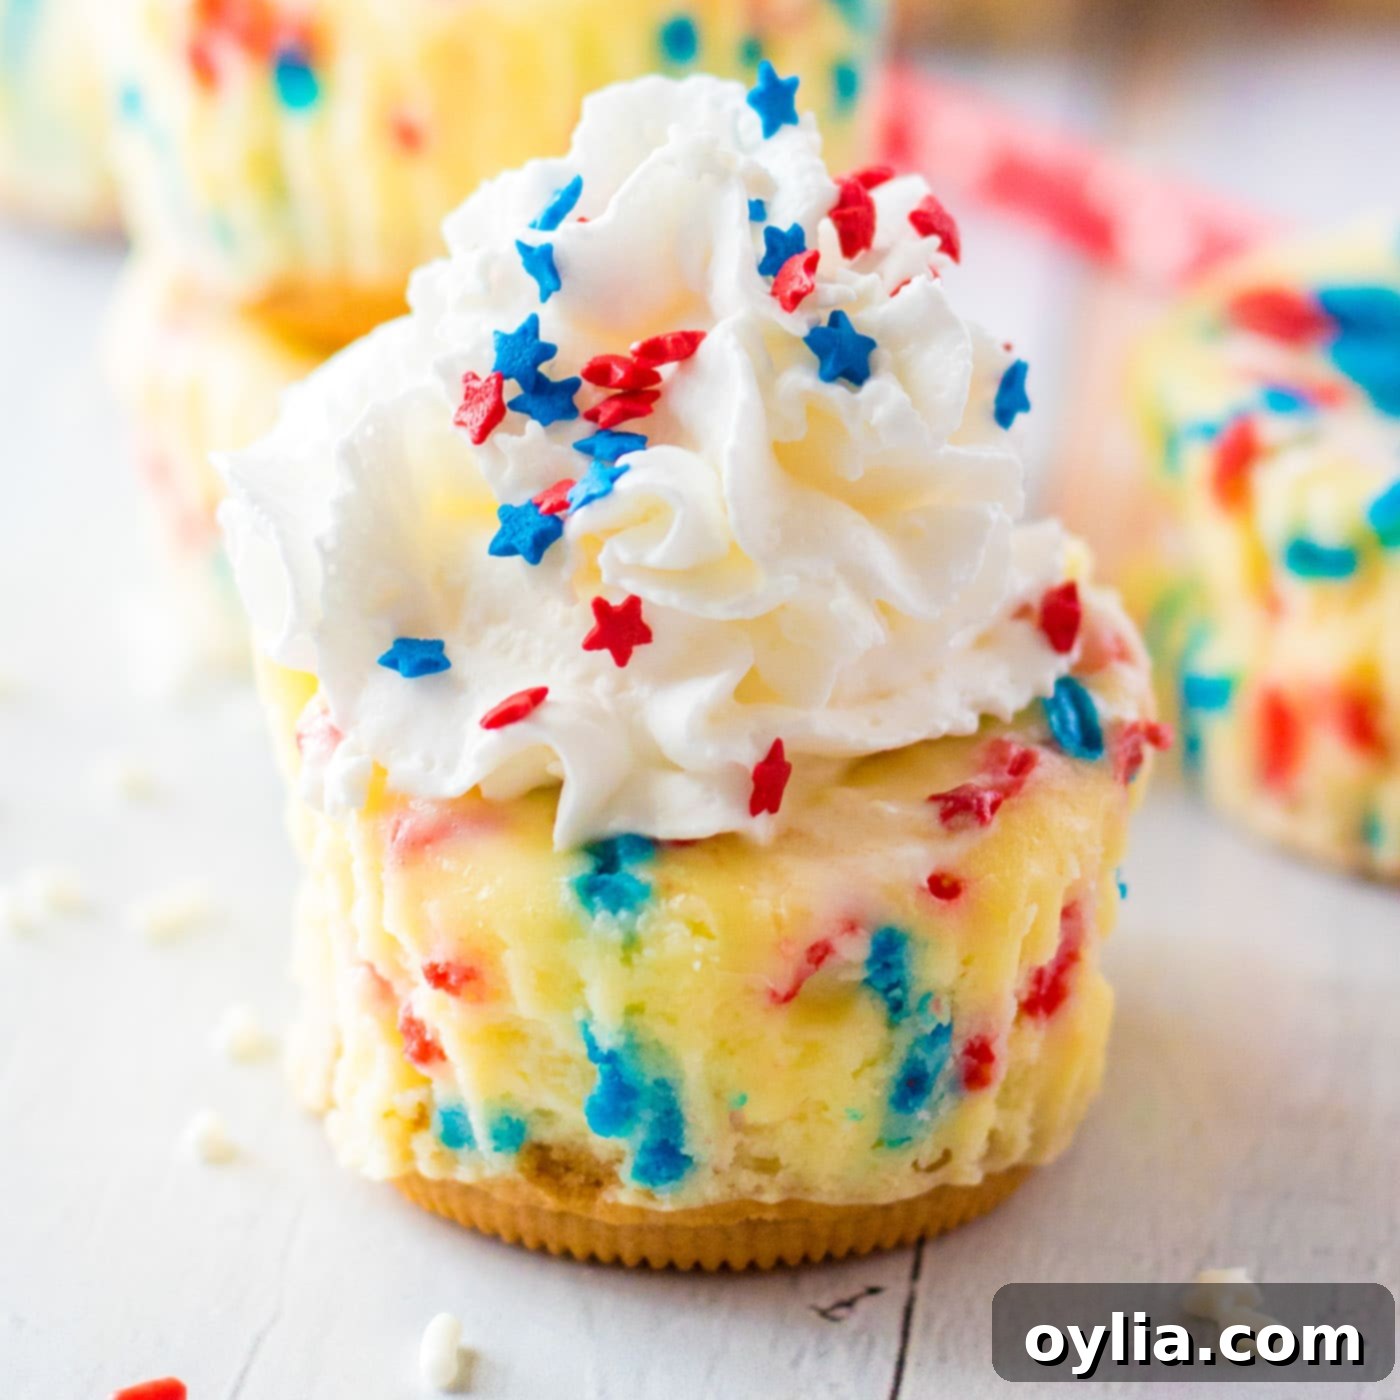
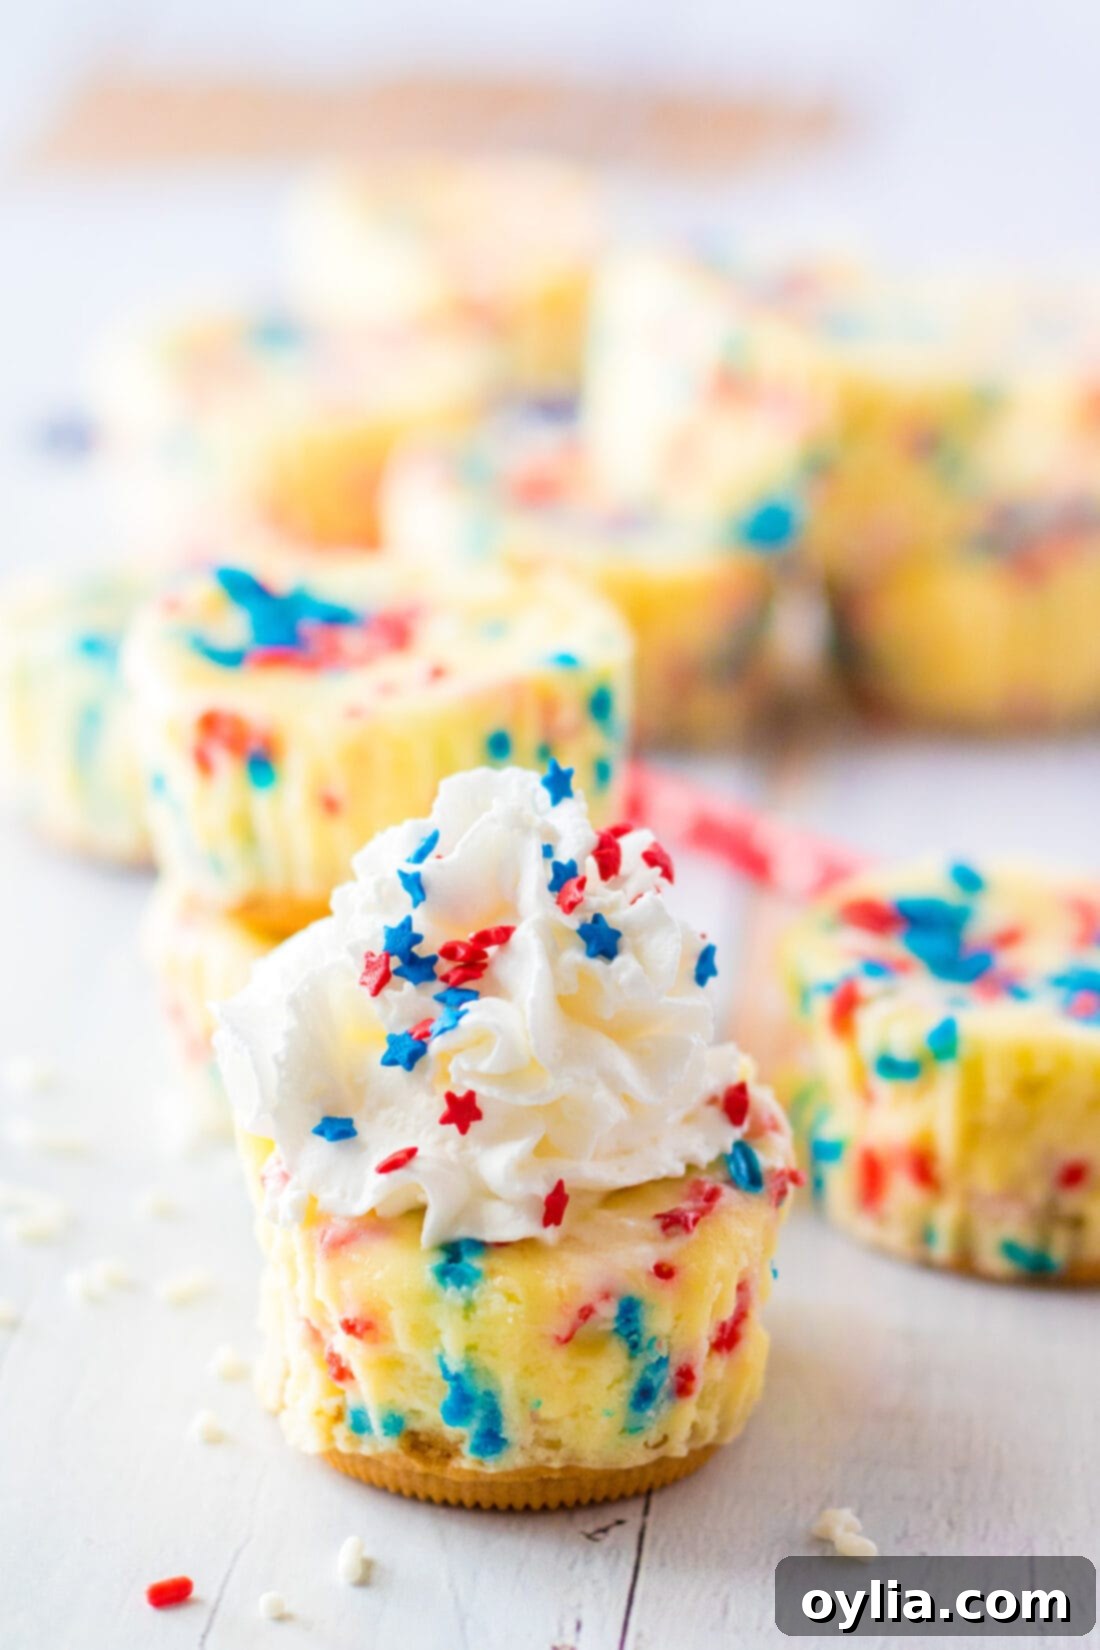
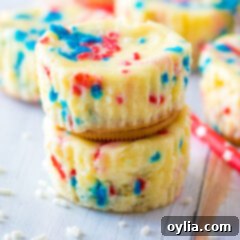
Get ready to elevate your holiday celebrations with these irresistibly charming and incredibly simple **Patriotic Mini Cheesecakes**! Adorned with a vibrant medley of red, white, and blue sprinkles, these delightful treats are the quintessential dessert for any American holiday, from the festive Fourth of July to solemn Memorial Day gatherings and joyful Labor Day picnics. What makes them truly special is their effortless preparation, requiring just a handful of staple ingredients and minimal baking experience.
This recipe promises to take the stress out of holiday baking. Unlike traditional cheesecakes that often demand a water bath and lengthy cooling times, these mini versions are straightforward and fun to make. Their individual serving sizes make them not only aesthetically pleasing but also wonderfully convenient for parties and potlucks, ensuring easy serving and no messy slicing. Prepare to impress your friends and family with a dessert that perfectly captures the spirit of celebration in every creamy, sweet bite.
Why These Easy Patriotic Mini Cheesecakes Are Your Go-To Dessert
When it comes to crafting the perfect dessert for any red, white, and blue celebration, these patriotic mini cheesecakes are truly unmatched. They offer a winning combination of ease, visual appeal, and delicious flavor that makes them an instant hit at any party. Here’s a closer look at why this recipe is a must-try for your next festive occasion:
- Effortlessly Easy to Make: Forget complicated techniques or a long list of ingredients. This recipe simplifies cheesecake making, using readily available items like cream cheese, golden Oreos, and cheerful sprinkles. The steps are straightforward, ensuring a successful bake even for those new to cheesecake creation. It’s almost as easy as a no-bake recipe, but with the rich flavor of a baked cheesecake!
- Perfect Portion Control & Portability: Individual mini cheesecakes are a dream come true for entertaining. They eliminate the need for slicing and serving, making cleanup a breeze. Guests can easily grab their own, making them ideal for potlucks, BBQs, or any event where finger foods are preferred. They travel well too, making them perfect for bringing to a friend’s gathering.
- Visually Stunning and Festive: The vibrant red, white, and blue sprinkles are not just for taste; they transform these cheesecakes into edible works of art. The golden Oreo crust provides a lovely contrast, and a generous dollop of whipped cream on top completes the celebratory look. They’re guaranteed to be a centerpiece on any dessert table and spark conversation.
- Incredibly Versatile for Any Holiday: While perfectly themed for patriotic holidays, this recipe offers fantastic flexibility. The simple swap of sprinkle colors allows you to adapt these mini cheesecakes for virtually any occasion throughout the year. Imagine festive red and green sprinkles for Christmas, playful black and orange for Halloween, or soft pastel hues for an Easter brunch. This adaptability makes them a valuable addition to your dessert repertoire.
- Rich, Creamy, and Satisfying Flavor: Each mini cheesecake delivers a luxurious, smooth, and tangy cream cheese filling that’s utterly satisfying. The crunchy golden Oreo crust provides a delightful textural contrast and a hint of vanilla, creating a balanced and addictive flavor profile that will have everyone reaching for more.
With all these benefits, it’s clear why these mini cheesecakes are more than just a dessert; they’re a celebration in themselves. Get ready to bake a batch that will be remembered long after the last bite!
Essential Ingredients for Your Red, White, and Blue Treats
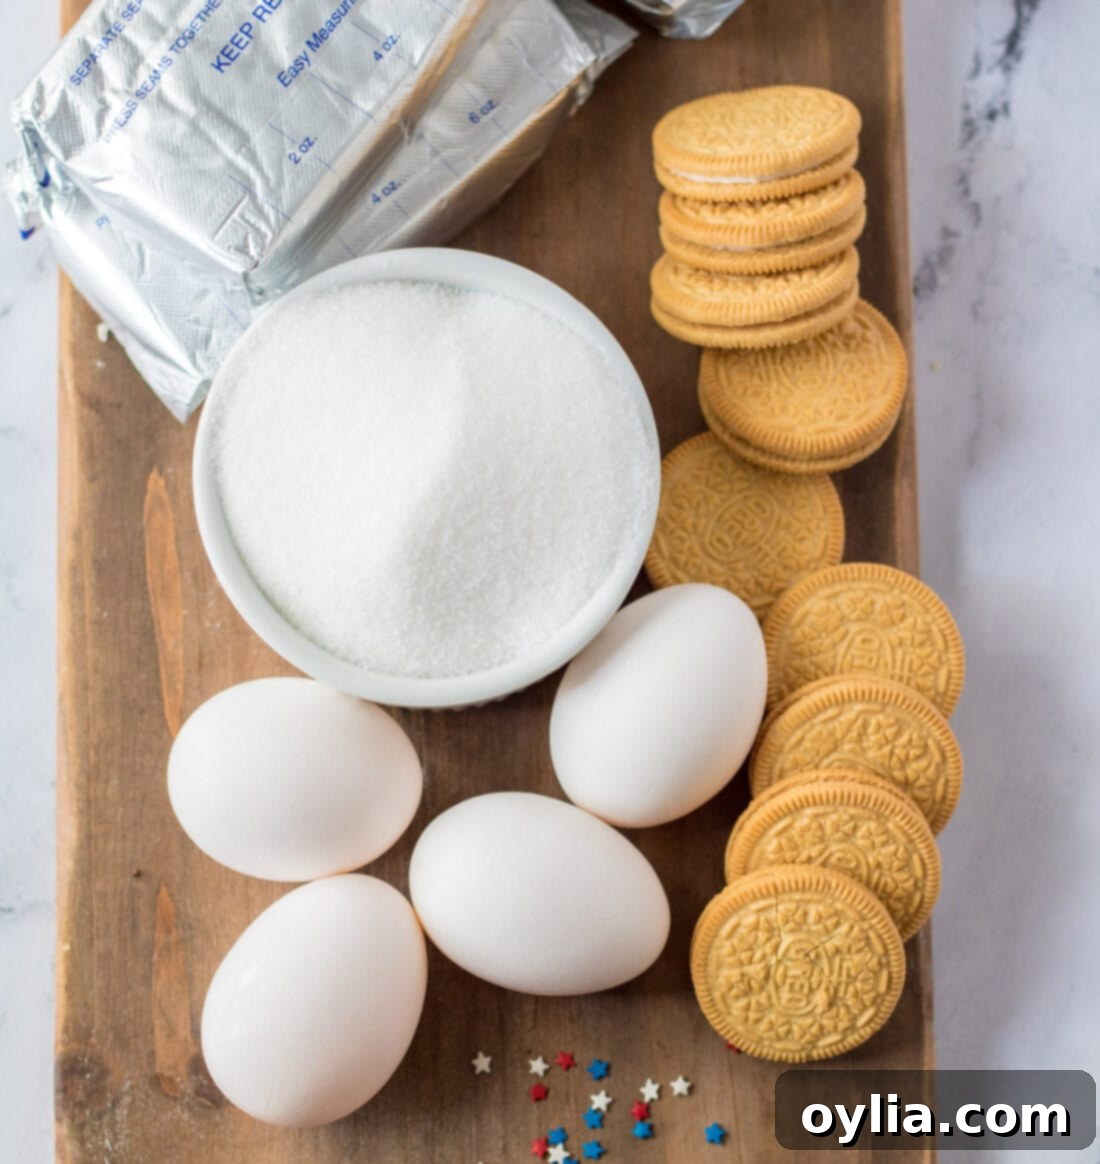
One of the best aspects of these patriotic mini cheesecakes is their wonderfully simple ingredient list. You won’t need to hunt for obscure items; most are likely already in your pantry or easily found at any grocery store. The magic truly happens when these few components come together to create a show-stopping dessert. Below, we’ll delve into the key ingredients and why they are essential for perfect results. For exact quantities and a complete guide, please refer to the printable recipe card at the very end of this post.
The Crust: A Simple and Sweet Foundation
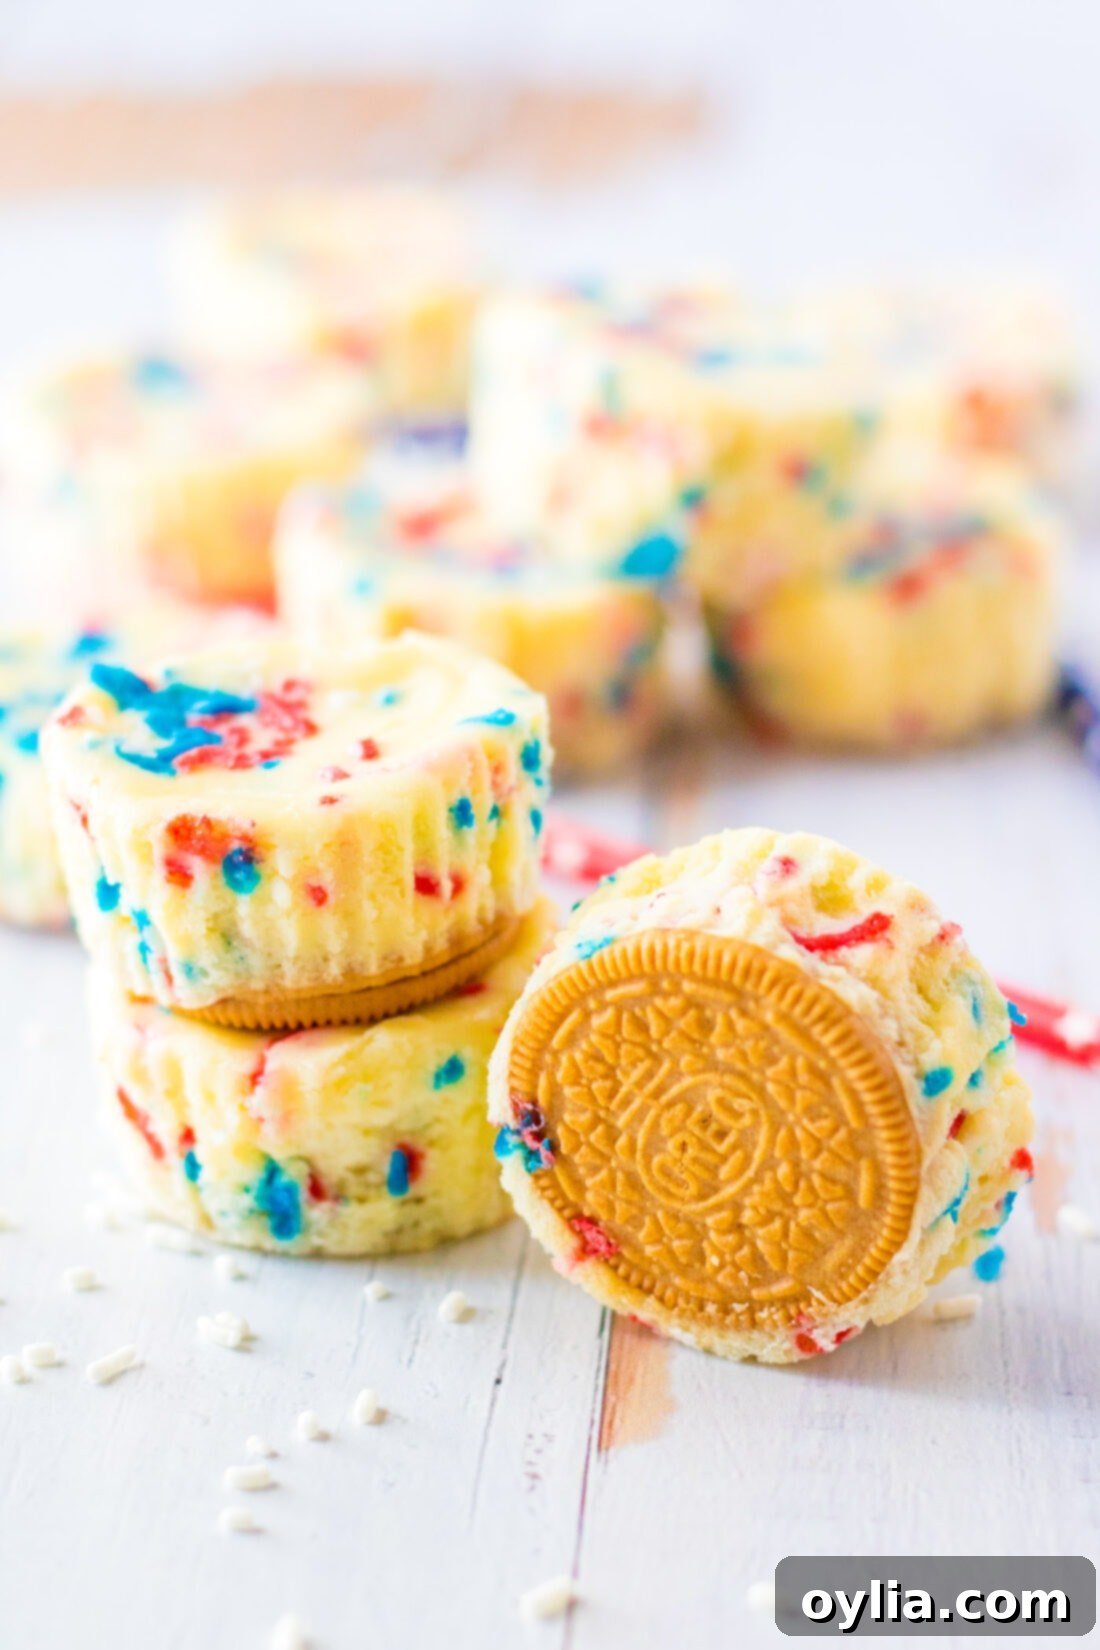
For these mini cheesecakes, the crust truly couldn’t be easier. We utilize whole **golden Oreos** as the base. This brilliant shortcut eliminates the need for a food processor or mixing with butter, making assembly incredibly fast. Simply place one whole cookie at the bottom of each cupcake liner, and you’ve got a sturdy, vanilla-flavored foundation that bakes up beautifully. The subtle golden hue of the cookies also complements the festive red, white, and blue theme.
Creative Crust Alternatives: While golden Oreos are fantastic, feel free to experiment! You can use regular chocolate Oreos for a richer, darker base. Vanilla wafers also make an excellent, slightly less sweet alternative. If you prefer a more traditional cheesecake crust, you can crush graham crackers and mix them with a little melted butter and sugar before pressing them into the liners. Each option brings its own unique flavor and texture, so choose what best suits your preference!
The Filling: Creamy, Smooth, and Delicious
The star of any cheesecake is its rich, creamy filling, and this recipe delivers pure indulgence. The filling is primarily crafted from:
- Cream Cheese: The backbone of our cheesecake! For the best flavor and texture, always opt for full-fat block cream cheese.
- Granulated White Sugar: Provides the perfect balance of sweetness to cut through the tanginess of the cream cheese, ensuring a well-rounded flavor profile.
- Vanilla Extract: A touch of pure vanilla extract enhances all the other flavors, adding a warm and inviting aromatic depth to the cheesecake.
- Large Eggs: Act as a crucial binder, giving the cheesecake its structure and helping it set into that wonderfully smooth, custardy consistency.
- Red, White, and Blue Sprinkles: These aren’t just for decoration! A portion of these festive sprinkles is gently folded into the batter itself, adding a playful pop of color within the creamy filling.
The Golden Rule for Cream Cheese: The single most important tip when working with cream cheese for cheesecake is to ensure it’s properly **softened to room temperature**. Using cold cream cheese will result in a lumpy batter that’s impossible to smooth out, leading to a less desirable texture in your final product. To achieve the perfect consistency, simply cube your cream cheese and spread the pieces on a plate for about 20-30 minutes before you begin mixing. This small step makes a huge difference!
Garnishes for a Grand Finale
To truly complete these patriotic masterpieces, we add a few optional but highly recommended garnishes:
- Whipped Cream: A light, airy dollop of whipped cream is the classic finishing touch, adding a cool, creamy contrast to the rich cheesecake. You can use store-bought or easily whip up your own.
- Additional Red, White, and Blue Sprinkles: A final sprinkle just before serving adds an extra burst of color and reinforces the festive theme, making each mini cheesecake look irresistible.
Crafting Your Patriotic Mini Cheesecakes: A Step-by-Step Visual Guide
These step-by-step photos and detailed instructions are designed to visually guide you through the process of making this recipe. For your convenience, you can easily Jump to Recipe to access the full printable version, complete with precise measurements and comprehensive instructions, located at the bottom of this page.
- Preheat and Prepare Your Muffin Tin: Begin by preheating your oven to 350°F (175°C). This ensures your oven is at the correct temperature for even baking. Next, line a regular 12-cup muffin tin (it’s important not to use a mini muffin tin for this recipe) with paper cupcake liners. This recipe yields a generous 32-36 mini cheesecakes, so have additional muffin tins ready or plan to bake in batches.
- Whip the Cream Cheese Mixture: In a large mixing bowl, combine the softened cream cheese, vanilla extract, and granulated white sugar. Using a hand mixer, beat these ingredients together until the mixture is completely smooth, lump-free, and delightfully creamy. Make sure to scrape down the sides of the bowl periodically to ensure all ingredients are thoroughly incorporated.
- Gently Incorporate the Eggs: Once your cream cheese mixture is smooth, reduce the mixer speed to low. Add the large eggs one at a time, mixing just until each egg is fully blended into the batter. It’s crucial not to overmix at this stage, as excessive air can cause your cheesecakes to puff too much and then crack as they cool.
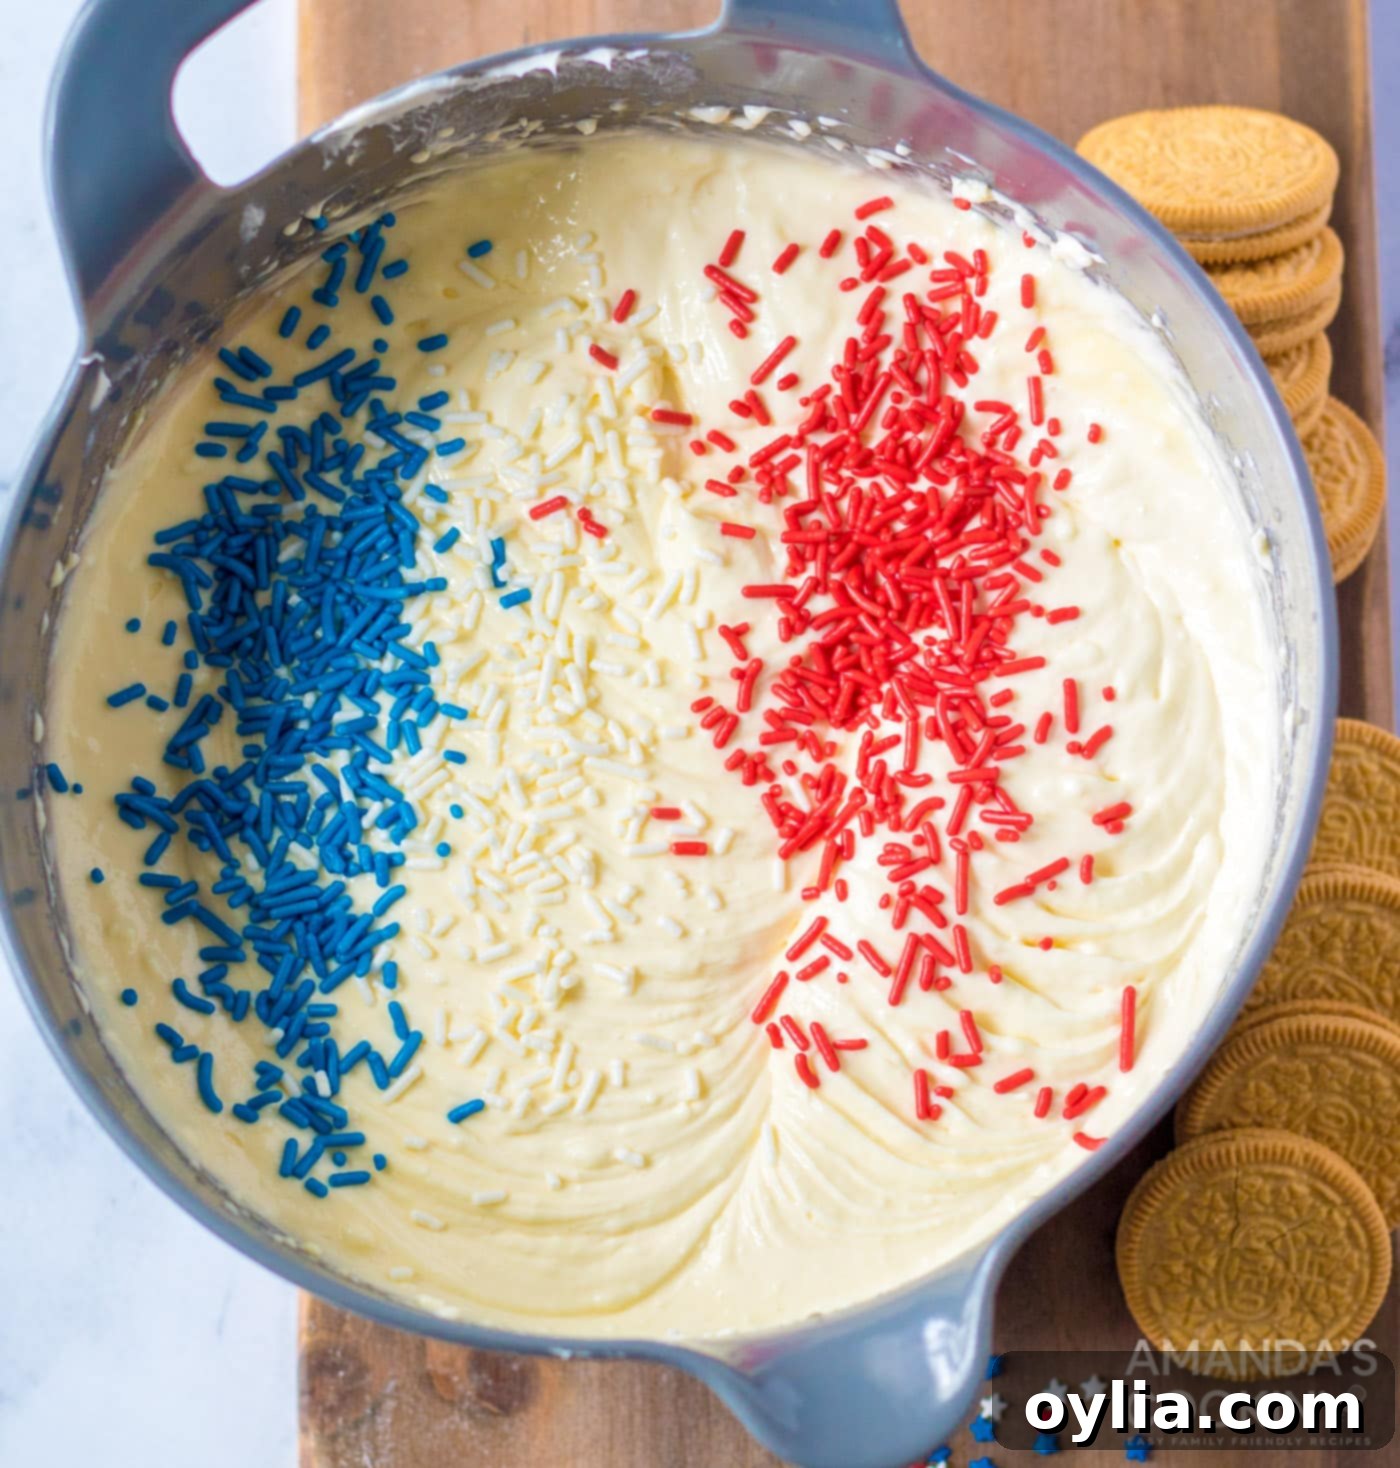
- Fold in the Festive Sprinkles: With a rubber spatula, gently fold in 1/3 cup of the red, white, and blue sprinkles into your cheesecake batter. This ensures they are evenly distributed throughout the filling, adding a delightful pop of color and festive surprise to every bite without compromising the batter’s texture.

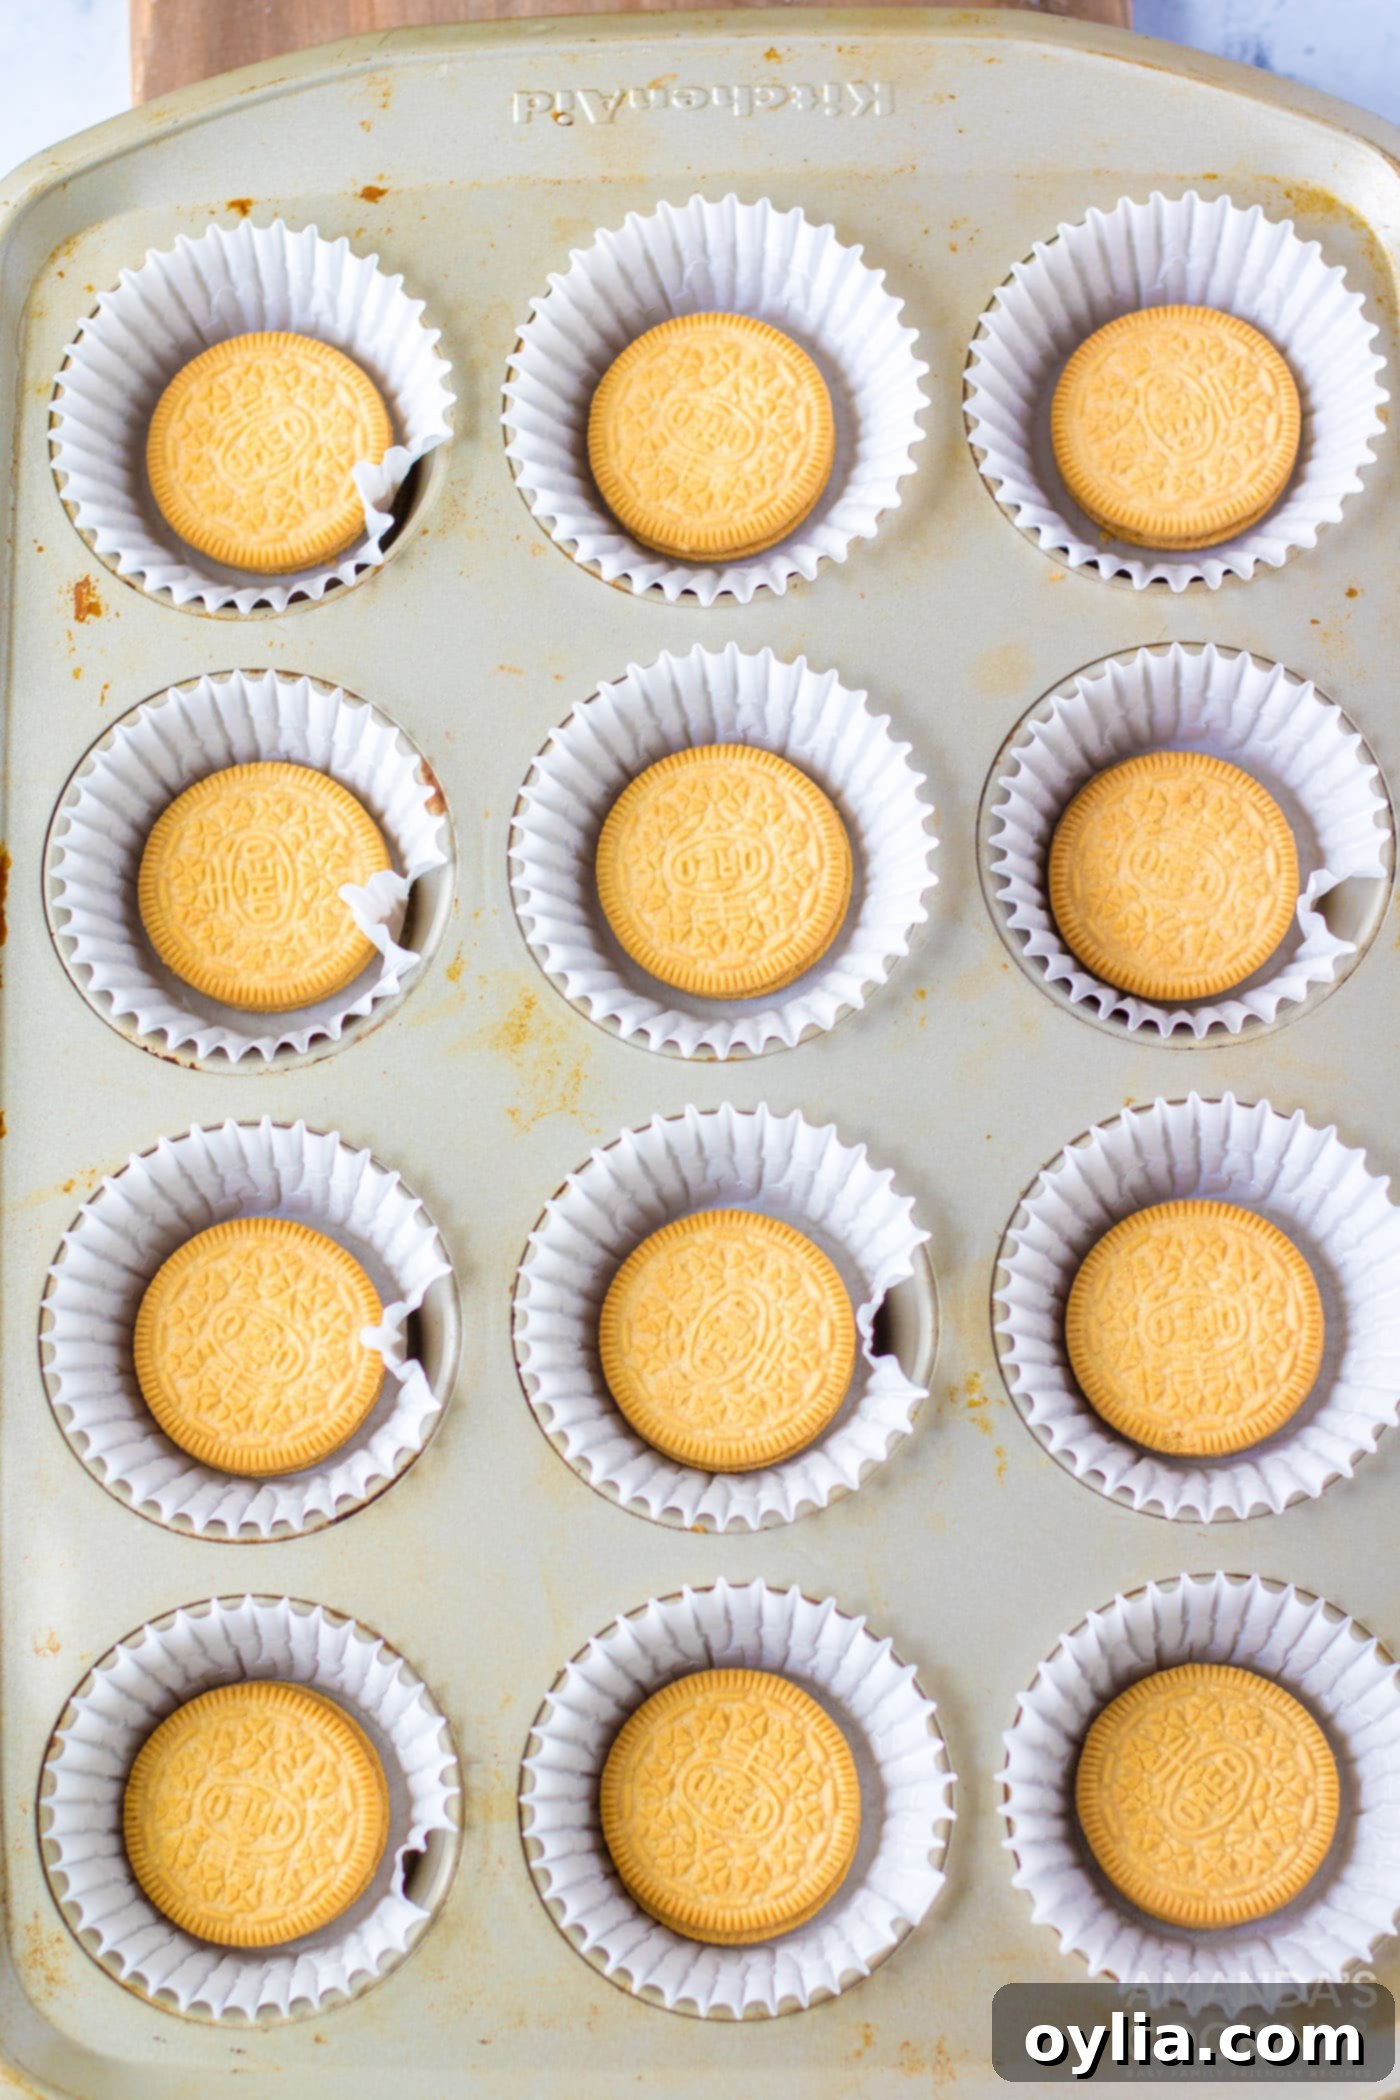
- Create the Cookie Crusts: Place one whole golden Oreo cookie into the bottom of each cupcake liner in your muffin tin. Press down gently to ensure the cookie sits flat and forms a stable base for your cheesecake batter. This simple step creates an instant, delicious crust!

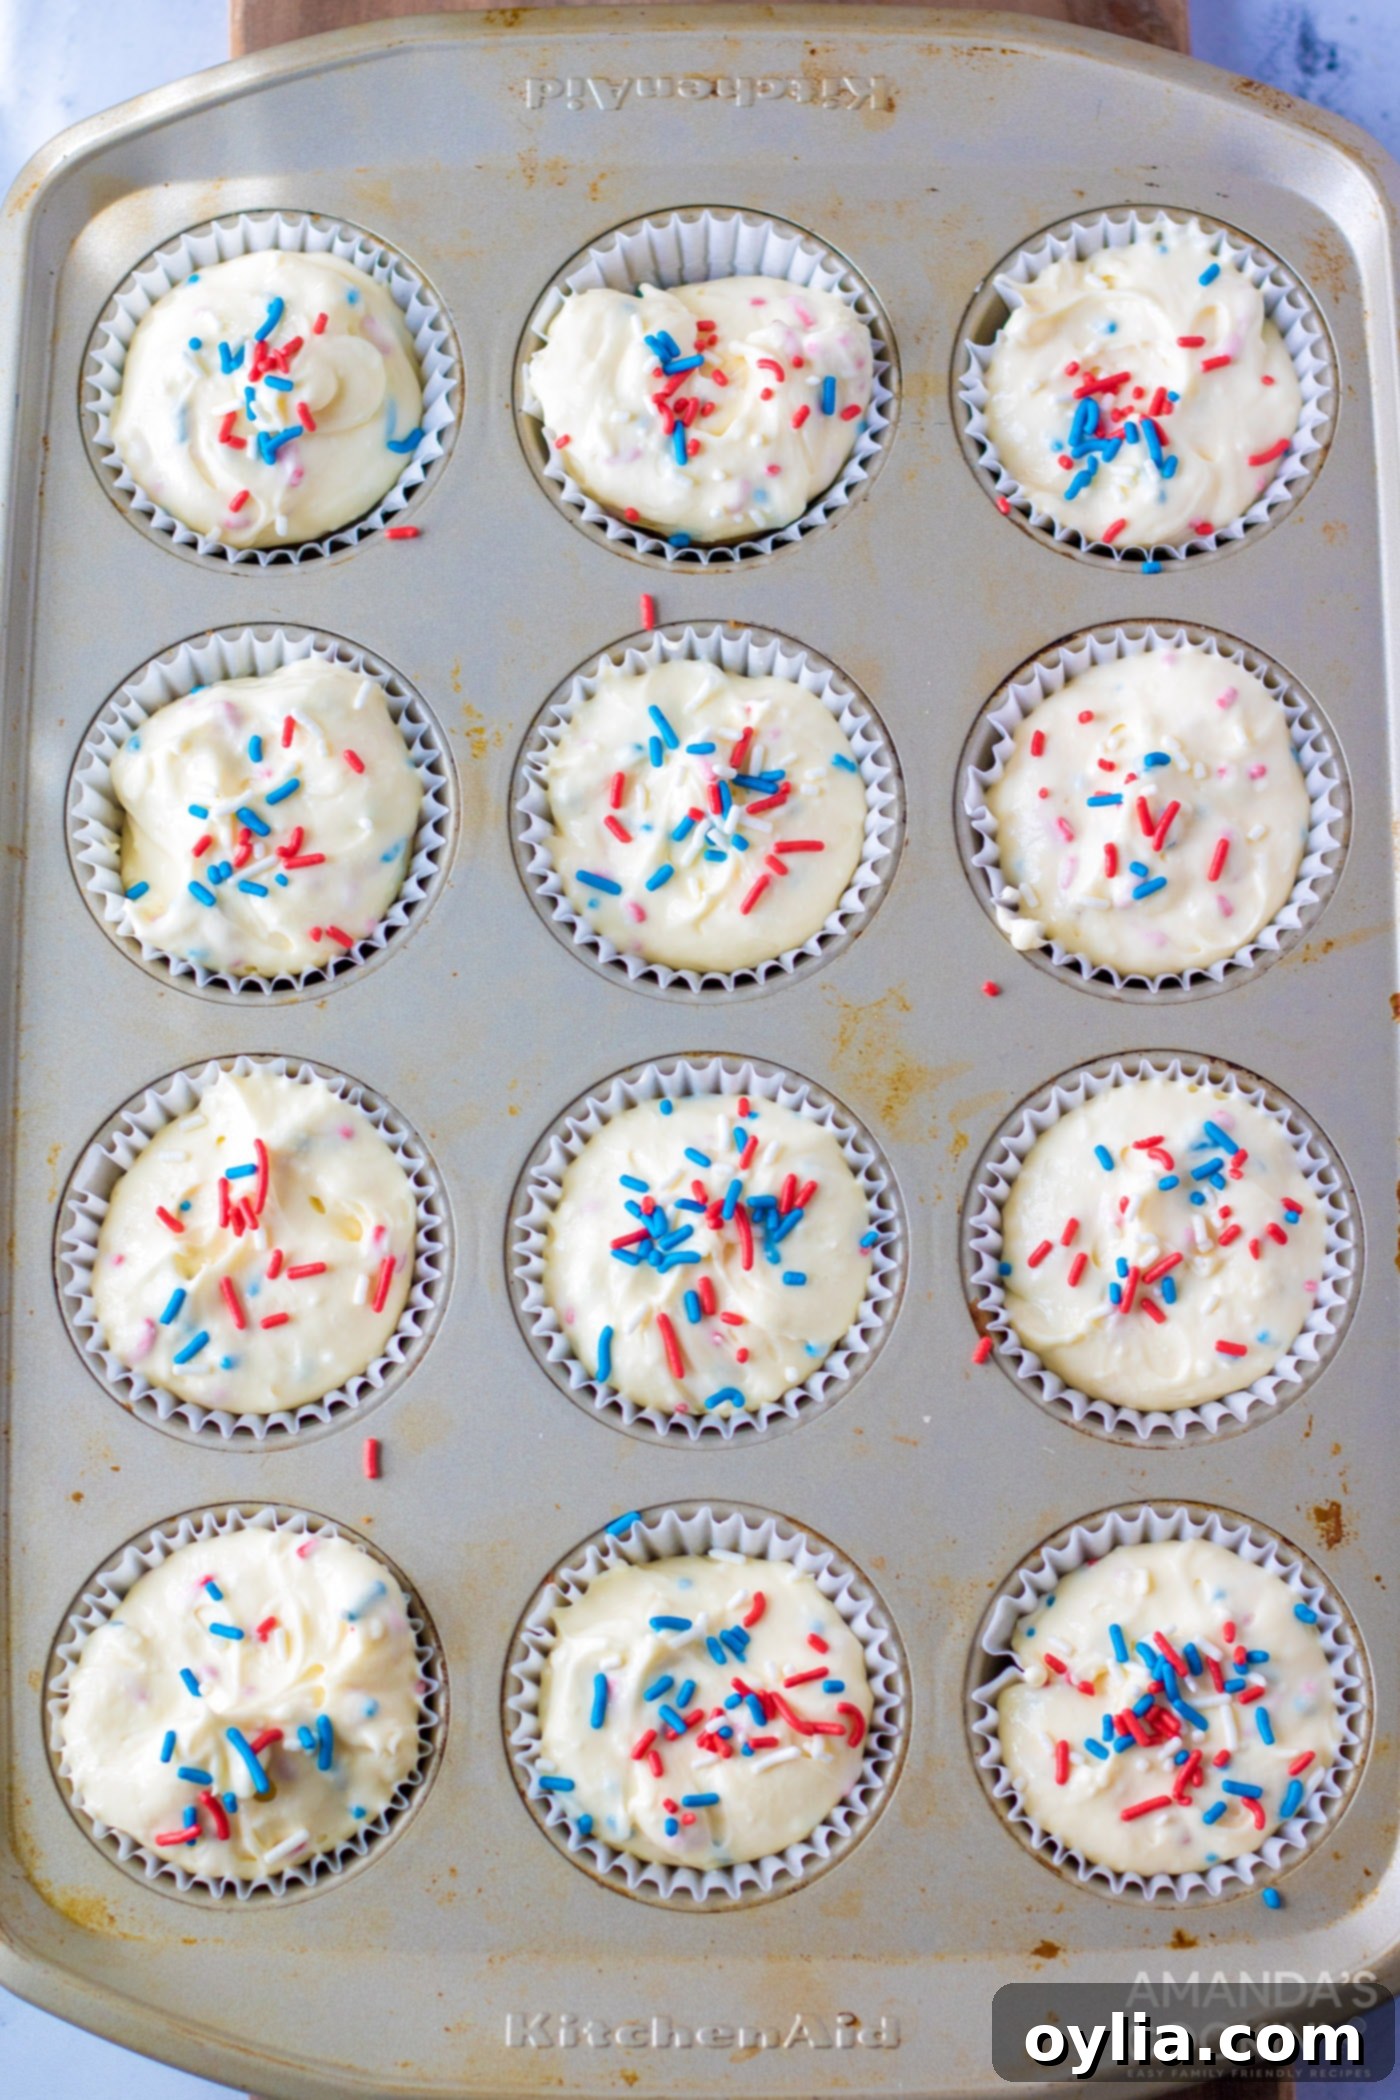
- Fill the Liners with Batter: Carefully pour the cheesecake batter into each cupcake liner, filling them to about three-quarters of the way up. This leaves just enough room for the cheesecakes to gently rise during baking without spilling over.
- Add More Sprinkles on Top: Before placing them in the oven, generously sprinkle additional red, white, and blue sprinkles onto the top of each mini cheesecake. This creates a vibrant, eye-catching visual that is perfect for a festive occasion. You might not use all of the extra sprinkles, so adjust to your liking.

- Bake Until Almost Set: Bake the mini cheesecakes for 15-20 minutes. They are ready when the edges appear firm and slightly puffed, but the very center still has a slight wobble when gently shaken. This indicates they are perfectly baked and will firm up further as they cool.
- Cool Completely and Chill: Once baked, remove the muffin tin from the oven and allow the cheesecakes to cool completely at room temperature. This gradual cooling is essential to prevent cracking. After they’ve reached room temperature, transfer the muffin tin to the refrigerator and chill for at least 2 hours. Chilling allows the cheesecakes to fully set and their flavors to meld beautifully.
- Garnish and Serve: Just before serving, carefully remove the mini cheesecakes from their liners. Top each with a generous dollop of fresh whipped cream and a final festive sprinkle of patriotic sprinkles. These individual, bite-sized delights are now ready to be enjoyed!
Expert Tips for Perfect Patriotic Mini Cheesecakes
Even with an easy recipe, a few insider tips can elevate your results from good to absolutely fantastic. Follow these simple guidelines to ensure your patriotic mini cheesecakes are nothing short of perfection:
- Start with Room Temperature Ingredients: This cannot be stressed enough, especially for cream cheese and eggs. Room temperature ingredients blend together smoothly, preventing lumps in your batter and ensuring a consistently creamy texture in your final cheesecake. Plan ahead and take them out of the fridge at least 30 minutes to an hour before you start baking.
- Avoid Overmixing the Batter: When beating the cream cheese, sugar, and vanilla, mix until just smooth. Once the eggs are added, mix on the lowest speed only until they are just incorporated. Overmixing introduces too much air into the batter, which can cause the cheesecakes to puff up excessively during baking and then collapse or crack as they cool.
- Use a Regular Muffin Tin: This recipe is specifically developed for a standard 12-cup muffin tin with regular-sized cupcake liners. Using a mini muffin tin will alter the baking time and potentially the texture, so stick to the recommended size for optimal results.
- The Gentle Fold for Sprinkles: When folding sprinkles into the batter, use a soft rubber spatula and a gentle hand. This prevents the sprinkles from breaking up and ensures they are evenly distributed without deflating the airy batter you’ve worked to create.
- Patience During Cooling is Key: Don’t rush the cooling process! Allowing the cheesecakes to cool completely at room temperature in the muffin tin before transferring them to the refrigerator is crucial. Rapid temperature changes can cause cheesecakes to crack, affecting their appearance.
- Chilling Time is Essential: While it’s tempting to dive in, the 2-hour chilling period in the refrigerator is non-negotiable. This time allows the cheesecakes to fully set, firm up, and for all the flavors to deepen and meld together, resulting in that classic cheesecake texture we all love.
- Customize Your Toppings: While whipped cream and patriotic sprinkles are classic, don’t hesitate to get creative with your garnishes! Fresh berries (strawberries, blueberries, raspberries) add natural color and a burst of freshness. A drizzle of white chocolate or a sprinkle of crushed Golden Oreo crumbs can also add extra flair.
Frequently Asked Questions About These Patriotic Mini Cheesecakes
Absolutely! Preparing these cheesecakes a day in advance is an excellent strategy for reducing stress on the day of your celebration. Simply bake them according to the instructions, allow them to cool completely, and then chill them thoroughly in an airtight container in the refrigerator. We recommend holding off on adding the whipped cream and extra sprinkles until just before you’re ready to serve. This ensures the toppings are fresh and vibrant, making for a perfect presentation.
When stored properly in an airtight container in the refrigerator, these mini cheesecakes will maintain their deliciousness and creamy texture for up to 4 days. If you’ve already topped them with whipped cream, it’s best to enjoy them within 1-2 days, as whipped cream can start to break down and weep over time.
While a simple dollop of whipped cream is a beloved classic, there are many fantastic ways to elevate your patriotic mini cheesecakes! For an extra festive and delicious touch, consider these ideas:
- Fresh Berries: A vibrant mix of fresh strawberries and blueberries creates a stunning red and blue arrangement, perfectly complementing the sprinkles. Raspberries also add a beautiful touch.
- White Chocolate Drizzle: Melted white chocolate delicately drizzled over the top adds an elegant touch and an extra layer of sweetness.
- Crushed Oreo Crumbs: If you’re an Oreo enthusiast, a sprinkle of crushed golden Oreo crumbs on top provides delightful texture and enhances the crust flavor.
- Lemon Zest: A tiny bit of freshly grated lemon zest can brighten the flavors of the cream cheese, adding a zesty counterpoint.
Don’t be afraid to experiment to discover your favorite topping combinations!
For the absolute best results, including a rich flavor and wonderfully creamy, sturdy texture, we strongly recommend using full-fat block cream cheese. Low-fat or reduced-fat cream cheeses often contain more water and stabilizers, which can negatively impact the consistency of your cheesecakes, making them less firm or potentially gritty. While you *could* use them, the luxurious quality that makes cheesecake so irresistible comes from the full-fat variety.
Cheesecake cracking is a common issue, usually related to temperature fluctuations or overmixing. To prevent cracks, ensure you follow these key steps:
- Don’t Overmix: Mix the batter just until smooth, especially after adding eggs.
- Room Temperature Ingredients: This helps create a smooth, even batter.
- Gradual Cooling: Allow the cheesecakes to cool slowly in the muffin tin at room temperature first before transferring them to the cold refrigerator. A sudden change in temperature can cause the cheesecake to contract too quickly, leading to cracks.
- Don’t Overbake: Bake only until the centers are “almost set” with a slight wobble. Overbaking can dry out the cheesecake, making it more prone to cracking.
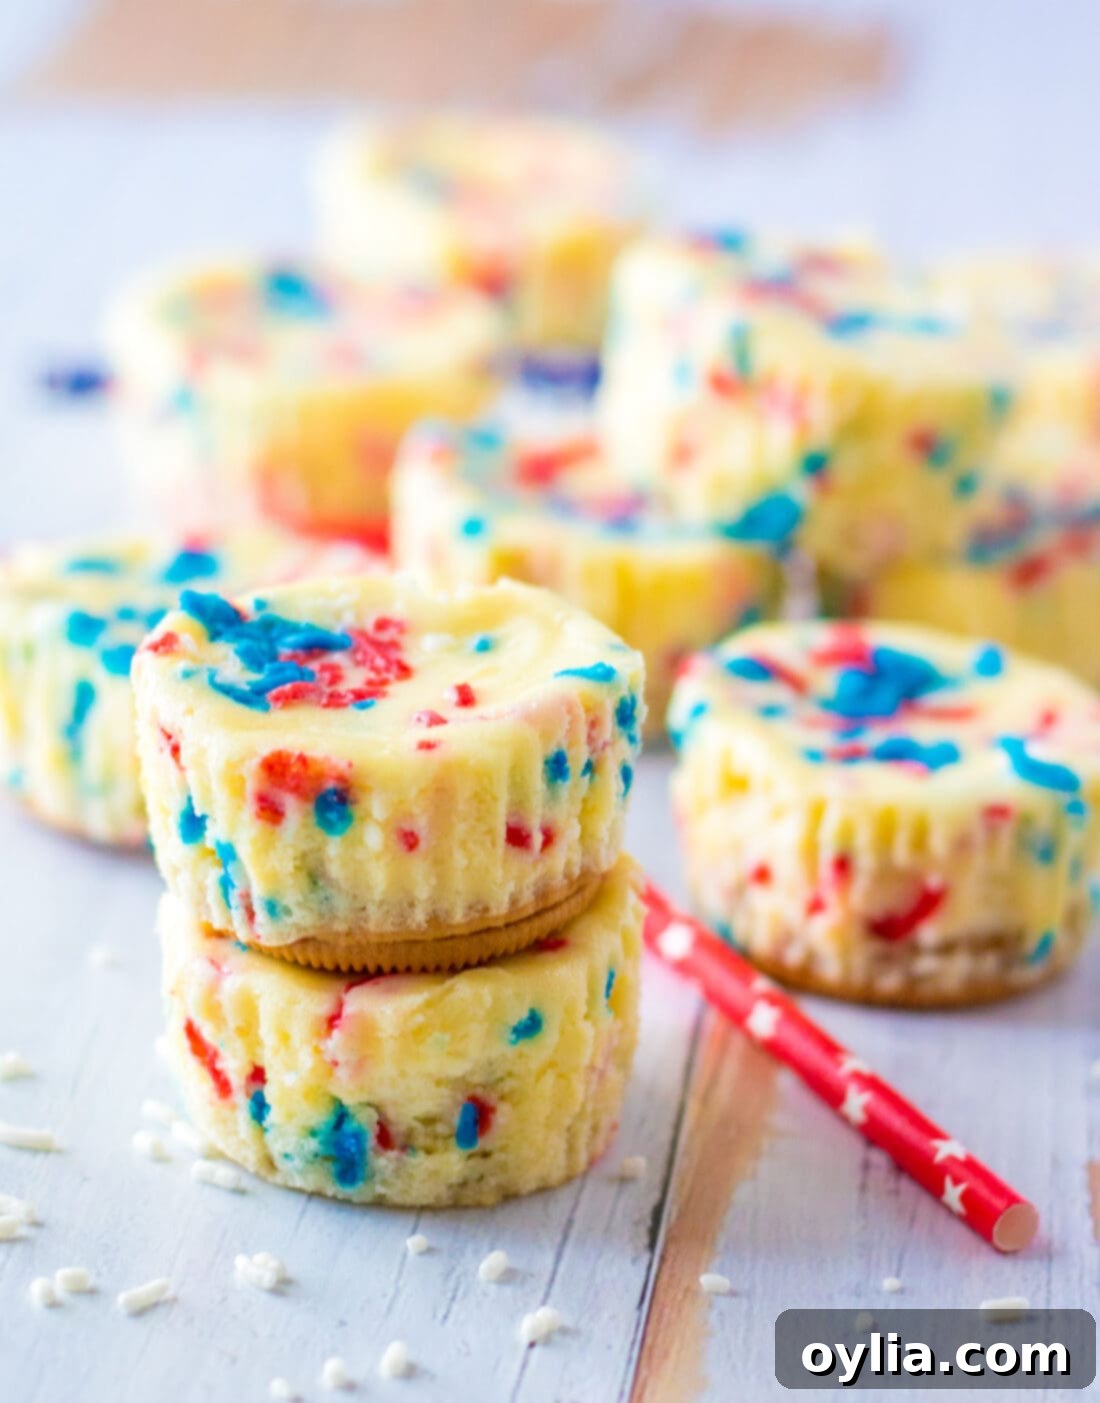
These individual, bite-sized treats are guaranteed to be the star of your dessert spread, offering both charm and incredible flavor. Making 32-36 of these delightful mini cheesecakes using a regular 12-cup muffin pan means there’s plenty to go around, making them perfect for large gatherings. Whether it’s a casual backyard BBQ, a festive Fourth of July potluck, or any patriotic celebration, these easy Patriotic Mini Cheesecakes will be a hit. Your friends and family will undoubtedly be asking for the recipe, grateful for such a memorable and delicious contribution to the festivities. So go ahead, whip up a batch (or two!) and celebrate in style!
Discover More Festive Red, White, and Blue Recipes
If these patriotic mini cheesecakes have inspired you to explore more red, white, and blue culinary delights, you’re in luck! We’ve curated a fantastic collection of recipes perfect for any American holiday, summer gathering, or whenever you want to add a touch of patriotic flair to your table. Pair these mini cheesecakes with some of these other festive ideas for a truly unforgettable spread:
- Patriotic Punch: A refreshing and visually stunning layered drink that’s a hit with all ages.
- Taco Salad Flag: A creative and delicious savory centerpiece that embodies the American flag.
- American Flag Cupcakes: Another fun and easy individual dessert, perfect for themed parties.
- Patriotic Charcuterie Board: An elegant way to present a variety of red, white, and blue snacks and treats.
- Red White and Blue Poke Cake: A moist and flavorful cake infused with colorful jello for a vibrant surprise inside.
- Patriotic Candy Bark: A quick, no-bake sweet treat that’s easy to customize with different candies and sprinkles.
- Mini Shortcake Cups: Light, fruity, and individually portioned desserts, ideal for a summer spread.
- No Bake Berry Cheesecake Trifles: A refreshing, layered dessert showcasing fresh berries and creamy cheesecake.
- Patriotic Ice Cream Cone Cupcakes: A whimsical and fun dessert that combines cupcakes with the joy of ice cream cones.
- 4th of July Jello Shots: A colorful and spirited adult-friendly option for your Independence Day bash.
- Patriotic Vodka Lemonade Slushie: A cool and zesty alcoholic beverage perfect for hot summer festivities.
I absolutely adore cooking and baking, and my greatest pleasure is sharing my kitchen adventures and delicious recipes with all of you! Remembering to check back for new content daily can be a challenge, which is why I offer a convenient newsletter delivered straight to your inbox every time a fresh recipe is posted. Simply subscribe today and start receiving your free daily dose of culinary inspiration!
Patriotic Mini Cheesecakes Recipe
IMPORTANT – There are often Frequently Asked Questions within the blog post that you may find helpful. Simply scroll back up to read them!
Print It
Pin It
Rate It
Save ItSaved!
Ingredients
- 32 oz cream cheese 4 (8oz) blocks, softened to room temperature
- 1 cup granulated white sugar
- 1 teaspoon vanilla extract
- 4 large eggs at room temperature
- ⅓ cup red, white, and blue sprinkles for mixing into the batter
- 36 Golden oreos whole, for the crust
- ⅓ cup red, white, and blue sprinkles for topping before baking
Garnish (Optional)
- Whipped cream freshly made or store-bought
- Additional red, white, and blue sprinkles for serving
Equipment You’ll Need
-
Cupcake liners
-
Regular 12-cup Muffin pan
-
Hand mixer
-
Large mixing bowl
-
Rubber spatula
Chef’s Notes & Pro Tips
- Storage: Store any leftover mini cheesecakes in an air-tight container, kept in the refrigerator, for up to 4 days. If topped with whipped cream, they are best consumed within 1-2 days for optimal freshness.
- Muffin Tin Size: This recipe is specifically formulated for a regular 12-cup muffin tin, not a mini muffin pan. Using the correct size ensures the perfect baking time and yield.
- Room Temperature Ingredients: For a lump-free, impeccably smooth batter, it is essential that your cream cheese and eggs are at room temperature before you begin the mixing process.
- Avoid Overmixing: Be cautious not to overmix the batter, particularly after the eggs have been added. Overmixing can incorporate too much air, which may lead to cracks in your baked cheesecakes as they cool. Mix only until just combined.
- Gradual Cooling is Crucial: Allow the cheesecakes to cool completely at room temperature in the muffin tin before transferring them to the refrigerator. This gradual cooling process is a key step in preventing the cheesecakes from cracking.
Instructions
-
Preheat your oven to 350°F (175°C). Line a regular 12-cup muffin tin with cupcake liners.
-
In a large mixing bowl, beat the softened cream cheese, vanilla extract, and granulated sugar with a hand mixer until the mixture is smooth and creamy. Scrape down the sides of the bowl as needed.32 oz cream cheese, 1 teaspoon vanilla extract, 1 cup granulated white sugar
-
Reduce mixer speed to low. Add the large eggs one at a time, mixing only until each egg is just blended into the batter. Avoid overmixing.4 large eggs
-
Gently fold in 1/3 cup of the red, white, and blue sprinkles using a spatula until evenly distributed.1/3 cup red, white, and blue sprinkles
-
Place 1 whole golden Oreo into each cupcake liner in your muffin tin, pressing gently to create a flat crust.36 Golden oreos
-
Pour the cheesecake batter into each prepared liner, filling them about three-quarters of the way full.
-
Add an additional sprinkle of red, white, and blue sprinkles to the top of each mini cheesecake for extra festive flair. You might not use all of the extra sprinkles.1/3 cup red, white, and blue sprinkles
-
Bake for 15-20 minutes, or until the edges are set and the centers are almost set with a slight wobble.
-
Allow the cheesecakes to cool completely in the muffin tin at room temperature. Once cooled, transfer to the refrigerator and chill for at least 2 hours to set fully.
-
Serve chilled, topped with a dollop of whipped cream and a final sprinkle of festive red, white, and blue sprinkles. Enjoy!whipped cream, red, white, and blue sprinkles
Nutrition Information (Per Mini Cheesecake)
The recipes on this blog are tested with a conventional gas oven and gas stovetop. It’s important to note that some ovens, especially as they age, can cook and bake inconsistently. Using an inexpensive oven thermometer can assure you that your oven is truly heating to the proper temperature. If you use a toaster oven or countertop oven, please keep in mind that they may not distribute heat the same as a conventional full sized oven and you may need to adjust your cooking/baking times. In the case of recipes made with a pressure cooker, air fryer, slow cooker, or other appliance, a link to the appliances we use is listed within each respective recipe. For baking recipes where measurements are given by weight, please note that results may not be the same if cups are used instead, and we can’t guarantee success with that method.
This post was originally published on this blog on June 15, 2021. It has been updated with expanded content, additional tips, and clearer instructions for an even better baking experience.
