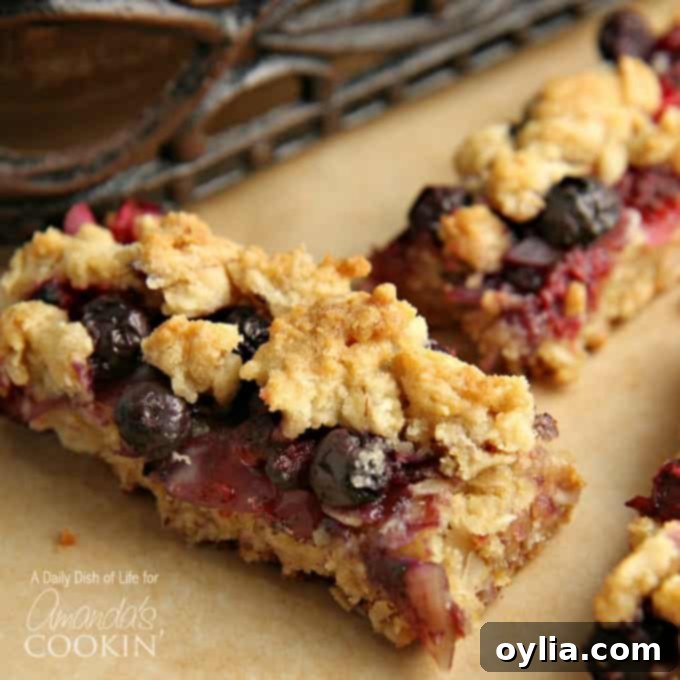
Irresistible Berrylicious Cookie Bars: Your New Favorite Family Dessert
Prepare to fall in love with these Berrylicious Cookie Bars! They are destined to become a staple in your household, cherished by every member of your family. Imagine an easy-to-make treat, overflowing with the vibrant flavors of various berries, and guaranteed to earn enthusiastic approval from kids and adults alike. Whether you need a satisfying after-school snack, a delightful dessert for a gathering, or simply a sweet bite to brighten your day, these cookie bars are absolutely perfect for any occasion.
Why These Berrylicious Cookie Bars Will Be Your New Go-To Recipe
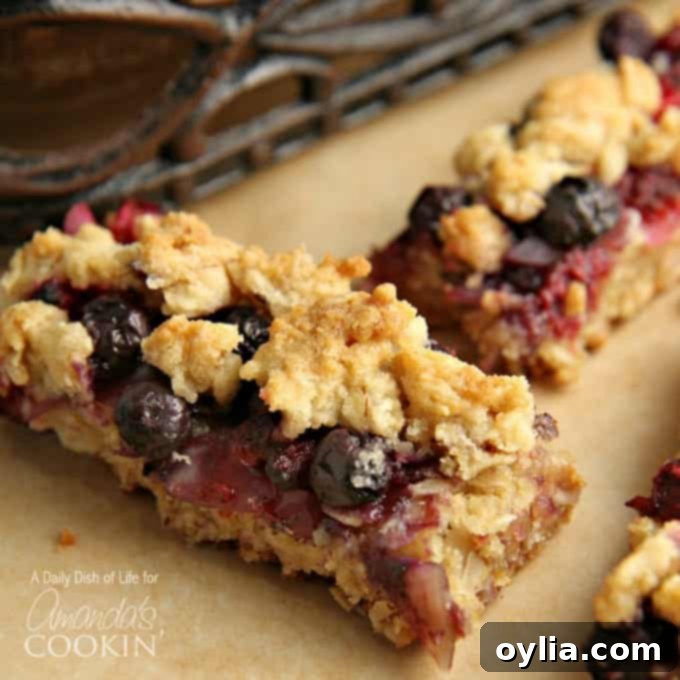
When it comes to baking, I often gravitate towards recipes that are tried, true, and dependable. There’s a certain comfort in knowing that a recipe will deliver delicious results every time, even with a few personal twists. These Berrylicious Cookie Bars perfectly fit that description. They are inspired by a cherished family favorite, my Lemon Blueberry Bars, which my family adores. Building on that successful foundation, I was confident that these mixed berry wonders would be an equally big hit – and they absolutely are!
What makes these berry bars truly exceptional is their incredible versatility and how effortlessly they come together. You don’t need to be a seasoned baker to achieve a perfectly golden, crumbly top and a tender, fruit-filled center. The simple steps and accessible ingredients mean you can whip up a batch whenever a craving strikes, or when you need a crowd-pleasing dessert in a pinch.
Customizing Your Mixed Berry Bliss
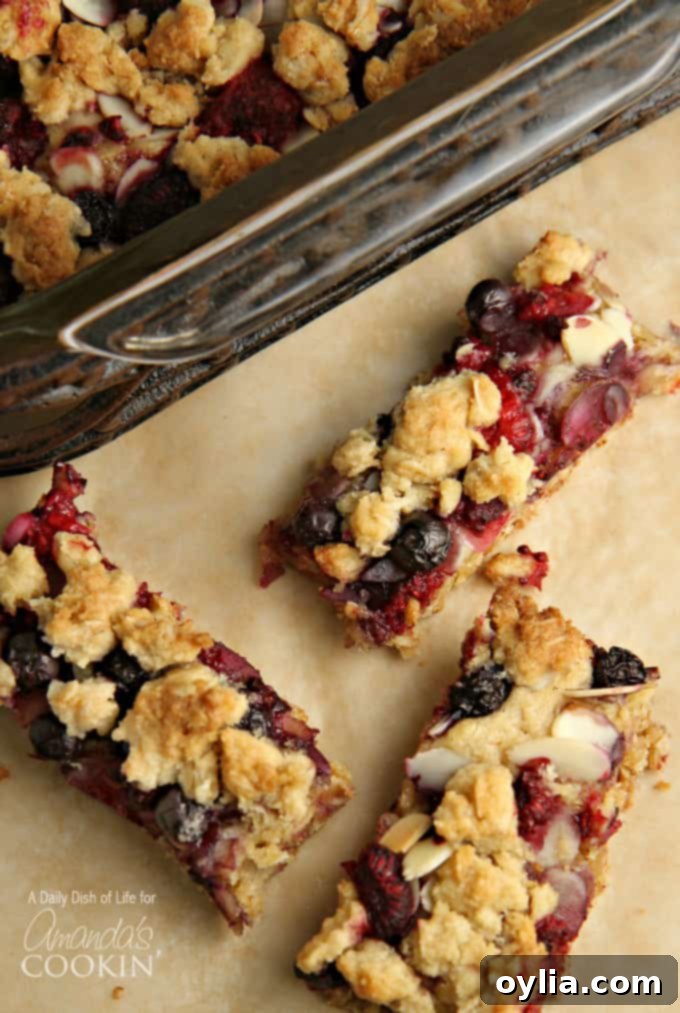
The beauty of these cookie bars lies in the freedom to make them uniquely yours. While I personally love the vibrant medley of frozen blueberries, blackberries, raspberries, and strawberries, feel free to use any combination of berries that tickles your fancy. Have a surplus of fresh berries from the farmer’s market? Go for it! Prefer just one type of berry, like an all-blueberry bar or a pure raspberry delight? That works too.
And what about nuts? I find that a scattering of slivered almonds adds a wonderful textural contrast and a subtle nutty flavor that complements the sweet and tart berries beautifully. However, if nuts aren’t your thing, or if you’re baking for someone with a nut allergy, rest assured that these cookie bars will be just as delightful without them. You can easily omit them for a pure berry experience, or even substitute them with a sprinkle of shredded coconut or white chocolate chips for a different flavor profile.
Please note: This post may contain affiliate links. This means that if you make a purchase through one of these links, I may earn a small commission at no additional cost to you. I only recommend products and services that I genuinely believe in and use myself.
Essential Ingredients and Equipment for Perfect Berrylicious Bars
Gathering your ingredients and tools before you begin baking is key to a smooth and enjoyable process. Here’s a detailed look at what you’ll need to create these fantastic Berrylicious Cookie Bars:
What You’ll Need (Full Printable Recipe Below):
- 2 sticks of butter, softened: Room temperature butter is crucial for a smooth, creamy dough that blends easily with other ingredients.
- 2 cups of light brown sugar, packed: Brown sugar adds moisture and a rich, caramel-like sweetness, contributing to the bars’ chewy texture.
- 2 teaspoons of baking powder: This leavening agent helps the cookie base rise slightly and achieve a tender consistency.
- 1 egg: The egg acts as a binder, holding the dough together and adding richness.
- 1 teaspoon vanilla extract: Pure vanilla extract enhances all the flavors, especially the sweetness of the berries and sugar.
- 2 cups of all-purpose flour: The foundational dry ingredient, providing structure to the cookie base.
- 2 cups of oats (rolled or quick-cooking): Oats add a wonderful chewiness and a wholesome texture to the bars, making them feel a bit heartier than a typical cookie.
- 1/4 cup of slivered almonds (optional): For that delightful crunch and nutty flavor. You can skip these or substitute with other nuts or seeds.
- 2 cups of frozen mixed berries: A vibrant mix of blueberries, strawberries, raspberries, and blackberries ensures a burst of fruity goodness in every bite. Using frozen berries is convenient and helps them hold their shape better during baking.
Recommended Baking Tools:
- 13 x 9 inch baking dish: This standard size is perfect for achieving the ideal thickness for your cookie bars.
- Stand mixer (or hand mixer): A mixer makes creaming the butter and sugar quick and easy, ensuring a well-incorporated dough.
- Large mixing bowls, spatulas, and measuring cups/spoons will also be helpful.
More Than Just a Snack: Versatility and Storage Tips
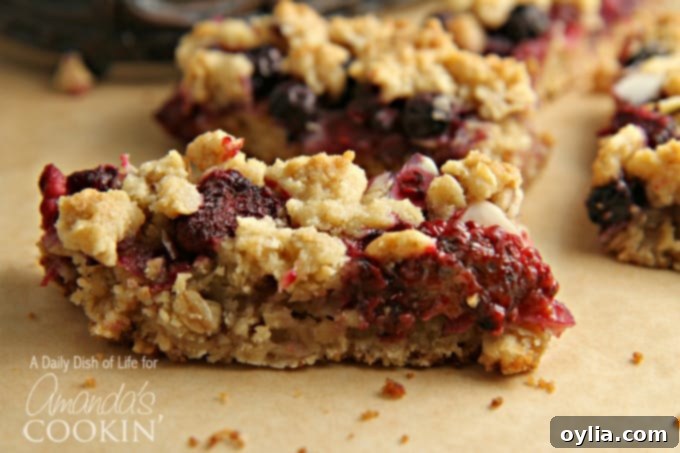
These Berrylicious Cookie Bars have a remarkable ability to vanish quickly – at least, they certainly do in our home! To ensure we always have some on hand, I often make a double batch and freeze about half of it for later enjoyment. They freeze beautifully, making them an ideal make-ahead treat.
Beyond being a delicious after-school snack or a convenient on-the-go bite, these bars are incredibly versatile. They make an effortless and impressive dessert to bring to potlucks, picnics, or any casual gathering. The vibrant red and blue hues of the berries also make them a fantastic patriotic treat, especially perfect for 4th of July celebrations!
Freezing and Storage Instructions:
- To Freeze: Once completely cooled, cut the bars into individual portions. Wrap each bar tightly in plastic wrap, then place them in an airtight freezer-safe container or freezer bag. They can be stored in the freezer for up to 2-3 months. Thaw at room temperature for an hour, or microwave briefly for a warm treat.
- To Store (Room Temperature): Store cooled bars in an airtight container at room temperature for up to 3-4 days.
- To Store (Refrigerator): For extended freshness, especially in warmer climates, store in an airtight container in the refrigerator for up to a week.
Frequently Asked Questions About Berrylicious Cookie Bars
Before you dive into baking, here are some common questions you might have:
- Can I use fresh berries instead of frozen? Absolutely! If using fresh berries, you might want to lightly toss them with a tablespoon of flour or cornstarch to help absorb excess moisture and prevent them from sinking to the bottom of the bars.
- Do I have to use a stand mixer? While a stand mixer makes the job easier, a hand mixer works perfectly fine too. If you don’t have either, a sturdy whisk and a bit of arm power can get the job done for creaming the butter and sugar.
- Can I make these gluten-free? Yes, you can! Substitute the all-purpose flour with a 1:1 gluten-free baking flour blend that contains xanthan gum. Ensure your oats are certified gluten-free as well.
- What if I don’t like oats? The oats add a nice chewiness, but you can replace them entirely with more flour for a more traditional cookie bar texture, or use crushed cornflakes for a different kind of crunch.
- How do I know when the bars are fully baked? The edges should be golden brown, and a toothpick inserted into the center of the cookie base (avoiding a large berry) should come out clean.
- Can I add other mix-ins? Get creative! White chocolate chips, a sprinkle of lemon zest, or a dash of cinnamon would all be delicious additions.
These answers should help you feel confident in creating your own batch of delightful Berrylicious Cookie Bars!
Explore More Delicious Cookie Bar Recipes:
- PB&J Bars with Strawberry Jam from A Dish of Daily Life
- Raspberry Oatmeal Crumble Bars from Averie Cooks
- Blueberry Crumble Bars from Love Bakes Good Cakes
- Raspberry Lemon Bars from Diethood
- Tropical Dream Dessert Bars – Amanda’s Cookin’
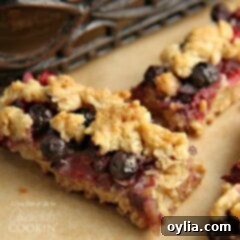
Berrylicious Bars
IMPORTANT – There are often Frequently Asked Questions within the blog post that you may find helpful. Simply scroll back up to read them!
Print It
Pin It
Rate It
Save ItSaved!
Ingredients
- 2 sticks of butter softened
- 2 cups of light brown sugar packed
- 2 teaspoons baking powder
- 1 egg
- 1 teaspoon vanilla
- 2 cups all purpose flour
- 2 cups oats
- ¼ cups almond slivers
- 2 cups frozen mixed berries
Instructions
-
Prepare Your Oven: Preheat your oven to a steady 350 degrees Fahrenheit (175 degrees Celsius). This ensures even baking from the start.
-
Grease Your Baking Dish: Lightly grease a 13 x 9 inch baking dish with butter. This prevents sticking and makes for easy removal of the bars later.
-
Cream the Butter: In the bowl of a stand mixer (or using a hand mixer), beat the softened butter on medium speed until it’s light and smooth. This typically takes about 1-2 minutes.
-
Add Sugars and Baking Powder: Incorporate the packed light brown sugar and baking powder into the creamed butter. Continue to beat until the mixture is well combined and fluffy, scraping down the sides of the bowl as needed.
-
Mix in Wet Ingredients: Add the vanilla extract and the egg to the butter mixture. Beat until everything is thoroughly combined and smooth. Be careful not to overmix at this stage.
-
Gradually Add Flour: With the mixer on low speed, slowly add the all-purpose flour to the wet mixture, continuing to beat until just combined. Overmixing the flour can lead to tough bars, so stop as soon as no dry streaks remain.
-
Fold in Oats: Remove the bowl from the stand mixer. Using a spatula, gently stir in the oats until they are evenly distributed throughout the dough.
-
Form the Base: Reserve approximately 1/2 cup of the prepared dough. Press the remaining, larger portion of the dough evenly into the bottom of your greased 13×9 inch baking dish. You can use your hands or the back of a spoon for this.
-
Add Berries and Almonds: Spread the 2 cups of frozen mixed berries evenly across the top of the pressed dough. Then, sprinkle the slivered almonds (if using) over the berries.
-
Create the Crumble Topping: Take the reserved 1/2 cup of dough and crumble it into small pieces evenly over the layer of berries and almonds. This forms a delicious, buttery streusel-like topping.
-
Bake to Perfection: Place the baking dish in your preheated oven and bake for 35 minutes, or until the top is golden brown and a toothpick inserted into the cookie base (away from the berries) comes out clean.
-
Cool and Serve: Allow the Berrylicious Cookie Bars to cool completely in the pan on a wire rack before cutting them into individual squares. This step is crucial for clean cuts and helps the bars set properly.
The recipes on this blog are tested with a conventional gas oven and gas stovetop. It’s important to note that some ovens, especially as they age, can cook and bake inconsistently. Using an inexpensive oven thermometer can assure you that your oven is truly heating to the proper temperature. If you use a toaster oven or countertop oven, please keep in mind that they may not distribute heat the same as a conventional full sized oven and you may need to adjust your cooking/baking times. In the case of recipes made with a pressure cooker, air fryer, slow cooker, or other appliance, a link to the appliances we use is listed within each respective recipe. For baking recipes where measurements are given by weight, please note that results may not be the same if cups are used instead, and we can’t guarantee success with that method.
Conclusion: A Berry Special Treat Awaits!
These Berrylicious Cookie Bars are more than just a dessert; they’re a testament to simple, wholesome baking that brings joy to any occasion. Their vibrant berry flavor, delightful oat-cookie base, and optional nutty crunch create a symphony of textures and tastes that’s hard to resist. Whether you’re whipping them up for a spontaneous treat or planning ahead for a special event, these bars promise ease, deliciousness, and universal appeal.
So, gather your ingredients, preheat your oven, and prepare to bake a batch of these truly irresistible Berrylicious Cookie Bars. We’re confident they’ll become a treasured recipe in your collection, celebrated for their comforting homemade charm and unforgettable flavor. Happy baking!
