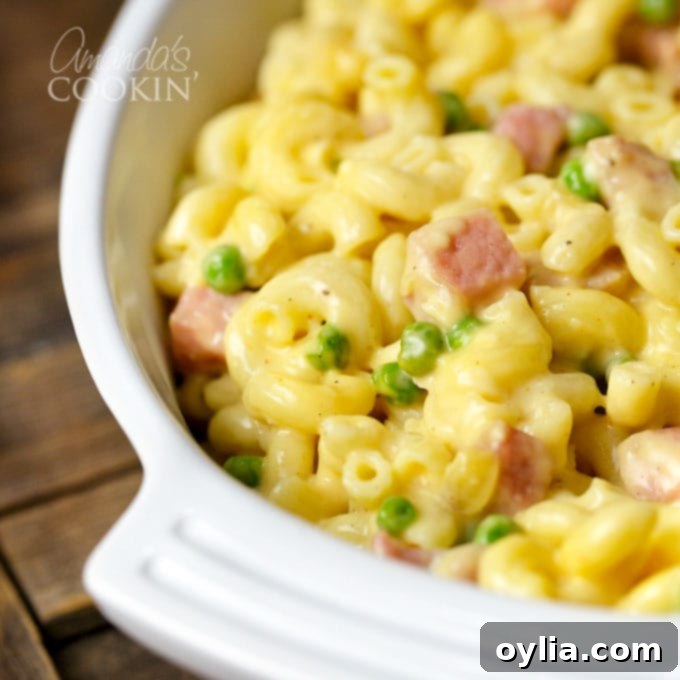
Creamy Ham and Pea Macaroni and Cheese Casserole: The Ultimate Comfort Food Dinner
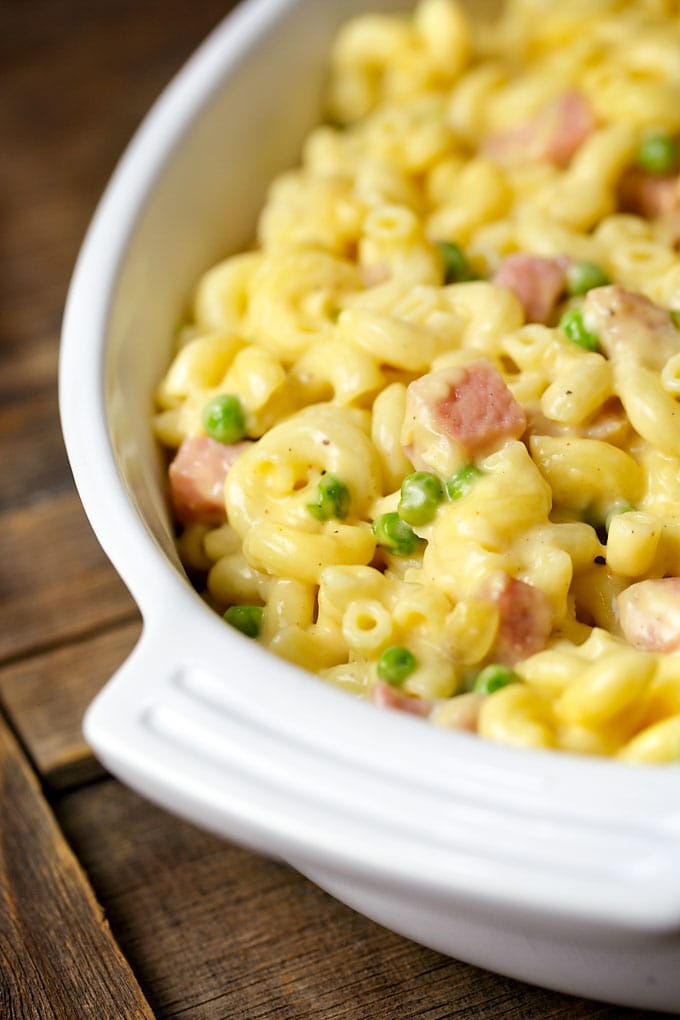
Macaroni and Cheese Casserole is the quintessential definition of comfort food, a dish that instantly brings warmth and satisfaction to any table. When enhanced with the savory depth of ham and the sweet freshness of peas, this beloved side dish transcends into a complete, hearty, and unbelievably delicious meal. It’s a true family favorite, perfect for busy weeknights, holiday gatherings, or simply when you’re craving a bowl of cheesy goodness that fills you up and makes you smile.
Why This Ham and Pea Mac and Cheese Casserole Will Become Your New Go-To
There are countless reasons why this particular macaroni and cheese casserole recipe stands out and deserves a permanent spot in your meal rotation. It’s not just a dish; it’s a versatile solution for wholesome family dinners, a clever way to utilize leftovers, and an incredibly satisfying culinary experience.
Transforms Leftovers into a Feast
One of the fantastic benefits of this casserole is its exceptional ability to repurpose leftover ham. Whether it’s from a holiday feast or a Sunday dinner, diced ham integrates beautifully into the creamy pasta, giving it a second life. If you don’t have leftovers, don’t fret! You can easily purchase a boneless ham, cut it into small, manageable portions, and freeze them for future use. This makes meal planning a breeze and ensures you always have the main protein ready for this delightful ham and pea mac and cheese.
A Complete Meal in One Pan
While classic macaroni and cheese is often served as a side, the thoughtful addition of savory ham for protein and sweet, vibrant peas for vegetables elevates this casserole to a complete, balanced, and incredibly satisfying main course. You won’t need to prepare multiple dishes; everything you need for a hearty meal is baked right into one convenient pan. It’s perfect for busy evenings when you want a nutritious yet easy dinner solution for the whole family.
Built on a Proven Foundation: Easy Stovetop Mac & Cheese
The base of this baked dish utilizes my beloved Easy Stovetop Macaroni & Cheese recipe, known for its rich and creamy sauce. This ensures a consistent, delicious foundation that bakes beautifully in the oven. The versatility of this recipe also extends to its topping: I’ve served this macaroni and cheese casserole both with and without bread crumbs, and it’s fantastic either way. Just as some prefer glaze on their meatloaf and some prefer gravy, feel free to serve this baked dish exactly how you and your family prefer – with or without a crispy Panko topping.
RELATED: Looking for more comforting casserole ideas? Try one of our most popular recipes – the hearty John Wayne Casserole!
Essential Ingredients for Your Perfect Mac & Cheese Casserole
Crafting an outstanding macaroni and cheese casserole begins with selecting quality ingredients. Here’s a closer look at what you’ll need and how each component contributes to the irresistible flavor and texture of this family-favorite dish.
For the Creamy Macaroni & Cheese Base
- Elbow Macaroni: Traditional and comforting, elbow macaroni holds the cheesy sauce beautifully. You’ll need a full pound for a generous casserole that feeds many.
- Unsalted Butter & All-Purpose Flour: These two form the base of your roux, essential for a thick, creamy sauce. Using unsalted butter allows you to control the overall saltiness of the dish, while the flour creates the necessary thickening agent.
- Seasonings (Salt, Pepper, Paprika, Dry Mustard): A blend of basic seasonings, with paprika adding a touch of warm color and a subtle peppery note, and dry mustard cleverly enhancing the cheese flavor without overpowering it.
- Milk: The liquid base for your rich cheese sauce. Whole milk is highly recommended for the creamiest results, but 2% milk will also work well, slightly reducing the richness.
- Shredded Cheeses (Sharp Cheddar, Smoked Gouda, American): This carefully chosen trio creates a complex and deeply satisfying cheese profile. Sharp cheddar provides a classic tangy bite, smoked gouda adds a wonderful smoky depth, and American cheese contributes to an incredibly smooth and melty texture that ties all the flavors together. For superior melting and flavor, always recommend shredding your own cheese, as pre-shredded varieties often contain anti-caking agents that can make the sauce grainy.
For the Flavorful Add-ins: Ham, Peas, and Shallots
- Olive Oil: Used to gently sauté the shallots and ham, adding a healthy fat and a mild fruity note that complements the other ingredients.
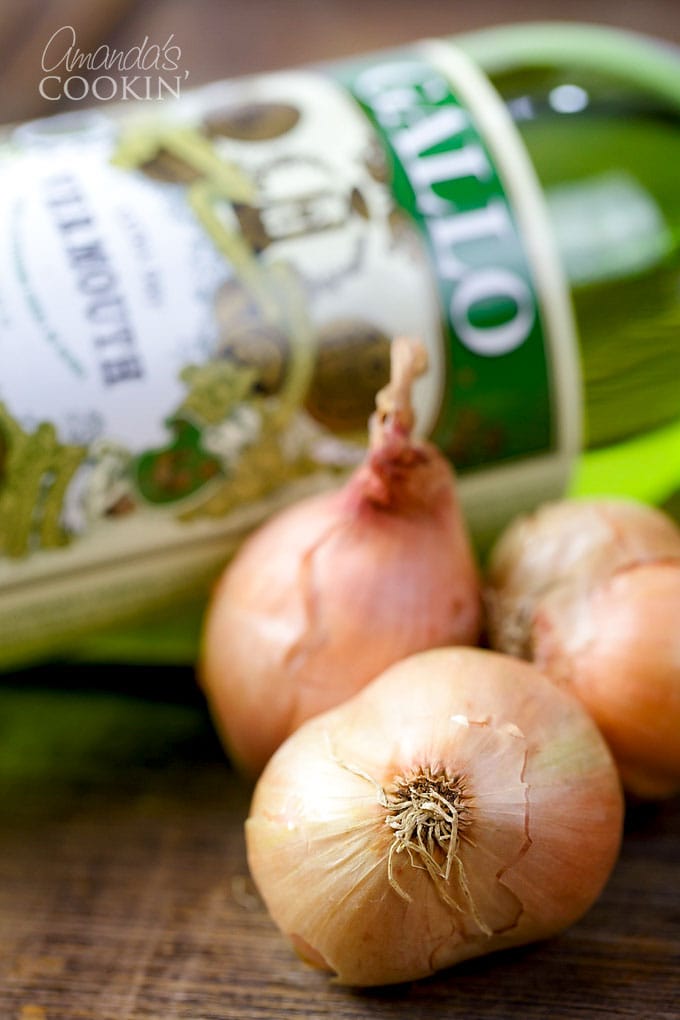
- Large Shallots: Thinly sliced shallots offer a delicate, sweet, and aromatic flavor that is milder than onion but more sophisticated. They are a secret weapon for adding a layer of savory depth to the casserole.
- Cooked Ham (Diced): The star protein, providing a salty, savory counterpoint to the rich cheese and sweet peas. Dicing it into small, uniform pieces ensures even distribution throughout the casserole, so every bite is flavorful.
- Dry Vermouth (or Chicken Broth): A splash of vermouth helps deglaze the pan after cooking the ham, adding an extra layer of savory complexity and a subtle herbaceous note. If you prefer to omit alcohol, chicken broth is an excellent non-alcoholic substitute that will still contribute to the overall depth of flavor.
- Frozen Peas: Bright green and subtly sweet, peas add a delightful pop of color and a fresh taste, balancing the richness of the cheese and ham. They thaw quickly as they cook and provide a nice textural contrast.
For the Perfect Crispy Topping
- Panko Bread Crumbs: These Japanese-style bread crumbs are renowned for their light, airy, and extra-crispy texture. They create an irresistible golden-brown crust that adds a wonderful crunch to the baked macaroni and cheese casserole.
This careful selection of ingredients ensures every bite of your ham and pea macaroni and cheese casserole is bursting with flavor and comforting texture. Now, let’s get cooking!
For a quick overview of all measurements, a complete list of ingredients, and detailed instructions, please refer to the printable recipe card found towards the end of this post.
These step-by-step photos and detailed instructions are provided to help you visualize each stage of making this incredible recipe. You can Jump to Recipe to get the concise, printable version of this recipe, complete with precise measurements and instructions at the bottom of the page.
How to Assemble Your Delicious Ham & Pea Mac & Cheese Casserole
Making this macaroni and cheese casserole with ham and peas is a straightforward process, broken down into simple, manageable steps. Follow along to create a truly irresistible dish that will have everyone asking for seconds.
- Prepare Your Baking Dish: Begin by preheating your oven to 350°F (175°C). Lightly spray or butter a 13×9 inch baking pan. This crucial step ensures your casserole won’t stick, making for easy serving and cleanup.
- Boil the Macaroni: Place a covered stockpot of water on high heat and bring it to a rolling boil. Once boiling vigorously, add your macaroni and cook according to package directions until it’s al dente (firm to the bite). Avoid overcooking, as it will bake further in the oven.
- Sauté Shallots, Ham, and Peas: While the pasta water heats, warm the olive oil in a 10-inch skillet over medium-high heat. Add the thinly sliced shallots and sauté for 2 to 3 minutes until they turn golden brown and become fragrant. Next, add the diced ham and continue to sauté for about 2 minutes, until the meat begins to brown slightly, developing more flavor. Pour in the dry vermouth (or chicken broth) and simmer for about a minute until the liquid has almost evaporated, concentrating all the delicious flavors. Finally, stir in the frozen peas and cook for a few more minutes, just until they are tender-crisp and bright green. Remove the skillet from heat and set aside.
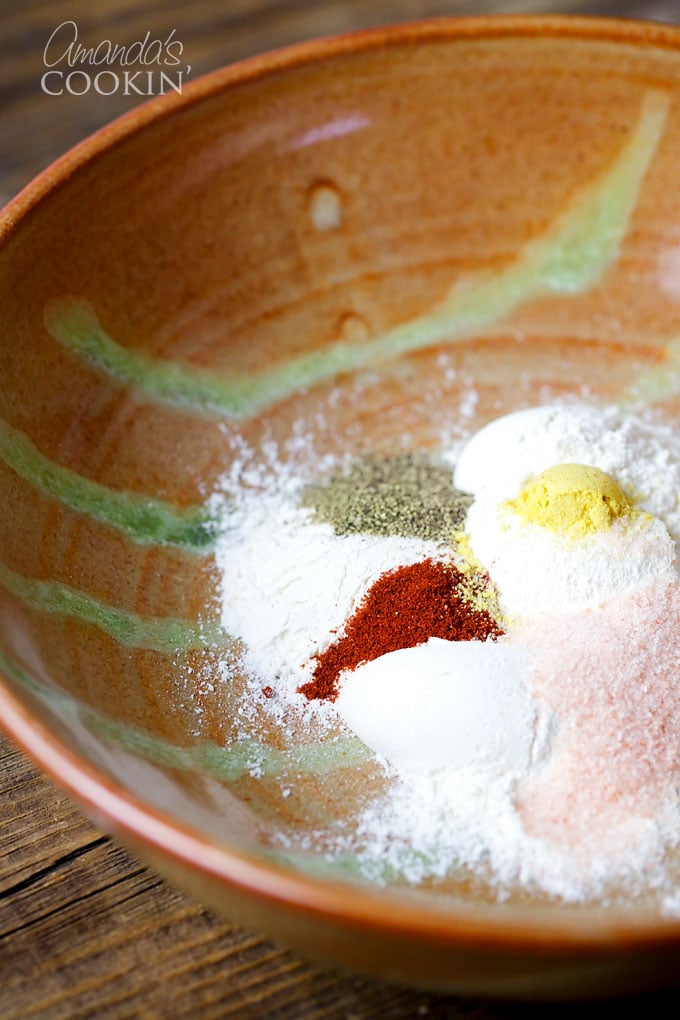
- Prepare the Velvety Cheese Sauce: In a separate heavy-bottomed saucepan, melt the unsalted butter over low heat. In a small bowl, combine the flour, salt, pepper, paprika, and dry mustard – having them pre-mixed ensures even distribution. Once the butter is completely melted, gradually add the flour mixture, whisking continuously to create a smooth roux. Continue whisking as you slowly pour in the milk, ensuring no lumps form. Increase the heat slightly to medium-low, and continue to whisk frequently until the mixture begins to thicken. You may see occasional small bubbles, which is fine, but you do not want it to come to a vigorous boil; the goal is simply to thicken the sauce to a luscious consistency.
-

The flavorful spice blend ready to be incorporated into the roux for a perfectly seasoned cheese sauce. When the sauce has thickened to your liking, remove it from the heat immediately. Add all the shredded cheeses and whisk vigorously until they are completely melted and the sauce is smooth, homogenous, and beautifully gooey. This creates the rich, cheesy heart of your casserole.
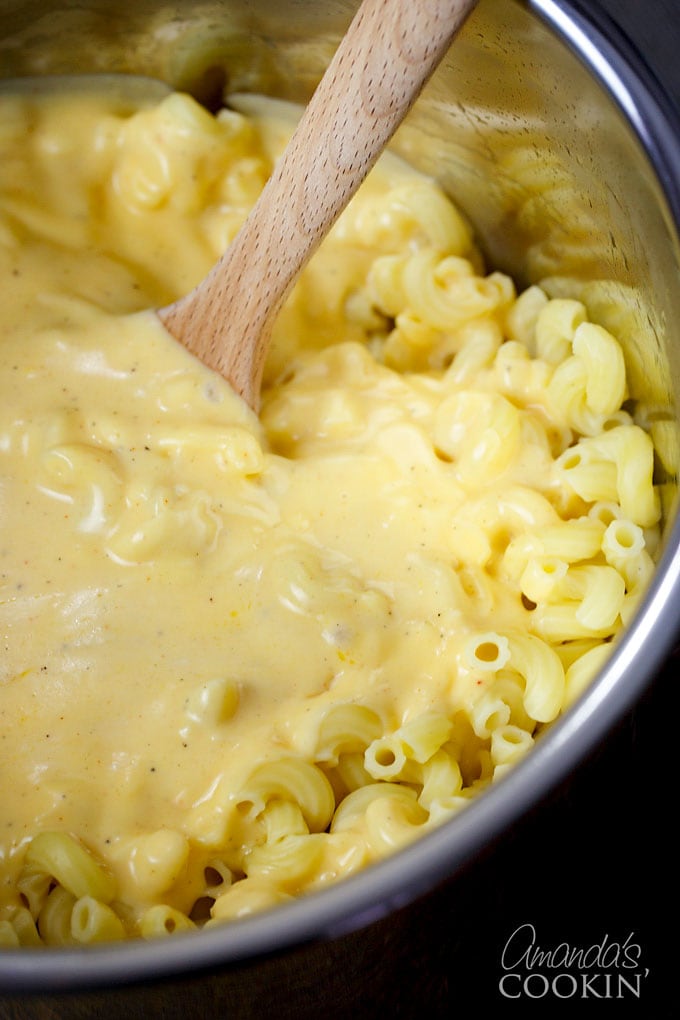
- Combine Macaroni and Cheese Sauce: Drain the cooked macaroni thoroughly using a colander, but do not rinse it. The starches left on the pasta are essential as they help the creamy cheese sauce cling beautifully to each noodle, ensuring maximum flavor and a cohesive texture in every bite. Transfer the drained macaroni to a large mixing bowl. Pour the freshly made cheese sauce over the macaroni and stir gently but thoroughly until every piece is evenly coated in cheesy goodness.

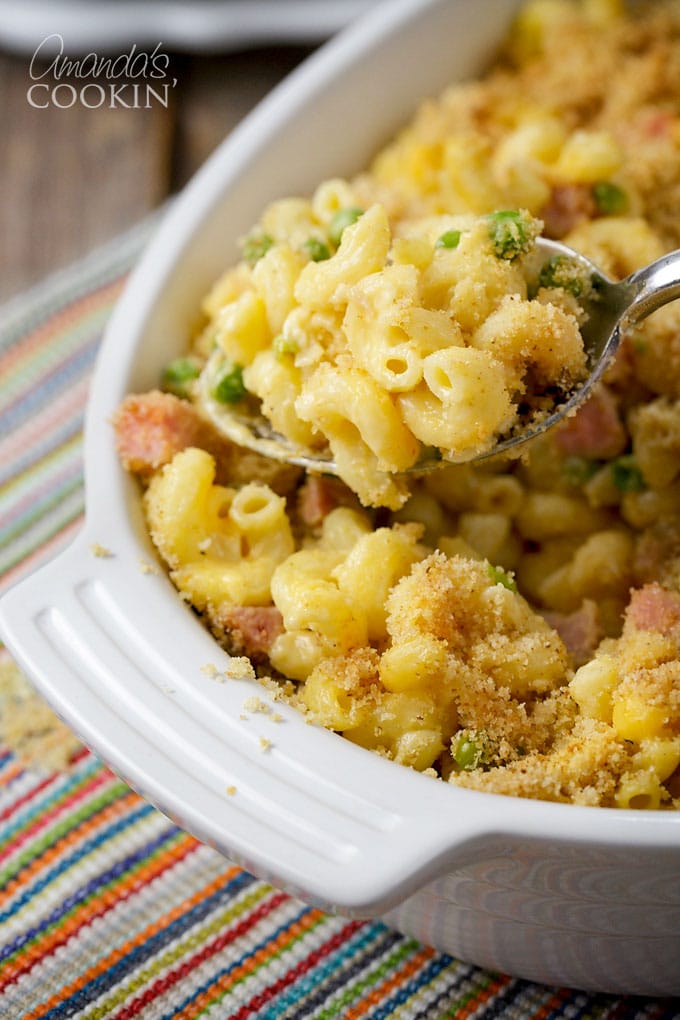
Gently stirring the rich cheese sauce into the macaroni to ensure every noodle is perfectly coated and ready for the casserole. - Assemble and Bake the Casserole: Gently stir the sautéed shallot, ham, and pea mixture into the macaroni and cheese. Pour this entire flavorful mixture evenly into your prepared 13×9 inch baking pan. Evenly sprinkle the Panko bread crumbs over the top, creating a golden crust. Bake in the preheated oven for 20 minutes, or until the topping is beautifully golden brown, and the casserole is bubbly and thoroughly heated through.
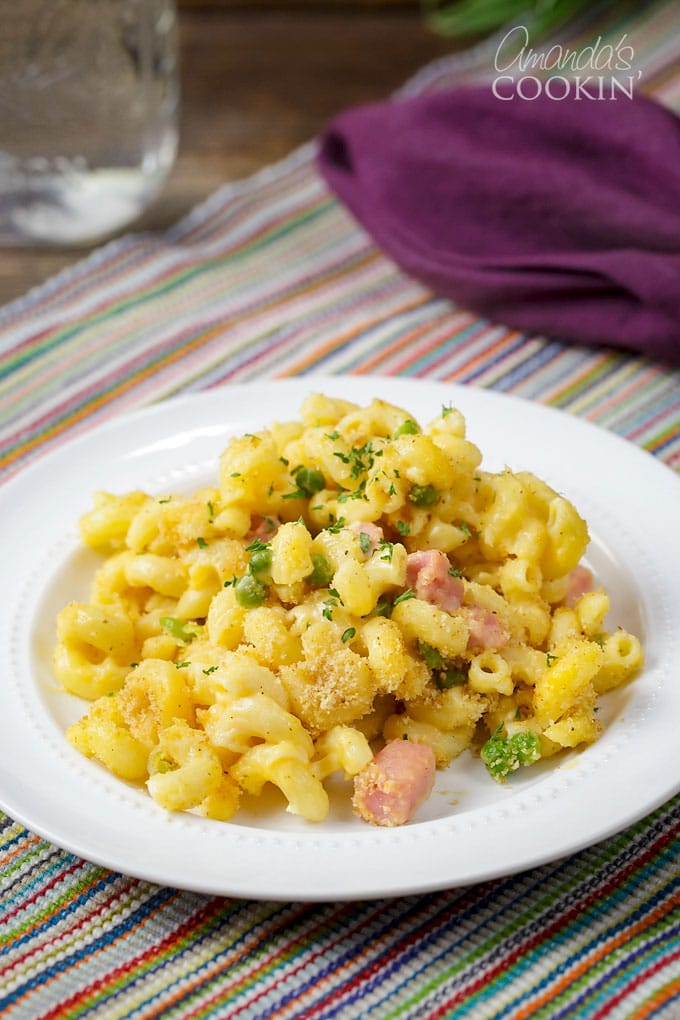
Once baked to perfection, your creamy ham and pea macaroni and cheese casserole is ready to be served. This dish has quickly become a staple in our monthly meal rotation, and I truly hope you enjoy it as much as my family does!
Expert Tips for the Best Ham and Pea Mac & Cheese Casserole
Achieving mac and cheese perfection is easy with a few insider tips. These suggestions will help you customize your casserole and ensure a consistently delicious result every time, making it truly your own.
- Flavorful Liquid Substitutions for Vermouth: While dry vermouth adds a unique, sophisticated depth to the ham and shallot mixture, it’s easily substitutable if you don’t have it on hand or prefer to avoid alcohol. You can use an equal amount of water, or for an even richer, more savory flavor, opt for chicken broth. White wine is another excellent alternative if you enjoy its nuanced taste and have some available.
- Customize Your Veggies: Not a fan of peas? No problem at all! This recipe is incredibly flexible and invites customization. Feel free to substitute with your favorite vegetables. Diced carrots, corn, finely chopped broccoli florets, or even sautéed mushrooms would all make delicious and nutritious additions. Just ensure they are cooked until tender-crisp before adding them to the mac and cheese mixture to avoid a soggy texture.
- Mastering the Roux for a Creamy Sauce: The roux (a cooked mixture of butter and flour) is a fundamental technique for thickening your cheese sauce, giving it that luxurious, velvety consistency. Whisking it properly and continuously as you slowly add the milk prevents lumps and ensures a smooth, luscious texture. Cook it over low heat and whisk constantly during the milk addition to create a perfectly homogenous base for your cheeses. Patience here is key for a truly creamy sauce.
- Pasta Your Way: This recipe traditionally calls for elbow macaroni, which is ideal for trapping the cheesy sauce within its nooks and crannies. However, feel free to use any pasta shape that makes you happy and can stand up to baking! Medium shells, rotini, penne, or cavatappi (corkscrew pasta) are all great choices that will hold up well in a casserole and still capture plenty of that delicious cheese sauce.
- Crispy Topping Options: While Panko breadcrumbs provide an unbeatable light and airy crunch, don’t hesitate to experiment with other topping ideas. Crushed Ritz crackers, seasoned regular breadcrumbs, or even crushed potato chips can create a delightful crispy topping with a different flavor profile. For an extra cheesy crust, consider mixing some freshly grated Parmesan or Pecorino Romano cheese with your breadcrumbs.
- The Importance of Not Rinsing the Pasta: A common mistake when cooking pasta for many dishes is rinsing it after draining. However, for mac and cheese, this is a crucial step to avoid. The starches left on the noodles after draining are essential as they act as a natural binder, helping the creamy cheese sauce adhere perfectly to each strand. This creates a richer, more cohesive, and satisfyingly textured dish.
- Using Quality Cheese: While convenient, pre-shredded cheeses often contain anti-caking agents that can sometimes make your sauce grainy. For the best melt and creamiest texture, take a few extra minutes to shred your own blocks of cheese. It truly makes a difference in the final product.
Serving and Storage Suggestions
This ham and pea macaroni and cheese casserole is incredibly satisfying on its own, hearty enough to be a standalone meal, but it also pairs wonderfully with a few simple sides to round out your dinner.
- Serving Suggestions: Enjoy it fresh out of the oven when it’s hot and bubbly! A simple green salad with a light vinaigrette makes a perfect fresh counterpoint to the richness of the casserole. A side of warm, crusty bread or garlic bread for soaking up any extra sauce is also a fantastic and popular addition. Steamed or roasted vegetables like green beans or asparagus can also complement the meal beautifully.
- Storage: Leftovers are a joy! Store any remaining casserole in an airtight container in the refrigerator for up to 3-4 days. Ensure it cools completely before sealing and refrigerating to maintain freshness.
- Reheating: For best results, reheat individual portions in the microwave until warm. If reheating a larger portion or the entire casserole, place it in the oven at 300°F (150°C) until thoroughly heated through. You might want to add a splash of milk or chicken broth to the casserole before reheating, especially in the oven, to help restore its creamy texture and prevent it from drying out.
Frequently Asked Questions (FAQ) About Ham & Pea Mac & Cheese Casserole
Here are answers to some common questions you might have about making and enjoying this delicious casserole:
Can I prepare this casserole ahead of time?
Yes, absolutely! This is a great make-ahead meal. You can assemble the entire casserole, without baking, up to a day in advance. Simply cover it tightly with plastic wrap and aluminum foil and store it in the refrigerator. When you’re ready to bake, remove it from the fridge and let it sit at room temperature for about 30 minutes while your oven preheats. You might need to add an extra 5-10 minutes to the total baking time to ensure it’s heated through.
Can I freeze this Mac and Cheese Casserole?
Freezing baked mac and cheese is possible, but it’s important to note that the texture might change slightly upon reheating, sometimes becoming a bit drier or grainier. If you plan to freeze, bake the casserole first, let it cool completely, then wrap it tightly in plastic wrap and then aluminum foil to prevent freezer burn. It can be frozen for up to 2-3 months. To reheat, thaw overnight in the refrigerator and then bake at 300°F (150°C) until heated through, adding extra milk or broth if needed to restore creaminess.
What other cheeses can I use in this recipe?
Experimenting with different cheese blends is highly encouraged to find your perfect flavor! Good substitutes or additions to the suggested cheddar, gouda, and American cheese include Gruyère for a nutty and earthy flavor, Monterey Jack for extra meltiness and a mild taste, or even a small amount of cream cheese (about 2-4 oz) for ultimate creaminess and tang. Just be sure to balance strong flavors with milder ones to keep the overall profile harmonious.
Is there a gluten-free option for this recipe?
Absolutely! To make this comforting casserole gluten-free, simply make two key substitutions: use your favorite brand of gluten-free elbow macaroni (or other gluten-free pasta shape) and substitute the all-purpose flour for the roux with a good quality gluten-free all-purpose flour blend. Ensure any chicken broth used (if substituting for vermouth) is also certified gluten-free. The rest of the ingredients are naturally gluten-free, making it easy to adapt!
Explore More Mac & Cheese Creations from Our Kitchen
If you’re a devoted fan of macaroni and cheese, you’re in the right place! We have a variety of recipes to satisfy every craving, from slow-cooked delights to classic baked versions and creative twists that will surprise and delight your taste buds.
- Creamy Crockpot Macaroni & Cheese: For those days you want minimal effort but maximum creamy, cheesy flavor, this slow cooker version is a dream come true.
- Mom’s Baked Mac & Cheese: A timeless classic that brings back nostalgic memories of childhood and family gatherings, boasting a rich sauce and a golden crust.
- Bacon Cheeseburger Casserole: A fun and hearty twist on a beloved dish, combining the irresistible flavors of a bacon cheeseburger with comforting pasta in a satisfying casserole format.
Don’t stop there! Dive into our extensive collection and explore all of our delicious macaroni and cheese recipes here to find your next comfort food obsession. There’s a mac and cheese for every mood and occasion!
I love to bake and cook and share my kitchen experience with all of you! Remembering to come back each day can be tough, that’s why I offer a convenient newsletter every time a new recipe posts. Simply subscribe and start receiving your free daily recipes, tips, and inspiration directly in your inbox!
Macaroni and Cheese with Ham, Peas and Shallots
IMPORTANT – There are often Frequently Asked Questions within the blog post that you may find helpful. Simply scroll back up to read them!
Print It
Pin It
Rate It
Save ItSaved!
Ingredients
For the Macaroni & Cheese:
- 1 pound box dried elbow macaroni
- 4 tbsp unsalted butter
- 4 tbsp all purpose flour
- 1 tsp salt
- ¼ tsp pepper
- ¼ tsp paprika
- ¼ tsp dry mustard
- 2 cups milk
- 1 cup shredded sharp cheddar cheese
- ½ cup shredded smoked gouda cheese
- ½ cup shredded American cheese
For the add-ins:
- 1 tablespoon olive oil
- 2 large shallots thinly sliced
- 10 ounces cooked ham cut into small dice
- ¼ cup dry vermouth or chicken broth
- 1 cup frozen peas
Topping:
- ¾ cup panko bread crumbs
Things You’ll Need
-
13×9 baking dish
-
Stockpot
Before You Begin (Quick Tips)
- I use vermouth in this recipe, however you can substitute with water or chick broth.
- Not a fan of peas? Try substituting your favorite vegetable.
- You will make a roux, which will help thicken the sauce.
- This recipe calls for traditional elbow macaroni, however you can use whatever pasta makes you happy.
- While the recipe calls for Panko breadcrumbs, any type of cracker or breadcrumb will work.
Instructions
-
Preheat oven to 350 F. Lightly spray or butter a 13×9 baking dish.
-
Put a covered stock pot of water on to boil over high heat.
-
Heat oil over medium-high heat in a 10-inch skillet. Saute shallots until golden brown, 2 to 3 minutes. Add ham; continue to saute until meat begins to brown, about 2 minutes. Add vermouth and simmer until liquid almost evaporates, about a minute. Add peas and cook a few minutes more.
-
Meanwhile, over low heat melt the butter in a heavy bottomed saucepan. Combine flour, salt, pepper, paprika, and dry mustard. When butter has melted, add the flour mixture to the butter and use a whisk to combine to make your roux. Continue whisking and slowly add the milk, whisking to combine all the ingredients. Turn up the heat slightly and whisking often, thicken the mixture. You may see occasional bubbles, and that’s ok, but you do not want it to boil, just to thicken. When thickened, remove from heat and add the shredded cheeses, using the whisk to combine until melted and homogenous.
-
Drain the macaroni (do not rinse, the starch helps the cheese stick to the noodles) and place in a large bowl. Pour cheese sauce over the macaroni and stir to coat well.
-
Stir shallot and pea mixture into macaroni and cheese. Pour macaroni and cheese mixture into the 13×9 pan and top with the panko bread crumbs. Bake 20 minutes.
Nutrition
The recipes on this blog are tested with a conventional gas oven and gas stovetop. It’s important to note that some ovens, especially as they age, can cook and bake inconsistently. Using an inexpensive oven thermometer can assure you that your oven is truly heating to the proper temperature. If you use a toaster oven or countertop oven, please keep in mind that they may not distribute heat the same as a conventional full sized oven and you may need to adjust your cooking/baking times. In the case of recipes made with a pressure cooker, air fryer, slow cooker, or other appliance, a link to the appliances we use is listed within each respective recipe. For baking recipes where measurements are given by weight, please note that results may not be the same if cups are used instead, and we can’t guarantee success with that method.
This post was originally published on this blog March 5, 2011. It has been updated with enhanced content, detailed instructions, and additional tips for an even better cooking experience.
