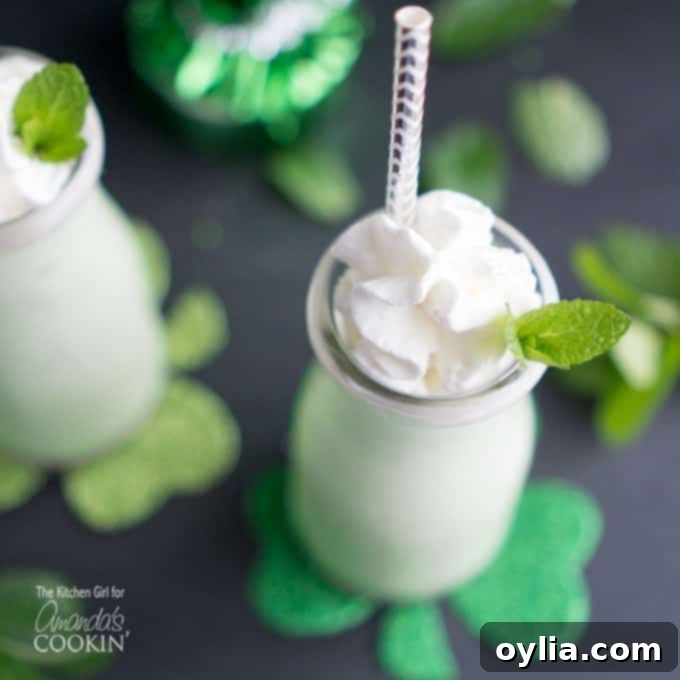
The Ultimate Homemade Naturally Green Shamrock Shake: A Dye-Free St. Patrick’s Day Delight
The annual arrival of St. Patrick’s Day brings with it a beloved tradition: the vibrant, minty green shamrock shake. While the commercial versions are undeniably tempting, many of us seek a healthier alternative without compromising on flavor or that iconic emerald hue. What if you could create your own homemade naturally green shamrock shake right in your kitchen, completely free of artificial food dyes? Prepare to be amazed, because this recipe delivers a truly delightful and genuinely green frozen treat, perfect for celebrating the Irish holiday.
This isn’t just another mint milkshake recipe; it’s a commitment to natural ingredients and pure, refreshing taste. Finding a genuinely wholesome yet delicious alternative to a classic frozen treat can often feel like searching for a pot of gold at the end of a rainbow. But trust us, this naturally colored shamrock shake stands out as a truly exceptional and utterly satisfying creation.
Why Choose a Naturally Green Shamrock Shake?
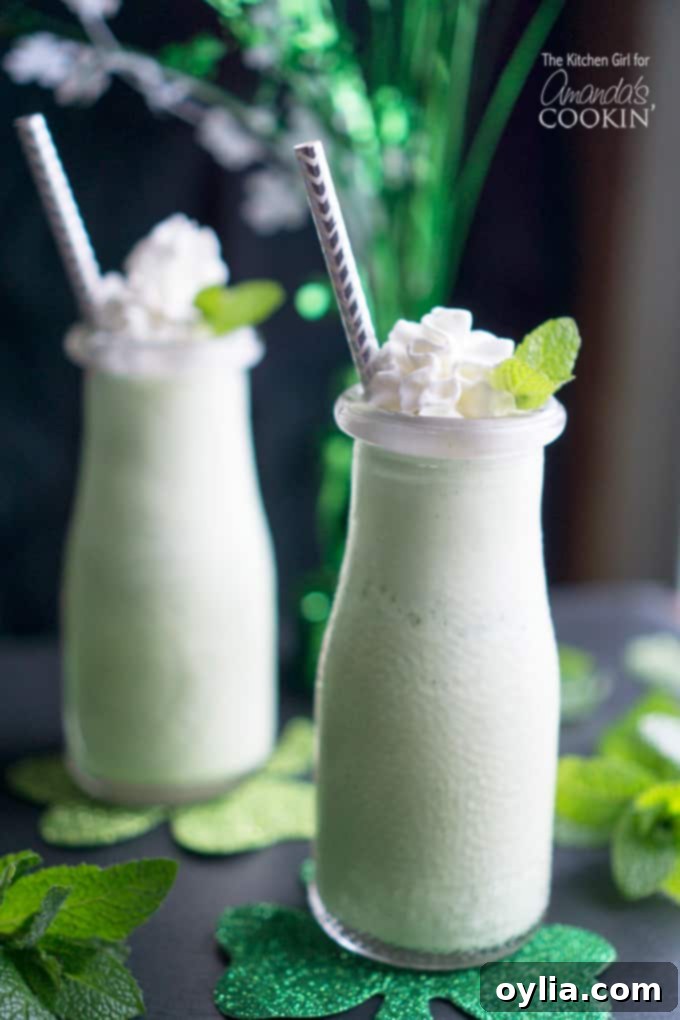
Many people are increasingly conscious of the ingredients in their food, and artificial food colorings are a common concern. The traditional bright green of a shamrock shake is typically achieved with synthetic dyes. Our recipe, however, takes a refreshing turn by harnessing the power of nature to create its beautiful green shade and invigorating mint flavor.
The secret to this vibrant, natural green lies in a simple yet powerful ingredient: fresh mint leaves. There’s absolutely no need to introduce spinach or kale, which might alter the classic flavor profile. Fresh mint not only imparts its signature cool, crisp flavor but also contributes a subtle, natural green pigment to the shake. It’s a brilliant way to enjoy your favorite St. Patrick’s Day beverage without any artificial additives, making it a win-win for both taste and health. It’s exactly what we aimed for with this recipe!
The Magic of Fresh Mint: Flavor & Health Benefits
Beyond its ability to naturally color our shake, fresh mint is a culinary superstar with a host of benefits. The aroma alone is invigorating, and its flavor brightens any dish or drink. In this shamrock shake, fresh mint leaves are blended directly into the mixture, ensuring that the minty essence is deeply infused. You might be surprised at how perfectly minty, yet subtly so, the shake becomes without needing any additional mint flavoring (though that remains an option if you prefer an extra kick!). We loved the subtle, natural mint flavor so much, we didn’t even *need* extra extract!
What’s more, indulging in a fresh mint shake offers a delightful bonus: mint has long been celebrated for its health-promoting properties. It’s widely known to aid digestion, alleviate nausea, and even help soothe headaches. So, as you sip on your delicious, naturally green shamrock shake, you’re not just enjoying a festive treat; you’re also potentially giving your body a little natural boost. It’s a truly guilt-free pleasure!
We’ve even put this recipe to the test with our toughest critics – the neighborhood kids (our official homemade shake-testers). Their verdict was unanimous: a resounding success in both flavor and texture! That’s a testament to how truly delicious and approachable this natural approach is. Boom!
Expand Your Frozen Drink Repertoire
If you’re a fan of frozen beverages and own a high-speed blender, the possibilities extend far beyond St. Patrick’s Day. Blenders like the NutriBullet or Vitamix are invaluable tools for creating a variety of refreshing drinks. For instance, my Miracle Slushie Sore Throat Remedy offers soothing relief any time of the year. This icy concoction was born out of pure desperation during a particularly bad sore throat, and it has since become a staple in my kitchen.
As warmer spring days just around the corner, you might also enjoy my Peach NutriBullet Milkshake Without Ice Cream, a lighter, fruit-forward option to cool down and refresh. These recipes prove that your blender is a versatile companion for delicious and often healthier frozen treats year-round.
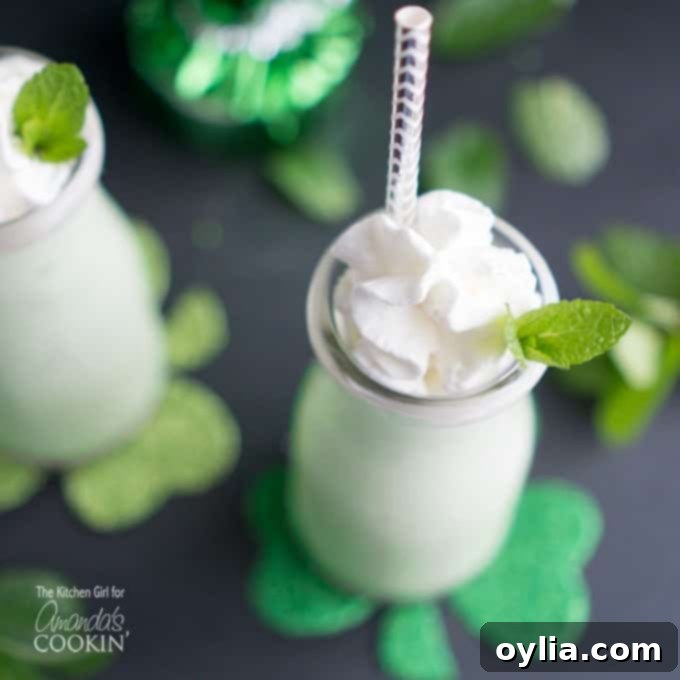
Ingredients You’ll Need for Your Naturally Green Shamrock Shake
Crafting this delightful shamrock shake is surprisingly simple. Here’s what you’ll need to gather:
- 10-15 fresh mint leaves: The star ingredient for both color and flavor. Adjust the quantity based on your desired mint intensity and color.
- ¾ cup 1% milk: Or your preferred milk. Whole milk will yield a creamier shake, while a non-dairy alternative like almond or oat milk works beautifully for a dairy-free version.
- ½ tsp vanilla extract: Enhances the overall flavor profile and adds a touch of warmth.
- 2 cups vanilla bean ice cream: The foundation of any good milkshake. Vanilla bean adds a gourmet touch, but any good quality vanilla ice cream will do.
- (Optional) Pure mint or peppermint extract: For those who desire a more intense mint flavor. Start with just a few drops and add more to taste.
- (Optional) Whipped cream: For that classic milkshake flourish!
Kitchen Tools You May Find Helpful:
Having the right tools can make all the difference in achieving that perfectly smooth and creamy texture.
- A high-speed blender (such as a NutriBullet or Vitamix) is highly recommended for thoroughly pureeing the mint leaves and ensuring a silky-smooth shake.
- An ice cream scoop makes portioning out the ice cream a breeze.
- Cute serving glasses, such as wine glasses or tall milkshake glasses, elevate the presentation and make the experience even more special.
- Paper printed straws add a festive touch.
Tips for the Best Homemade Shamrock Shake
- Fresh Mint is Key: Don’t skimp on fresh mint. The older the leaves, the less vibrant the color and flavor. Use bright green, fresh-smelling mint for the best results.
- Adjust Mint Quantity: The 10-15 leaves are a starting point. If you want a deeper green or a stronger mint flavor, add a few more leaves until you reach your desired preference.
- Blend Thoroughly: The first step of blending mint, milk, and vanilla is crucial. Ensure the mint leaves are completely pulverized to avoid any fibrous bits in your shake. A high-speed blender excels at this.
- Taste and Adjust: Before adding any optional mint extract, taste the shake. Fresh mint often provides a wonderfully balanced flavor that might be all you need. If you prefer a bolder mint presence, then add extract sparingly, a drop or two at a time. Peppermint extract is generally stronger than pure mint extract, so use it with caution.
- Chill Your Glasses: For an extra indulgent experience, chill your serving glasses in the freezer for about 15-20 minutes before pouring the shake. This helps keep your milkshake colder for longer.
- Serve Immediately: Milkshakes are best enjoyed immediately after blending when they are at their creamiest and coldest.
Variations to Explore
- Dairy-Free Delight: Substitute 1% milk with almond milk, oat milk, or coconut milk (for a tropical twist), and use your favorite dairy-free vanilla ice cream.
- Chocolate Mint Dream: Add a tablespoon of cocoa powder to the blender with the milk and mint for a chocolate-mint hybrid. Alternatively, drizzle chocolate syrup inside the glass before pouring the shake, or top with chocolate shavings.
- Extra Creamy: Use whole milk instead of 1% milk, or add a scoop of full-fat Greek yogurt or a frozen banana for a thicker, richer consistency.
- Sweetness Control: If your ice cream isn’t sweet enough for your liking, you can add a touch of maple syrup, honey, or a natural sweetener during the initial blending phase.
- Adult Version: For a grown-up St. Patrick’s Day treat, add a shot of Irish cream liqueur or mint-flavored schnapps to the blender. (Please enjoy responsibly!)
Are you a milkshake freak like me? If so, you should hop over to my Freakshakes recipe. These things are SO good; they’re an experience unto themselves – elaborate, over-the-top, and absolutely divine. I could rave about them endlessly if it were socially acceptable! Also, these Chocolate Hazelnut Coffee Milkshakes are utterly drool-worthy (they have Oreos in them… you really can’t argue with that!).
As St. Patrick’s Day approaches, or simply when you’re craving a refreshing, minty treat, give this homemade naturally green shamrock shake a whirl. It’s a delightful way to enjoy a classic without the artificial dyes, and it tastes truly incredible. If you decide to give this yummy shamrock shake a try, leave a comment below and let us know how it turns out. May the luck of the Irish be with you!
More Delightful Milkshake Recipes
- Freakshakes
- Apple Cider Milkshakes
- Butterscotch Milkshake Cocktail
- Naturally Green Shamrock Shakes
- How to Make Nice Cream Milkshakes
- Salted Caramel Milkshake
More St. Patrick’s Day Recipes
- Irish Coffee
- Fried Cabbage
- Irish Soda Bread
- Green Jello Shots
- Corned Beef Hash
- Boozy Leprechaun
- Bailey’s Irish Cream Chocolate Fudge
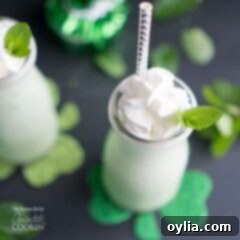
Naturally Green Shamrock Shake
IMPORTANT – There are often Frequently Asked Questions within the blog post that you may find helpful. Simply scroll back up to read them!
Print It
Rate It
Save ItSaved!
Ingredients
- 10-15 fresh mint leaves
- ¾ cup 1% milk
- ½ tsp vanilla
- 2 cups vanilla bean ice cream
- optional pure mint or peppermint extract
- optional whipped cream
Things You’ll Need
-
High speed blender
-
Ice cream scoop
-
Wine glasses
-
Colorful paper straws
Instructions
-
In a high-speed blender, combine and blend mint leaves, milk, and vanilla, until leaves are pureed and a light green color develops. (Note: feel free to add more mint leaves for a deeper color and stronger natural flavor.)
-
Add ice cream; pulse until thoroughly combined and smooth. Be careful not to over-blend, as this can make the shake too thin.
-
Before adding any additional mint flavoring, taste the shake to determine if the natural mint intensity is to your liking. If not, add a few drops of pure mint or peppermint extract as needed, blending briefly after each addition to mix.
-
Serve immediately in a chilled glass; top with whipped cream and a fresh mint leaf for garnish (optional).
Nutrition
The recipes on this blog are tested with a conventional gas oven and gas stovetop. It’s important to note that some ovens, especially as they age, can cook and bake inconsistently. Using an inexpensive oven thermometer can assure you that your oven is truly heating to the proper temperature. If you use a toaster oven or countertop oven, please keep in mind that they may not distribute heat the same as a conventional full sized oven and you may need to adjust your cooking/baking times. In the case of recipes made with a pressure cooker, air fryer, slow cooker, or other appliance, a link to the appliances we use is listed within each respective recipe. For baking recipes where measurements are given by weight, please note that results may not be the same if cups are used instead, and we can’t guarantee success with that method.
This post originally appeared on this blog on Jan 23, 2017. This updated version includes additional tips, variations, and expanded content for a richer reader experience.
