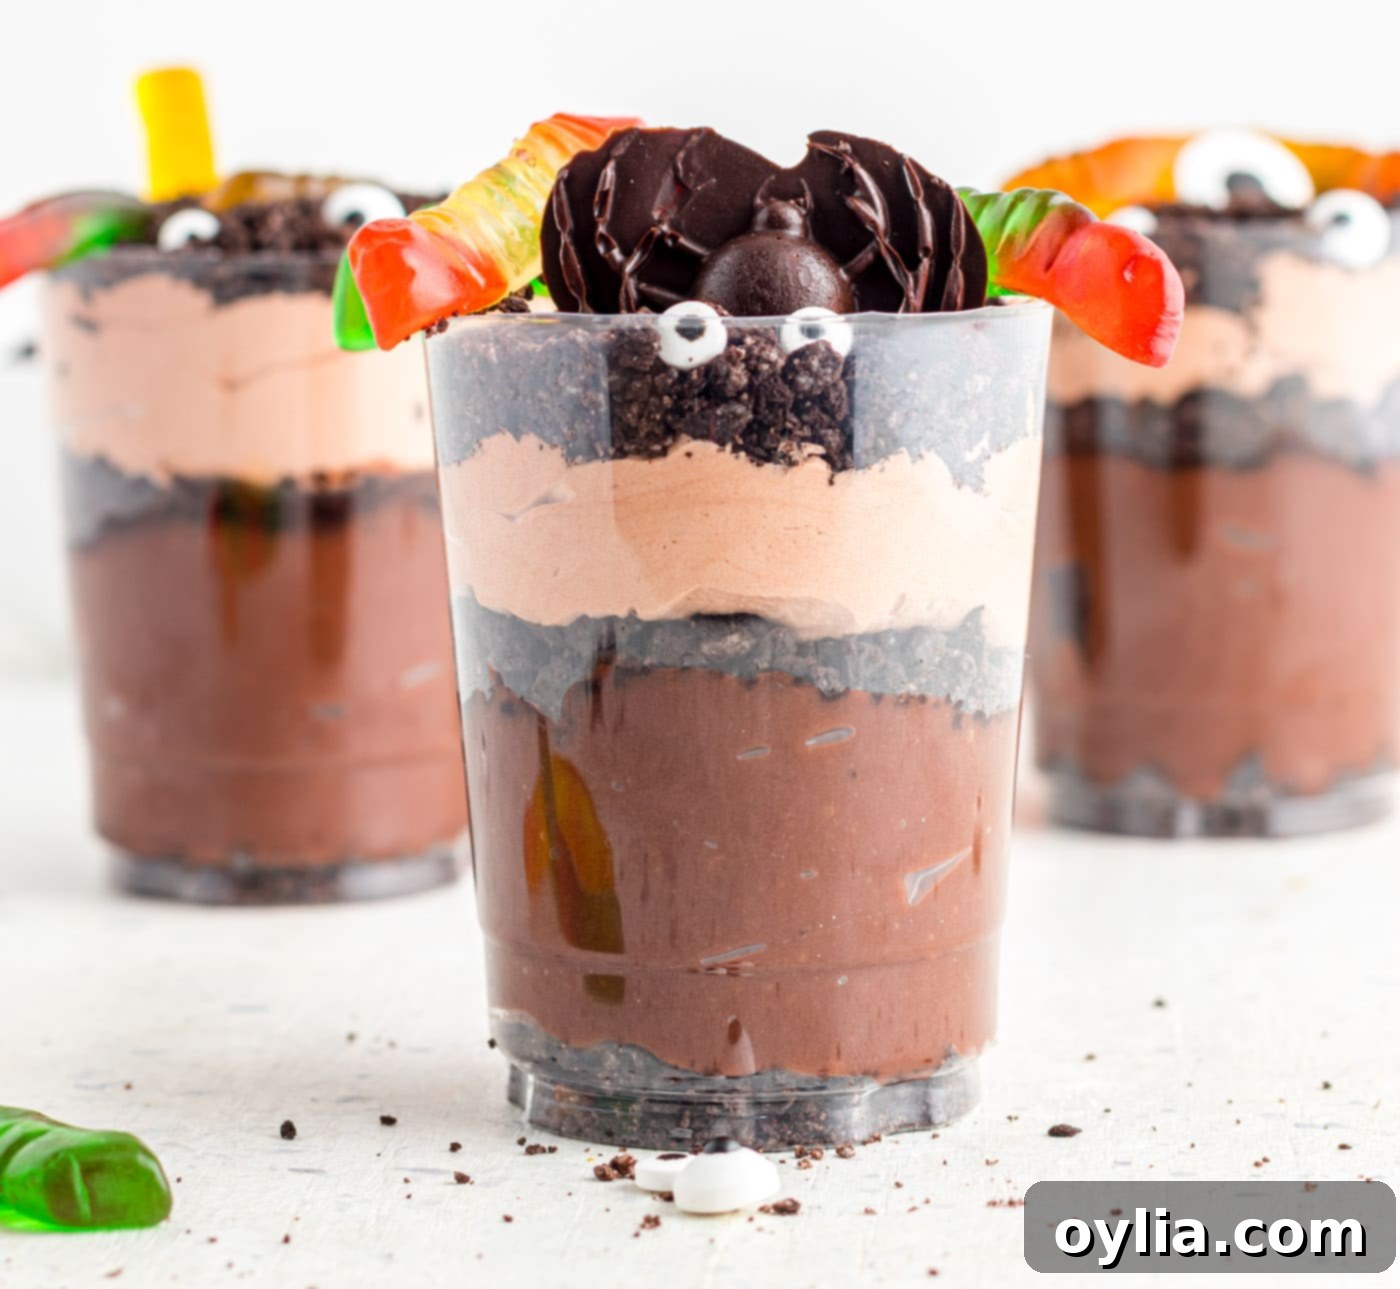
Spooky & Sweet: The Ultimate Guide to Easy Halloween Dirt Cups
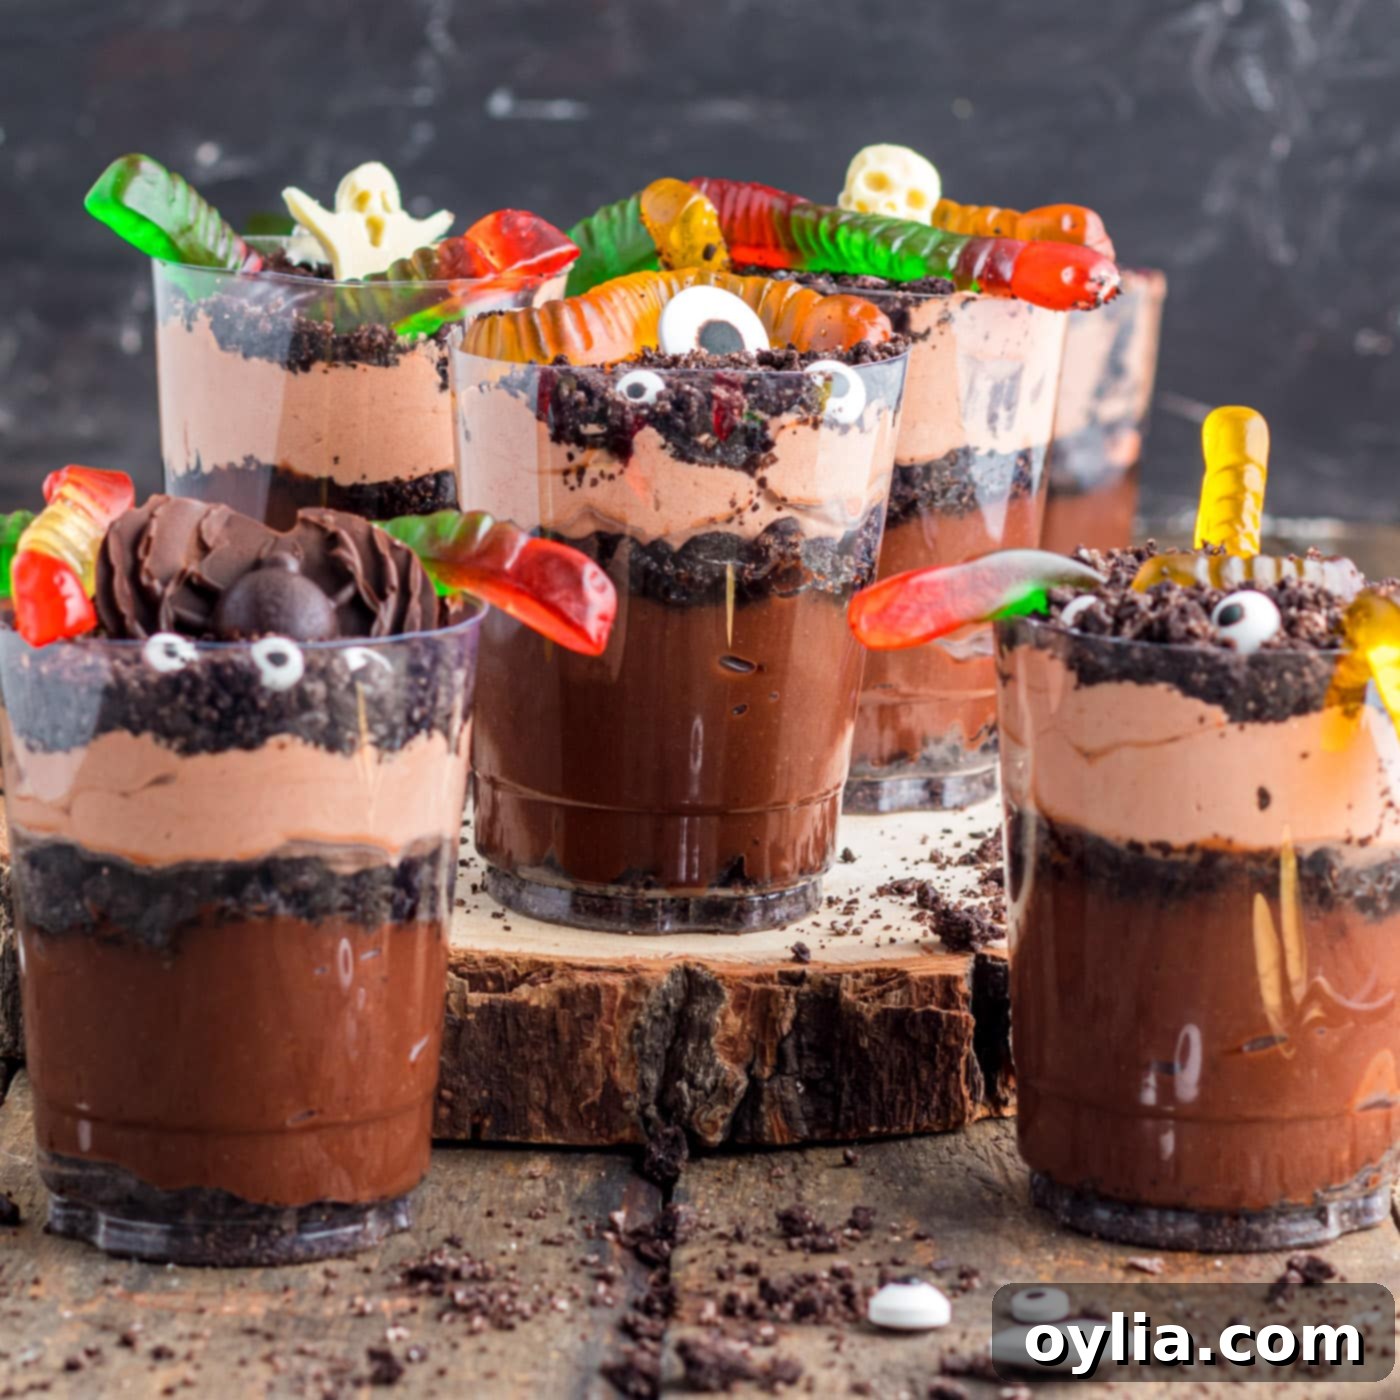
Get ready to conjure up some magic in your kitchen this Halloween with these incredibly fun and delicious Halloween Dirt Cups! Bursting with layers of rich chocolate pudding, fluffy Cool Whip, crunchy crushed Oreo cookies, and adorned with an assortment of spooky candies and creepy crawlies, these dirt cups are an absolute must-have for any Halloween celebration. They are perfectly portioned individual desserts that both kids and adults will adore, making them the ultimate easy and festive treat for your next ghoulish gathering.
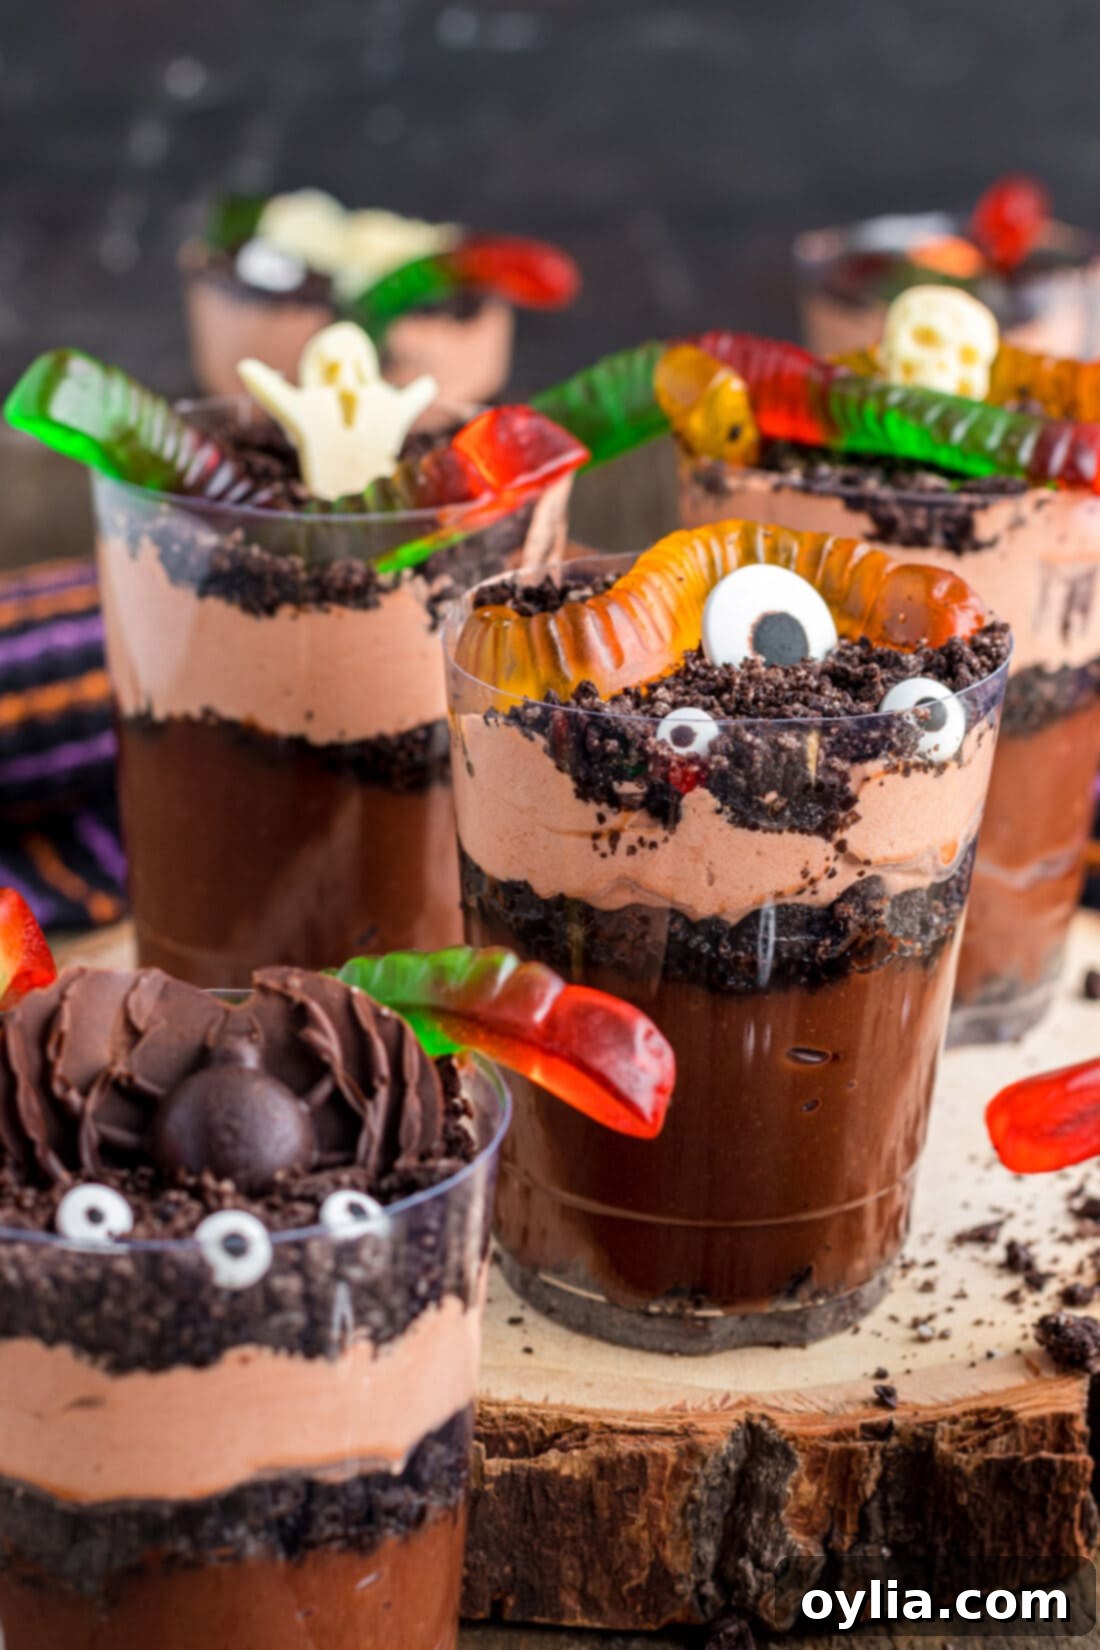
Why This Easy Halloween Dessert Recipe Works Wonders
Halloween consistently ranks as my absolute favorite holiday, primarily because it’s an excuse to create the most imaginative and delicious treats and appetizers. From the delightfully eerie spider web taco dip to the famously spooky witch finger cookies, there’s no limit to the culinary creativity. These Halloween dirt cups seamlessly fit into our collection of creepy-cute delights, and you’ll be thrilled by how effortless they are to assemble. Using simple, readily available ingredients like instant chocolate pudding, cold milk, fluffy Cool Whip, and classic Oreo cookies, you’re halfway to a sensational dessert. The real magic happens when you add all the festive-themed candy and fun decorations you can dream up – truly a recipe that feels like it came straight from a crystal ball!
What makes these dirt cups truly shine is their universal appeal. Whether you’re hosting a sophisticated adult Halloween bash or a lively kids’ costume party, these charming desserts are always a hit. Almost everyone can agree on the irresistible combination of sweet chocolate pudding and crunchy Oreo cookies. It’s a nostalgic treat that takes minimal effort but delivers maximum impact, both in taste and visual presentation. Plus, the no-bake aspect means less time in the kitchen and more time enjoying the festivities!
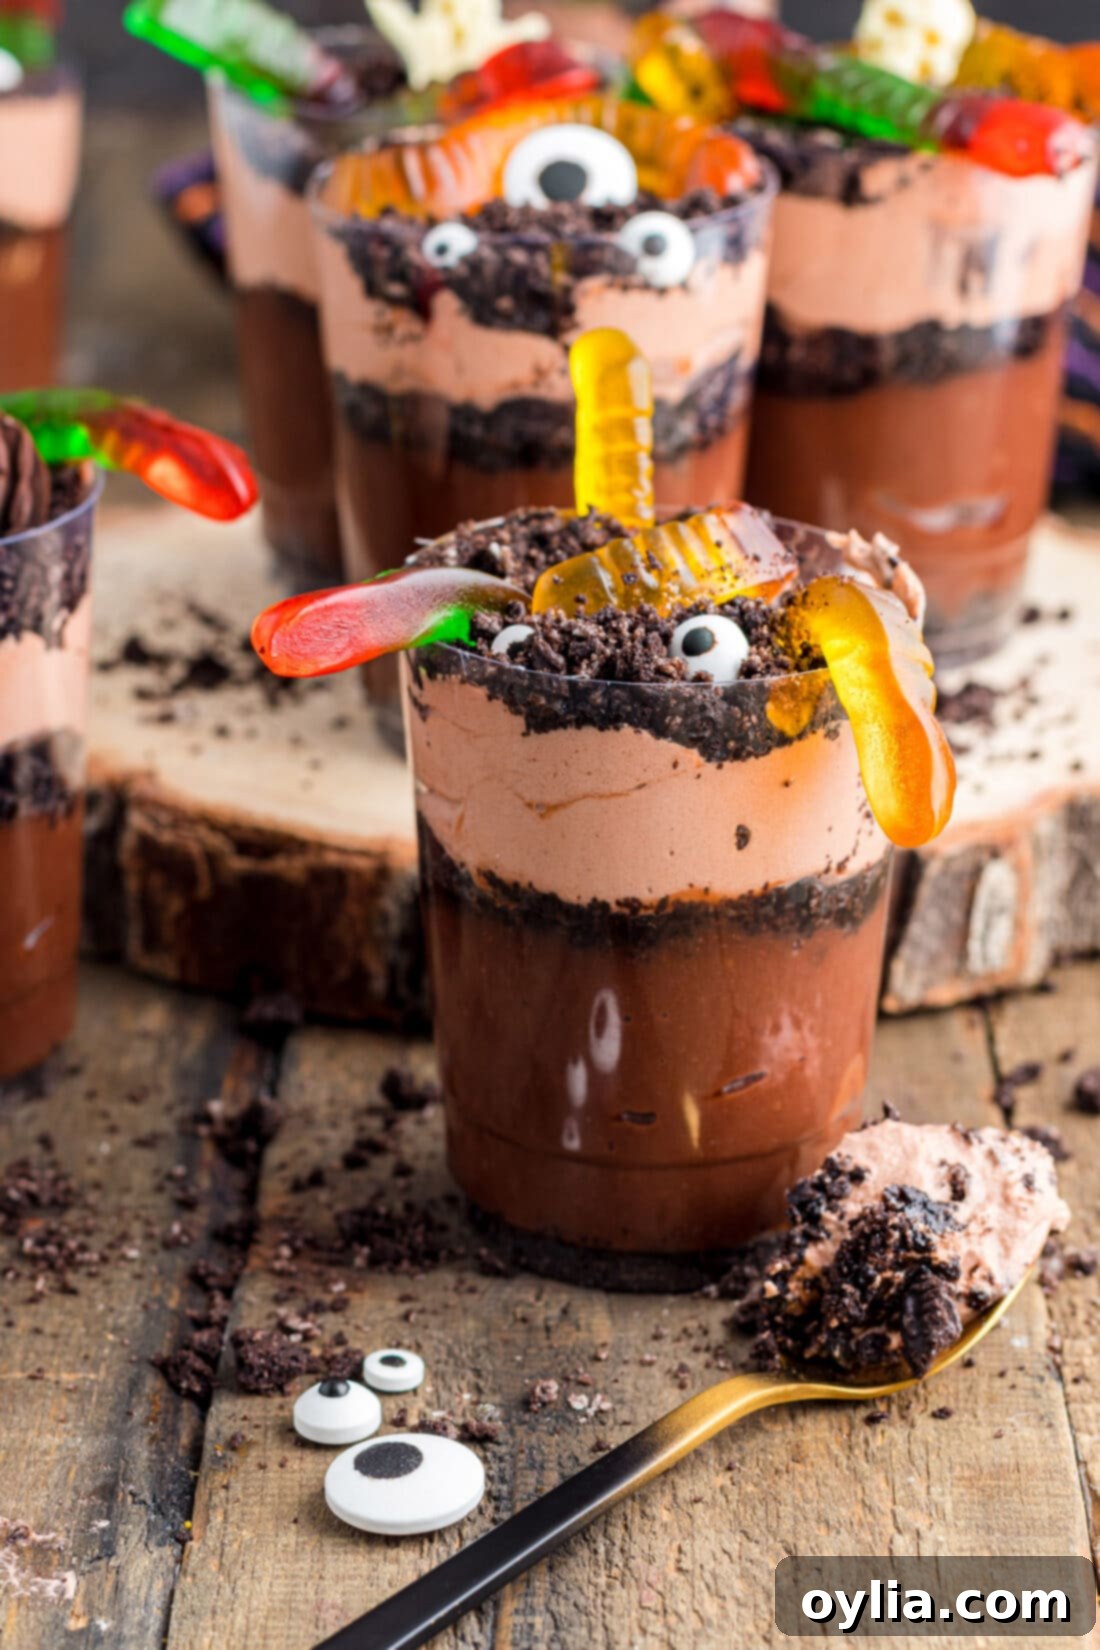
Simple Ingredients for Spooky Dirt Pudding Cups
One of the best things about making Halloween dirt cups is that the ingredient list is short, sweet, and incredibly straightforward. You’ll likely have most of these items in your pantry already, making this a go-to last-minute Halloween party dessert. These core ingredients come together to form the delightful “dirt” and creamy layers that everyone loves. For all precise measurements, specific brands, and detailed instructions, remember to refer to the printable recipe card located at the very end of this comprehensive guide!
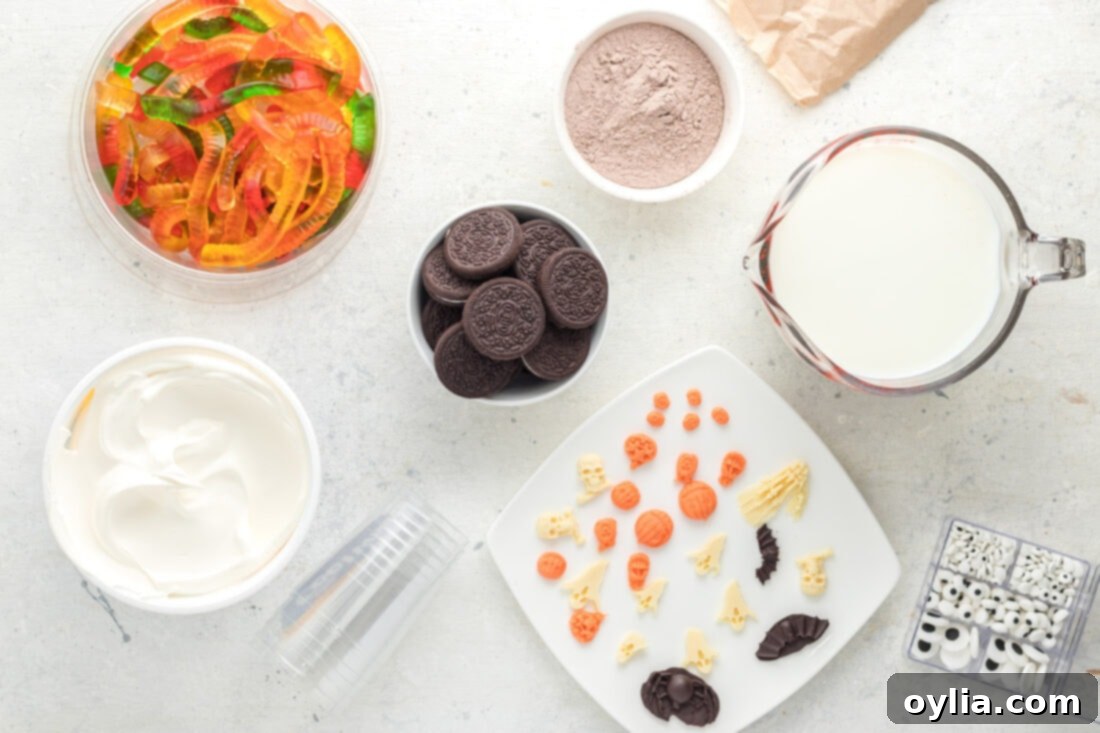
Ingredient Info and Clever Substitution Suggestions
Each component of these Halloween Dirt Cups plays a crucial role in creating the perfect texture and appearance. Here’s a closer look at the key ingredients and how you can adapt them to your preferences or what you have on hand:
- PUDDING – To achieve that authentic “dirt” look, instant chocolate pudding is your best friend. Its dark color perfectly mimics rich soil, making your spooky decorations pop. However, don’t feel limited! You can certainly experiment with other pudding flavors if you want to switch things up a bit. Vanilla pudding with green food coloring could create a swampy effect, or even pumpkin spice pudding for an autumnal touch. We specifically use instant pudding in this recipe for speed and convenience, but if you prefer to use regular, cook-and-serve pudding, just follow the preparation directions and ingredient requirements on the back of your specific pudding box. The key is to get a thick, creamy consistency.
- COOL WHIP – This magical ingredient adds a wonderfully creamy and fluffy layer that contrasts beautifully with the dense pudding and crunchy Oreos. It creates a visually appealing separation in your dirt cups and adds a delightful textural element. While it’s highly recommended for that classic dirt cup experience, you can definitely skip it if you prefer a simpler, two-layer dessert of just pudding and “dirt.” Alternatively, if you’re not a fan of Cool Whip, you can substitute it with homemade whipped cream (heavy cream, powdered sugar, and vanilla extract whipped to stiff peaks). Just be aware that homemade whipped cream tends to soften more quickly than Cool Whip when mixed with pudding.
- OREOS – The iconic Oreo cookie, cream and all, is the star of our “dirt” layer. The dark cookie crumbs are ideal for replicating the look of freshly tilled earth. You’ll add the entire Oreo, cream included, to your food processor for crushing. The cream adds a touch of sweetness and helps bind the crumbs slightly. If Oreos aren’t available or you prefer another cookie, any dark chocolate sandwich cookie or even plain chocolate wafers would work well. The goal is dark, fine crumbs to create the perfect “dirt.”
How to Easily Assemble Your Spooky Halloween Dirt Cups
These step-by-step photos and detailed instructions are provided to help you visualize exactly how to make this delightful recipe. For a convenient printable version, complete with all measurements and instructions, simply Jump to Recipe at the bottom of this post.
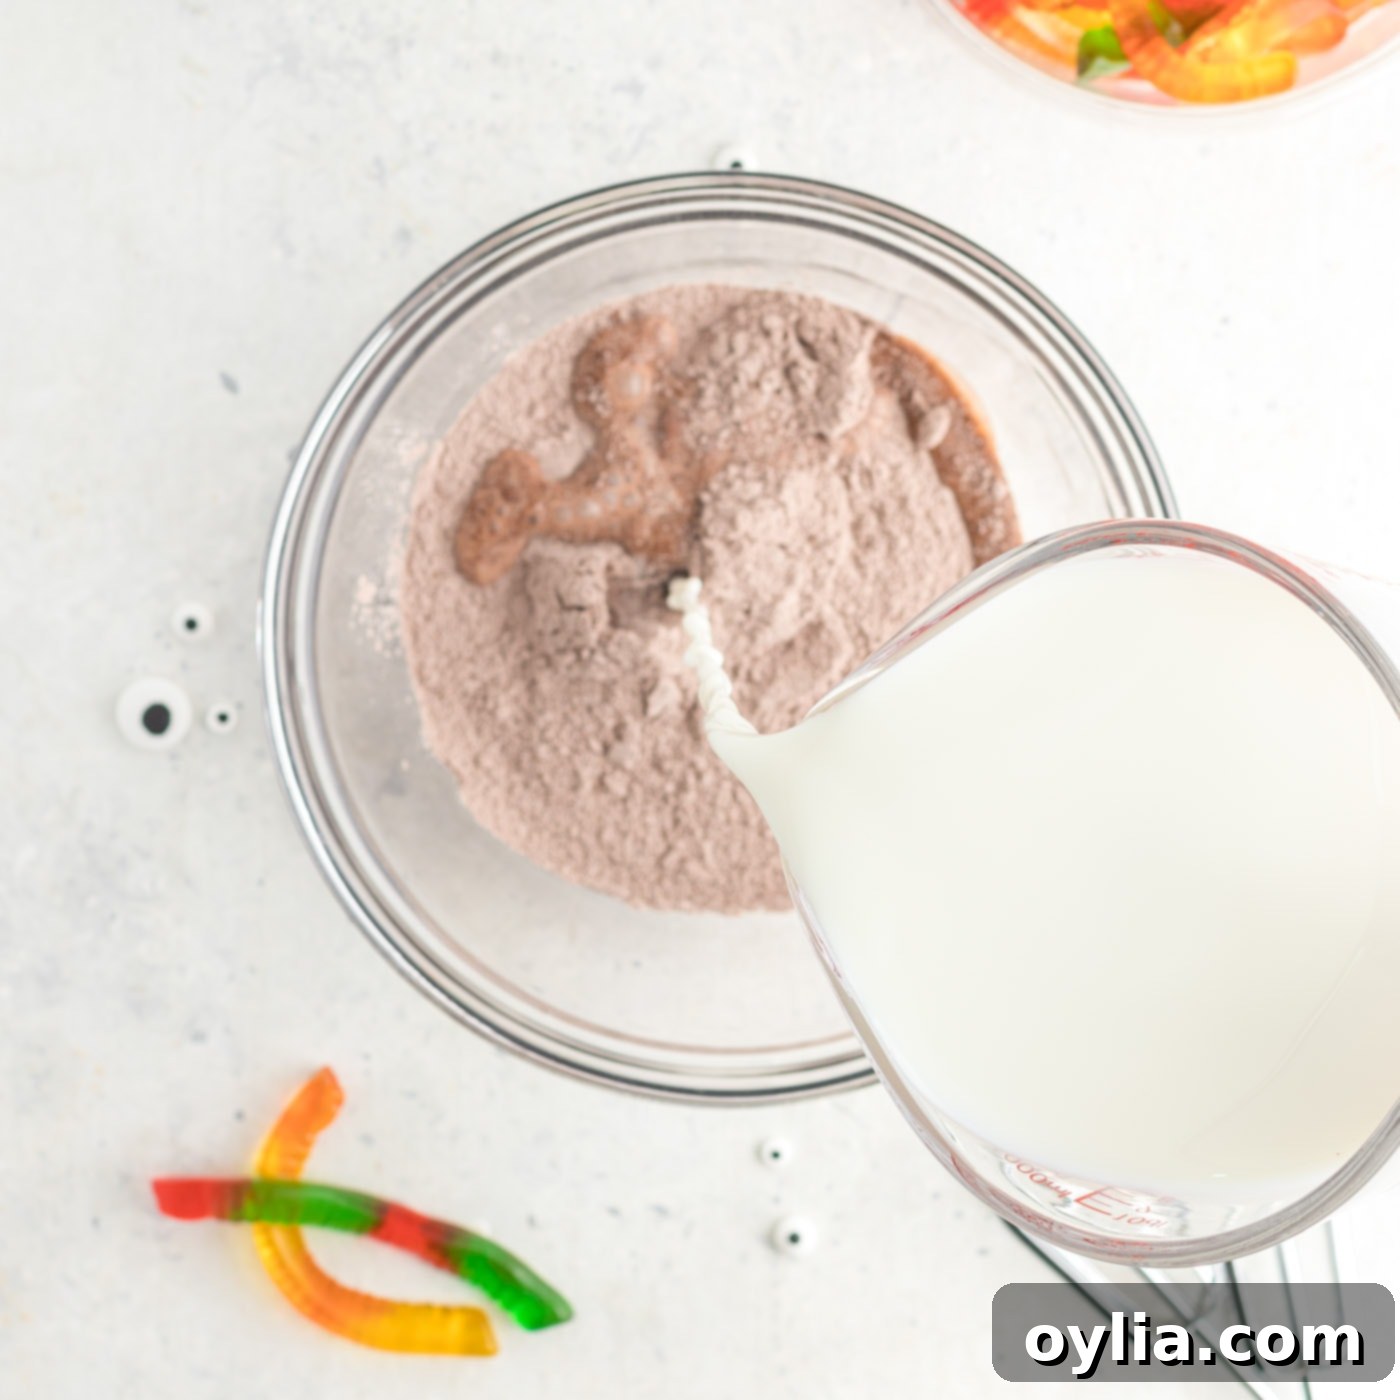
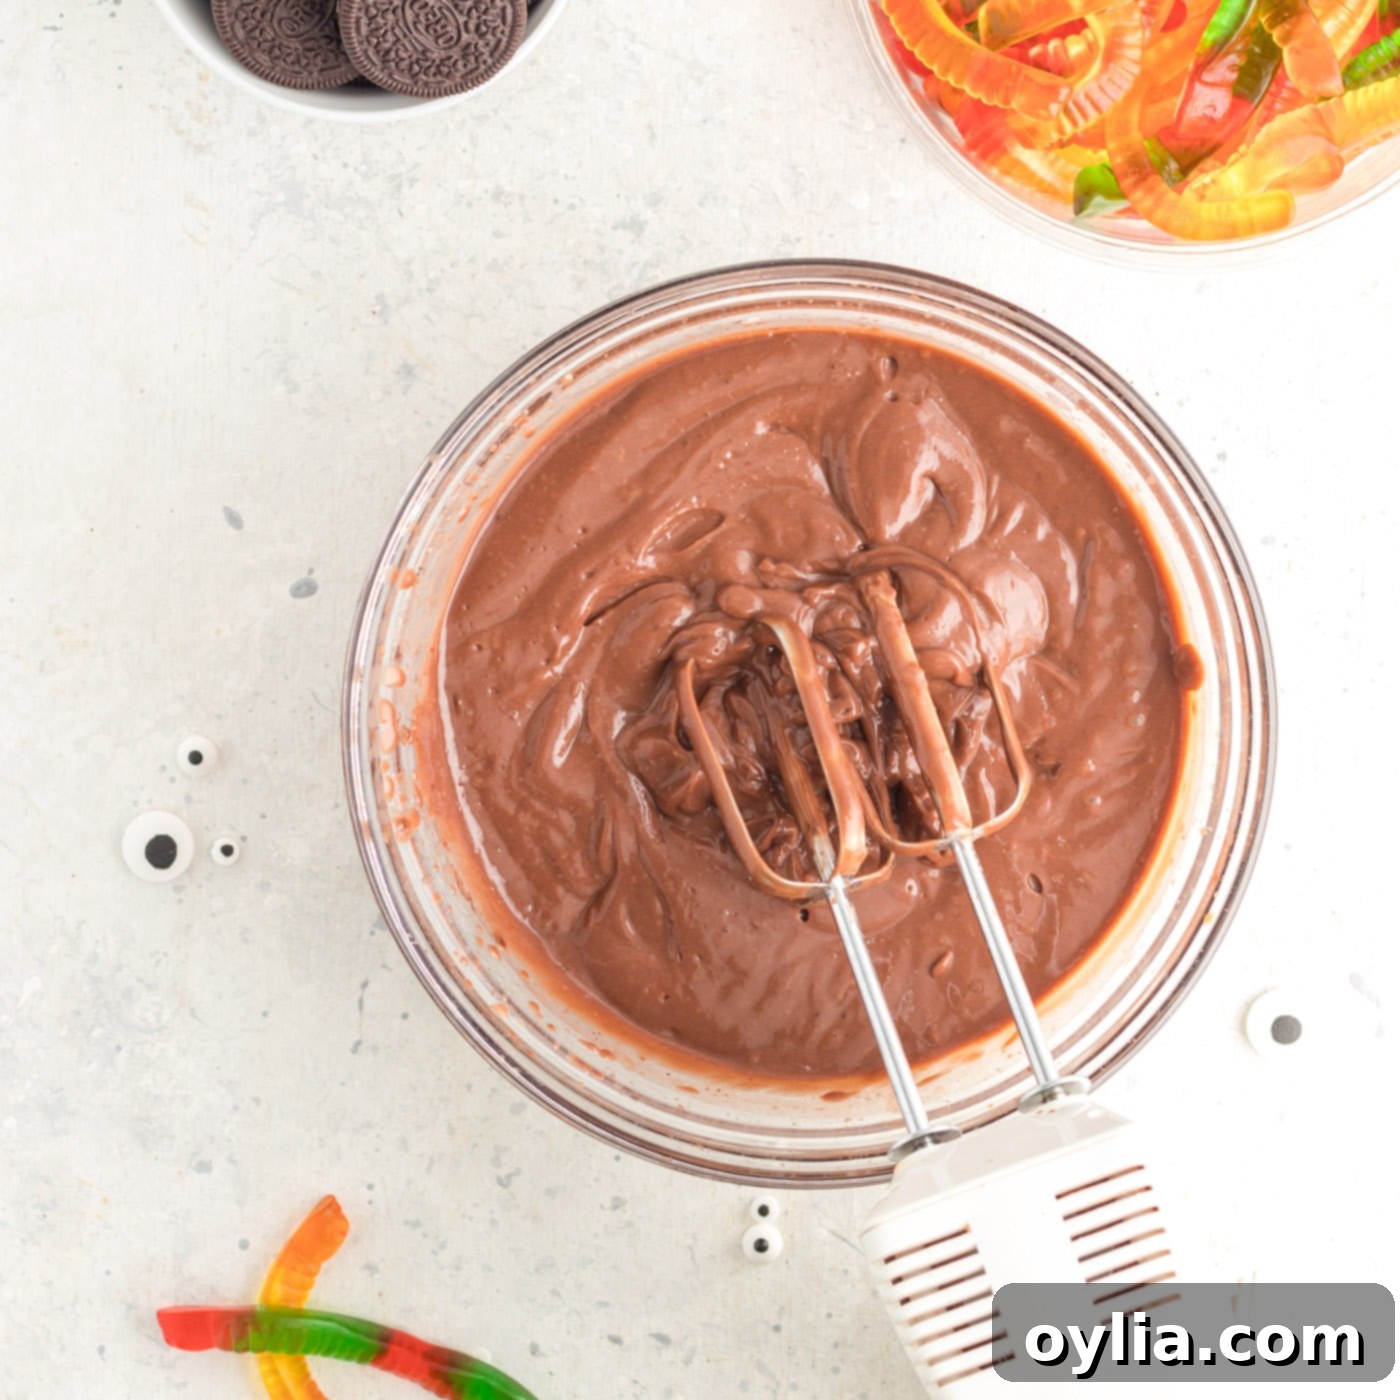
- Add the 2 packages of chocolate instant pudding and 4 cups of milk to a large bowl. Using an electric mixer, begin mixing on low speed, then increase to medium speed. Continue mixing until the pudding thickens to a creamy consistency and is thoroughly combined, which usually takes about 2-3 minutes. This step is crucial for getting a perfectly smooth pudding base.


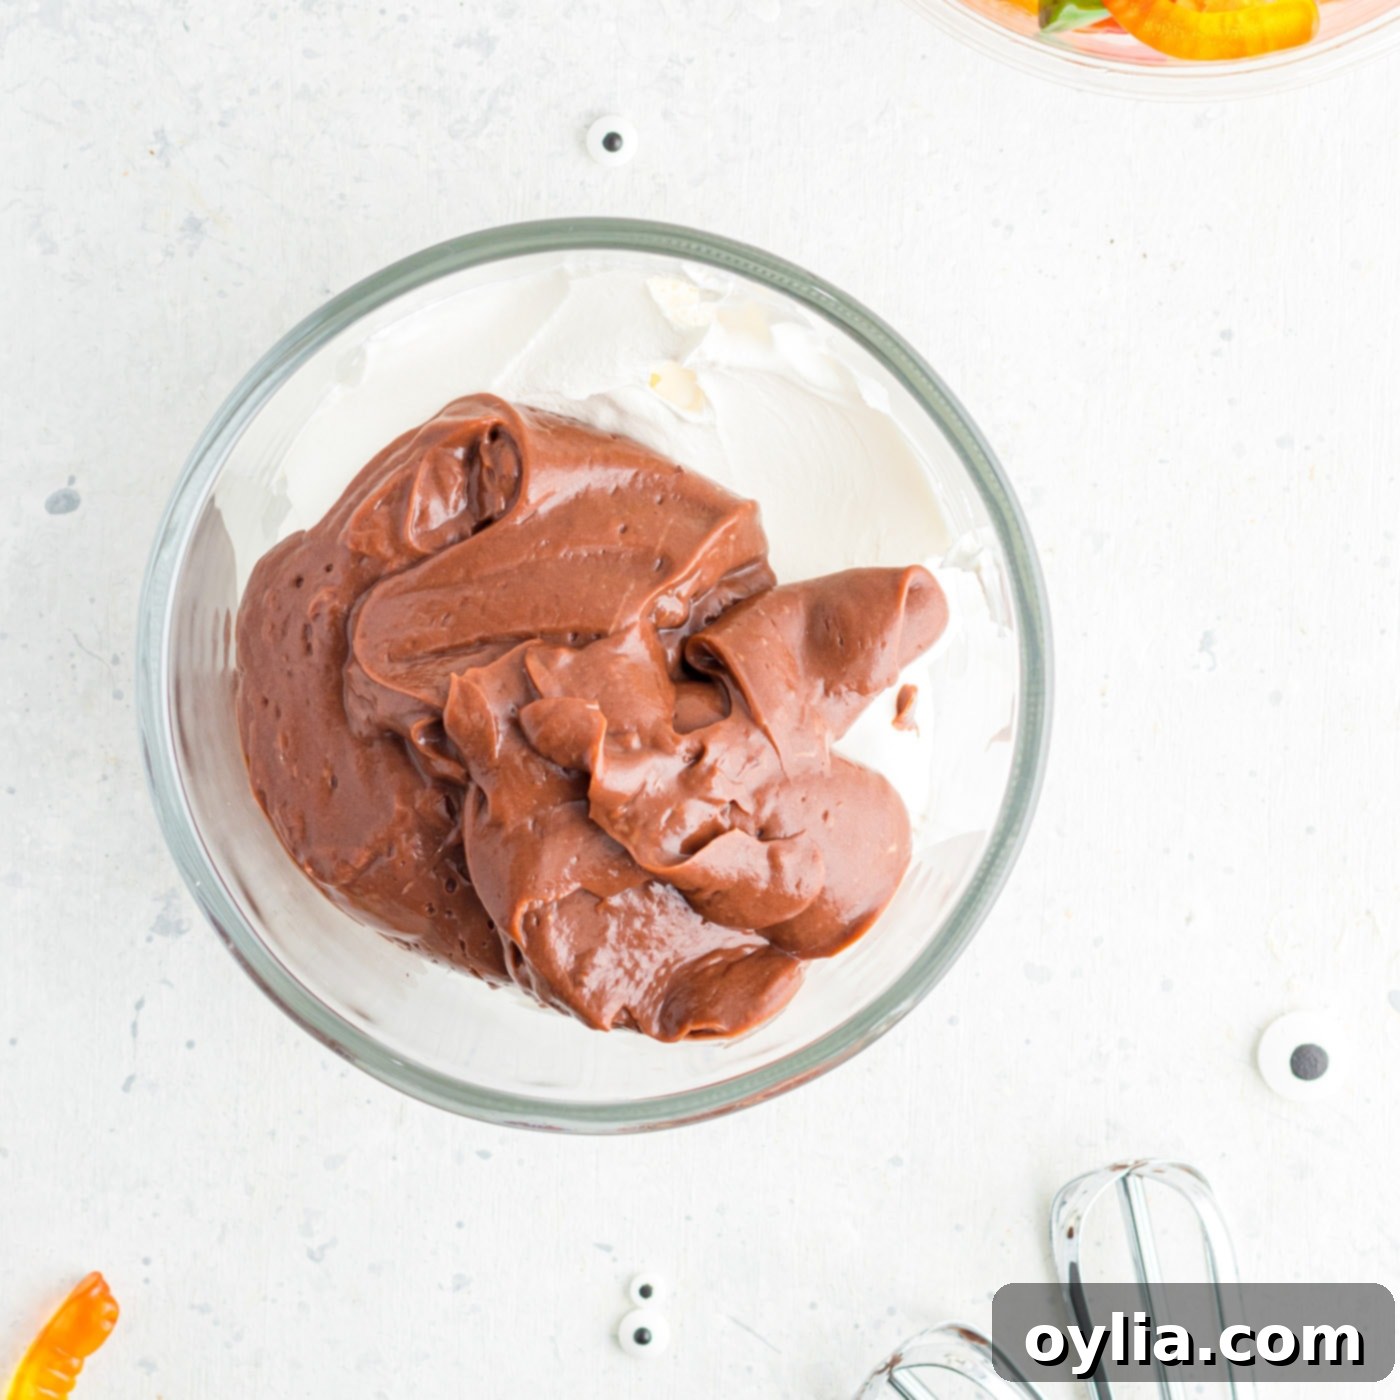
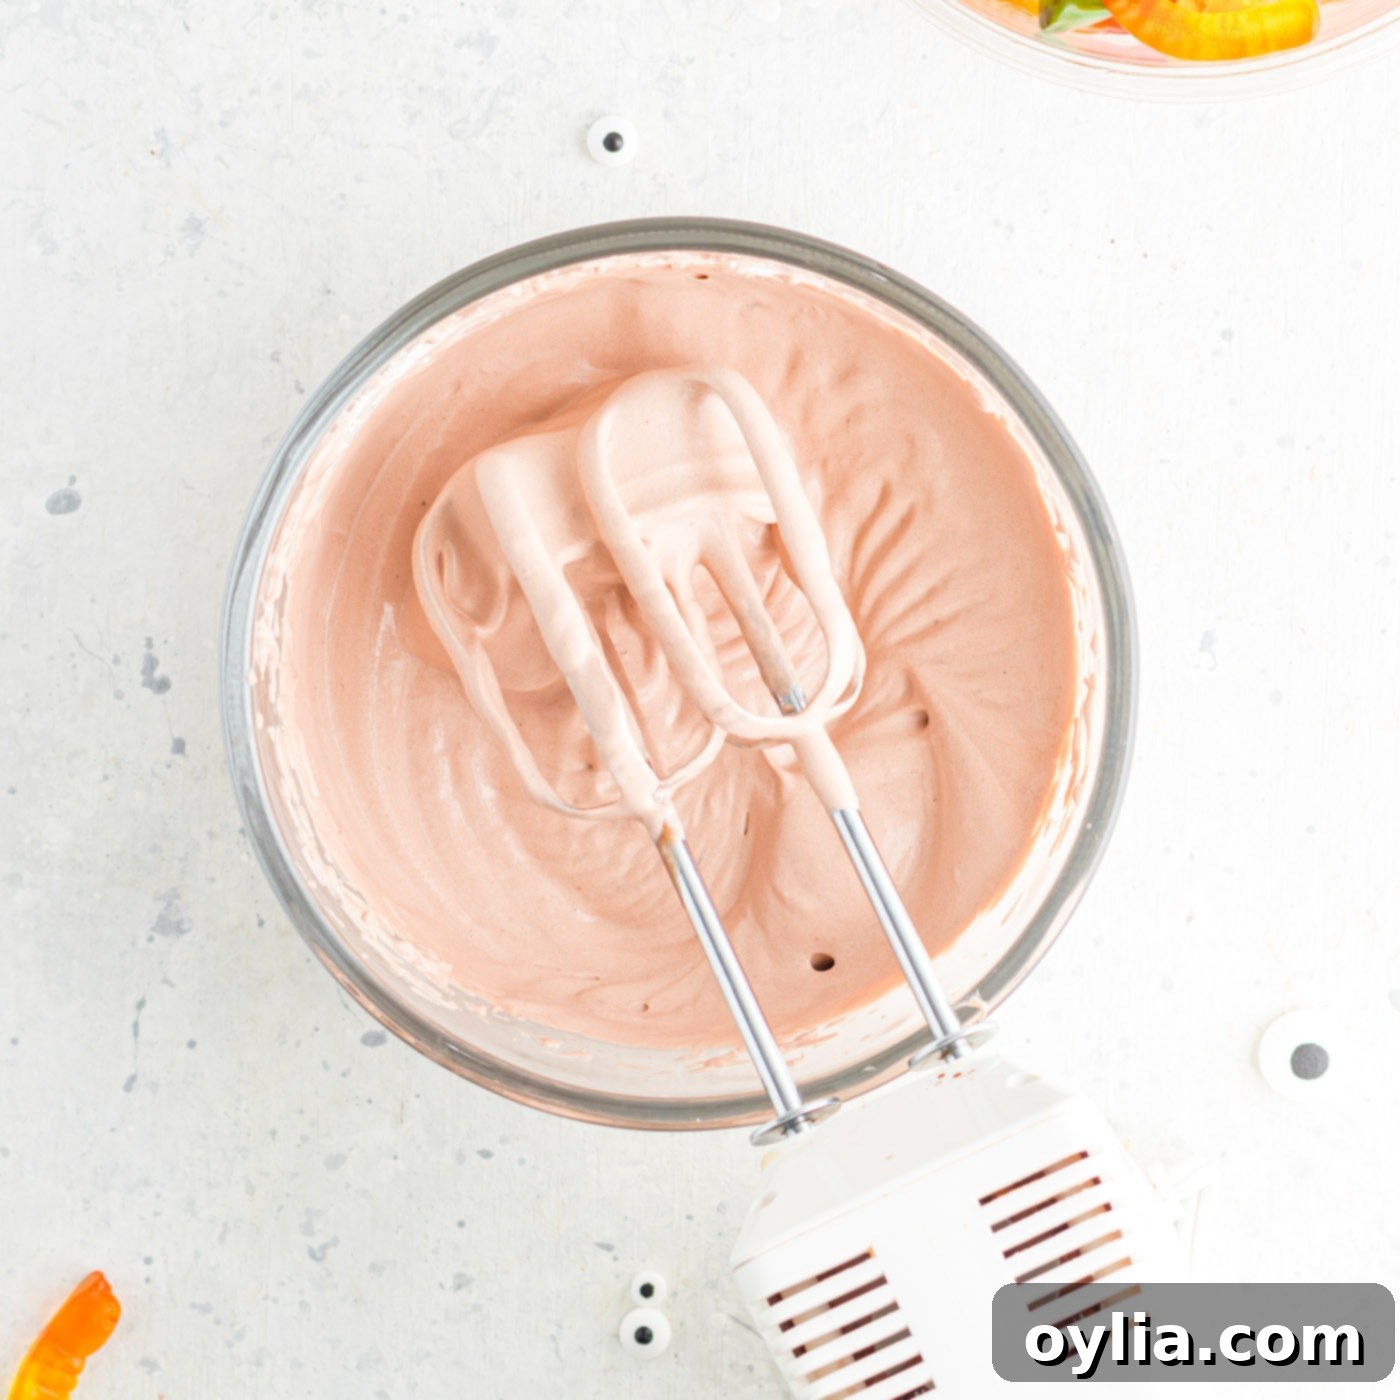
- In a separate medium bowl, combine 1 cup of thawed Cool Whip with 1 cup of the chocolate pudding prepared in step 1. Mix on medium speed until the mixture is light, airy, and thoroughly combined, approximately 2 minutes. This creates a slightly lighter, creamier pudding layer.


- Place both the plain pudding and the whipped topping mixture in the refrigerator to chill while you prepare your “dirt.” This helps them set and stay firm for layering.
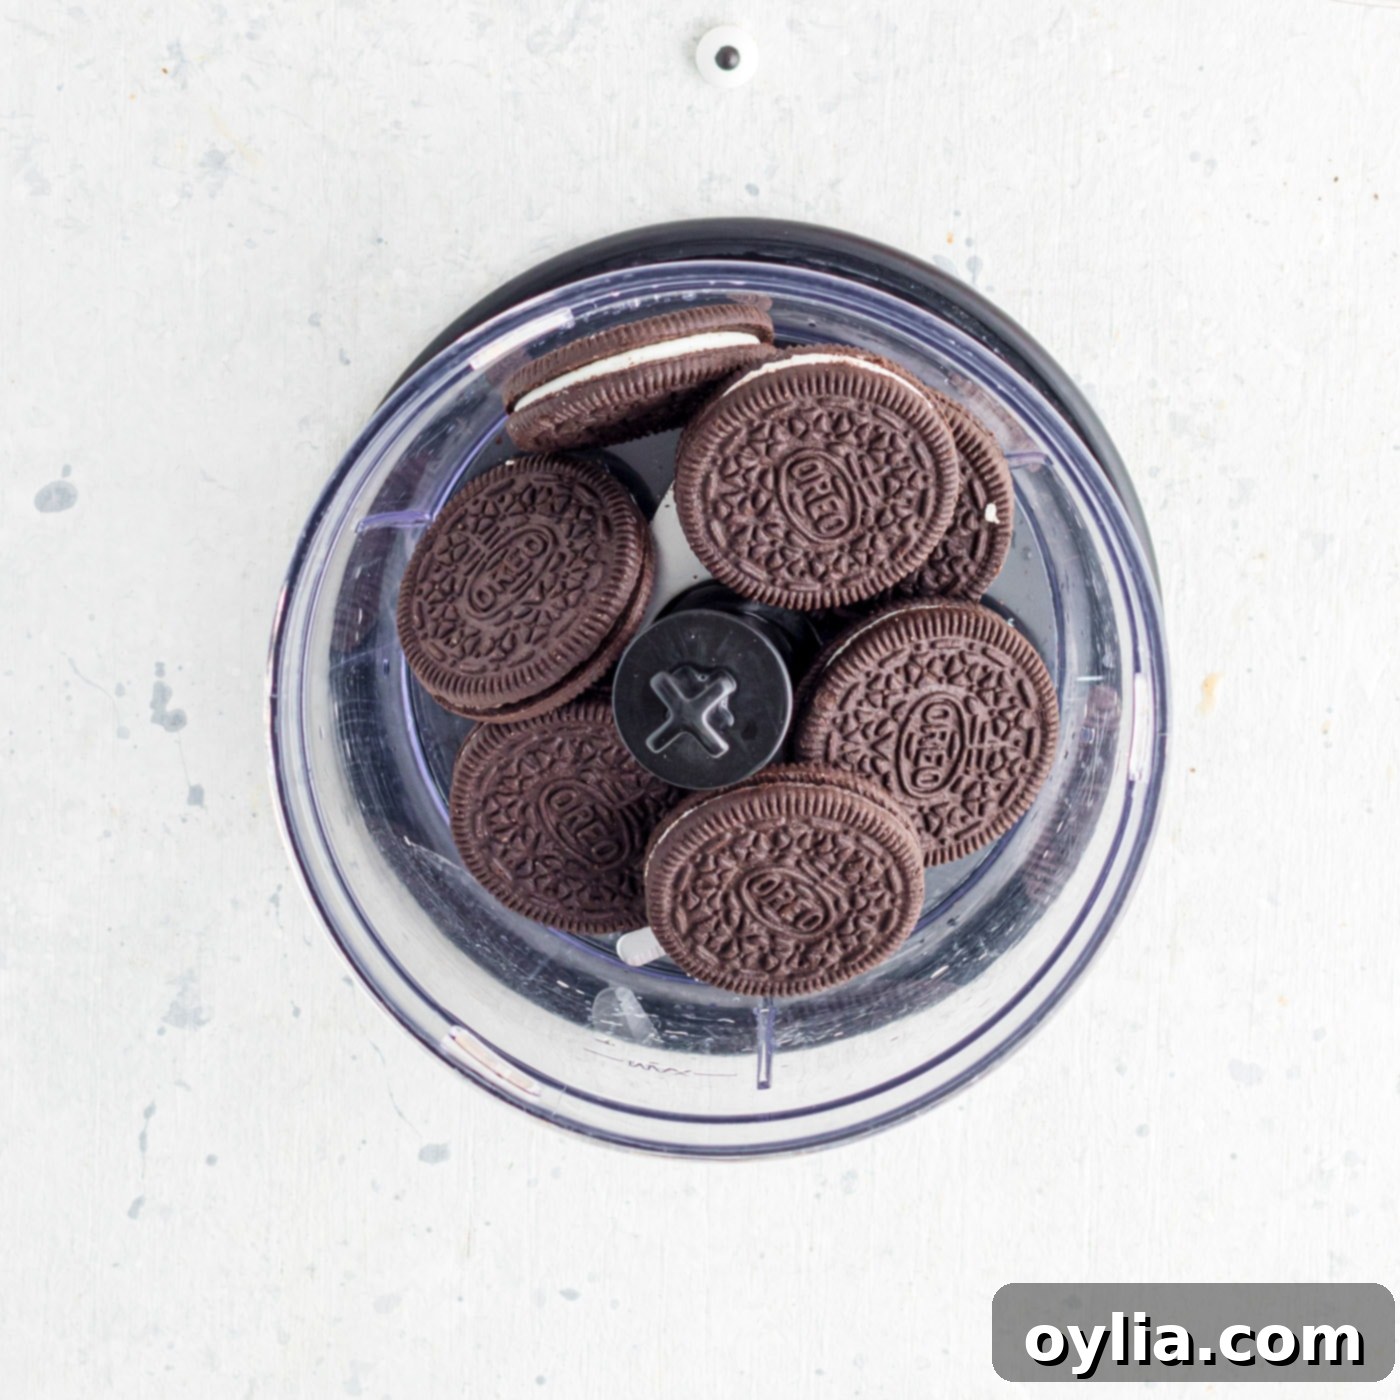
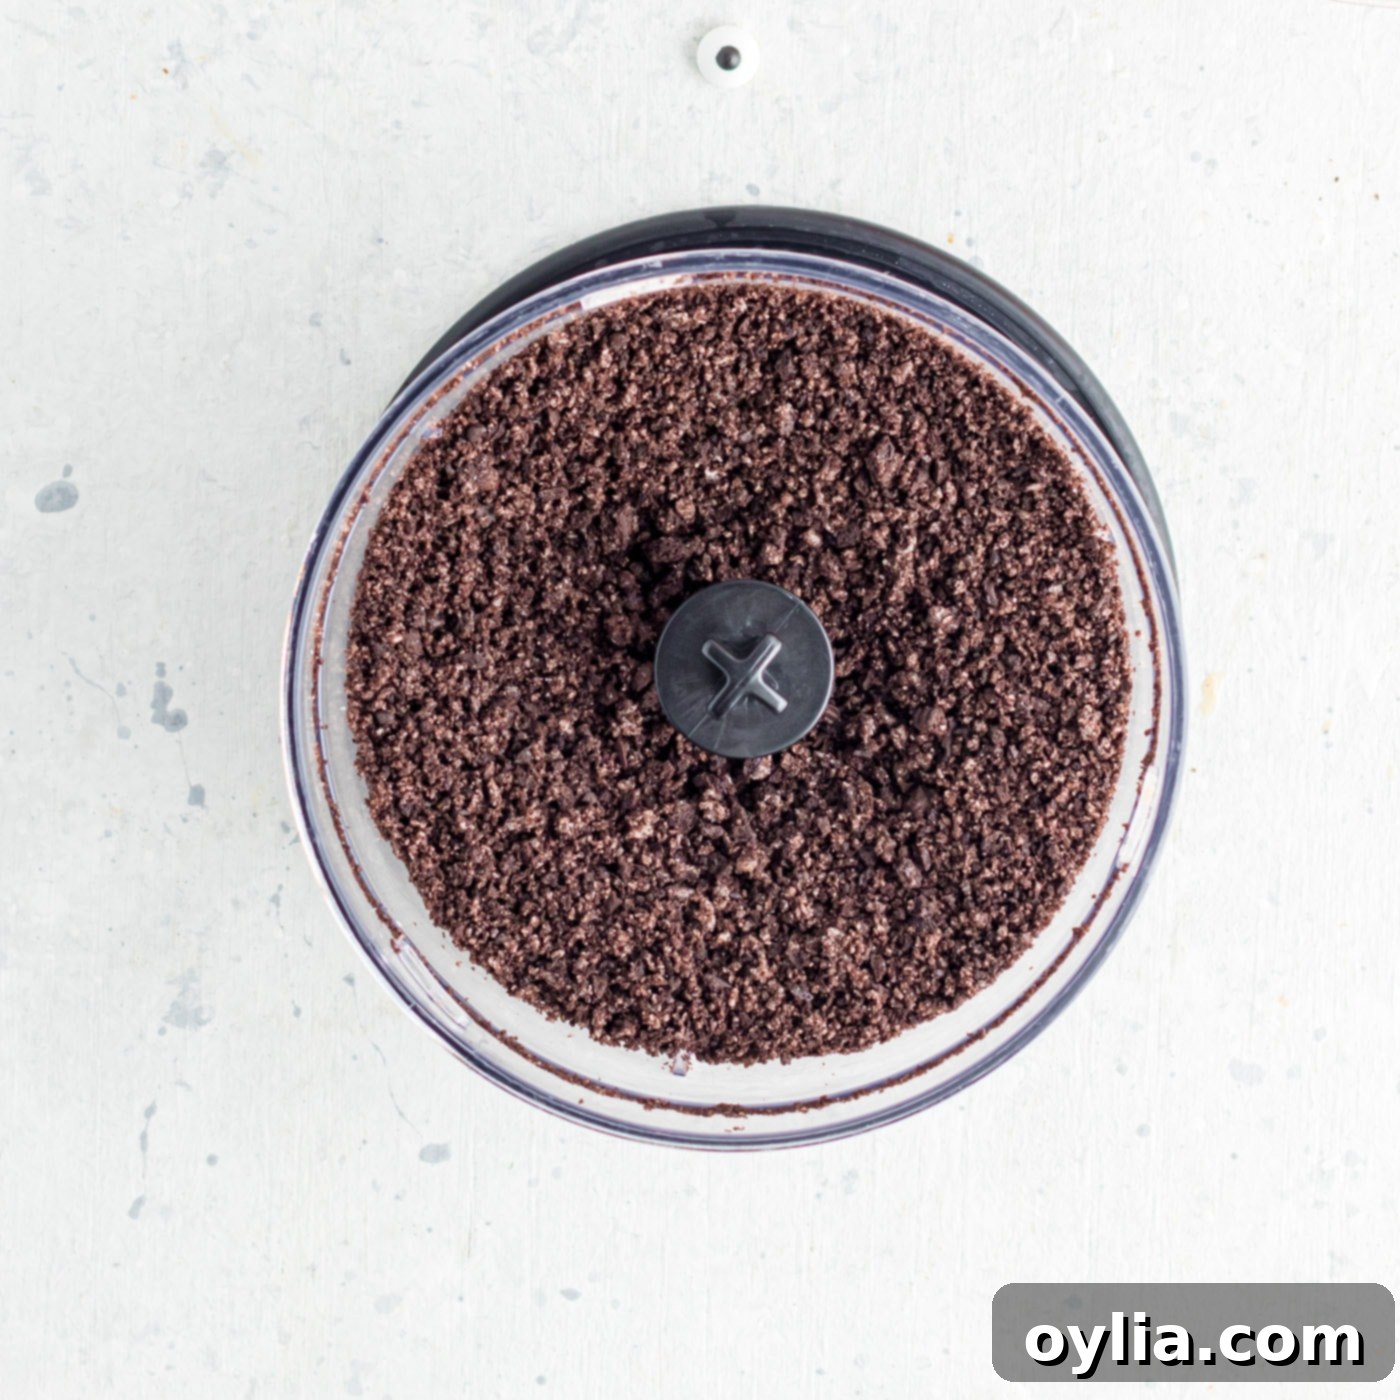
- Place the entire Oreo cookies (cream filling included!) into the base of a food processor. Pulse until fine to medium-fine crumbs are created, resembling rich, dark soil.
EXPERT TIP – No food processor? No problem! You can easily crush the Oreos by placing them in a sturdy zip-top bag. Seal the bag, then use a rolling pin to roll over them repeatedly until they are completely crushed into fine crumbs. This is a great arm workout and a fun activity for kids (with supervision)!


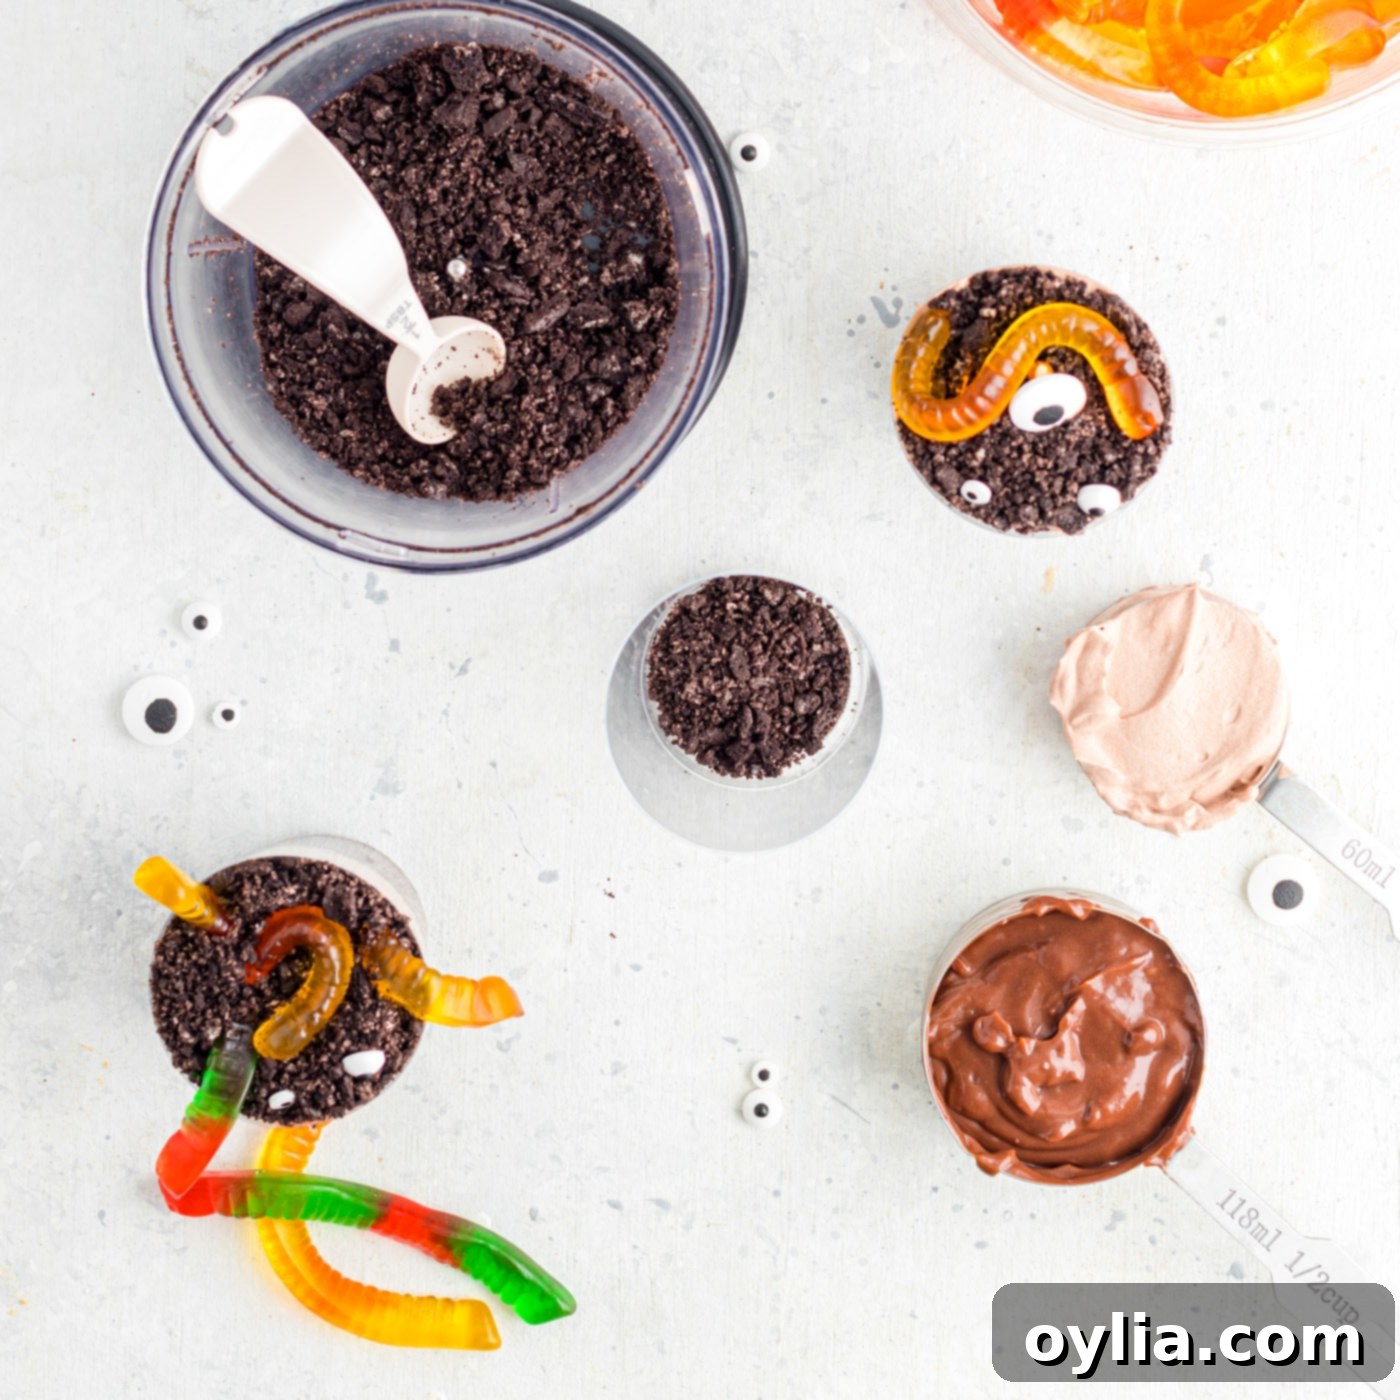
- Set up your assembly station. Retrieve the chilled pudding and whipped topping mixtures from the refrigerator. Arrange your plastic dessert cups on a clean surface. You can choose to layer all cups simultaneously, creating an assembly line, or work on them one by one, depending on your preference and available space.

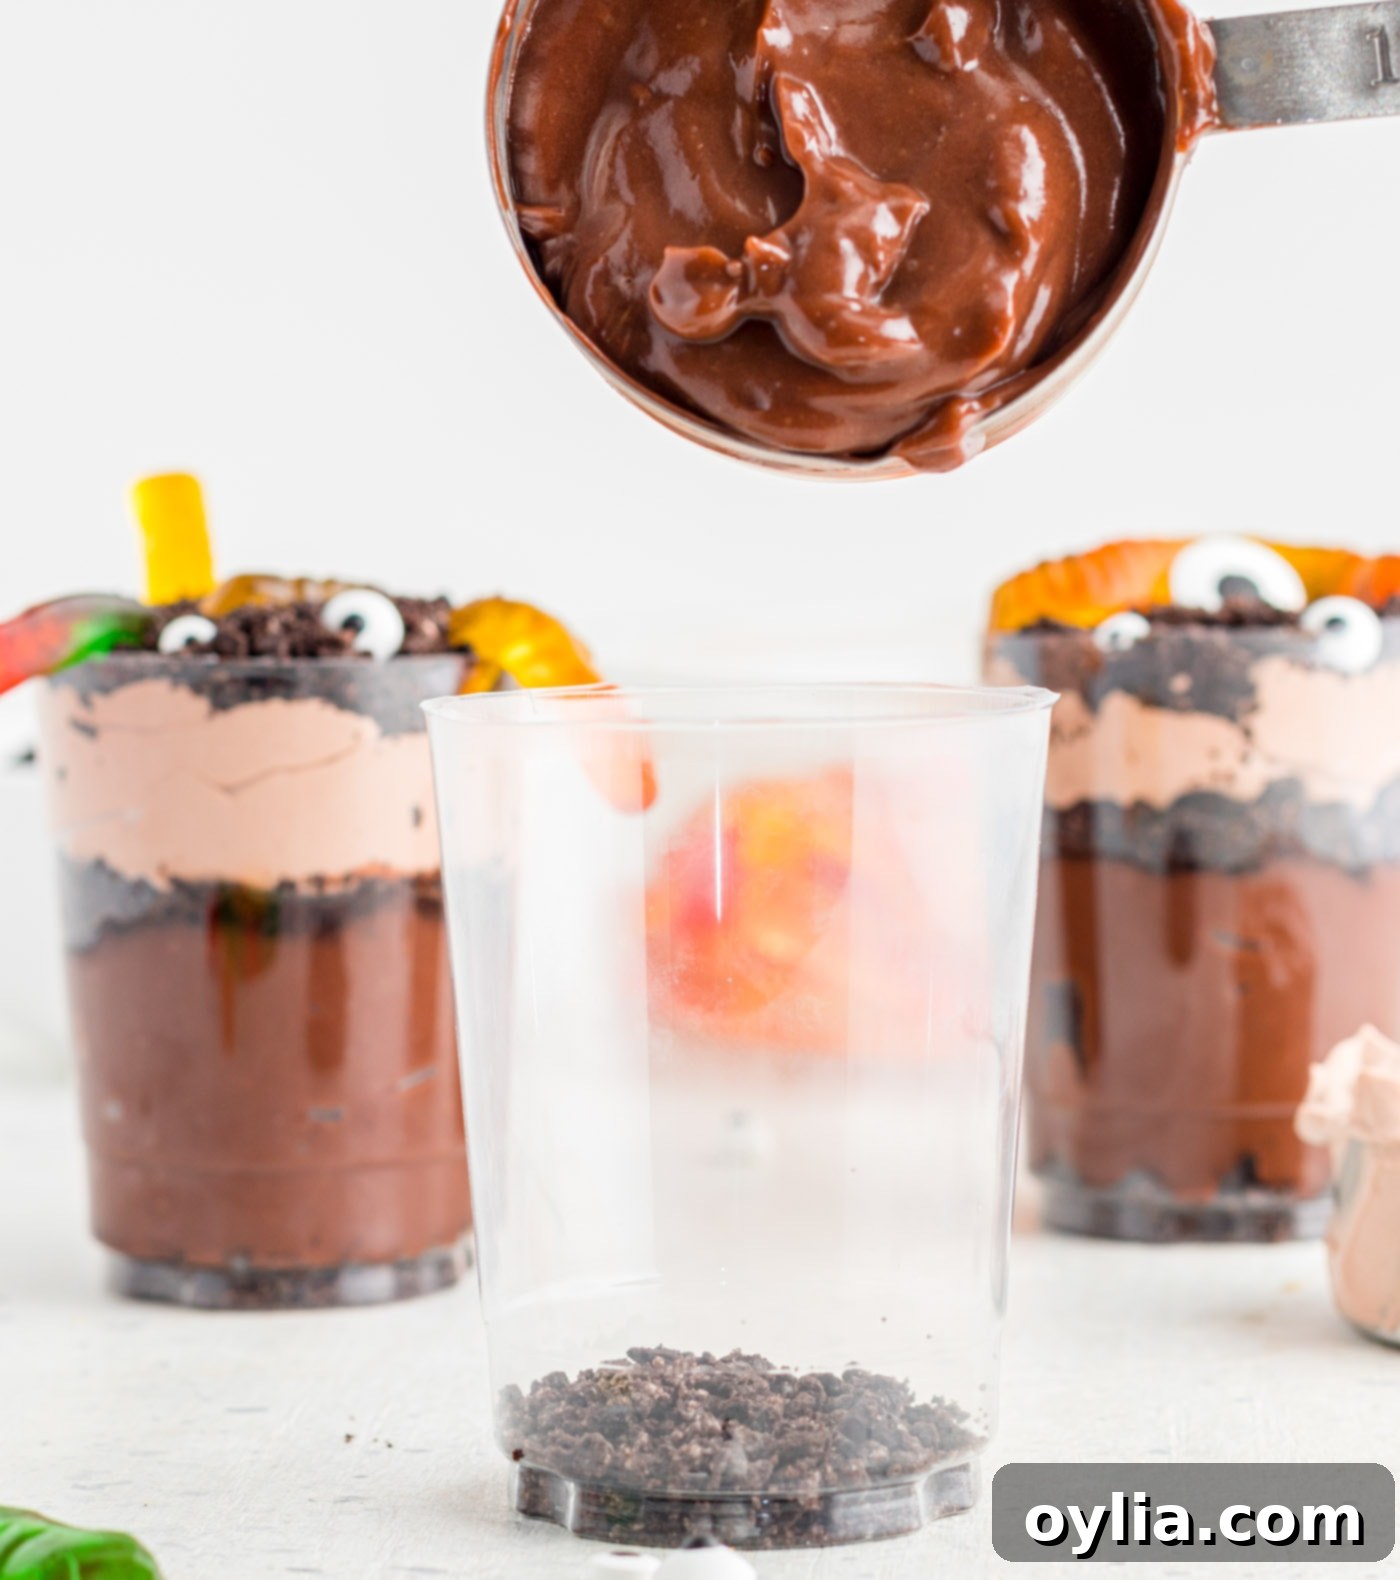
- Begin the layering process by adding approximately 1 tablespoon of the crushed Oreo “dirt” to the very bottom of each cup. This forms a solid base for your spooky creation.
- Next, carefully layer about ½ cup of the prepared chocolate pudding over the Oreo crumbs. Gently tap the cup on the counter a few times to help the pudding settle and create an even, level surface for the subsequent layer.

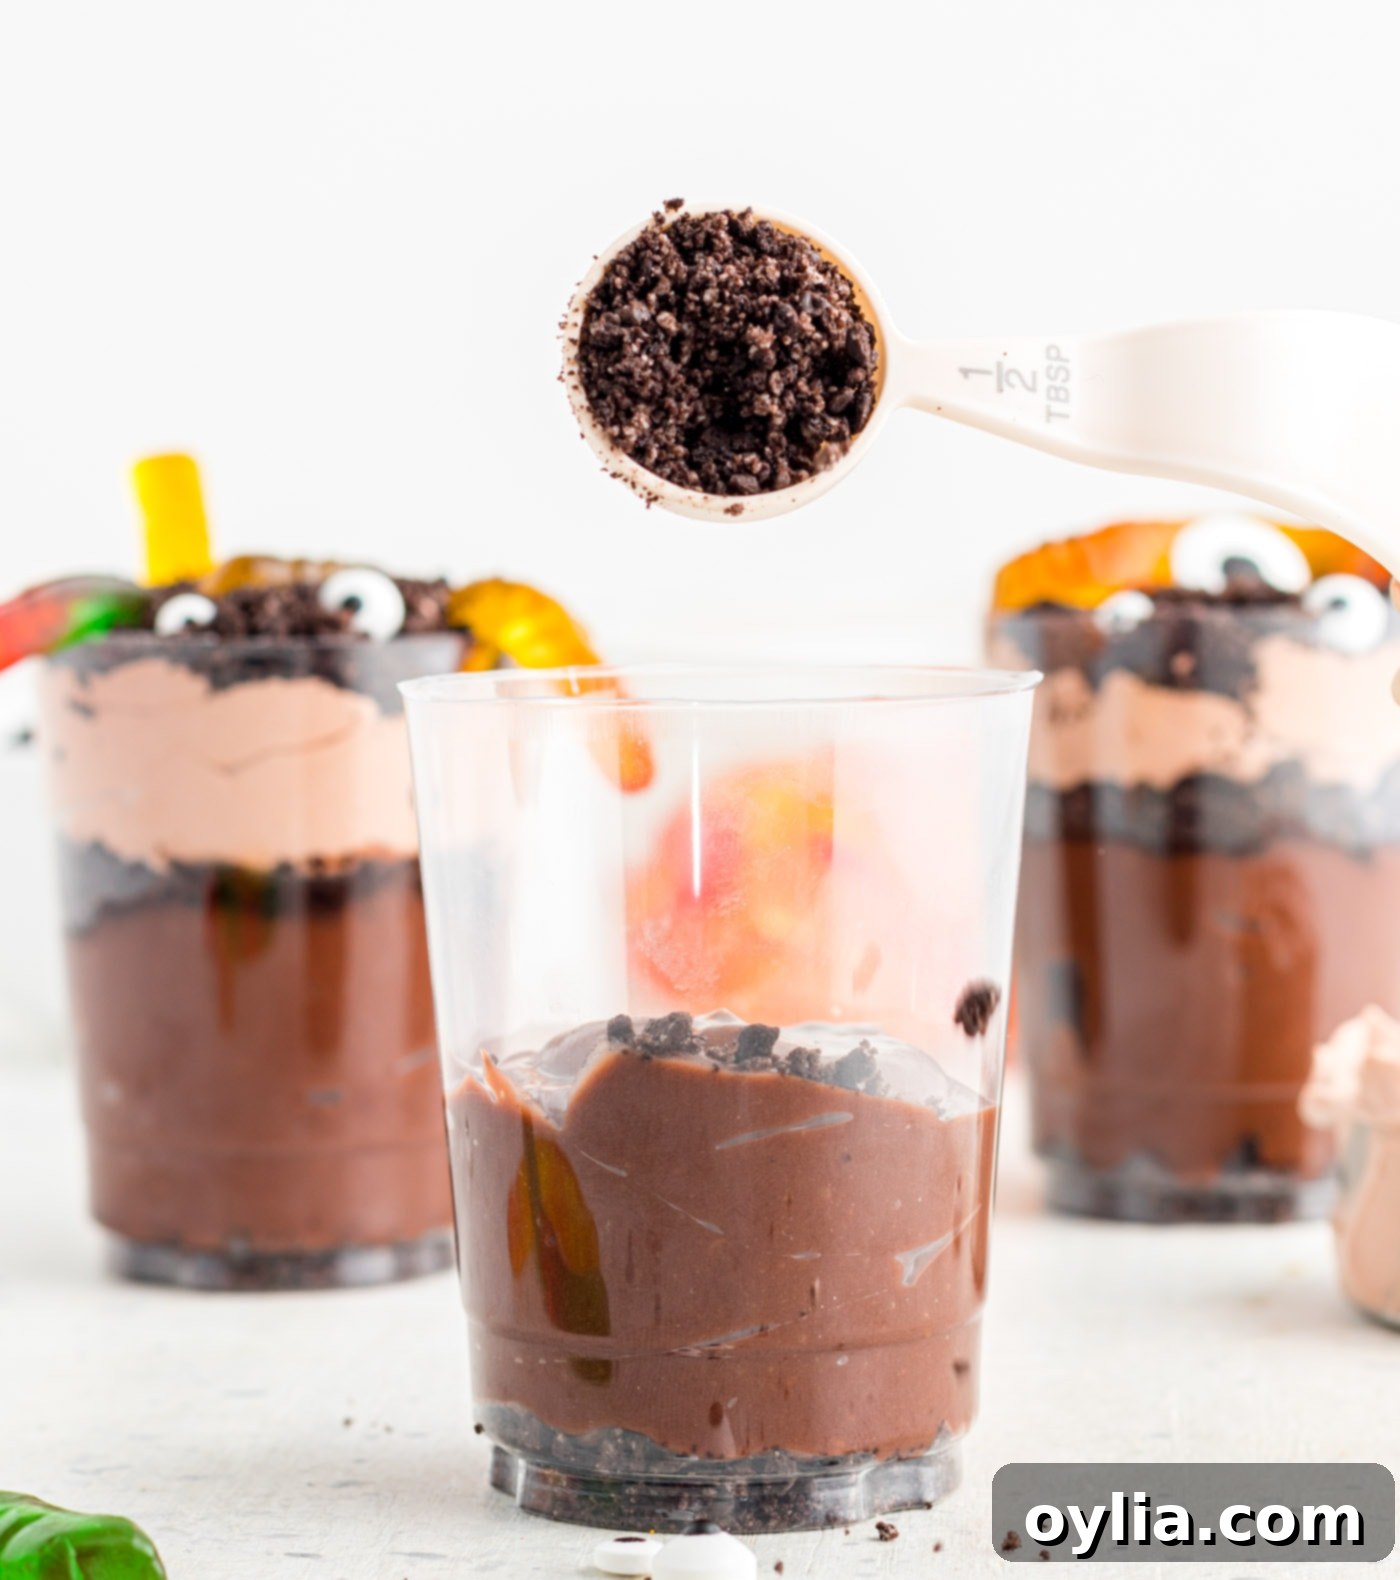
- Add another tablespoon of the crushed Oreo “dirt” over the chocolate pudding layer. This adds another textural contrast and reinforces the “earthy” appearance.

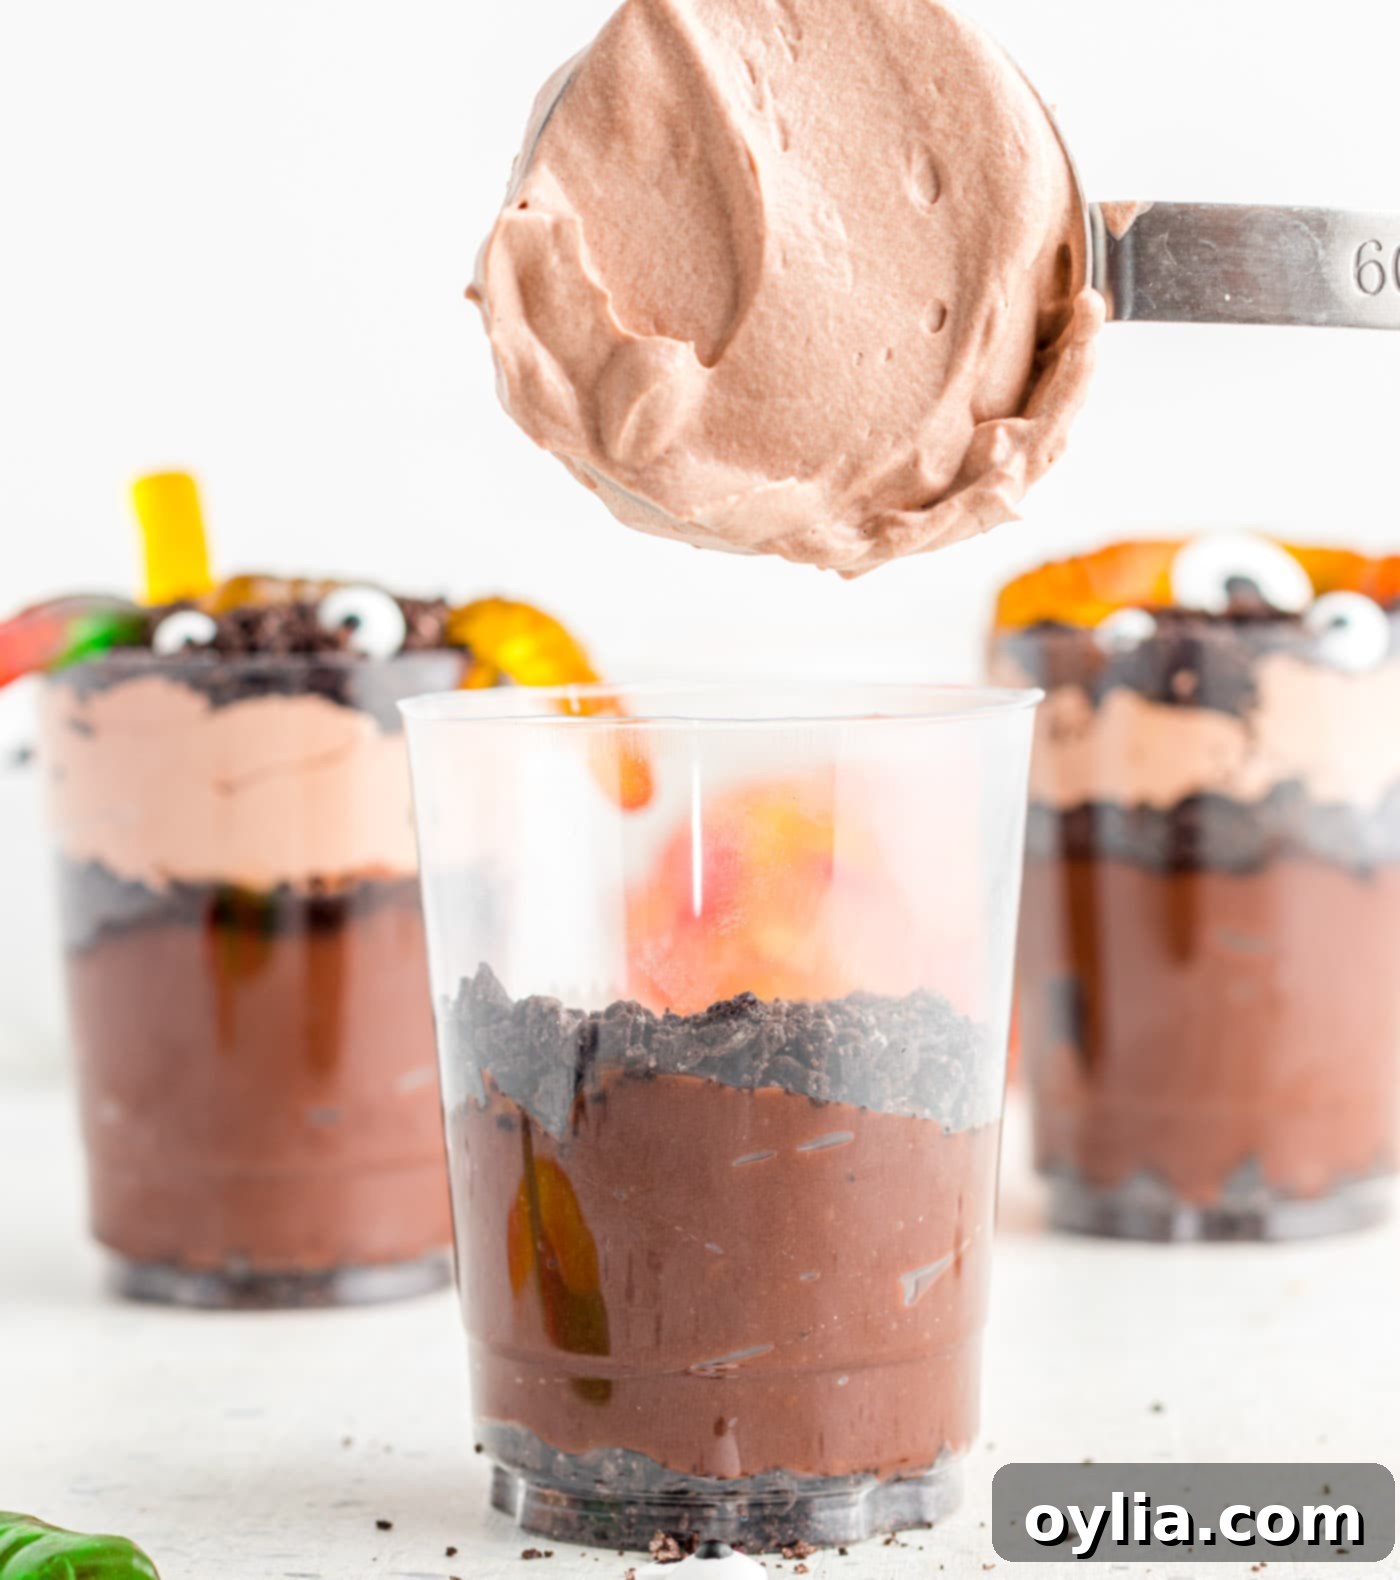
- Now, add a heaping ¼ cup of the whipped topping mixture (pudding and Cool Whip blend) over the layer of “dirt.” Again, gently tap the cup on the counter to level out this creamy layer, ensuring clean lines between each component.
EXPERT TIP – Precision is key for beautifully layered dirt cups! Take extra care when adding the pudding and whipped topping mixtures to the cups. It’s important to keep the sides of your cup as clean as possible so that you can clearly see the distinct layers. If any pudding or whipped topping smudges appear on the inside of the cup, simply take a slightly damp paper towel or a clean, small spoon and carefully wipe it clean before moving on to the next step. This small effort makes a big difference in presentation!

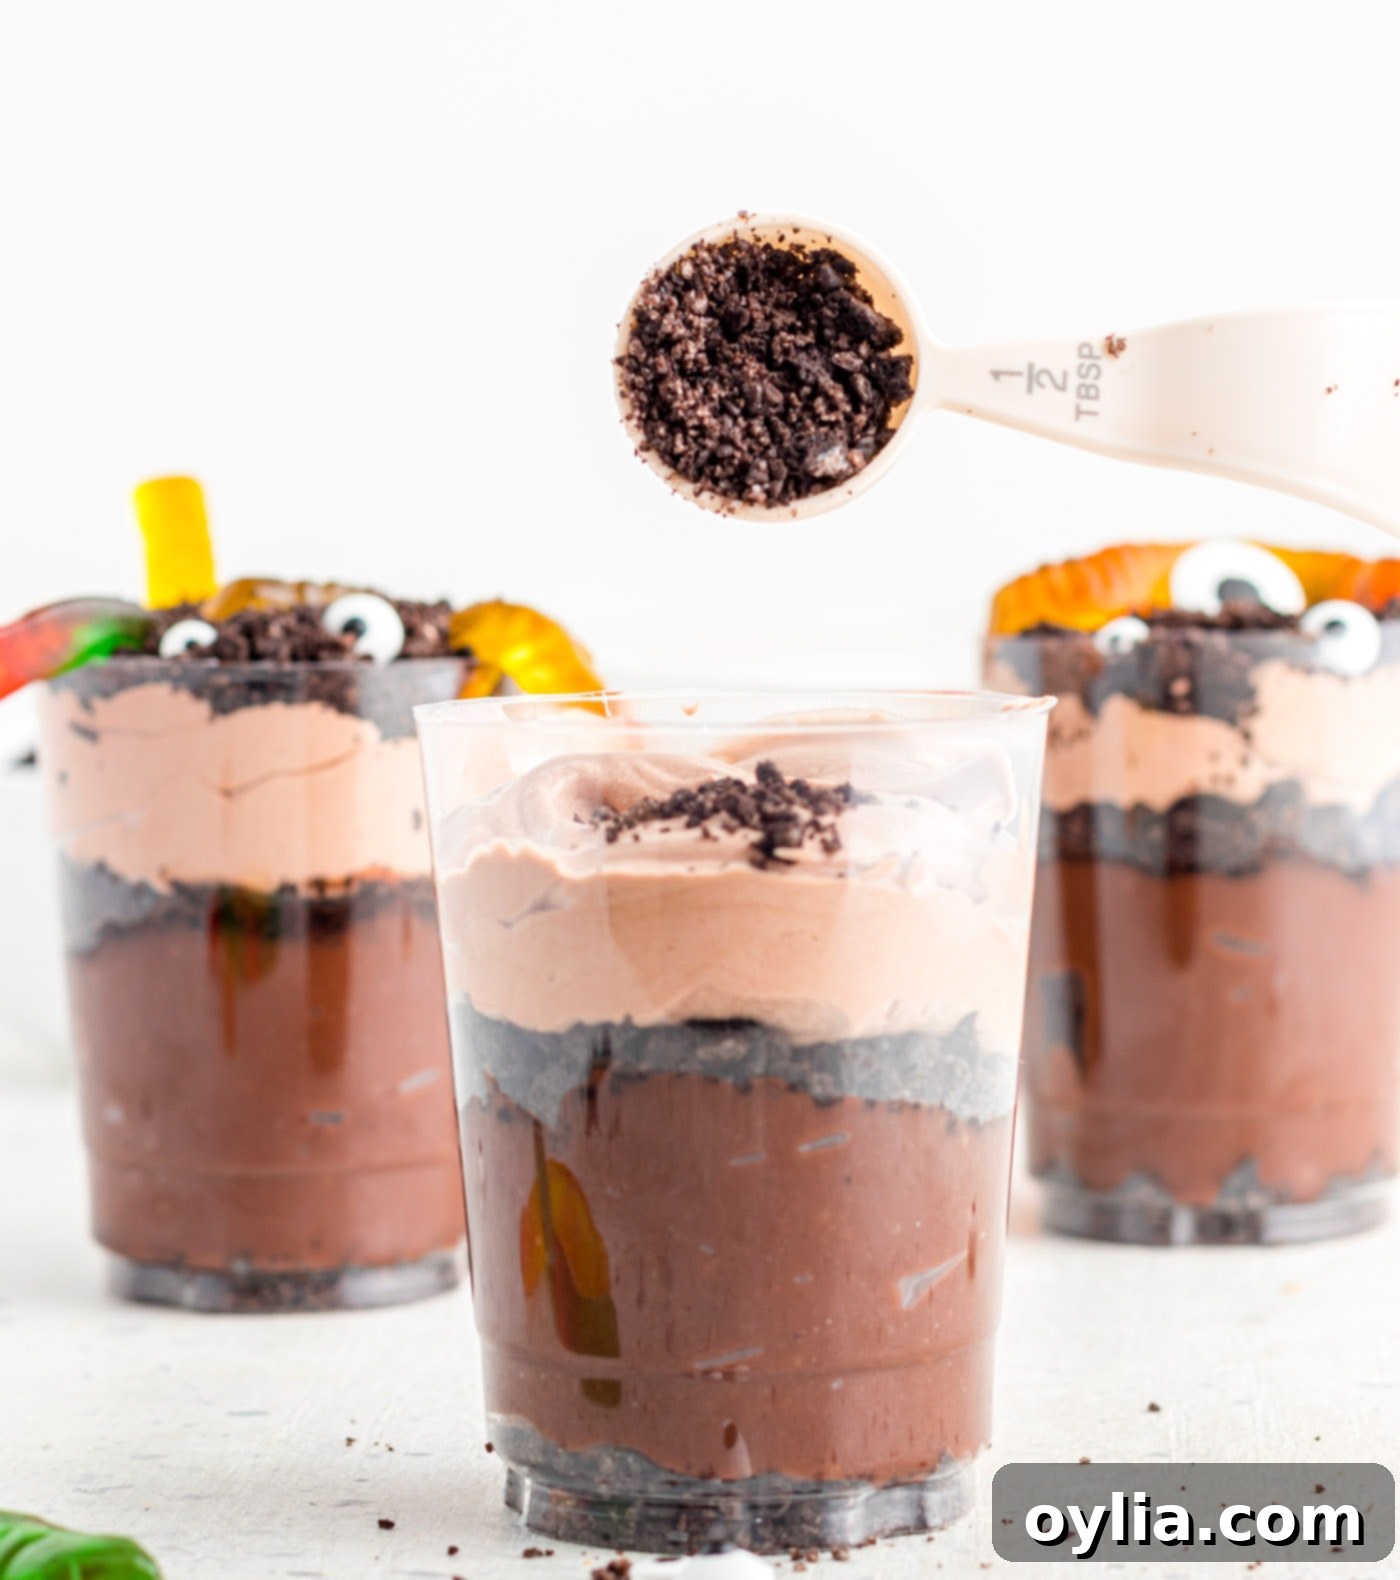
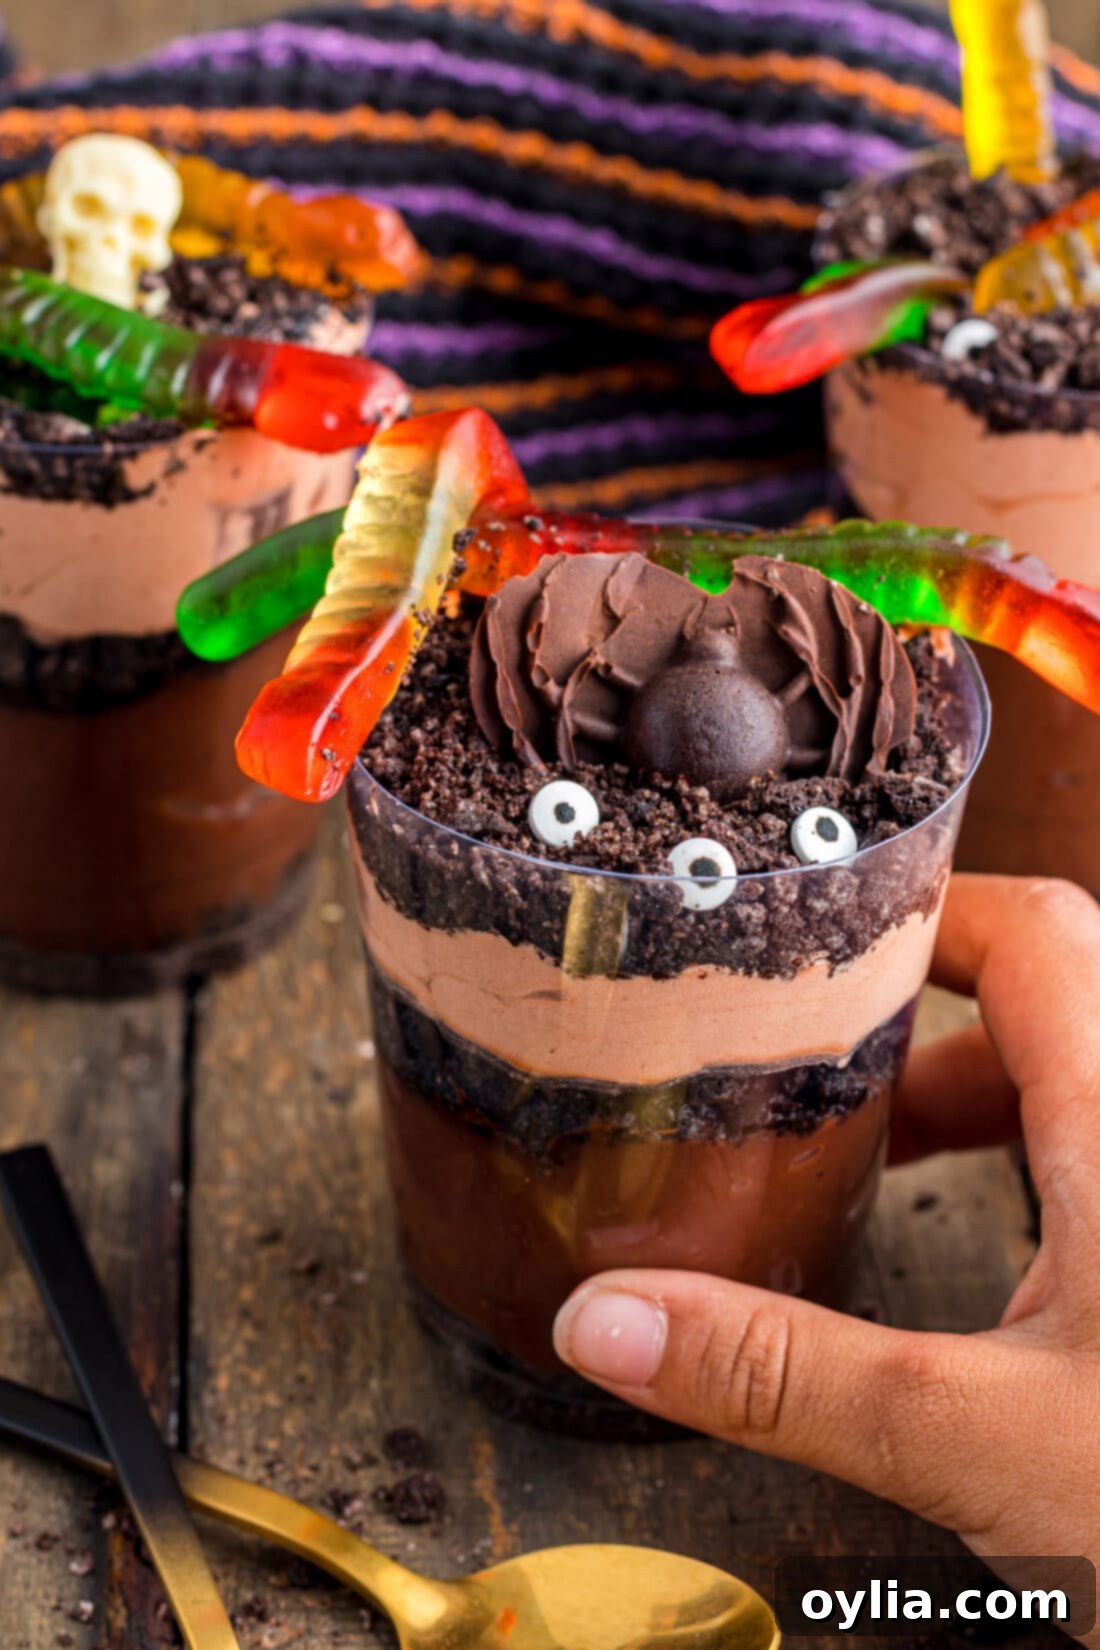
- Conclude your masterpiece with a final generous tablespoon of Oreo “dirt” on top. This creates the perfect canvas for your Halloween decorations! Garnish generously with vibrant gummy worms, playful candy eyeballs, and any other Halloween-themed candies of your choice to bring your spooky scene to life. Once assembled, allow the dirt cups to chill in the refrigerator for at least 30 minutes before serving. This chilling time helps all the layers set beautifully and intensifies the flavors. Then, simply enjoy your delightfully creepy creations!


Frequently Asked Questions & Expert Tips for Perfect Dirt Cups
Absolutely! The individual components of this dessert – the chocolate pudding, the crushed Oreo “dirt” layer, and the Cool Whip mixture – can all be prepared a day ahead. Store each component separately in airtight containers in the refrigerator. However, I strongly advise against assembling and layering everything together until you are ready to serve. If assembled too far in advance, the Oreo crumbs can become quite soggy, losing their delightful crunch, and gummy candies tend to harden or become unpleasantly sticky when left in the refrigerator for extended periods. Once fully assembled, any leftovers can be stored in the refrigerator for up to 3 days, though they are best enjoyed fresh.
The possibilities for decorating your Halloween dirt cups are truly endless and incredibly fun! You can transform them into various Halloween scenes. For instance, create spooky graveyard dirt cups by adding small rectangular cookies as tombstones and edible skeleton figures. Or, for a charming autumn theme, make pumpkin patch dirt cups with candy pumpkins and green frosting vines. We personally love using these playful candy eyeballs to add a whimsical touch, and these mini Halloween molds are fantastic for making your own chocolate shapes like spiders, witches, ghosts, and pumpkins. Simply fill them with melted chocolate or candy melts and let them set. You can even use small plastic spiders or bats for a non-edible but equally spooky garnish. Don’t overthink it – have fun and let your imagination run wild!
Clear plastic or glass dessert cups work best as they beautifully showcase the distinct layers of pudding, Cool Whip, and Oreo “dirt.” Eight-ounce cups are ideal for single servings, providing a generous portion. You can find festive Halloween-themed plastic cups for an extra touch of holiday spirit. Small mason jars also make charming and reusable serving vessels.
Yes, with a few adjustments! For a dairy-free version, use dairy-free instant chocolate pudding mix (check labels carefully), substitute almond milk or soy milk for regular milk, and use a dairy-free whipped topping alternative (like coconut whip or soy-based whipped topping). For gluten-free dirt cups, simply swap out the traditional Oreos for gluten-free chocolate sandwich cookies. The rest of the ingredients are typically gluten-free, but always double-check product labels to be sure.
Creative Serving Suggestions for Your Halloween Dirt Cups
As I mentioned earlier, the beauty of these spooky Halloween dirt cups lies in their versatility for decoration. You can truly make them your own using any festive-themed candies, cookies, or small toys you find. Beyond just gummy worms and candy eyeballs, consider making your own unique chocolate decorations! You can fill these mini Halloween molds with melted chocolate or colorful candy melts, allowing them to harden into adorable or eerie shapes. Alternatively, unleash your inner artist by piping melted chocolate onto parchment paper to create custom spiderwebs, spooky trees, or bat silhouettes, then let them set. The options for personalizing each cup are truly endless, making every dirt cup a unique work of art!
For a spectacular presentation, arrange your finished dirt cups on a rustic wooden board, a spooky-themed serving tray, or even nestled among some faux spiderwebs and plastic spiders. This enhances the overall Halloween ambiance and makes them even more appealing to guests. Pair these delightful desserts with some equally festive beverages. For the adults looking for some spirited sips, be sure to check out our vibrant Frankenstein Margarita or the elegantly eerie Spiderweb Cocktail. And for the little ghouls and goblins, our sweet candy corn punch and refreshing vanilla orange punch are always guaranteed to be a hit!
Even More Spooktacular Halloween Recipes to Try!
Looking for more inspiration to make your Halloween celebrations extra special? We’ve got a cauldron full of creative and delicious recipes that are perfect for the season. From sweet treats to savory snacks, these dishes are sure to impress your guests and add a festive touch to any gathering:
- Ghost Brownies
- Jalapeno Popper Mummies
- Halloween Candy Apples
- Marshmallow Frankensteins
- Vampire Sandwich Cookies
- Halloween Eyeball Salsa
- Cheese and Pretzel Broomsticks
- Mummy Cookies
I absolutely adore spending time in the kitchen, crafting delicious recipes, and sharing my culinary adventures with all of you! Remembering to revisit the blog each day can be tricky, which is precisely why I offer a convenient newsletter. Every time a new recipe is posted, you’ll receive it directly in your inbox. Simply subscribe today and start enjoying your free daily recipes!

Halloween Dirt Cups
IMPORTANT – There are often Frequently Asked Questions within the blog post that you may find helpful. Simply scroll back up to read them!
Print It
Pin It
Rate It
Save ItSaved!
Ingredients
- 7.8 ounces instant chocolate pudding 2 – 3.9 ounce boxes
- 4 cups milk
- 1 cup Cool Whip thawed
- 15 Oreo cookies cream included
Garnish
- candy eyeballs
- gummy worms
- chocolate pumpkins
- or other Halloween-themed candies
Things You’ll Need
-
8 plastic dessert cups – 8 ounces each
-
Hand mixer
-
Food processor
Before You Begin
- This recipe yields 8 generous servings in 8-ounce cups. If you prefer smaller portions, you can use smaller cups and adjust the ingredient division, or simply halve the entire recipe to make 4 servings.
- To ensure beautifully defined layers, be extra careful when adding the pudding and whipped topping mixtures to the cups. Strive to keep the sides of your serving cups clean. Should any smudges of pudding or whipped topping occur on the cup’s interior, gently clean them with a wet paper towel or a small, clean utensil before proceeding to the next layer. This meticulous step greatly enhances the visual appeal.
- Unleash your creativity with chocolate toppings! Use candy melts or melted white chocolate with silicone molds to create unique and intricate Halloween decorations. Alternatively, simple candy eyeballs and gummy worms are always a classic and charming choice.
- If you prefer a simpler dessert or wish to omit the Cool Whip, feel free to do so. You can simply layer the chocolate pudding and crushed Oreos for a delicious, two-layer treat.
- For optimal freshness and texture, the pudding base can be prepared in advance. However, it’s best to assemble and layer the dirt cups just before serving to prevent the Oreos and gummy candies from becoming soggy.
- Once assembled, these dirt cups are at their best when served on the same day they are made. If you have leftovers, they can be stored in the refrigerator for up to 3 days, but be aware that the Oreos and gummies may soften slightly over time.
Instructions
-
In a large mixing bowl, combine the 2 packages of instant chocolate pudding mix and 4 cups of milk. Using an electric mixer, start on low speed to incorporate the ingredients, then increase to medium speed. Mix for about 2-3 minutes, or until the mixture becomes a thick, smooth pudding.
-
In a separate medium bowl, add 1 cup of thawed Cool Whip and 1 cup of the prepared chocolate pudding from the previous step. Mix on medium speed for approximately 2 minutes until fully combined, creating a lighter, creamy pudding mixture.
-
Place both the plain chocolate pudding and the whipped topping mixture into the refrigerator to chill while you prepare the Oreo “dirt.” This ensures they are firm and ready for layering.
-
Place all the Oreo cookies (including the cream filling) into the bowl of a food processor. Pulse until finely crushed into crumbs that resemble dark, rich soil. If you don’t have a food processor, place the Oreos in a sturdy zip-top bag and crush them with a rolling pin.
-
Set up your assembly station: remove the chilled pudding and whipped topping mixture from the refrigerator, and lay out your 8 plastic dessert cups. You can choose to layer all cups simultaneously in an assembly line fashion, or work on them individually.
-
Begin layering by adding 1 tablespoon of the crushed Oreo “dirt” to the bottom of each cup.
-
Next, carefully add ½ cup of the chocolate pudding mixture. Gently tap the cup on the counter to level the pudding, creating a smooth surface for the next layer.
-
Sprinkle another tablespoon of the crushed Oreo “dirt” over the chocolate pudding layer.
-
Now, add a heaping ¼ cup of the whipped topping mixture over the “dirt” layer. Tap the cup gently on the counter to ensure this layer is also level and smooth.
-
Finish each dirt cup with a final tablespoon of Oreo “dirt” on top. Garnish creatively with gummy worms, candy eyeballs, chocolate pumpkins, or any other Halloween-themed candies of your choice. Allow the assembled dirt cups to chill in the refrigerator for at least 30 minutes before serving for best results. Enjoy your spooky treats!
Nutrition
The recipes on this blog are tested with a conventional gas oven and gas stovetop. It’s important to note that some ovens, especially as they age, can cook and bake inconsistently. Using an inexpensive oven thermometer can assure you that your oven is truly heating to the proper temperature. If you use a toaster oven or countertop oven, please keep in mind that they may not distribute heat the same as a conventional full sized oven and you may need to adjust your cooking/baking times. In the case of recipes made with a pressure cooker, air fryer, slow cooker, or other appliance, a link to the appliances we use is listed within each respective recipe. For baking recipes where measurements are given by weight, please note that results may not be the same if cups are used instead, and we can’t guarantee success with that method.
