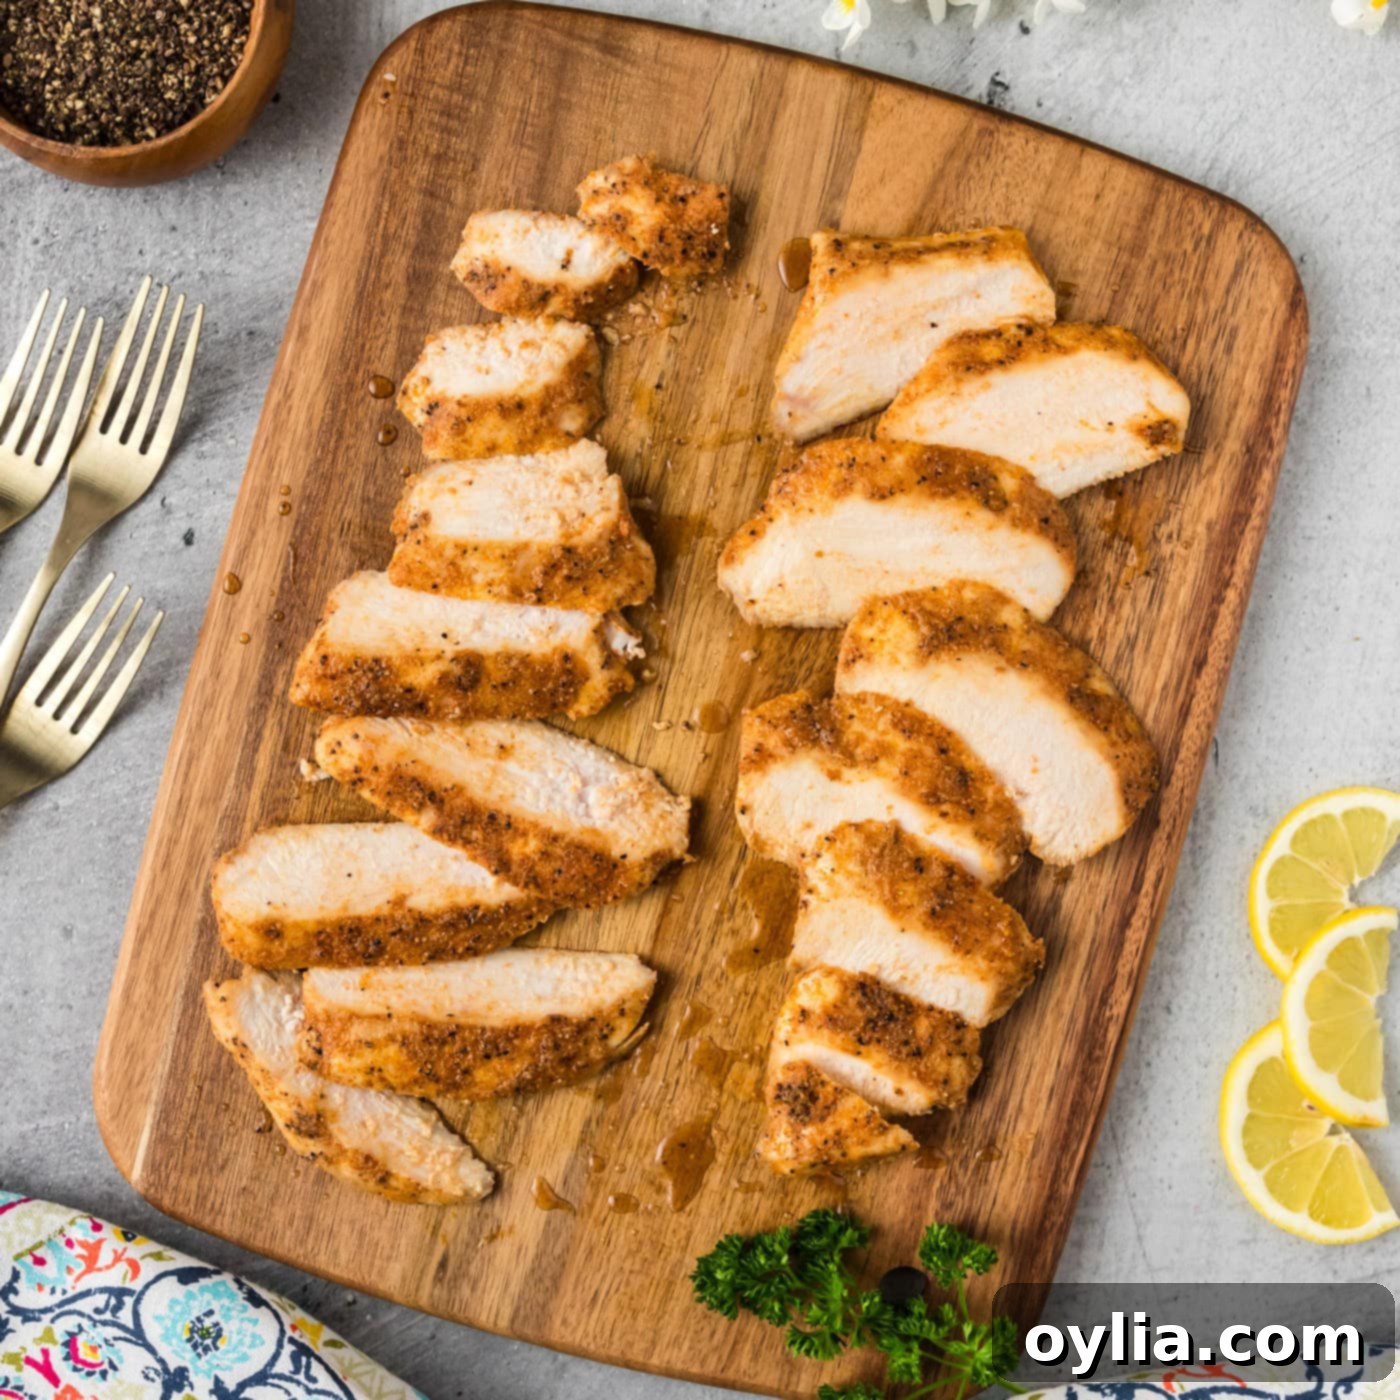
Perfectly Tender & Juicy Sous Vide Chicken Breast: A Foolproof Recipe Guide
Tired of dry, bland chicken breasts? Discover the secret to consistently succulent and flavorful chicken with the sous vide method! Sous vide chicken breast is the ultimate foolproof technique for achieving perfectly cooked, tender, and incredibly juicy results every single time. Say goodbye to guesswork and hello to restaurant-quality chicken in your home kitchen.
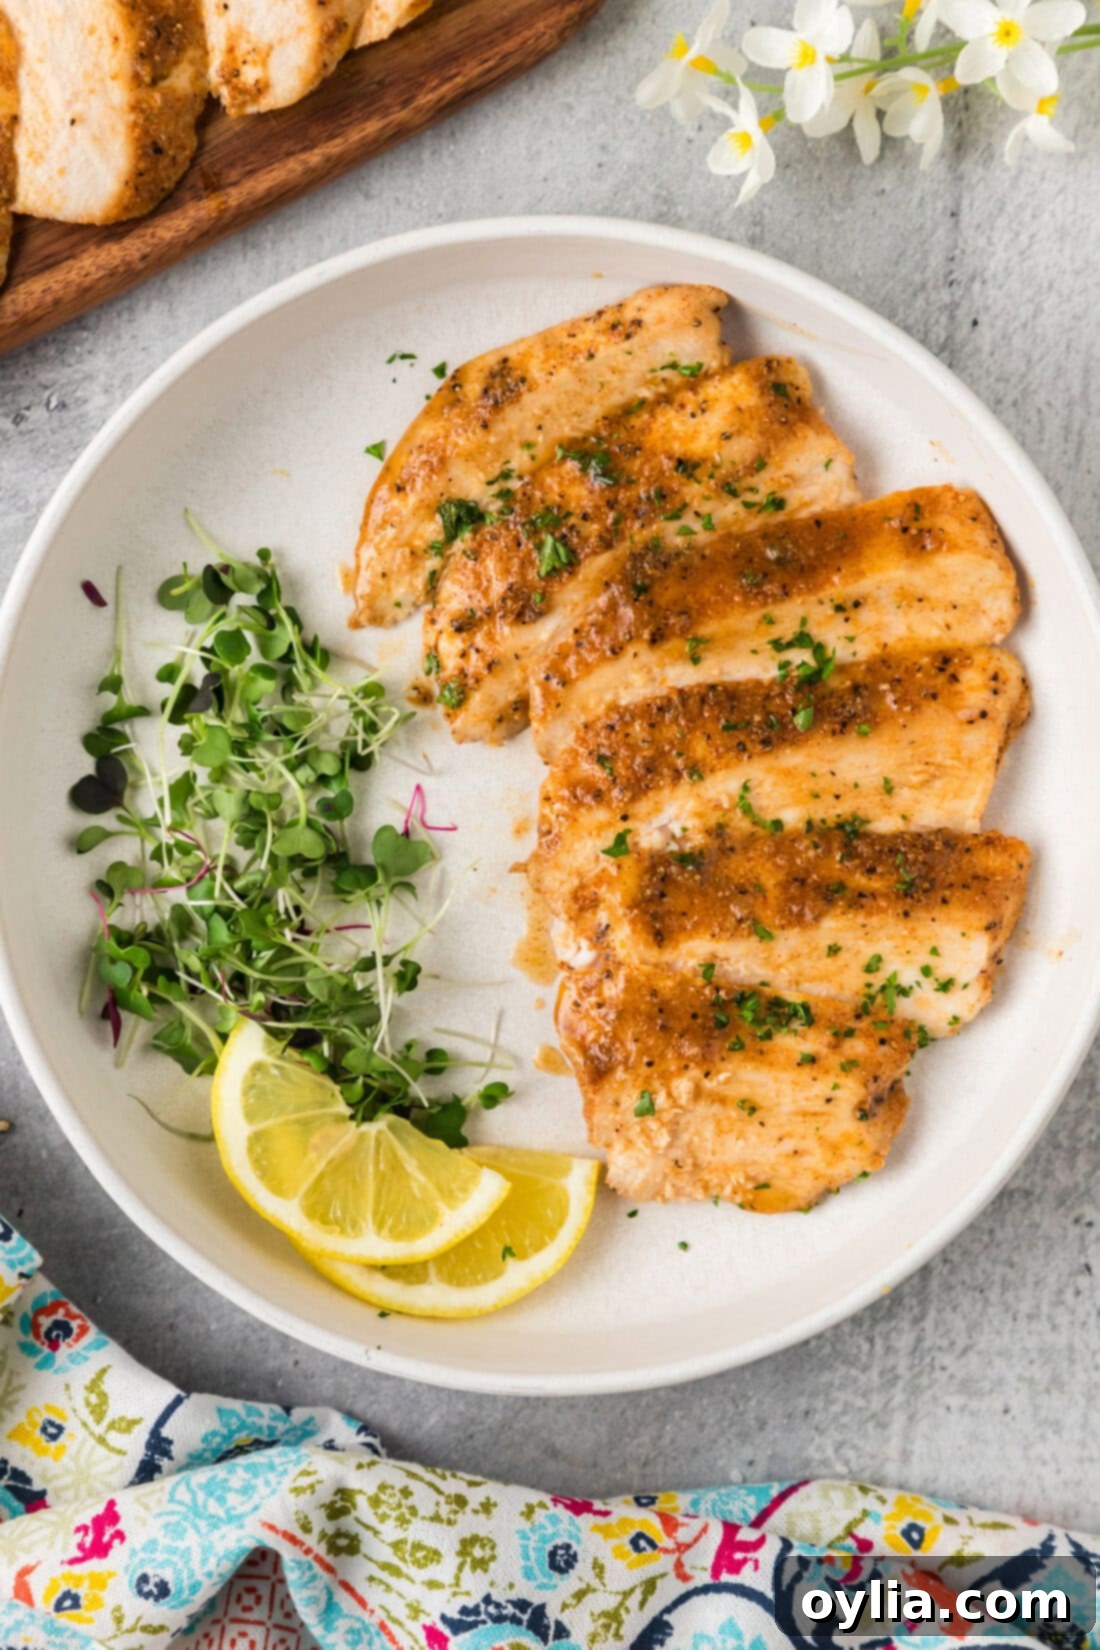
Why This Sous Vide Chicken Breast Recipe Is a Game-Changer
If you’ve ever struggled with overcooked, rubbery chicken breasts, this sous vide method is your culinary savior. Traditional cooking methods like grilling or pan-frying often lead to uneven cooking and moisture loss, making it incredibly easy to dry out chicken. Sous vide completely eliminates these issues by cooking the chicken at a precise, consistent temperature in a water bath, ensuring perfect doneness from edge to edge.
The magic of sous vide lies in its ability to lock in moisture and flavor. By sealing the chicken breast in a vacuum-sealed bag, it cooks in its own juices, preventing any weeping into a hot pan or dripping onto a grill. This means all those delicious flavors from your seasonings are concentrated, resulting in an exceptionally tender and juicy piece of chicken that’s bursting with taste. The consistent temperature maintained by the sous vide cooker guarantees even cooking throughout, giving you flawless results without any dry spots.
This technique isn’t just for chicken. We’ve seen incredible success with other proteins, perfecting sous vide pork chops and sous vide steak. Once you experience the unparalleled texture and juiciness that sous vide offers, you’ll be eager to explore its versatility with all sorts of ingredients. It transforms the way you cook, turning ordinary meals into extraordinary culinary experiences.
Essential Ingredients for Your Sous Vide Chicken Breast
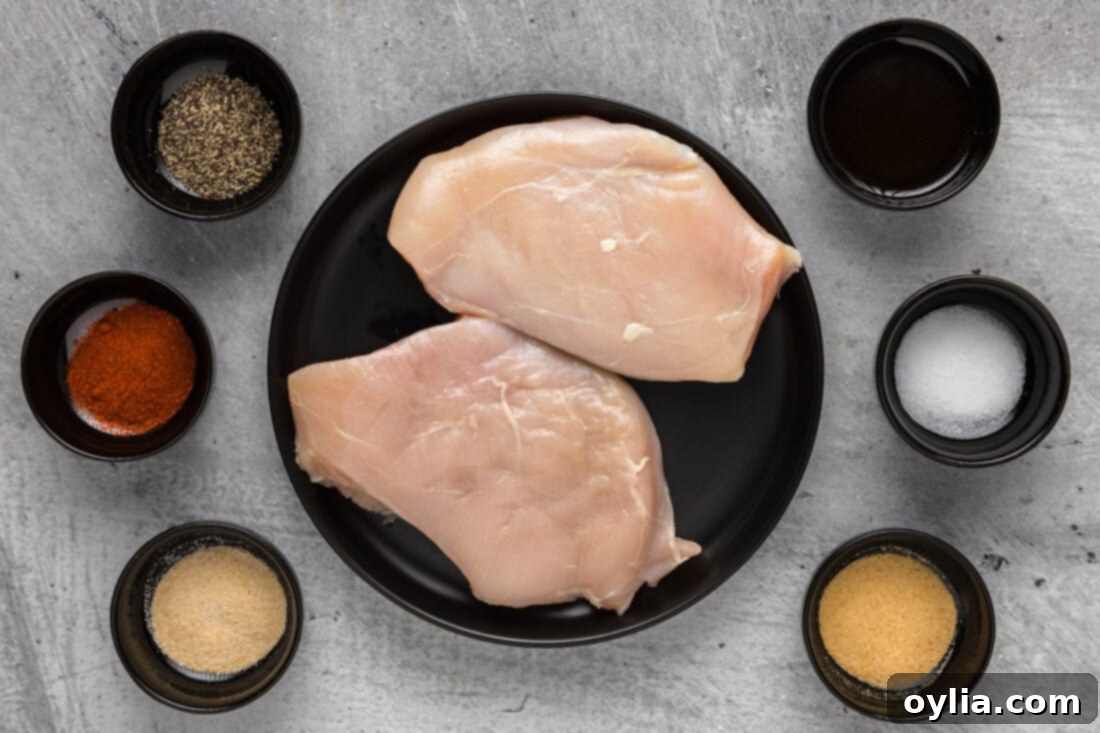
Gathering your ingredients is the first step to creating this incredibly delicious and tender chicken. This recipe calls for simple, fresh ingredients that combine to create a deeply flavorful rub for your chicken breasts. You’ll find a complete list of measurements and detailed instructions in the printable recipe card at the very end of this post.
Ingredient Spotlight & Customization Tips
Let’s dive a little deeper into the ingredients and how you can tailor them to your preference:
- CHICKEN BREASTS: For optimal results, we highly recommend using thawed boneless, skinless chicken breasts. Thawed chicken allows the seasonings to adhere beautifully and ensures consistent cooking. If you’re working with frozen chicken breasts, don’t worry – you can still use them! Just remember to extend the cook time by an additional 30 minutes. When cooking from frozen, you can omit the olive oil in the rub as it won’t be able to penetrate the frozen surface effectively. Instead, generously sprinkle the seasonings directly into the bag before sealing.
- SEASONINGS: Our chosen blend of garlic powder, onion powder, paprika, salt, pepper, and olive oil creates a perfectly balanced and aromatic rub that complements the chicken without overpowering it. This combination provides a delightful savory base. However, the beauty of this recipe is its flexibility! Feel free to customize the seasonings to match your taste or the cuisine you’re aiming for. Consider these delicious variations:
- Herby Mediterranean: Add dried oregano, thyme, and a hint of dried rosemary.
- Spicy Southwestern: Mix in chili powder, cumin, a pinch of cayenne pepper, and a squeeze of lime juice.
- Lemon Herb: Incorporate lemon zest, fresh dill, and a touch of parsley.
- Smoky BBQ: Use smoked paprika, brown sugar, and a touch of dry mustard powder.
Experiment and find your favorite flavor profile!
Step-by-Step Guide: How to Make Perfect Sous Vide Chicken Breast
These step-by-step photos and detailed instructions are designed to help you visualize each stage of making this recipe. For a convenient printable version, complete with precise measurements and instructions, simply jump to the recipe card at the bottom of this post.
- Prepare the Chicken: Begin by carefully trimming any excess fatty pieces or silver skin from your boneless, skinless chicken breasts. This ensures a more uniform texture and better presentation once cooked.
- Create the Spice Rub: In a medium-sized bowl, combine all your selected spices – garlic powder, onion powder, paprika, salt, and black pepper – with the olive oil. Mix these ingredients thoroughly until you have a well-blended, paste-like rub. This ensures even distribution of flavor.
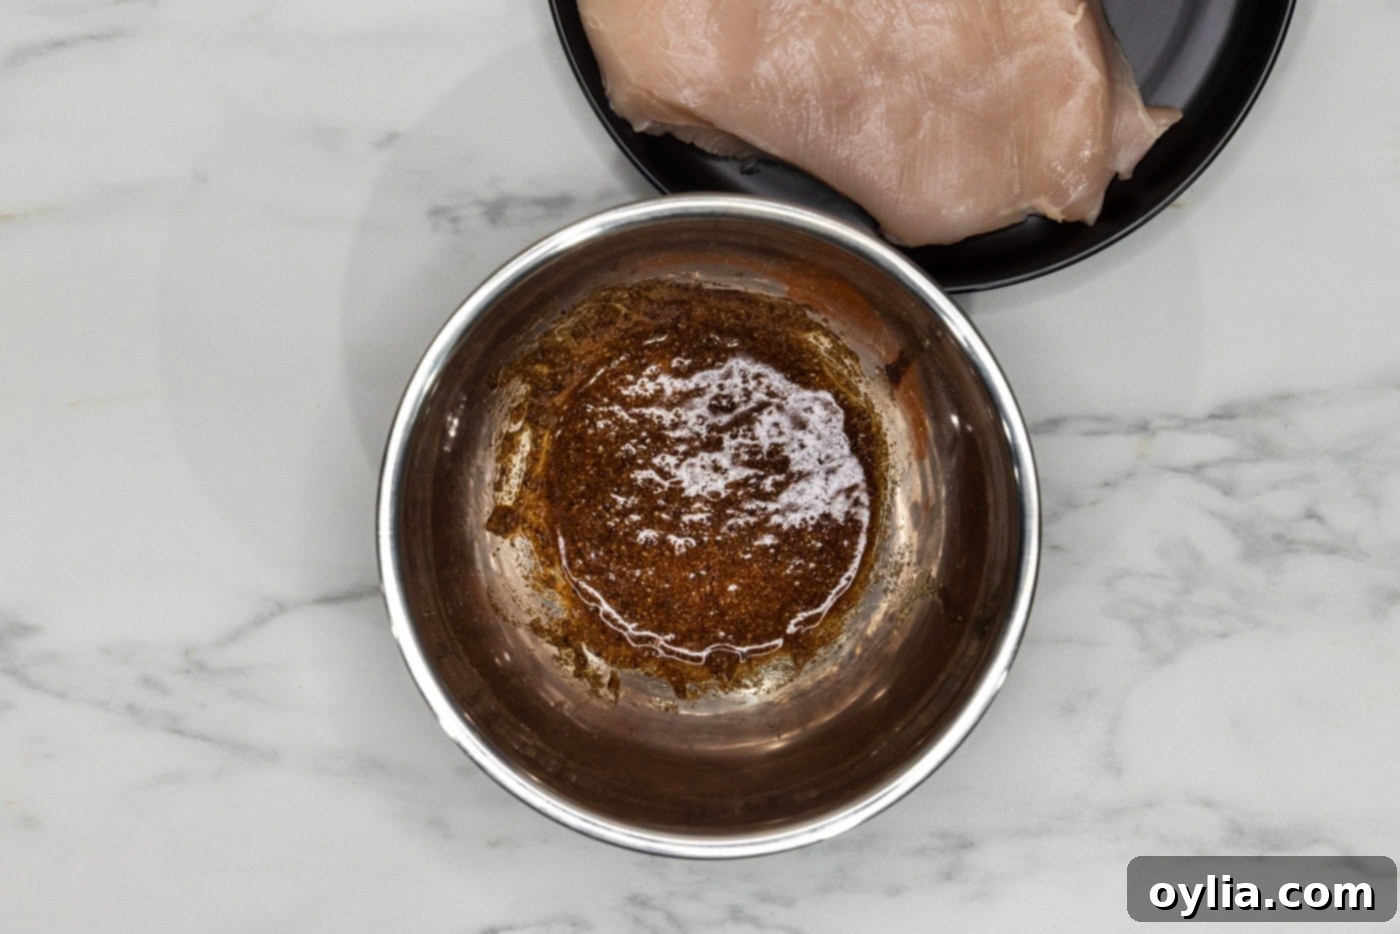
- Season the Chicken: Using gloved hands (to prevent cross-contamination and staining), generously rub the spice mixture all over each chicken breast. Ensure every surface is coated for maximum flavor penetration.
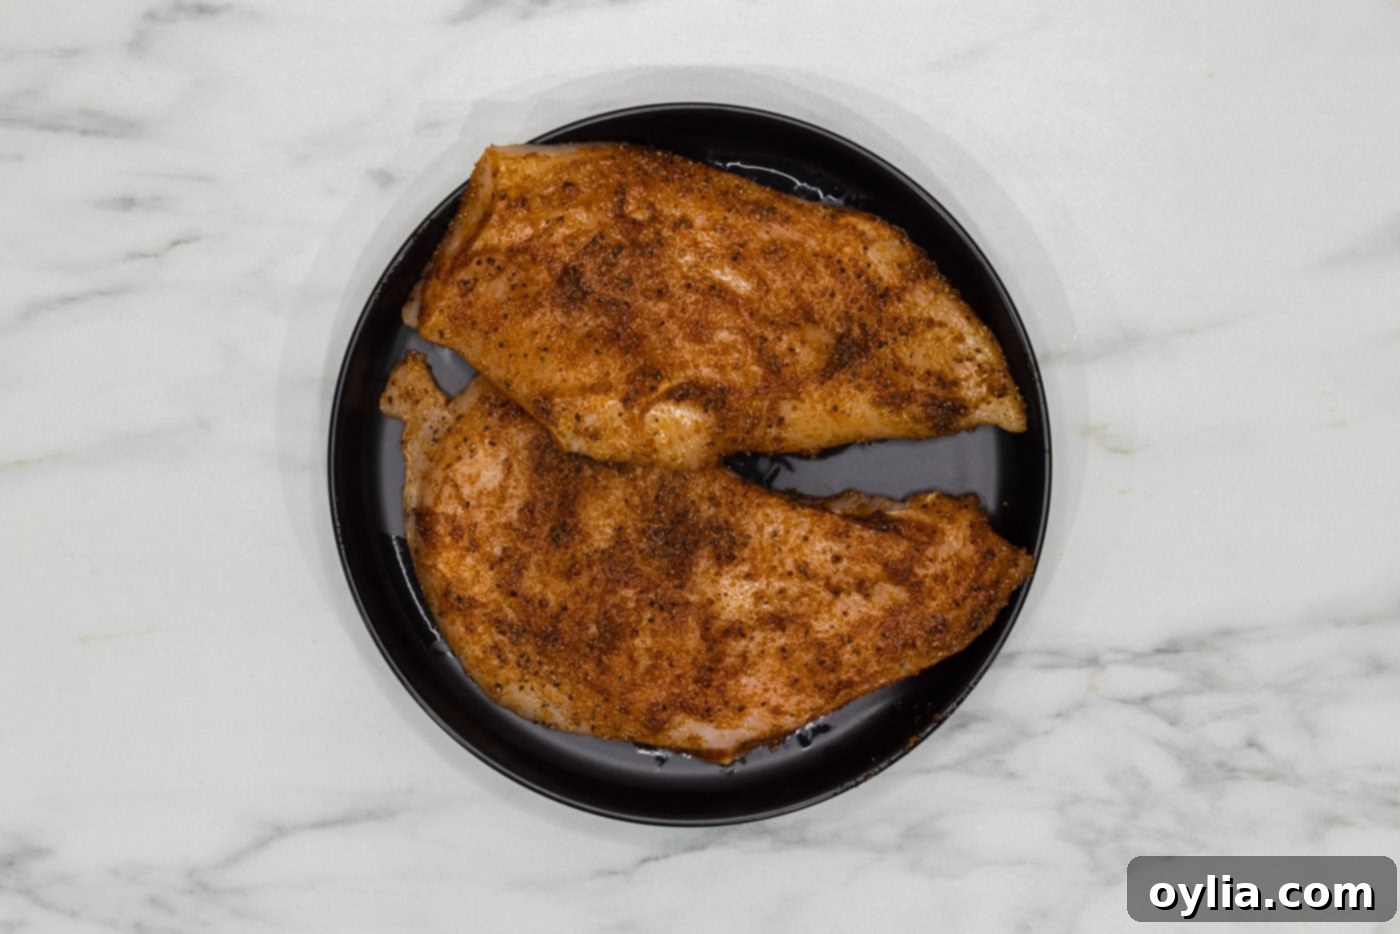
- Vacuum Seal: Place the seasoned chicken breasts into a bag suitable for vacuum sealing. Carefully remove as much air as possible using a food vacuum sealer. A tight seal is crucial for proper heat transfer and to prevent the bag from floating.
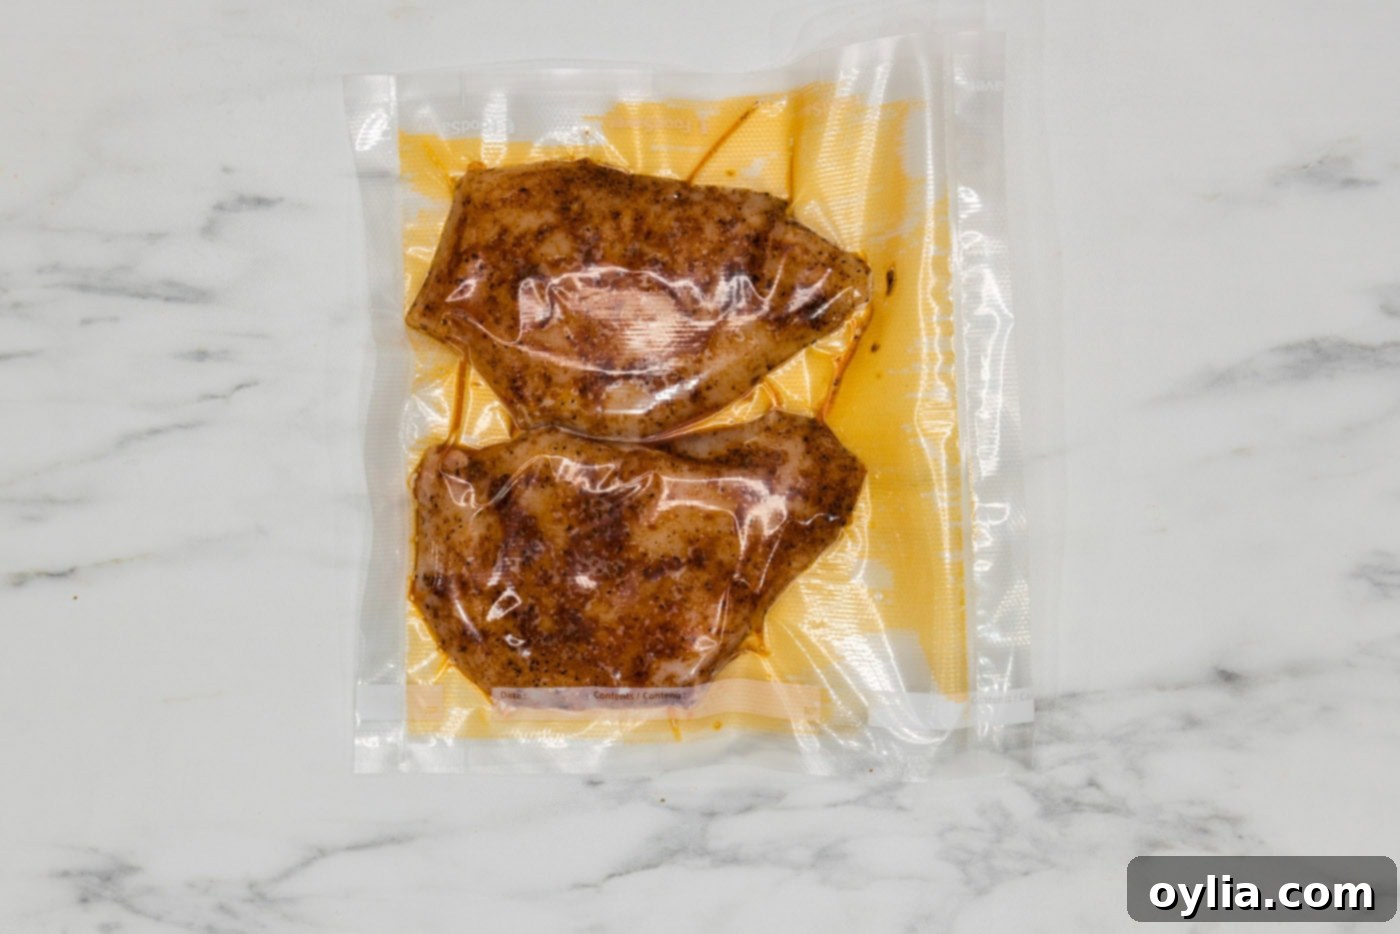
- Set Up Sous Vide Cooker: Fill your sous vide vessel (a large pot or dedicated container works great) with water. Attach your sous vide cooker (immersion circulator) and set the target temperature to 150°F (65.5°C). Allow the water to come to the set temperature before adding the chicken.
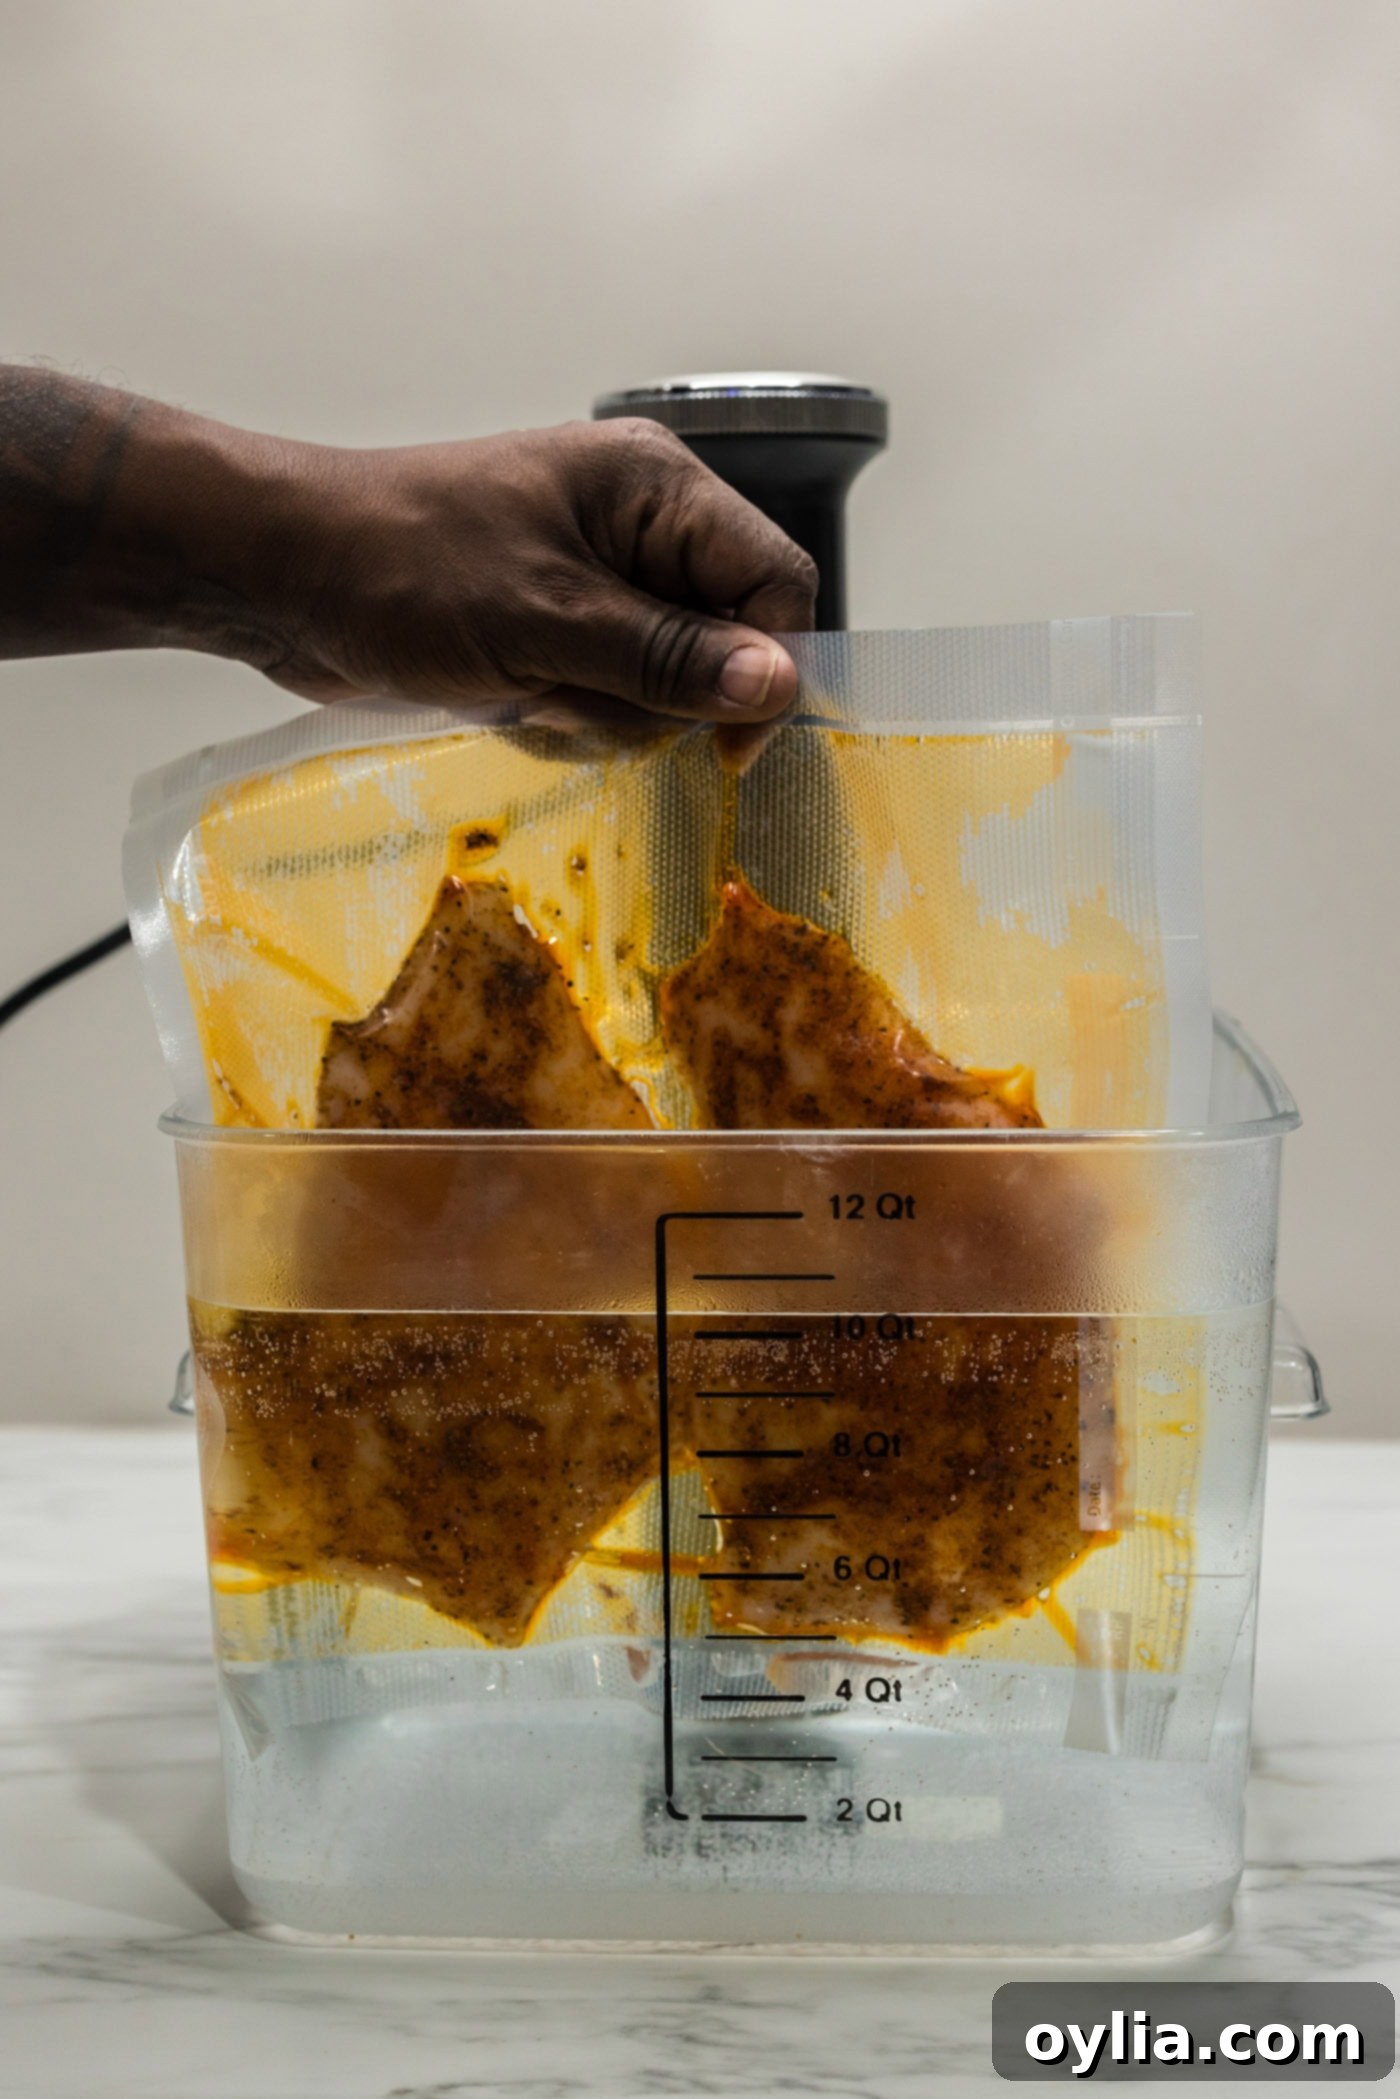
- Cook the Chicken: Once the water bath reaches 150°F, carefully submerge the vacuum-sealed chicken bags into the water. Ensure the bags are fully submerged and not floating. Cook for 90 minutes.
CHEF’S TIP: If your bags float, it indicates that air was not properly removed during the sealing process. This can lead to uneven cooking. Immediately remove the floating bag from the water, re-bag the chicken (if necessary), and re-seal, ensuring all air is expelled. It is absolutely essential that your chicken remains completely submerged throughout the cooking process for safe and optimal results. You can use a heavy plate or weights to keep bags submerged if needed.
Frequently Asked Questions & Expert Tips for Sous Vide Chicken
While not strictly necessary for doneness, searing the chicken after sous vide cooking is highly recommended for achieving a beautiful golden-brown crust and adding another layer of flavor through the Maillard reaction. Just before removing the chicken bags from the water bath, preheat a heavy-bottomed skillet (cast iron works best) over medium-high heat with 1 tablespoon of olive oil, butter, or a combination. You want the oil to be shimmering and hot. Quickly remove the chicken from the bag, pat it very dry with paper towels (this is crucial for a good sear), and sear for 1-2 minutes per side until a golden crust forms. Be careful not to sear for too long, as the chicken is already perfectly cooked internally, and extended searing can dry it out. Alternatively, for a quick and impressive finish, you can use a kitchen torch to create a crust without the need for a pan.
This is one of the greatest advantages of sous vide! While you technically can’t “overcook” sous vide chicken in the traditional sense (i.e., burning or drying it out due to excessive temperature), you can certainly degrade its texture if left in the water bath for too long. At our recommended temperature of 150°F (65.5°C), chicken breast is perfectly cooked and ready at 90 minutes. It can remain in the water bath for a maximum of 4 hours without becoming unsafe, but beyond 2-3 hours, you might notice a slight change in texture, becoming softer or even a bit “mealy.” For the best possible texture, it’s ideal to remove the chicken once the recommended cooking time is complete.
Absolutely, yes! The key to sous vide food safety lies in understanding the relationship between temperature and time (known as pasteurization). While the USDA generally recommends poultry be cooked to an internal temperature of 165°F (74°C) for immediate safety, this recommendation is based on traditional, higher-heat cooking methods. With sous vide, holding food at a consistent, lower temperature for a specific duration achieves the same level of food safety by eliminating harmful bacteria like Salmonella. At 150°F (65.5°C), chicken breast is fully pasteurized and safe to eat after approximately 30-40 minutes (depending on thickness). Our 90-minute cook time provides an ample safety margin, ensuring thorough pasteurization and a perfectly safe, delicious meal.
The “best” temperature can vary slightly based on personal preference for texture.
- 140°F (60°C): Very tender, slightly pinkish hue (safe due to pasteurization time).
- 145°F (63°C): Very juicy, tender, no pink.
- 150°F (65.5°C): Our recommended temperature. Exceptionally tender, juicy, and universally appealing texture. This is a great balance of tenderness and firm texture.
- 155°F (68°C): Slightly firmer, but still far more juicy than traditionally cooked chicken.
For beginners, 150°F is an excellent starting point that consistently delivers outstanding results.
Sous vide chicken breast is fantastic for meal prepping! Once cooked, immediately transfer the sealed bags from the hot water bath to an ice bath to rapidly cool them down. This quick cooling process stops the cooking and ensures food safety. Once fully chilled, the chicken can be stored in its sealed bag in the refrigerator for up to 5-7 days. When ready to eat, you can reheat it gently in the sous vide bath, sear it, slice it cold for salads, or incorporate it into other dishes.
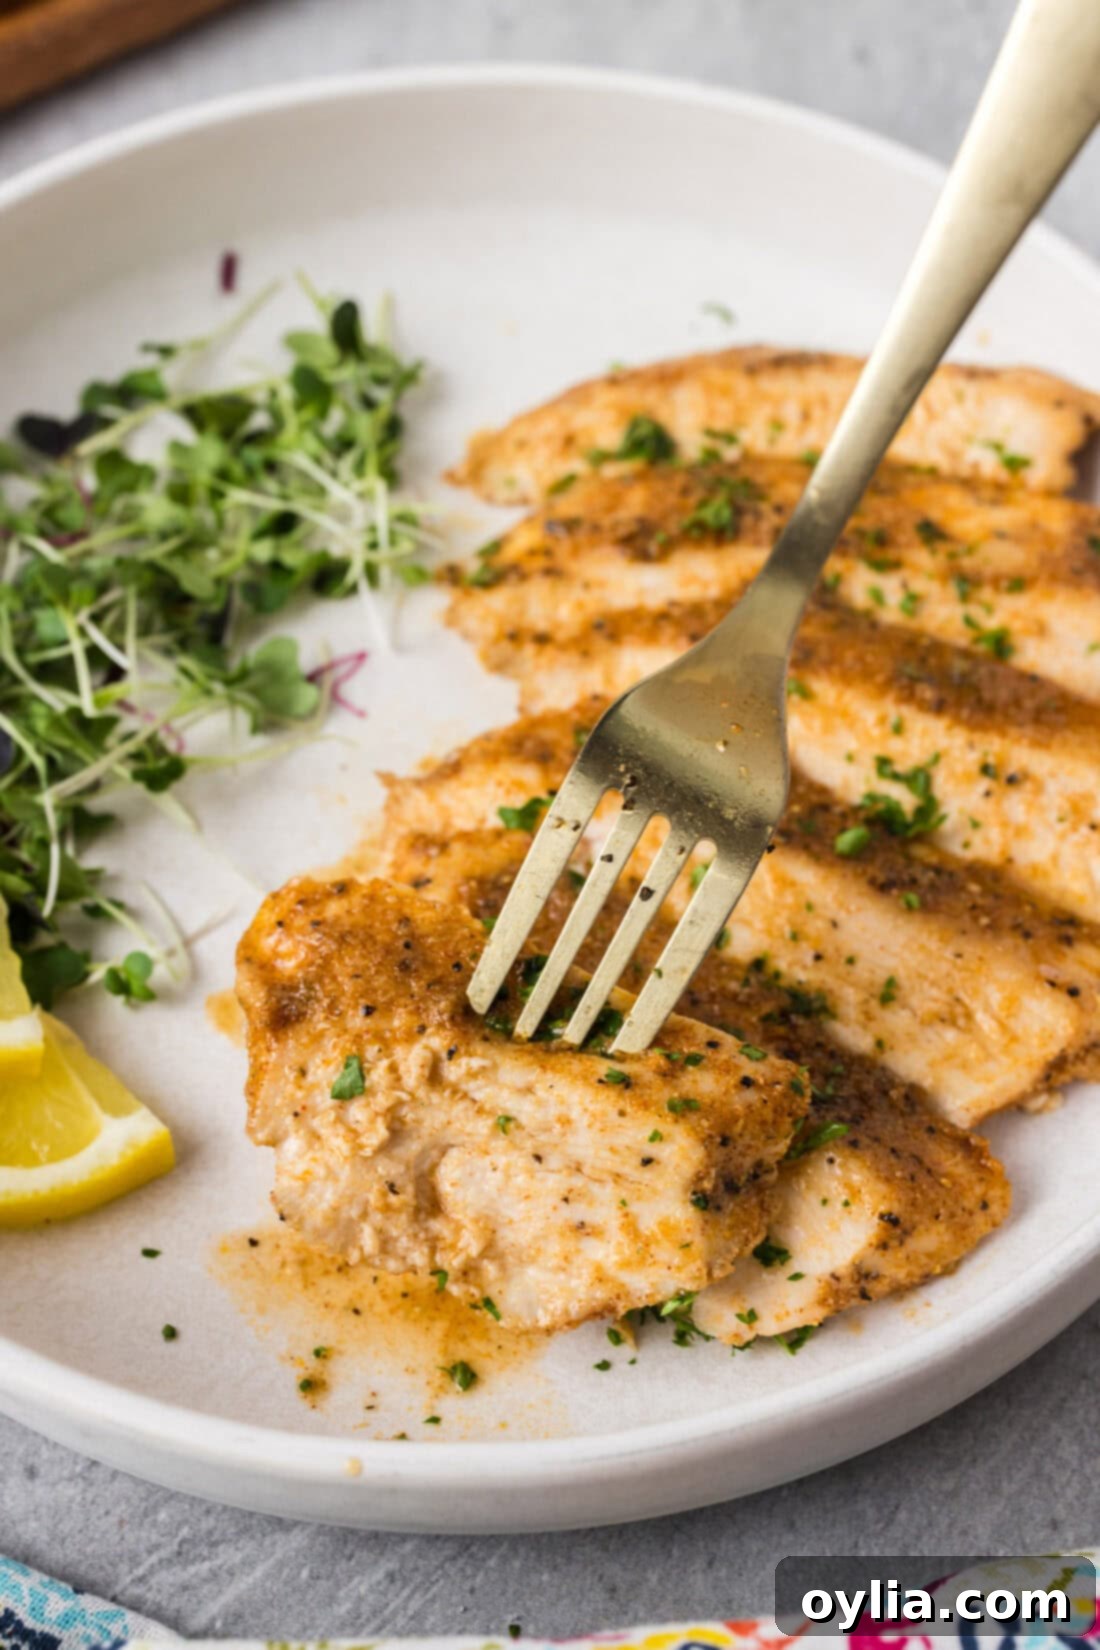
Delicious Serving Suggestions for Your Sous Vide Chicken
Your perfectly cooked sous vide chicken breast is incredibly versatile and pairs well with a myriad of sides. For a classic and comforting meal, serve it alongside a generous scoop of creamy mashed potatoes or fluffy rice. It also shines with roasted vegetables like asparagus, broccoli, or Brussels sprouts. For a lighter option, a fresh dinner salad with a vibrant vinaigrette makes an excellent accompaniment.
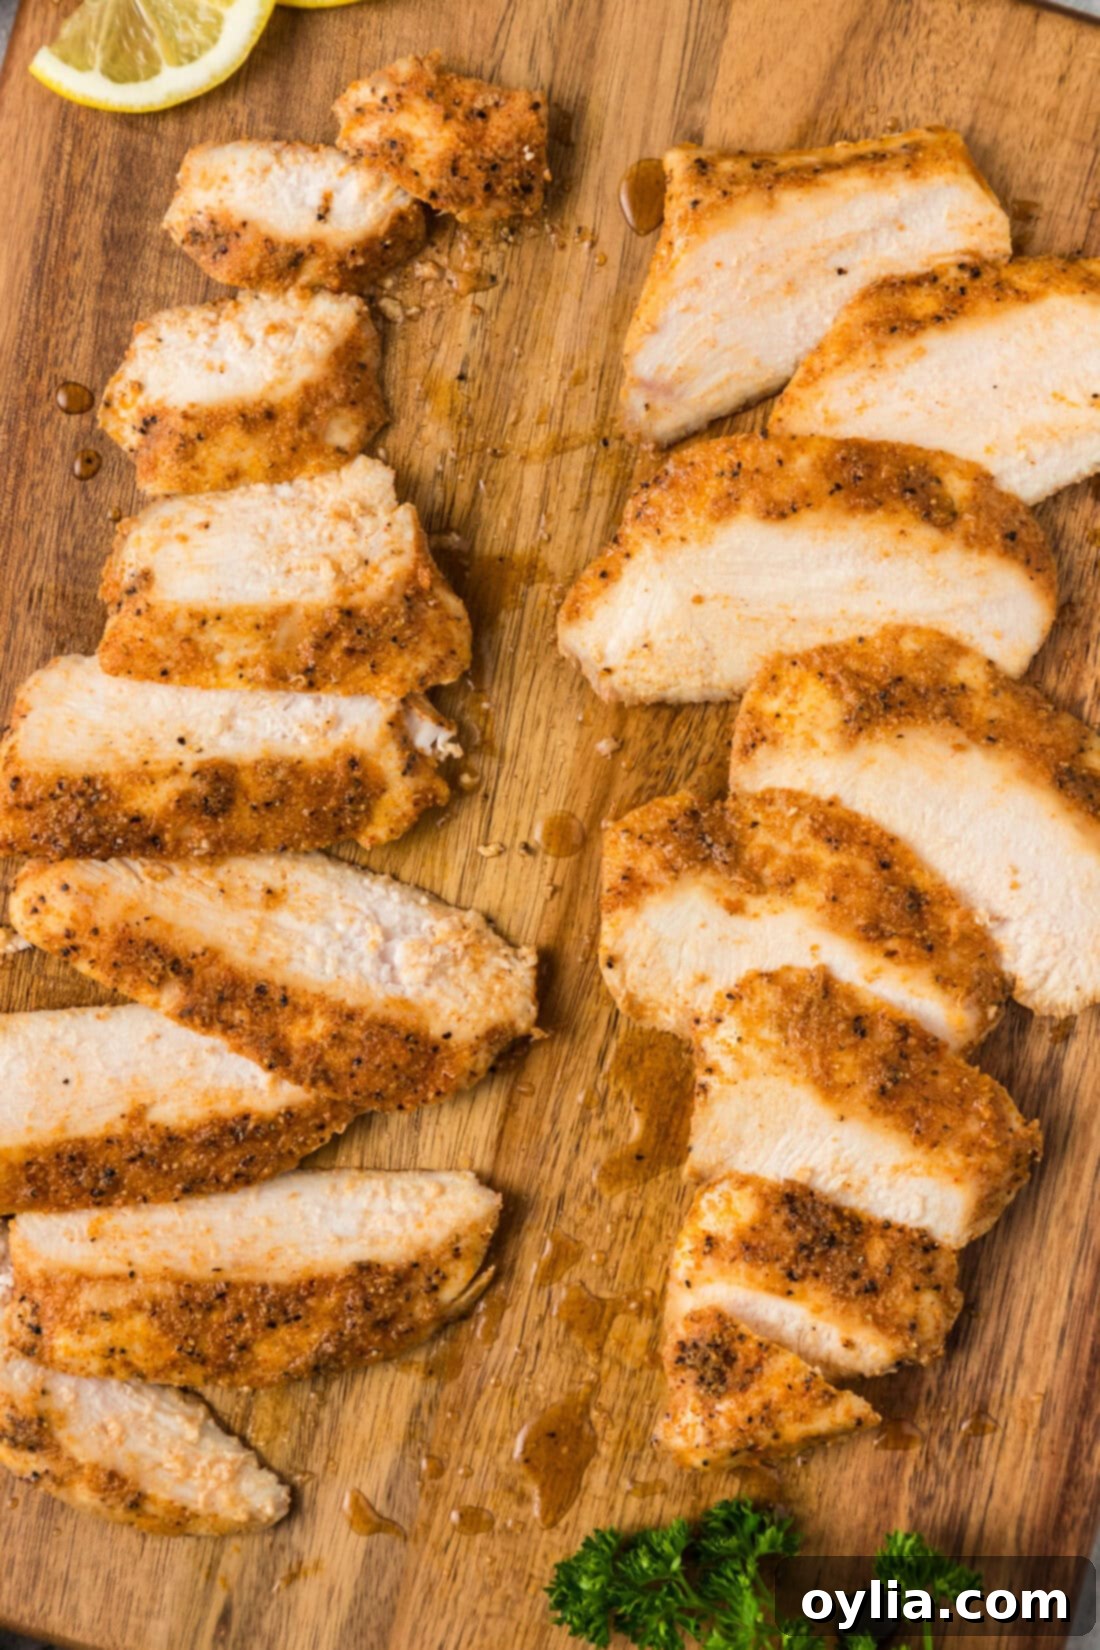
If you opted to reverse sear your chicken after cooking, enjoy that beautiful, crispy crust! This chicken is also fantastic sliced and added to wraps, sandwiches, quesadillas, pasta dishes, or on top of a hearty grain bowl. The tender texture makes it easy to shred for tacos or chicken salads. Don’t be afraid to get creative with your pairings and enjoy the incredible flavor and texture you’ve achieved!
Explore More Sous Vide Delights
Once you’ve mastered sous vide chicken, you’ll want to try these other fantastic sous vide recipes:
- Sous Vide Steak: Achieve perfectly cooked steak, every time.
- Sous Vide Salmon: Flaky, moist, and flavorful salmon without overcooking.
- Sous Vide Pork Chops: Say goodbye to dry pork chops forever.
I absolutely love to bake and cook, and sharing my kitchen experiences with all of you brings me immense joy! Remembering to come back each day for new recipes can be tough, which is why I offer a convenient newsletter every time a new recipe posts. Simply subscribe here and start receiving your free daily recipes directly to your inbox!
Sous Vide Chicken Breast Recipe
IMPORTANT – There are often Frequently Asked Questions within the blog post that you may find helpful. Simply scroll back up to read them!
Print It
Pin It
Rate It
Save ItSaved!
Ingredients
- 8-10 ounces boneless skinless chicken breasts
- 1 Tablespoon garlic powder
- 1 Tablespoon onion powder
- 1 Tablespoon paprika
- 2 teaspoons table salt
- 1 teaspoon black pepper
- 2 Tablespoons olive oil
Equipment You’ll Need
-
Food vacuum sealer and bags
-
Sous vide water container or large pot
-
Sous vide immersion circulator
-
Optional: Cast Iron Skillet or Kitchen Torch for searing
Before You Begin
- It’s best to use thawed boneless skinless chicken breasts for this recipe. You can use frozen chicken breast, but you’ll need to add about 30 minutes to the cook time. When cooking from frozen, you can omit the olive oil. It’s also important to note that seasonings will not stick to frozen chicken but you can generously sprinkle it into the bag before sealing.
Instructions
-
Trim any excess fat or silver skin from your chicken breasts.
-
In a medium bowl, combine garlic powder, onion powder, paprika, salt, pepper, and olive oil. Mix well to form a paste.
-
Using gloved hands, rub the spice mixture evenly over all surfaces of the chicken breasts.
-
Place the seasoned chicken breasts into a vacuum sealer bag and remove all air using a food vacuum sealer. Ensure a tight seal.
-
Fill your sous vide vessel with water and attach your immersion circulator. Set the temperature to 150°F (65.5°C) and allow the water to preheat.
-
Once the cooker reaches the set temperature, carefully add the vacuum-sealed chicken bags to the water bath. Ensure they are fully submerged. Cook for 90 minutes (or 120 minutes if starting from frozen).
Troubleshooting Tip: If the bags float, it means they are not properly sealed or contain too much air. Remove them, re-seal, ensuring all air is expelled, and re-submerge. It’s crucial for food safety and even cooking that the bags remain fully submerged.
Expert Tips & FAQs
- Optional Searing for a Perfect Crust: For an irresistible golden-brown crust, you can sear the chicken after it finishes cooking in the sous vide. Just before taking the bags out of the water bath, preheat a cast-iron skillet over medium-high heat with 1 tablespoon of olive oil (or butter). Get the oil nice and hot – it should be shimmering. Remove the chicken from the bags, pat it very dry with paper towels (moisture is the enemy of a good sear!), and sear for 1-2 minutes per side until beautifully browned. Alternatively, use a kitchen torch for a quick crust without a pan.
- Don’t Overcrowd the Bath: Ensure there’s enough space between the chicken bags in the water bath for proper water circulation and consistent temperature.
- Pat Dry Before Searing: This step cannot be emphasized enough! A dry surface is essential for achieving a flavorful crust when searing.
Nutrition Facts
The recipes on this blog are tested with a conventional gas oven and gas stovetop. It’s important to note that some ovens, especially as they age, can cook and bake inconsistently. Using an inexpensive oven thermometer can assure you that your oven is truly heating to the proper temperature. If you use a toaster oven or countertop oven, please keep in mind that they may not distribute heat the same as a conventional full sized oven and you may need to adjust your cooking/baking times. In the case of recipes made with a pressure cooker, air fryer, slow cooker, or other appliance, a link to the appliances we use is listed within each respective recipe. For baking recipes where measurements are given by weight, please note that results may not be the same if cups are used instead, and we can’t guarantee success with that method.
