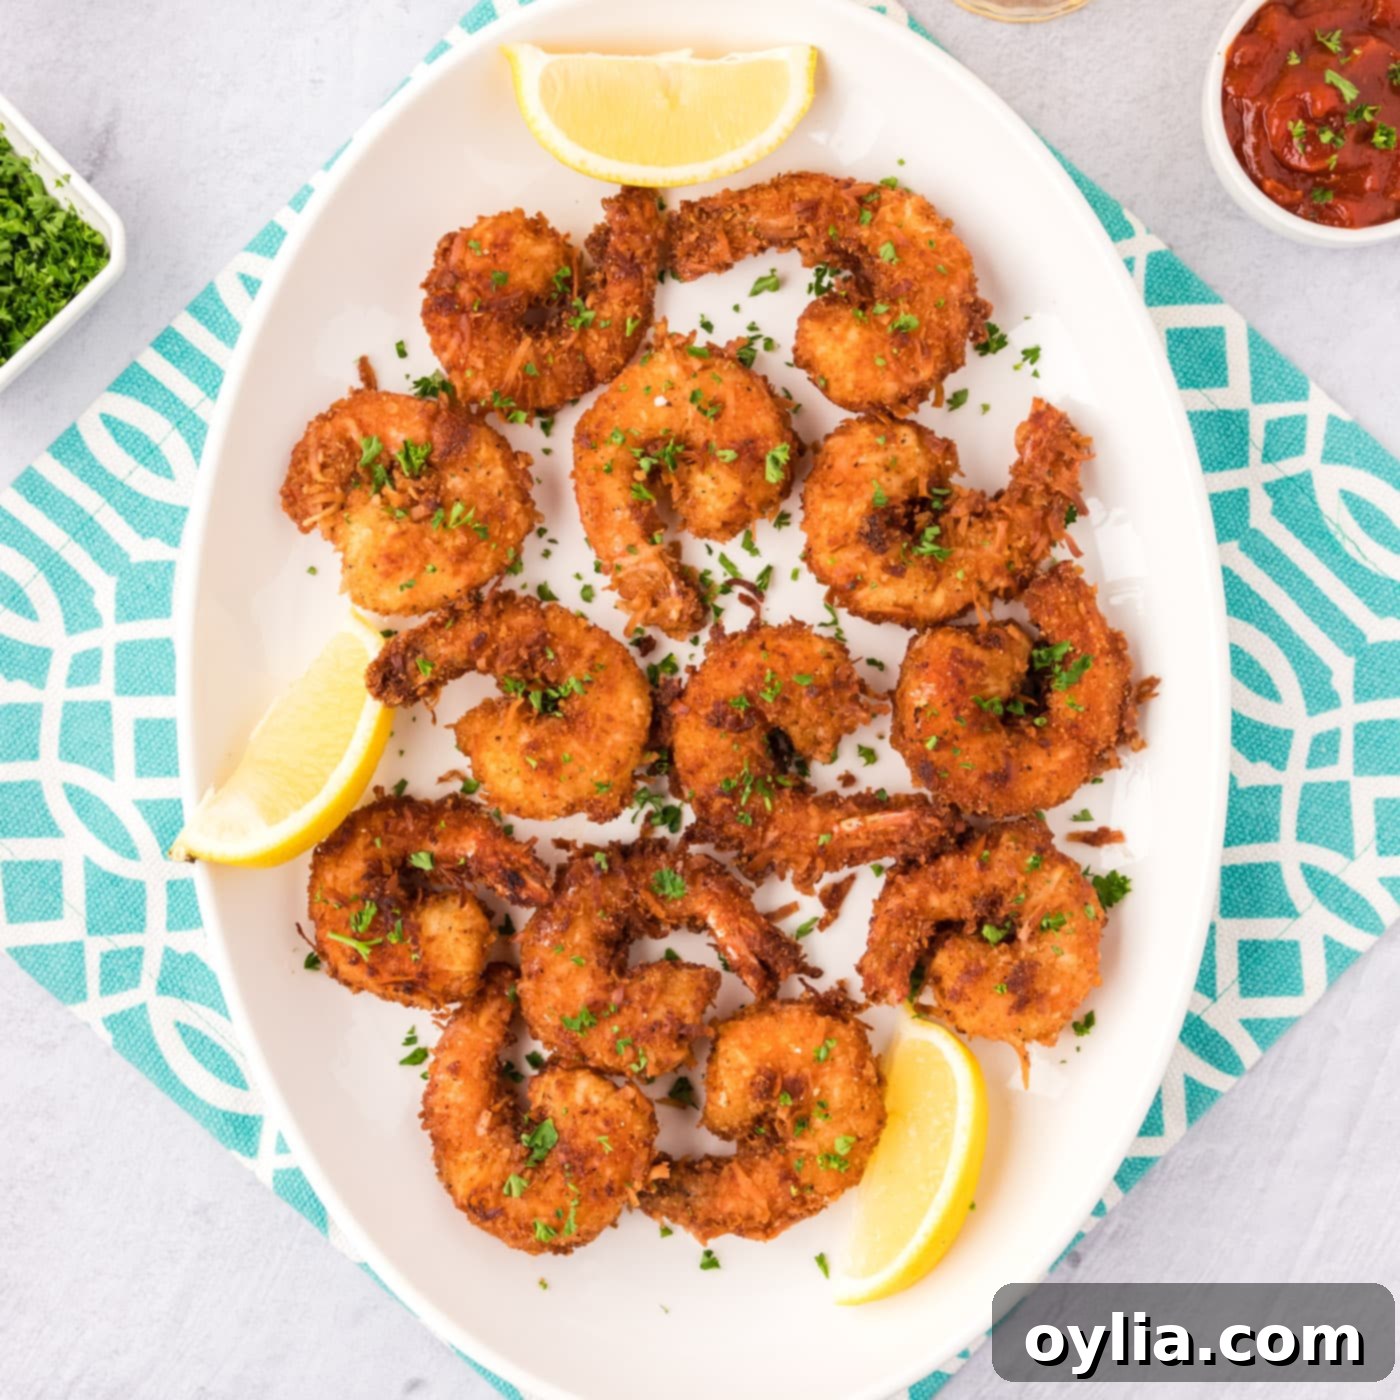
The Ultimate Crispy Homemade Coconut Shrimp Recipe
Prepare your taste buds for an unforgettable culinary experience with our ultimate crispy homemade coconut shrimp recipe. Imagine plump, succulent shrimp enveloped in a golden-brown, irresistibly crunchy coconut crust. Each bite delivers a perfect harmony of sweet and savory notes, making this dish an absolute crowd-pleaser. Whether you’re hosting a party, looking for a delightful appetizer, or simply craving a special treat, this recipe promises the crispiest crunch and a burst of tropical flavor every single time.
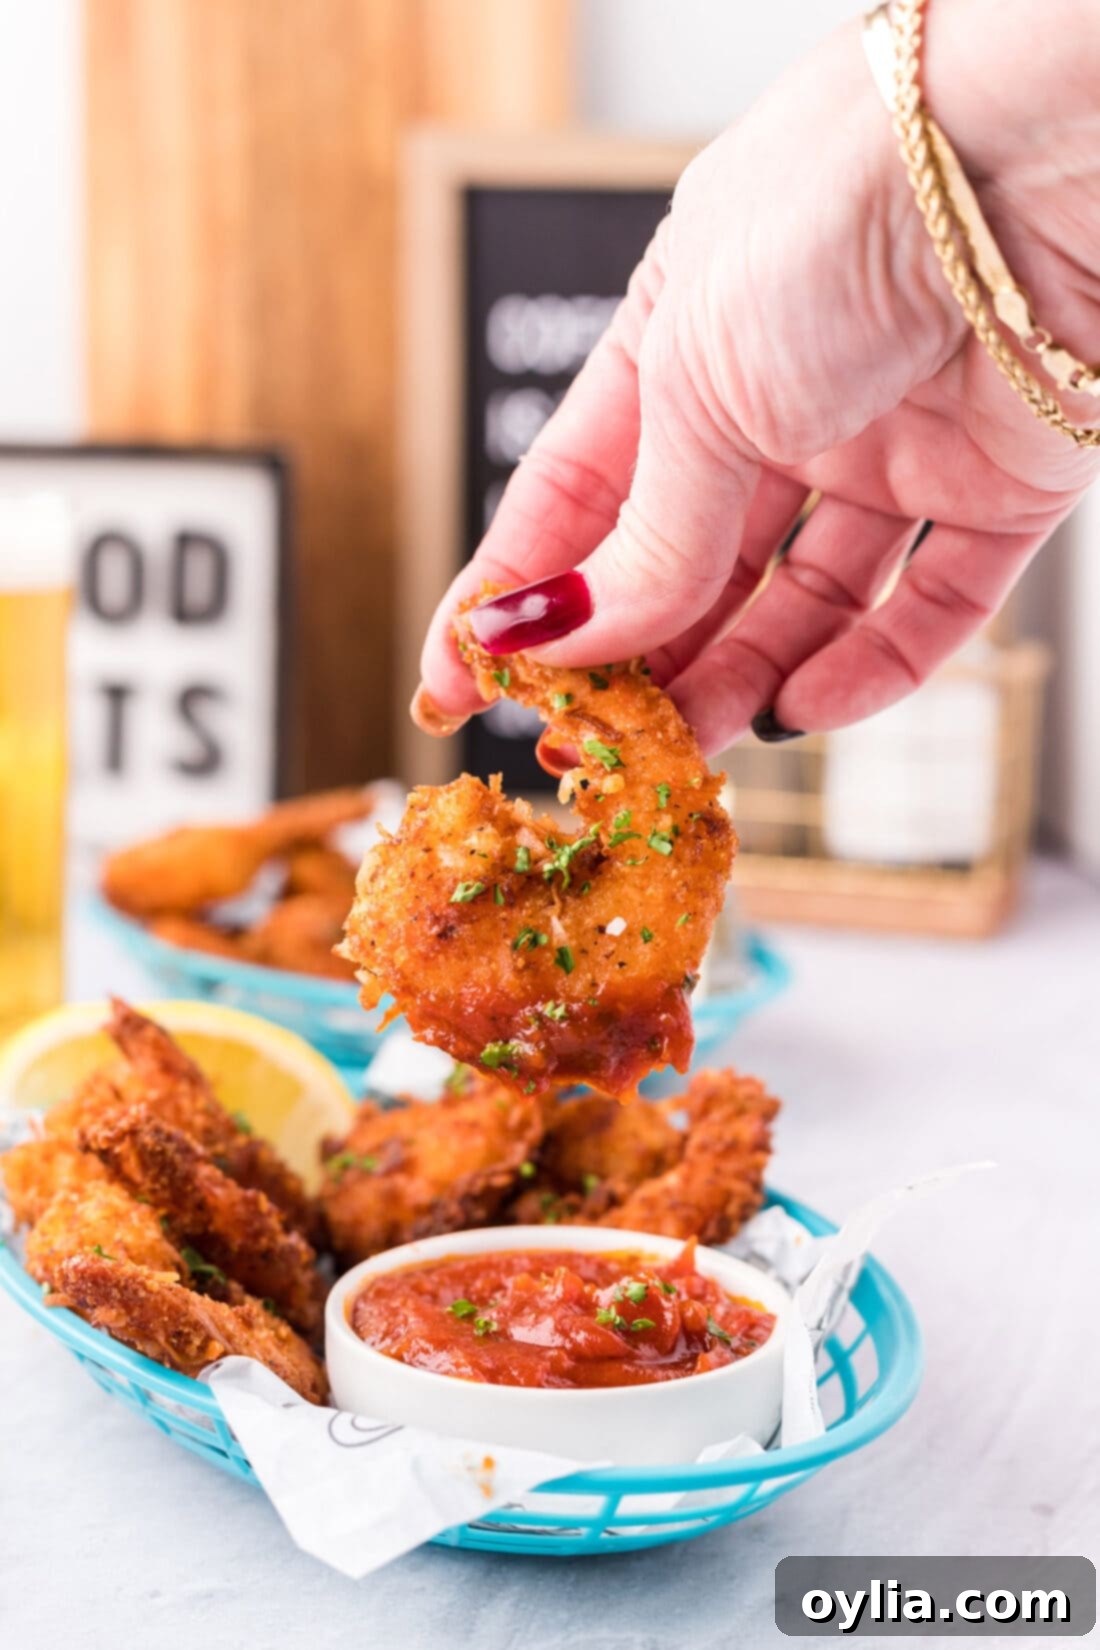
Why This Crispy Coconut Shrimp Recipe Is a Must-Try
This coconut shrimp recipe stands out for its consistently perfect results, delivering an unmatched sensory experience. It never fails to impress: a wonderfully crispy, crunchy crust giving way to tender, juicy shrimp. The delicate balance between the natural sweetness of the coconut and the savory richness of the shrimp is truly exceptional. We achieve this fantastic texture and flavor through a carefully crafted breading process. You’ll start with a simple dredge in seasoned flour and a quick dip in an egg wash, followed by a generous coating of a unique mixture of breadcrumbs, Panko, and sweetened coconut flakes. This multi-layered approach ensures that each piece of shrimp is encased in a coating that locks in moisture while creating the ultimate crispy bite. Fry them up in a skillet with oil until they turn a magnificent golden-brown, and you’ll have a flavorful appetizer ready for virtually any gathering, from casual get-togethers to elegant dinner parties.
For those who prefer a lighter touch or want to avoid deep-frying, we also offer an equally delicious air fryer coconut shrimp recipe. This alternative method eliminates the need for excessive oil while maintaining the same great flavor and satisfying texture, proving that you can enjoy this beloved dish in more ways than one.
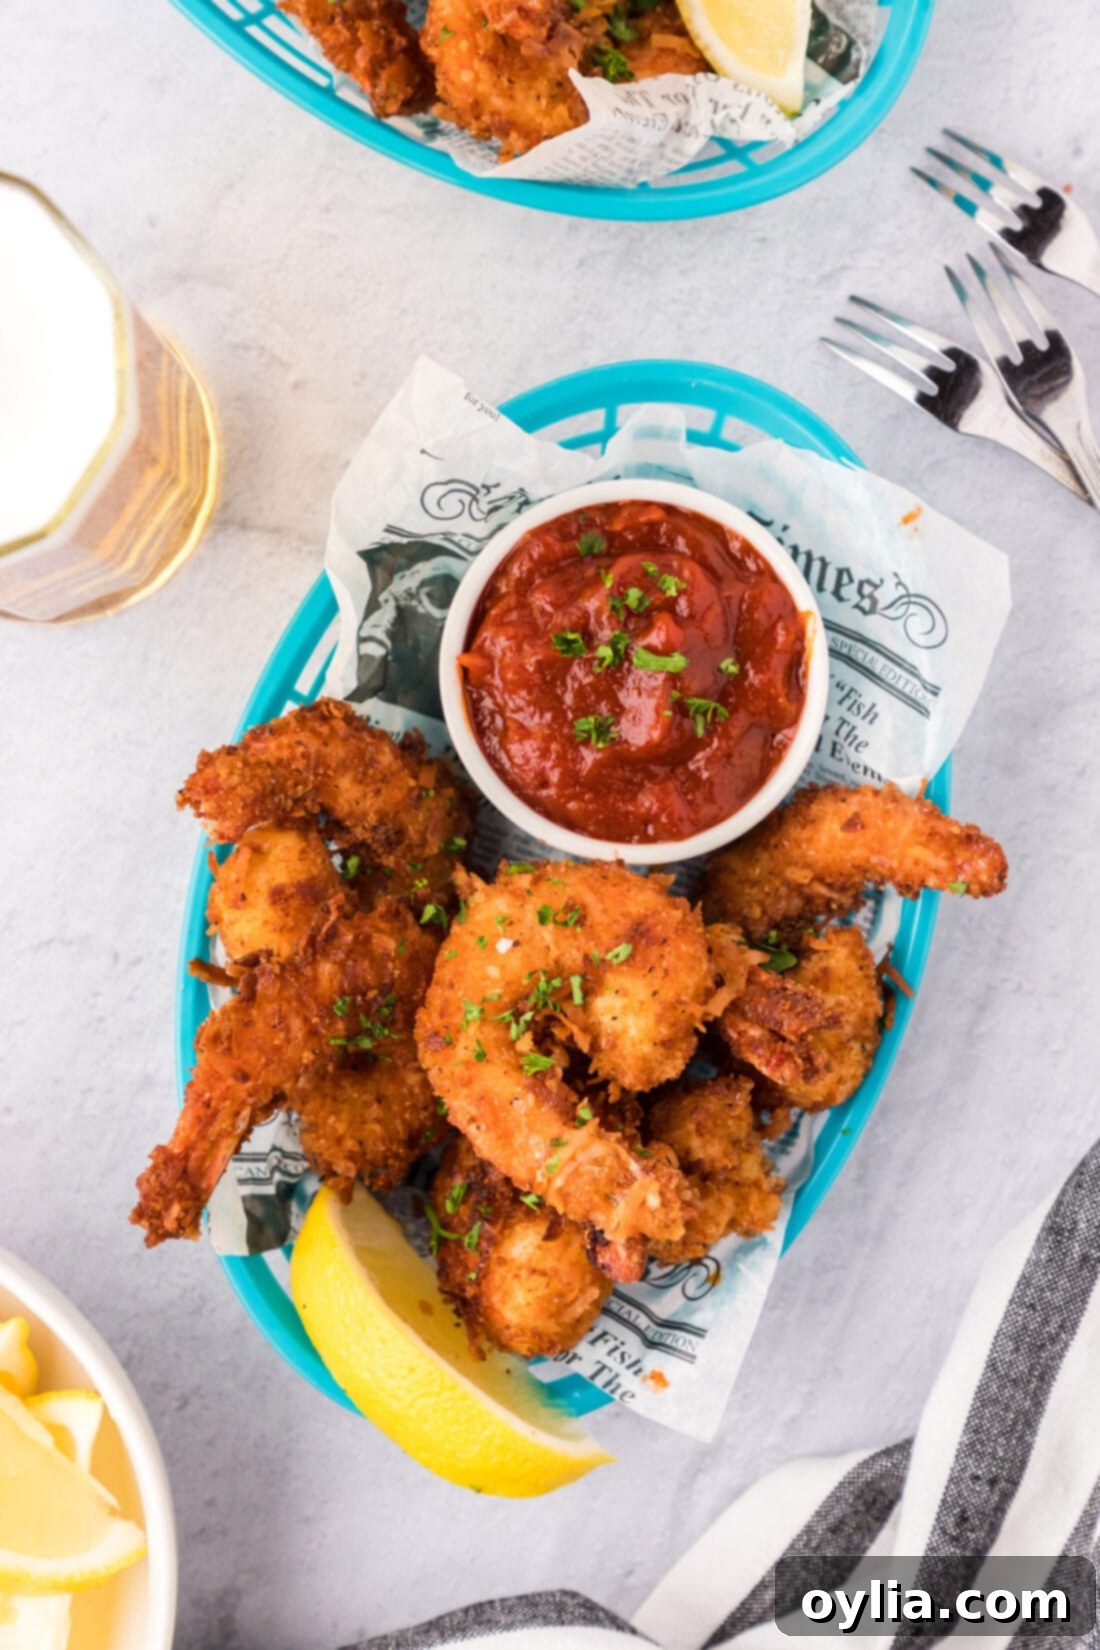
Essential Ingredients for Your Homemade Coconut Shrimp
Crafting the perfect batch of coconut shrimp begins with selecting the right ingredients. Below is a comprehensive list of what you’ll need to bring this delightful appetizer to life. For precise measurements and detailed instructions, refer to the printable recipe card located at the end of this post.
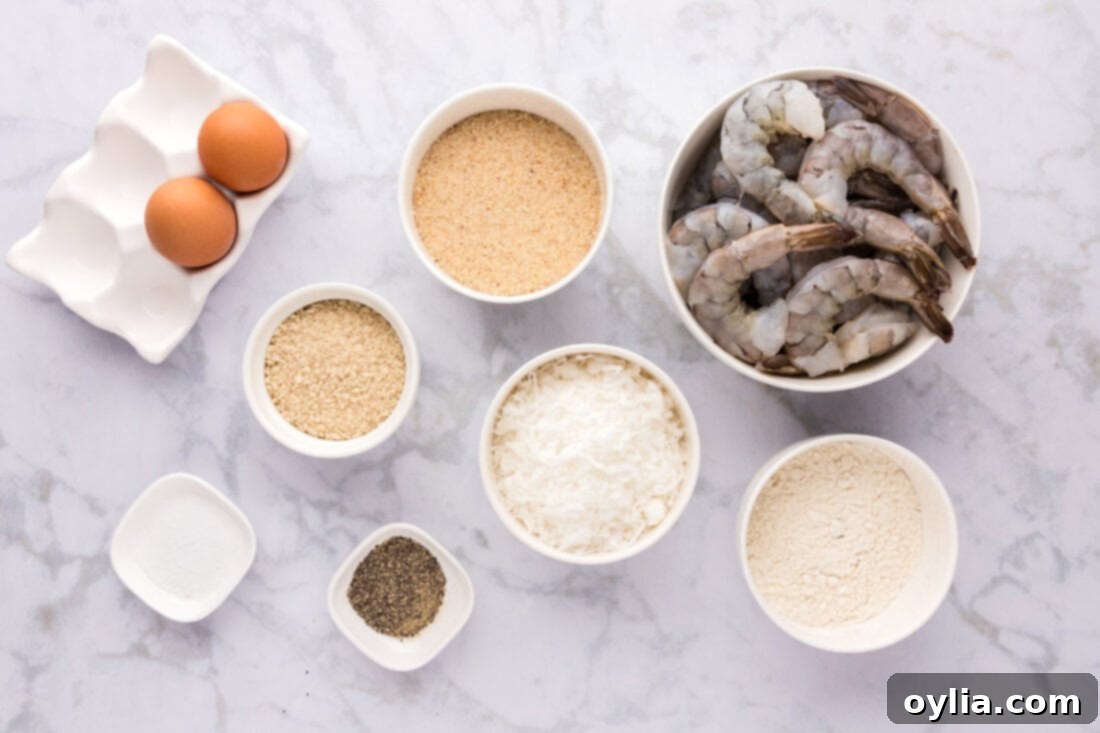
Ingredient Spotlight & Expert Substitution Tips
Shrimp Selection: Fresh, Frozen, and Preparation
SHRIMP: For this crispy coconut shrimp recipe, we prefer using “grilling shrimp” due to their excellent size, which provides a satisfying bite. You can often find these in your grocery store’s meat department butcher case. Alternatively, extra-large bagged shrimp, already peeled and deveined, works wonderfully for convenience. If using frozen shrimp, always opt for raw shrimp over pre-cooked for the best flavor and texture; ensure they are fully thawed and patted dry before breading. Leaving the tails on the shrimp is a fantastic choice for presentation, creating an appealing visual, and also provides a convenient handle for guests to pick them up easily. However, this is entirely optional, and removing the tails will not impact the taste.
Coconut: Sweetened vs. Unsweetened
COCONUT FLAKES: Our extensive testing has shown that using **sweetened coconut flakes** significantly enhances the overall coconut flavor of the finished shrimp. The slight sweetness beautifully complements the savory shrimp and adds an extra layer of tropical deliciousness. However, if you are mindful of sugar content or prefer a less sweet profile, **unsweetened coconut flakes** can be used as a direct substitute. While the coconut flavor might be slightly less pronounced, the delightful texture will remain, making it a great option for dietary considerations.
The Perfect Crunch: Breadcrumbs and Panko
For that ultimate crispiness, our recipe cleverly combines both **regular breadcrumbs** and **Panko breadcrumbs**. Regular breadcrumbs provide a finer texture that adheres well to the shrimp, while Panko, with its larger, flakier texture, creates an incredibly light and airy crunch. This combination is key to achieving the signature texture of our crispy coconut shrimp.
The Binders: Flour and Eggs
ALL-PURPOSE FLOUR acts as the initial layer, creating a dry surface that helps the egg wash adhere more effectively. The **large eggs**, whisked with a touch of water, form the essential liquid binder that allows the coconut-breadcrumb mixture to stick firmly to the shrimp, ensuring an even and complete coating.
Seasonings and Frying Oil
A simple blend of **salt and black pepper** seasons the breading mixture, enhancing all the flavors without overpowering the star ingredients. For frying, we recommend a neutral-flavored **vegetable oil** such as canola, sunflower, or peanut oil. These oils have a high smoke point, which is crucial for achieving a beautifully golden and crispy crust without burning or imparting off-flavors.
Step-by-Step Guide: Crafting Your Crispy Coconut Shrimp
These step-by-step photos and detailed instructions are provided to help you visualize and master this delicious recipe. For a convenient printable version, complete with all measurements and instructions, simply Jump to Recipe at the bottom of this page.
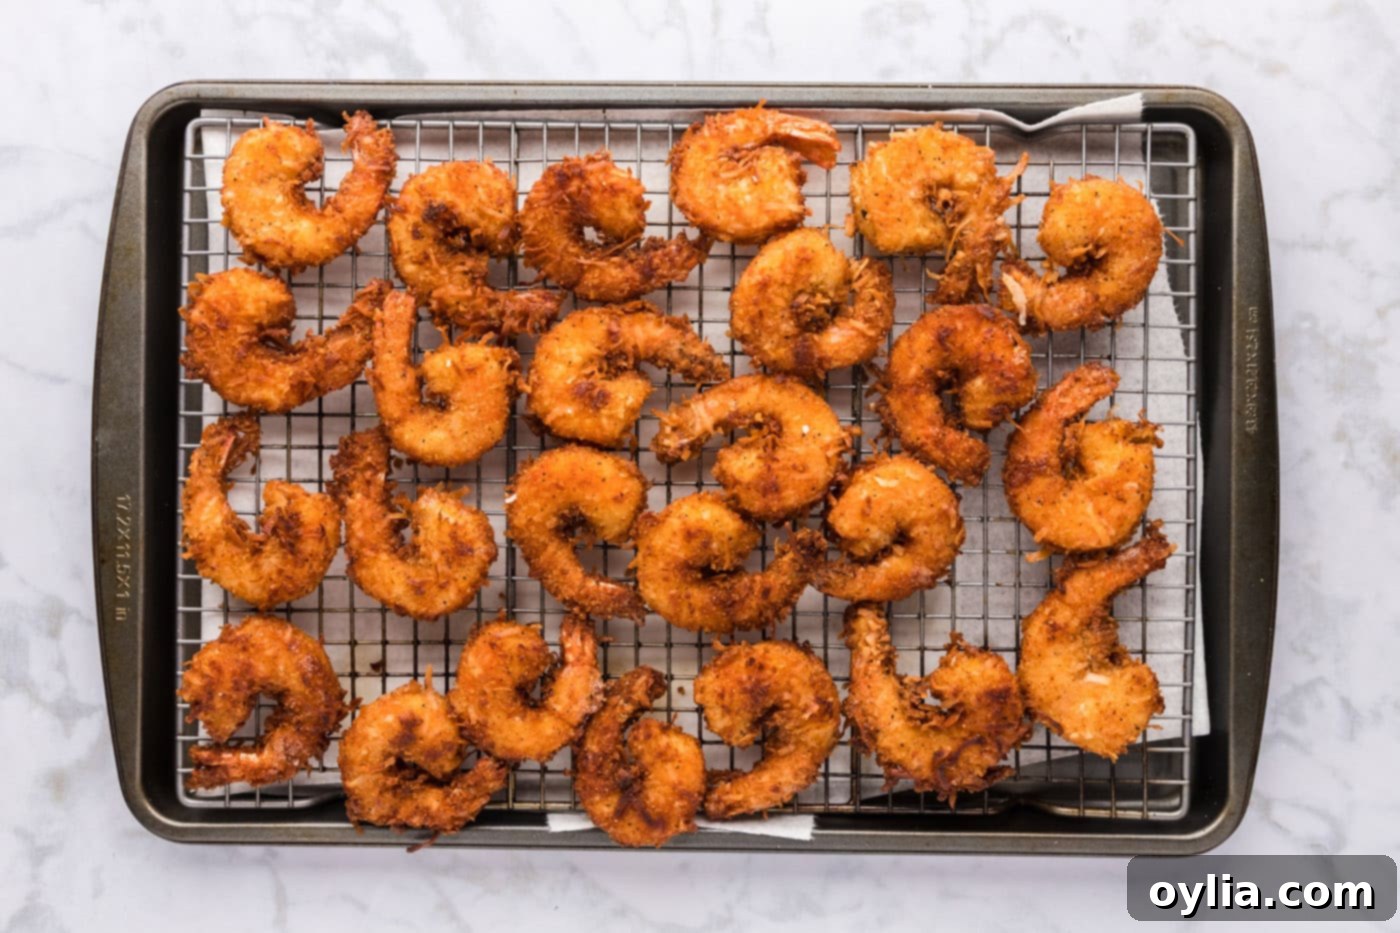
- **Prepare Your Workspace:** To ensure your shrimp stay crispy after frying, line a large baking sheet with several layers of paper towel. Place a wire rack directly over the paper towel. This setup is crucial for allowing excess oil to drain away, preventing your perfectly fried shrimp from becoming soggy.
- **Create the Flavorful Coating:** In a medium-sized bowl, combine the bread crumbs, Panko bread crumbs, sweetened coconut flakes, salt, and pepper. Use a fork or whisk to thoroughly mix these ingredients until they are evenly distributed. This ensures every piece of shrimp gets a consistent coating of deliciousness.
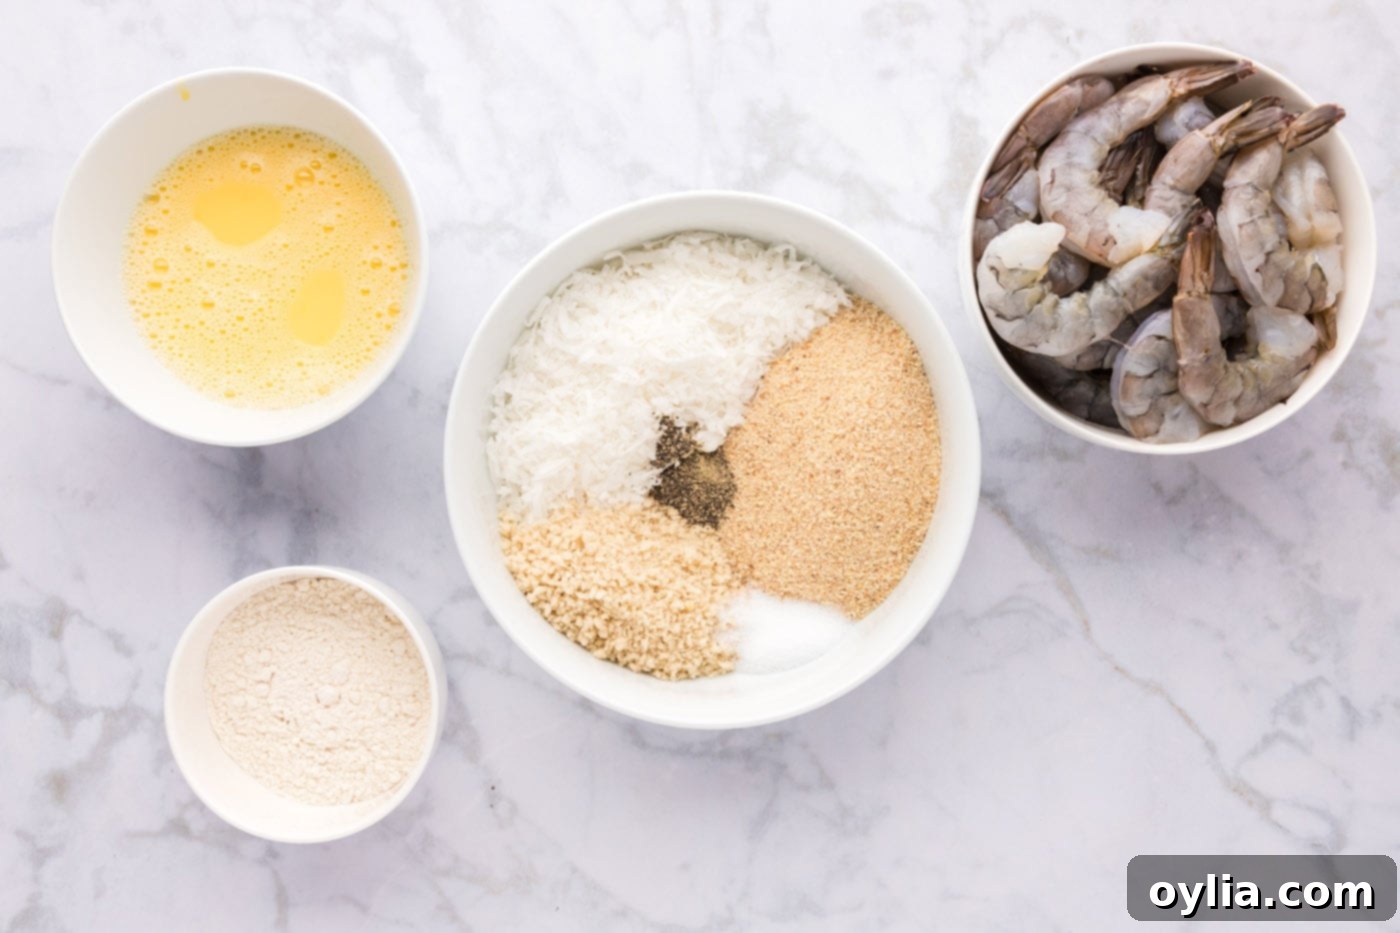
- **Prepare the Egg Wash:** In a separate small bowl, whisk together the large eggs with approximately 2 tablespoons of water. The water helps to thin the egg mixture slightly, allowing for a more even and lighter coating on the shrimp.
- **Set Up the Flour Station:** Place the all-purpose flour in a third small bowl. This will be the first station in your breading assembly line.
- **Flour the Shrimp:** Using gloved hands (this helps keep your hands clean and the coating intact), take one shrimp at a time and dredge it thoroughly in the flour, ensuring it’s completely coated. Gently shake off any excess flour.
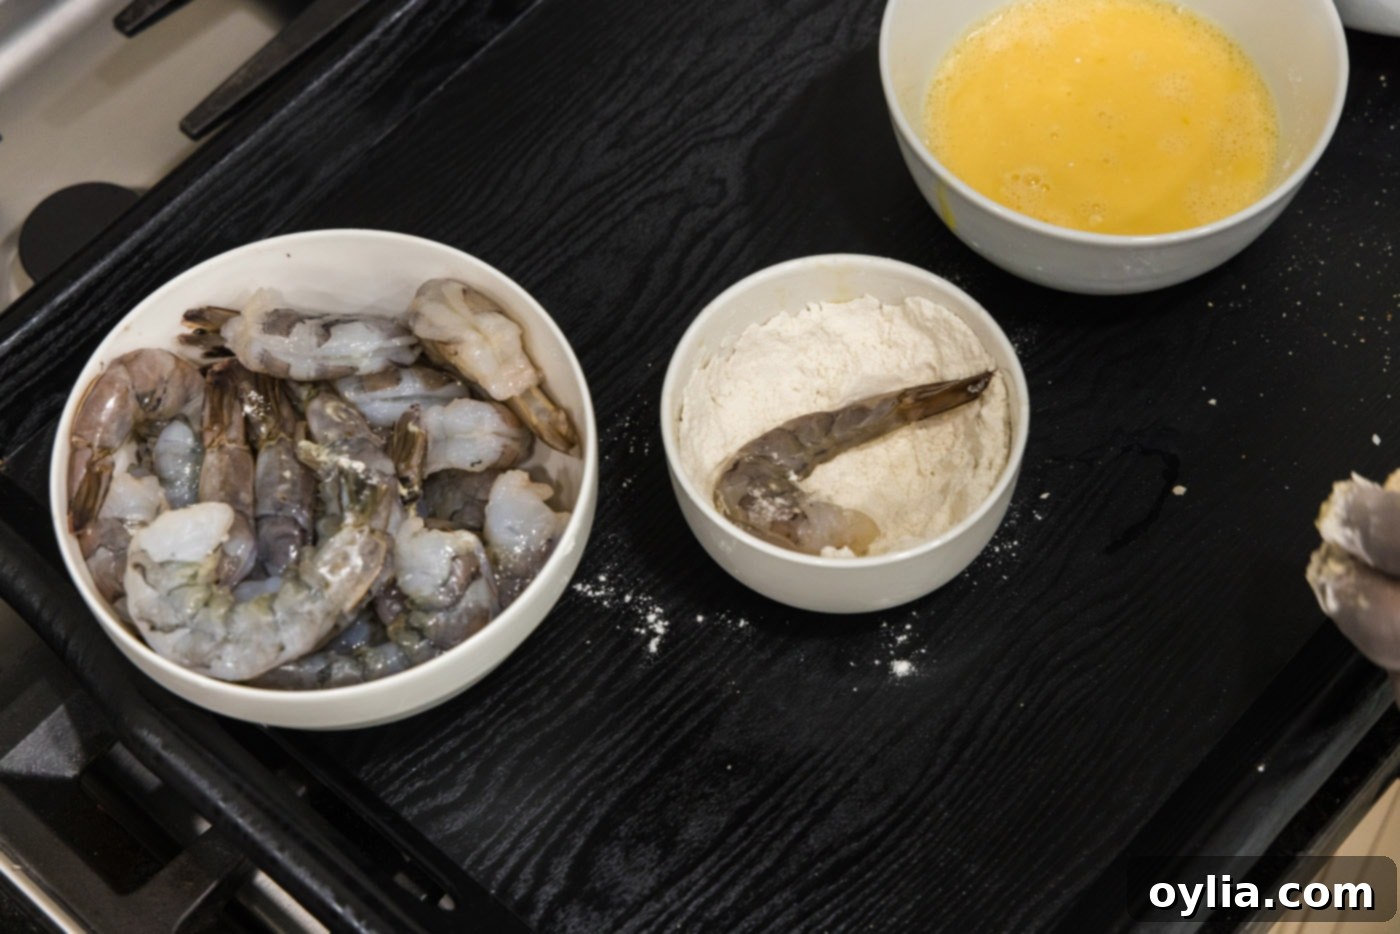
- **Dip in Egg Wash:** Next, carefully dip the floured shrimp into the egg wash, turning to coat both sides completely. Allow any excess egg to drip off.
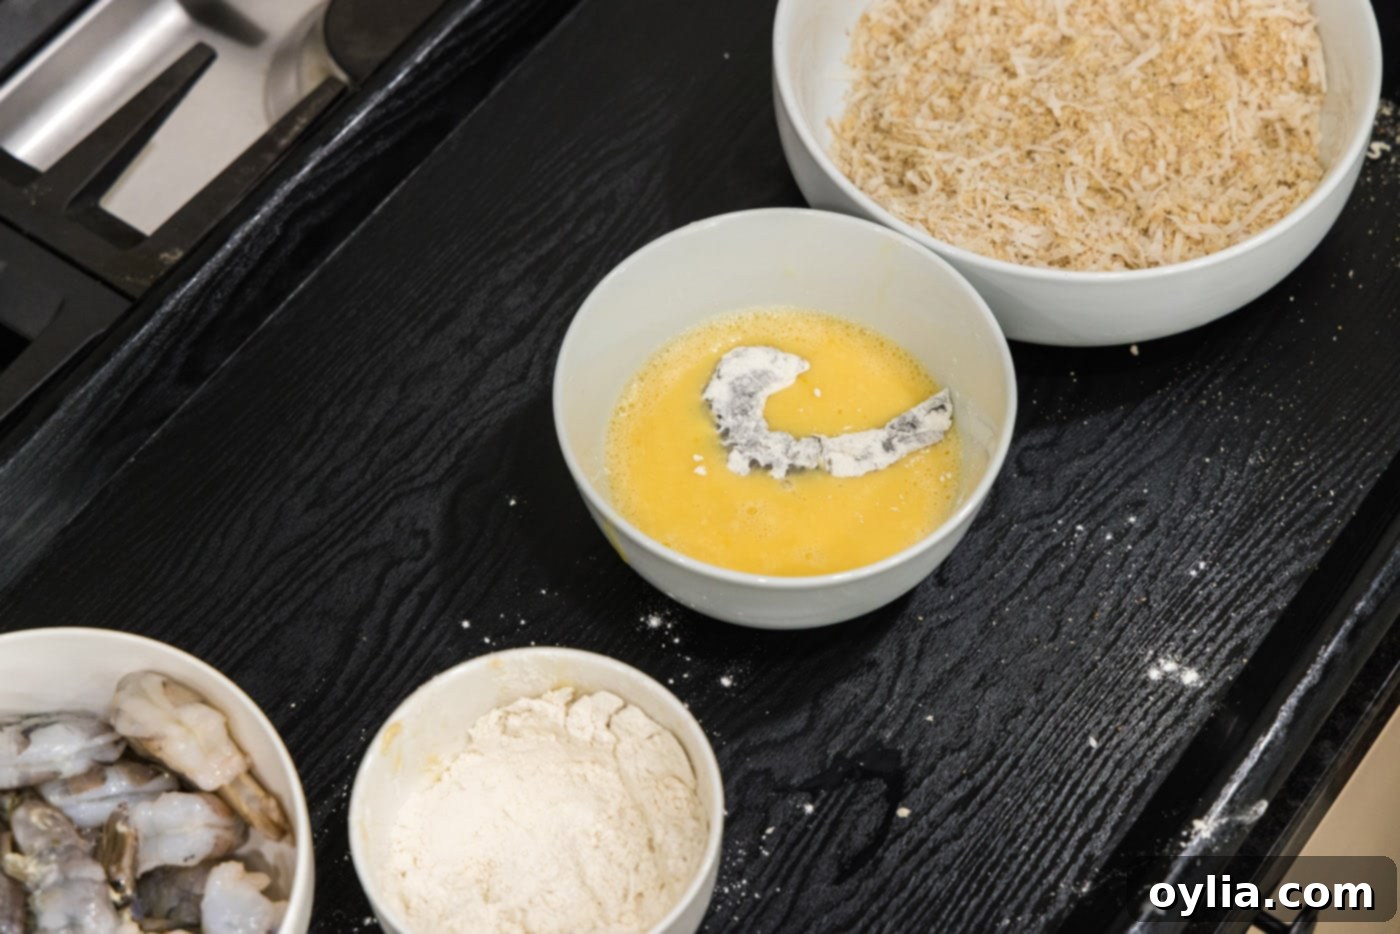
- **Apply the Coconut Crust:** Finally, transfer the egg-dipped shrimp to the bread crumb and coconut mixture. Gently pat the mixture onto the shrimp, pressing lightly to ensure it adheres well and covers the entire surface. This is where the magic happens for that irresistible crispy texture.
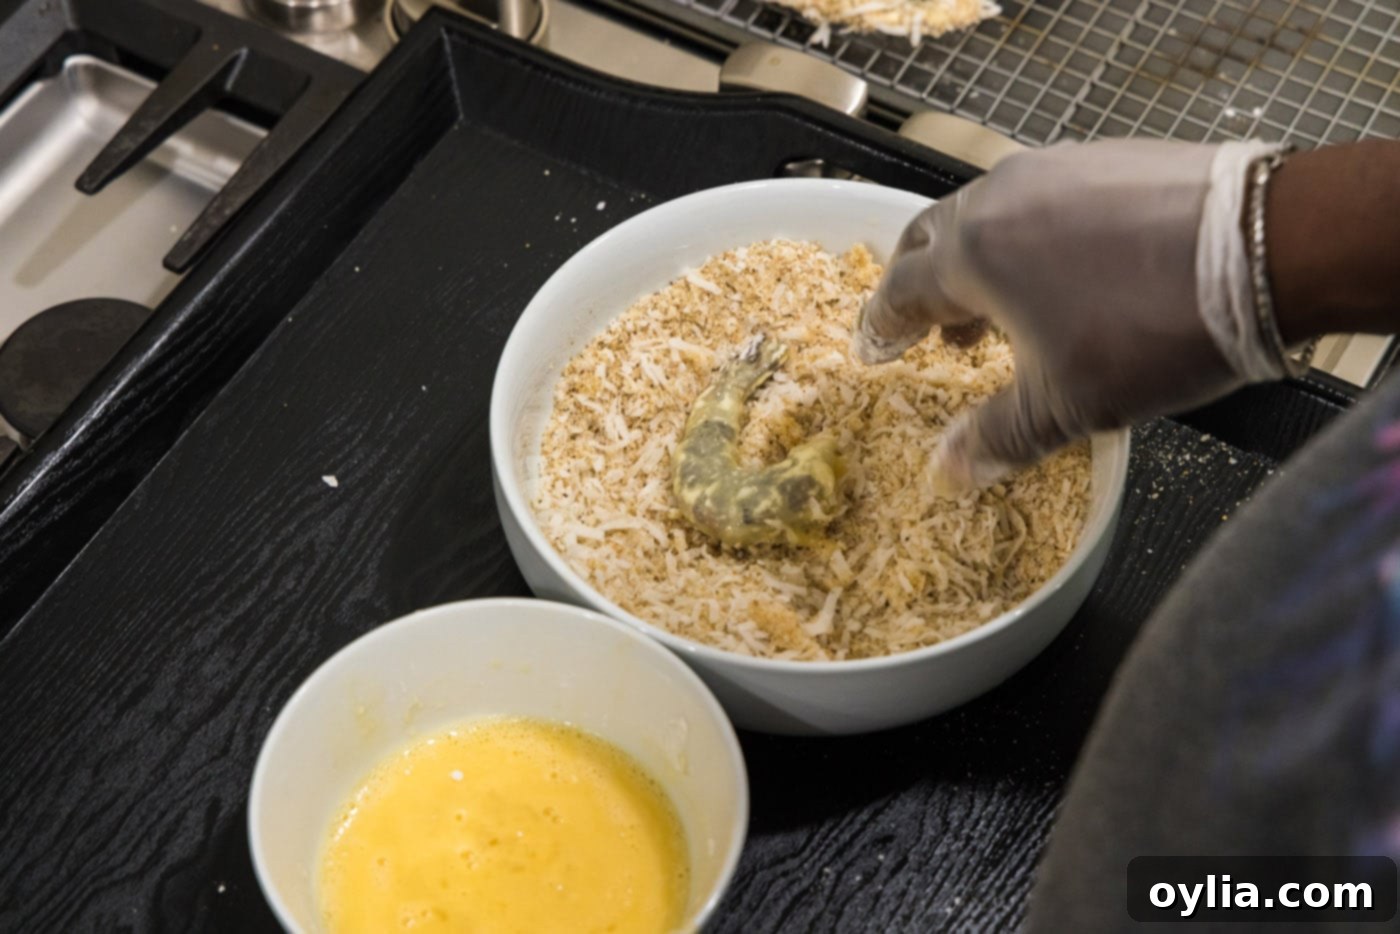
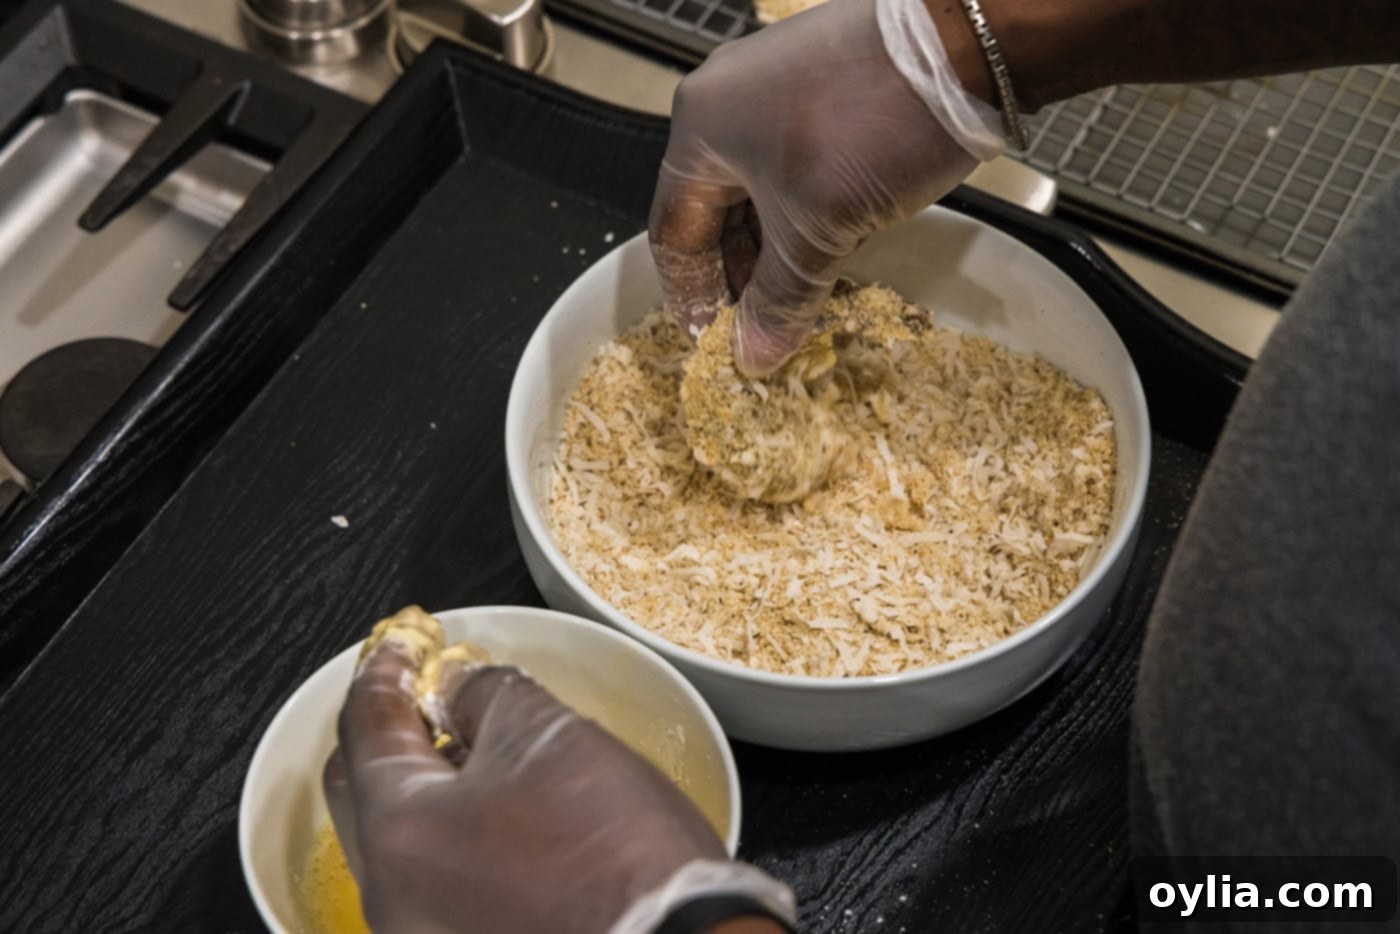
- **Rest and Repeat:** Place the fully coated shrimp on the prepared wire rack. This allows the coating to set slightly before frying. Repeat the entire breading process for all remaining shrimp.
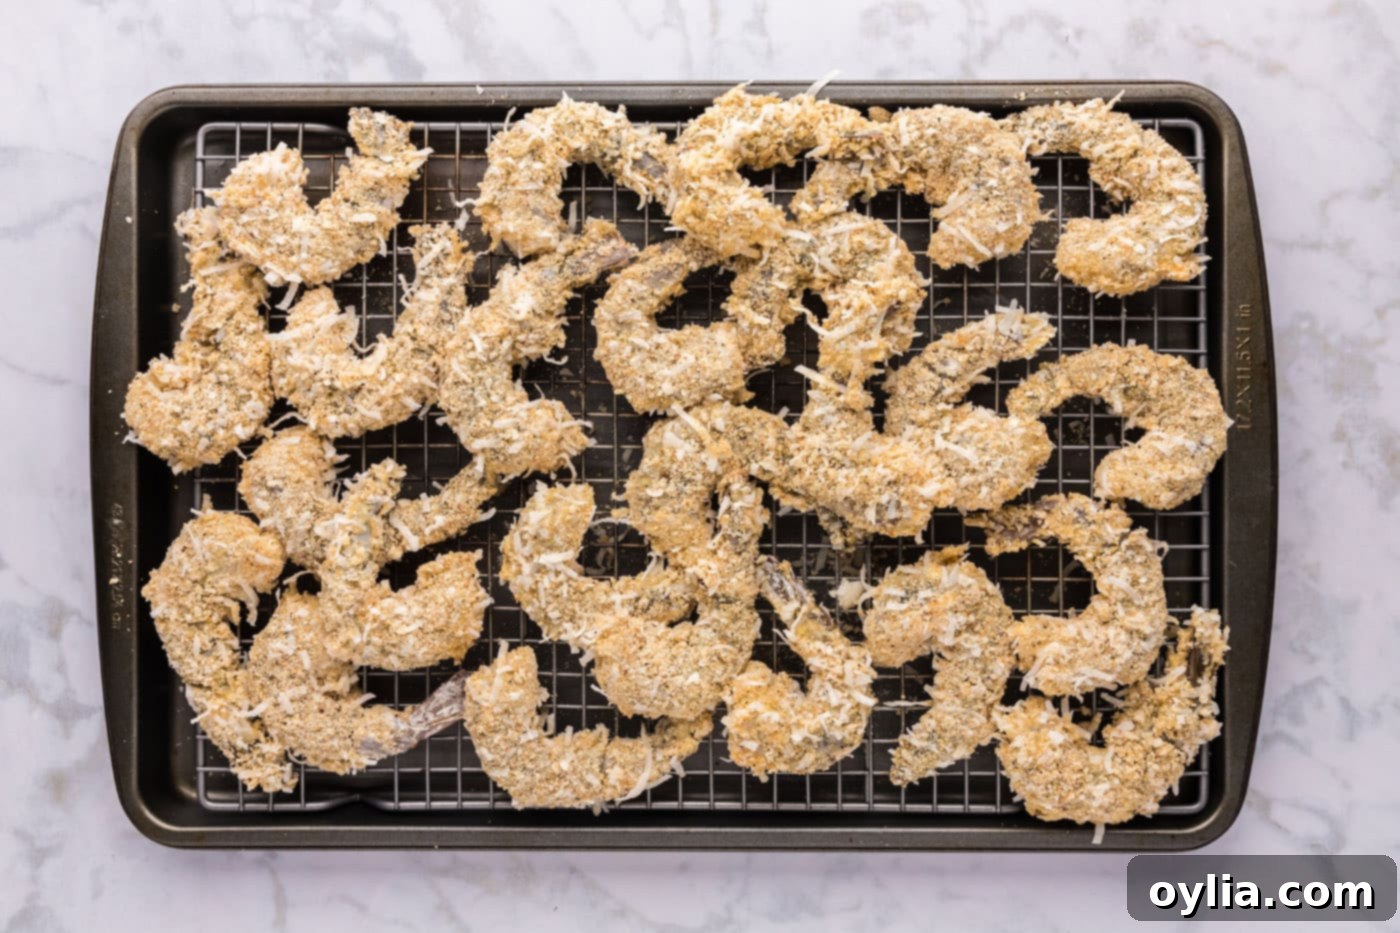
- **Heat the Frying Oil:** Pour enough neutral vegetable oil (like canola or peanut oil) into a deep skillet or Dutch oven so that it reaches about one inch up the sides. Heat the oil over medium-high heat until it begins to shimmer. A good indicator of readiness is when a small sprinkle of flour sizzles immediately upon contact. The ideal temperature is usually around 350-375°F (175-190°C).
- **Fry in Batches:** Carefully add the breaded shrimp to the hot oil, ensuring you do not overcrowd the skillet. Frying in small batches is essential to maintain a consistent oil temperature, which guarantees an even, golden, and crispy finish. Overcrowding will lower the oil temperature and result in greasy, soggy shrimp.
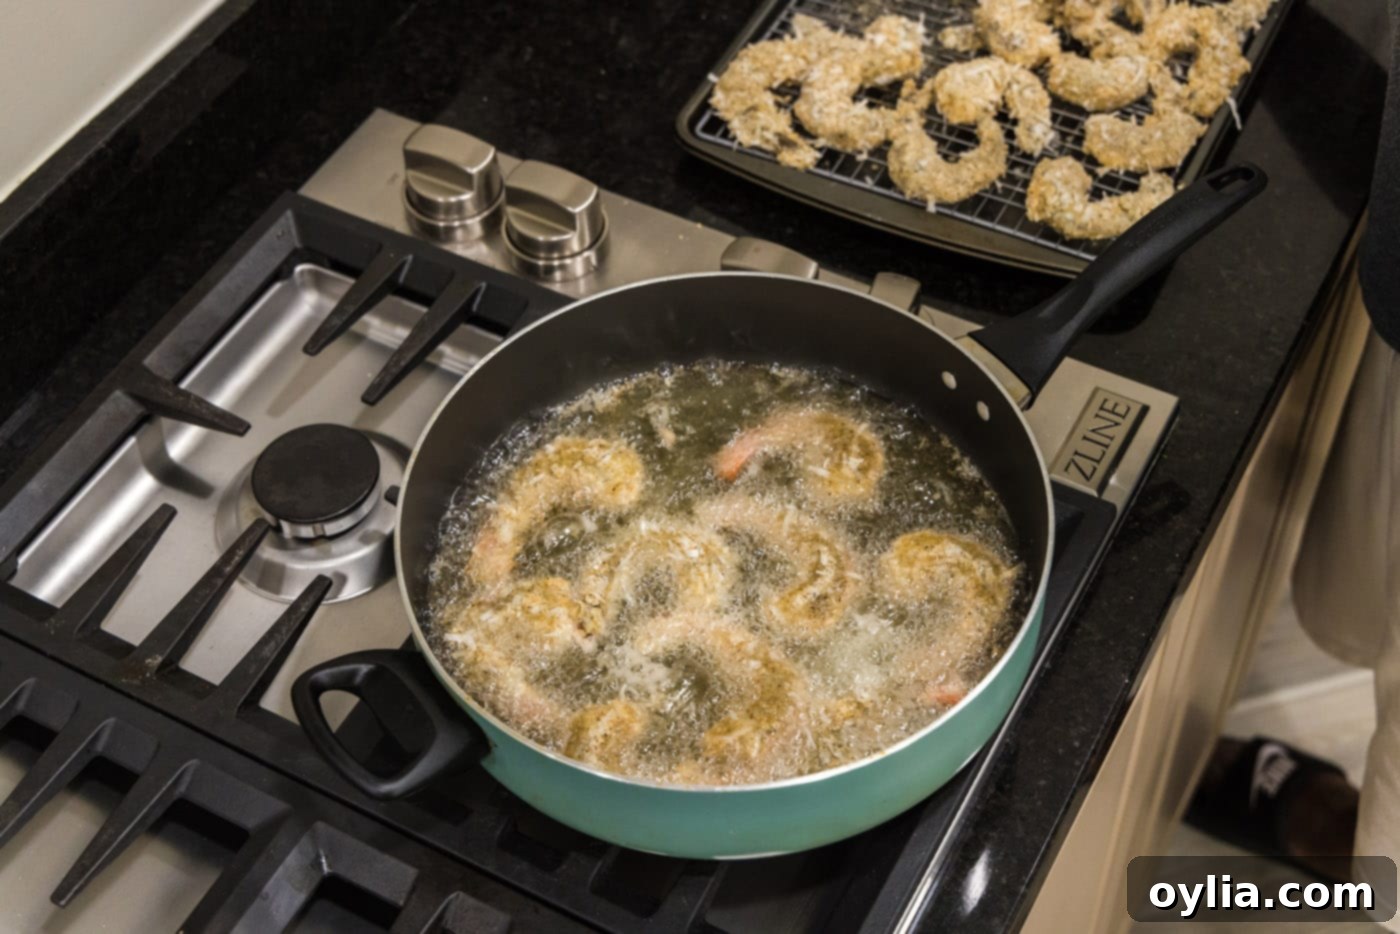
- **Cook Until Golden:** Cook the shrimp for approximately 2-3 minutes on one side until they turn beautifully golden brown. Then, use tongs to carefully turn them over and cook for an additional 2-3 minutes on the other side until they are uniformly golden and the shrimp are cooked through (they will curl into a C-shape).
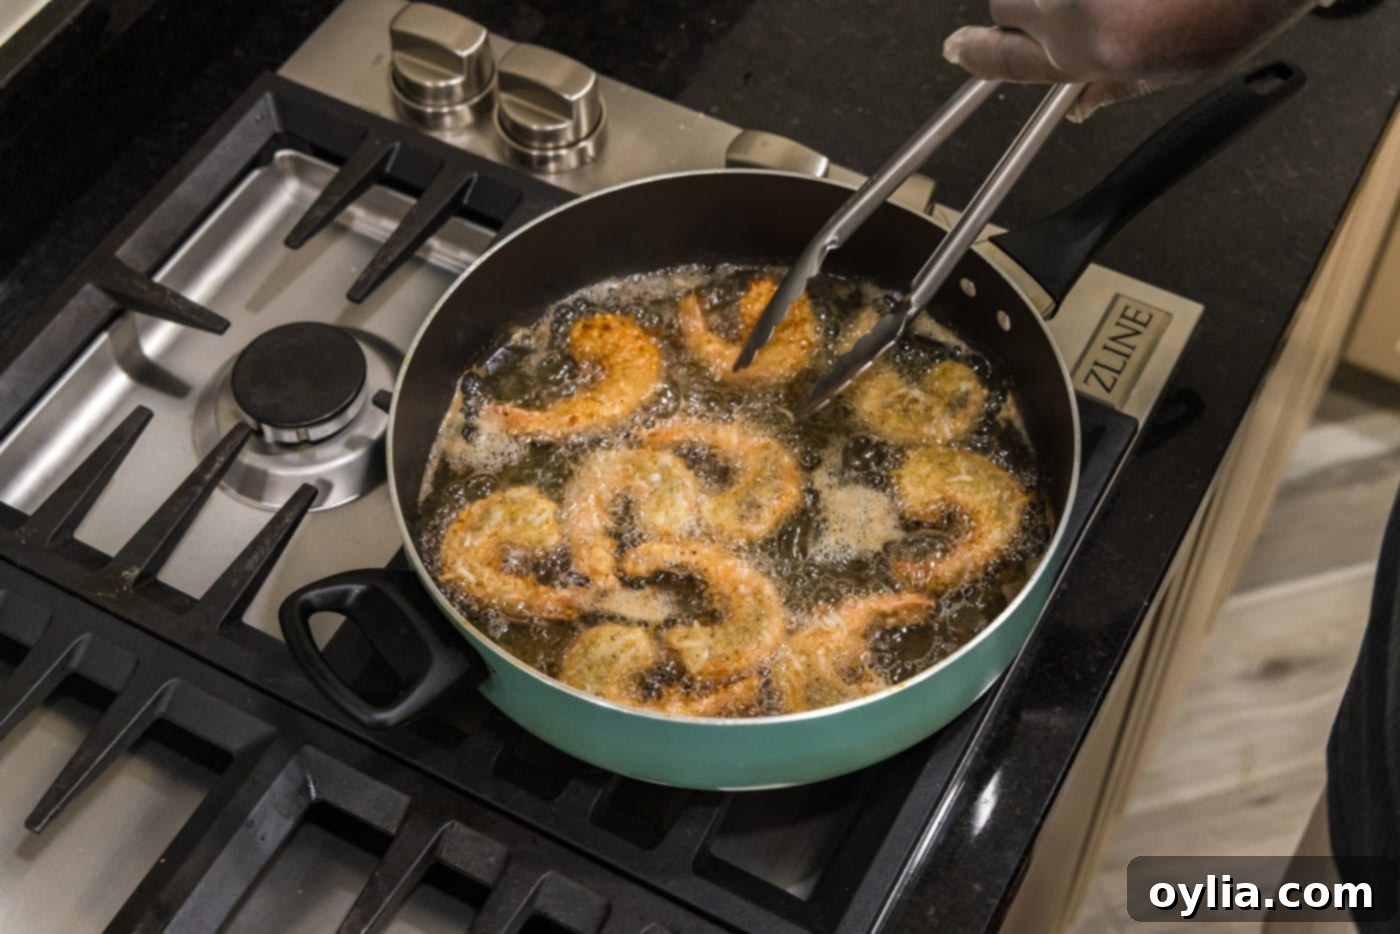
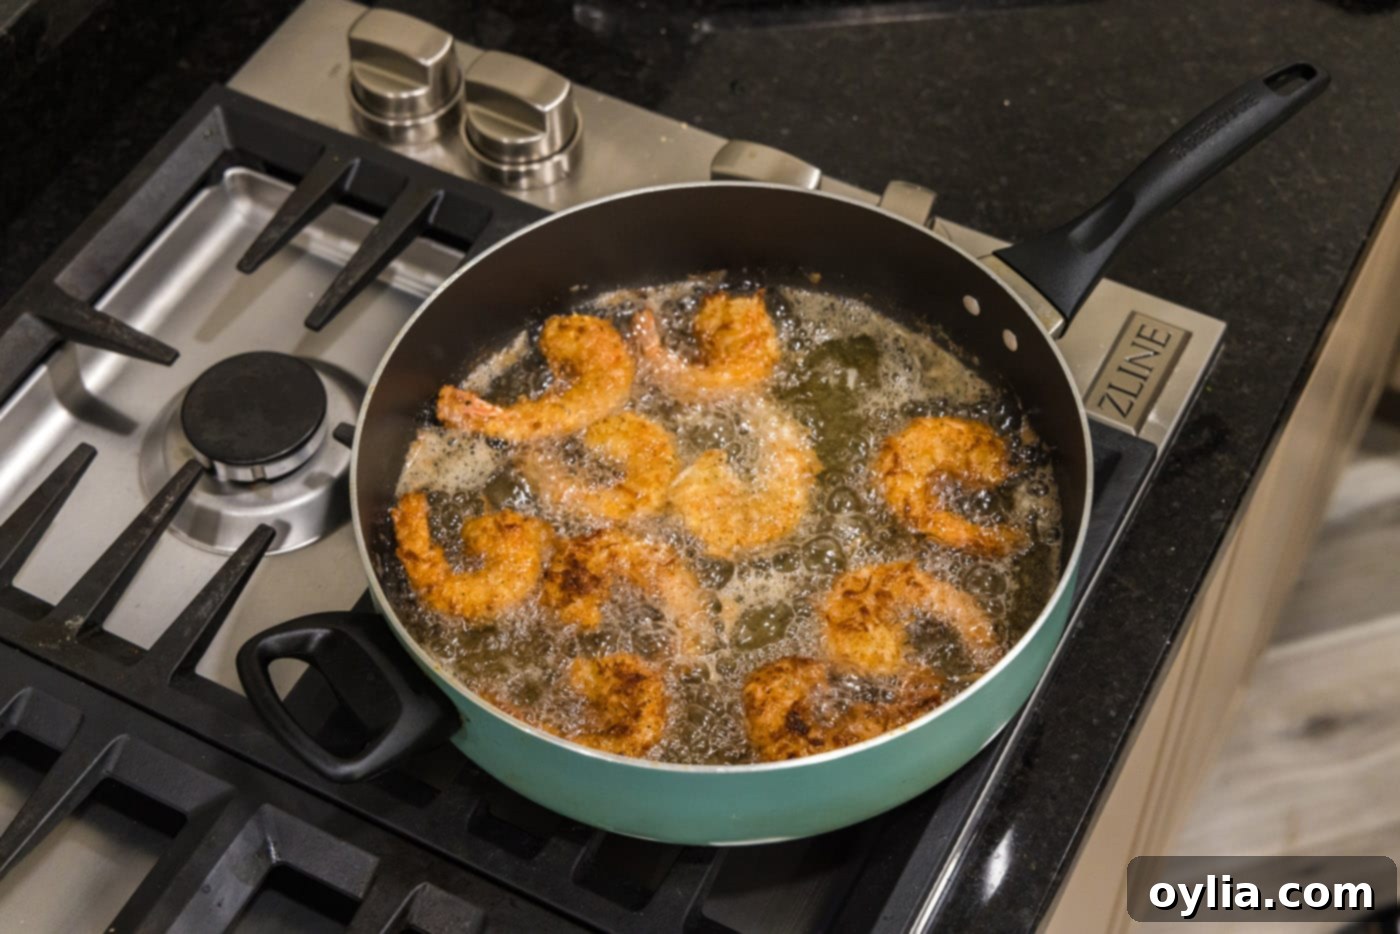
- **Drain and Serve:** Once cooked, remove the shrimp from the oil and immediately place them back onto the paper towel-lined wire rack to drain any excess oil. This step is vital for maintaining their crispiness. Allow them to cool slightly before serving. Repeat the frying process for any remaining shrimp.
Frequently Asked Questions & Expert Tips for Perfect Coconut Shrimp
Yes, absolutely! You can definitely use frozen shrimp for this homemade coconut shrimp recipe. However, it’s crucial to select raw frozen shrimp over pre-cooked varieties, as raw shrimp will yield a much better texture and flavor when fried. If using frozen shrimp, make sure to thaw them completely before you begin the breading process. Pat them thoroughly dry with paper towels; any residual moisture will prevent the coating from sticking properly and result in a less crispy outcome.
To keep any leftover coconut shrimp fresh, store them in an airtight container in the refrigerator for up to 3 days. When reheating, avoid the microwave as it can make them soggy. For best results, reheat them in an air fryer at 350°F (175°C) for 5-7 minutes, or in a conventional oven at 300°F (150°C) in a shallow baking dish, covered loosely with foil, until they are warmed through and crispy again. The air fryer is usually the superior method for restoring crispness.
For frying, choose a neutral-flavored oil with a high smoke point. Excellent choices include canola oil, vegetable oil, peanut oil, or sunflower oil. These oils won’t impart unwanted flavors to your shrimp and can handle the medium-high heat required for deep frying, ensuring a golden, crispy crust.
Several factors contribute to ultimate crispiness: 1) Ensure shrimp are patted very dry before breading. 2) Don’t overcrowd the skillet during frying; work in batches to maintain oil temperature. 3) Fry at the correct temperature (350-375°F or 175-190°C) – too low makes them greasy, too high burns the coating before the shrimp cooks. 4) Drain immediately on a wire rack set over paper towels, not directly on paper towels, to allow air circulation and prevent steaming, which causes sogginess.
Shrimp cook very quickly. When done, they will turn opaque and curl into a loose ‘C’ shape. Avoid overcooking, as this will make the shrimp rubbery. The golden-brown color of the coating is also a good visual cue.
Delicious Serving Suggestions for Coconut Shrimp
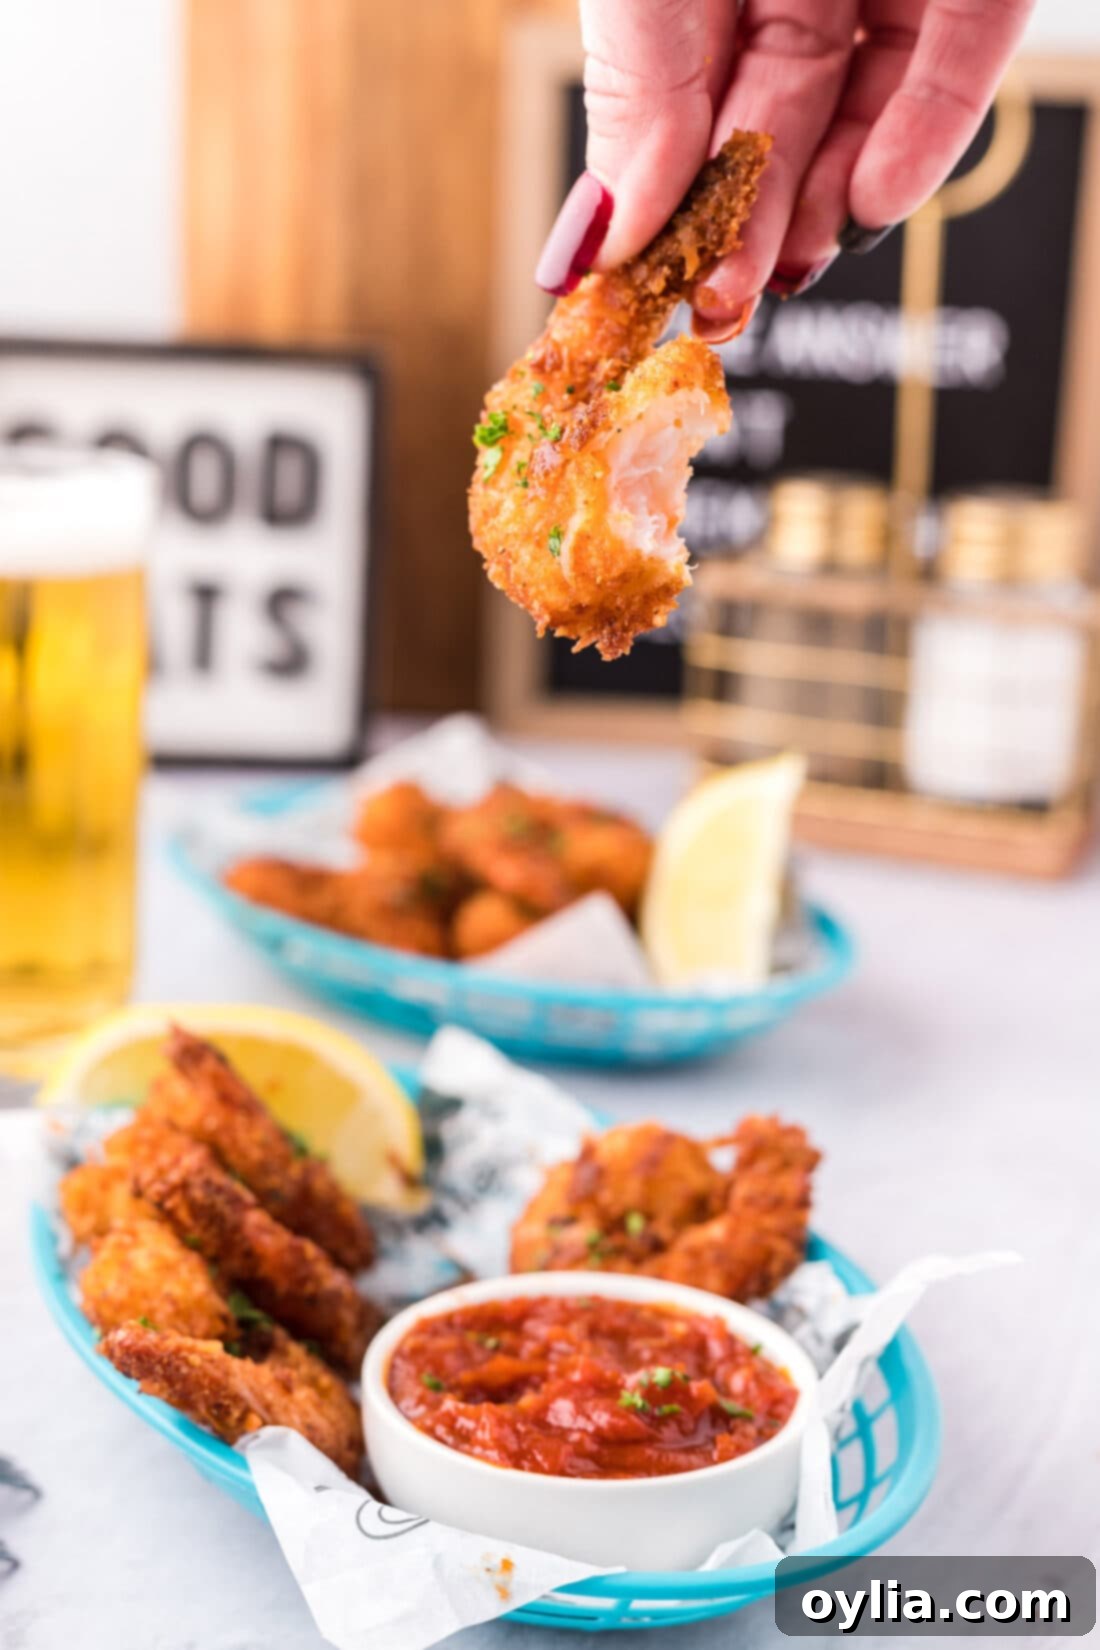
Our crispy coconut shrimp are incredibly versatile and pair wonderfully with a variety of dipping sauces. Classic choices include a tangy cocktail sauce or a sweet chili sauce, both of which provide a fantastic counterpoint to the shrimp’s richness. Beyond these, consider a creamy homemade remoulade, a vibrant mango salsa for an extra tropical kick, or even a simple squeeze of fresh lime juice to brighten the flavors. These delectable morsels are perfect as impressive finger food for parties, potlucks, and casual get-togethers, making them an ideal appetizer. However, they are also hearty enough to serve as a delicious light meal on their own, perhaps alongside a fresh green salad or some fluffy rice. Don’t forget a garnish of fresh lime wedges and chopped cilantro for an added touch of freshness and visual appeal!
Discover More Irresistible Shrimp Recipes
If you love shrimp as much as we do, you’re in for a treat! Explore some of our other fantastic shrimp recipes that are sure to become new favorites:
- Classic Fried Shrimp
- Extra Crispy Shrimp
- Elegant Butterfly Shrimp
- Fun Popcorn Shrimp
- Flavorful Garlic Butter Shrimp
I absolutely adore cooking and baking, and I love sharing my culinary adventures and kitchen wisdom with all of you! Remembering to check back every day for new recipes can be a challenge, which is why I offer a convenient newsletter delivered straight to your inbox every time a new recipe is posted. Simply subscribe here and start receiving your free daily recipes – never miss a delicious update!
Coconut Shrimp
IMPORTANT – There are often Frequently Asked Questions within the blog post that you may find helpful. Simply scroll back up to read them!
Print It
Pin It
Rate It
Save It
Saved!
Course: Appetizer, Dinner
Cuisine: American
Ingredients
- 1 ½ pounds grilling shrimp peeled and deveined
- ½ cup bread crumbs
- ¼ cup Panko bread crumbs
- 1 cup sweetened coconut flakes
- 1 teaspoon salt
- 1 teaspoon black pepper
- 2 large eggs
- ½ cup all-purpose flour
- vegetable oil for frying
Things You’ll Need
-
Large heavy bottomed skillet
-
Wire cooling rack
-
Tongs
-
Vinyl gloves
Before You Begin
- We have tested both sweetened and unsweetened coconut. We have found that sweetened coconut adds more coconut flavor to the finished shrimp. However, if you are concerned about sugar content, you can use unsweetened coconut flakes instead.
- We use grilling shrimp because of its nice size. We find it in the meat department butcher case. You can also use extra large bagged shrimp that is already peeled and deveined.
- Keeping the tails on the shrimp is great for presentation and also provides a handle for picking up the shrimp. This is optional.
- If using frozen shrimp, allow them to thaw completely and pat them dry before beginning, otherwise the coating will not stick properly.
Instructions
-
Line a large baking sheet with paper towel. Place a wire rack over the paper towel to ensure proper drainage for crispy shrimp.
-
In a medium bowl, mix together bread crumbs, Panko bread crumbs, sweetened coconut, salt, and pepper until well combined.
-
In a small bowl, whisk the eggs with about 2 tablespoons of water to create the egg wash.
-
Place the all-purpose flour in another small bowl, ready for the first dredge.
-
Using gloved hands for easier handling, dredge each shrimp in flour, shaking off any excess.
-
Dip the floured shrimp in the egg wash to coat both sides completely.
-
Finally, dip the shrimp in the bread crumb and coconut mixture. Pat gently to ensure the crumb mixture adheres well to all sides for a thick, even coating.
-
Place the coated shrimp on the wire rack. Repeat this breading process for all remaining shrimp.
-
Add enough vegetable oil to a deep skillet so that it comes about an inch up the sides. Heat over medium-high heat until shimmering, reaching an ideal temperature of 350-375°F (175-190°C).
-
Carefully add shrimp to the hot oil, being cautious not to overcrowd the skillet. You will need to work in batches to maintain the oil temperature and achieve maximum crispiness.
-
Cook for 2-3 minutes until golden brown, then turn over and cook for an additional 2-3 minutes on the other side until the coating is evenly golden brown and the shrimp is cooked through.
-
Remove the fried shrimp to the paper towel-lined wire rack to drain excess oil and cool slightly, ensuring they remain perfectly crispy. Repeat for any remaining shrimp.
Nutrition
Tried this Recipe? Pin it for Later!Follow on Pinterest @AmandasCookin or tag #AmandasCookin!
The recipes on this blog are tested with a conventional gas oven and gas stovetop. It’s important to note that some ovens, especially as they age, can cook and bake inconsistently. Using an inexpensive oven thermometer can assure you that your oven is truly heating to the proper temperature. If you use a toaster oven or countertop oven, please keep in mind that they may not distribute heat the same as a conventional full sized oven and you may need to adjust your cooking/baking times. In the case of recipes made with a pressure cooker, air fryer, slow cooker, or other appliance, a link to the appliances we use is listed within each respective recipe. For baking recipes where measurements are given by weight, please note that results may not be the same if cups are used instead, and we can’t guarantee success with that method.
