Easy Black Forest Poke Cake: A Decadent Chocolate & Cherry Dream from a Mix
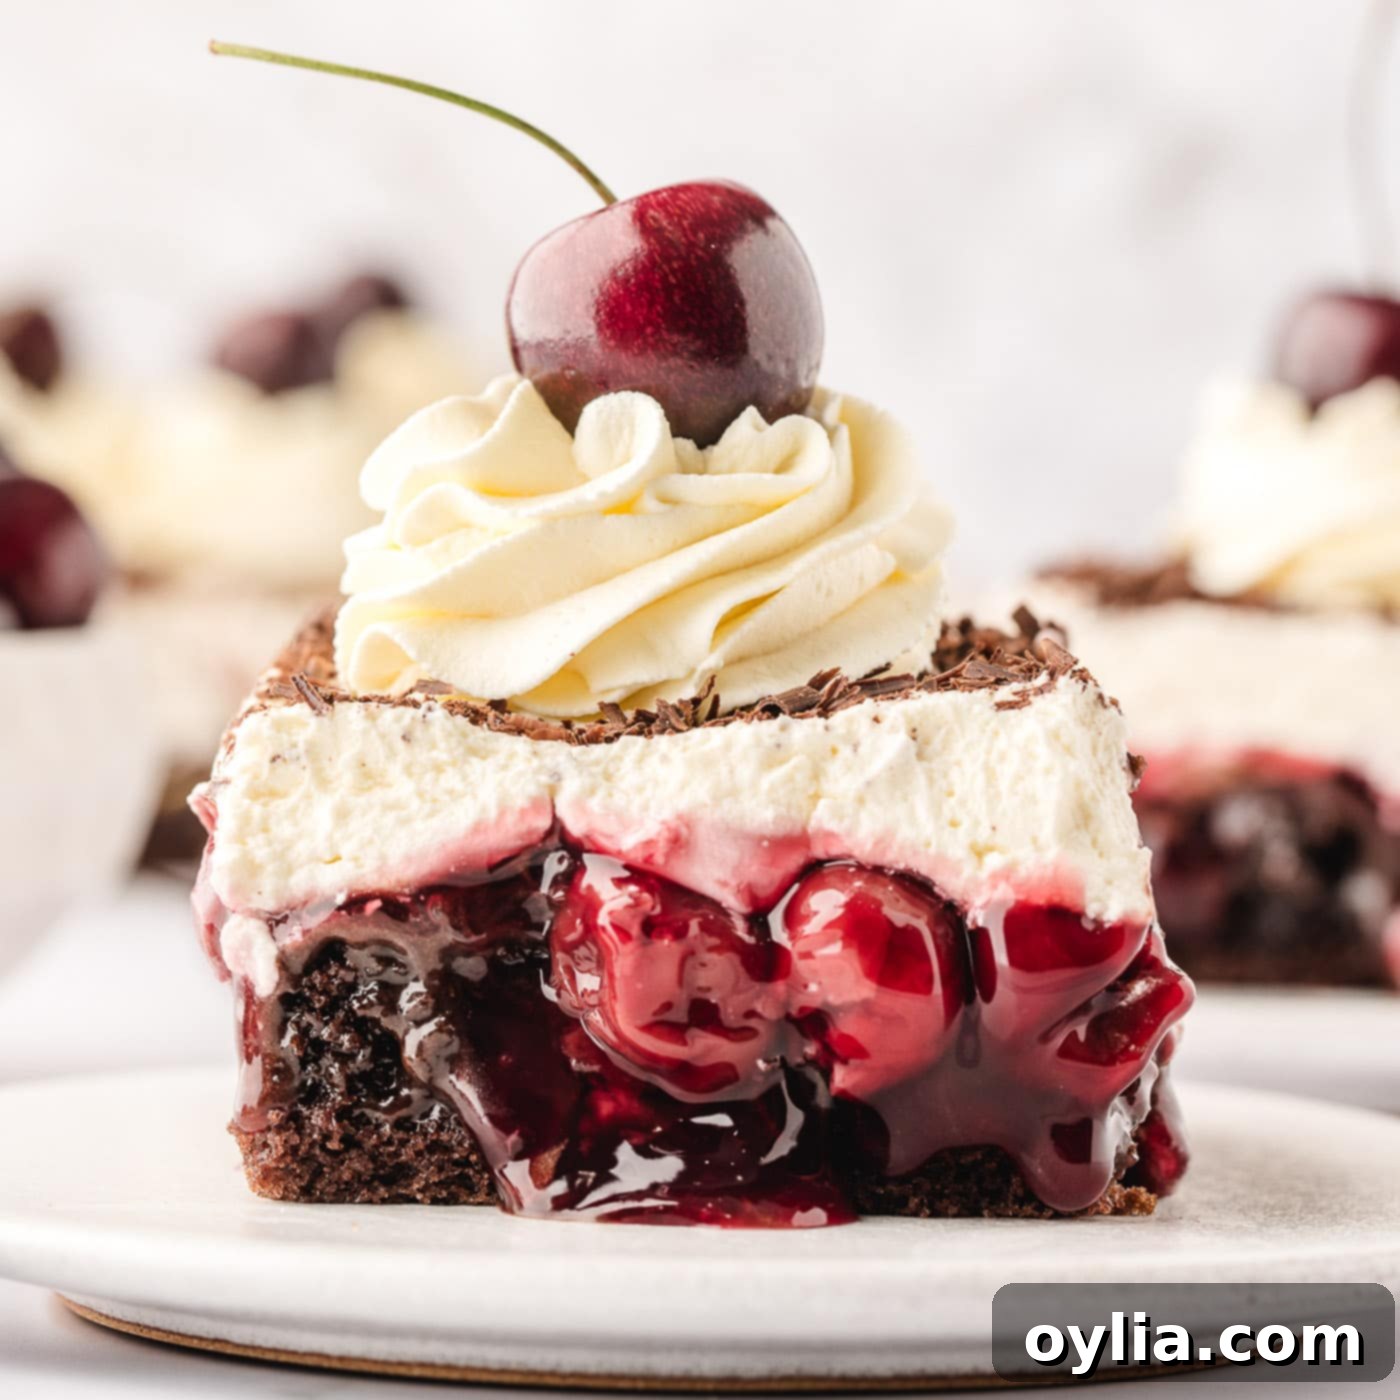
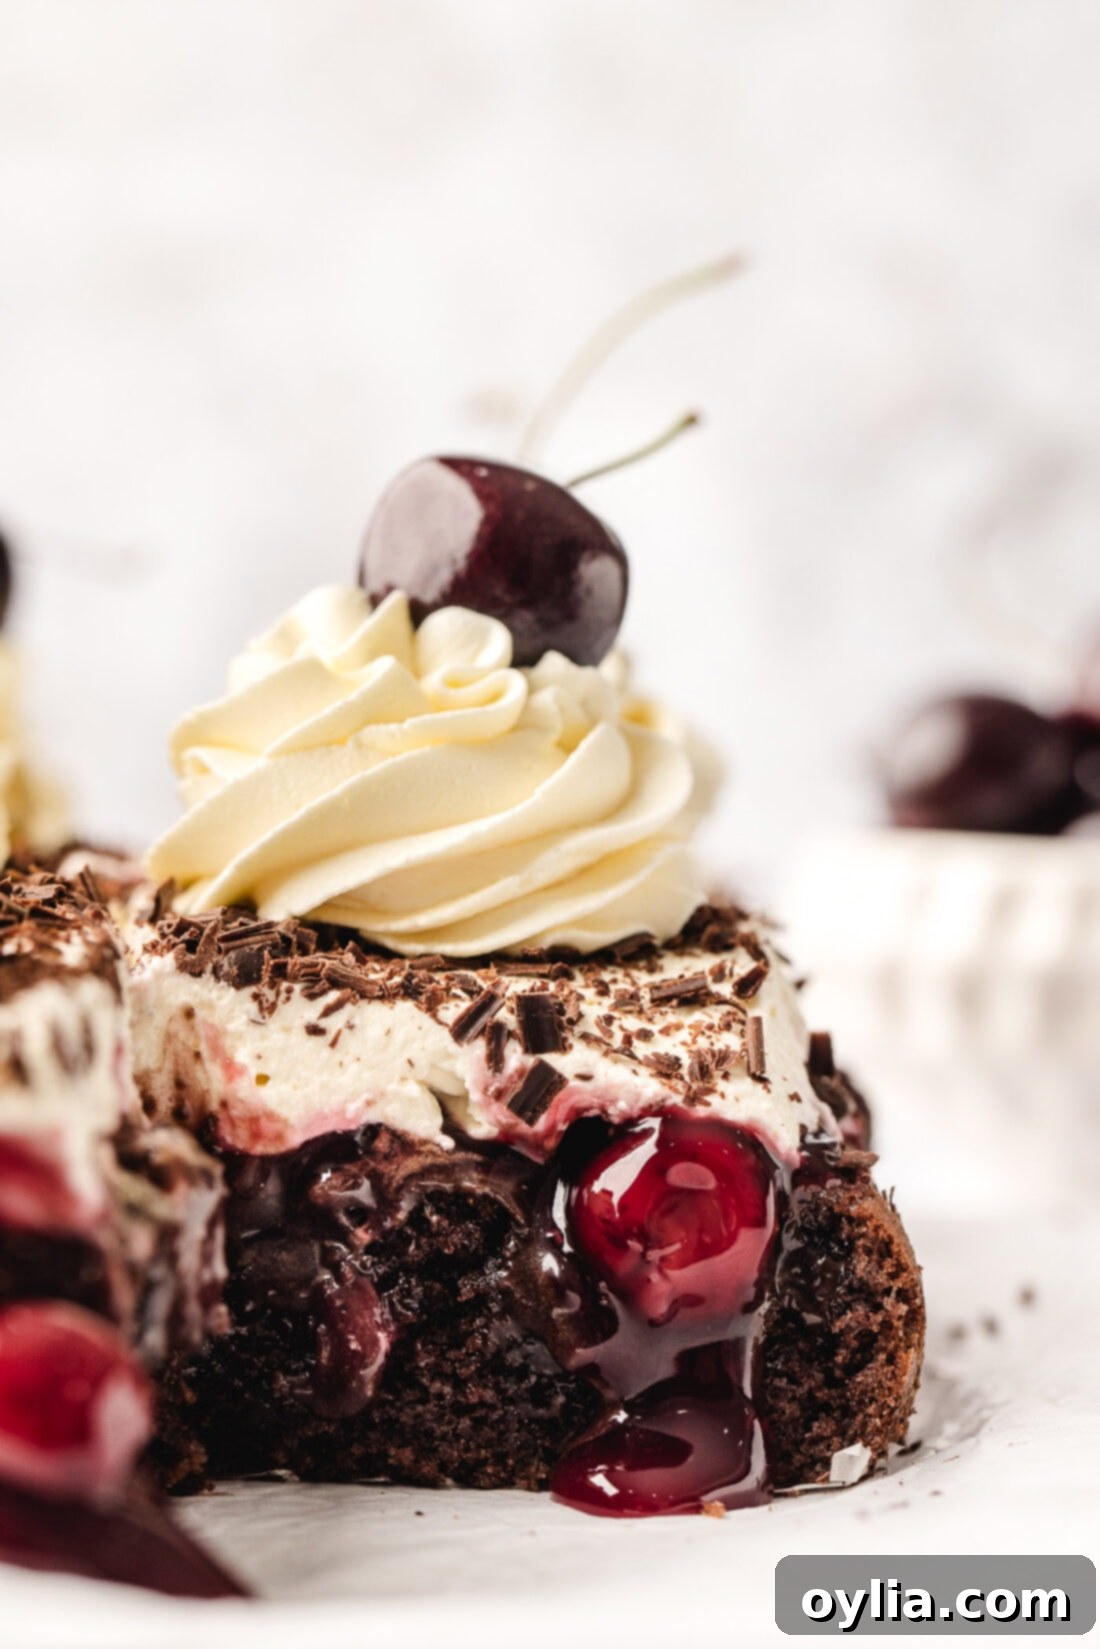
Prepare to impress with this stunning Black Forest Poke Cake, where rich layers of moist chocolate cake, luxurious fudge sauce, and sweet cherry pie filling come together in a show-stopping dessert. Crowned with fluffy whipped cream and elegant chocolate shavings, this cake doesn’t just look pretty and proud—it delivers an unforgettable flavor experience. The best part? It all starts with a simple cake mix, making it surprisingly easy to achieve gourmet results right in your home kitchen.
Why This Easy Black Forest Poke Cake Recipe is a Must-Try
Imagine the delight on your guests’ faces when they discover that this incredibly decadent Black Forest Poke Cake, with its show-stopping presentation and rich flavors, actually started with a convenient cake mix. This recipe masterfully combines the classic German dessert elements—chocolate, cherries, and cream—into an accessible and absolutely irresistible treat. Each bite offers a harmonious blend: the deep cocoa notes of the moist chocolate cake, the sweet and slightly tart burst of cherry pie filling, the gooey richness of fudge sauce, and the airy sweetness of whipped cream. It’s truly a symphony of textures and tastes, making it a standout among desserts. Many have called it the “Mother of all poke cakes” for its sheer indulgence and impressive simplicity!
Poke cakes are celebrated for their straightforward approach and the use of everyday ingredients, and our Black Forest version is no exception. The concept is brilliantly simple: bake a moist cake, poke holes across its surface, infuse it with flavorful fillings, and then lavishly top it with frosting and garnishes. This method ensures every slice is incredibly moist and packed with flavor, as the fillings seep deep into the cake. Utilizing convenient staples like a good quality chocolate cake mix and canned cherry pie filling or pudding simplifies the process, allowing you to create a homemade dessert that tastes like it came from a professional bakery without the fuss. These types of cakes are especially beloved for their quick preparation, minimal cleanup, and the comforting familiarity of their ingredients.
Key Ingredients for Your Decadent Black Forest Poke Cake
Gathering your ingredients is the first step to creating this magnificent dessert. You’ll find a complete list of measurements, ingredients, and detailed instructions in the printable recipe card at the very end of this post. For now, let’s highlight what you’ll need to bring this Black Forest masterpiece to life.
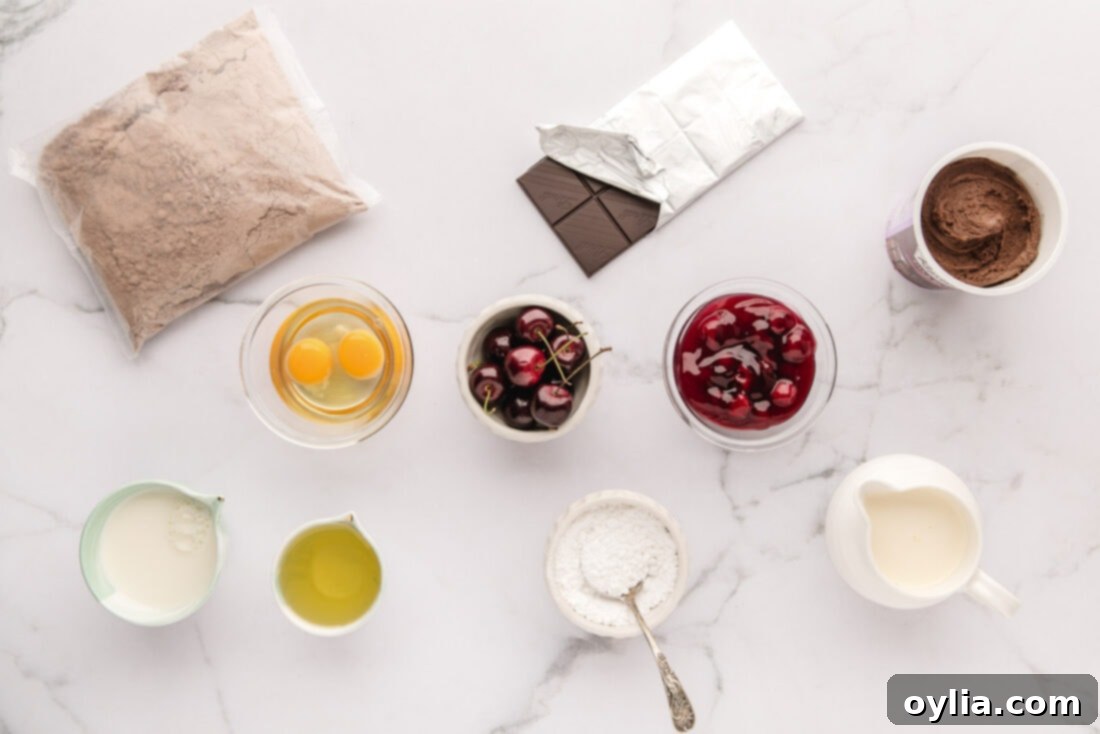
Ingredient Deep Dive and Smart Substitutions
Achieving a truly delicious poke cake often comes down to the quality and combination of its components. Here’s a closer look at the ingredients and how you can tailor them to your preference:
CAKE Base: For ultimate convenience without sacrificing flavor, we opted for a Betty Crocker Devil’s Food Chocolate Cake box mix. Its rich chocolate flavor provides a perfect foundation. While Devil’s Food is a fantastic choice, feel free to use your favorite chocolate cake box mix—whether it’s a classic German chocolate, dark chocolate, or even a milk chocolate variety. Remember to always consult the instructions on the back of your chosen cake mix box, as you’ll typically need to add staple ingredients such as eggs, water (or milk for added richness), and oil. A high-quality cake mix can surprisingly rival many scratch-made cakes, especially when enhanced with flavorful fillings like in this recipe.
Luscious FILLING: Cherry Pie Filling is absolutely essential for capturing the authentic “Black Forest” essence. Its distinct sweet and tart profile, along with the beautiful ruby color, is synonymous with the classic dessert. For this reason, we highly recommend sticking with cherry pie filling and would advise against swapping it for another canned fruit filling, as it would alter the traditional flavor profile significantly. If you’re feeling ambitious and have a bit more time, using your own homemade cherry pie filling will undoubtedly elevate this cake to an even more bespoke level of deliciousness.
Rich FUDGE SAUCE: Any good quality chocolate fudge sauce will work wonderfully here. Varieties like hot fudge or even a store-bought chocolate syrup (for a slightly lighter option) can be used. The key is to briefly warm the fudge sauce in the microwave until it becomes loose and pourable. This not only makes it easier to spread evenly over the cake but, crucially, allows it to seep deep into the poked holes. This infusion creates pockets of intense chocolate flavor and adds an incredible moistness that makes every bite truly decadent.
Creamy TOPPING: We crafted an easy homemade whipped cream using heavy whipping cream and powdered sugar, whisked until light and fluffy. The airiness and delicate sweetness of homemade whipped cream provide a perfect counterpoint to the rich chocolate and cherry layers, preventing the cake from becoming overly heavy. For those looking to save even more time without compromising on convenience, a tub of Cool Whip makes an excellent substitute. When it comes to garnishing, a few squares of bittersweet chocolate, expertly shaved, offer an elegant touch and a subtle hint of deep cocoa. We found 2-3 squares to be ample for a beautiful finish. You can complete the classic Black Forest look with either fresh cherries, vibrant maraschino cherries, or even a small spoonful of extra cherry pie filling on top of each slice.
Step-by-Step: How to Make Your Black Forest Poke Cake
These step-by-step photos and detailed instructions are designed to help you visualize each stage of making this delicious Black Forest Poke Cake. For a printable version of this recipe, complete with precise measurements and instructions, simply Jump to Recipe at the bottom of this post.
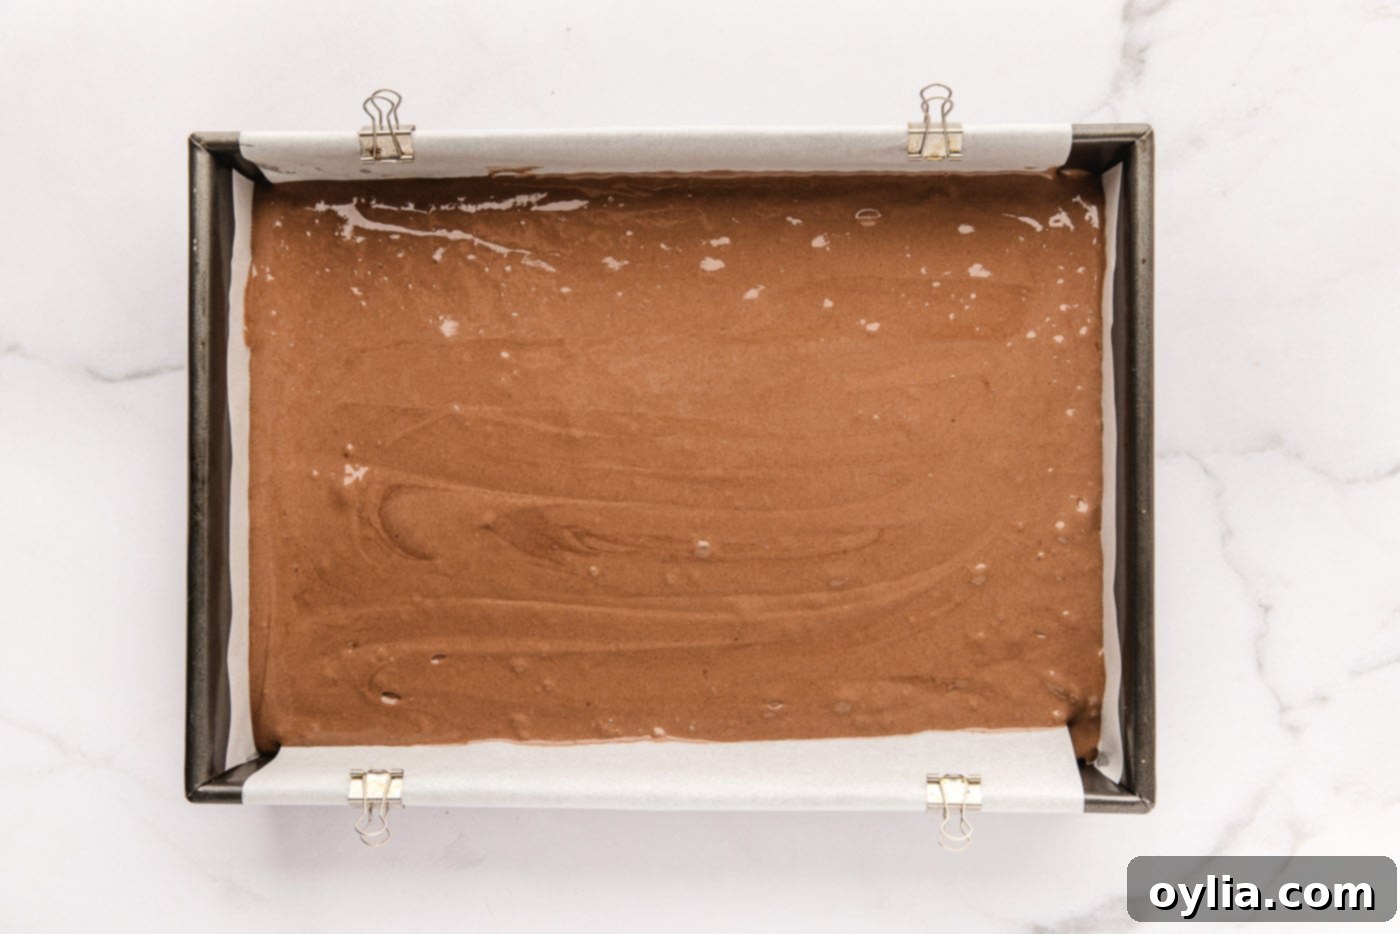
- Preheat your oven to 350°F (175°C). Prepare a 13×9 inch baking dish by lining it with parchment paper, leaving an overhang on the sides for easy removal. Then, lightly spray the parchment paper and exposed pan with cake release or cooking spray to ensure the cake doesn’t stick.
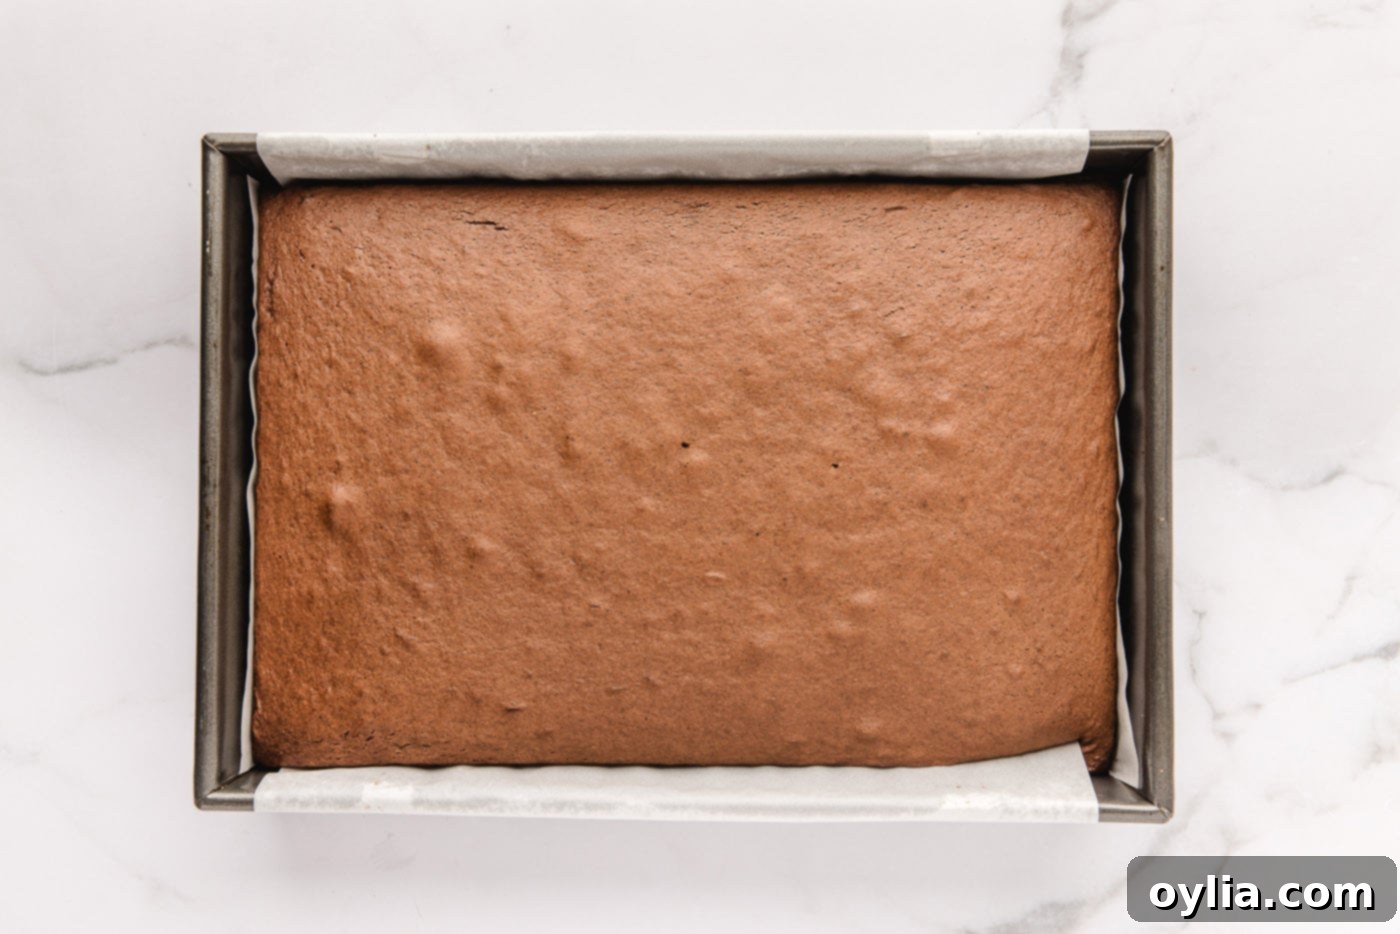
- Begin the cake preparation by following the instructions on your chosen chocolate cake mix box. Carefully pour the prepared chocolate cake batter into your greased and lined baking pan. Bake according to the time recommended on the box. For our Betty Crocker mix, we baked for approximately 24 minutes, checking for doneness by inserting a toothpick into the center of the cake—it should come out clean.

- Once baked, remove the cake from the oven and allow it to cool in the pan for a minimum of 20 minutes on a wire rack. This cooling period is crucial before proceeding to the next step.
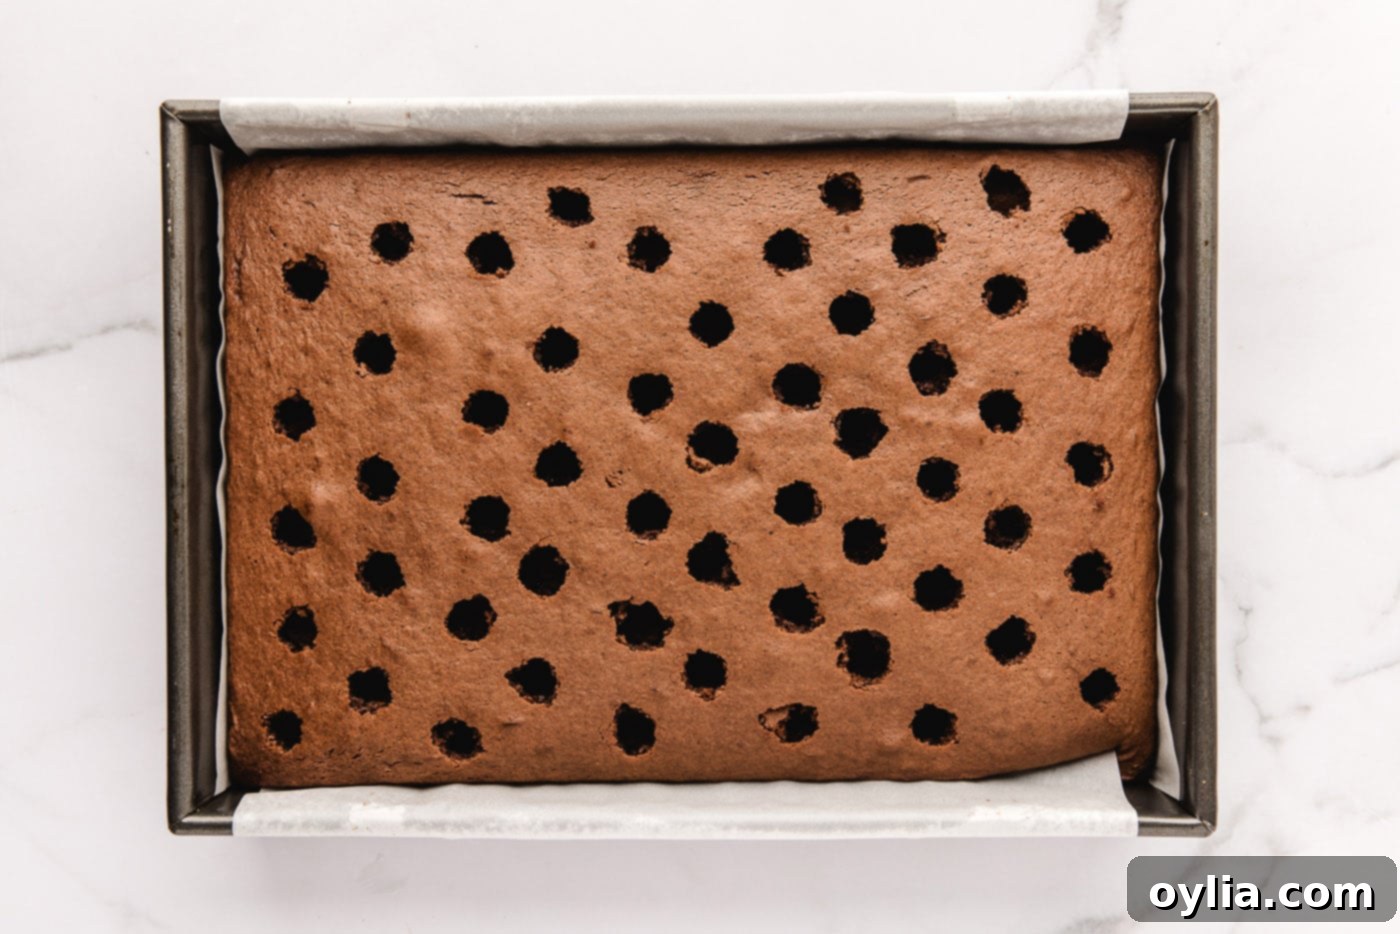
PRO TIP: It’s essential to let the cake cool for at least 20 minutes before you start poking holes. If the cake is too warm and soft, bits of cake might stick to your wooden spoon or chosen poking tool, risking the cake tearing apart. A slightly cooled cake will be firm enough to handle without damage, allowing for clean holes.

- While the cake is cooling, prepare your chocolate fudge sauce. Heat it in the microwave for about one minute, stirring well at 30-second intervals. The goal is to achieve a consistency that is loose and easily pourable, ensuring it can penetrate the cake effectively.
- After the cake has sufficiently cooled, take the round end of a wooden spoon (or a similar blunt object, like the handle of a whisk) and poke holes evenly across the entire surface of the cake. Make sure the holes go about halfway to two-thirds of the way down, but don’t go all the way through to the bottom.

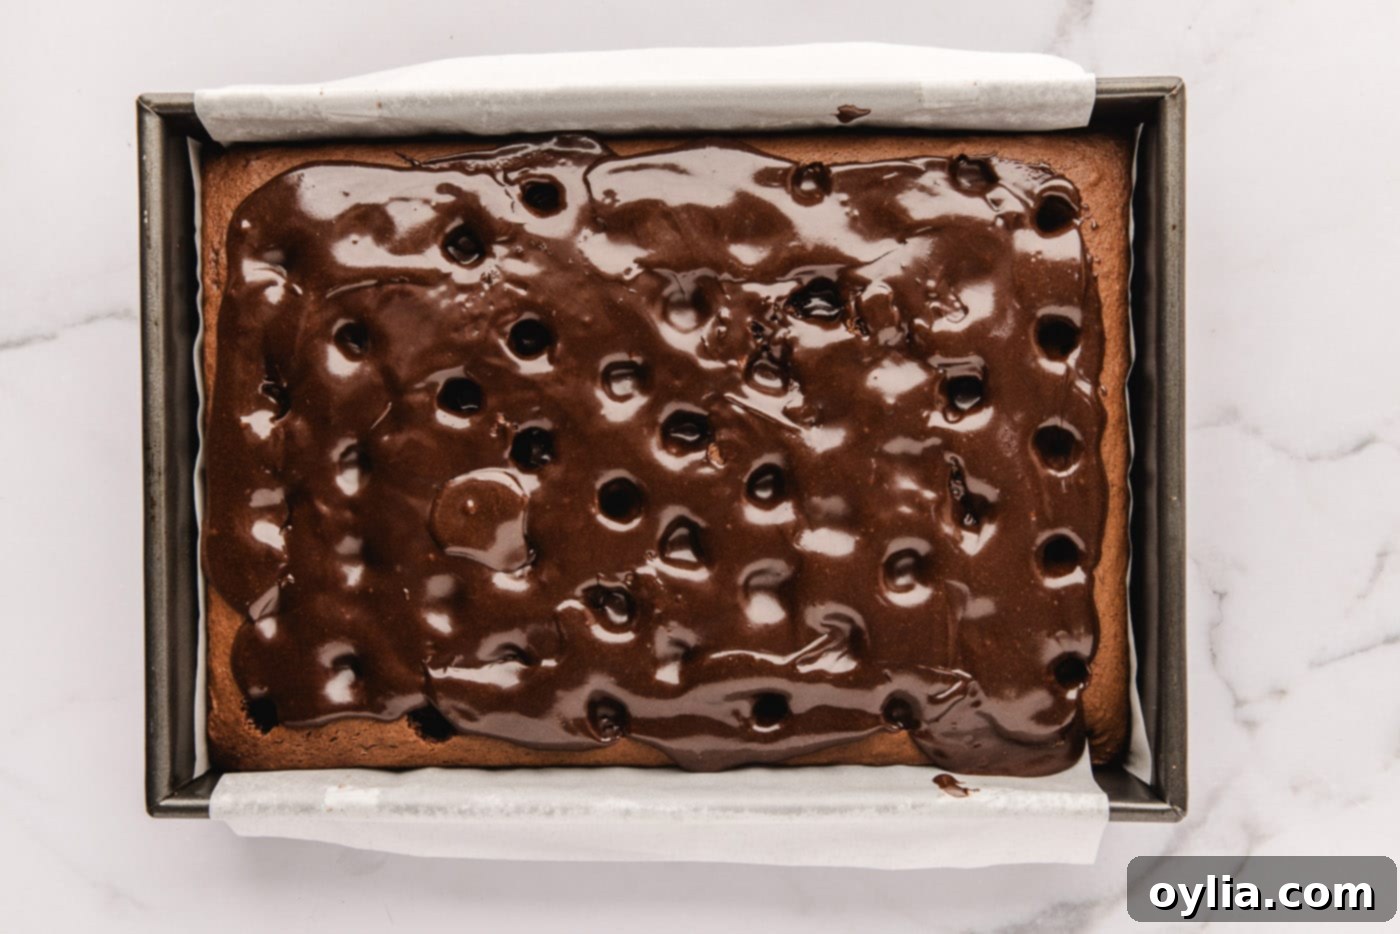
- Carefully pour the warmed chocolate fudge sauce over the poked cake. Use an offset spatula or the back of a spoon to gently spread the fudge, ensuring it fills each hole and covers the surface evenly. The warmed sauce will effortlessly seep into the holes, creating delightful pockets of rich chocolate.

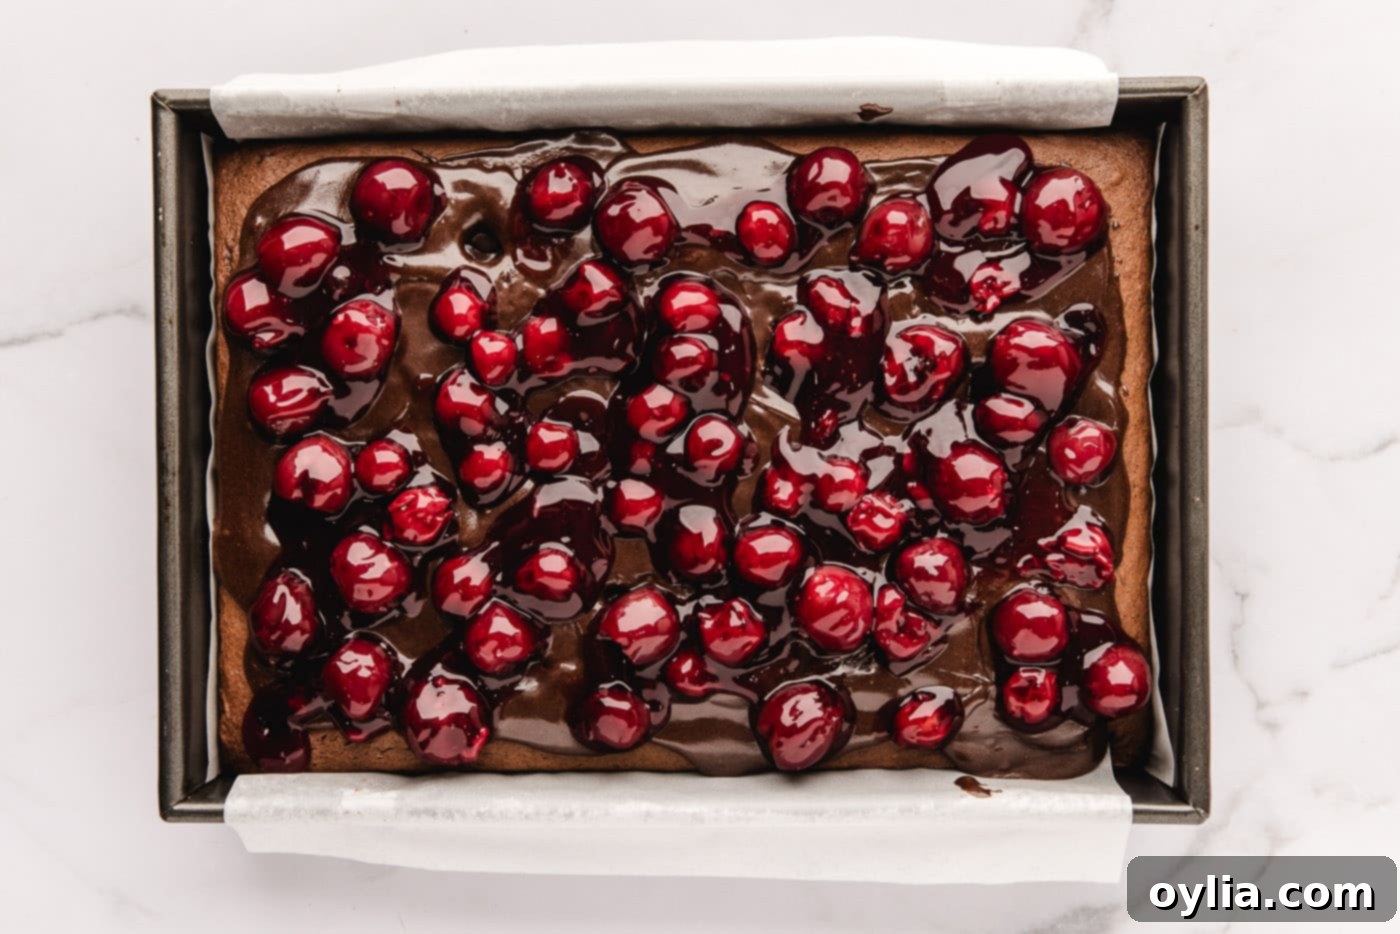
- Next, pour the entire can of cherry pie filling over the fudge-soaked cake. Gently spread the cherry filling across the entire surface, creating a vibrant and fruity layer that contrasts beautifully with the chocolate.

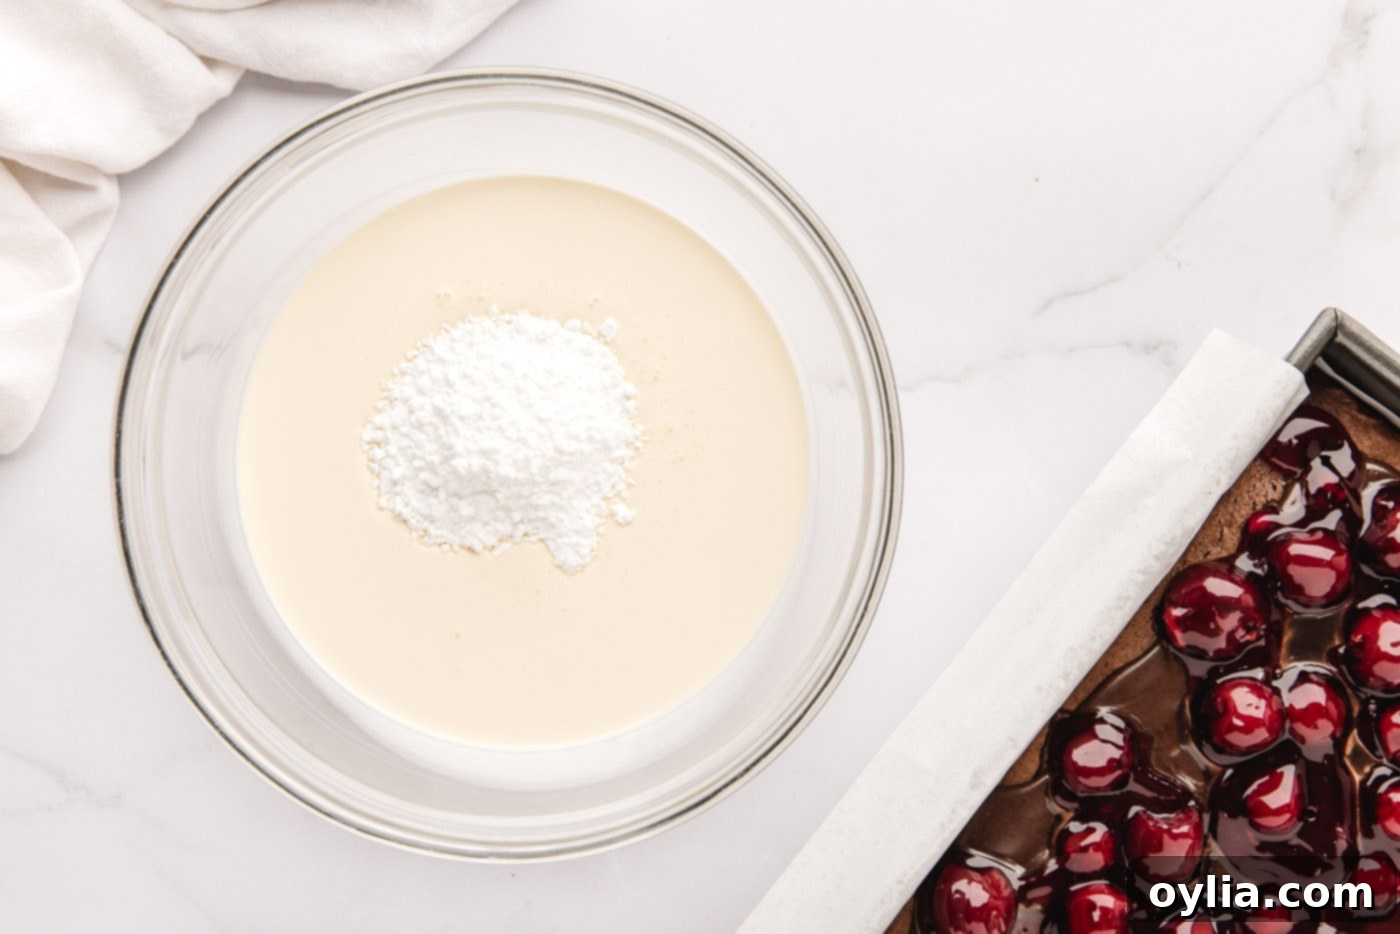
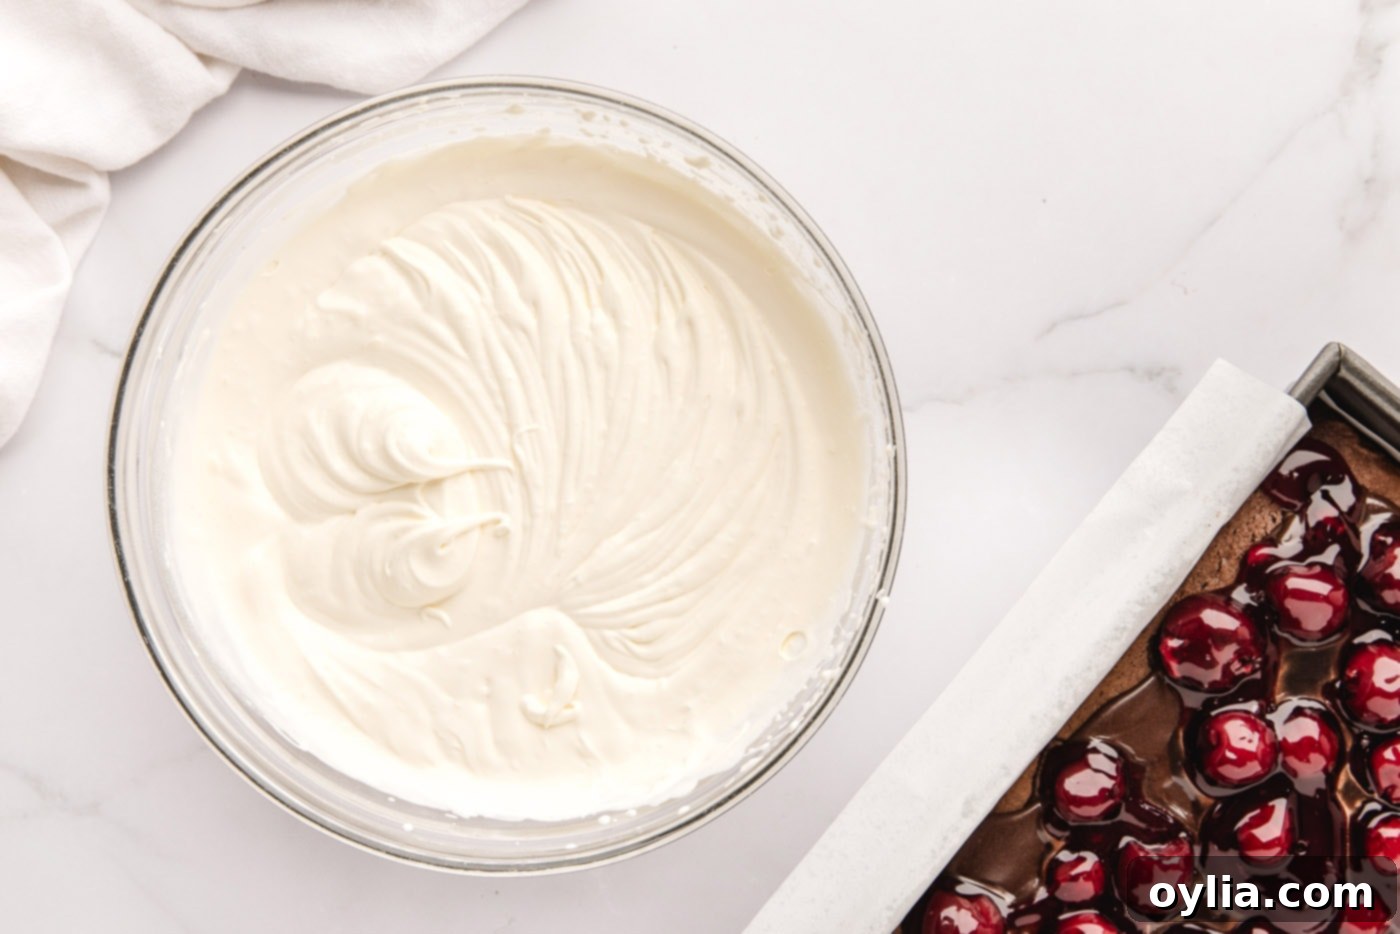
- In a large mixing bowl, combine the heavy whipping cream and powdered sugar. Using an electric mixer, whisk the mixture on medium-high speed until it becomes light, fluffy, and holds stiff peaks. Be careful not to over-whisk, as it can turn into butter.


- Once your whipped cream is ready, transfer approximately one-third of it to a piping bag fitted with a star nozzle. This portion will be used for elegant decorative swirls later.
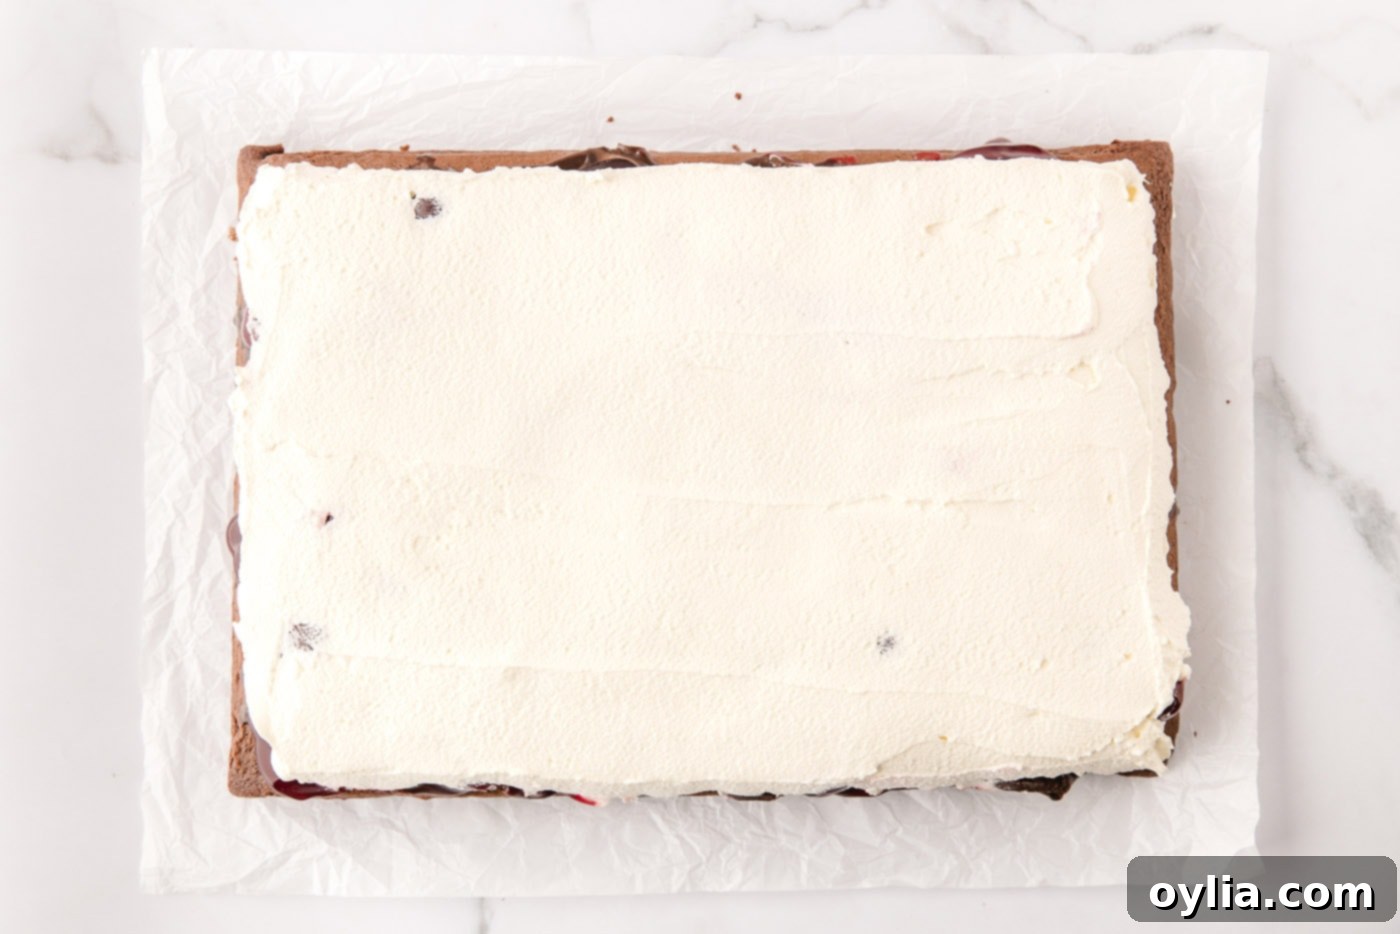
- Gently spread the remaining two-thirds of the whipped cream evenly over the cherry pie filling layer. Take care to be gentle, ensuring not to disturb the beautiful layers of fudge and cherry beneath. This creates a smooth, cloud-like top layer.

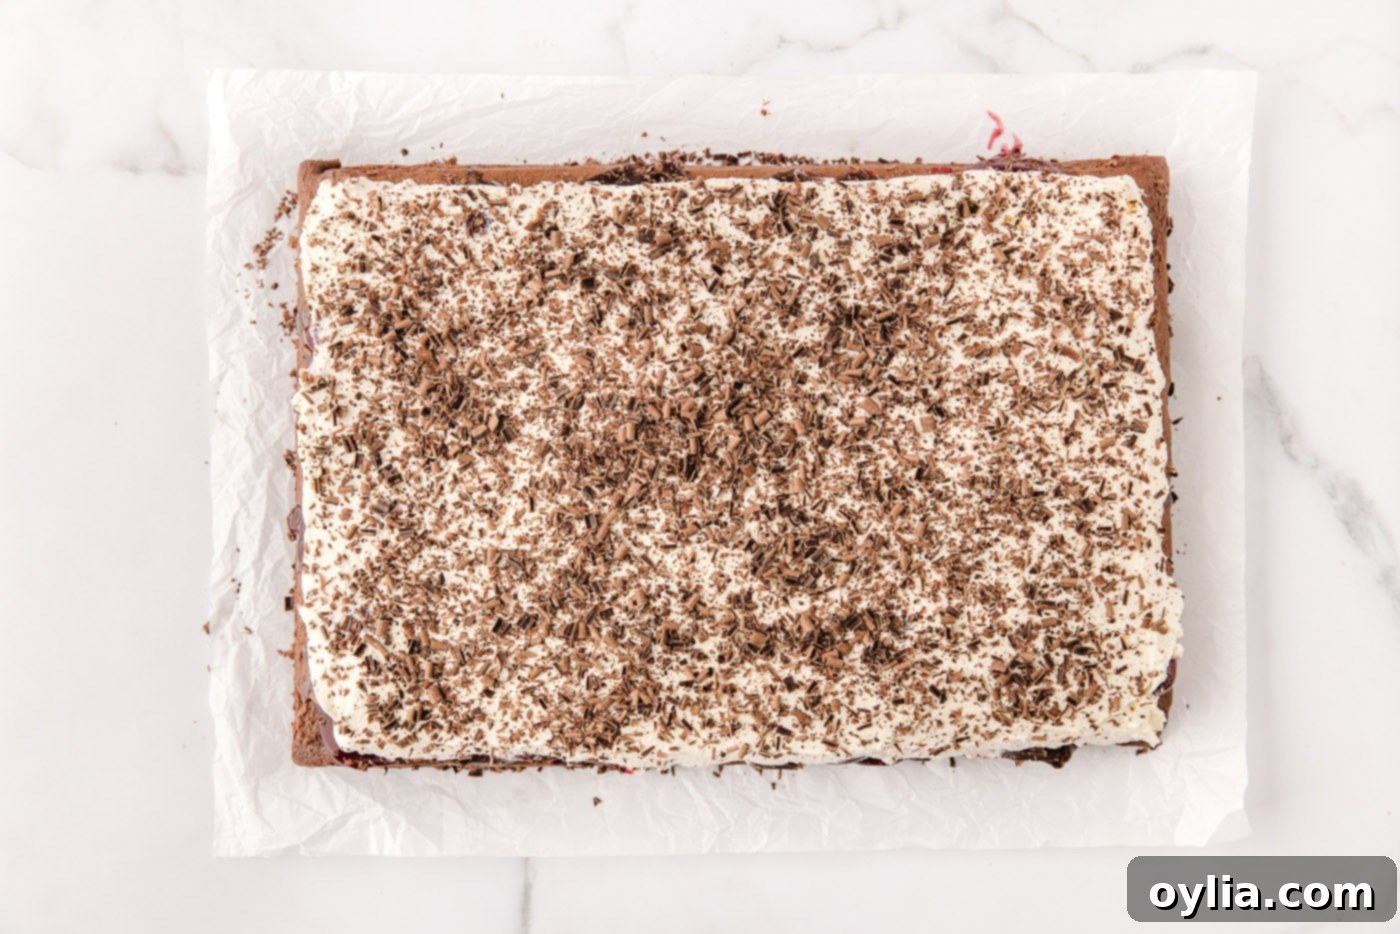
- Using a cheese grater (the larger holes work well for flakes) or a vegetable peeler (for finer curls), grate your bittersweet chocolate bar generously over the entire surface of the whipped cream. This adds both visual appeal and a delightful crunch.

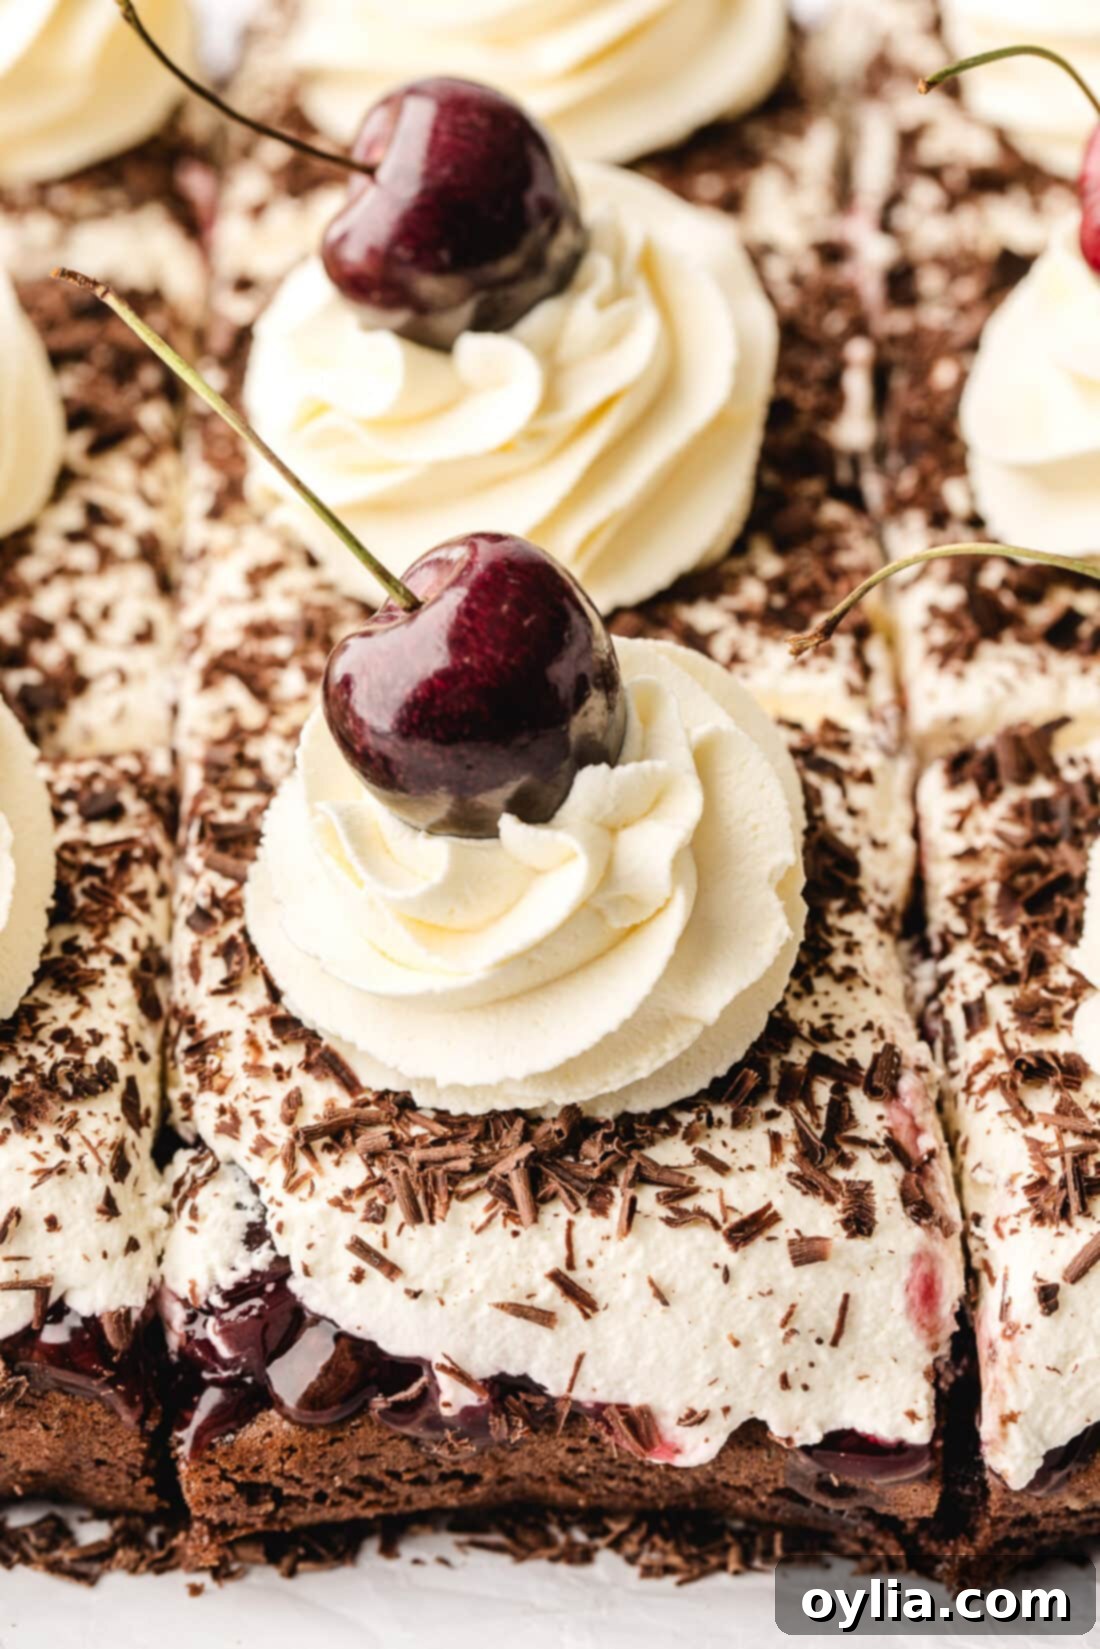
- With a sharp knife, carefully cut the finished cake into 12 equal slices. Wiping your knife clean between cuts will help ensure neat edges.
- Using the whipped cream you reserved earlier in the piping bag, pipe a beautiful swirl or rosette on top of each individual slice of cake. This adds a professional and decorative touch.
- Finally, adorn each piped swirl with a fresh cherry for that classic Black Forest presentation and an added pop of color and freshness.
Frequently Asked Questions & Expert Tips for Black Forest Poke Cake
To maintain its freshness and deliciousness, store any leftover Black Forest Poke Cake in an airtight container. Keep it refrigerated, and it will remain delightful for up to 4 days. The flavors tend to meld even more beautifully over time!
Absolutely, this poke cake is an excellent candidate for make-ahead preparation! You can bake the chocolate cake layer a day or even two in advance. Once baked and cooled, cover it tightly and store it in the refrigerator until you are ready to assemble. The beauty of poke cakes is that the cherry pie filling continues to soak into the surrounding cake the longer it sits, intensifying the moisture and flavor profile. If you prefer a slightly less moist cake, you can prepare the cake and poke the holes ahead of time, storing it covered with a lid or plastic wrap. Then, on the day of serving, simply pour on the fillings, add the whipped cream, and apply your desired garnishes for a fresh finish. This flexibility makes it perfect for entertaining or busy schedules.
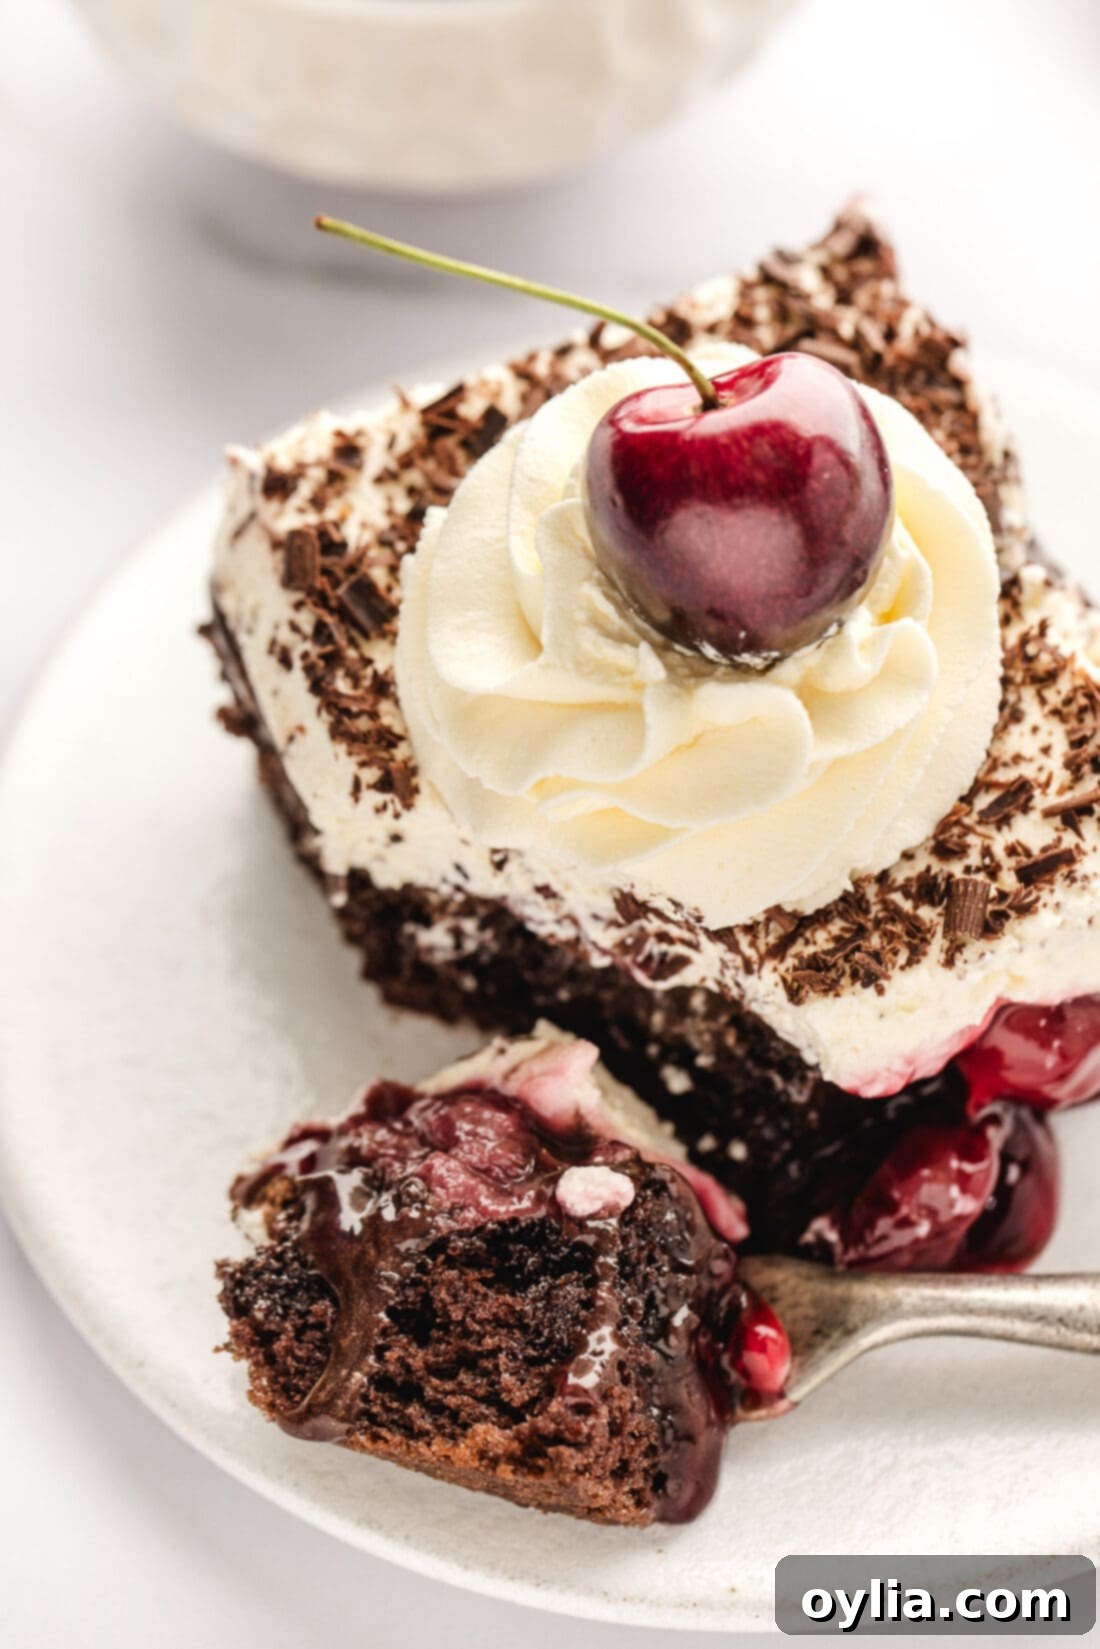
Serving Suggestions: Elevate Your Black Forest Poke Cake
While this Black Forest Poke Cake is undeniably stunning and delicious on its own, a few simple enhancements can truly elevate the experience. For a classic garnish, a generous sprinkle of shaved chocolate or a handful of miniature chocolate chips adds texture and an extra layer of chocolatey goodness. A delicate drizzle of extra chocolate sauce can also create an elegant presentation. We particularly love the vibrant contrast and fresh bite that a fresh cherry provides atop each slice of cake, mimicking traditional Black Forest gateau. However, for an equally delightful and convenient option, a small spoonful of extra cherry pie filling or bright red maraschino cherries make fantastic alternatives, ensuring every serving is as beautiful as it is delicious.
Explore More Delicious Poke Cake Recipes
If you’ve fallen in love with the ease and deliciousness of poke cakes, there’s a whole world of flavors to explore! Here are some other fantastic poke cake recipes you might enjoy trying next:
- Chocolate Poke Cake
- Better Than Sex Cake
- Boston Cream Poke Cake
- Banana Pudding Poke Cake
- Cannoli Poke Cake
I love to bake and cook and share my kitchen experience with all of you! Remembering to come back each day can be tough, that’s why I offer a convenient newsletter every time a new recipe posts. Simply subscribe and start receiving your free daily recipes!
Black Forest Poke Cake
IMPORTANT – There are often Frequently Asked Questions within the blog post that you may find helpful. Simply scroll back up to read them!
Print It
Pin It
Rate It
Save ItSaved!
Ingredients
- 15.25 ounce chocolate cake mix plus ingredients on the back of the box (e.g., eggs, water, oil)
- 21 ounces chocolate fudge sauce
- 21 ounce can of cherry pie filling
- 6 cups heavy whipping cream
- ½ cup powdered sugar
- bittersweet chocolate bar shaved, optional for garnish
- 12 fresh cherries optional as garnish
Things You’ll Need
-
13×9 baking dish
-
Wooden spoon
-
Vegetable peeler for shaving chocolate
-
Star piping tip (Wilton 1M) for piping whipped cream garnish
Before You Begin
- We used a Betty Crocker Devil’s Food Chocolate Cake box mix, but your favorite chocolate cake mix (Devil’s Food, dark chocolate, etc.) will work. Remember to gather the additional ingredients specified on your chosen box, typically eggs, water or milk, and oil.
- Any chocolate fudge sauce, including hot fudge, is suitable. Heating it briefly in the microwave before pouring helps it spread easily and absorb deeply into the cake, enhancing flavor and moisture.
- To save time, store-bought Cool Whip can be used as a convenient substitute for homemade whipped cream.
- For garnish, 2-3 squares of bittersweet chocolate, shaved with a grater or vegetable peeler, will provide ample and elegant chocolate curls. Fresh cherries, maraschino cherries, or a little extra cherry pie filling can also be used to top each slice.
Instructions
-
Preheat the oven to 350°F (175°C). Line a 13×9 baking dish with parchment paper, leaving an overhang on the longer sides. Lightly spray the paper and any exposed pan with cake release or cooking spray.
-
Prepare the chocolate cake batter according to the package instructions. Pour the batter into the prepared pan and bake as directed on the box (we baked for 24 minutes, testing for doneness with a toothpick).
-
Remove the cake from the oven and let it cool in the pan on a wire rack for 20 minutes before proceeding.
TIP: Cooling is crucial. If the cake is too warm, it will stick to your poking tool and tear.
-
Meanwhile, heat the chocolate fudge sauce in the microwave for approximately one minute, stirring every 30 seconds, until it’s smooth and pourable.
-
Once the cake has cooled, use the round end of a wooden spoon or a similar tool to poke holes evenly all over the cake surface, going about two-thirds of the way down.
-
Pour the warmed chocolate fudge sauce over the cake, carefully spreading it so it seeps into all the holes, creating rich chocolate pockets.
-
Next, pour the cherry pie filling over the fudge layer and gently spread it across the entire surface of the cake.
-
In a clean mixing bowl, add the heavy cream and powdered sugar. Whisk with an electric mixer until the mixture forms stiff peaks.
-
Reserve about one-third of the whipped cream by transferring it to a piping bag fitted with a star nozzle for later decorative piping.
-
Gently spread the remaining whipped cream evenly over the cherry pie filling layer, being careful not to disturb the underlying layers.
-
Use a cheese grater or vegetable peeler to create chocolate shavings, scattering them generously over the whipped cream surface.
-
Using a sharp knife, cut the cake into 12 equal slices. Clean the knife between each cut for neat results.
-
With the reserved whipped cream in the piping bag, pipe a decorative swirl onto the center of each individual cake slice.
-
Complete the presentation by decorating each slice with a fresh cherry, adding a final touch of classic Black Forest charm.
Expert Tips & FAQs
- Store any leftover Black Forest Poke Cake in an airtight container in the refrigerator for up to 4 days.
- Make Ahead: This cake is perfect for preparing in advance! You can bake the chocolate cake layer a day or two ahead of time. Once baked and completely cooled, cover it tightly and store it in the refrigerator until you’re ready to assemble. The cherry pie filling will continue to infuse into the cake, enhancing moisture and flavor over time. If you prefer a cake that is not excessively moist, you can bake and poke the holes a day or two in advance, then cover and refrigerate. Add the fudge, cherry filling, whipped cream, and garnishes just before serving.
Nutrition
The recipes on this blog are tested with a conventional gas oven and gas stovetop. It’s important to note that some ovens, especially as they age, can cook and bake inconsistently. Using an inexpensive oven thermometer can assure you that your oven is truly heating to the proper temperature. If you use a toaster oven or countertop oven, please keep in mind that they may not distribute heat the same as a conventional full sized oven and you may need to adjust your cooking/baking times. In the case of recipes made with a pressure cooker, air fryer, slow cooker, or other appliance, a link to the appliances we use is listed within each respective recipe. For baking recipes where measurements are given by weight, please note that results may not be the same if cups are used instead, and we can’t guarantee success with that method.
