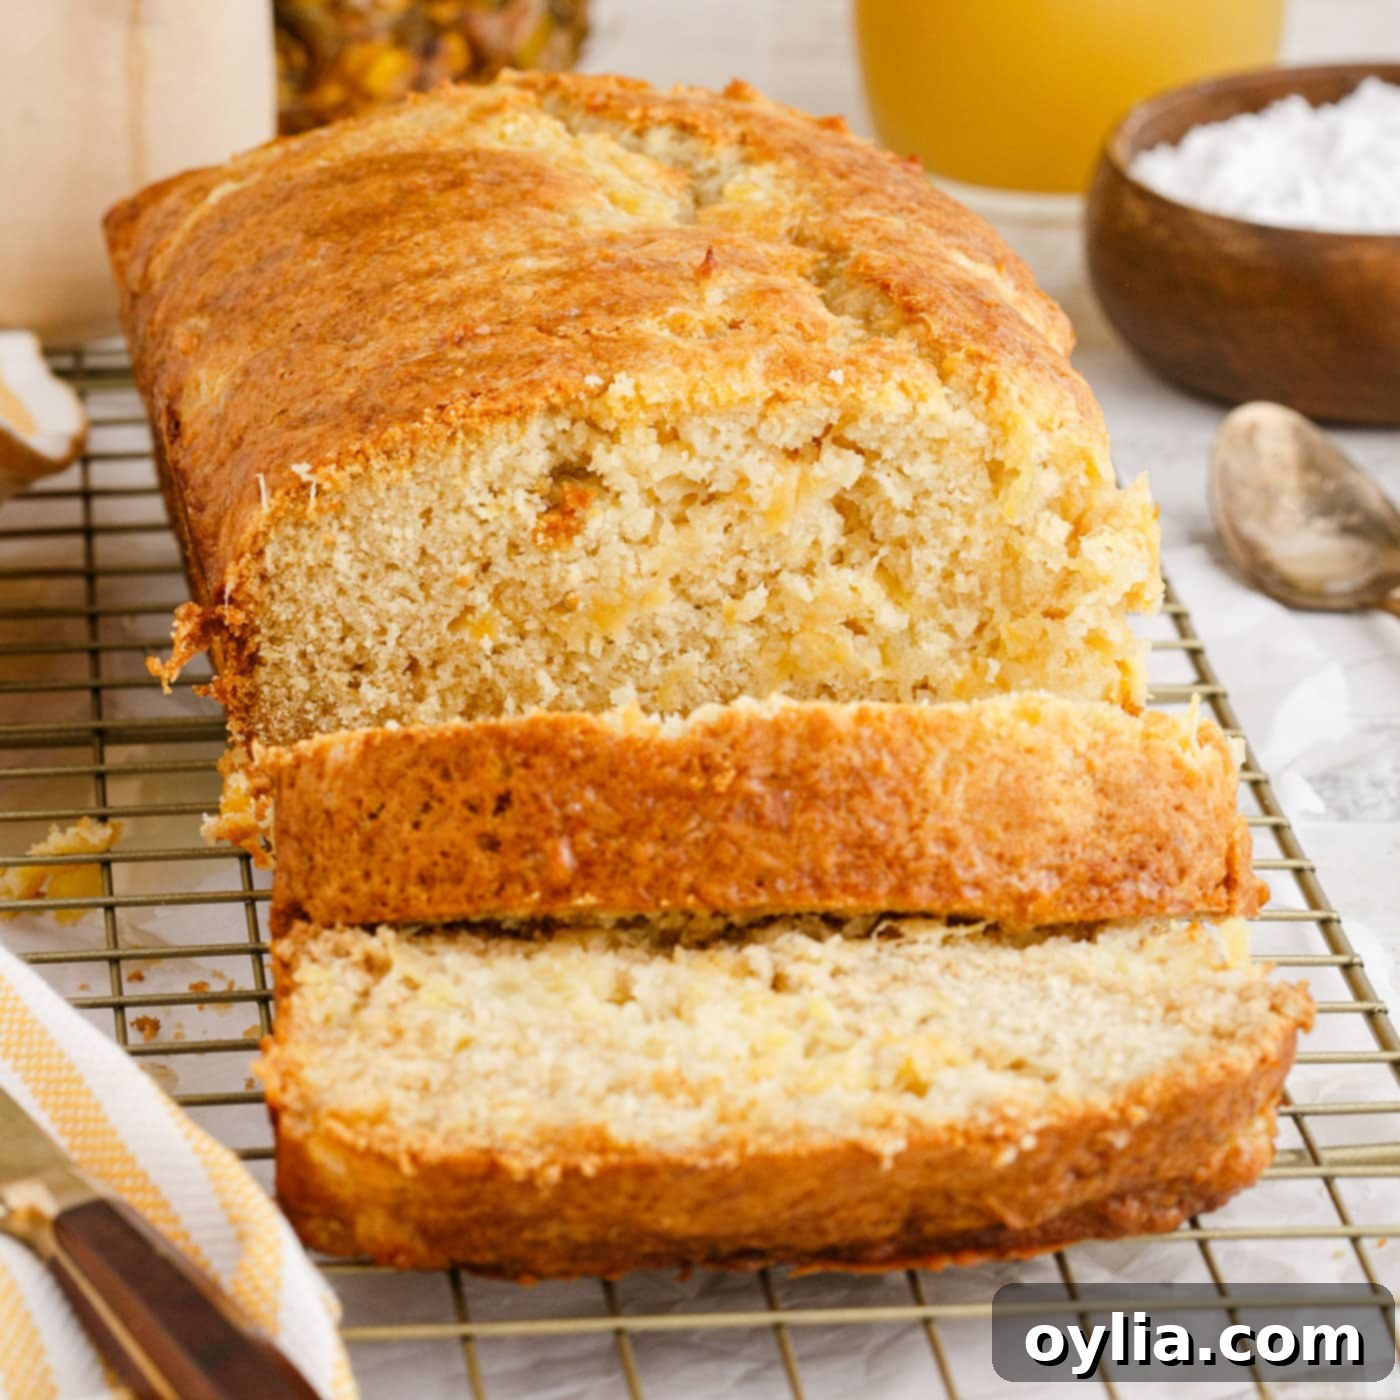
Irresistible Pineapple Quick Bread: A Super Moist, Easy No-Yeast Recipe with Glaze
Discover the delightful simplicity of baking a truly irresistible Pineapple Quick Bread. This recipe delivers a wonderfully soft and moist loaf, infused with the tropical sweetness of crushed pineapple, all without the need for yeast or lengthy rise times. Topped with a delicate pineapple glaze, this bread is a versatile treat perfect for breakfast, a lovely afternoon snack, or a sweet dessert. Its effortless preparation makes it an ideal choice for both seasoned bakers and beginners looking for a rewarding baking project.
Why This Pineapple Quick Bread Recipe Is a Must-Try
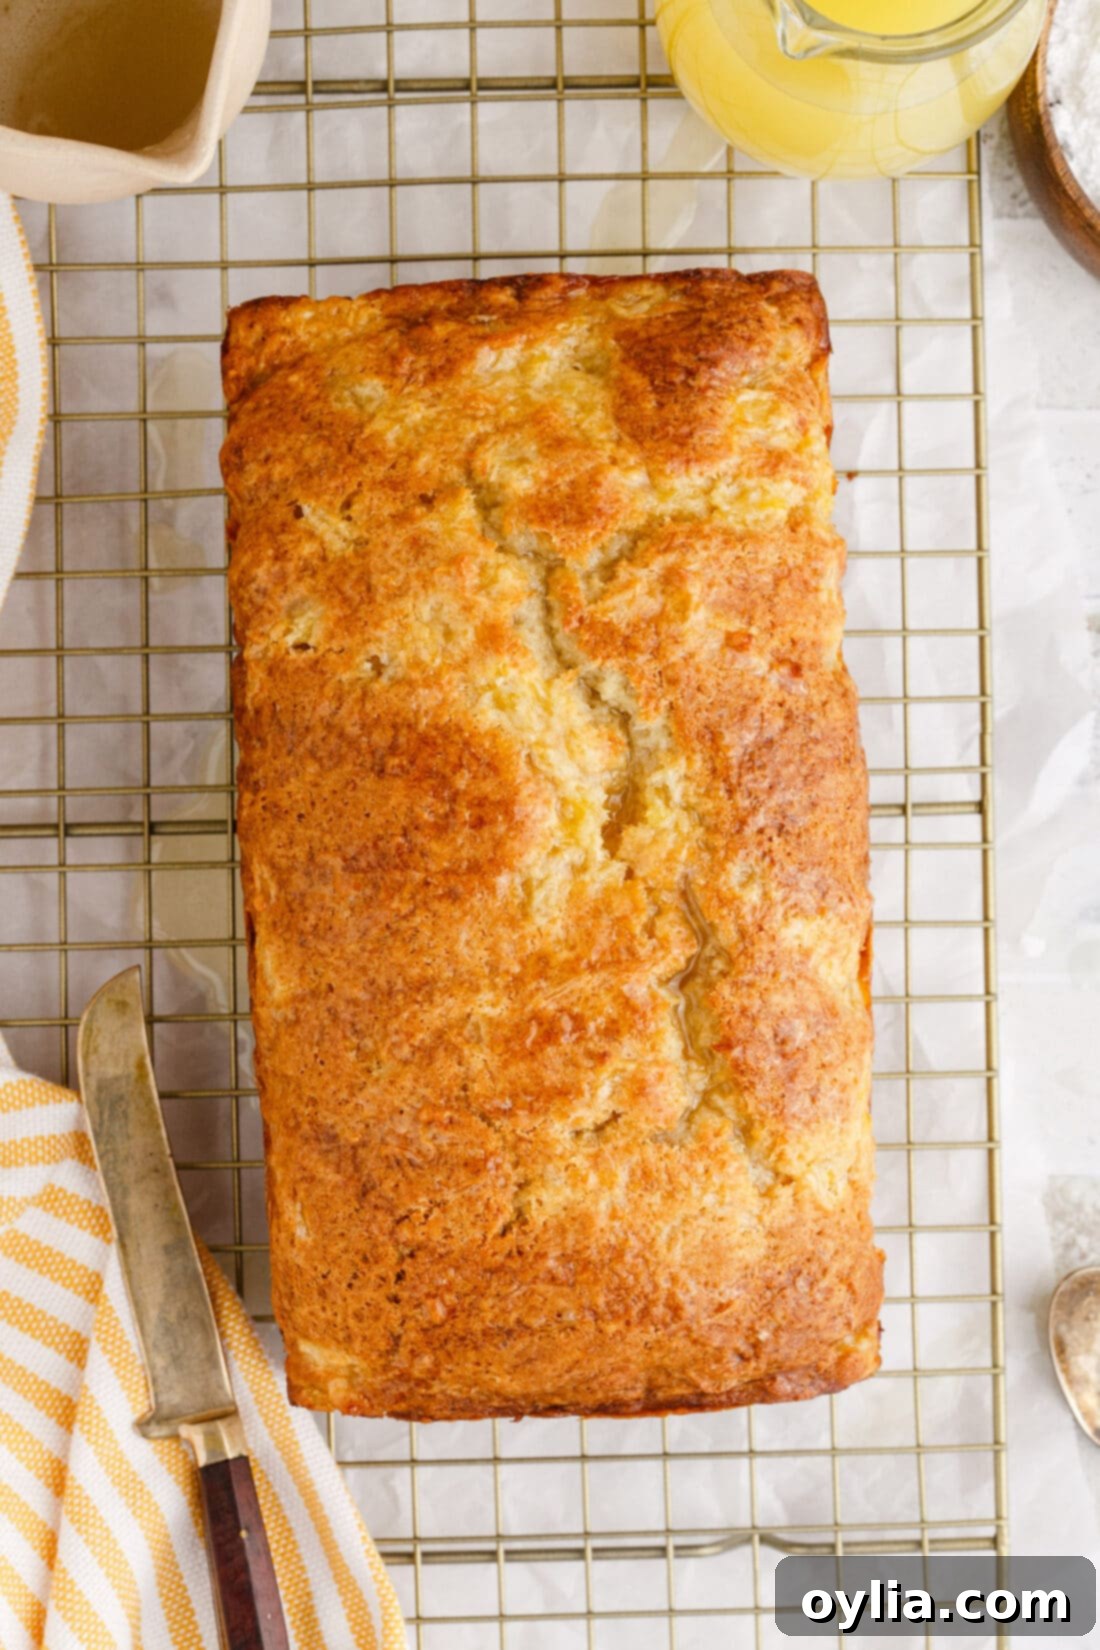
This pineapple quick bread recipe stands out for several compelling reasons. At its heart, it leverages the natural moisture and flavor of crushed pineapple, including its drained juices, to create an exceptionally moist and tender crumb. Unlike traditional yeast breads that demand hours of rising, quick breads utilize chemical leavening agents like baking soda, allowing you to go from mixing bowl to oven in a fraction of the time. This means you can satisfy your craving for homemade bread much faster!
The beauty of a “quick bread” lies in its name: it’s quick! You don’t need to be an experienced baker to achieve fantastic results. With just a few common kitchen staples, a mixer, and a trusty loaf pan, you can whip up this delightful treat with merely 10 minutes of active prep time. The subtle sweetness of the pineapple combined with the light, airy texture makes this loaf incredibly appealing. It’s a wonderful way to enjoy the tropical flavor of pineapple in a comforting baked good. This recipe is designed to be straightforward and foolproof, ensuring a delicious outcome every time. For those who love the convenience and versatility of quick breads, be sure to explore other flavor profiles like our cantaloupe quick bread and peach bread for more delightful baking adventures.
Ingredients You Will Need for Pineapple Quick Bread
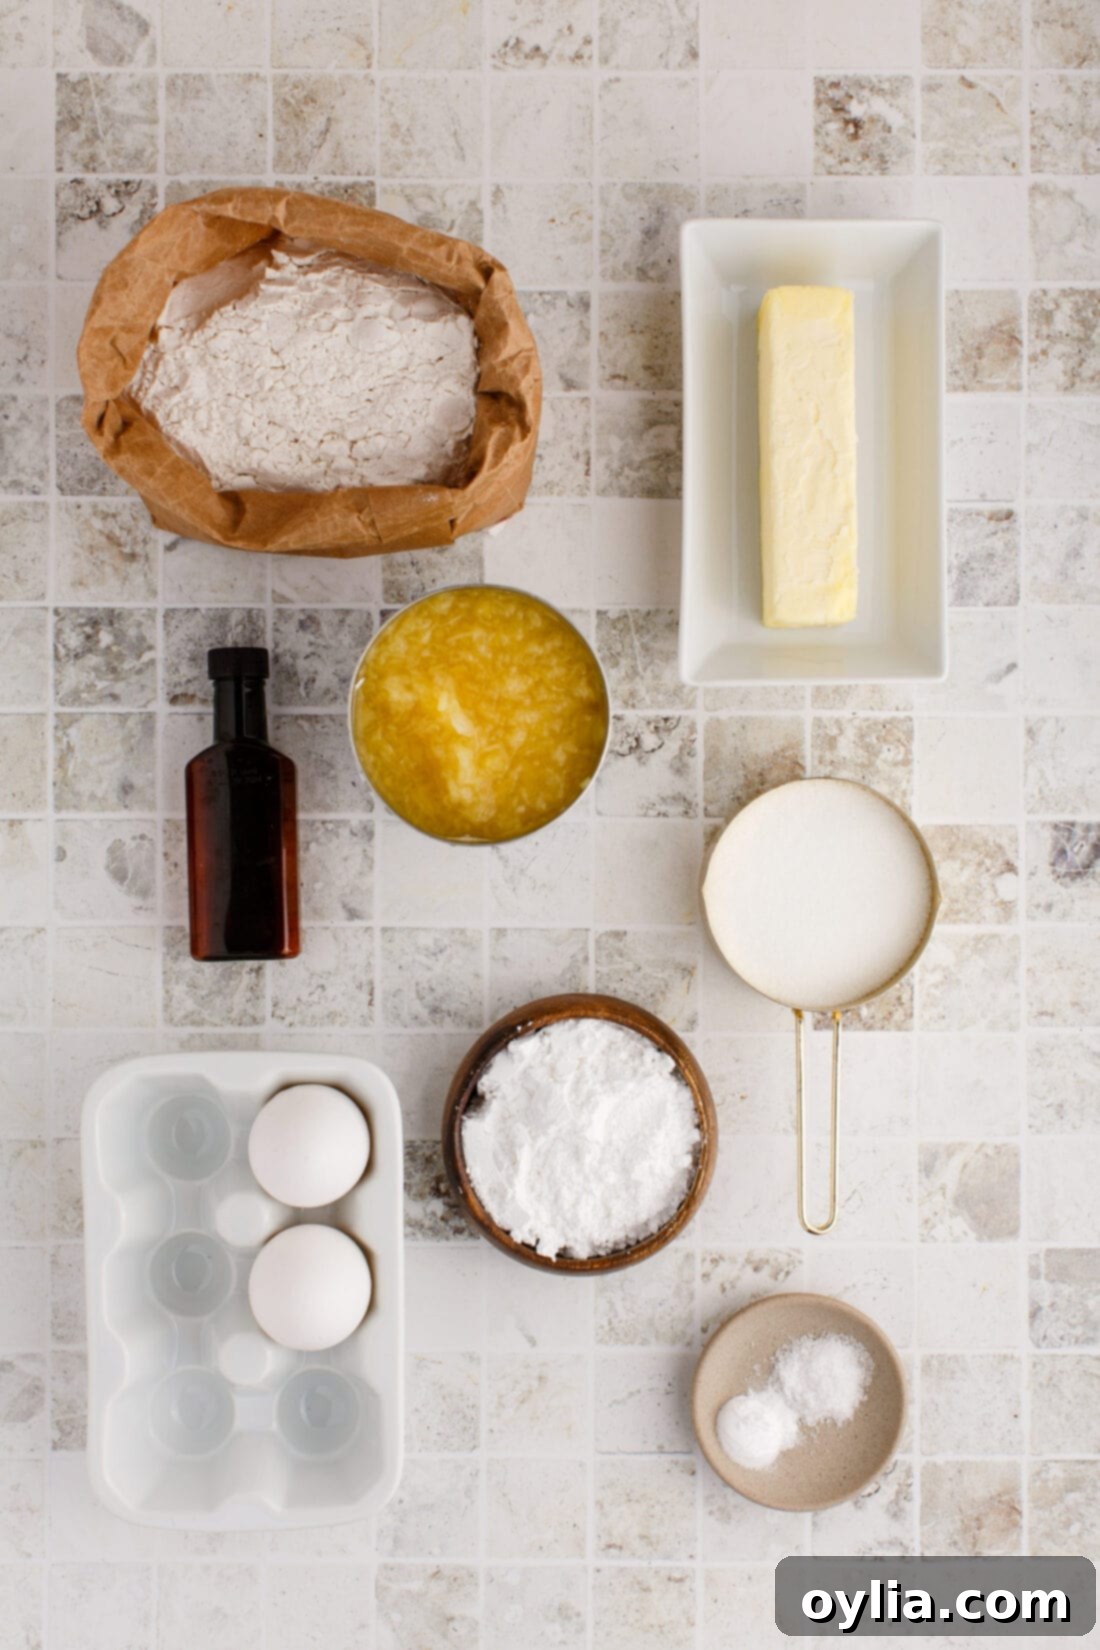
Crafting this delicious pineapple quick bread requires a selection of readily available ingredients. Before you begin, ensure all your ingredients are measured out and ready to go. You can find the complete list of measurements in the printable recipe card towards the end of this article. Having all your components prepared in advance, a technique known as “mise en place,” will make the baking process even smoother and more enjoyable.
Ingredient Info and Substitution Suggestions for Optimal Results
Understanding the role of each ingredient and knowing potential substitutions can elevate your baking experience and help you troubleshoot if needed. Here’s a closer look at the key components for your pineapple quick bread:
- PINEAPPLE – We specifically use canned crushed pineapple for its fine texture and consistent moisture, which integrates beautifully into the batter. It’s crucial to drain the crushed pineapple well, but don’t discard the juices! We’ll be reserving those precious juices to create our delicate pineapple glaze. The easiest way to drain is by using a sieve or a fine mesh strainer. Gently press down on the pineapple with a spoon to encourage excess liquid to release. It doesn’t need to be bone-dry, but it shouldn’t be excessively wet. Too much moisture in the pineapple can lead to a soggy bread, or worse, prevent it from baking through completely, potentially causing the center to sink. While fresh pineapple might seem appealing, its varying water content can make it tricky for this recipe’s delicate balance, so we recommend sticking to canned crushed pineapple for consistent results.
- ALL-PURPOSE FLOUR – The foundation of our quick bread. For best results, measure flour by lightly spooning it into your measuring cup and leveling it off with a straight edge, rather than scooping directly from the bag, which can compact it and lead to a denser bread.
- BAKING SODA – This is our primary leavening agent for this no-yeast quick bread. It reacts with acidic ingredients (like the pineapple juice) to produce carbon dioxide, creating the light and airy texture we desire. Do not skip or substitute the baking soda, as it’s essential for the bread to rise properly.
- SEA SALT – A small amount of salt enhances all the flavors in the bread, balancing the sweetness and bringing out the pineapple’s tropical notes.
- GRANULATED SUGAR – Provides sweetness and contributes to the bread’s moist texture and golden-brown crust.
- UNSALTED BUTTER – Softened butter creams easily with sugar, incorporating air into the mixture which is vital for a tender quick bread. Ensure your butter is at room temperature for optimal creaming. If you only have salted butter, reduce the added sea salt by ¼ teaspoon.
- LARGE EGGS – Eggs act as a binder, provide structure, and add richness to the bread. Make sure they are at room temperature for easier incorporation into the batter.
- PURE VANILLA EXTRACT – A touch of vanilla complements the pineapple beautifully, adding depth and warmth to the overall flavor profile.
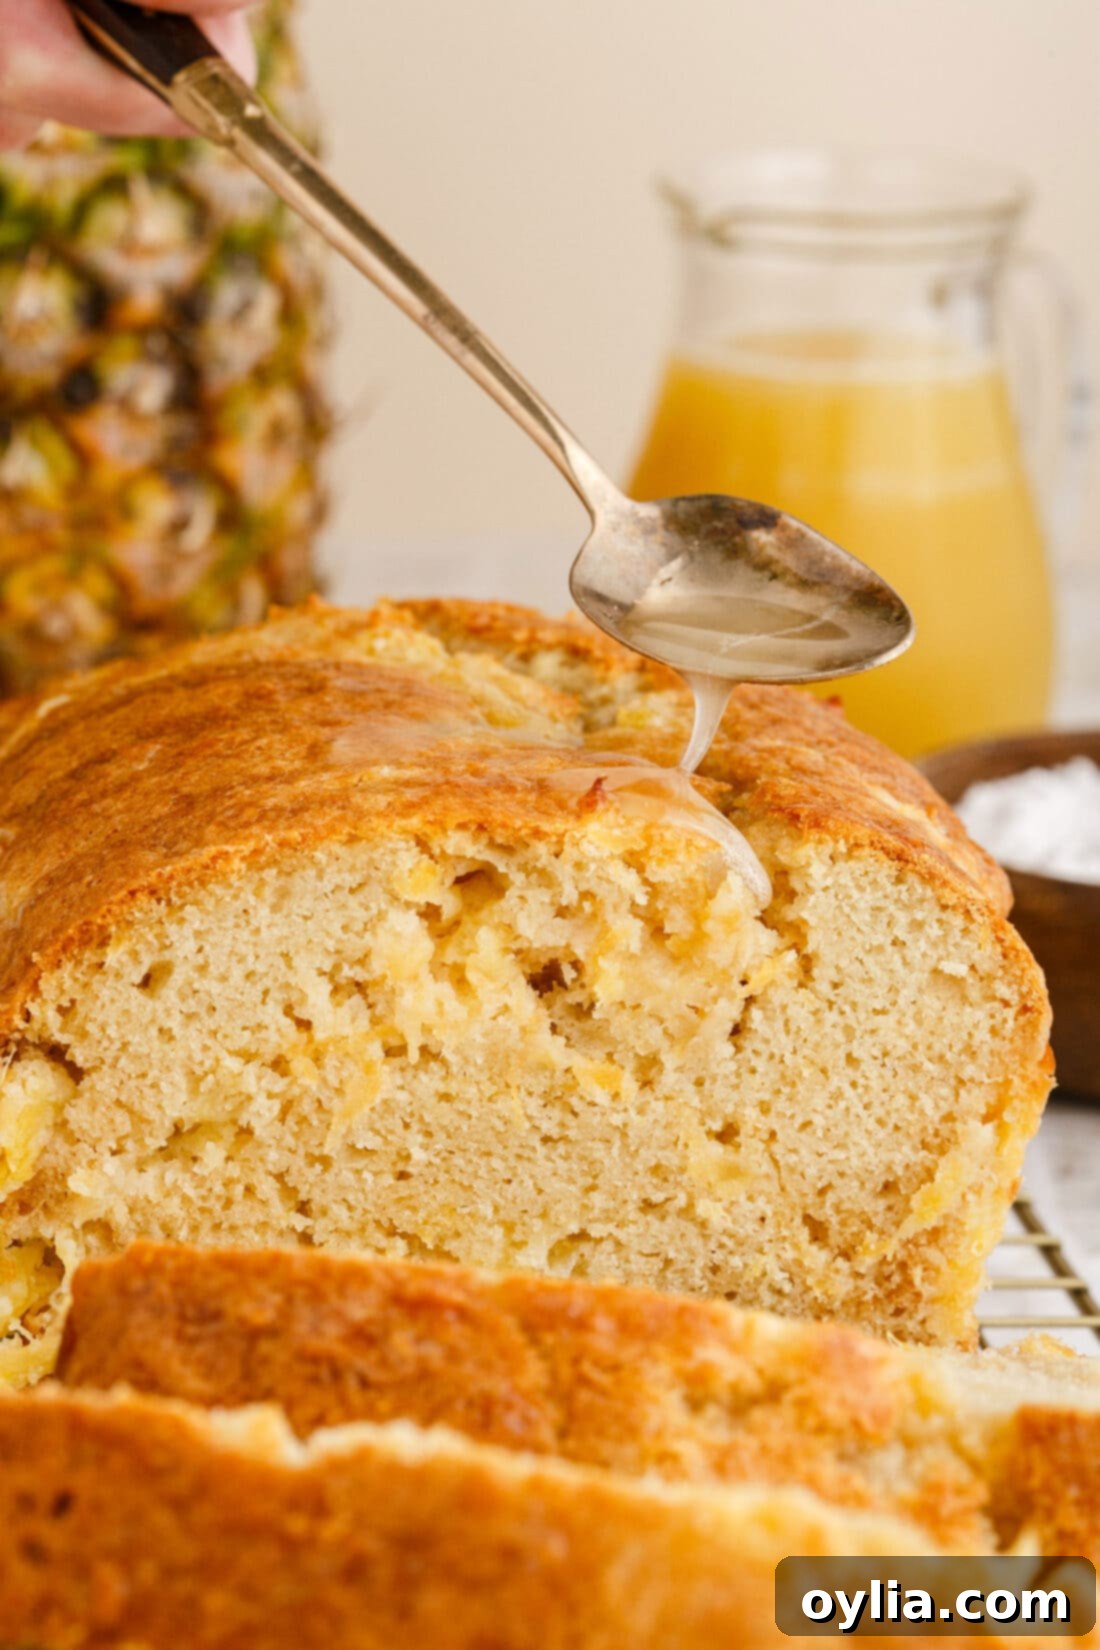
- GLAZE – The recipe as written creates a delicate, thin glaze that perfectly complements the bread without overwhelming it. If you prefer a thicker, more opaque pineapple glaze, you can easily adjust it. Use our recipe as a starting point and add an additional tablespoon of powdered sugar at a time, mixing thoroughly after each addition, until you reach your desired consistency. You can also add a tiny pinch of turmeric for a more vibrant yellow color, if desired, though it’s purely for aesthetics.
How to Make Moist Pineapple Quick Bread: Step-by-Step
These step-by-step photos and detailed instructions are here to help you visualize how to make this delicious recipe. For a convenient printable version of this pineapple quick bread recipe, complete with measurements and instructions, simply scroll down to the bottom of this post.
- Prepare Your Pan and Oven: Preheat your oven to 350°F (175°C). Generously grease a 9×5 inch loaf pan. For an even easier removal, consider lining the pan with parchment paper, leaving some overhang on the longer sides to create “handles.” This simple trick ensures your beautiful loaf lifts out effortlessly.
- Whisk Dry Ingredients: In a medium-sized mixing bowl, combine the all-purpose flour, baking soda, and sea salt. Whisk these dry ingredients thoroughly to ensure the leavening agent and salt are evenly distributed throughout the flour. This prevents pockets of unmixed ingredients and helps the bread rise uniformly.
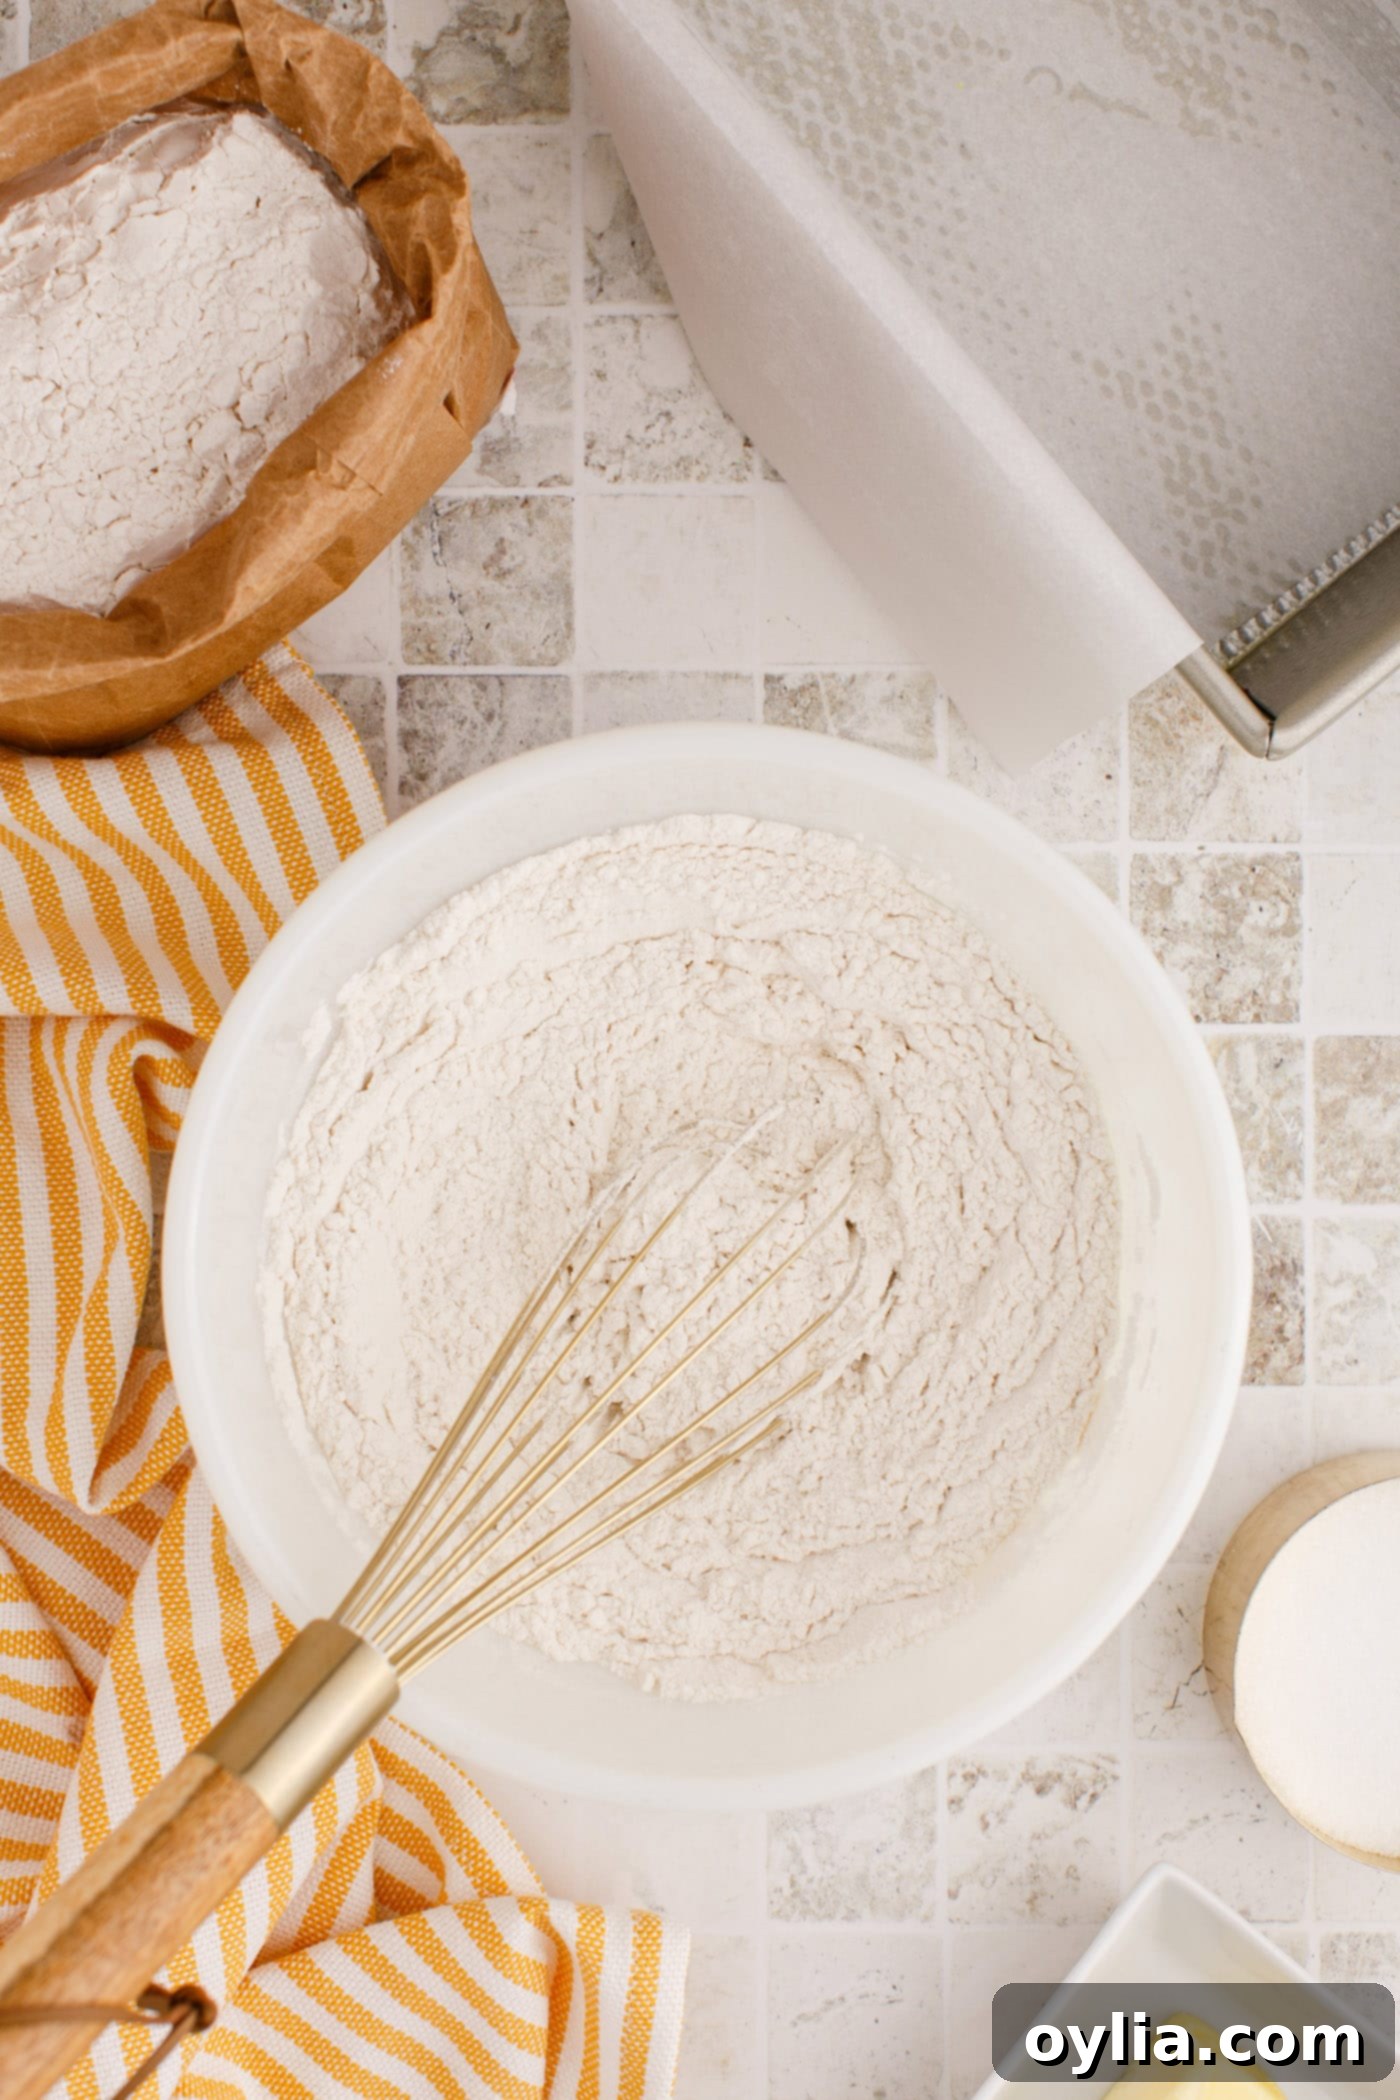
Ensuring dry ingredients are perfectly mixed. - Cream Wet Ingredients (Part 1): In the bowl of a stand mixer fitted with the paddle attachment (or using a hand mixer), cream together the granulated sugar and softened unsalted butter on low-medium speed for about 5 minutes. This process, known as creaming, incorporates air into the mixture, which is crucial for the light texture of quick bread. The mixture should become pale and fluffy.
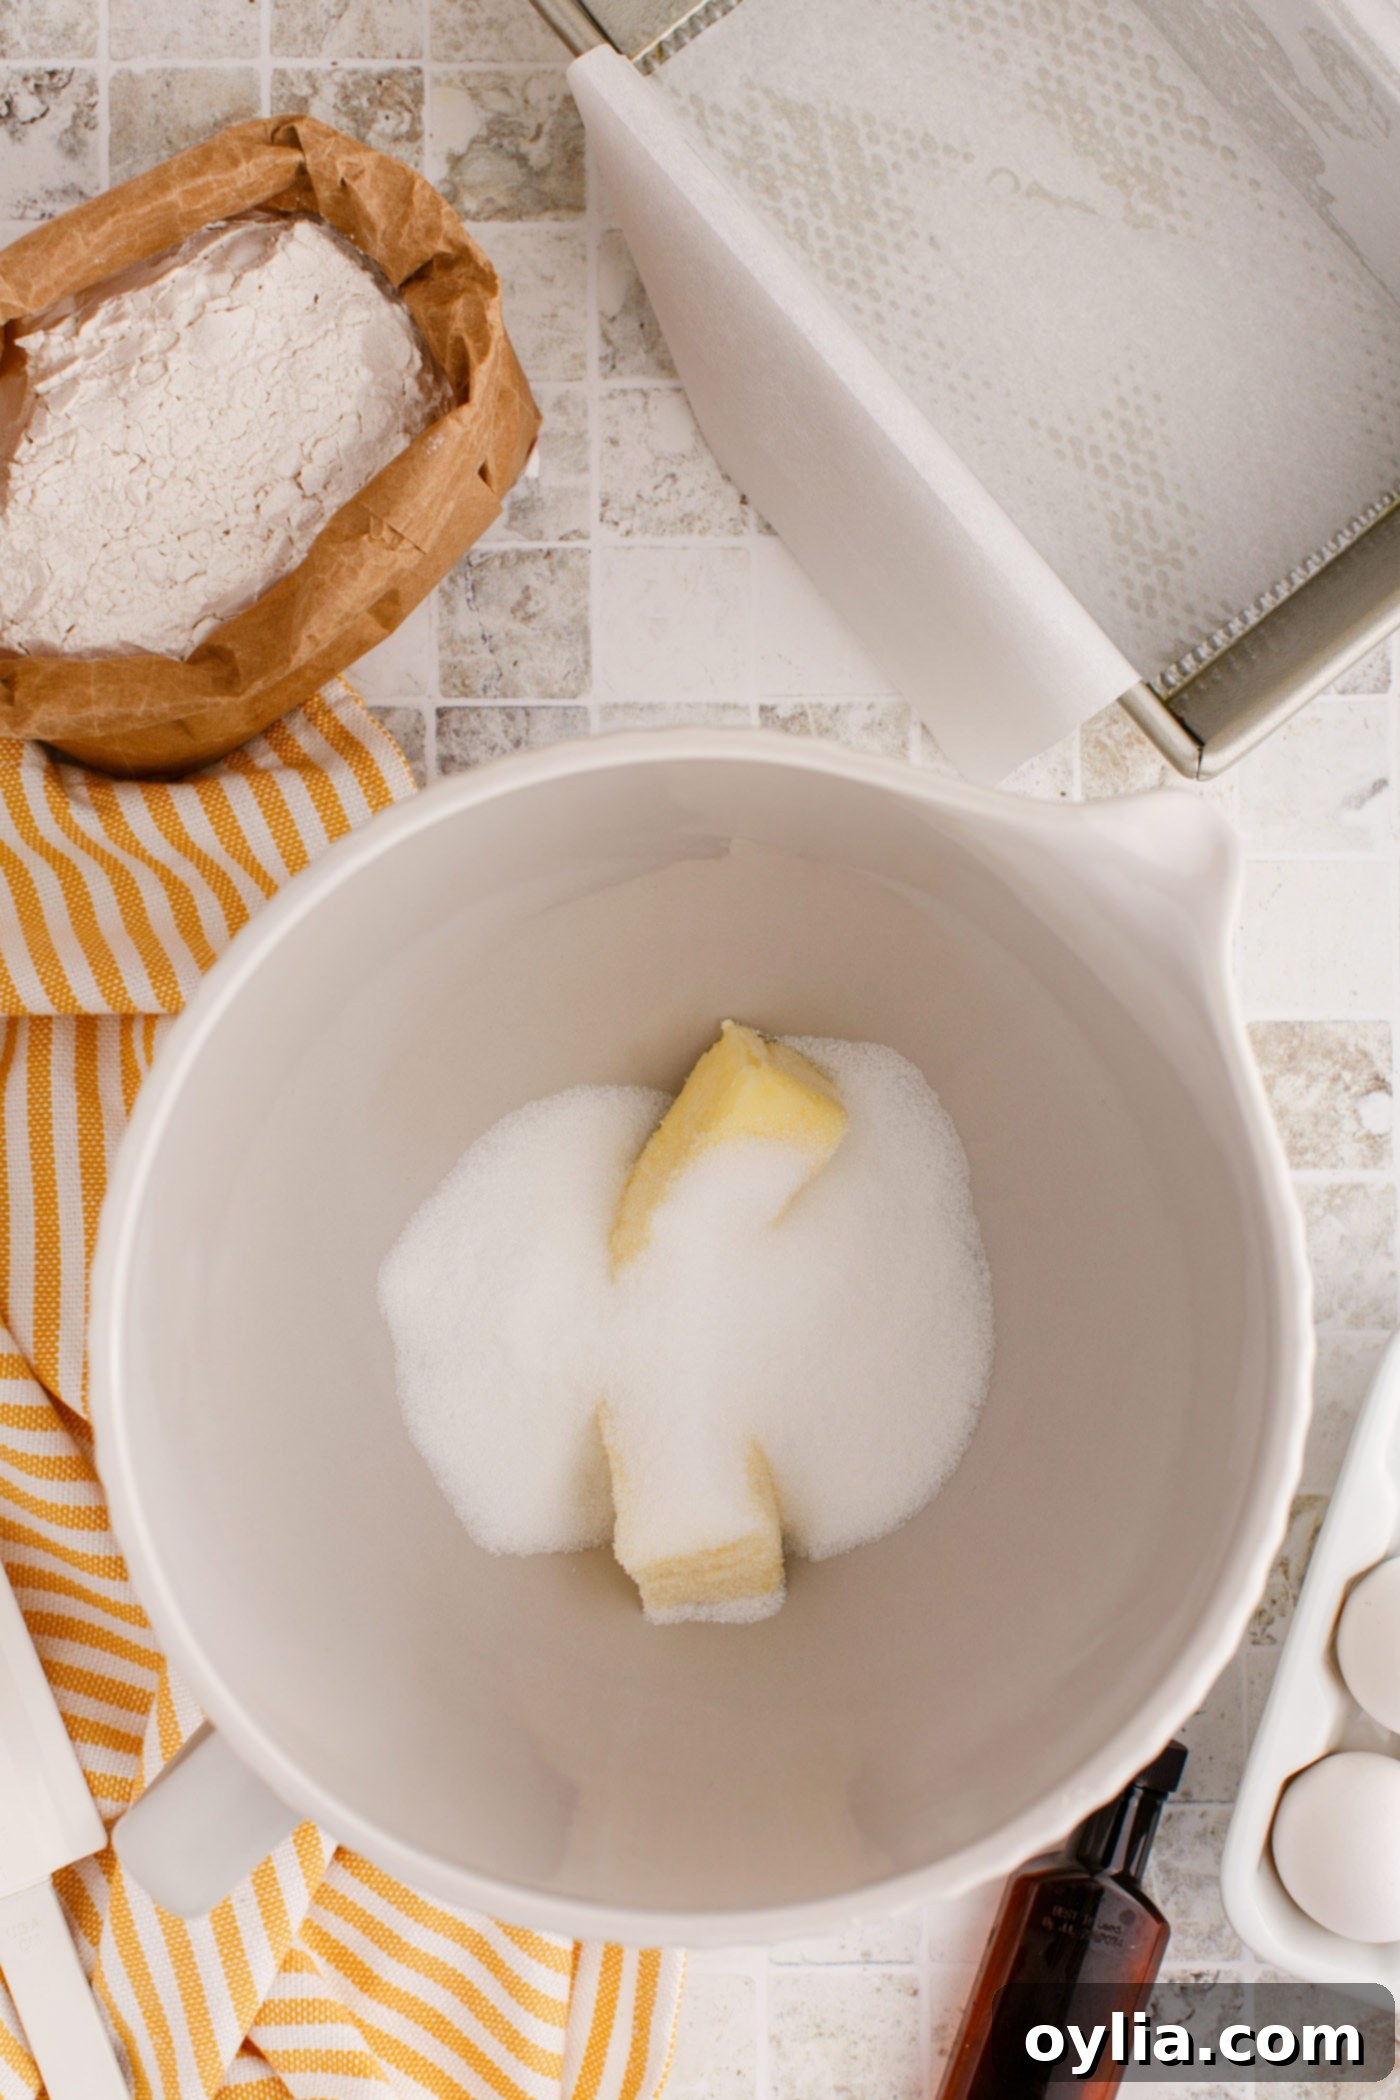
The butter and sugar mixture, light and fluffy. - Cream Wet Ingredients (Part 2): Add the eggs one at a time, mixing well after each addition, then stir in the pure vanilla extract. Continue mixing on the lowest setting for another minute, until all ingredients are just combined and the mixture is smooth. Avoid overmixing.
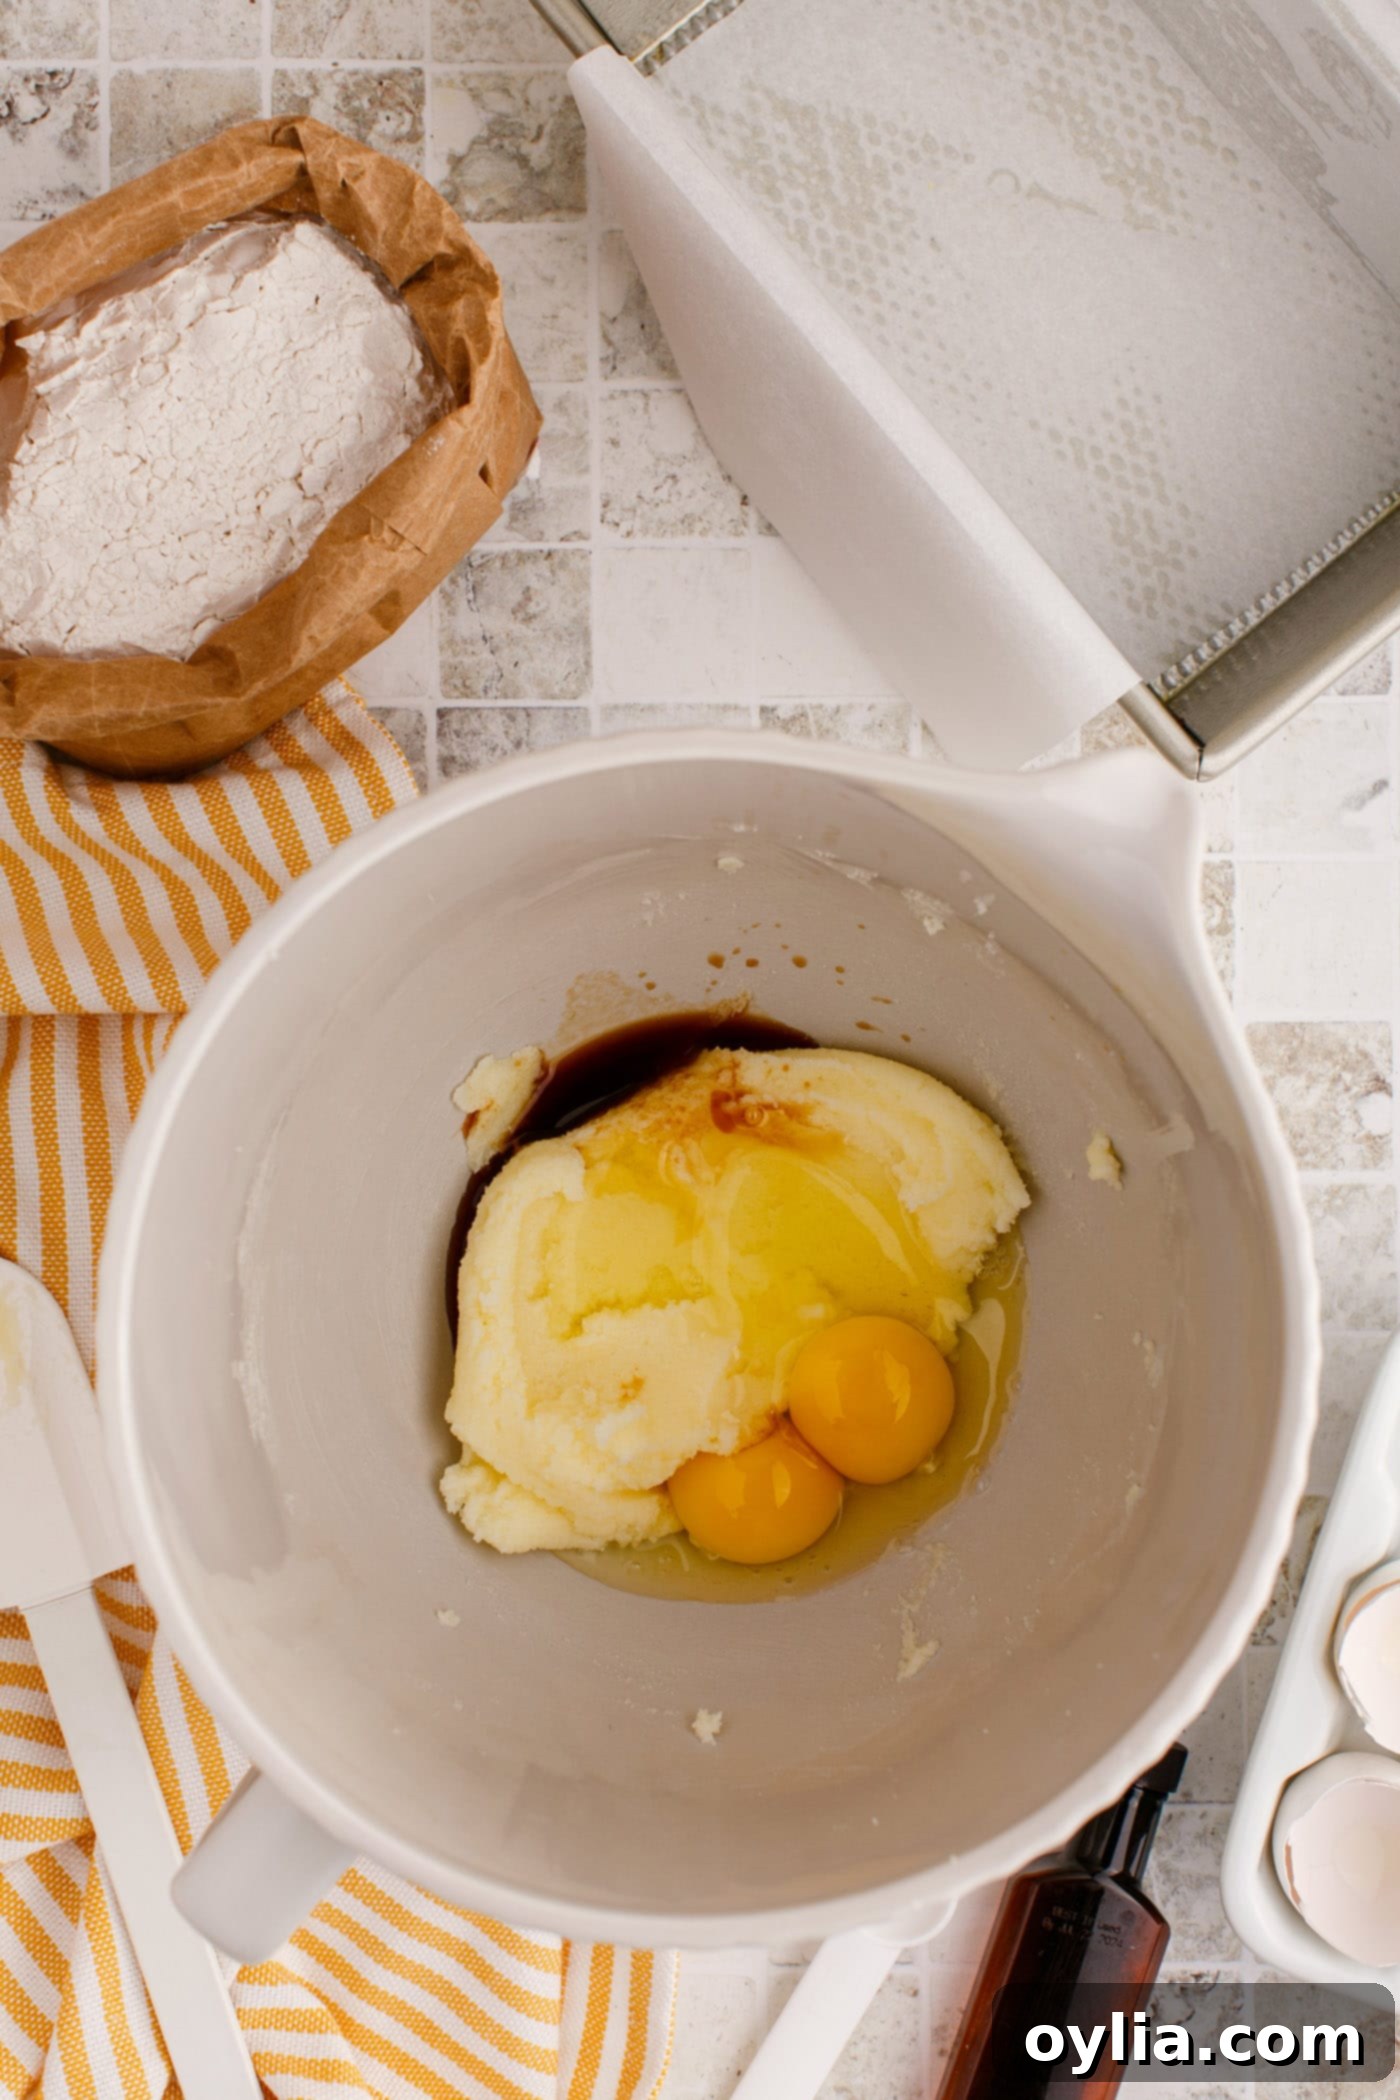
Eggs and vanilla incorporated into the creamy base. - Incorporate Dry into Wet: Slowly add the whisked flour mixture to the wet ingredients in the stand mixer. Mix on low speed until just combined. It’s important not to overmix here; overmixing can develop the gluten in the flour too much, resulting in a tough bread. Use a spatula to scrape down the sides and bottom of the mixing bowl, ensuring all ingredients are evenly incorporated.
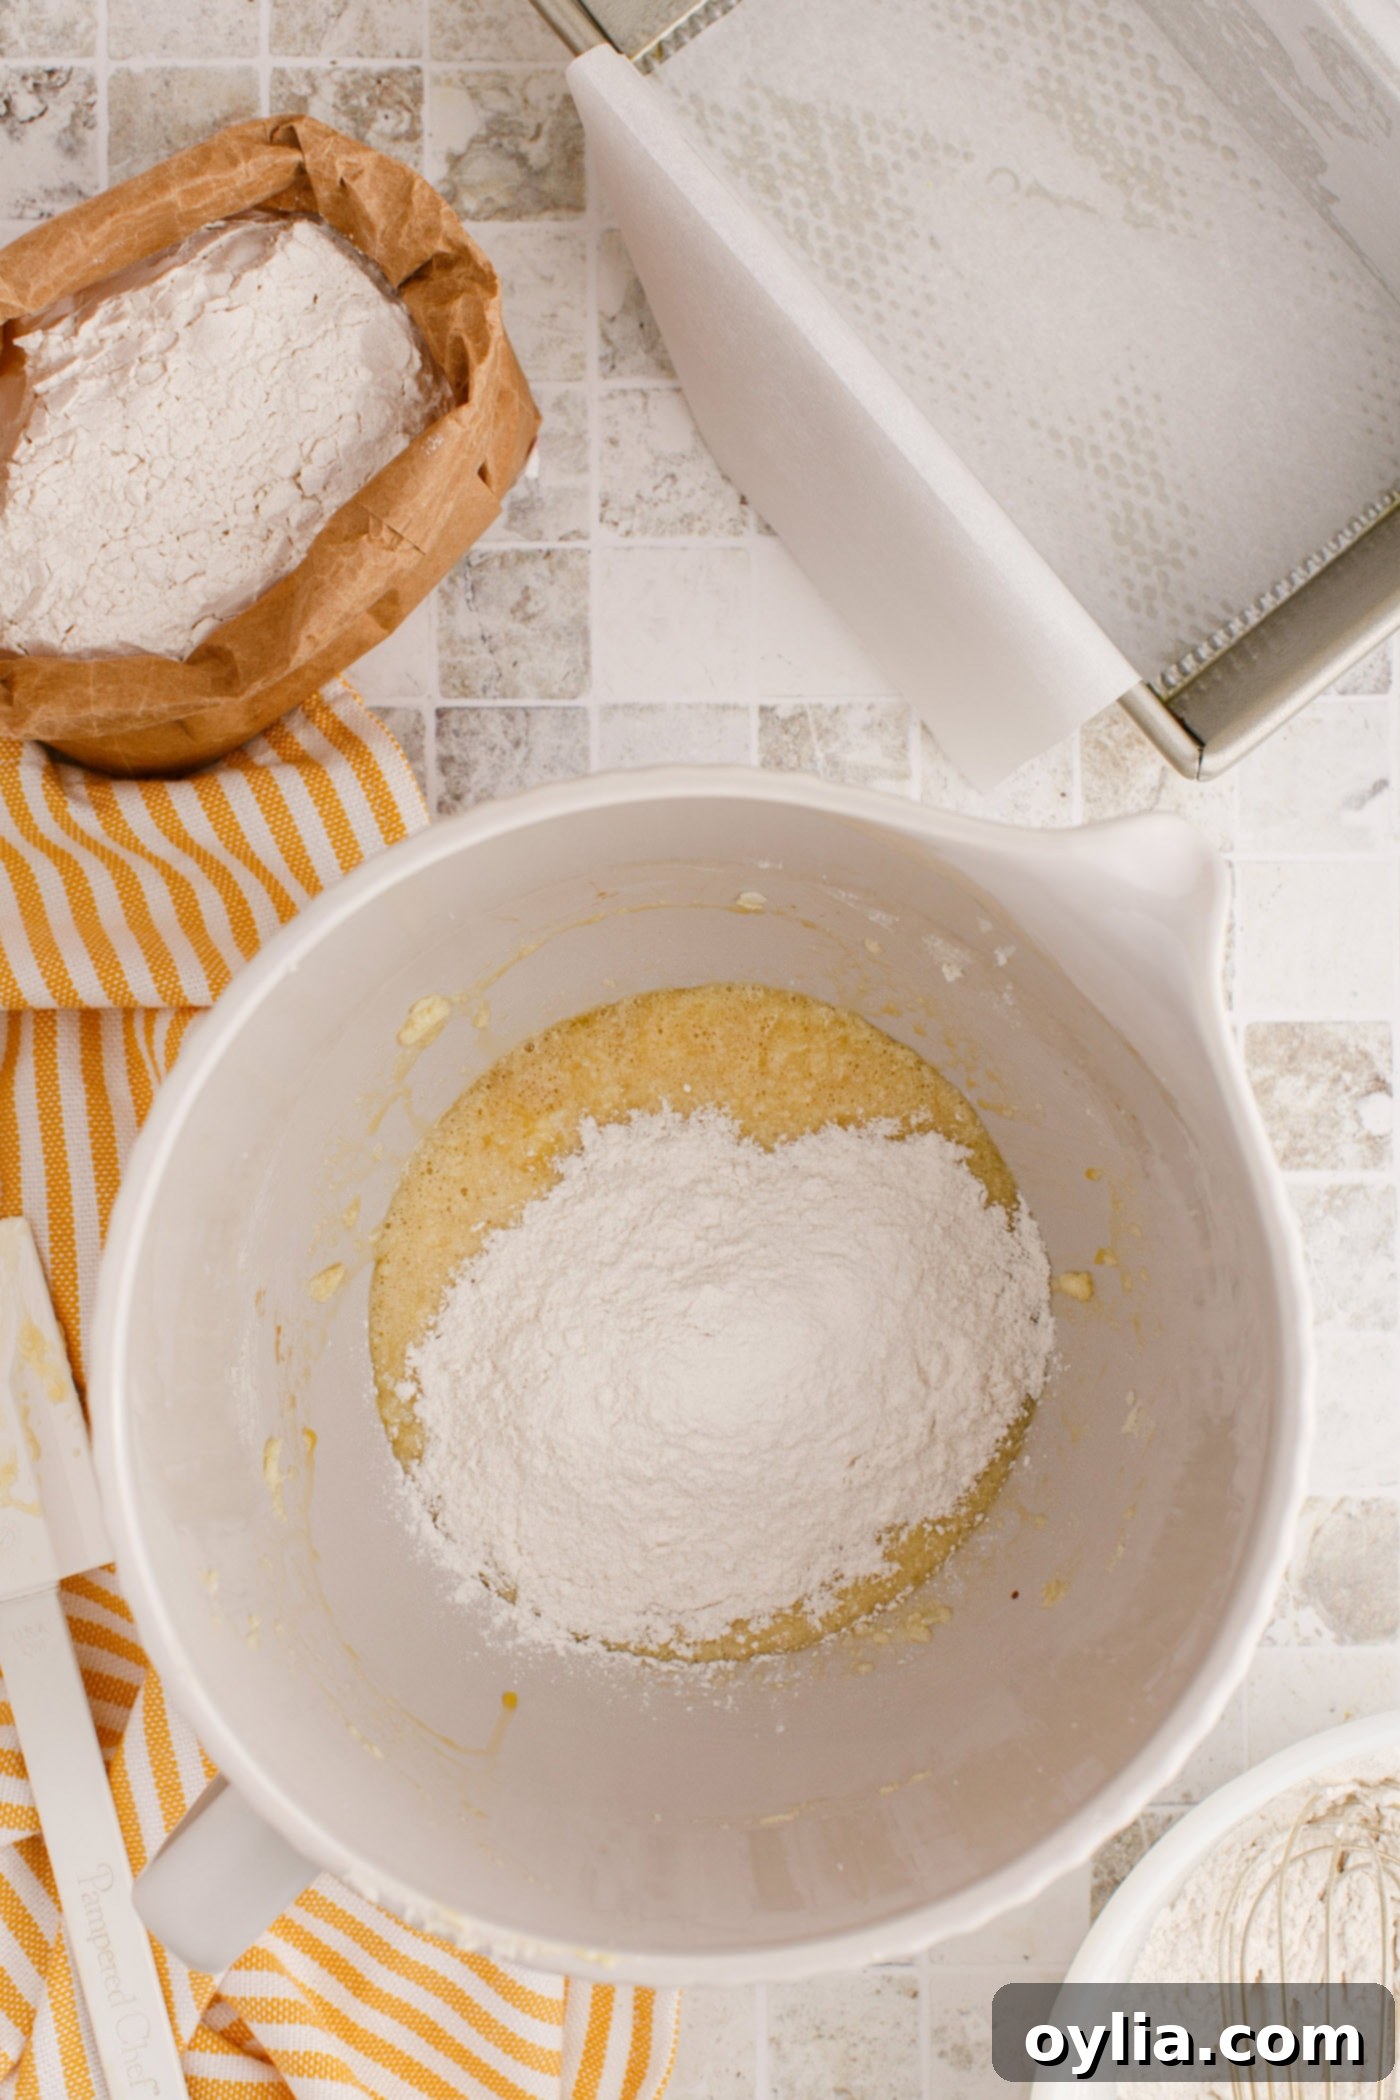
Adding the dry ingredients gradually. - Add Crushed Pineapple: Gently fold in the well-drained crushed pineapple. You can do this by hand with a spatula to prevent overmixing and ensure the pineapple is evenly distributed without crushing it further. Mix just until the pineapple is incorporated.
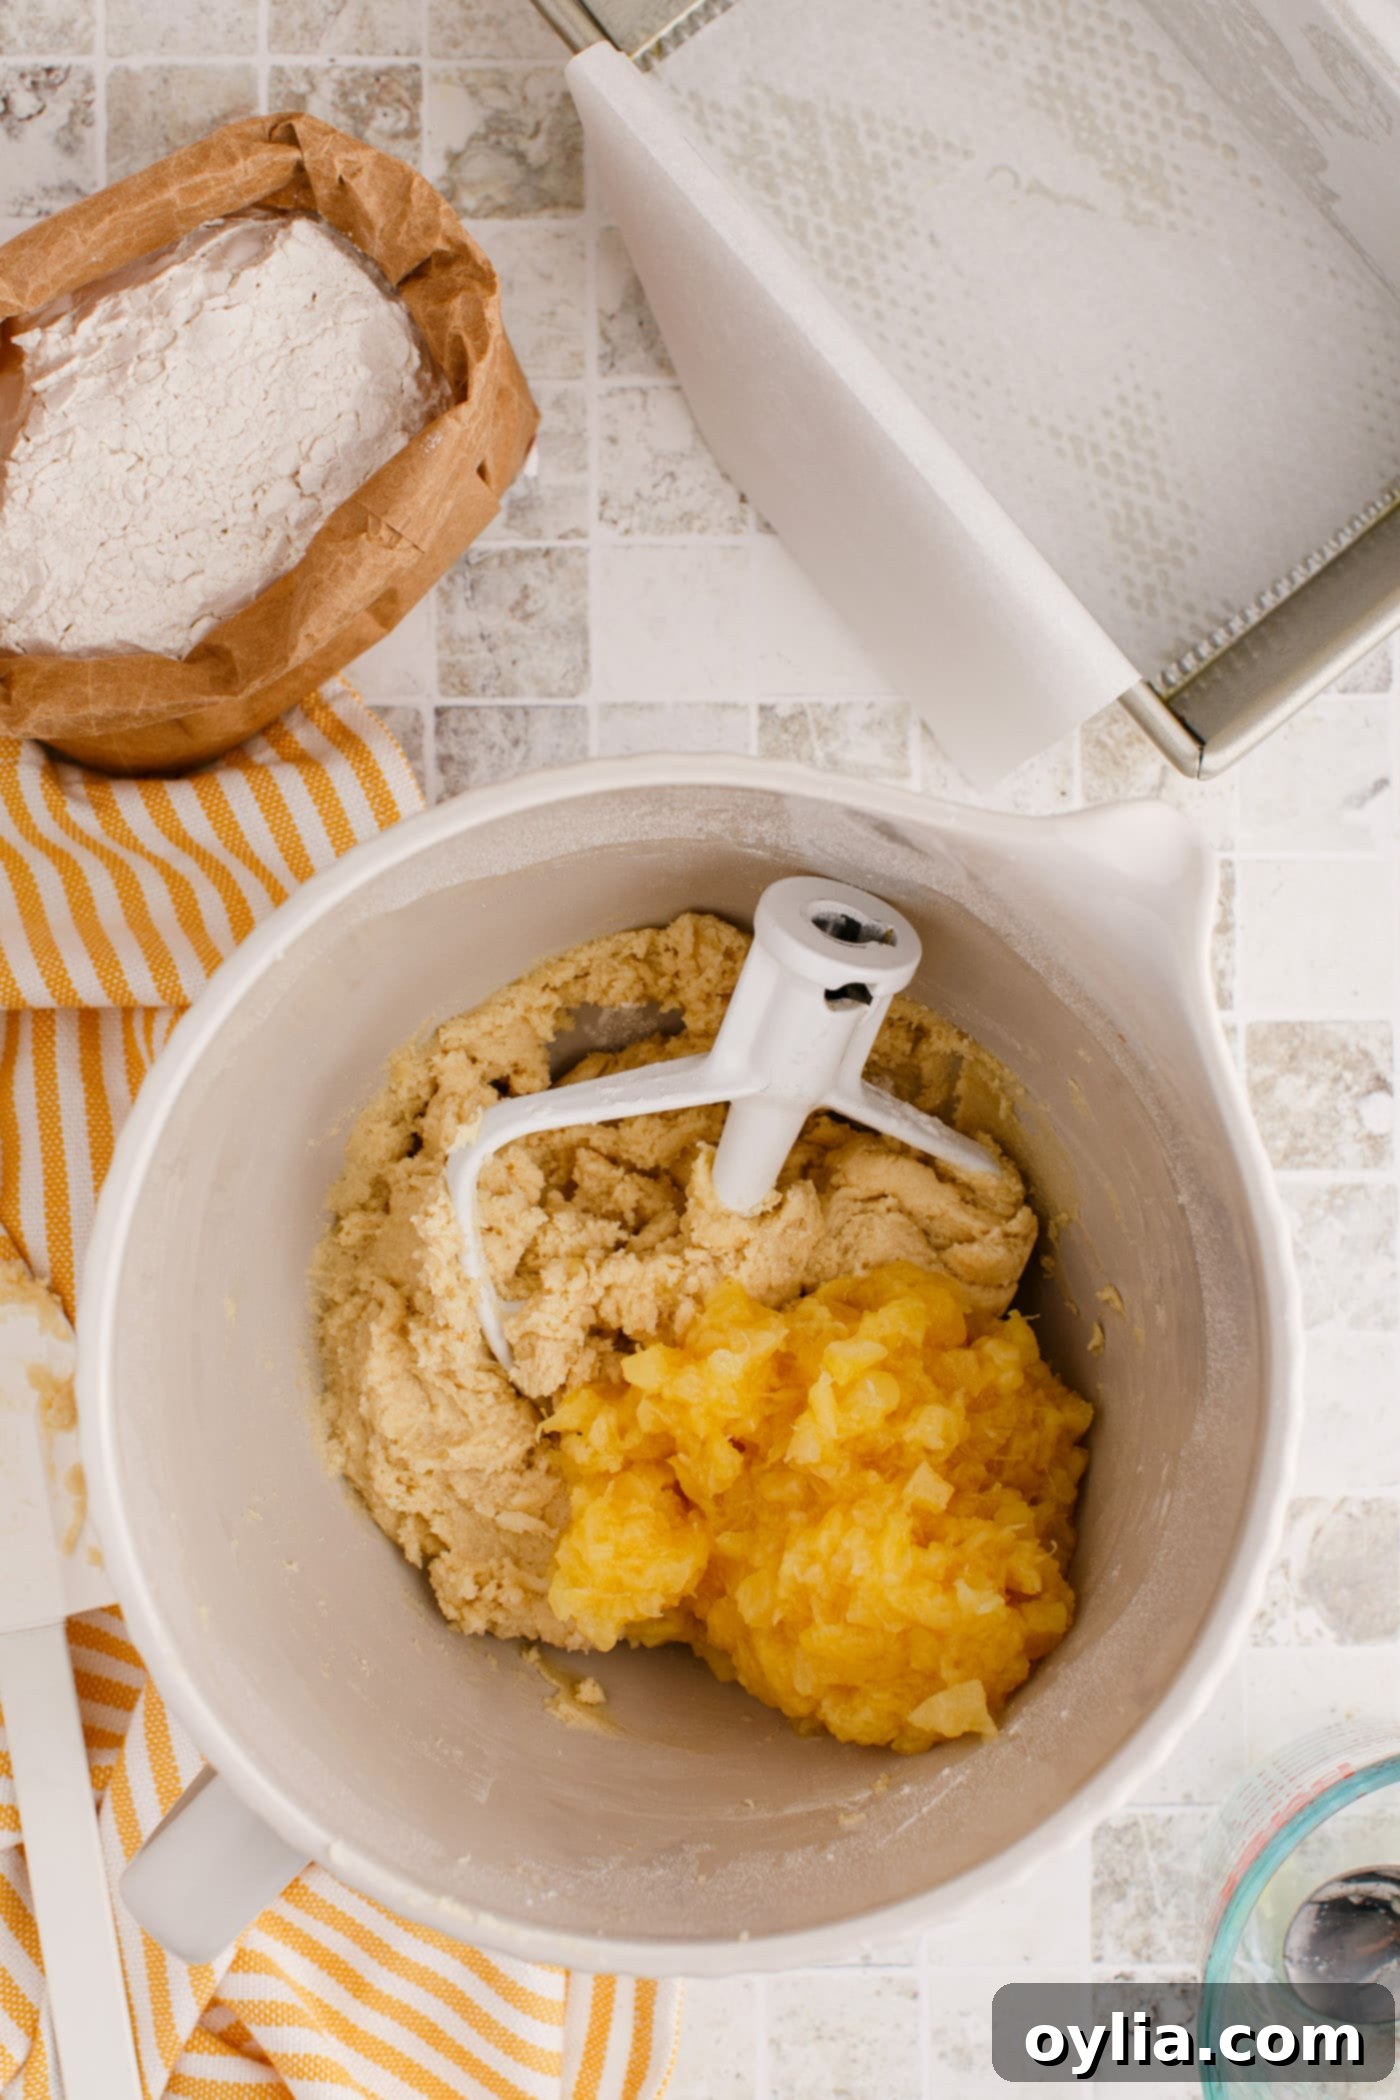
The star ingredient: crushed pineapple mixed into the batter. - Transfer to Loaf Pan: Pour the batter into your prepared loaf pan and spread it evenly with a spatula. Ensure the top is relatively flat for even baking.
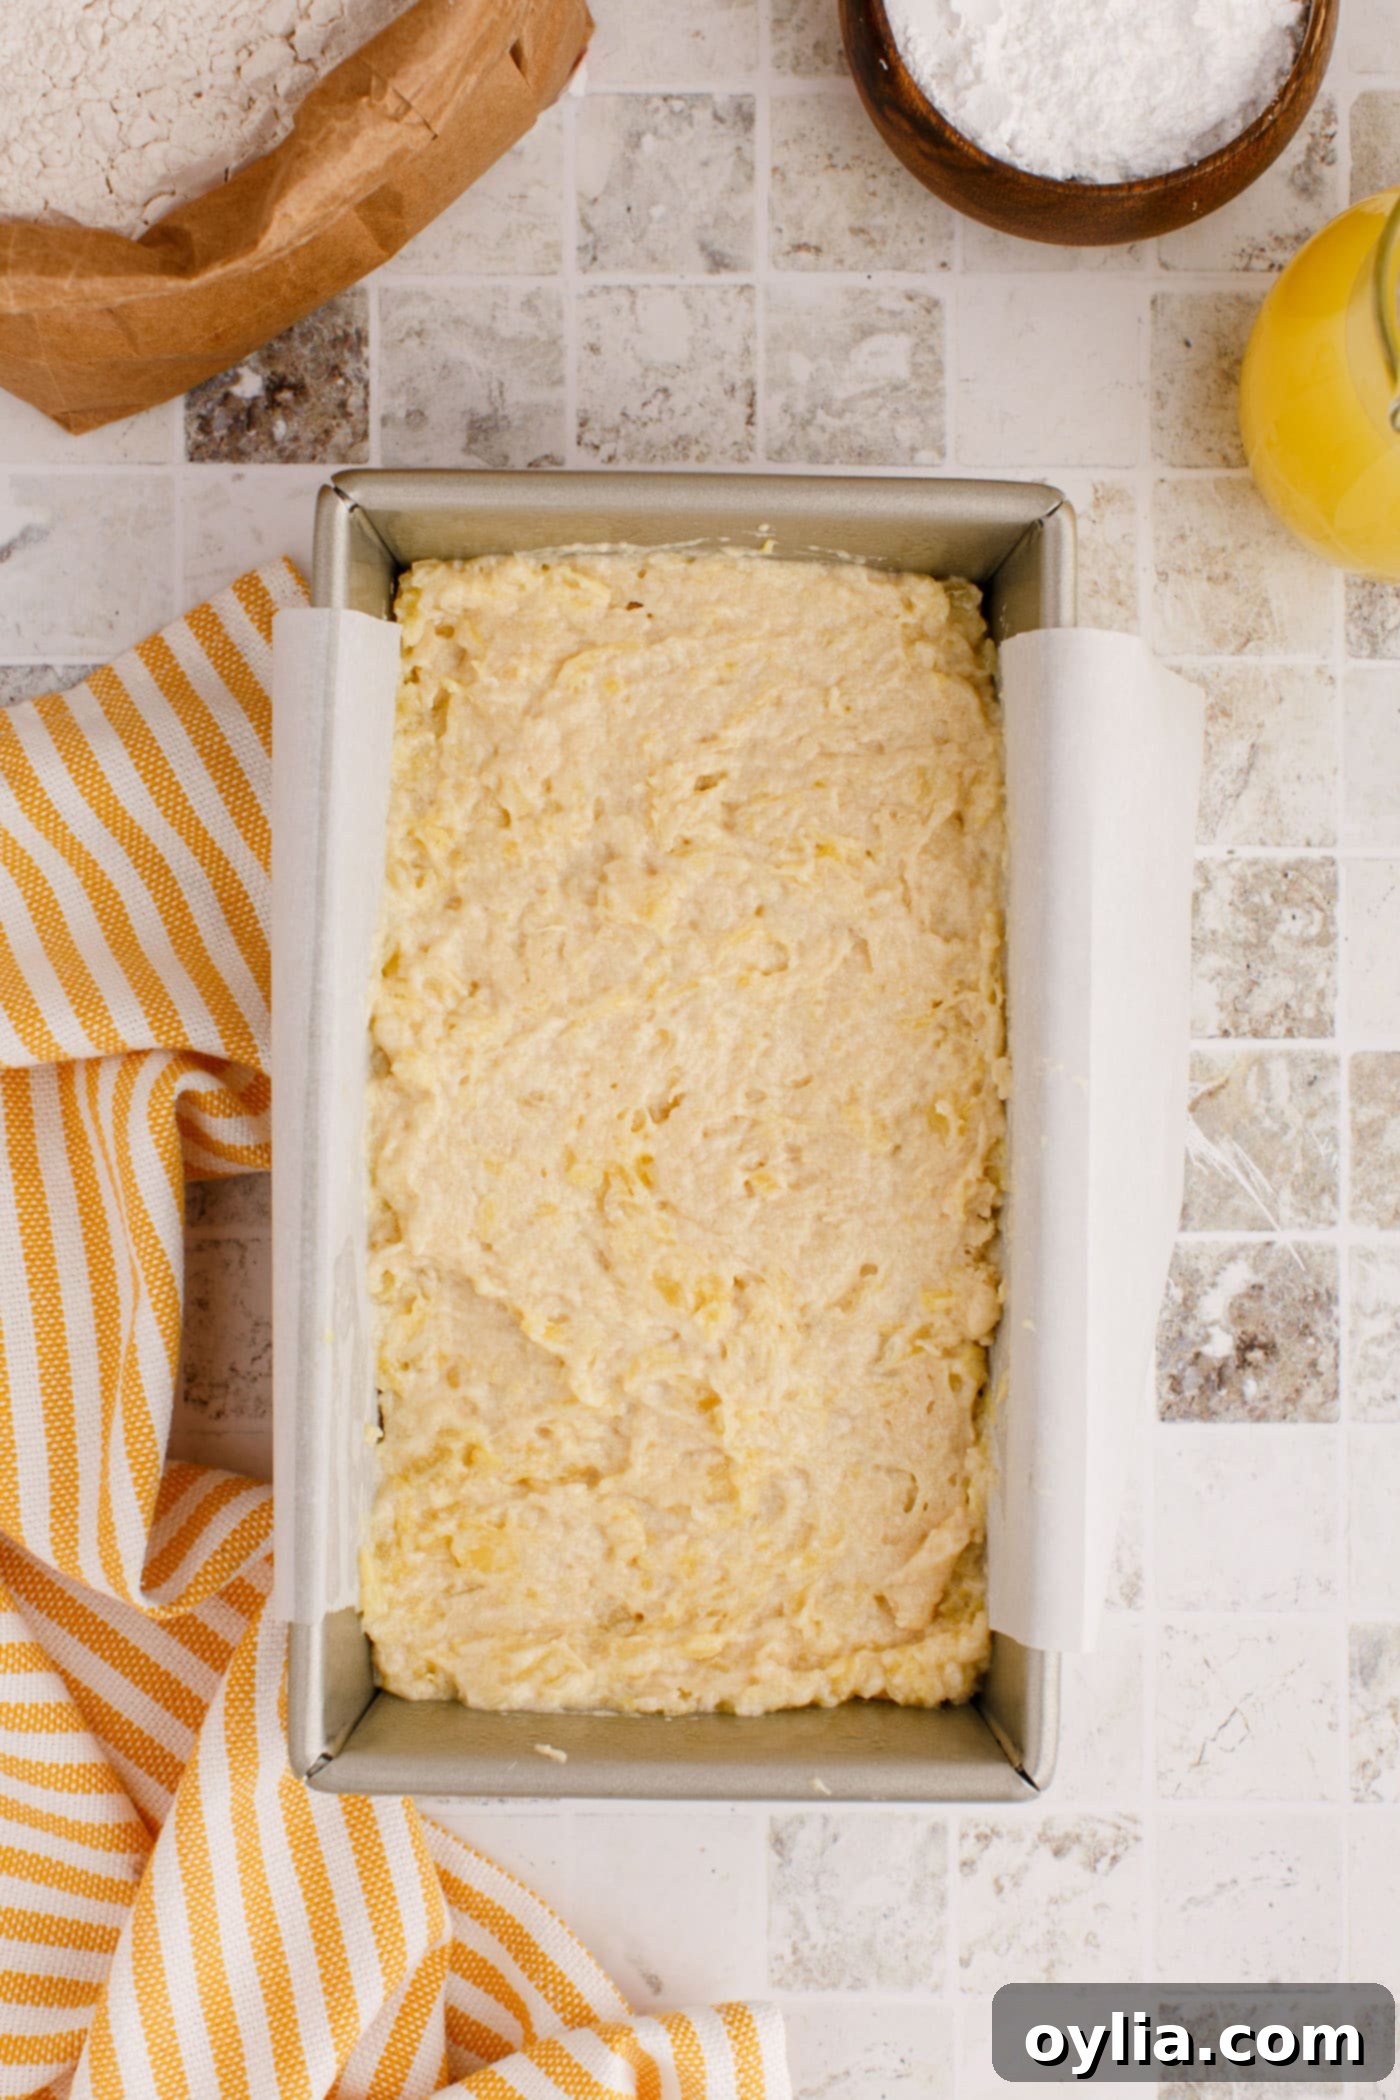
The quick bread batter, smoothed in the loaf pan. - Bake: Bake in the preheated oven for approximately 55 minutes, or until a wooden skewer or toothpick inserted into the center of the loaf comes out clean. Baking times can vary depending on your oven, so keep an eye on it after about 45-50 minutes.
- Cooling: Once baked, remove the pan from the oven and let the loaf cool completely in the pan on a wire rack. This is a crucial step! Cooling completely in the pan helps the bread set and prevents it from crumbling when removed.
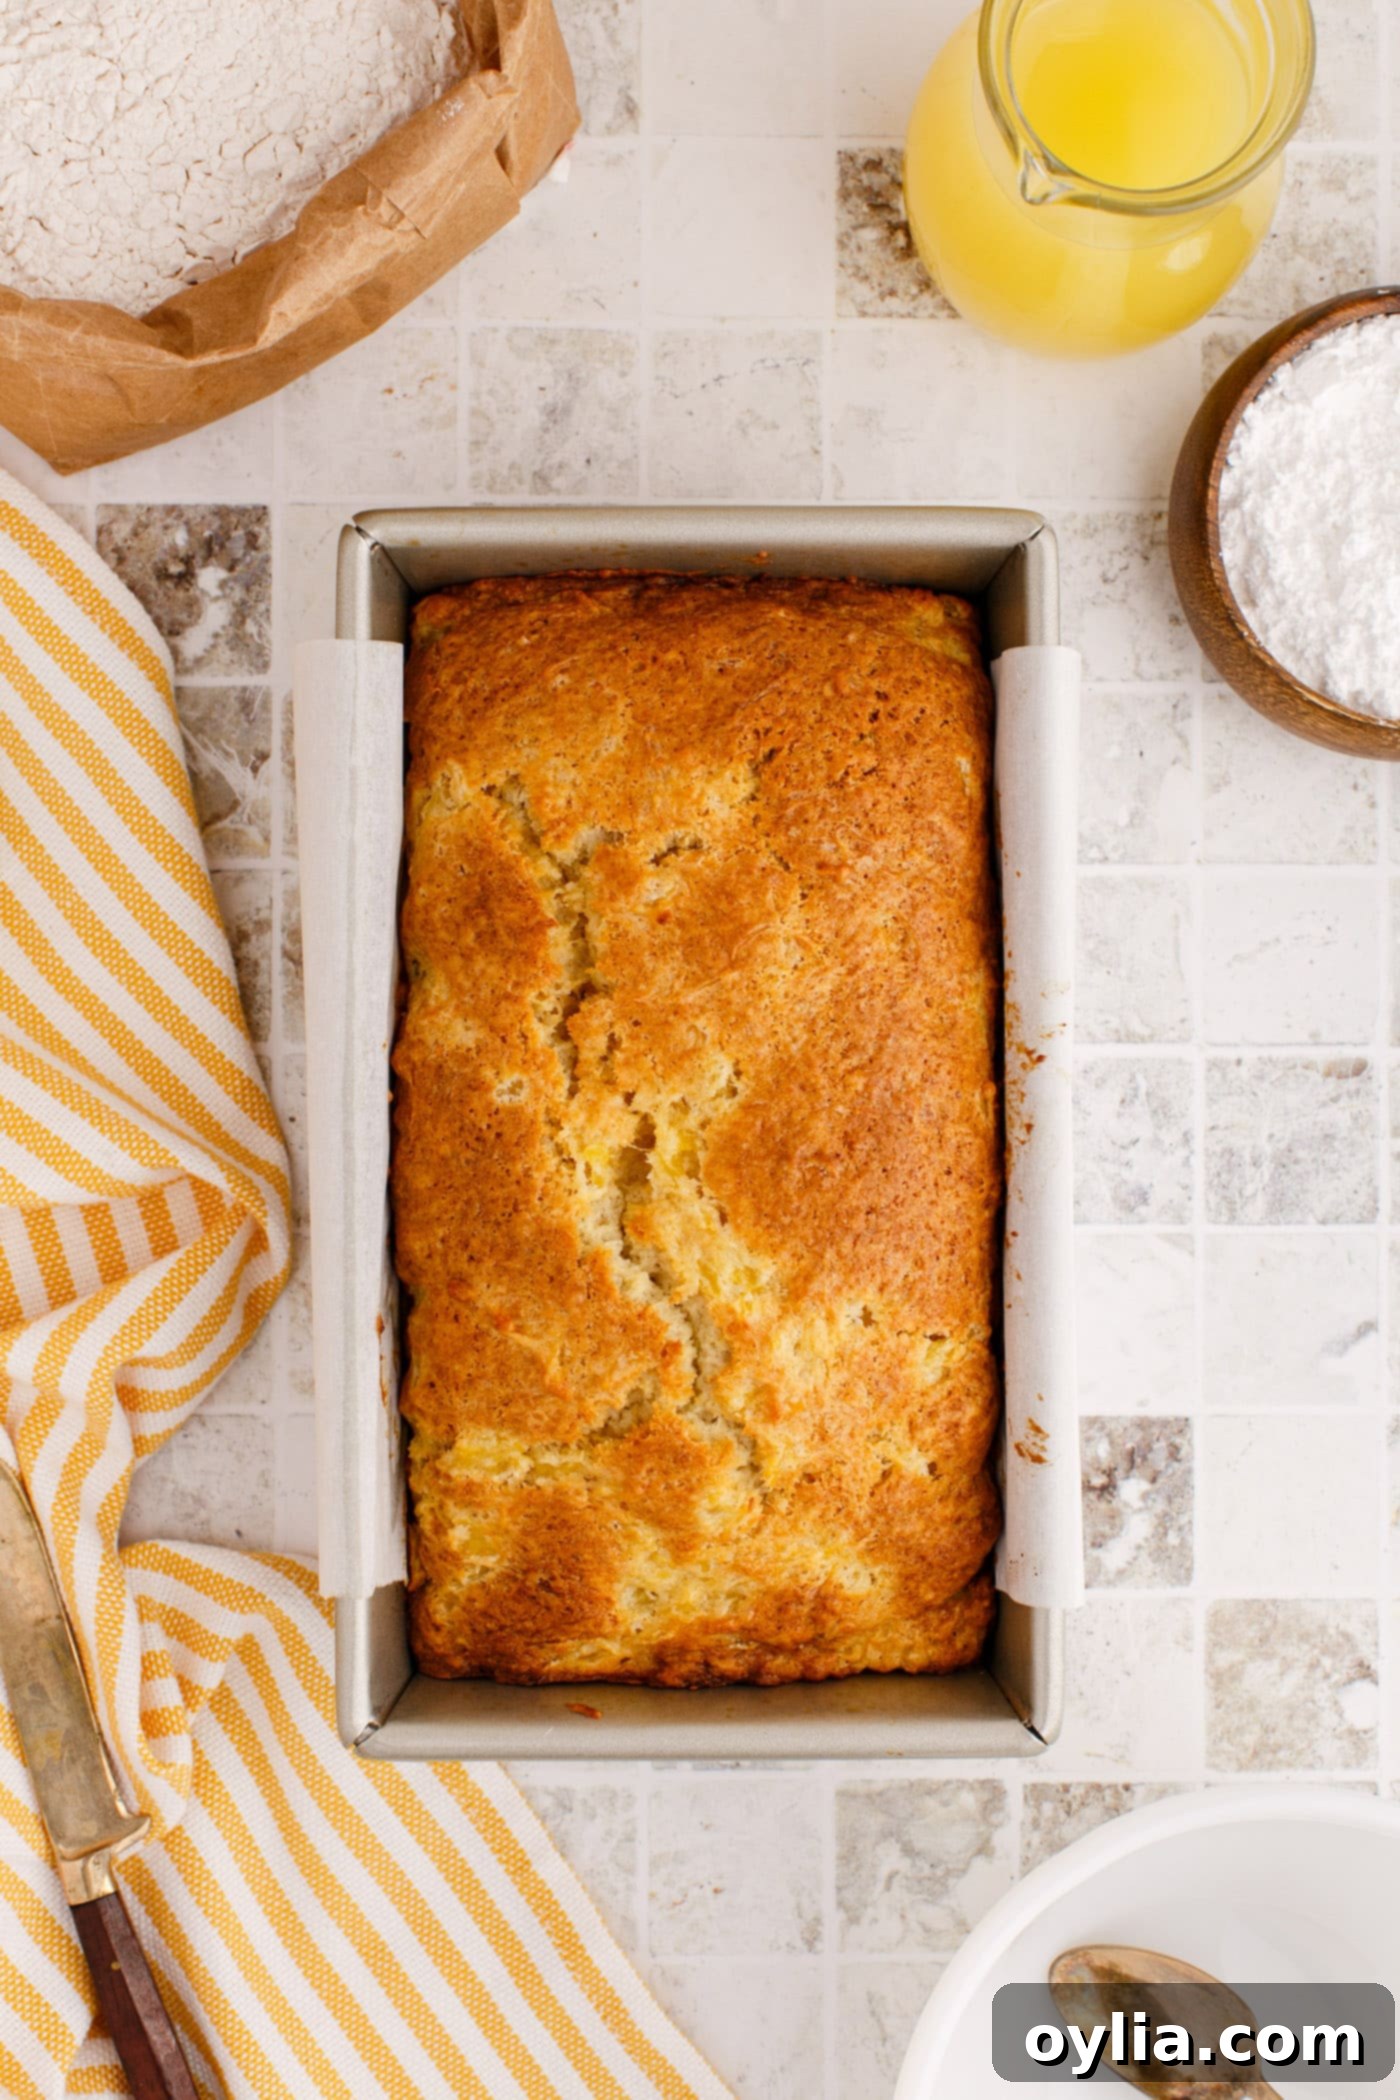
The golden-brown pineapple quick bread cooling in its pan. - Prepare the Glaze: Once the loaf is completely cool, carefully remove it from the pan. In a small bowl, whisk together the powdered sugar and the reserved pineapple juice until smooth. Drizzle this delightful pineapple glaze generously over the cooled bread.
Frequently Asked Questions & Expert Tips for Pineapple Quick Bread
To maintain its incredible moisture and freshness, wrap your pineapple quick bread tightly in plastic wrap. Store it at room temperature in a cool, dry place for 3-4 days. You can also place the wrapped loaf inside an airtight container for extra protection against drying out. We generally advise against storing quick breads in the refrigerator, as the cold environment can actually make them dry out faster and lose their soft texture. If it’s a very humid climate, ensure it’s in an airtight container to prevent mold.
Absolutely! This pineapple bread freezes exceptionally well, making it perfect for meal prep or enjoying a fresh slice whenever a craving strikes. To freeze, ensure the loaf is completely cooled. Wrap it first in a layer of plastic wrap, followed by a layer of aluminum foil. This double-layer protection helps prevent freezer burn. Place the wrapped loaf inside a large freezer-safe zip-top bag, removing as much air as possible. It can be frozen for up to 3 months. When you’re ready to enjoy it, thaw the loaf at room temperature. You can also slice the cooled loaf before freezing and wrap individual slices, making it easy to grab just one piece to thaw and enjoy.
There are a few common culprits for a quick bread sinking in the middle. The most frequent reason for this pineapple quick bread is often insufficient draining of the crushed pineapple. Excess moisture can make the batter too heavy, preventing it from holding its structure as it bakes. Other reasons could include opening the oven door too early during baking (especially in the first 30 minutes), overmixing the batter (which develops too much gluten), or incorrect oven temperature. Always ensure your oven thermometer is accurate!
While fresh pineapple can be delicious, for this specific quick bread recipe, we highly recommend using canned crushed pineapple. Canned pineapple has a consistent moisture level and a softer texture that integrates perfectly into the batter. Fresh pineapple often contains more water and can be firmer, which might alter the texture and baking time of the bread. If you insist on using fresh, make sure it’s very finely minced and squeezed vigorously to remove as much liquid as possible.
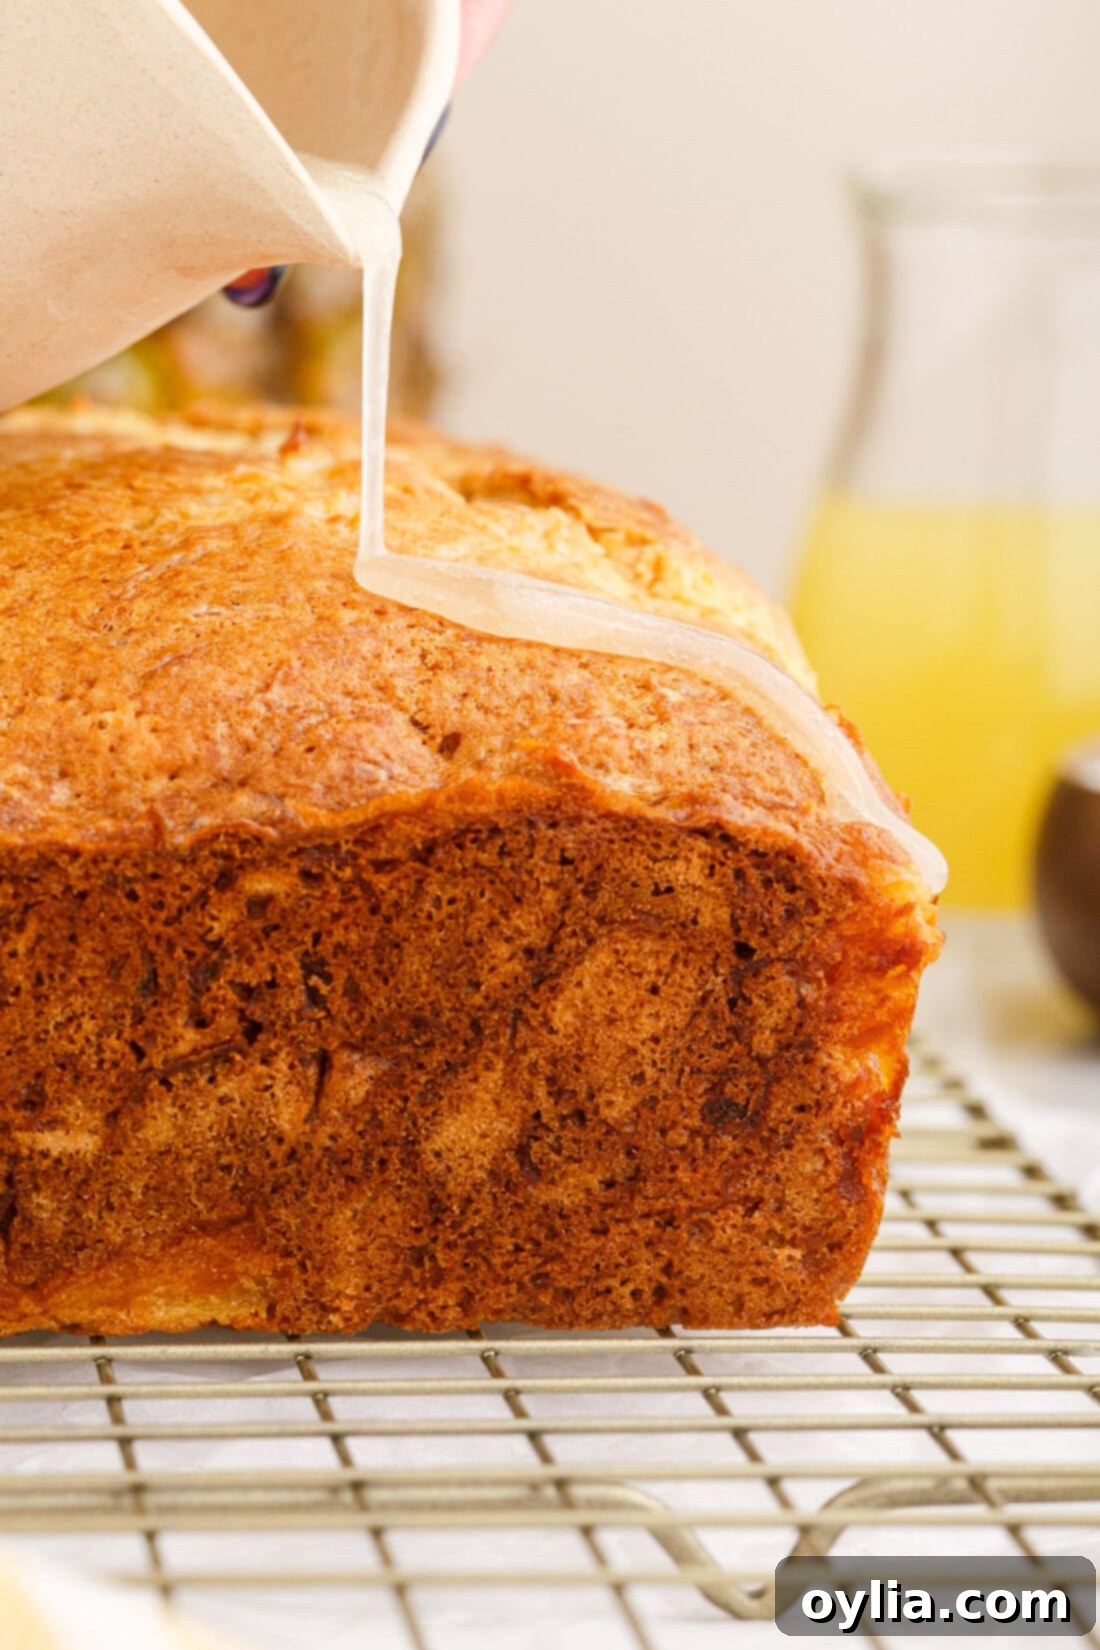
Serving Suggestions for Pineapple Quick Bread
This versatile pineapple quick bread is truly a delight to enjoy at any time of day. For a perfect start to your morning, serve a slice alongside a freshly brewed cup of coffee or a comforting mug of tea. It makes for an excellent light breakfast or a satisfying mid-morning treat. As a snack, it’s wonderfully satisfying on its own, but you can also elevate it by toasting a slice and spreading a thin layer of cream cheese or a dollop of whipped cream. For dessert, it’s a simple yet elegant offering, perhaps with a scoop of vanilla ice cream or a sprinkle of toasted coconut flakes for an extra tropical touch. Don’t hesitate to pop a slice in the toaster or microwave for a few seconds to warm it up – the gentle warmth enhances its moist texture and vibrant flavors even further!
More Delicious Quick Bread Recipes to Try
If you loved this pineapple quick bread, you’re in for a treat! The world of quick breads is vast and varied, offering endless possibilities for delicious, easy-to-make loaves without the fuss of yeast. Here are some other fantastic quick bread recipes from our collection that we think you’ll adore:
- Banana Bread: A timeless classic, always moist and full of flavor.
- Starbucks Lemon Loaf: Recreate your favorite coffee shop treat at home with this zesty, sweet loaf.
- Chocolate Zucchini Bread: A clever way to sneak in veggies while enjoying a rich, chocolatey bread.
- Lemon Blueberry Zucchini Bread: A bright and fruity combination, perfect for spring and summer.
- Apple Bread: Cozy and spiced, reminiscent of autumn flavors.
I love to bake and cook and share my kitchen experience with all of you! Remembering to come back each day can be tough, that’s why I offer a convenient newsletter every time a new recipe posts. Simply subscribe and start receiving your free daily recipes!
Printable Recipe Card: Pineapple Quick Bread
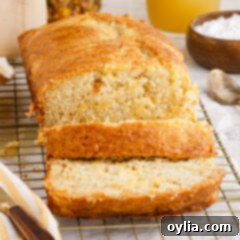
Our pineapple quick bread incorporates crushed pineapple and its drained juices to create an incredibly moist pineapple-flavored loaf topped with a subtly sweet pineapple glaze. This no-yeast recipe is simple, quick, and bursting with tropical flavor.
Pin Recipe
Rate It
Ingredients
- 2 cups all-purpose flour
- 1 teaspoon baking soda
- ½ teaspoon sea salt
- ¾ cup granulated sugar
- ½ cup unsalted butter, softened
- 2 large eggs
- 2 teaspoons pure vanilla extract
- 19 ounces crushed pineapple, drained well but not completely dry (save juice for glaze)
Pineapple Glaze
- 6 teaspoons powdered sugar
- 2 Tablespoons reserved pineapple juice
Things You’ll Need
- 9×5 loaf pan
- Stand mixer or hand mixer
- Wire cooling rack
- Whisk
- Fine mesh sieve
Before You Begin (Expert Notes)
- Be sure to drain your crushed pineapple through a fine mesh sieve to remove as much excess liquid as possible. It does not need to be bone dry, but should be mostly drained so it isn’t soaking wet. I like to press the crushed pineapple down with a spoon in the sieve to release excess moisture. If you do not drain enough of the liquid, your bread will have trouble baking all the way through and may sink in the middle.
- This recipe makes a thin, delicate glaze. For a thicker pineapple glaze, use this as a base and add a tablespoon of powdered sugar at a time until desired thickness and consistency is achieved.
Instructions
- Preheat oven to 350°F (175°C) and generously grease a 9×5 loaf pan. Expert Tip: Adding parchment paper with high sides will allow the loaf to come out easily as well.
- In a medium bowl, whisk together the all-purpose flour, baking soda, and sea salt until thoroughly combined.
- In a stand mixer (or using a hand mixer) with the paddle attachment, cream together the granulated sugar and softened unsalted butter on low-medium speed for about 5 minutes, until light and fluffy.
- Add in the eggs one at a time, followed by the pure vanilla extract. Mix for another minute on the lowest setting until just combined.
- Slowly add the flour mixture to the wet ingredients. Mix on low speed until just combined. Be sure to lift the bottom of the mixing bowl with a spatula to incorporate all the ingredients evenly and avoid overmixing.
- Add the well-drained crushed pineapple to the batter. Gently fold it in by hand with a spatula until just blended.
- Pour the batter into the greased loaf pan and spread evenly.
- Bake for about 55 minutes, or until a wooden skewer inserted into the center comes out clean.
- Cool the loaf completely in the pan on a wire rack before attempting to remove it. This prevents it from breaking apart.
- Once cooled, remove the loaf from the pan. Prepare your pineapple glaze by adding powdered sugar and the reserved pineapple juice into a small bowl and mixing well until smooth. Drizzle over the cooled bread.
Recipe Video
Nutrition Information
Calories: 285 cal
Carbohydrates: 44 g
Protein: 4 g
Fat: 11 g
Saturated Fat: 6 g
Polyunsaturated Fat: 1 g
Monounsaturated Fat: 3 g
Trans Fat: 0.4 g
Cholesterol: 62 mg
Sodium: 243 mg
Potassium: 115 mg
Fiber: 1 g
Sugar: 24 g
Vitamin A: 365 IU
Vitamin C: 5 mg
Calcium: 21 mg
Iron: 2 mg
Tried this Recipe? Pin it for Later!
Follow on Pinterest @AmandasCookin or tag #AmandasCookin!
The recipes on this blog are tested with a conventional gas oven and gas stovetop. It’s important to note that some ovens, especially as they age, can cook and bake inconsistently. Using an inexpensive oven thermometer can assure you that your oven is truly heating to the proper temperature. If you use a toaster oven or countertop oven, please keep in mind that they may not distribute heat the same as a conventional full sized oven and you may need to adjust your cooking/baking times. In the case of recipes made with a pressure cooker, air fryer, slow cooker, or other appliance, a link to the appliances we use is listed within each respective recipe. For baking recipes where measurements are given by weight, please note that results may not be the same if cups are used instead, and we can’t guarantee success with that method.
