Crispy Homemade Sweet and Sour Chicken: The Ultimate Takeout Fakeout Recipe
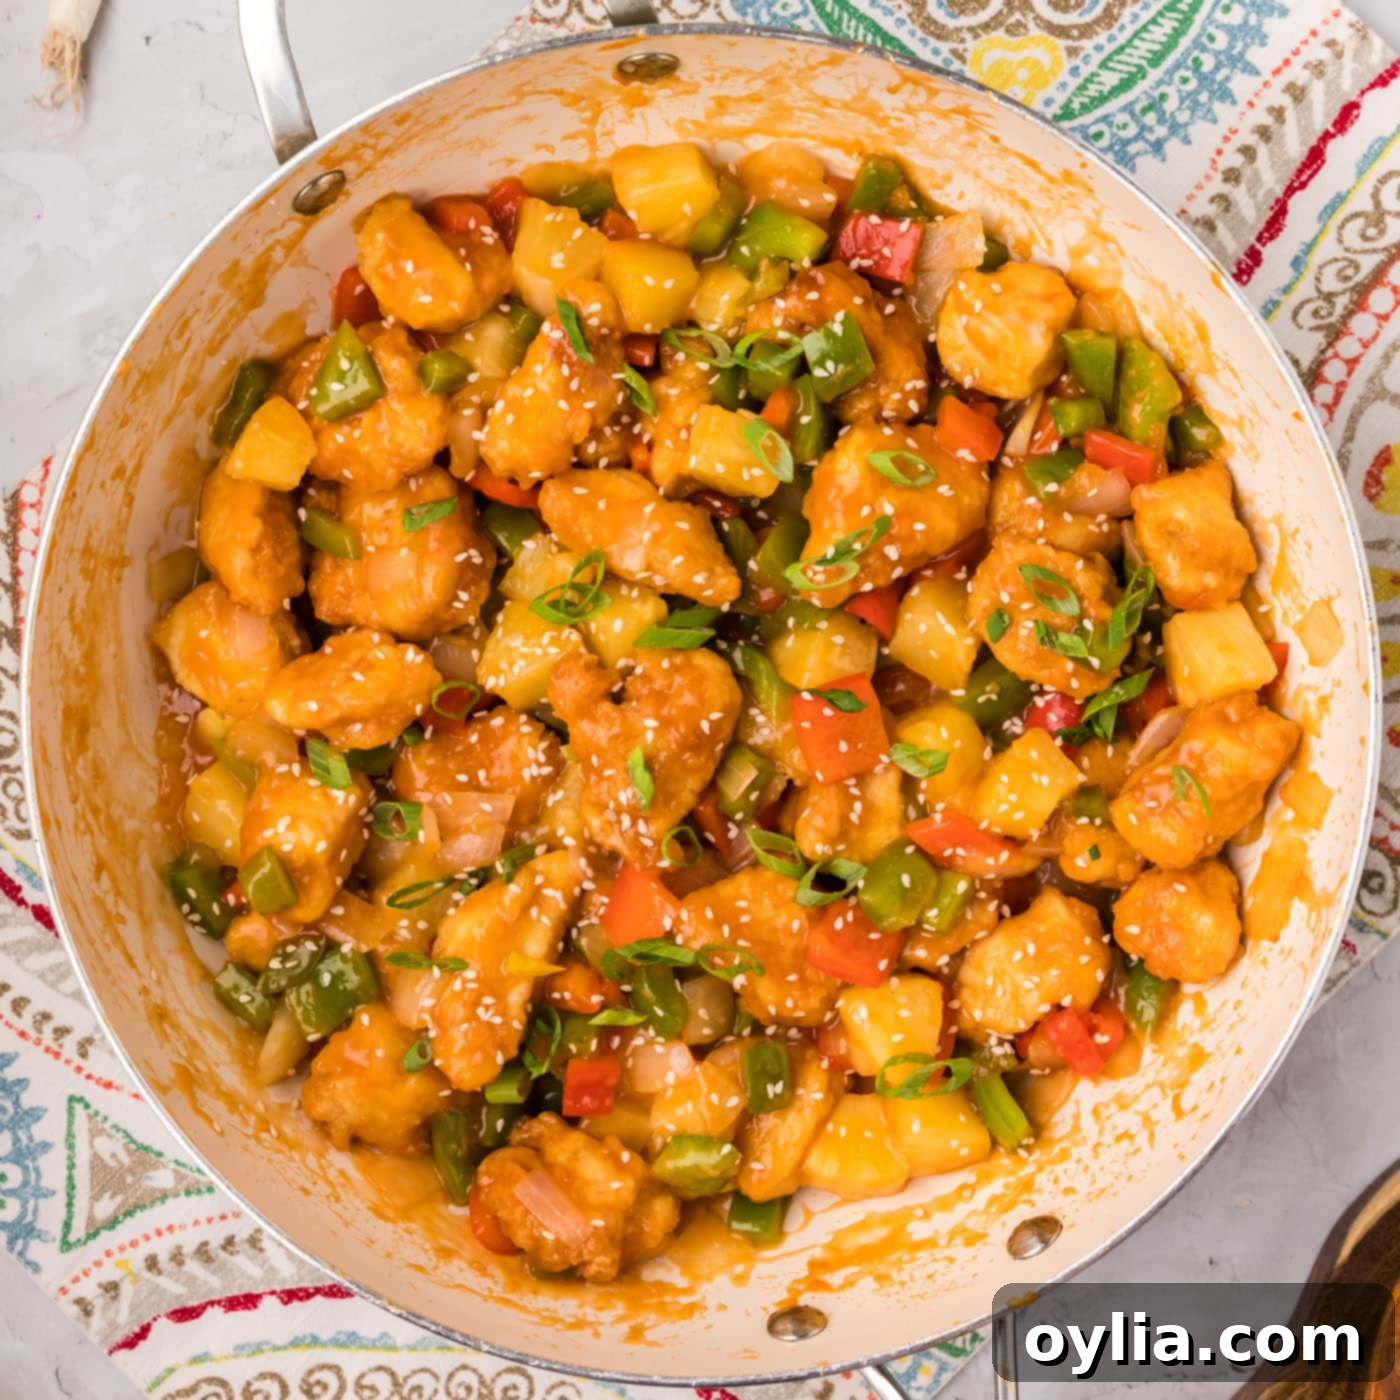
Craving that iconic sweet and sour chicken from your favorite Chinese takeout, but want to make a healthier, fresher version at home? You’re in luck! This recipe delivers incredibly crispy fried chicken, vibrant bell peppers, tender onions, and juicy pineapple chunks, all coated in a luscious, sticky homemade sauce that comes together effortlessly on your stovetop. Forget soggy imitations; get ready to create a restaurant-quality dish that will become a staple in your home.
Why This Homemade Sweet and Sour Chicken Recipe Stands Out
Sweet and sour chicken is undeniably one of the most beloved and iconic American Chinese dishes, often sharing the spotlight with its spicier cousin, General Tso’s chicken. Its comforting blend of savory, sweet, and tangy flavors makes it a perennial favorite. But what makes *this* particular homemade sweet and sour chicken recipe truly special and a cut above the rest?
Firstly, it demystifies the process, proving that recreating your favorite takeout dish at home is not only achievable but surprisingly simple. We utilize readily available ingredients, ensuring you won’t need to hunt for obscure items. The real game-changer here is the **homemade sweet and sour sauce**. Unlike many store-bought varieties or even some restaurant sauces that can be overly sweet or artificial-tasting, our sauce is crafted from scratch with a careful balance of honey for natural sweetness, soy sauce for umami depth, rich tomato paste for a touch of savory body, bright pineapple juice, and zesty rice vinegar. A cornstarch slurry is then used to thicken it to that perfect glossy, clingy consistency. This meticulous approach to the sauce truly makes a world of difference, elevating the entire dish with its fresh, vibrant, and perfectly balanced flavor profile.
Beyond the sauce, this recipe focuses on achieving restaurant-level crispiness for the chicken. We employ a proven dredging method that ensures each piece of chicken is encased in a golden, crunchy coating that holds up beautifully to the rich sauce. Combined with fresh, crisp bell peppers, sweet onions, and the tropical burst of pineapple, every bite offers a delightful medley of textures and tastes. You’ll find that making sweet and sour chicken from scratch is not only more satisfying but also allows you to control the quality of ingredients and tailor the flavors to your exact preference.
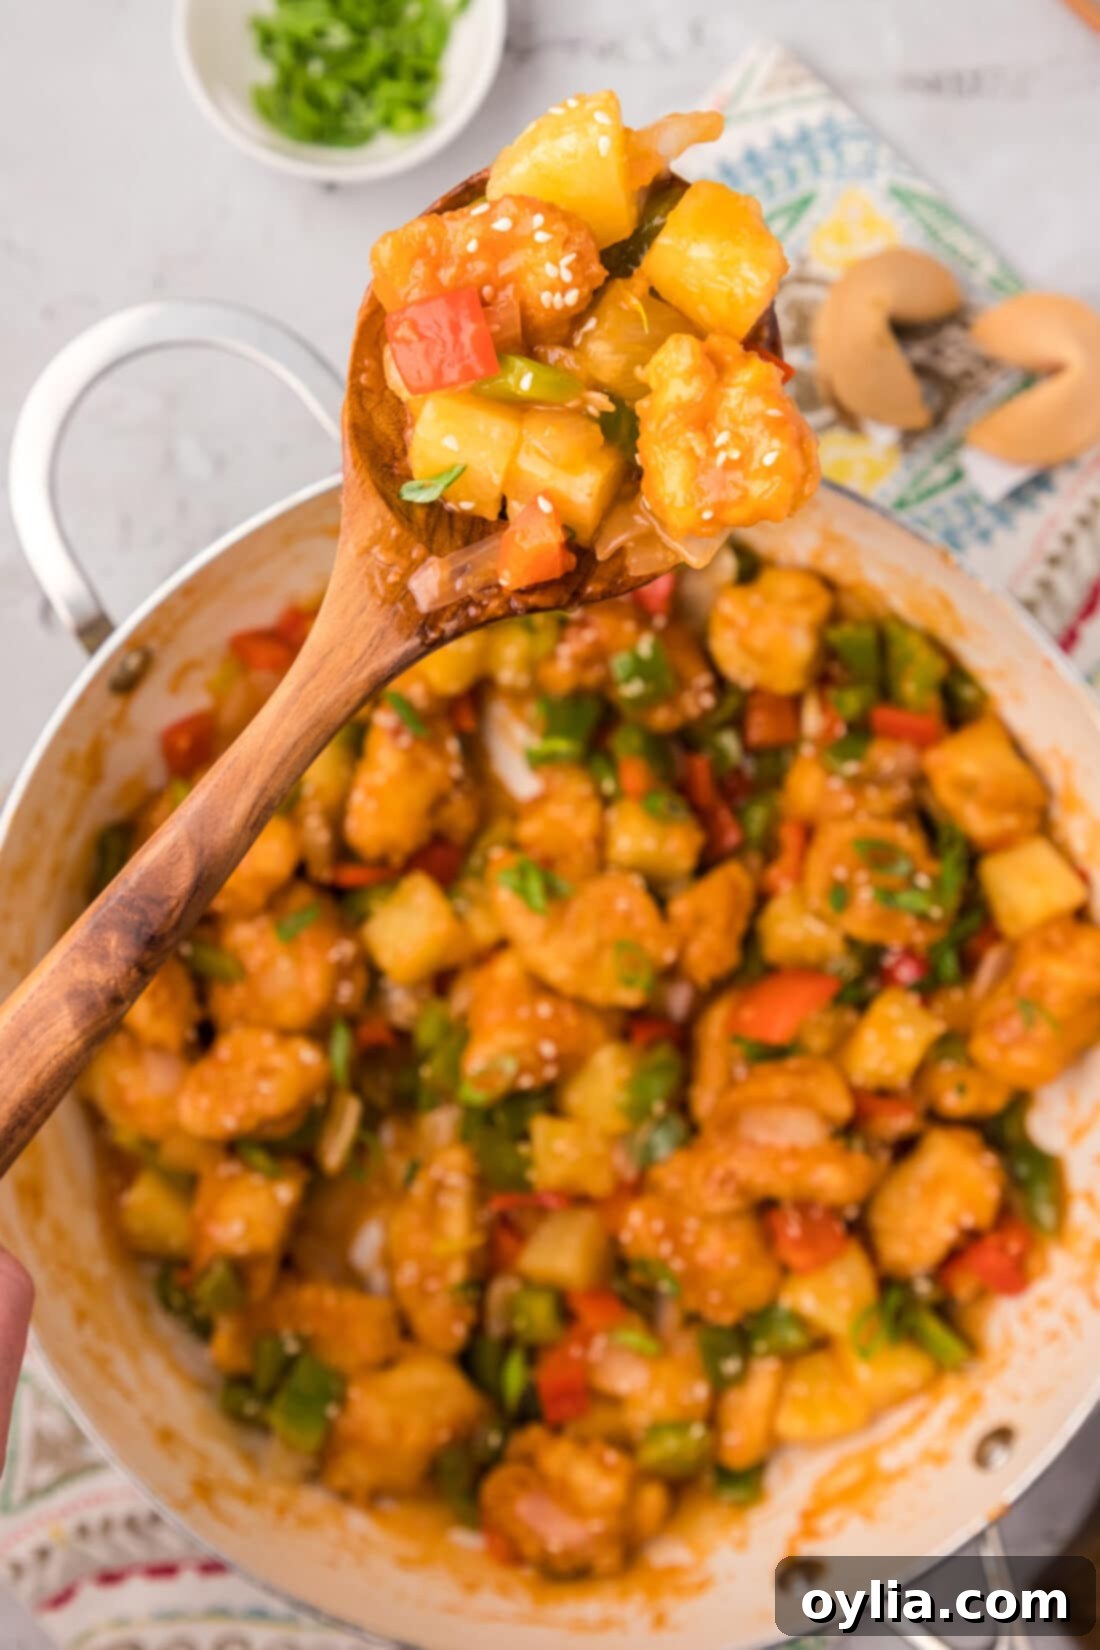
Essential Ingredients for Your Sweet and Sour Chicken
To embark on this culinary adventure, gather your ingredients. You’ll find a complete list with precise measurements and detailed instructions in the printable recipe card at the very end of this post. For now, let’s look at the key components:
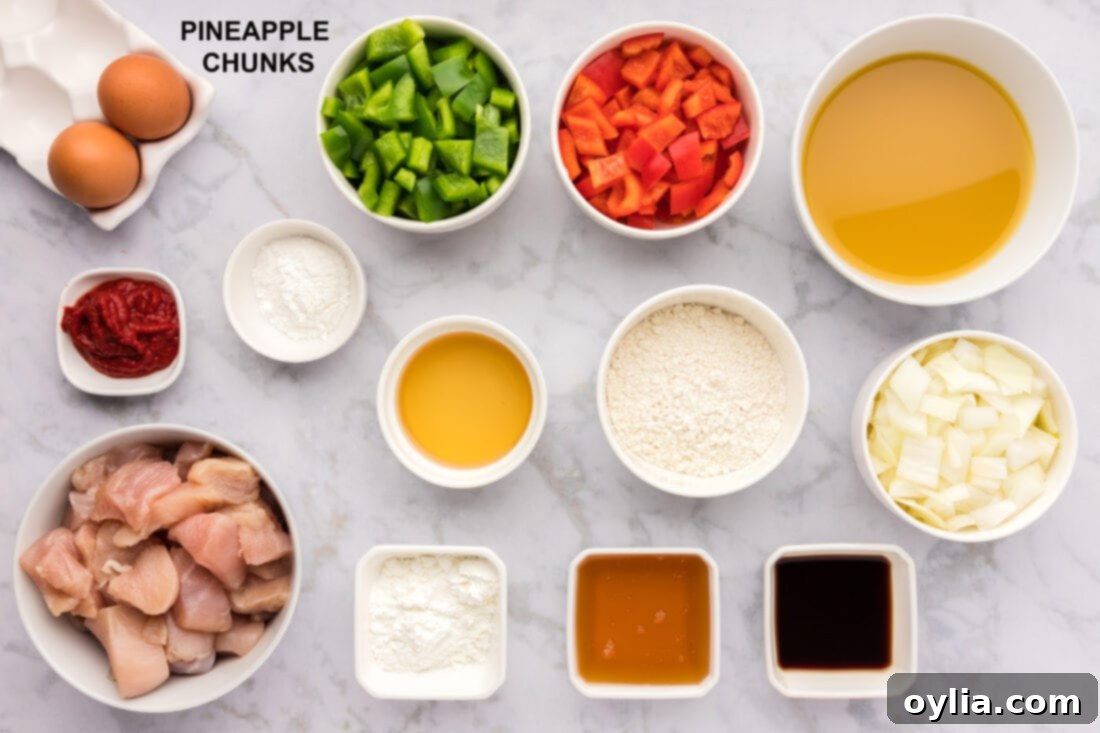
Ingredient Spotlight & Smart Substitutions
The Chicken: Key to Crispy Perfection
We use **boneless, skinless chicken breast** cut into bite-sized chunks for this recipe. The secret to achieving that irresistible crispy texture, mirroring your favorite takeout, lies in the precise coating. Starting with a dredge in **cornstarch** is non-negotiable; it creates a dry surface that locks in moisture and forms an exceptionally crispy crust when fried. Skipping this step would compromise the desired texture. Following the cornstarch, a dip in whisked **eggs** acts as a binder, preparing the chicken for its final coating of **all-purpose flour**. This double-dredging technique ensures a beautifully golden and utterly crunchy exterior.
An expert tip for frying: allow your chicken to rest at room temperature for 15-20 minutes before cooking. Introducing cold chicken to hot oil drastically lowers the oil’s temperature, leading to uneven cooking and a less crispy result. Room temperature chicken fries more consistently and achieves that ideal golden-brown finish.
Vibrant Veggies: Color, Crunch, and Flavor
The classic trio of **red bell pepper, green bell pepper, and onions** provides a delightful crunch and sweet-savory notes that perfectly complement the chicken and sauce. Ensure they are chopped and ready before you start cooking, as stir-frying requires quick movements. While these are the traditional choices, feel free to get creative! Other fantastic additions or substitutions include crisp **snow peas**, tender **broccoli florets**, sliced carrots, or even water chestnuts for added texture. These vegetables not only add visual appeal but also boost the nutritional value and complexity of your dish.
The Star: Homemade Sweet and Sour Sauce
Our homemade sweet and sour sauce is truly the heart of this recipe. While you could technically use a pre-made sauce, we highly recommend making it from scratch for superior flavor and freshness. The sauce ingredients listed in the recipe card are perfectly portioned for this dish, ensuring just the right amount to coat everything without making it watery. The balance of **honey**, **soy sauce**, **tomato paste**, **pineapple juice**, and **rice vinegar** creates a harmonious blend of sweet, savory, and tangy notes.
- **Vinegar Alternatives:** If rice wine vinegar isn’t on hand, you can substitute it with red wine vinegar or apple cider vinegar, though rice vinegar offers the mildest, most authentic flavor.
- **Tomato Paste vs. Ketchup:** Many traditional recipes call for ketchup in sweet and sour sauce. However, we advocate for **tomato paste**. Ketchup often contains high amounts of added sugar and other ingredients that can overpower the delicate balance of the sauce. Tomato paste provides a concentrated tomato flavor and rich color without the excessive sweetness, allowing the other flavors to shine. If you prefer the ketchup-based sauce from your childhood, you can certainly use it, but for a more refined and balanced flavor, stick with tomato paste.
Step-by-Step: Crafting Your Sweet and Sour Chicken
These step-by-step photos and detailed instructions are here to guide you through making this incredible recipe. For a quick reference, you can Jump to Recipe to get the printable version of this recipe, complete with precise measurements and instructions at the bottom of the post.
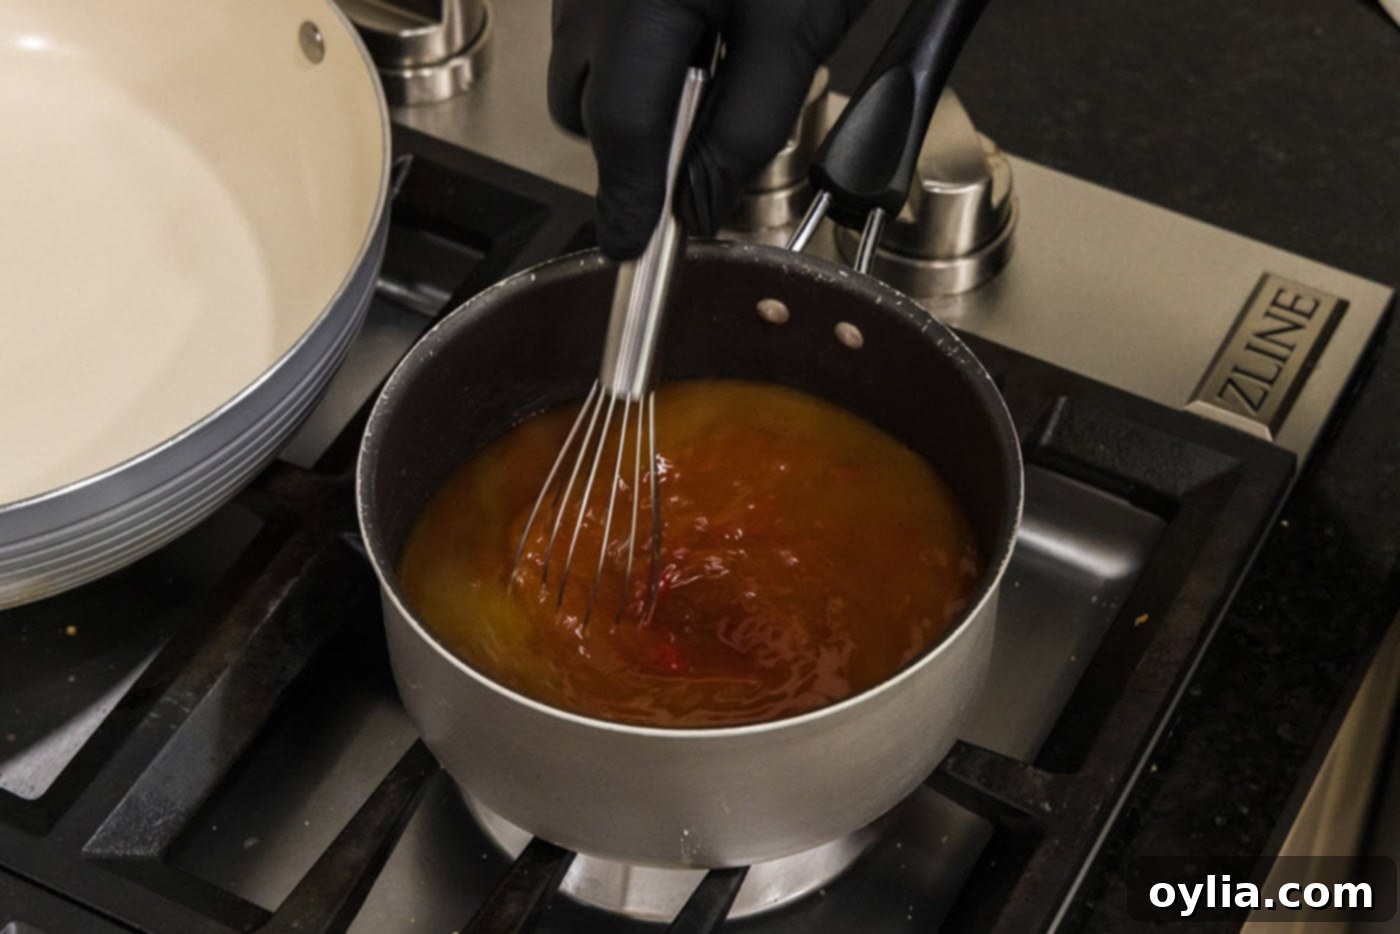
- Prepare the Sweet and Sour Sauce: In a medium saucepan, combine all sauce ingredients (honey, soy sauce, tomato paste, pineapple juice, rice vinegar) except for the cornstarch and water. Whisk these ingredients together until well combined. Bring the mixture to a gentle boil over medium heat, stirring occasionally.

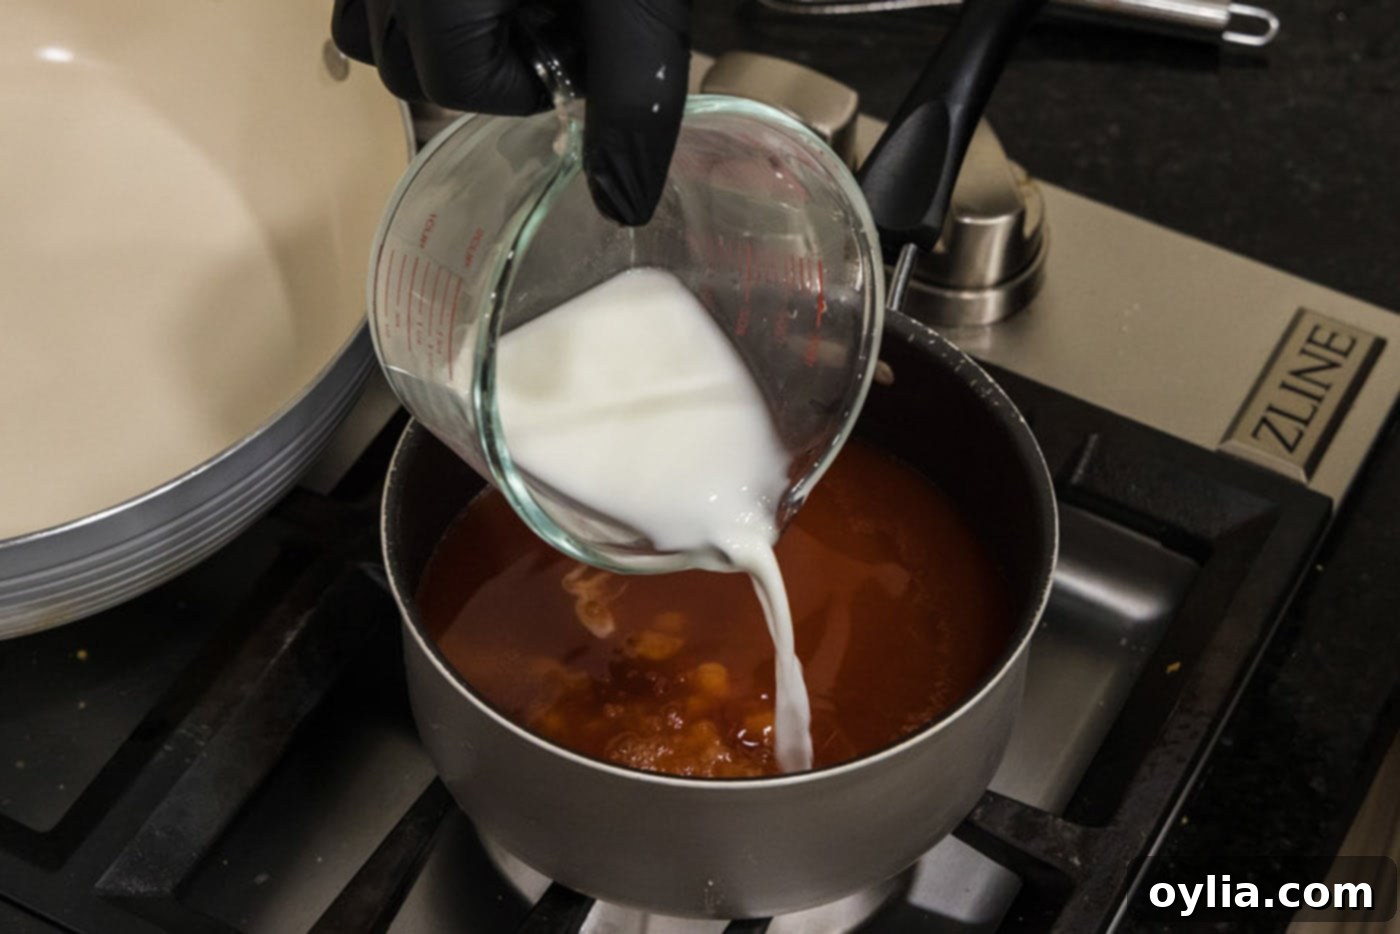
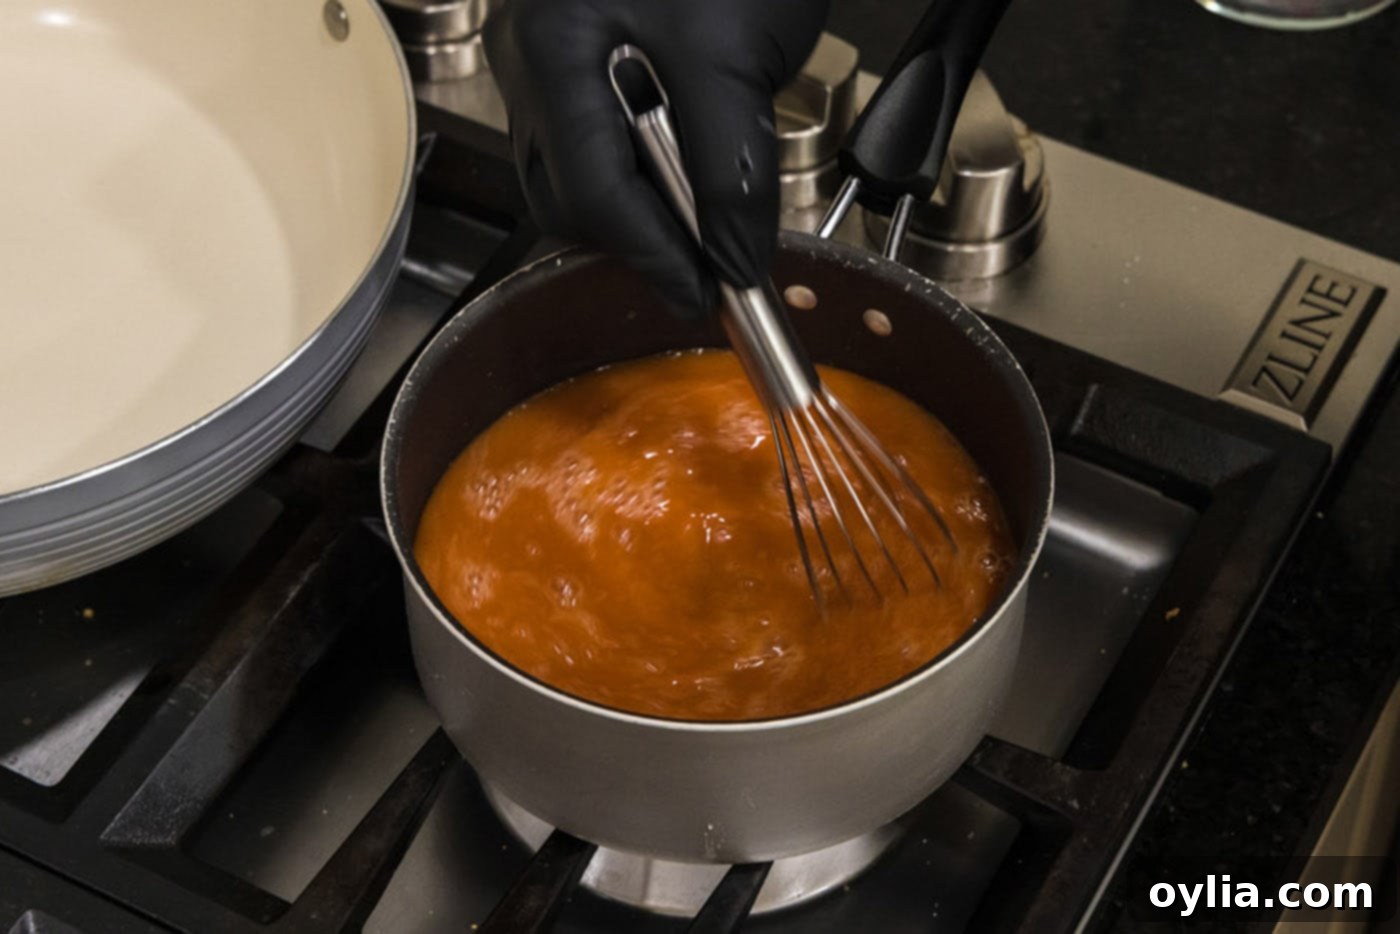
- Thicken the Sauce: In a small bowl, create a cornstarch slurry by whisking together the remaining ½ tablespoon of cornstarch with 2 tablespoons of cold water until smooth. Once the sauce in the saucepan is boiling, slowly pour in the cornstarch slurry while whisking continuously. Continue to simmer over medium heat for about 2-4 minutes, or until the sauce visibly thickens to a glossy, syrupy consistency that coats the back of a spoon. Remove the sauce from the heat and set it aside.


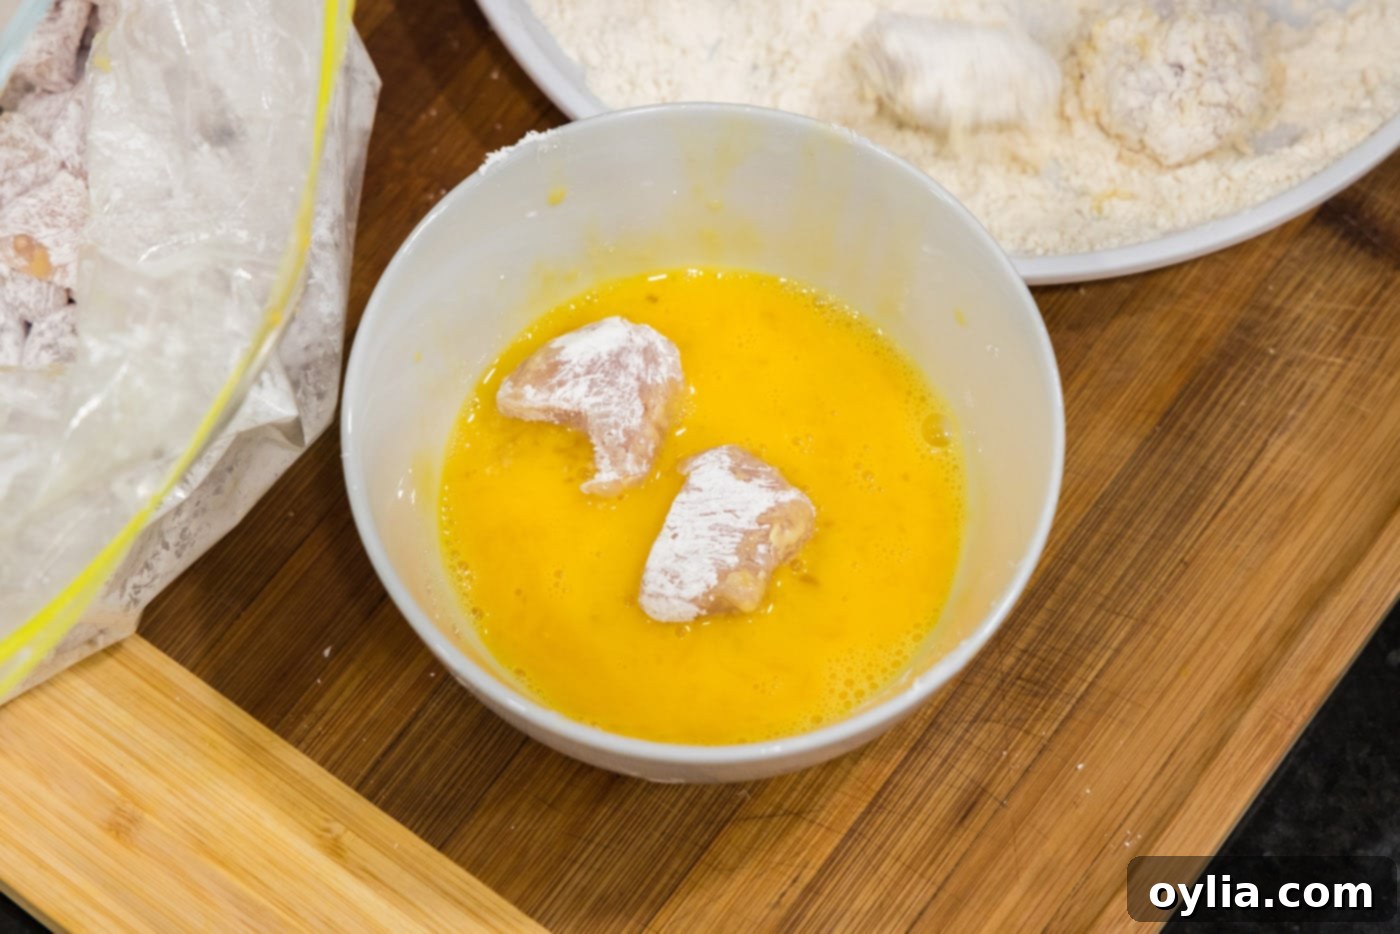
- Prepare the Egg Wash: In a medium bowl, whisk the two large eggs until lightly beaten and uniform.
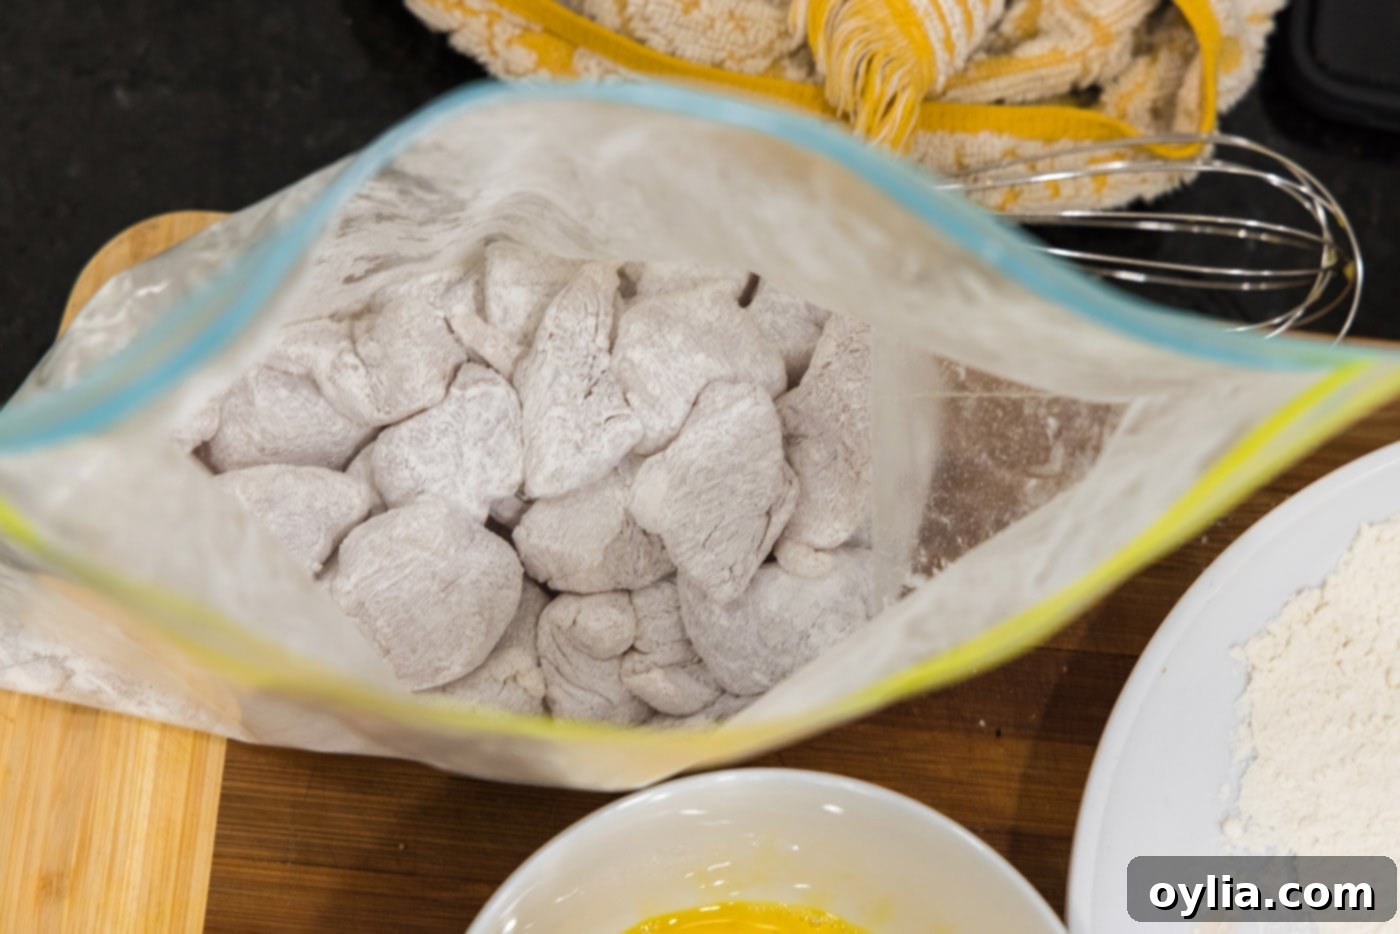
- Coat the Chicken with Cornstarch: Place the chicken chunks into a gallon-sized zipper bag. Sprinkle 3 tablespoons of cornstarch over the chicken. Seal the bag, removing as much air as possible, and shake vigorously until all chicken pieces are evenly coated in the cornstarch. This initial coating is crucial for crispiness.

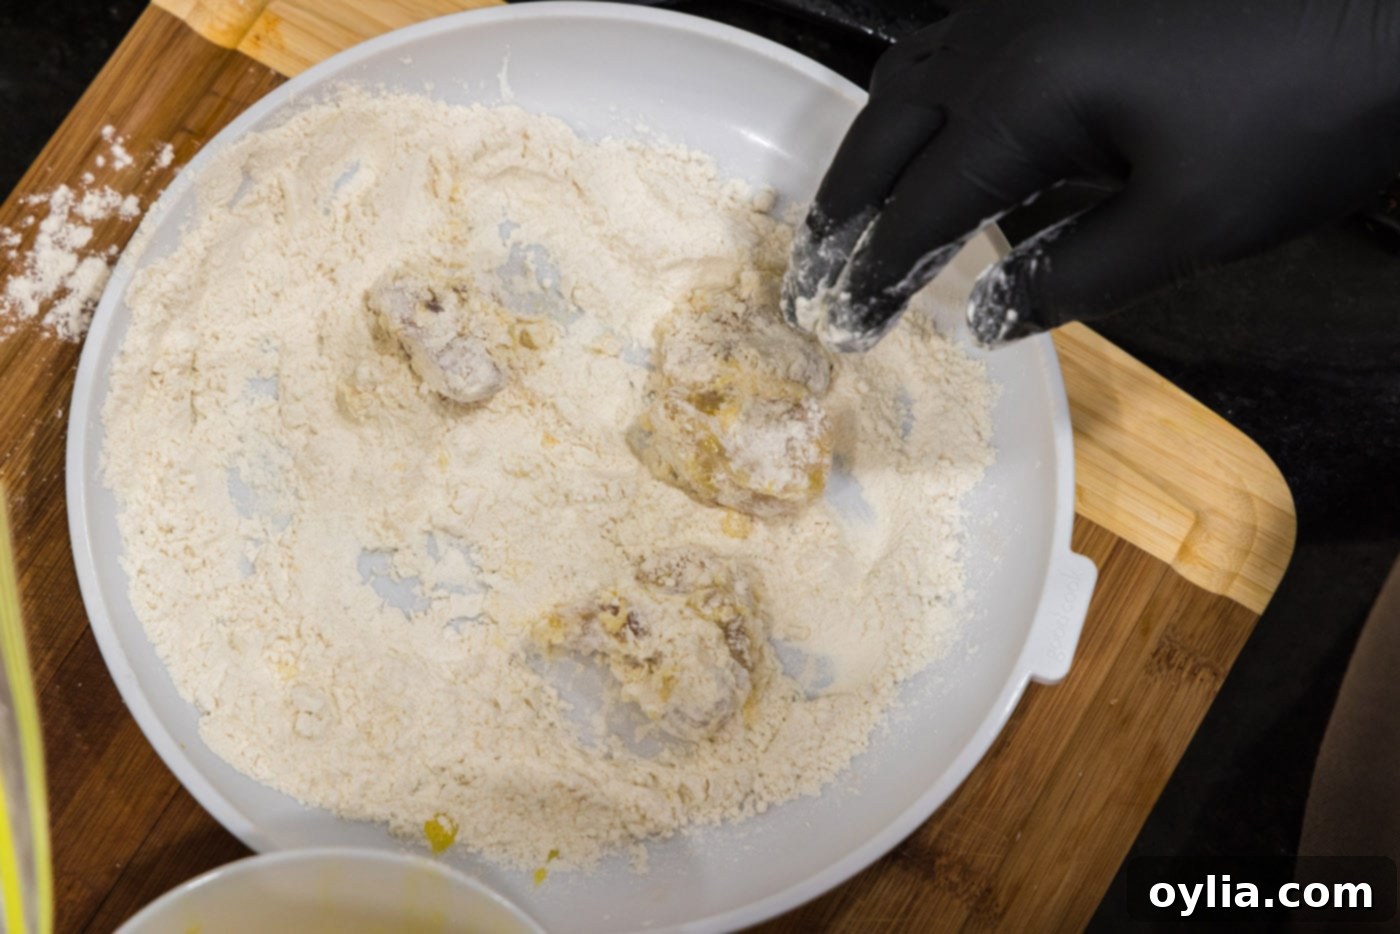
- Set Up Flour Station: Spread the remaining ¾ cup of all-purpose flour evenly on a shallow plate or in another medium bowl.
- Double-Dredge the Chicken: Take each cornstarch-coated chicken piece, dip it into the whisked egg mixture, ensuring it’s fully covered. Then, transfer the egg-dipped chicken to the plate with the flour, turning to coat it completely. Gently shake off any excess flour. Repeat this process for all chicken pieces.


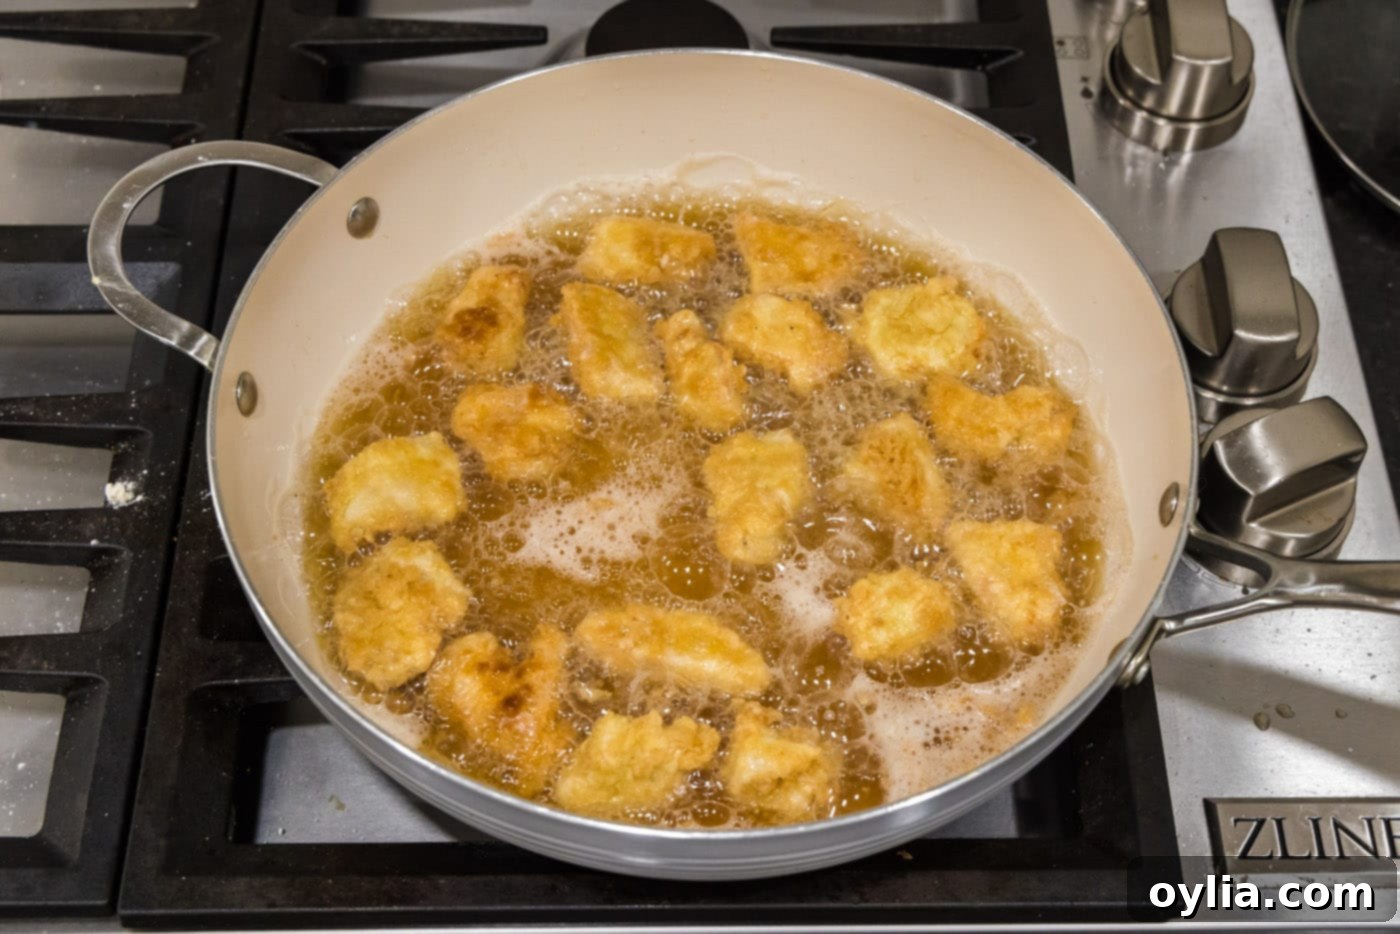
- Prepare for Frying: In a deep-sided skillet or Dutch oven, add enough vegetable oil to reach about 1 inch up the sides. Heat the oil over medium-high heat until it reaches a temperature of 325-350°F (160-175°C) on an instant-read thermometer. The oil should be hot but not smoking. While the oil heats, line a baking sheet with paper towels and place a wire rack over it; this will be for draining the fried chicken.
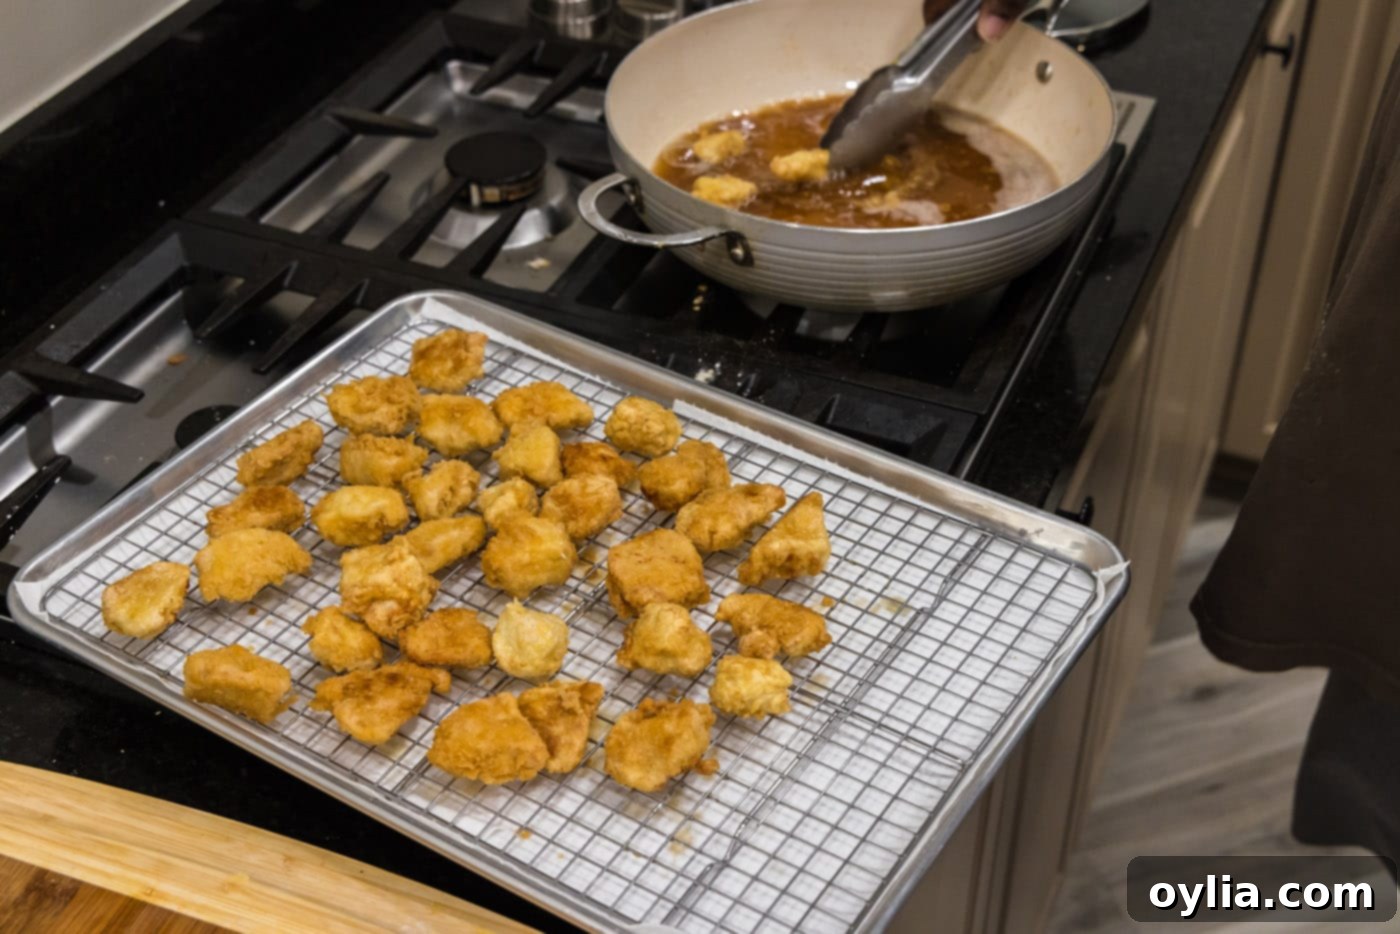
- Fry the Chicken: Carefully add the prepared chicken pieces to the hot oil in batches, ensuring not to overcrowd the skillet (this helps maintain oil temperature and crispiness). Fry for approximately 5 minutes, turning once halfway through, until the chicken is beautifully golden brown and cooked through. Remove the cooked chicken pieces and place them on the wire rack to drain any excess oil. Once all chicken is fried, carefully remove the remaining oil from the skillet and wipe it clean with a paper towel.


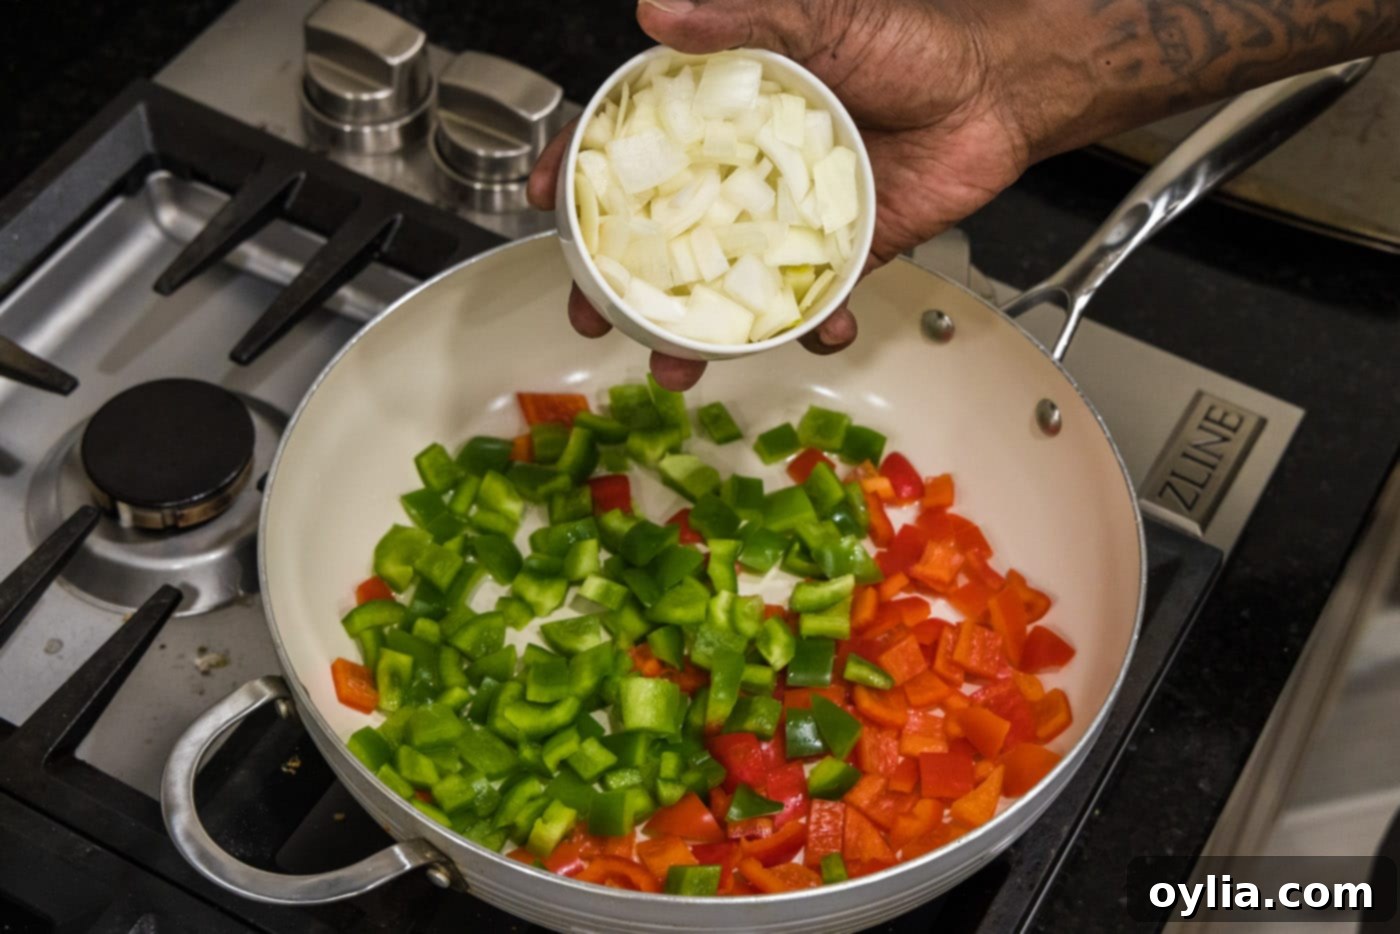
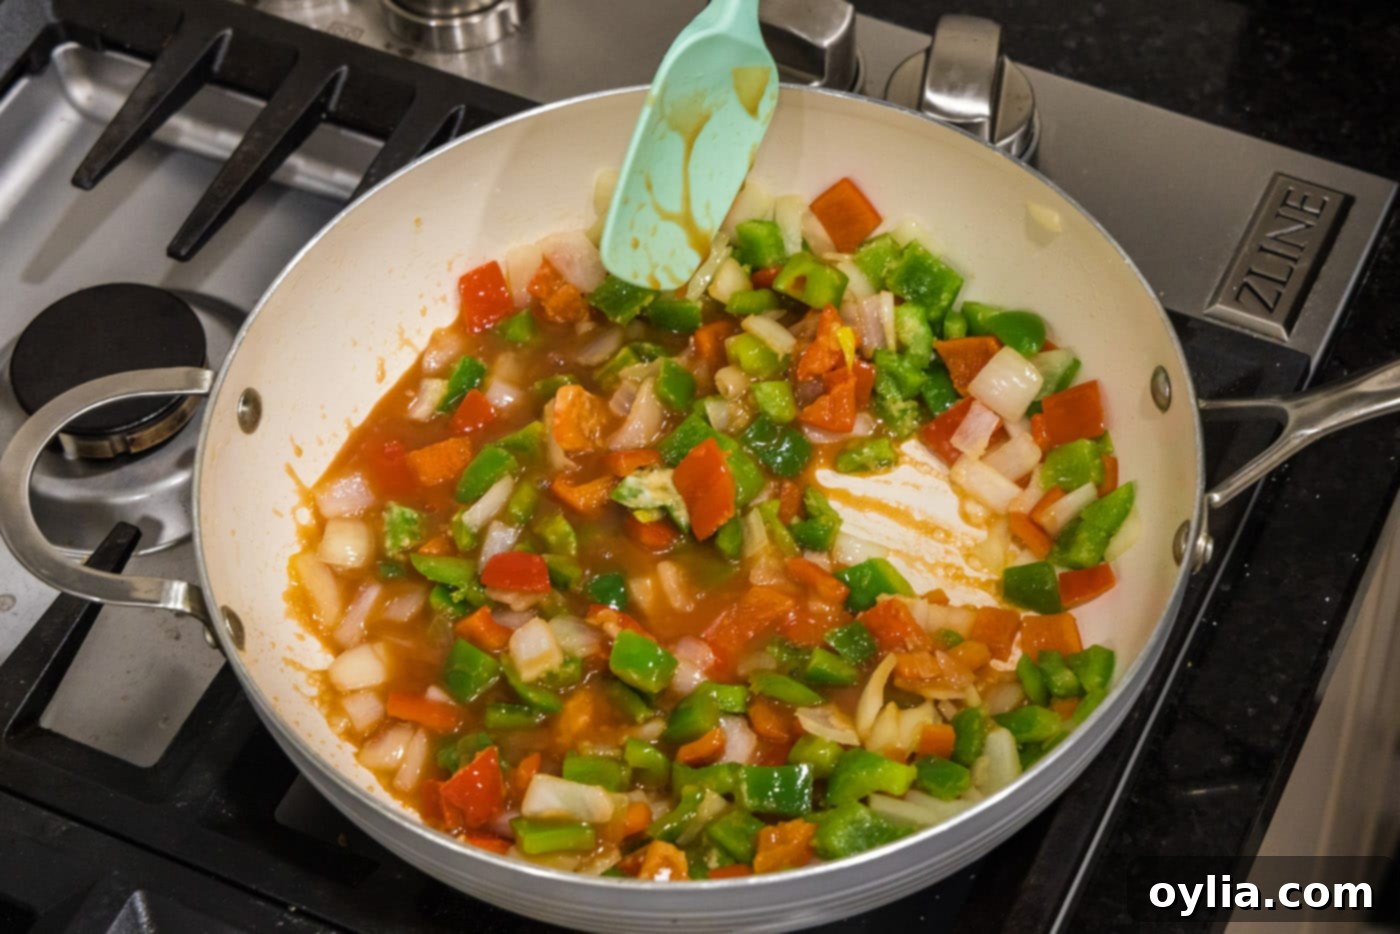
- Sauté the Vegetables: Heat 2 tablespoons of olive oil in the same deep-sided skillet over medium-high heat until it shimmers. Add the chopped red and green bell peppers and onions. Cook, stirring occasionally, for about 5 minutes, or until the vegetables are slightly softened but still retain a pleasant crunch.

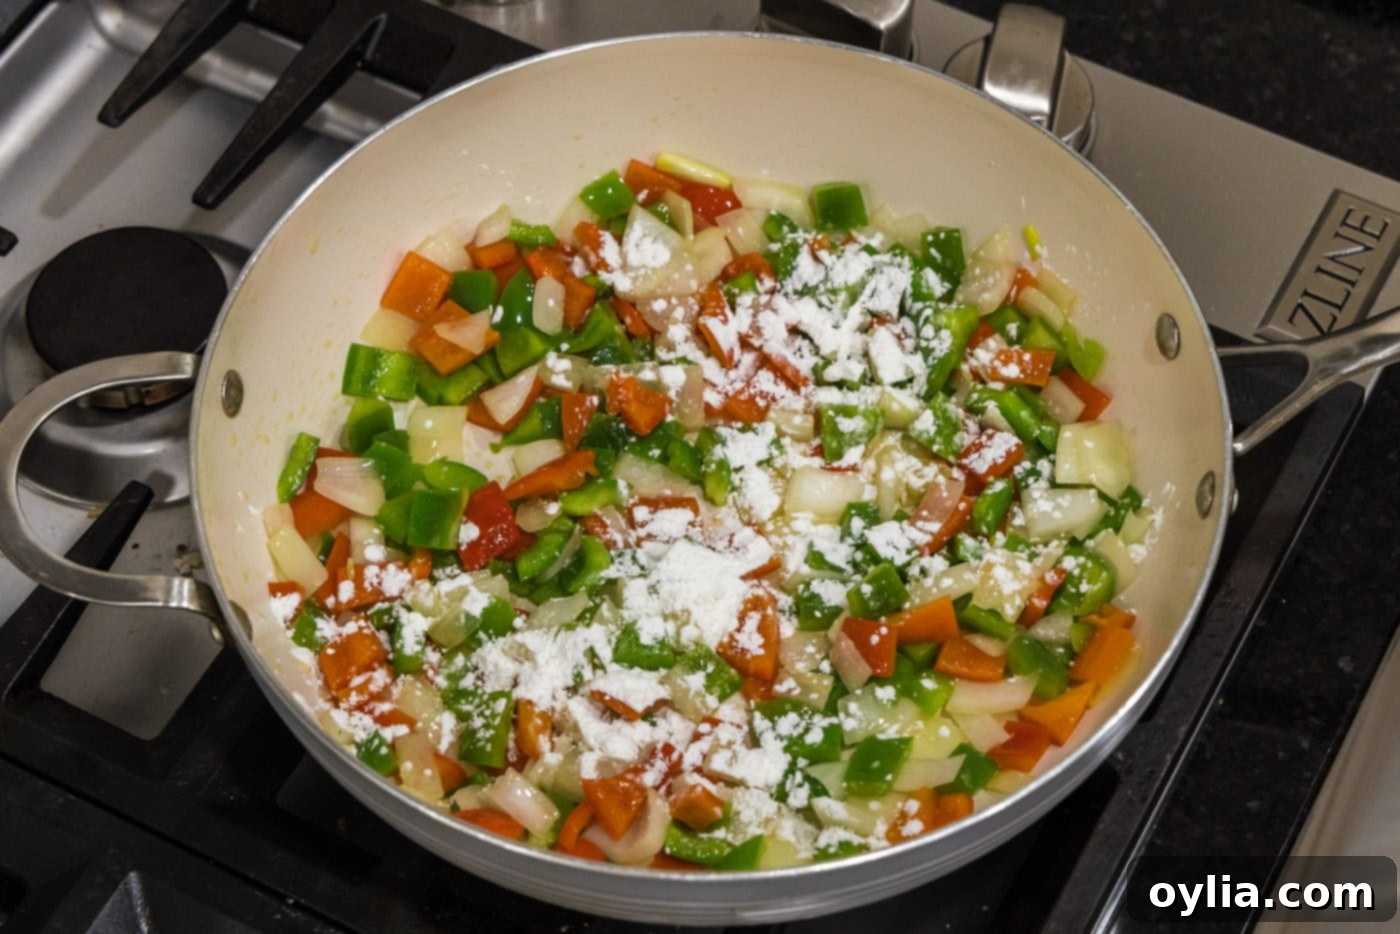
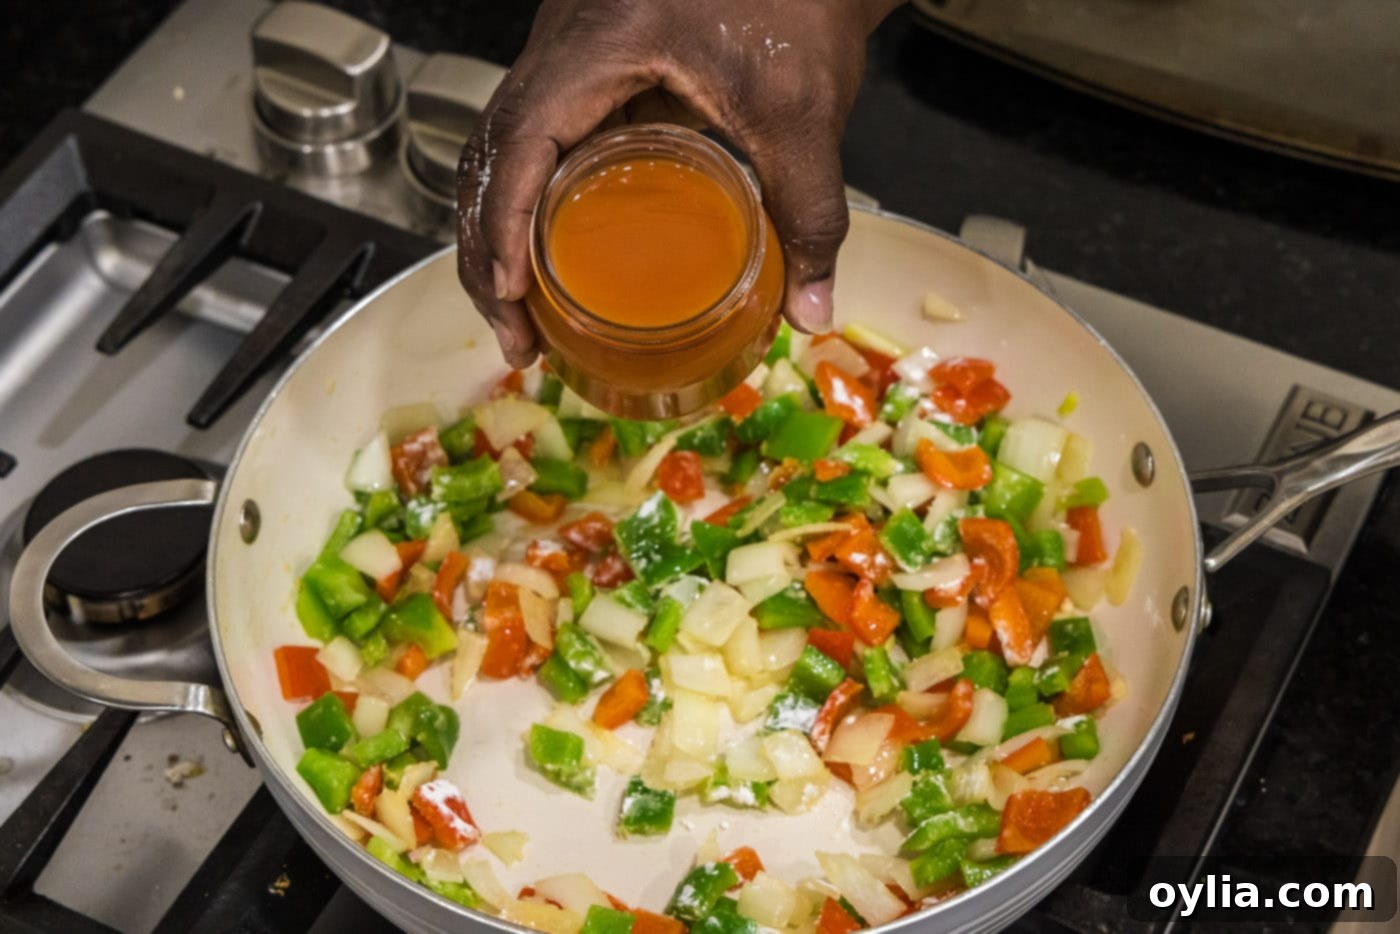
- Combine with Sauce: Sprinkle the vegetable mixture with the remaining 1 tablespoon of cornstarch and stir well to combine. This light coating helps the sauce adhere better. Pour in the previously reserved homemade sweet and sour sauce. Cook for an additional 2-3 minutes, stirring constantly, until the sauce thickens slightly and beautifully coats the vegetables.


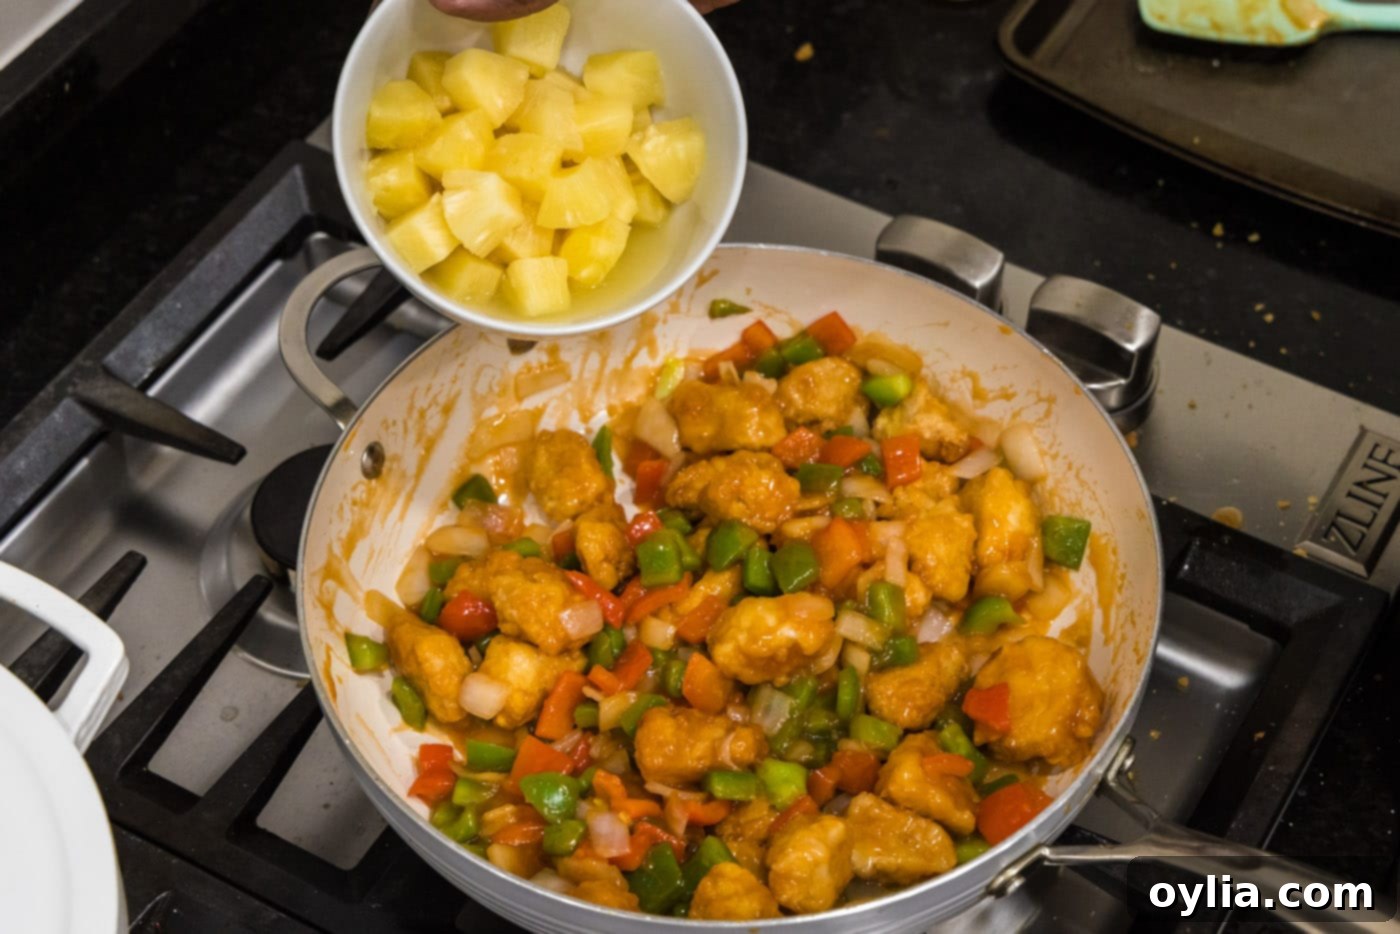
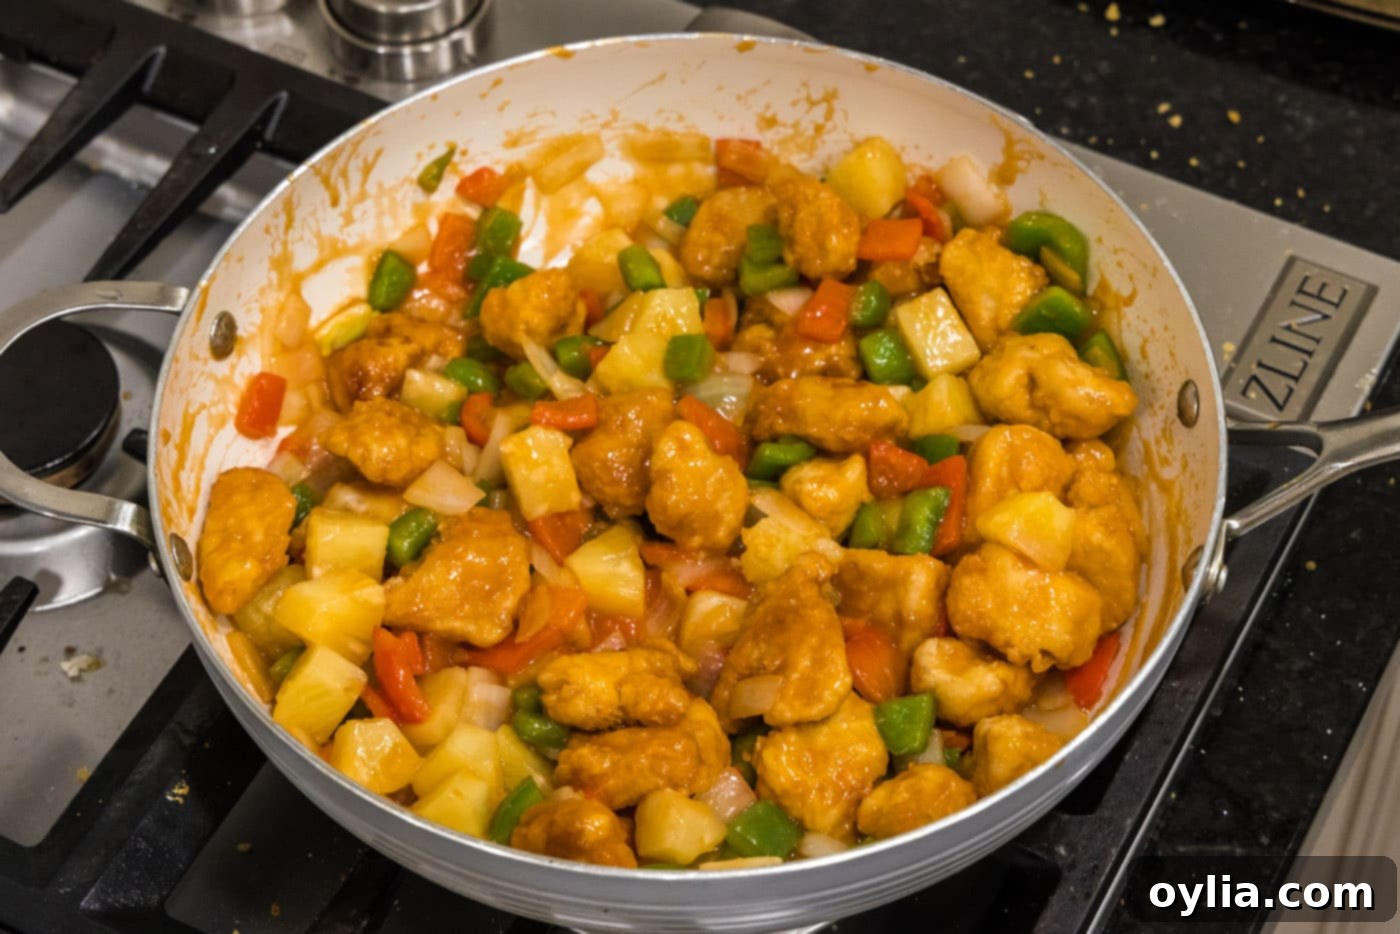
- Final Assembly and Serve: Add the fried chicken pieces back into the skillet with the saucy vegetables. Gently toss and turn to ensure all the chicken is thoroughly coated in the delectable sweet and sour sauce. Finally, add the pineapple chunks and stir gently to incorporate them. Heat everything through for another minute or two, ensuring the chicken is warm and the flavors have melded. Serve immediately!


Frequently Asked Questions & Expert Tips for Success
While this dish is absolutely best enjoyed fresh for maximum crispiness, you can store any cooled leftovers in an airtight container in the refrigerator for up to 3 days. Be aware that the crispy chicken coating will naturally soften as it absorbs the surrounding sauce during storage. For reheating, gently warm in a skillet on the stovetop or in an oven to help regain some texture, rather than using a microwave which can make it even softer.
Yes, you can! For a lighter version, after coating the chicken (steps 4-6), you can either bake or air fry it. To bake, arrange chicken in a single layer on a parchment-lined baking sheet and bake at 400°F (200°C) for 18-25 minutes, flipping halfway, until cooked through and golden. For air frying, preheat your air fryer to 375°F (190°C). Spray the chicken with a light coating of oil, then air fry in batches for 10-15 minutes, shaking the basket halfway through, until crispy and cooked. While these methods won’t yield the exact same deep-fried crispiness, they are delicious and healthier alternatives.
Absolutely! The homemade sweet and sour sauce can be prepared up to 3-4 days in advance and stored in an airtight container in the refrigerator. When you’re ready to use it, simply reheat it gently on the stovetop, whisking to ensure a smooth consistency. If it appears too thick, you can add a tiny splash of water or pineapple juice to thin it out to your desired consistency.
Easily! If you prefer a less sweet sauce, reduce the amount of honey slightly. For more tang, add an extra half teaspoon to a full teaspoon of rice vinegar to taste. Always adjust gradually and taste as you go to achieve your perfect balance.
Beyond the cornstarch-egg-flour coating, several factors contribute to ultimate crispiness: 1) Ensure your oil is at the correct temperature (325-350°F). If it’s too cool, the chicken will be greasy; too hot, it will burn before cooking through. 2) Don’t overcrowd the pan; fry in batches to maintain oil temperature. 3) Allow the chicken to rest at room temperature before frying. 4) Drain on a wire rack to prevent steaming and keep the bottom crispy.
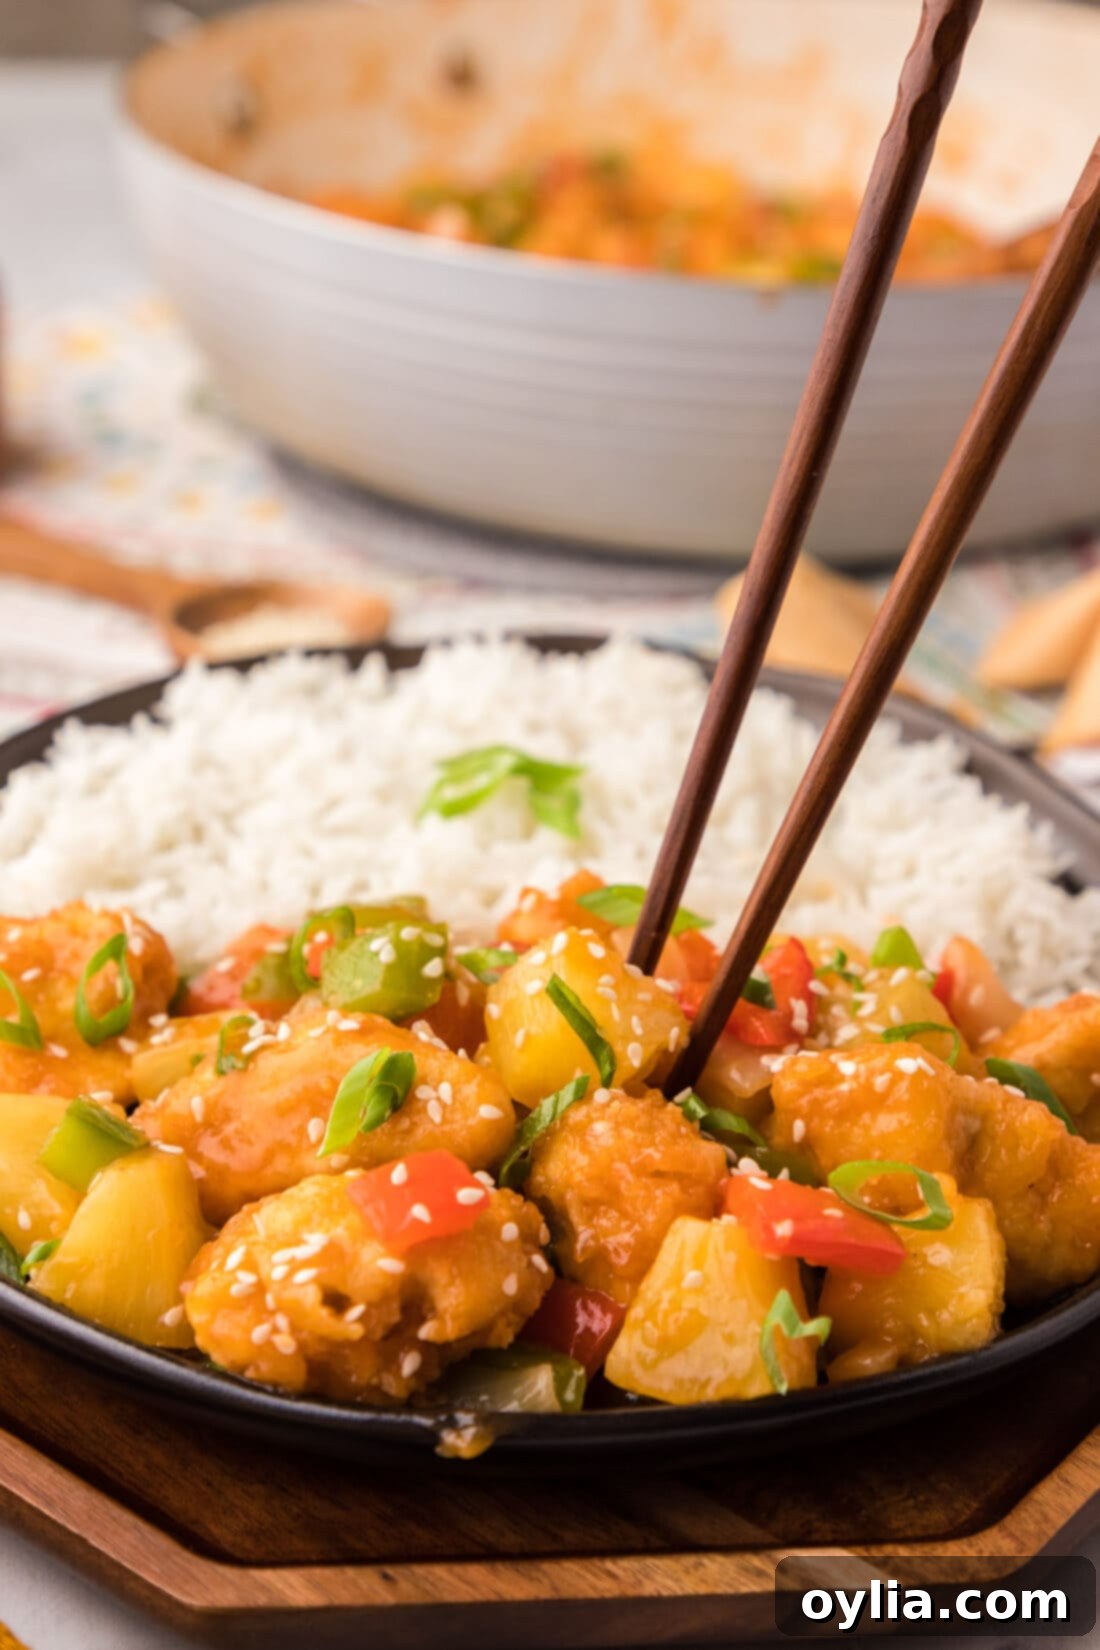
Serving Suggestions for Your Feast
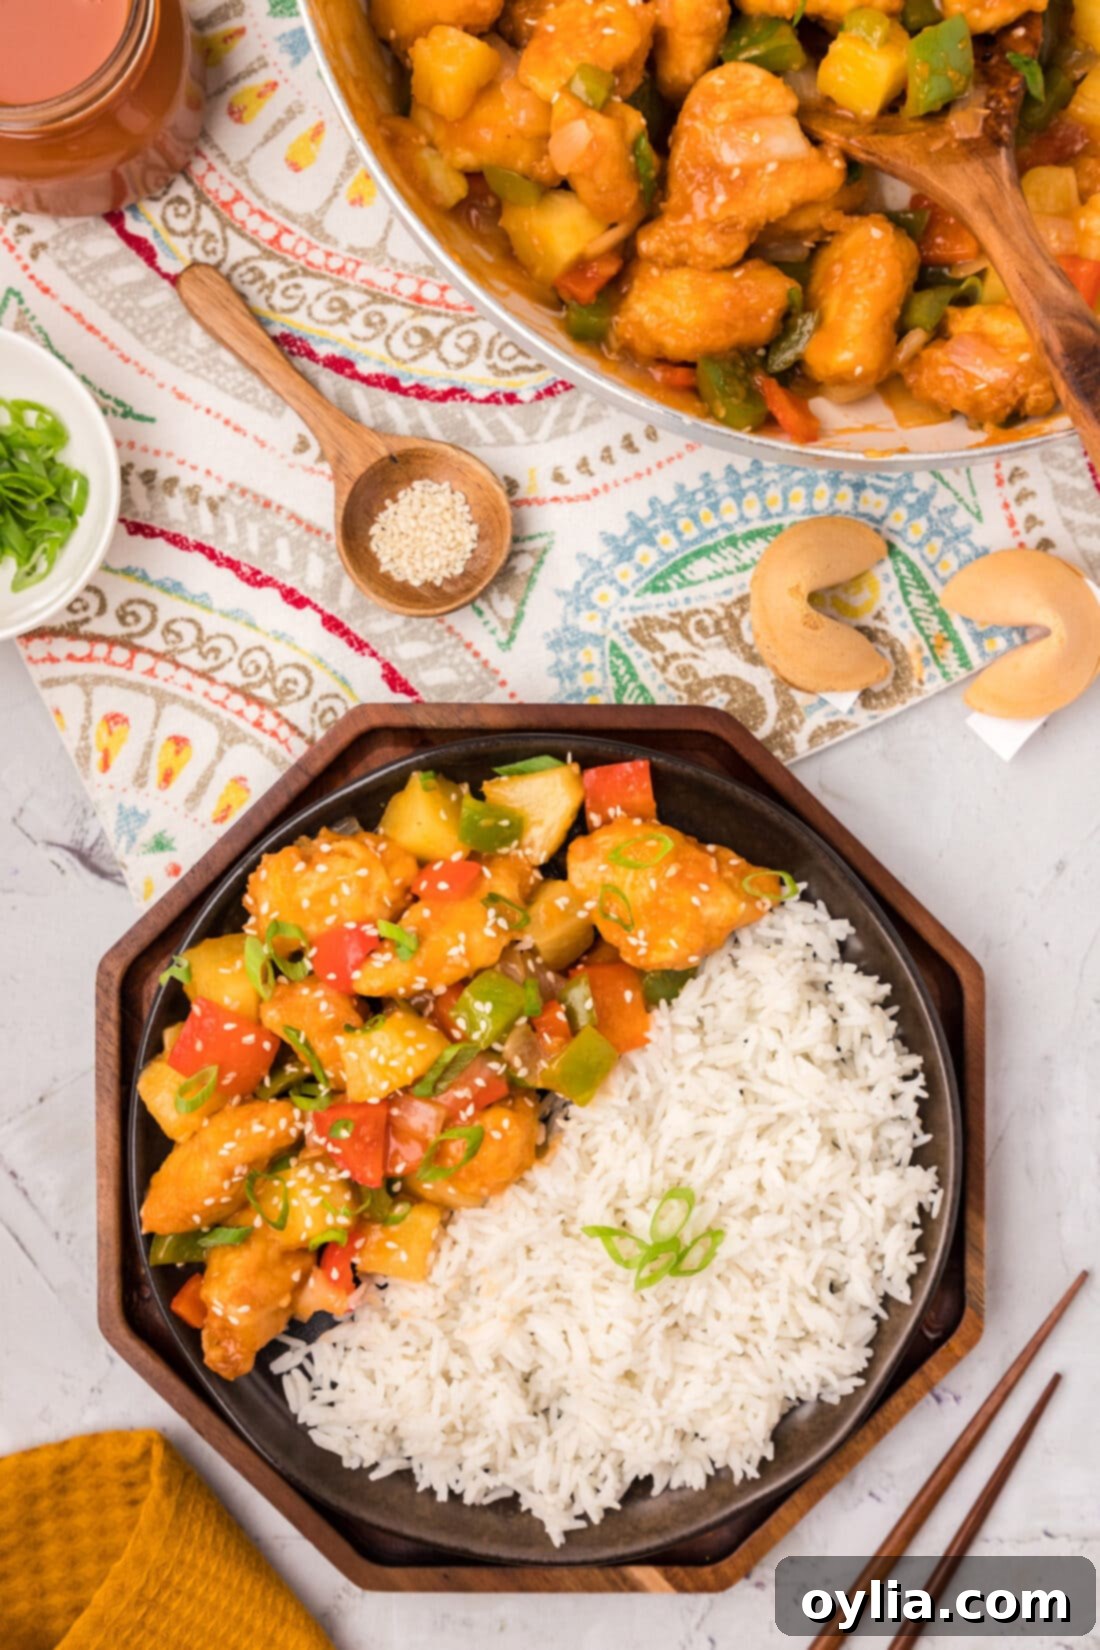
Sweet and sour chicken is a complete meal on its own, but it truly shines when paired with the right sides. The most classic accompaniment is a bed of fluffy **white rice** to soak up all that delicious sauce. However, feel free to experiment with **brown rice** for a nuttier flavor and added fiber, or even a homemade **fried rice** for an extra indulgent experience. If you’re looking to sneak in more vegetables or reduce carbs, cauliflower fried rice is an excellent and flavorful option. Alternatively, a side of stir-fried noodles like chow mein can complete your authentic Asian-inspired meal. For an elegant finish, optionally garnish your sweet and sour chicken with a sprinkle of freshly chopped green onions and a dash of toasted sesame seeds. Remember, for the crispiest texture, serve this dish warm, straight from the pan!
More Asian-Inspired Recipes You’ll Love
If you enjoyed this sweet and sour chicken, you’ll love exploring more of our delicious Asian-inspired recipes that bring takeout flavors right to your kitchen:
- Orange Chicken: Another iconic dish featuring crispy chicken in a bright, citrusy sauce.
- Hunan Chicken: For those who enjoy a spicier kick with tender chicken and an array of vegetables.
- Kung Pao Chicken: A flavorful and slightly spicy stir-fry with peanuts and a savory sauce.
- Sweet and Sour Shrimp: A delicious seafood alternative featuring the same beloved sweet and sour flavors.
- Honey Garlic Chicken Stir Fry: A quick and easy weeknight meal packed with flavor.
- Sweet and Sour Pork: If you’re a pork lover, this classic take on sweet and sour is a must-try.
I love to bake and cook and share my kitchen experience with all of you! Remembering to come back each day can be tough, that’s why I offer a convenient newsletter every time a new recipe posts. Simply subscribe and start receiving your free daily recipes!
Sweet and Sour Chicken
IMPORTANT – There are often Frequently Asked Questions within the blog post that you may find helpful. Simply scroll back up to read them!
Print It
Pin It
Rate It
Save It
Saved!
Prevent your screen from going dark
Course:
Dinner, Main Dish
Cuisine:
American, Chinese
5 servings
403
Amanda Davis
Ingredients
- 1 ¼ pounds boneless skinless chicken breast cut into chunks
- 2 large eggs
- 4 Tablespoons cornstarch divided (3 for chicken, 1 for veggies/sauce)
- ¾ cup all-purpose flour for breading
- vegetable oil for frying (enough to cover 1 inch of skillet)
- 2 Tablespoons olive oil
- 1 cup chopped green bell pepper
- 1 cup chopped red bell pepper
- 1 cup chopped onion
- 1 cup canned pineapple chunks in juice drained (reserve juices for sauce)
Sauce
- 2 Tablespoons honey
- 1 ½ Tablespoons soy sauce
- 1 ¼ Tablespoons tomato paste
- ½ cup pineapple juice (from canned pineapple)
- 1 ½ Tablespoons rice vinegar
- ½ Tablespoon cornstarch (for slurry)
- 2 Tablespoons water (for slurry)
Things You’ll Need
-
Saucepan
-
Gallon sized zipper bag
-
Large deep sided skillet
-
Wire cooling rack
-
Vinyl gloves
Before You Begin
- Because we are frying our chicken, it’s best to let it rest at room temperature for 15-20 minutes before cooking. If you place cold chicken into hot oil, it will significantly lower the temperature, which is crucial for properly frying the chicken to achieve maximum crispiness.
- Have all your vegetables (red bell pepper, green bell pepper, and onions) chopped and ready to go before you start cooking the main dish. This ensures a smooth and efficient stir-frying process. You can definitely toss in other vegetables if desired, such as snow peas or broccoli florets, for added variety and nutrition.
- Although this dish is undeniably best served fresh to enjoy the ultimate crispiness of the chicken, any cooled leftovers can be stored in an airtight container in the refrigerator for up to 3 days. Please note that the chicken will lose some of its initial crispiness after being stored as it soaks up the surrounding sauce, but it will still be delicious.
- Don’t overcrowd the skillet when frying the chicken. Fry in batches if necessary to maintain a consistent oil temperature, which is key for golden, crispy results.
Instructions
-
Combine all sauce ingredients (honey, soy sauce, tomato paste, pineapple juice, rice vinegar) except the cornstarch and water in a medium saucepan. Whisk together until smooth and bring to a gentle boil over medium heat.
-
In a small bowl, make a slurry from ½ tablespoon of cornstarch and 2 tablespoons of water, whisking until smooth. Add this slurry to the mixture in the saucepan, whisking continuously. Simmer over medium heat until the sauce thickens and becomes glossy, about 2-4 minutes. Set the finished sauce aside.
-
Whisk the 2 large eggs in a medium bowl until well combined.
-
Place the chicken chunks into a gallon-sized zipper bag and sprinkle in 3 tablespoons of the cornstarch. Close the bag securely and shake vigorously until all chicken pieces are evenly coated.
-
Place the ¾ cup of all-purpose flour on a plate or in a shallow dish.
-
Take each cornstarch-coated chicken piece, dip it into the whisked egg, then transfer it to the plate with flour and turn to coat completely. Shake off any excess flour gently.
-
Add enough vegetable oil to a deep-sided skillet to come about 1 inch up the sides. Heat over medium-high heat until hot (approximately 325-350°F on an instant-read thermometer), but not smoking. Line a baking sheet with paper towel and place a wire rack over the sheet for draining.
-
Carefully add the prepared chicken pieces to the hot oil in batches (do not overcrowd) and fry, turning once, for about 5 minutes until golden brown and cooked through. Remove cooked chicken to the wire rack to drain. Once all chicken is fried, remove any remaining oil from the skillet and wipe it clean with a paper towel.
-
Heat the 2 tablespoons of olive oil in the clean, deep-sided skillet over medium-high heat until shimmering. Add both bell peppers and onions and cook, stirring occasionally, for 5 minutes, until slightly tender-crisp.
-
Sprinkle the vegetable mixture with the remaining 1 tablespoon of cornstarch and stir to combine well. Pour in the reserved sweet and sour sauce and cook for an additional 2-3 minutes, or until the mixture begins to thicken slightly and beautifully coats the vegetables.
-
Add the fried chicken pieces back into the skillet and turn gently to coat the chicken in the sauce. Stir in the pineapple chunks. Heat through for another minute or two and serve immediately for the best crispy texture.
Nutrition
Calories: 403cal |
Carbohydrates: 46g |
Protein: 31g |
Fat: 11g |
Saturated Fat: 2g |
Polyunsaturated Fat: 2g |
Monounsaturated Fat: 6g |
Trans Fat: 0.02g |
Cholesterol: 147mg |
Sodium: 499mg |
Potassium: 775mg |
Fiber: 3g |
Sugar: 20g |
Vitamin A: 1272IU |
Vitamin C: 74mg |
Calcium: 46mg |
Iron: 2mg
Tried this Recipe? Pin it for Later!Follow on Pinterest @AmandasCookin or tag #AmandasCookin!
The recipes on this blog are tested with a conventional gas oven and gas stovetop. It’s important to note that some ovens, especially as they age, can cook and bake inconsistently. Using an inexpensive oven thermometer can assure you that your oven is truly heating to the proper temperature. If you use a toaster oven or countertop oven, please keep in mind that they may not distribute heat the same as a conventional full sized oven and you may need to adjust your cooking/baking times. In the case of recipes made with a pressure cooker, air fryer, slow cooker, or other appliance, a link to the appliances we use is listed within each respective recipe. For baking recipes where measurements are given by weight, please note that results may not be the same if cups are used instead, and we can’t guarantee success with that method.
