The Ultimate 4-Ingredient Fluffy Peanut Butter Frosting: Rich, Creamy & Irresistible
Prepare to elevate your dessert game with this unbelievably simple, yet incredibly rich and fluffy Peanut Butter Frosting. Crafted with just four essential ingredients, this homemade delight promises to transform any baked good it graces into an absolute masterpiece. Whether you’re topping decadent fudge brownies, classic chocolate cupcakes, or a celebratory cake, this frosting delivers a perfect balance of creamy texture and authentic peanut butter flavor that will have everyone asking for the recipe.
Why This Easy Peanut Butter Frosting Recipe Is a Must-Try
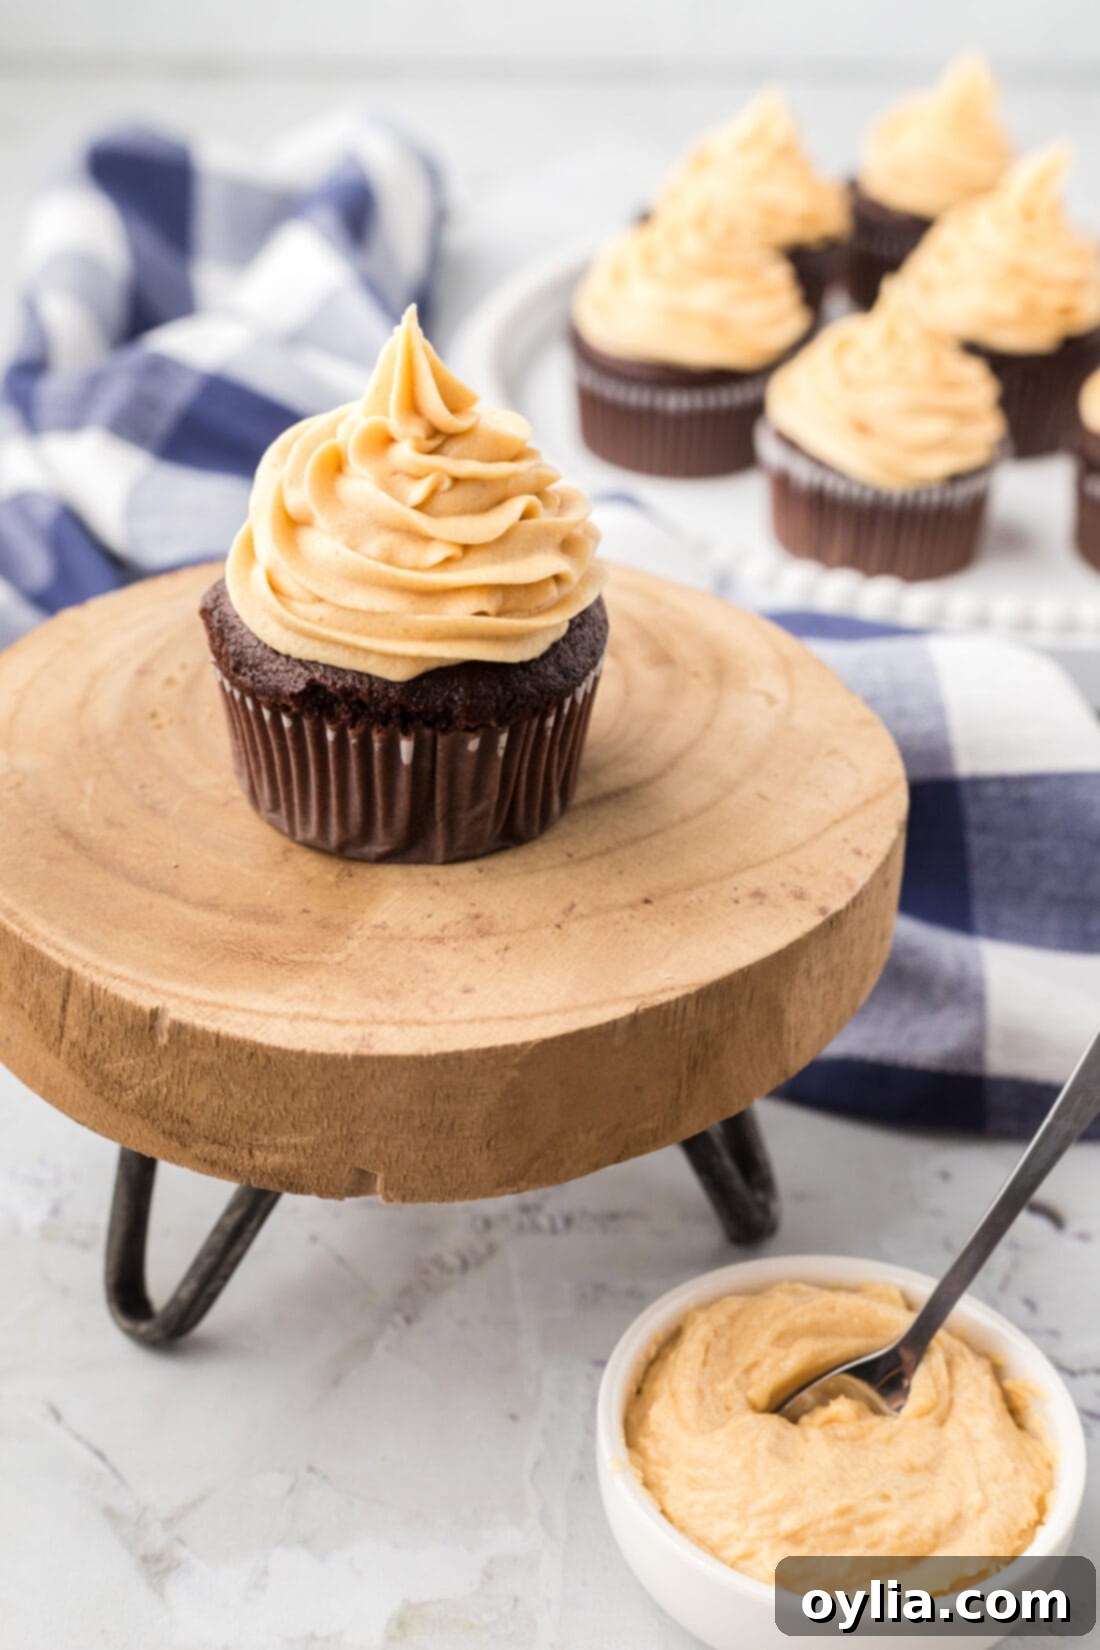
For all the peanut butter enthusiasts out there, you know there’s nothing quite like a thick, luxurious layer of peanut butter frosting to crown your favorite treats. This particular recipe stands out because it strikes that elusive perfect balance: it’s wonderfully rich without being overly sweet, allowing the robust, creamy flavor of peanut butter to shine through. The addition of cream cheese is our secret weapon, providing a delightful tang that cuts through the sweetness and a velvety smooth texture that makes it truly swoon-worthy.
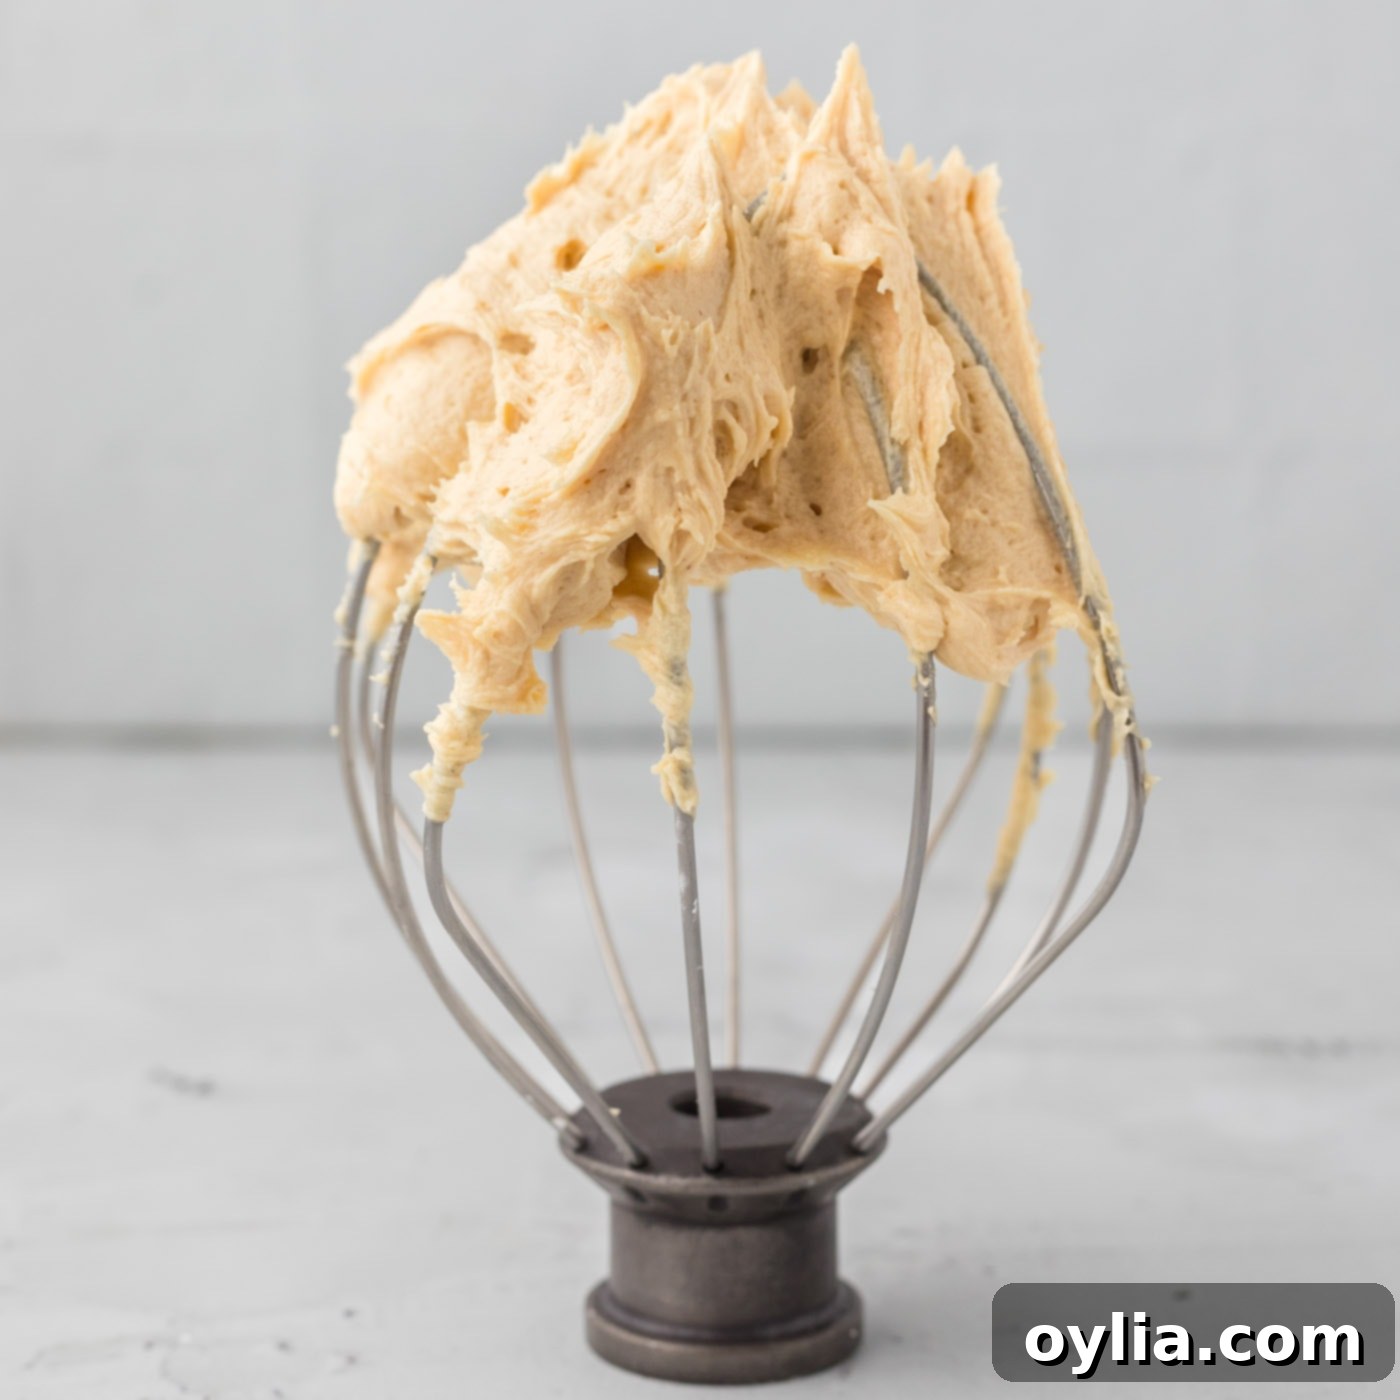
This isn’t just any frosting; it’s an experience. Its incredibly fluffy consistency makes it perfect for piping intricate designs onto cupcakes or spreading smoothly over a layer cake. The simplicity of only four ingredients means you can whip up a batch anytime a craving strikes, or when you need a show-stopping dessert topping in a hurry. You might even find yourself enjoying it by the spoonful straight from the bowl! So, gather your cream cheese, butter, powdered sugar, and peanut butter, and let’s get started on creating this irresistible homemade peanut butter frosting.
Simple Ingredients for the Best Peanut Butter Frosting
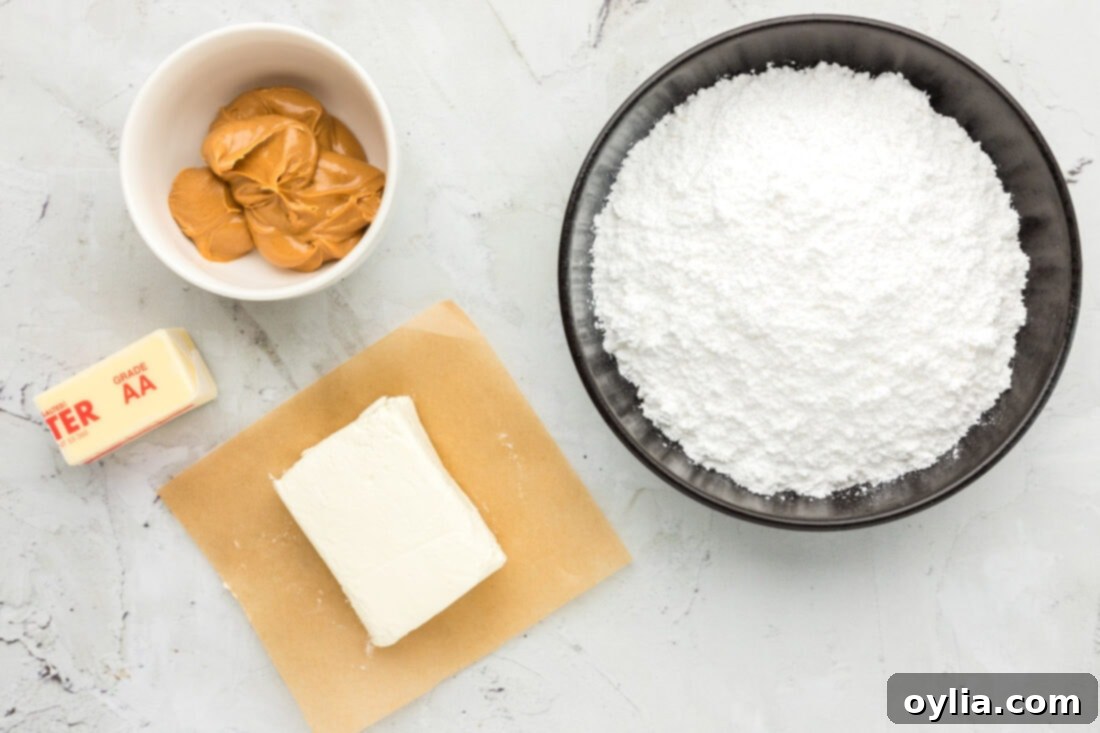
One of the best things about this delicious peanut butter frosting recipe is how few ingredients it requires. You likely have most, if not all, of these staples in your pantry and fridge right now! For precise measurements and step-by-step instructions, please refer to the printable recipe card located at the end of this comprehensive guide. Here’s a quick overview of what you’ll need to create this amazing treat:
- Cream Cheese: The backbone of our fluffy texture and tangy balance.
- Unsalted Butter: For richness and a smooth, creamy base.
- Powdered Sugar: To sweeten and provide structure without graininess.
- Creamy Peanut Butter: The star flavor!
Ingredient Deep Dive & Expert Tips for Perfect Results
Understanding your ingredients is key to achieving the perfect homemade peanut butter frosting. Here’s a breakdown of each component and important considerations:
Peanut Butter
- Creamy is Key: For this recipe, I strongly recommend using a regular, creamy peanut butter such as Jif or Skippy. The smooth consistency is crucial for a pipeable and spreadable frosting.
- Avoid Chunky: While chunky peanut butter might seem appealing for extra texture, the peanut pieces will unfortunately clog your piping bag and make smooth spreading very difficult. It can also tear delicate cakes.
- Steer Clear of Natural Peanut Butter: Natural peanut butter, while healthy, tends to separate significantly due to its higher oil content. This oiliness can lead to a greasy, inconsistent, and often runny frosting that won’t hold its shape. Stick to the classic creamy varieties for guaranteed success.
- Flavor Variations: Feel free to experiment with different creamy peanut butter flavors, such as honey-roasted for a sweeter touch, though this might require a slight adjustment to the powdered sugar.
Unsalted Butter
- Room Temperature is Non-Negotiable: Ensure your unsalted butter is fully softened to room temperature before you begin. Cold butter will result in a lumpy, uneven frosting texture. To soften quickly, slice the butter into smaller pieces and let it sit at room temperature for about 30 minutes. You can also carefully microwave it on a very low setting for 10-15 seconds, flipping halfway, but be careful not to melt it. It should be soft enough to indent easily with your finger, but still cool to the touch.
- Why Unsalted? Using unsalted butter gives you complete control over the saltiness of your frosting. Different brands of salted butter vary in their salt content, and we want to ensure our frosting is perfectly balanced, not overly salty.
Cream Cheese
- Full-Fat and Room Temperature: This is the secret weapon for both the frosting’s thickness and its signature tangy flavor. Always use full-fat block cream cheese, not the spreadable kind from a tub, as it has a higher water content and can make your frosting runny. Like the butter, the cream cheese must be at room temperature to prevent lumps. Slice it into cubes and let it rest for 30-45 minutes until the chill is gone. This ensures it whips up smoothly with the butter, creating a cohesive, velvety base.
- The Tang Factor: The cream cheese adds a wonderful, subtle tartness that beautifully complements the sweetness of the powdered sugar and the richness of the peanut butter, preventing the frosting from being cloyingly sweet.
Powdered Sugar (Confectioners’ Sugar)
- Smoothness Guaranteed: Powdered sugar, also known as confectioners’ sugar, is essential for a smooth, non-gritty frosting. Its finely milled texture dissolves instantly into the butter and cream cheese mixture, unlike granulated sugar which would leave a grainy mouthfeel.
- Sifting is Recommended: To ensure the smoothest possible frosting and to avoid any hidden lumps, consider sifting your powdered sugar before adding it to the mixture. This extra step guarantees an effortlessly silky finish.
- Adjusting Sweetness and Thickness: The amount of powdered sugar can be slightly adjusted to your preference for sweetness and consistency. Remember, it’s easier to add more than to take away, so follow the recipe and then adjust as needed.
How to Make This Dreamy Peanut Butter Frosting (Step-by-Step)
These step-by-step photos and instructions are here to help you visualize how to make this delightful recipe. For the complete printable version, including all measurements and detailed instructions, simply Jump to Recipe at the bottom of this post.
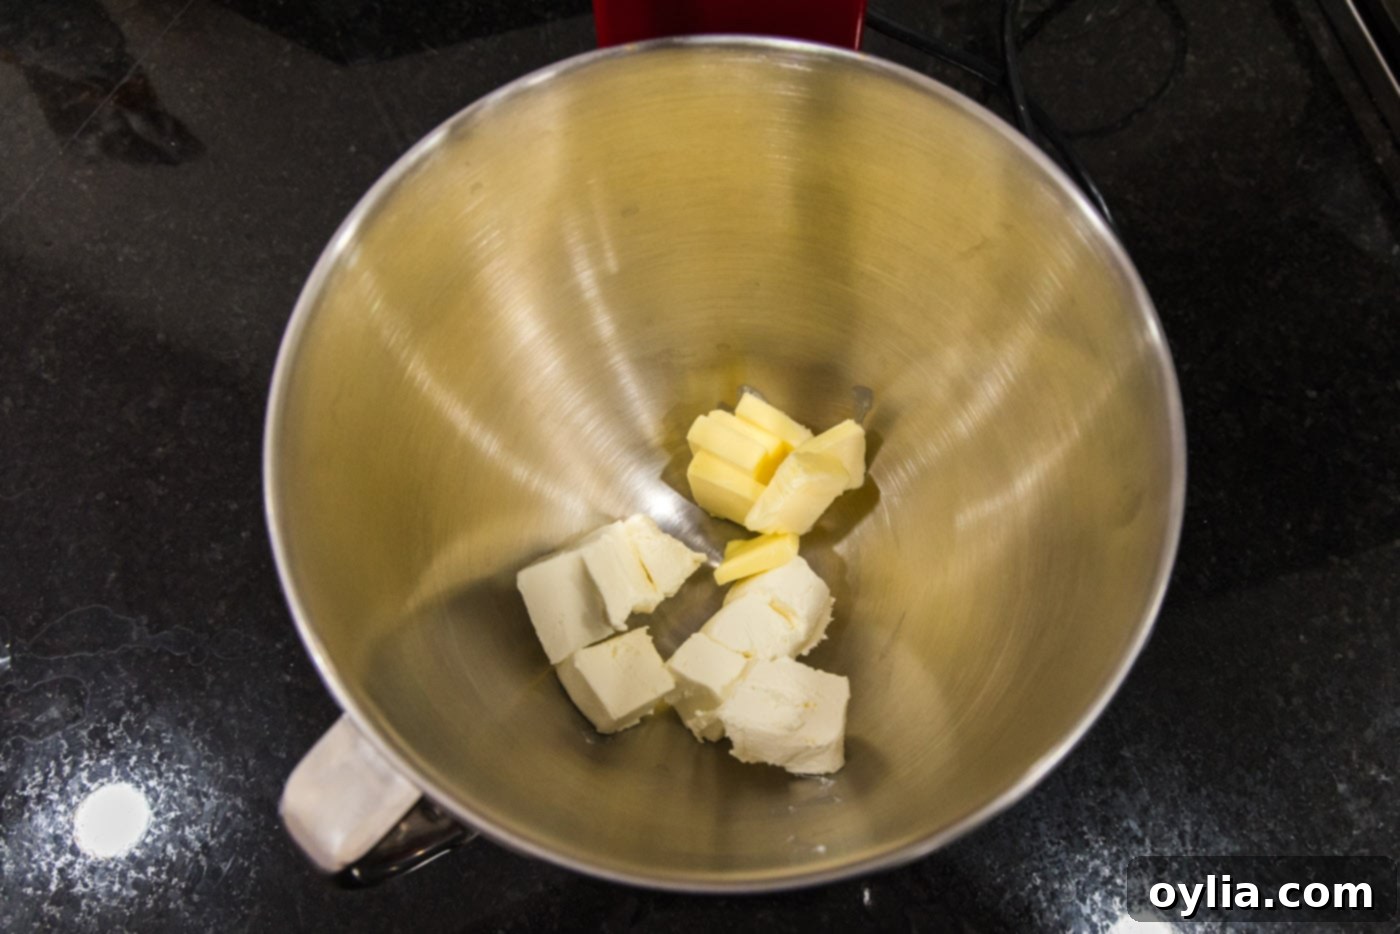
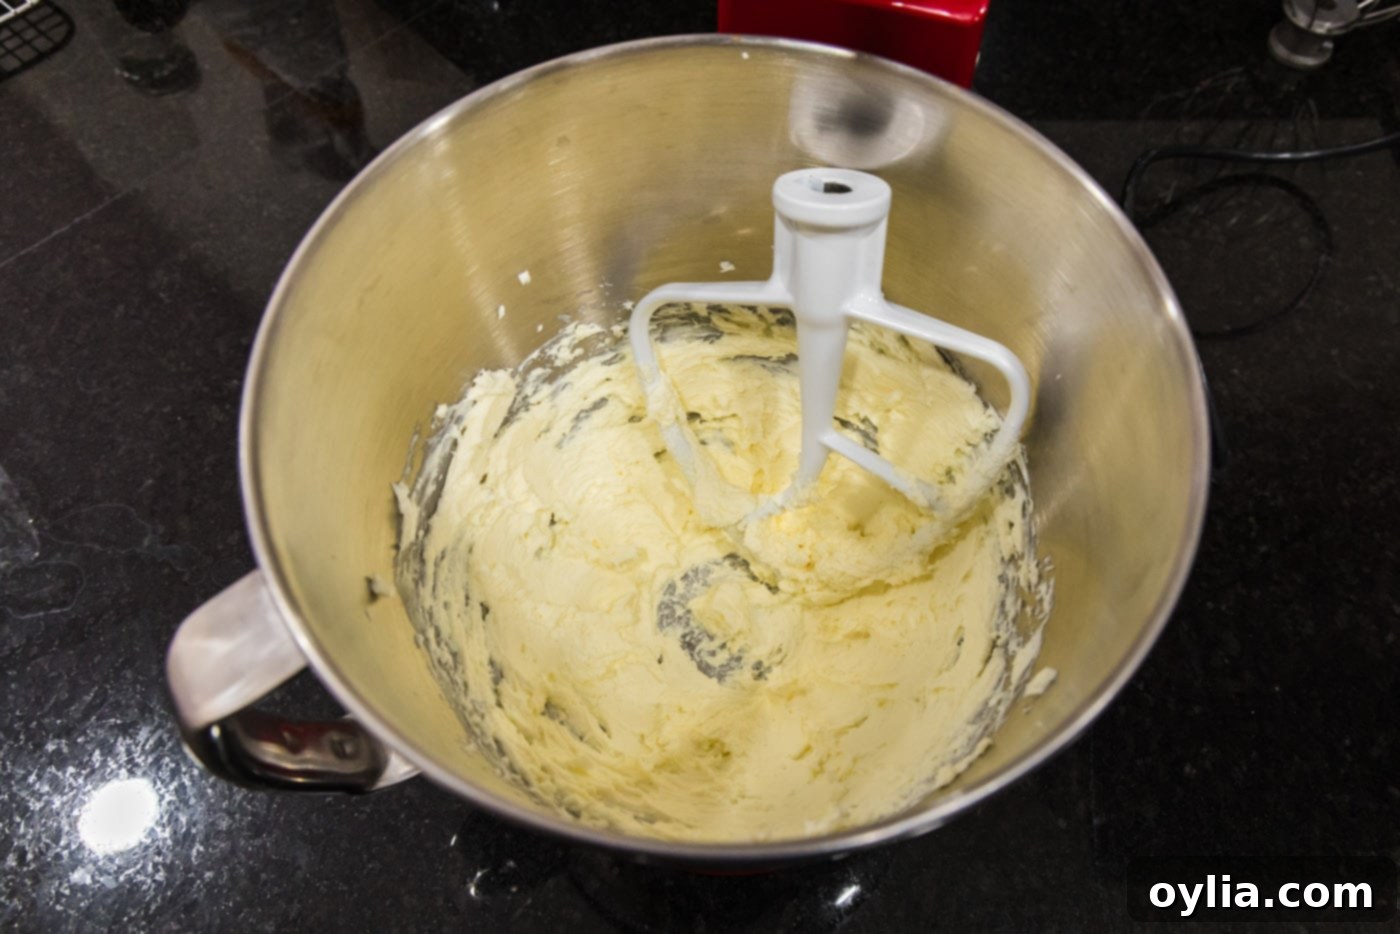
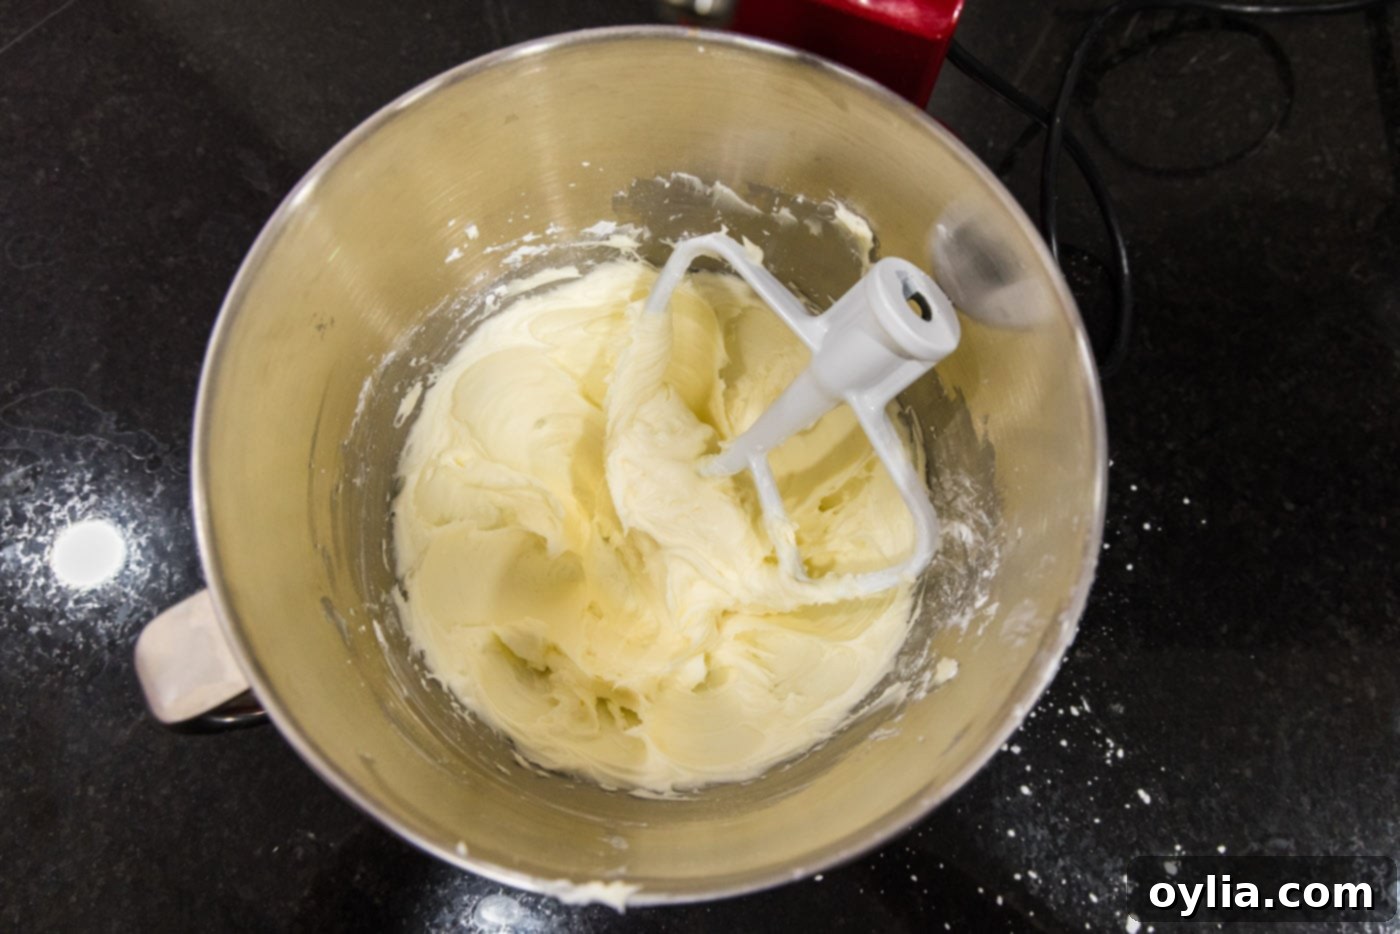
- Cream Butter and Cream Cheese: In the bowl of a standing mixer fitted with the paddle attachment, or using a hand mixer, beat the softened cream cheese and butter together. Mix on medium speed until the mixture is light, fluffy, and completely creamy, with no visible lumps of butter or cream cheese. This usually takes about 2-3 minutes.


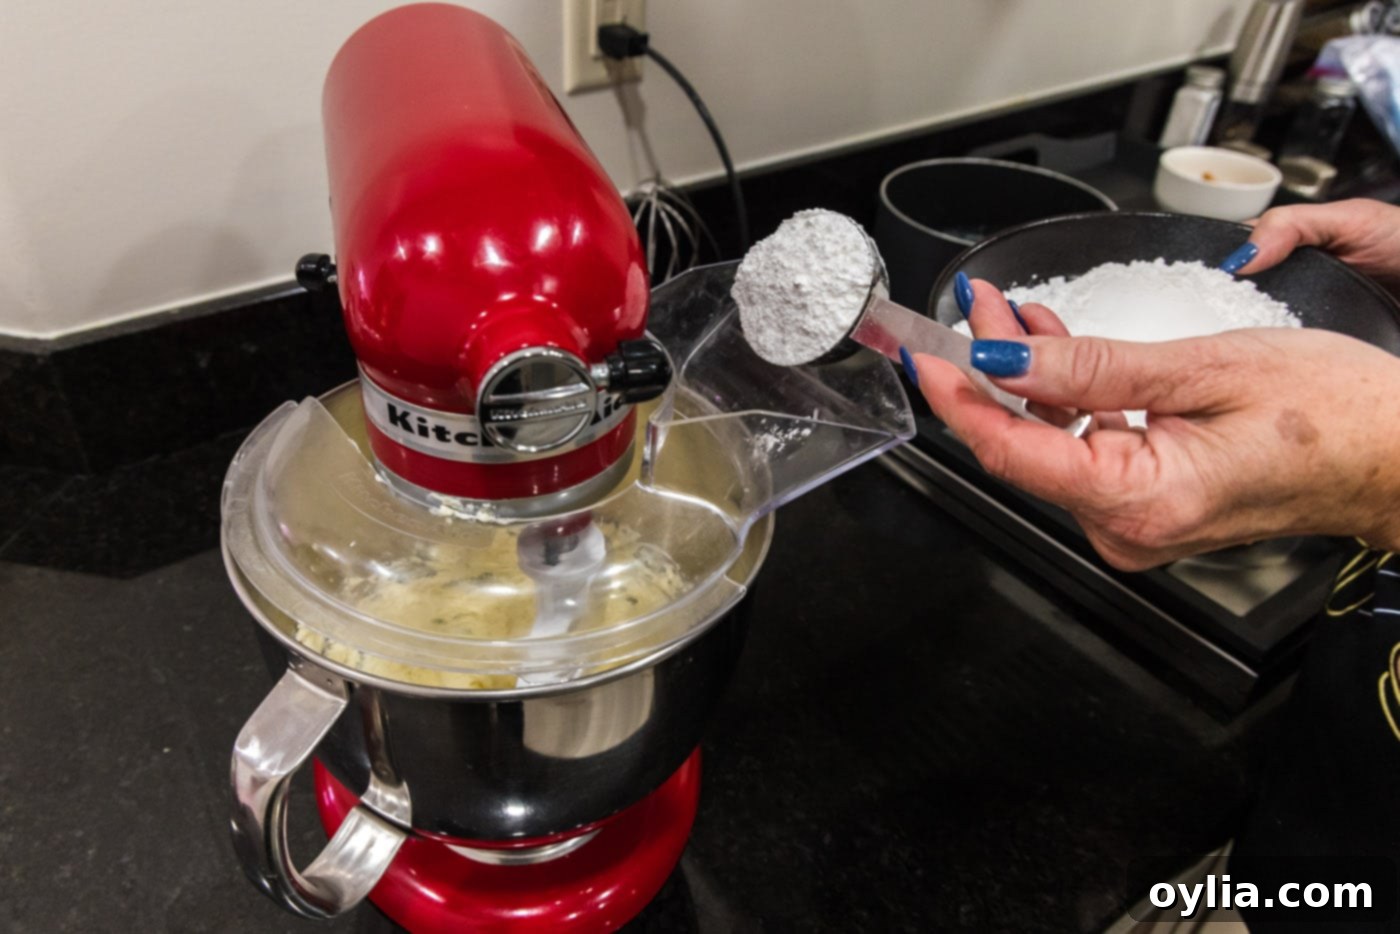
- Gradually Add Powdered Sugar: With the mixer on low speed, slowly add the powdered sugar, about half a cup at a time, until it is completely incorporated. Once all the sugar is added, increase the speed to medium and beat until the frosting is smooth and lump-free. Be sure to stop occasionally and scrape down the sides and bottom of the mixing bowl with a rubber spatula to ensure everything is thoroughly combined. This prevents any pockets of unmixed sugar.


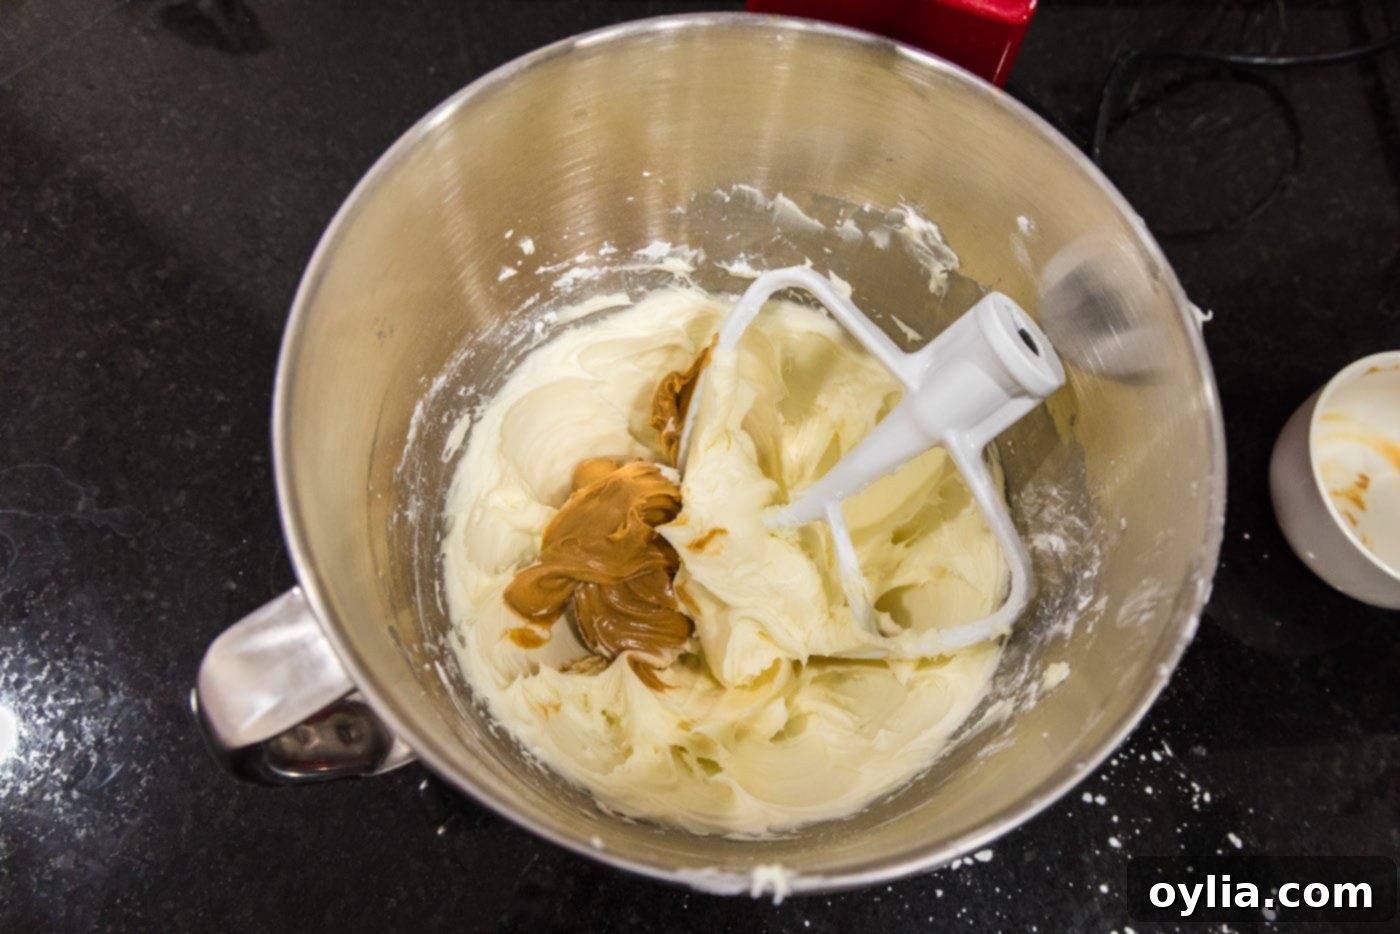
- Incorporate Peanut Butter: Finally, add the creamy peanut butter to the mixture. Increase the mixer speed to medium-high and beat for another 1-2 minutes until the peanut butter is fully combined, and the frosting is beautifully light, airy, and fluffy. Your homemade peanut butter frosting is now ready to spread or pipe!

Frequently Asked Questions & Expert Tips for Perfect Peanut Butter Frosting
Once prepared, this homemade peanut butter frosting should be stored in an airtight container or a large zip-top bag in the refrigerator. It will stay fresh and delicious for up to 1 week. If you plan to use it for piping after refrigeration, let it come to room temperature for about 30 minutes, then re-whip it for a minute or two with a mixer to restore its fluffy texture.
If your peanut butter frosting is too thin, there are a few reliable methods to thicken it. The easiest way is to add an extra 2-3 tablespoons of powdered sugar. Always start with a small amount and add more gradually until you reach your desired consistency, mixing well after each addition. Keep in mind that adding more sugar will also increase the sweetness. Another excellent trick is simply chilling the frosting. This frosting naturally thickens as it sits in the refrigerator. I highly recommend covering it with a lid and chilling it for 20-30 minutes if you intend to pipe it; this often provides enough firmness without needing additional sugar. Alternatively, if you prefer not to add more sweetness, you can slowly incorporate a tablespoon of cornstarch. Be cautious with cornstarch, as too much can make the frosting gummy – the opposite of what we want! Add it gradually, mixing thoroughly, until the desired thickness is achieved.
Absolutely! This peanut butter frosting freezes wonderfully, making it perfect for meal prep or saving for future baking projects. To freeze, simply place the frosting in a large zip-top freezer bag, pressing out as much air as possible, or an airtight freezer-safe container. It can be frozen for up to 1 month. When you’re ready to use it, thaw the frosting overnight in the refrigerator. Once thawed, let it come to room temperature for about an hour, then give it a good stir with a spoon or a quick whip with your mixer to bring it back to its original creamy and fluffy consistency.
This recipe yields approximately 3 cups of delicious peanut butter frosting, which is generally enough to generously frost a standard two-layer 8 or 9-inch round cake, cover a 13×9 inch sheet cake, or frost 12 standard-sized cupcakes. If you plan on piping the frosting onto cupcakes, which often requires a bit more volume for beautiful swirls, I recommend doubling the recipe to ensure you have plenty. Similarly, if you are frosting three 8 or 9-inch round cake layers, you will definitely want to double the recipe.
While unsalted butter is recommended for better control over the flavor, you can use salted butter in a pinch. If you do, omit any additional salt in the recipe and consider reducing the amount of powdered sugar slightly, as salt can enhance the perception of sweetness. Taste and adjust as needed.
Runny frosting is often a result of ingredients that are too warm or an imbalance of dry to wet ingredients. To fix it, try adding more powdered sugar, 1-2 tablespoons at a time, mixing well after each addition. If the problem persists, or you don’t want to add more sweetness, chill the frosting in the refrigerator for 20-30 minutes. The cold will help solidify the butter and cream cheese, firming up the frosting. After chilling, re-whip it briefly to regain fluffiness.
Lumpy frosting is almost always caused by ingredients that are not at room temperature. Cold butter or cream cheese will not cream smoothly, leading to small, hard lumps in your frosting. To prevent this, ensure both butter and cream cheese are adequately softened before you start mixing. If your frosting is already lumpy, you can try gently warming the bowl over a pot of simmering water (bain-marie style, being careful not to melt) for a very short time, then re-whipping until smooth. Alternatively, you might need to try blending it with an immersion blender for a super smooth finish, then re-whip with a stand mixer.
Delicious Serving Suggestions for Your Peanut Butter Frosting
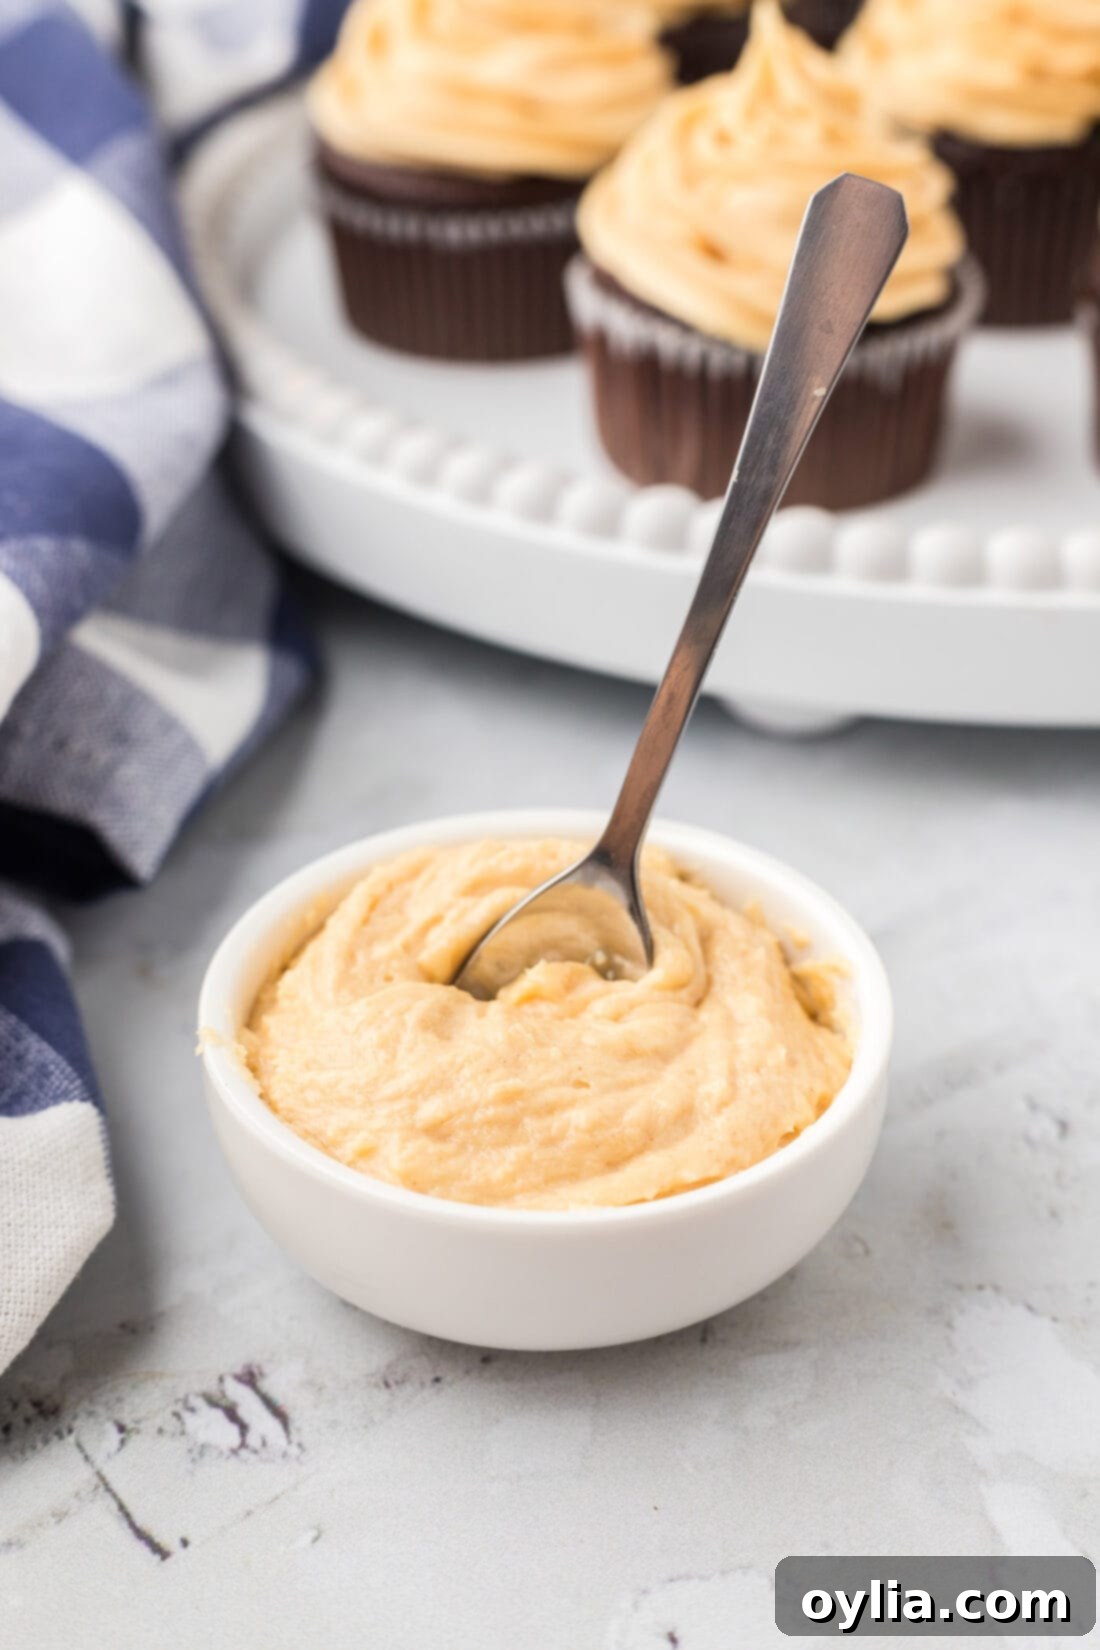
This versatile peanut butter frosting isn’t just for cakes and cupcakes; its rich and creamy texture makes it a perfect accompaniment to a wide array of desserts and snacks. Here are some of our favorite ways to enjoy it:
- On Brownies: It’s truly a match made in heaven! We especially love it slathered over our fudge brownies with peanut butter frosting – pure decadence.
- With Cupcakes: A classic pairing, especially with chocolate cupcakes or even vanilla cupcakes, for a delightful peanut butter cup flavor profile.
- Cakes: Use it to fill and frost layer cakes, or spread it simply over a sheet cake for an easy yet impressive dessert.
- Fudge: Drizzle or spread it over homemade fudge for an extra layer of flavor and creaminess.
- As a Dip: Don’t limit yourself to baked goods! This frosting makes an incredible dip for fresh apple slices, banana chunks, pretzels (for that sweet and salty combo!), graham crackers, or even vanilla wafers.
- Dessert Bars: Perfect as a topping for oatmeal bars, blondies, or any other dessert bar that could use a creamy peanut butter kick.
We absolutely adore peanut butter in all its forms! Be sure to explore our extensive collection of other peanut butter recipes for more inspiration and delicious treats.
Discover More Irresistible Frosting Recipes
If you’ve loved making this peanut butter frosting, you’ll surely enjoy exploring our other homemade frosting creations. Each recipe is designed to be easy to follow and deliver delicious results every time:
- Classic Buttercream Frosting
- Tangy Cream Cheese Frosting
- Rich Chocolate Fudge Frosting
- Velvety Chocolate Buttercream Frosting
- Nutty Brown Butter Frosting
I genuinely love to bake and cook, and it brings me joy to share my kitchen experiences and successful recipes with all of you! Remembering to check back for new recipes can be tricky, which is why I offer a convenient newsletter every time a new recipe posts. Simply subscribe today and start receiving your free daily recipes straight to your inbox!
Peanut Butter Frosting
IMPORTANT – There are often Frequently Asked Questions within the blog post that you may find helpful. Simply scroll back up to read them!
Print It
Pin It
Rate It
Save ItSaved!
Ingredients
- 5 ounces cream cheese softened at room temperature
- 4 Tablespoons unsalted butter softened at room temperature
- 2 ½ cups powdered sugar
- 6 Tablespoons creamy peanut butter
Things You’ll Need
-
Stand mixer or hand mixer
-
Rubber spatula
Before You Begin
- I recommend using regular creamy peanut butter. Though it is possible to use chunky peanut butter, you won’t be able to pipe it as the chunks will get stuck, and spreading it over a delicate cake could cause the cake to tear on top. I would also advise against using natural peanut butter because it is too oily and separates as it sits.
- Make sure your unsalted butter is softened before beginning. To do so, slice the butter and allow it to rest at room temperature for around 30 minutes or until it is soft to the touch and no longer chilled.
- You will also want the cream cheese to be at room temperature so that you don’t end up with a lumpy frosting. Slice it into cubes and allow it to rest at room temp for 30-45 minutes until the chill is taken off.
- Store the frosting in a large ziptop bag or airtight container kept in the refrigerator for up to 1 week.
- To freeze, place the frosting in a large ziptop bag or airtight container and freeze for up to 1 month. You will want to thaw it in the refrigerator overnight then allow it to reach room temperature before using it. Thoroughly mix the frosting with a spoon or give it another whip with a mixer to bring it back to its creamy consistency.
- To make your frosting thicker, you can add an extra 2-3 tablespoons of powdered sugar (always start with less but add more if needed). Do note that this frosting will thicken as it sits in the refrigerator. I recommend covering it with a lid and setting it in the refrigerator for 20-30 minutes if you plan on piping it, this is a good alternative to adding more sugar. You can also thicken it with cornstarch if you’d rather not sweeten the frosting more than you have to. Adding too much cornstarch can make the frosting gummy, which is the exact opposite of what you want! Slowly incorporate a Tablespoon’s worth of cornstarch into the frosting, adding more if needed, until you reach your desired consistency.
- This recipe yields 3 cups of frosting which is enough to frost a two layer cake, 12 cupcakes, or a 13×9 cake. Double the recipe if you are piping the frosting onto the cupcakes. Double the recipe for frosting three 8 or 9 inch round cakes.
Instructions
-
Beat cream cheese and butter together until creamy.
-
With mixer on low speed, slowly add powdered sugar until completely incorporated, occasionally scraping down the sides of the mixing bowl.
-
Add peanut butter and mix on medium-high until completely combined and fluffy.
Nutrition
The recipes on this blog are tested with a conventional gas oven and gas stovetop. It’s important to note that some ovens, especially as they age, can cook and bake inconsistently. Using an inexpensive oven thermometer can assure you that your oven is truly heating to the proper temperature. If you use a toaster oven or countertop oven, please keep in mind that they may not distribute heat the same as a conventional full sized oven and you may need to adjust your cooking/baking times. In the case of recipes made with a pressure cooker, air fryer, slow cooker, or other appliance, a link to the appliances we use is listed within each respective recipe. For baking recipes where measurements are given by weight, please note that results may not be the same if cups are used instead, and we can’t guarantee success with that method.
