Mastering the Classic Lemon Meringue Pie: Your Ultimate Guide to a Zesty, Fluffy Dessert
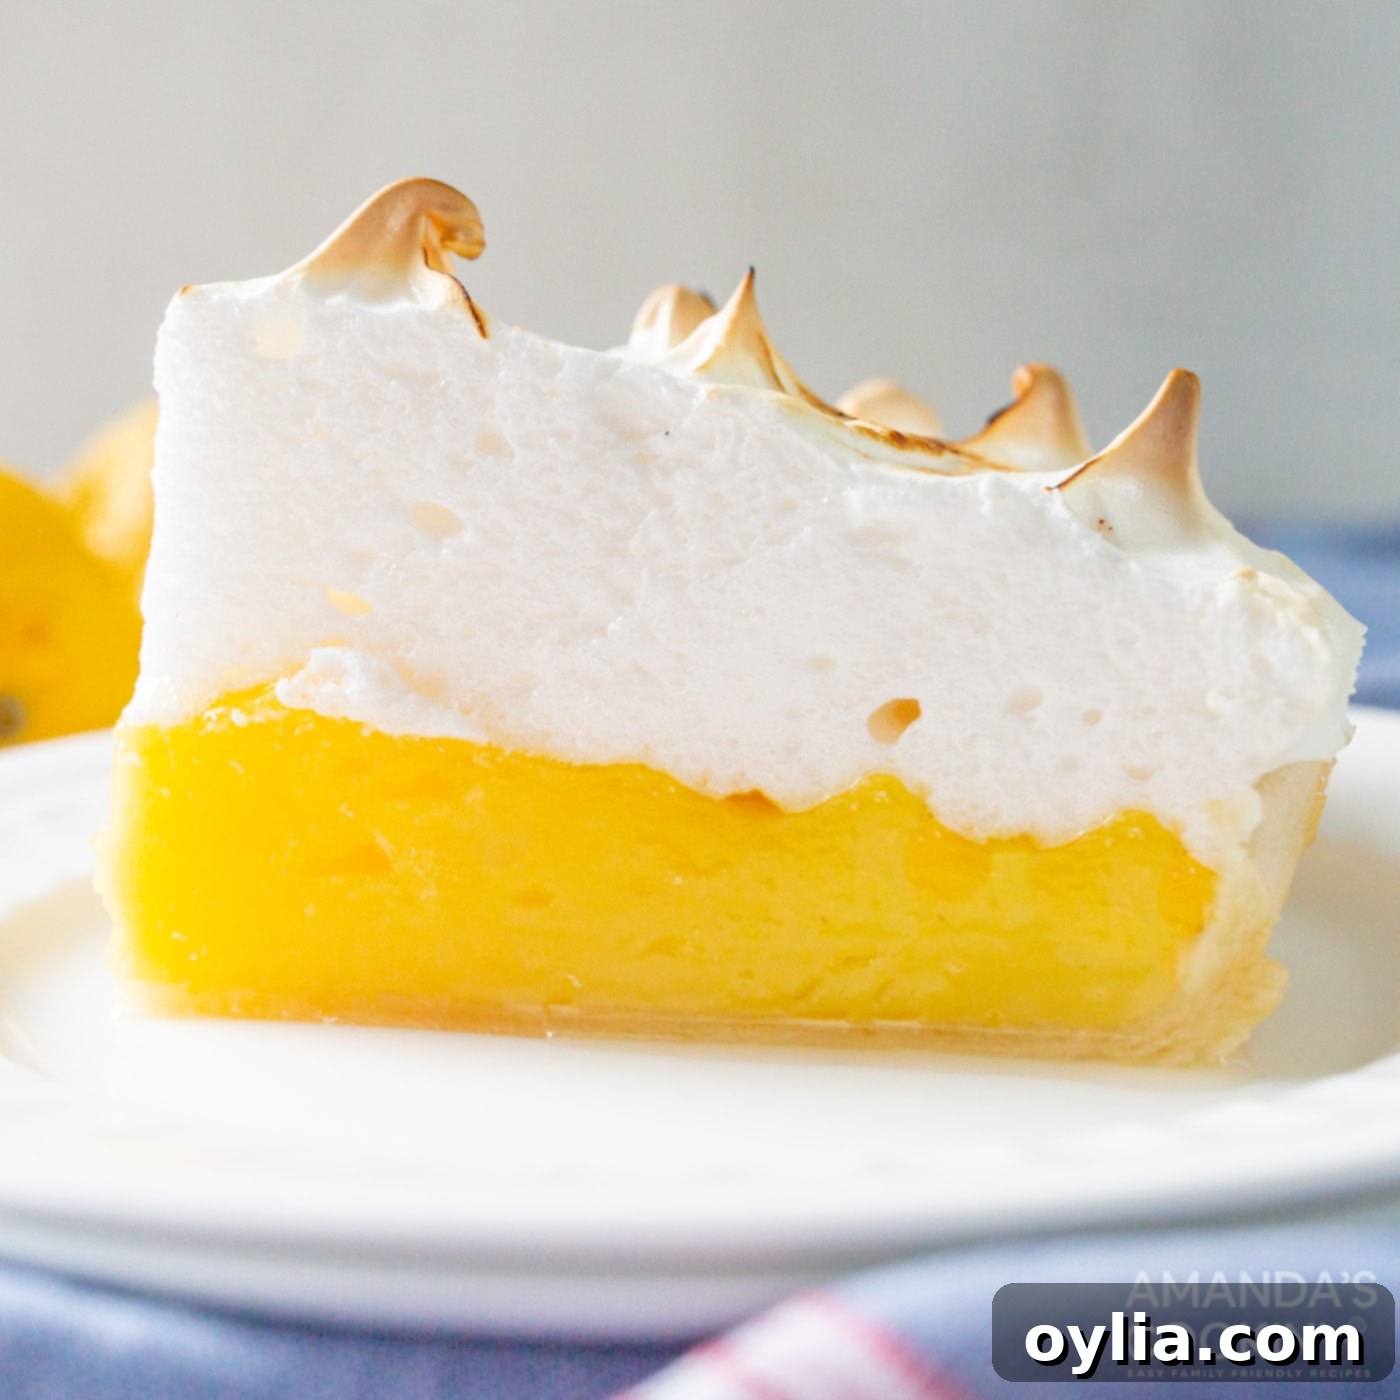
Few desserts capture the essence of sunshine and comfort quite like a perfectly crafted lemon meringue pie. Imagine a forkful: the delightful zing of tart lemon custard, the cloud-like sweetness of a tall, billowy meringue topping, and the satisfying subtle crunch of a golden, flaky crust. This iconic dessert is a symphony of textures and flavors, making it an irresistible treat that appeals to almost everyone. Whether it’s the centerpiece of a holiday gathering or a simple indulgence on a warm afternoon, a slice of homemade lemon meringue pie promises a moment of pure culinary bliss. This comprehensive guide will walk you through every step, ensuring your homemade lemon meringue pie is nothing short of spectacular.
Why This Classic Lemon Meringue Pie Recipe is a Must-Try
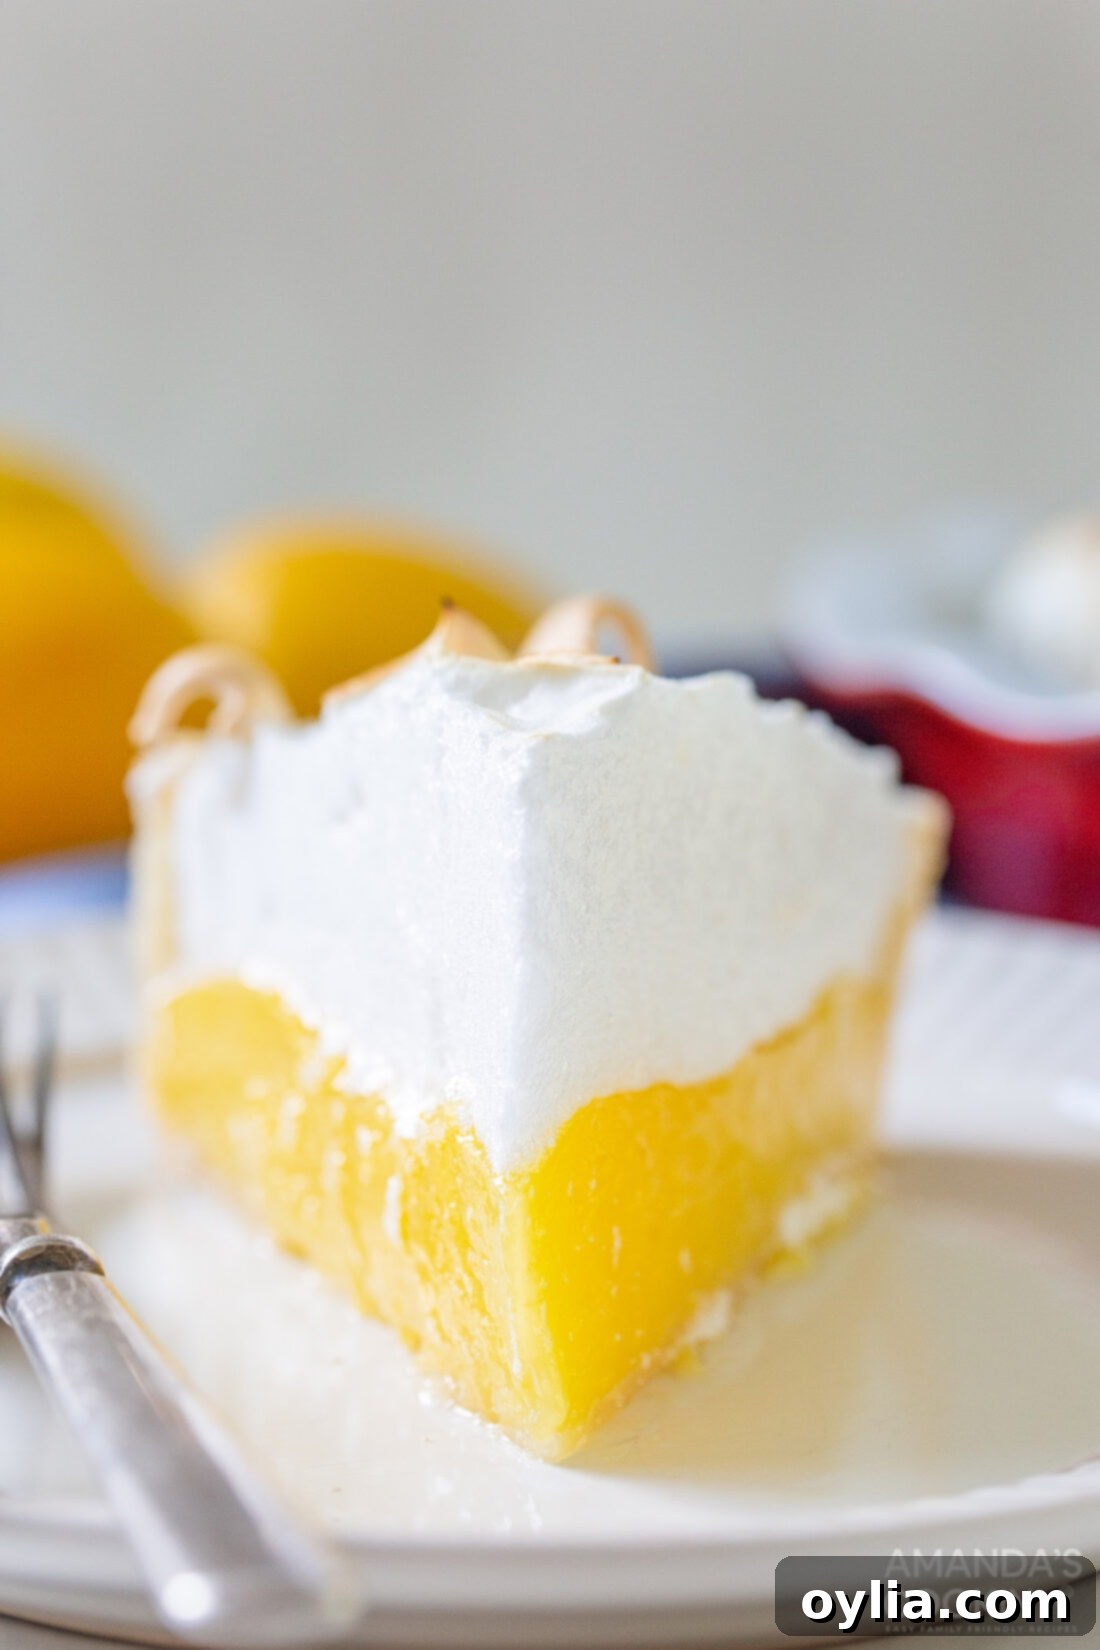
There’s a reason classic lemon meringue pie has remained a beloved dessert for generations. Its harmonious blend of sweet and tangy flavors, paired with its distinct textures, creates an experience that’s truly unforgettable. This particular recipe stands out because it simplifies the process without compromising on taste or quality. We’ve meticulously refined the steps to ensure that even novice bakers can achieve a show-stopping pie with ease. From perfecting the luscious lemon custard to whipping up a stable, sky-high meringue, we provide quick pointers and detailed explanations that guarantee success.
Beyond its traditional charm, this recipe also offers versatility. We’ve adapted the core flavors into lemon meringue pie bars, a fantastic option for larger gatherings. These bars yield 16 servings, making them ideal for potlucks, holiday parties, or any event where you need to feed a crowd without baking multiple pies. It’s the same great taste in a more convenient, shareable format. This recipe ensures a reliably delicious outcome every time, cementing its place as a go-to for many home bakers.
RELATED: If you enjoy unique and refreshing desserts, you might also like this recipe – Root Beer Float Pie
Essential Ingredients for Your Perfect Lemon Meringue Pie
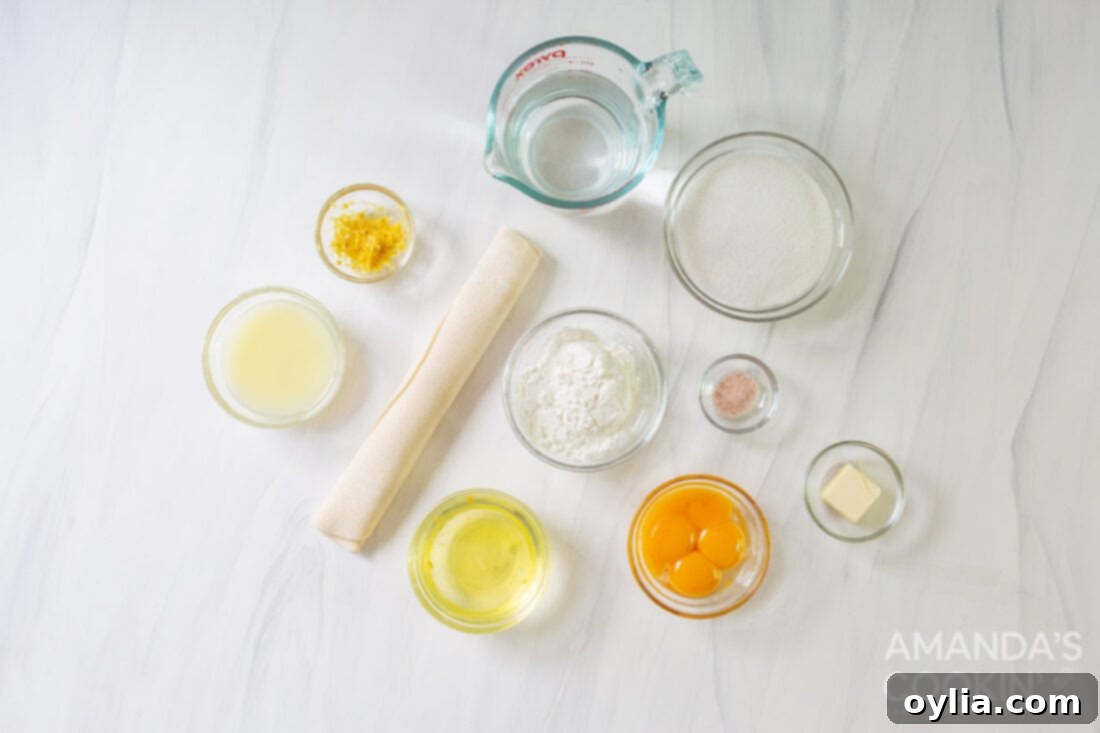
Crafting the perfect lemon meringue pie begins with understanding the role of each ingredient. Below, we break down the key components, offering insights and tips to ensure your pie turns out flawlessly. All precise measurements and detailed instructions can be found in the printable recipe card at the end of this post.
The Meringue: Achieving Fluffy, Stable Peaks
The meringue topping is arguably the most visually stunning element of a lemon meringue pie, and getting it right is crucial for that iconic light and airy texture. While making meringue can seem daunting, a few key practices will ensure your success:
- Egg Whites: Always use fresh eggs, and bring the egg whites to room temperature before beating. Room temperature egg whites whip up with more volume and stability. Be sure your mixing bowl and beaters are impeccably clean and free of any grease, as even a tiny drop of fat can prevent the egg whites from foaming properly. Avoid overbeating; you want stiff, glossy peaks, but if you beat them too long, they can become dry and crumbly.
- Cream of Tartar: This acidic ingredient is your best friend when making meringue. It helps to stabilize the egg whites, allowing them to achieve greater volume and a finer, more stable structure. This significantly reduces the risk of weeping (where liquid seeps from the meringue) or collapsing.
- Sugar: Gradually add granulated sugar once soft peaks have formed. Adding it slowly allows the sugar to fully dissolve into the egg whites, creating a smooth, glossy meringue that holds its shape beautifully.
The Lemon Custard: The Heart of the Pie
The tangy, smooth lemon custard is what truly defines this pie. Its vibrant flavor comes from fresh, high-quality ingredients:
- Fresh Lemon Zest and Juice: Do not underestimate the power of fresh lemons! The zest contains aromatic oils that contribute a deep, authentic lemon flavor that bottled juice simply cannot replicate. Freshly squeezed lemon juice provides the perfect balance of tartness. Make sure to zest your lemons before juicing them.
- Cornstarch: This acts as our thickening agent, ensuring the custard is perfectly smooth and firm enough to hold its shape when sliced, without being overly gelatinous. Whisking continuously is key to prevent lumps.
- Egg Yolks and Butter: These ingredients contribute to the custard’s rich flavor and creamy texture, making it undeniably decadent. The butter adds a silky finish, and the egg yolks give it that beautiful golden hue and classic custard consistency.
The Crust: The Essential Foundation
A good pie starts with a great crust. For convenience without sacrificing quality, we’ve opted for a pre-made pie dough in this recipe. This saves significant time and effort, making the entire baking process more accessible. However, if you prefer a truly homemade touch, feel free to substitute with your favorite homemade pie dough recipe.
- Blind Baking: Regardless of whether you use store-bought or homemade, blind baking the crust is essential. This pre-baking step ensures your crust is fully cooked and crisp, preventing it from becoming soggy once the wet lemon filling is added. Using pie weights (or dried beans/rice) helps to keep the pie shell flat and prevents the sides from shrinking down.
How to Make the Best Homemade Lemon Meringue Pie
These step-by-step photos and detailed instructions are designed to help you visualize each stage of making this delicious pie. For a quick reference or to print the full recipe, complete with precise measurements and comprehensive instructions, you can Jump to Recipe at the bottom of this page.
- Prepare and Bake the Pie Crust: Begin by blind baking your 9-inch pie crust according to the package instructions. This typically involves lining the crust with parchment paper, filling it with pie weights (or dried beans/rice), and baking until lightly golden. Blind baking is crucial to prevent a soggy bottom once the custard is added. Let it cool completely after baking.
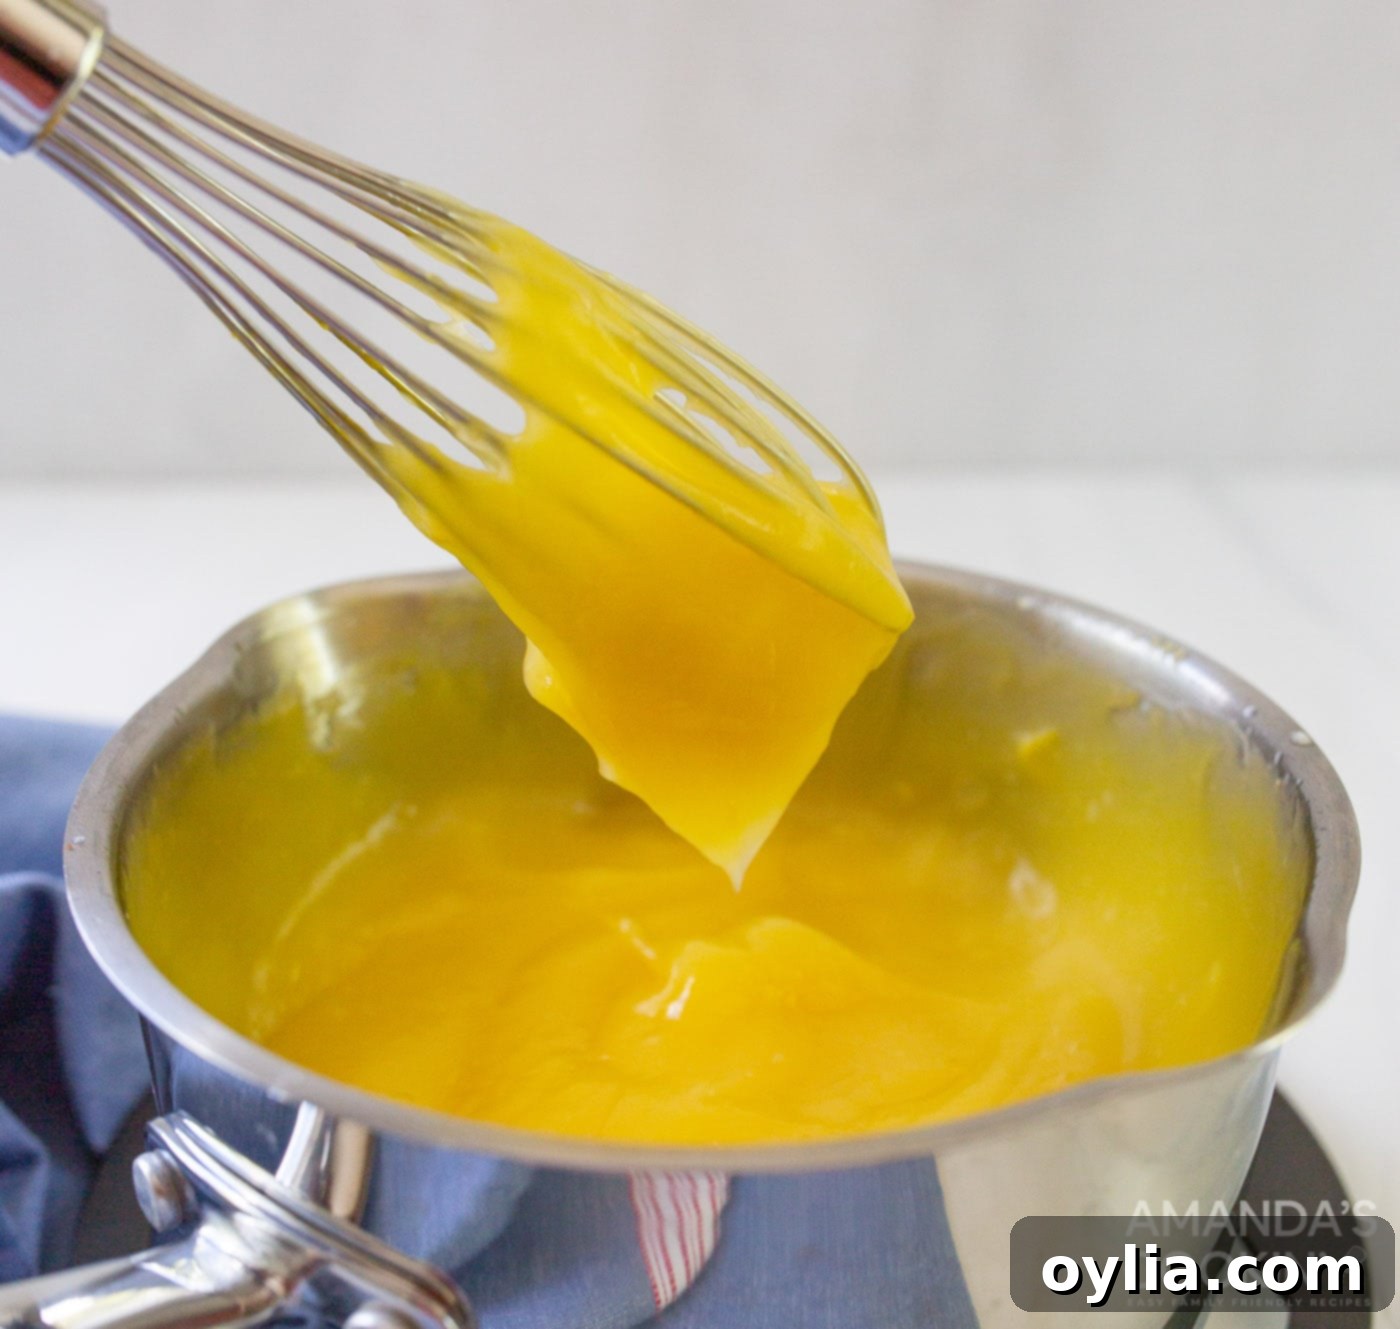
- Start the Lemon Custard Base: In a medium saucepan, combine the granulated sugar, salt, and cornstarch. Whisk these dry ingredients together thoroughly to ensure there are no lumps of cornstarch. Gradually and slowly add the hot water, whisking constantly to create a smooth mixture. Continue to cook this mixture over medium-low heat, whisking continually, until it thickens significantly and becomes smooth and translucent. This should take between 5 and 10 minutes. Remove the saucepan from the heat.
- Temper the Egg Yolks: In a separate bowl, lightly beat the four egg yolks. To prevent the egg yolks from scrambling when added to the hot custard base, you need to temper them. Slowly whisk about 1/4 cup of the hot cornstarch mixture into the beaten egg yolks. Continue adding small amounts of the hot mixture to the egg yolks, whisking constantly, until about half of the cornstarch mixture has been incorporated into the yolks. This gradually raises the temperature of the egg yolks.
EXPERT TIP: For the best results in both the custard and the meringue, ensure your eggs are at room temperature before you begin. Separate the yolks and whites carefully, making sure no yolk gets into the whites, which could prevent the meringue from whipping properly.
Now, slowly pour the tempered egg yolk mixture back into the remaining cornstarch mixture in the saucepan. Add the butter to the saucepan. Return to very low heat (or off heat if still warm enough) and whisk continuously until the butter has completely melted and everything is smoothly combined. - Incorporate Lemon Flavors: Remove the saucepan from the heat if it’s on. Add the fresh lemon zest and freshly squeezed lemon juice to the custard mixture. Whisk until these vibrant flavors are fully combined and evenly distributed throughout the custard. The mixture should be thick and glossy.

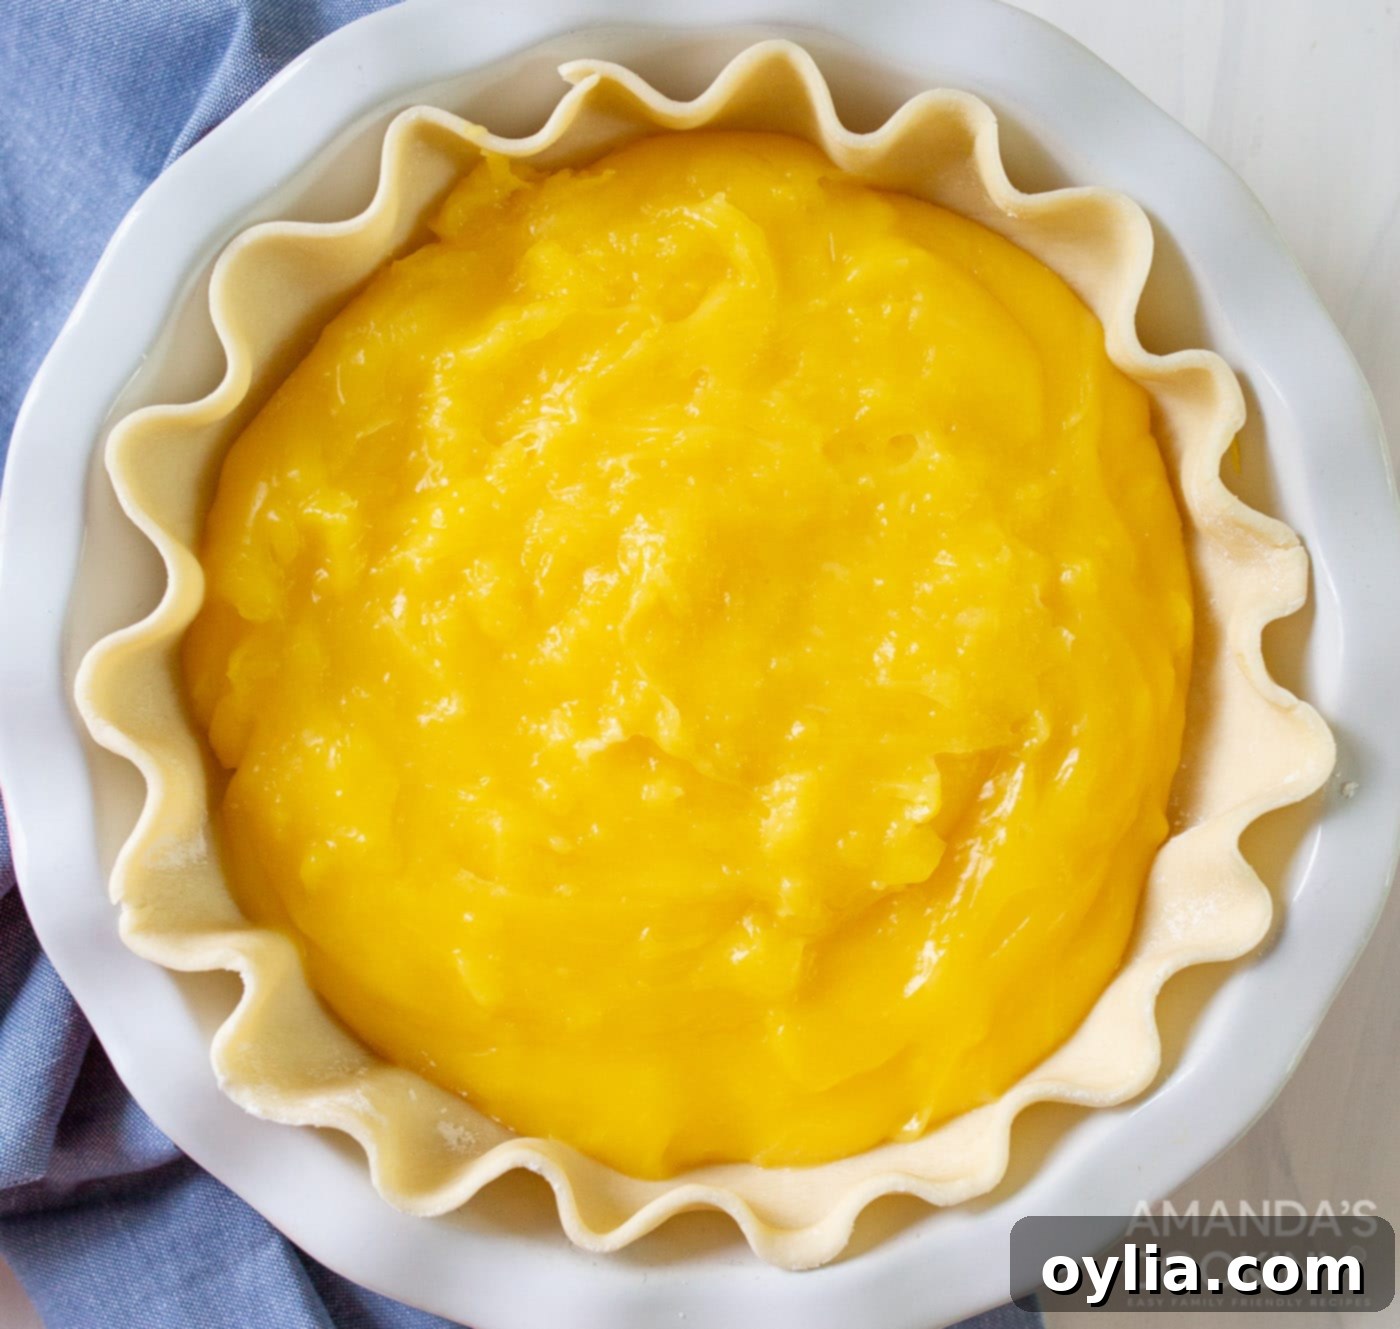
- Chill the Custard: Carefully pour the warm lemon custard into your cooled, baked pie crust. Use a spatula to spread it evenly. Cover the pie surface directly with plastic wrap to prevent a skin from forming. Place the pie in the refrigerator and chill for at least 2 hours, or until the custard is completely set and firm. This step is crucial for allowing the custard to firm up before the meringue is added.

- Whip the Egg Whites to Frothy: While the pie chills, prepare your meringue. In a very clean, dry mixing bowl (preferably glass or metal, as plastic can retain grease), beat the four room-temperature egg whites using a handheld mixer or a stand mixer set to high speed. Beat until the egg whites become frothy and soft bubbles appear.
- Add Cream of Tartar and Form Soft Peaks: Sprinkle in the 1/2 teaspoon of cream of tartar. Continue beating on medium-high speed until soft peaks form. Soft peaks will hold their shape briefly when the beaters are lifted but will gently droop over.
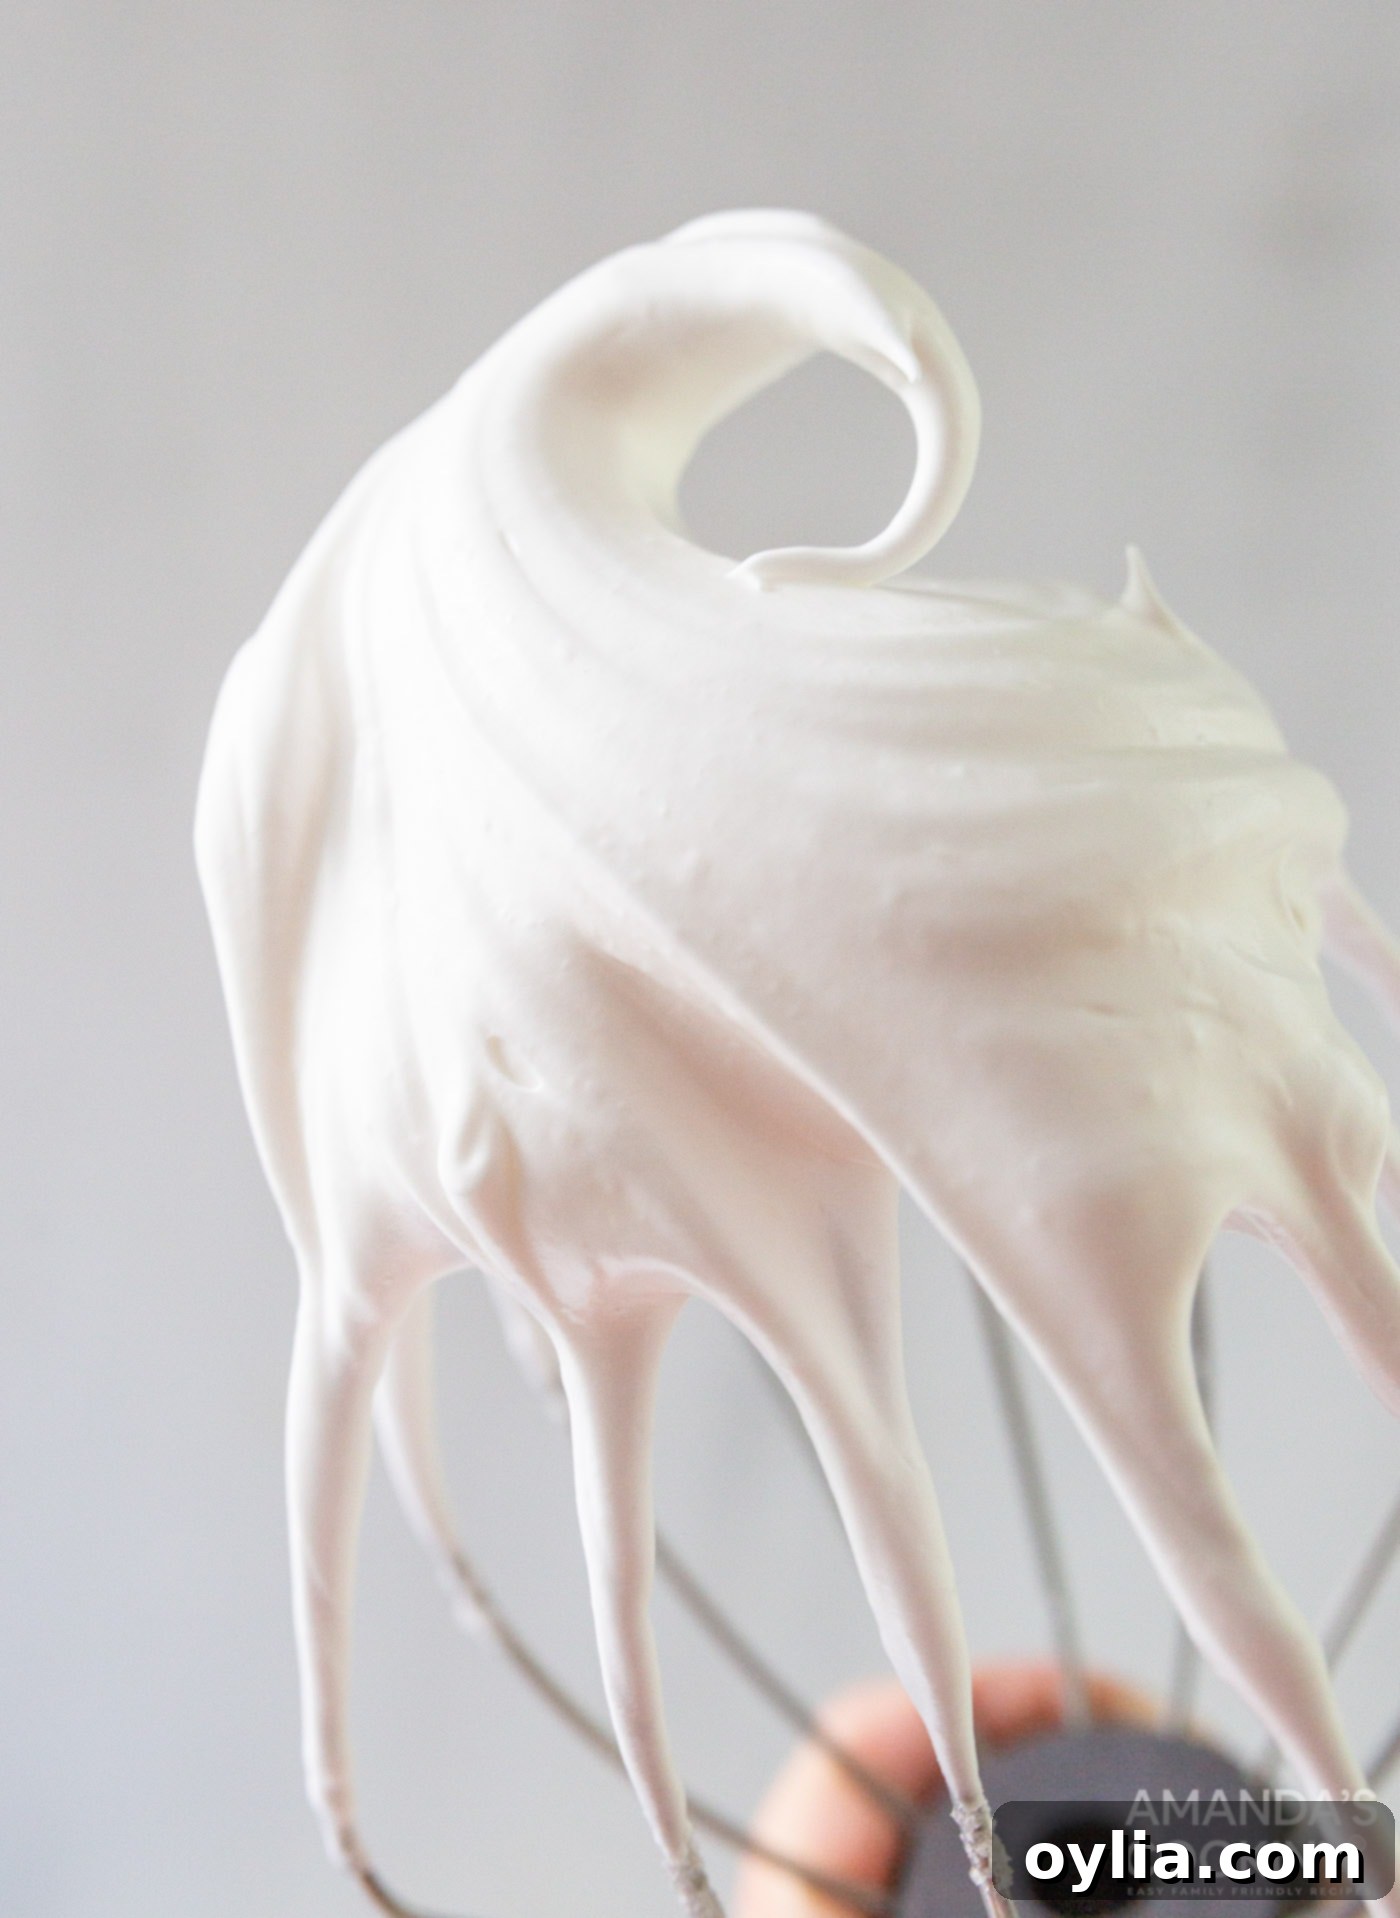
- Gradually Add Sugar and Achieve Stiff Peaks: With the mixer still running on low-medium speed, begin sprinkling in the 1 tablespoon of granulated sugar, 1-2 tablespoons at a time. Ensure that the sugar is fully incorporated after each addition before adding more. This gradual process helps the sugar dissolve properly and creates a stable meringue. Continue beating on medium-high speed until stiff, glossy peaks form. When you lift the beaters, the meringue should hold its shape firmly and shine.
EXPERT TIP: To check if the meringue is fully combined and the sugar has dissolved, rub a small amount between your thumb and forefinger. It should feel smooth, not grainy. The resulting meringue will be stiff, bright white, and beautifully glossy.

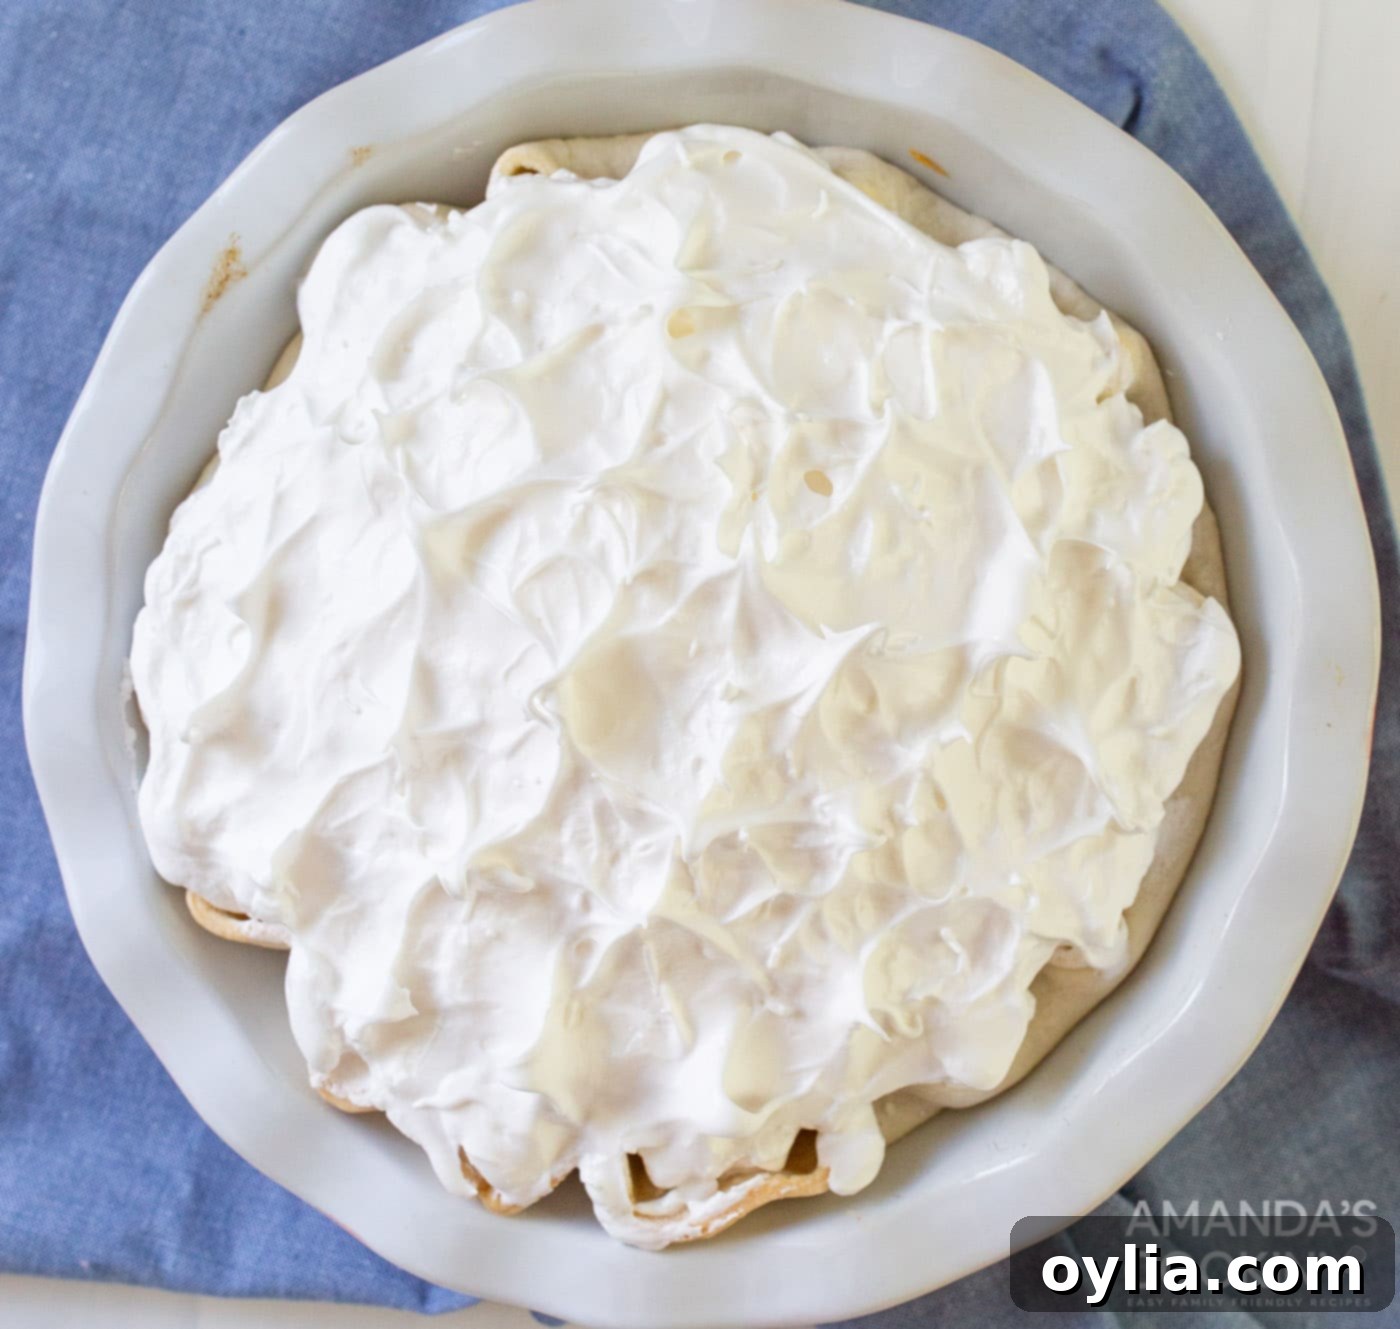
- Top the Pie with Meringue: Once the lemon custard is fully chilled and set, remove it from the refrigerator. Dollop the prepared meringue evenly over the entire surface of the pie, making sure it touches the crust all around to prevent shrinking. Using the back of a spoon or a spatula, gently “pat” and swirl the meringue to create attractive peaks and valleys. These peaks will brown beautifully.

- Brown the Meringue: To achieve that classic golden-brown meringue topping, you have two options:
- Kitchen Torch: Use a handheld kitchen torch to gently brown the peaks of the meringue until they reach your desired golden hue. This offers precise control.
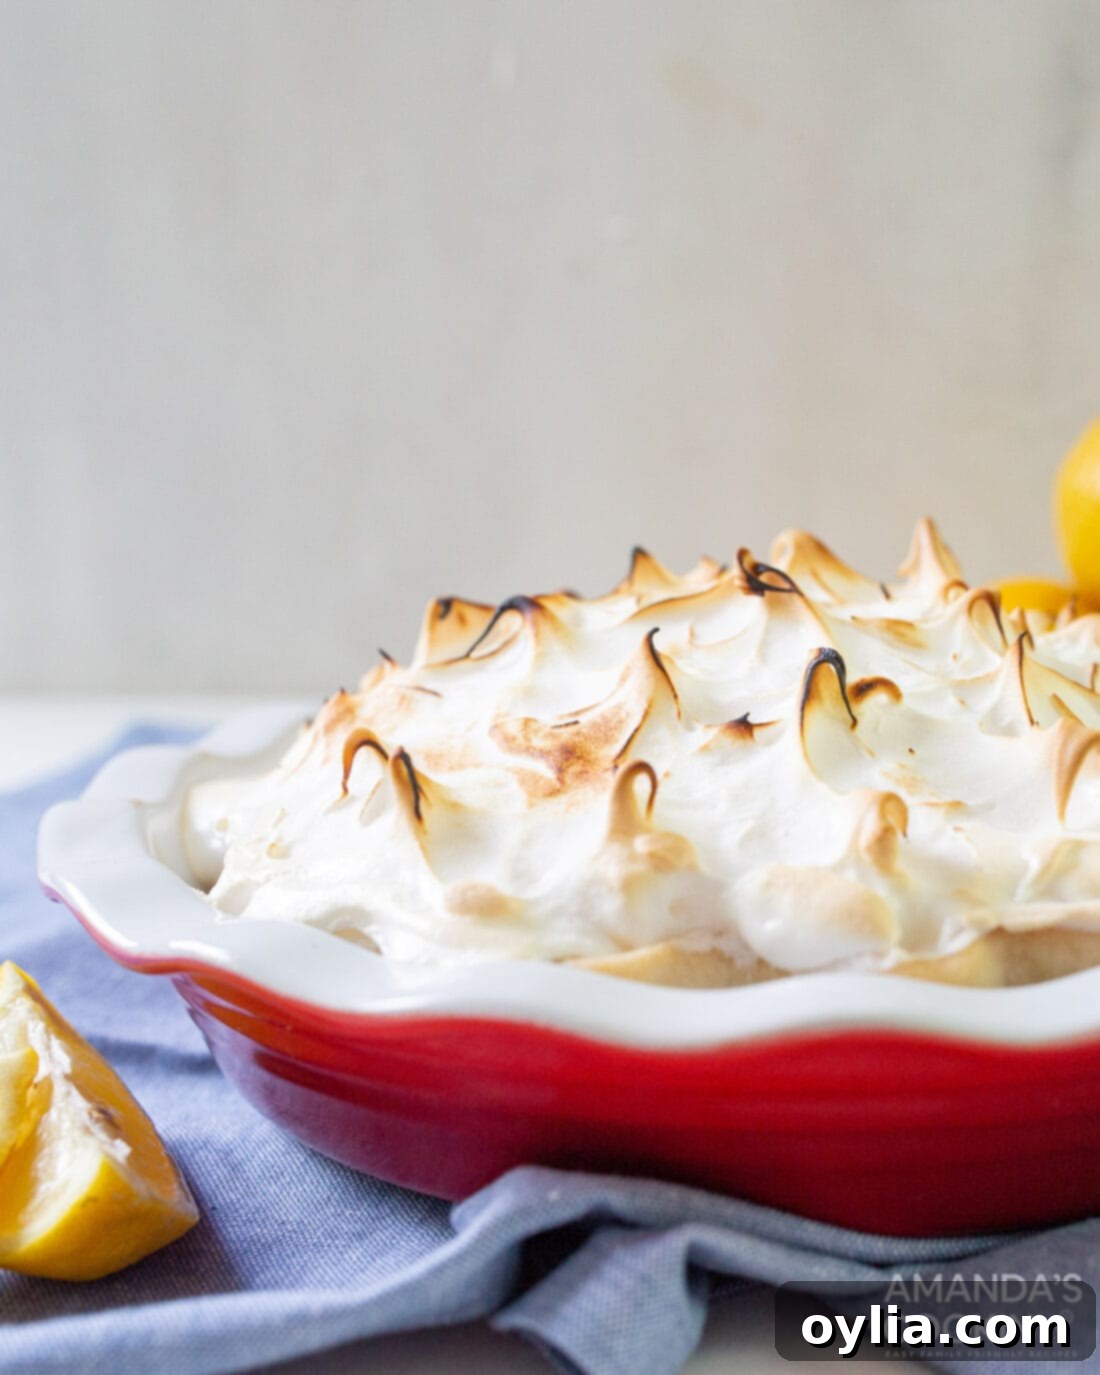
- Oven Broiler: Alternatively, place the pie in the oven under the broiler. Watch it *very* carefully, as meringue browns quickly and can burn in seconds. Keep the oven door slightly ajar and rotate the pie for even browning.
- Serve: Allow the pie to cool slightly if torched, then slice and serve. For cleaner slices, use a sharp knife dipped in hot water and wiped clean between each cut.
Frequently Asked Questions About Lemon Meringue Pie
Yes, you can certainly make this pie ahead of time, which is perfect for entertaining or holiday meal planning. If you plan to serve it within 24 hours, you can assemble the entire pie, including the meringue, and store it in the refrigerator. For longer storage, it’s best to prepare the crust and custard in advance, then add the freshly whipped and browned meringue just before serving.
Lemon meringue pie is best enjoyed fresh, but it will keep well in the refrigerator for 2-3 days. Make sure it’s loosely covered with plastic wrap or a pie dome to prevent it from absorbing other odors and to protect the meringue. Keep in mind that the meringue may start to “weep” (release moisture) after the first day, which is a natural occurrence, but it will still be delicious.
We generally don’t recommend freezing a completed lemon meringue pie with the meringue on top. The delicate egg whites in the meringue do not thaw well; they tend to become watery and lose their fluffy texture upon defrosting. However, you can save time by freezing the baked pie crust and the cooled lemon filling separately. When you’re ready to serve, let the crust and filling thaw in the refrigerator, then whip up a fresh batch of meringue and add it to the top of the lemon layer before browning and serving. This allows you to enjoy a “freshly made” pie experience with some convenient shortcuts.
Meringue weeping, where liquid pools between the meringue and the custard, is a common issue. It often happens when the sugar isn’t fully dissolved in the egg whites, if the meringue is undercooked, or if the pie is refrigerated for too long. Ensure you add sugar gradually and beat until no graininess remains. Also, make sure the meringue is baked or torched enough to set the outside without overcooking the inside.
A soggy crust is typically prevented by proper blind baking. Always pre-bake your pie crust until it’s golden brown and crisp before adding the lemon custard. Using pie weights or dried beans helps keep the crust from shrinking or puffing up. Additionally, make sure the crust is completely cooled before pouring in the filling.
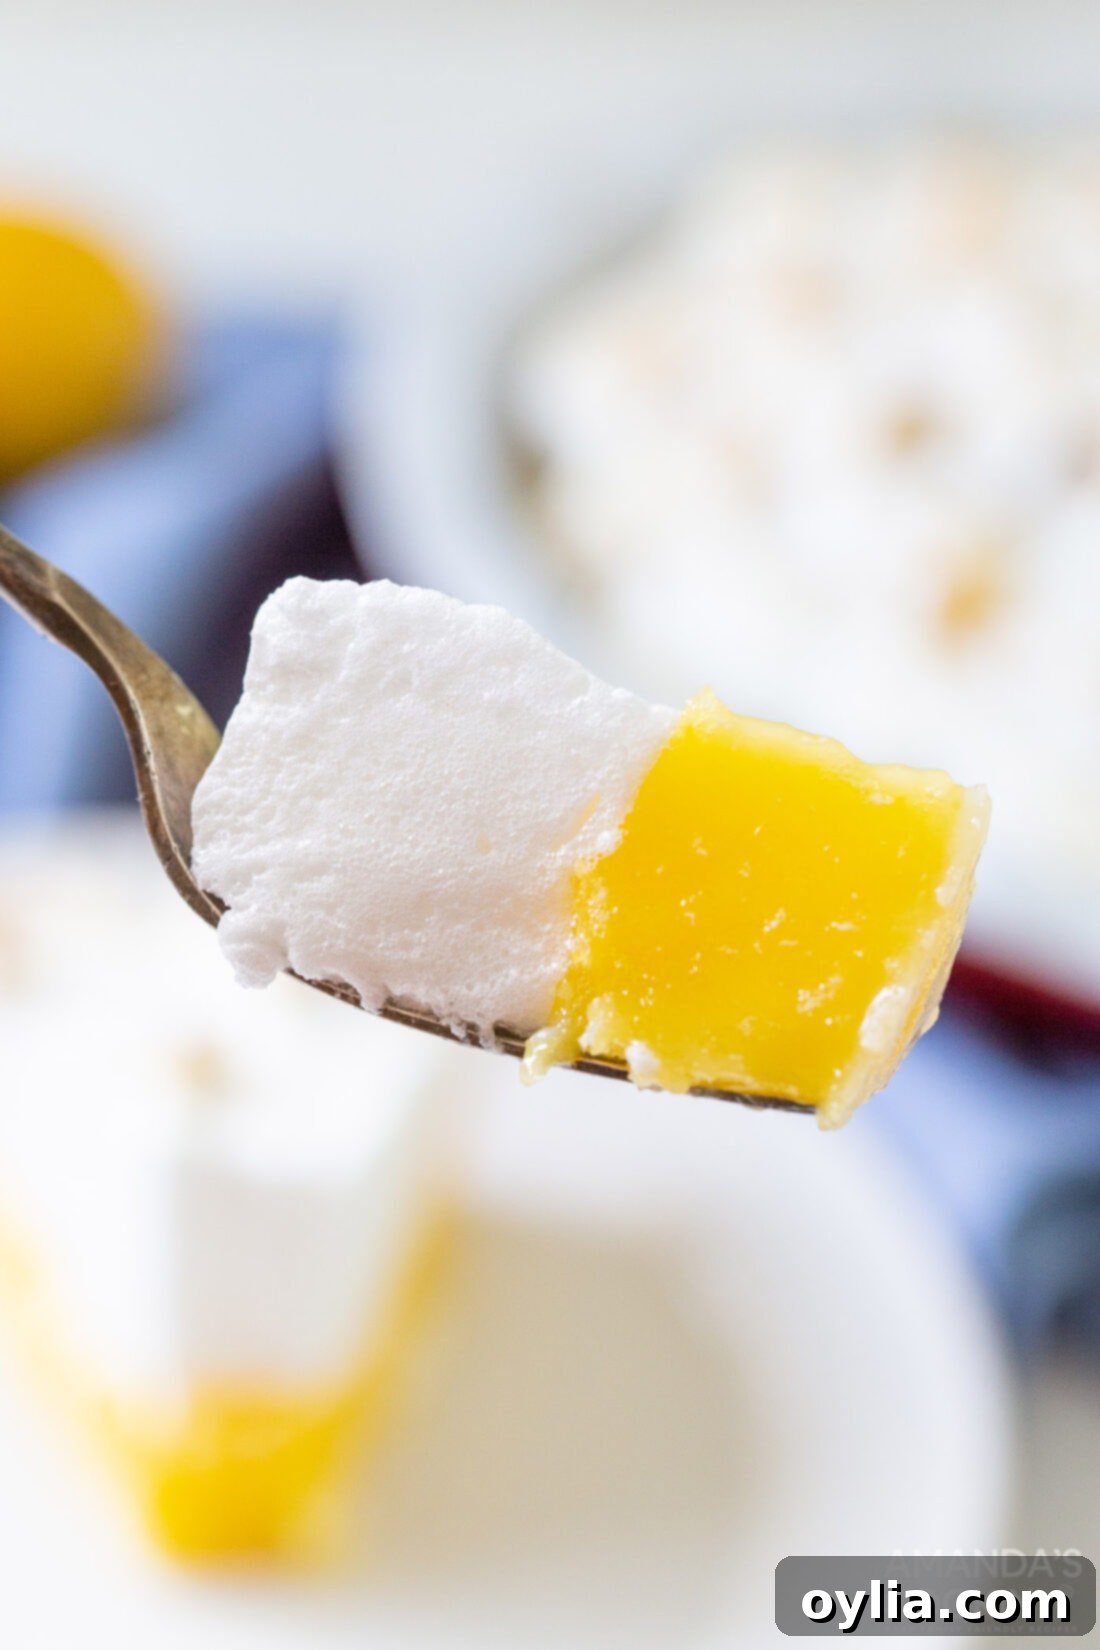
Lemon meringue pie truly shines as a Thanksgiving favorite, adding a bright, zesty contrast to heavier holiday meals. However, its delicious appeal extends far beyond the autumn months. It’s a delightful treat year-round, especially in the warm embrace of summer when lemon-flavored desserts come into their own, offering a refreshing and light finish to any meal. This pie is a testament to the timeless appeal of simple, fresh ingredients transformed into something truly extraordinary.
Explore More Irresistible Dessert Recipes
If you’re a fan of classic pies and delightful desserts, be sure to check out these other fantastic recipes from our collection:
- Classic Blueberry Pie
- Zesty Key Lime Pie
- Creamy Banana Cream Pie
- Perfect Holiday Pumpkin Pie
- Hearty Homemade Apple Pie
- Easy No-Bake Peanut Butter Pie
- Luxurious Homemade French Silk Pie
- Quick Instant Pot Lemon Curd
- Delicious Lemon Baked Donuts
I love to bake and cook, and my passion is sharing my kitchen experiences and delicious recipes with all of you! Remembering to come back each day for new culinary inspiration can be tough, which is why I offer a convenient newsletter every time a new recipe posts. Simply subscribe and start receiving your free daily recipes directly in your inbox!

Lemon Meringue Pie
Lemon meringue pie is a Thanksgiving favorite, but it’s delicious year-round as well, especially in the summer months when lemon-flavored desserts shine.
IMPORTANT – There are often Frequently Asked Questions within the blog post that you may find helpful. Simply scroll back up to read them!
Print It
Pin It
Rate It
Save It
Saved!
Prevent your screen from going dark
Course: Dessert
Cuisine: American
Servings: 8 slices
Total Time: 2 hrs 35 mins
Calories: 366
Author: Amanda Davis
Ingredients
- 1 pie crust, 9 inch
- 1 ½ cup granulated sugar
- ¼ teaspoon salt
- 7 Tablespoons cornstarch
- 1 ½ cups hot water
- 4 egg yolks, beaten
- 4 Tablespoons butter
- 1 teaspoon lemon zest
- ½ cup fresh lemon juice (about 3-4 squeezed lemons)
Meringue
- 4 egg whites
- 1 Tablespoons granulated sugar
- ½ teaspoon cream of tartar
Things You’ll Need
- Hand mixer
- Pie plate
Before You Begin
- Lemon meringue pie will keep in the refrigerator for 2-3 days.
Instructions
- Bake the crust according to the package instructions with weights to keep the pie shell flat.
- Prepare the custard by adding the sugar, salt, and cornstarch to a saucepan over medium-low heat. Slowly add the water and whisk. Continually whisk until thick and smooth, between 5 and 10 minutes. Remove from heat.
- Add a 1/4 cup of the cornstarch mixture to the beaten egg yolks and whisk. Continue to do so until half has been incorporated. Then add the egg yolk mixture to the cornstarch mixture along with the butter. Whisk until melted.
- Add the lemon zest and lemon juice and whisk until combined.
- Pour into the baked pie crust and cover with plastic wrap to chill for 2 hours.
- With a handheld mixer or stand mixer set to high speed, beat the egg whites until frothy.
- Add cream of tartar and beat on medium-high until soft peaks form.
- Sprinkle in sugar 1-2 tablespoons at a time, making sure to beat at low-medium speed in-between each addition of sugar to fully incorporate. When the meringue is fully combined with the sugar it should not feel grainy and will form nice stiff glossy peaks.
- Dollop on top of the set pie. Use the back of the spoon or spatula to “pat” the top and form peaks.
- Use a handheld kitchen torch or stick it in the oven under the broiler to brown the top.
- Slice and serve.
Nutrition Information
Serving: 1 slice |
Calories: 366 cal |
Carbohydrates: 57 g |
Protein: 5 g |
Fat: 14 g |
Saturated Fat: 6 g |
Trans Fat: 1 g |
Cholesterol: 113 mg |
Sodium: 242 mg |
Potassium: 105 mg |
Fiber: 1 g |
Sugar: 39 g |
Vitamin A: 306 IU |
Vitamin C: 6 mg |
Calcium: 22 mg |
Iron: 1 mg
Tried this Recipe? Pin it for Later!
Follow on Pinterest @AmandasCookin or tag #AmandasCookin!
The recipes on this blog are tested with a conventional gas oven and gas stovetop. It’s important to note that some ovens, especially as they age, can cook and bake inconsistently. Using an inexpensive oven thermometer can assure you that your oven is truly heating to the proper temperature. If you use a toaster oven or countertop oven, please keep in mind that they may not distribute heat the same as a conventional full sized oven and you may need to adjust your cooking/baking times. In the case of recipes made with a pressure cooker, air fryer, slow cooker, or other appliance, a link to the appliances we use is listed within each respective recipe. For baking recipes where measurements are given by weight, please note that results may not be the same if cups are used instead, and we can’t guarantee success with that method.
