Irresistible No-Bake Banana Truffles: Easy & Delicious Sweet Treats for Any Occasion
Prepare to be enchanted by these delightful bite-sized banana truffles, a sweet sensation that delivers an exceptional double dose of banana flavor. What’s the secret? We combine both fresh, ripe bananas and crunchy banana chips, ensuring every morsel is bursting with authentic banana goodness without the need for any artificial extracts. These creamy, dreamy truffles are not only incredibly delicious but also remarkably easy to make, perfect for both seasoned bakers and novice dessert enthusiasts alike.
Why This Easy No-Bake Banana Truffle Recipe Is a Must-Try
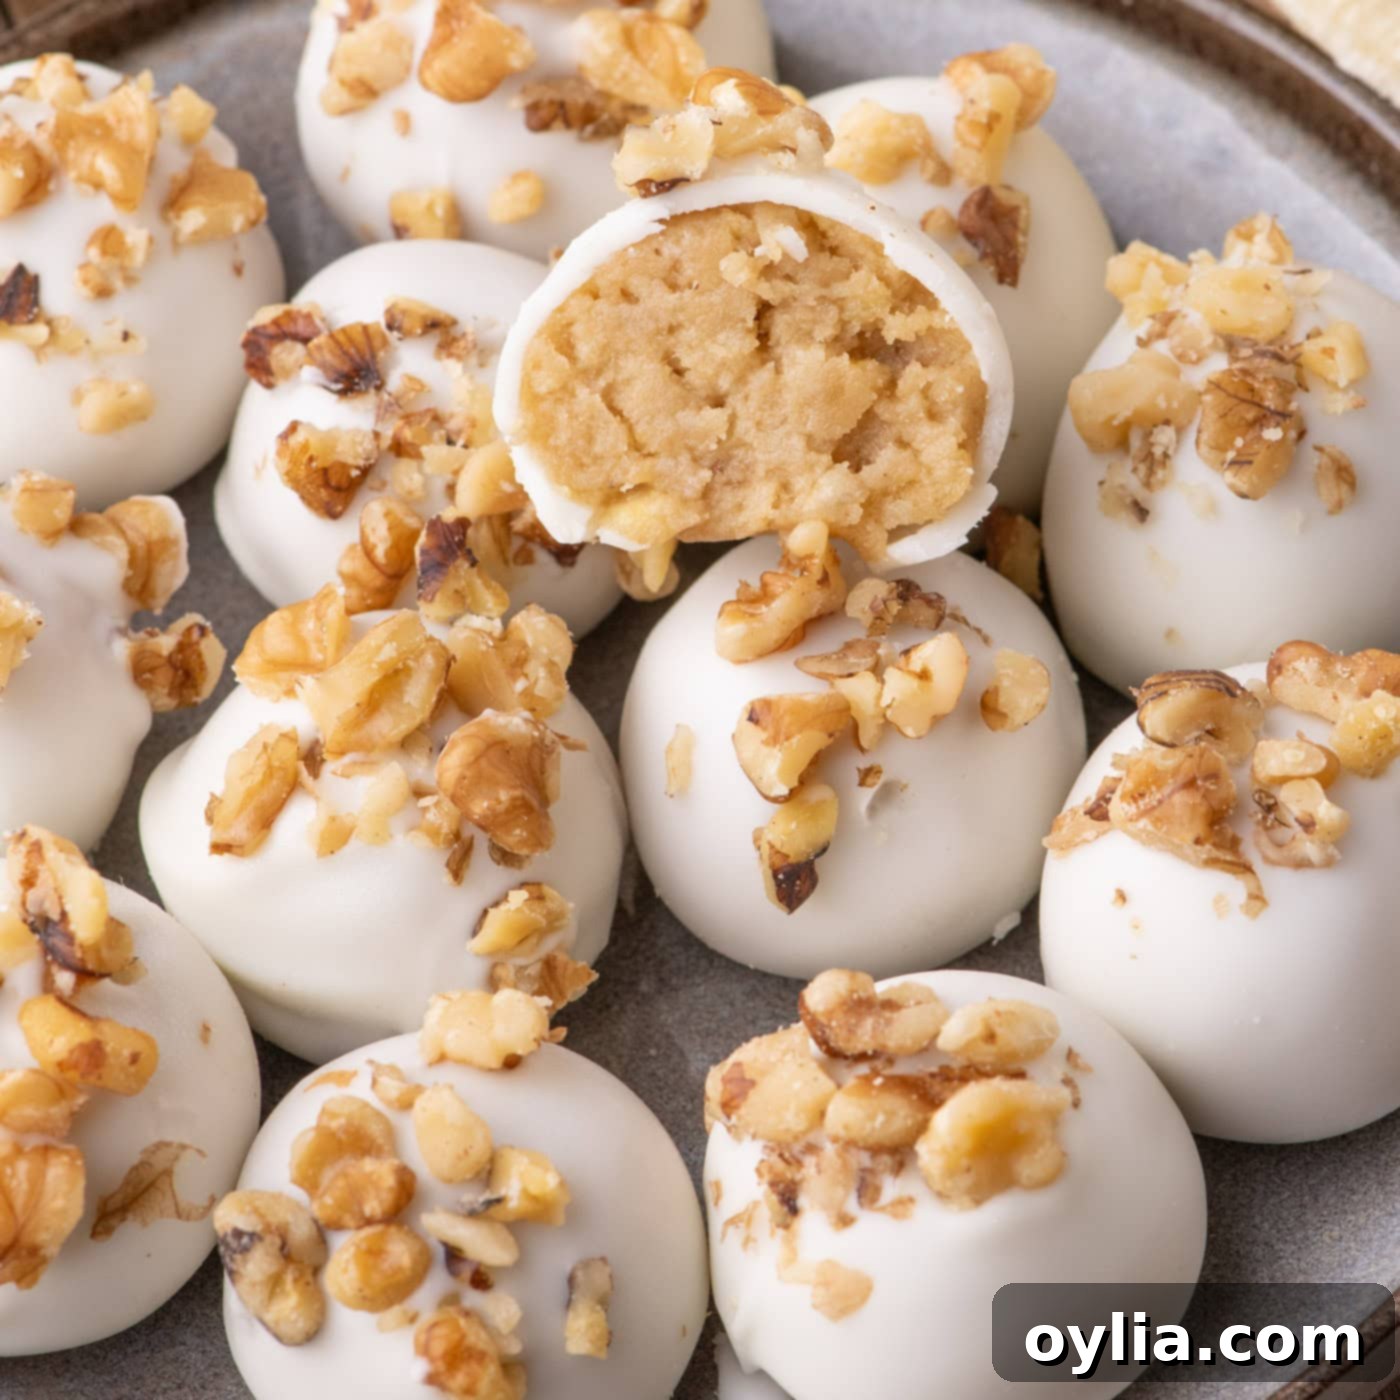
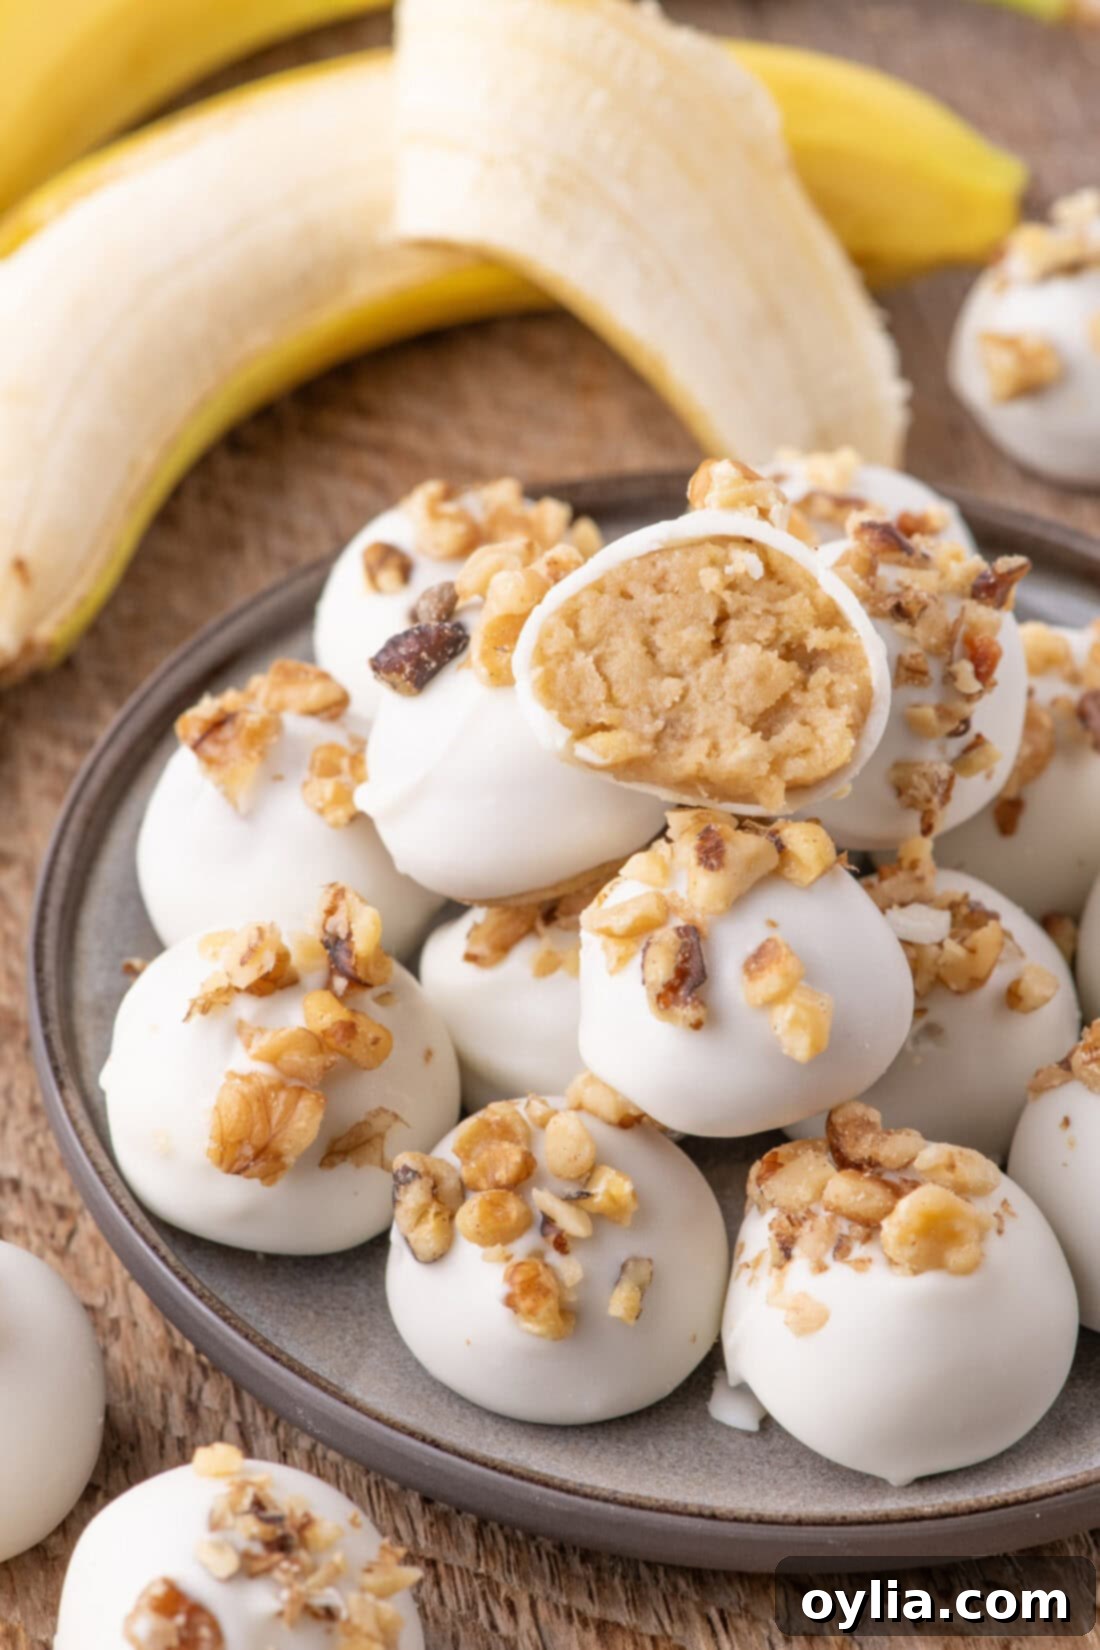
This banana truffle recipe stands out for its simplicity, incredible flavor, and irresistible texture. At the heart of each truffle lies a soft, melt-in-your-mouth filling, a perfect blend of creamy richness and pronounced banana flavor, all cocooned in a crisp white chocolate shell and elegantly topped with chopped walnuts. You’ll be amazed that such a gourmet-looking treat requires only 7 common ingredients and, best of all, absolutely no baking!
These no-bake wonders are quite similar to the beloved golden Oreo truffles, but with a unique and exciting twist. The innovative addition of both fresh bananas and crispy banana chips elevates the flavor profile, creating a truly authentic banana experience without resorting to artificial extracts or flavorings. This dual banana approach provides a complex, layered sweetness and texture that sets these truffles apart. While white chocolate offers a classic, sweet coating, you have the freedom to customize. Feel free to experiment with dark, milk, or semi-sweet chocolate for the coating, or even create a marbling effect with a combination of two or three. The possibilities are endless, allowing you to tailor these banana truffles to your exact preferences, making them a versatile delight for any palate.
Essential Ingredients for Your Homemade Banana Truffles
Crafting these delectable no-bake banana truffles begins with gathering a handful of simple yet high-quality ingredients. Each component plays a crucial role in achieving the perfect balance of flavor and texture. For precise measurements, detailed instructions, and a convenient printable version of this recipe, be sure to scroll to the end of this post.
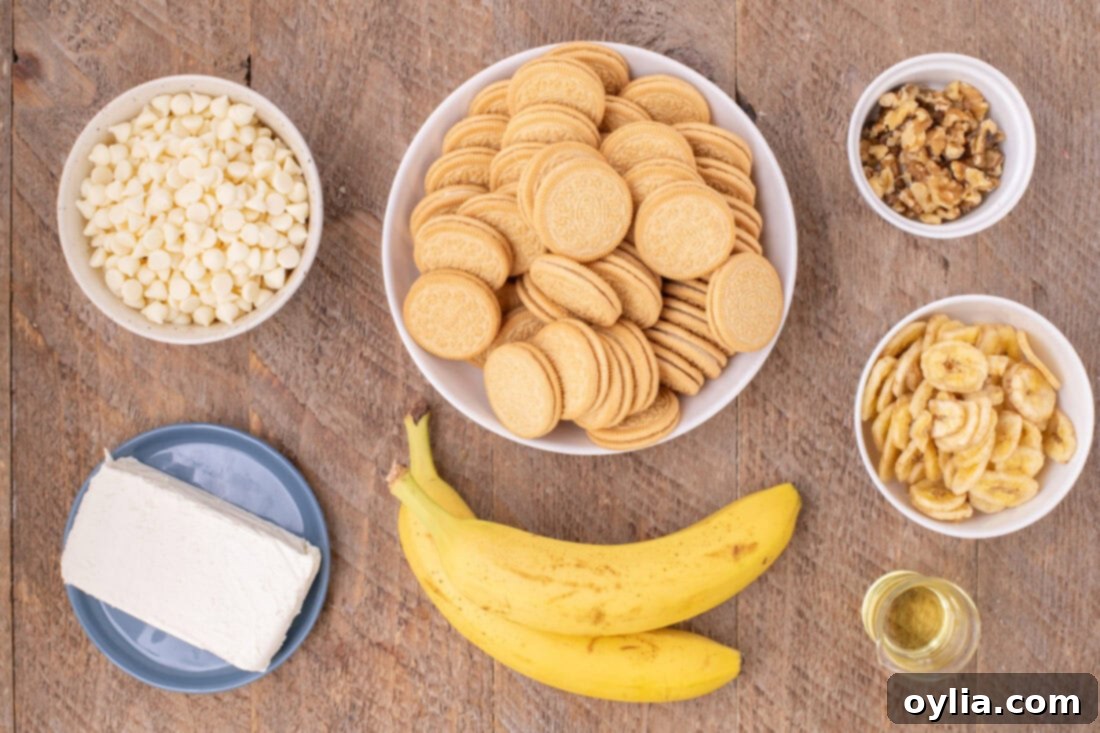
Ingredient Information & Expert Substitution Suggestions for Perfect Truffles
Understanding each ingredient and its role is key to mastering these delicious no-bake banana truffles. Here’s a deeper dive into the components and how you can optimize them or make smart substitutions:
BANANA – For this recipe, you’ll need approximately 2 medium-sized ripe bananas to yield about 1 cup of mashed fruit. The ripeness of your bananas is paramount; look for bananas with several brown spots on their skin. This indicates they are sweet, soft, and easy to mash, which is essential for incorporating smoothly into the truffle mixture. Avoid underripe, firm bananas as they lack the necessary sweetness and creamy texture. While some brown spots are ideal, overly ripe, completely brown, or mushy bananas are best reserved for baking projects like a classic banana bread, as their intense flavor might overwhelm the delicate truffle balance.
OREOS – Golden Oreos are specified for their delightful vanilla flavor and golden hue, which complements the banana beautifully. There’s no need to meticulously remove the cream filling from the Oreo sandwich cookies! In fact, the filling is a valuable asset, contributing to both the flavor and helping to bind and add structure to the truffle mixture. If golden Oreos aren’t available or you prefer a different flavor profile, classic chocolate Oreos can be used for a chocolate-banana combination, or even vanilla wafers or Graham crackers for a lighter base.
CHOCOLATE – The smooth, creamy coating is what truly elevates these banana truffles. While white chocolate offers a sweet, contrasting outer layer that allows the banana flavor to shine, you have plenty of creative freedom here. Feel free to switch it up with dark, milk, or semi-sweet chocolate for the coating. Each type of chocolate will impart a distinct flavor profile: dark chocolate offers a rich, slightly bitter contrast; milk chocolate provides a familiar, sweet creaminess; and semi-sweet chocolate strikes a lovely balance. For best results, use high-quality chocolate chips or melting wafers, as they melt more smoothly and harden beautifully. The recipe calls for vegetable oil, which helps thin the melted chocolate slightly, making it easier to dip and ensuring a smooth, even coating. Coconut oil is another excellent alternative for achieving this silky consistency.
CREAM CHEESE – The cream cheese is the binding agent that creates the truffle’s signature luscious, soft interior. It is absolutely crucial to use full-fat, brick-style cream cheese in this recipe. Spreadable cream cheese from a tub contains more water and stabilizers, which will significantly alter the texture of your truffles, making them too soft or sticky. To ensure a perfectly smooth and clump-free filling, your cream cheese must be softened to room temperature before you begin. This means letting it rest on the counter for at least an hour, or even cutting it into small cubes to speed up the process. Properly softened cream cheese blends seamlessly with the other ingredients, preventing any unwanted lumps or pockets of unmixed cheese in your delicious truffle centers.
Step-by-Step Guide: How to Make Easy No-Bake Banana Truffles
These step-by-step photos and detailed instructions are here to help you visualize every stage of making this delightful recipe. For a convenient printable version, complete with all measurements and concise instructions, simply Jump to Recipe at the bottom of this post.
- Begin by preparing your workspace. Line a baking sheet with parchment paper. This will prevent your truffles from sticking and make cleanup a breeze. Set it aside for later use.
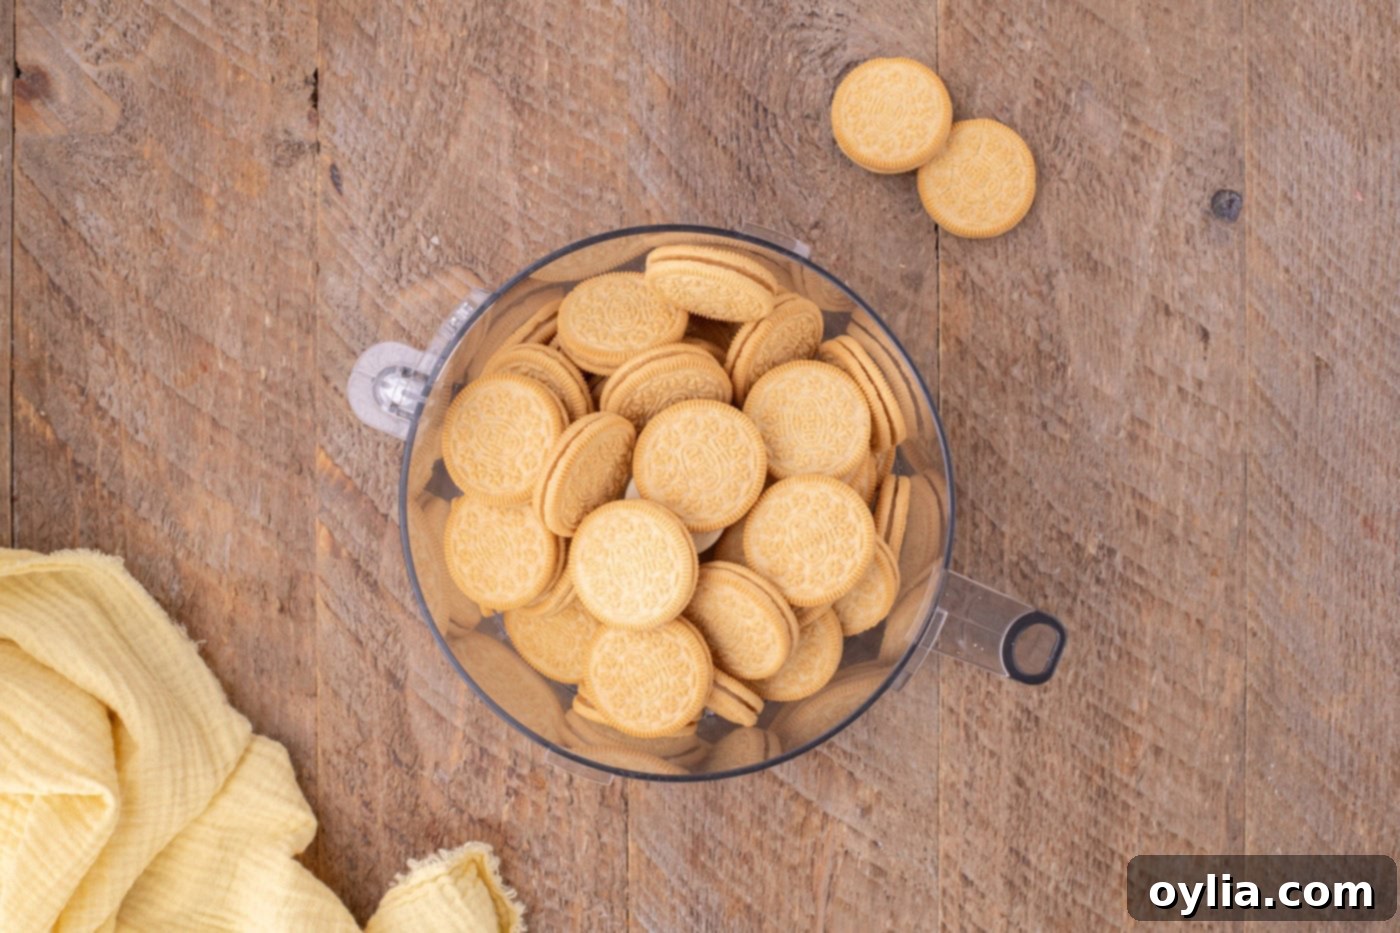
- Take your entire package of Golden Oreo cookies (no need to remove the cream filling!) and place them into the bowl of a food processor. Pulse the cookies repeatedly until they are finely crushed and no large chunks remain. The consistency should resemble coarse sand.

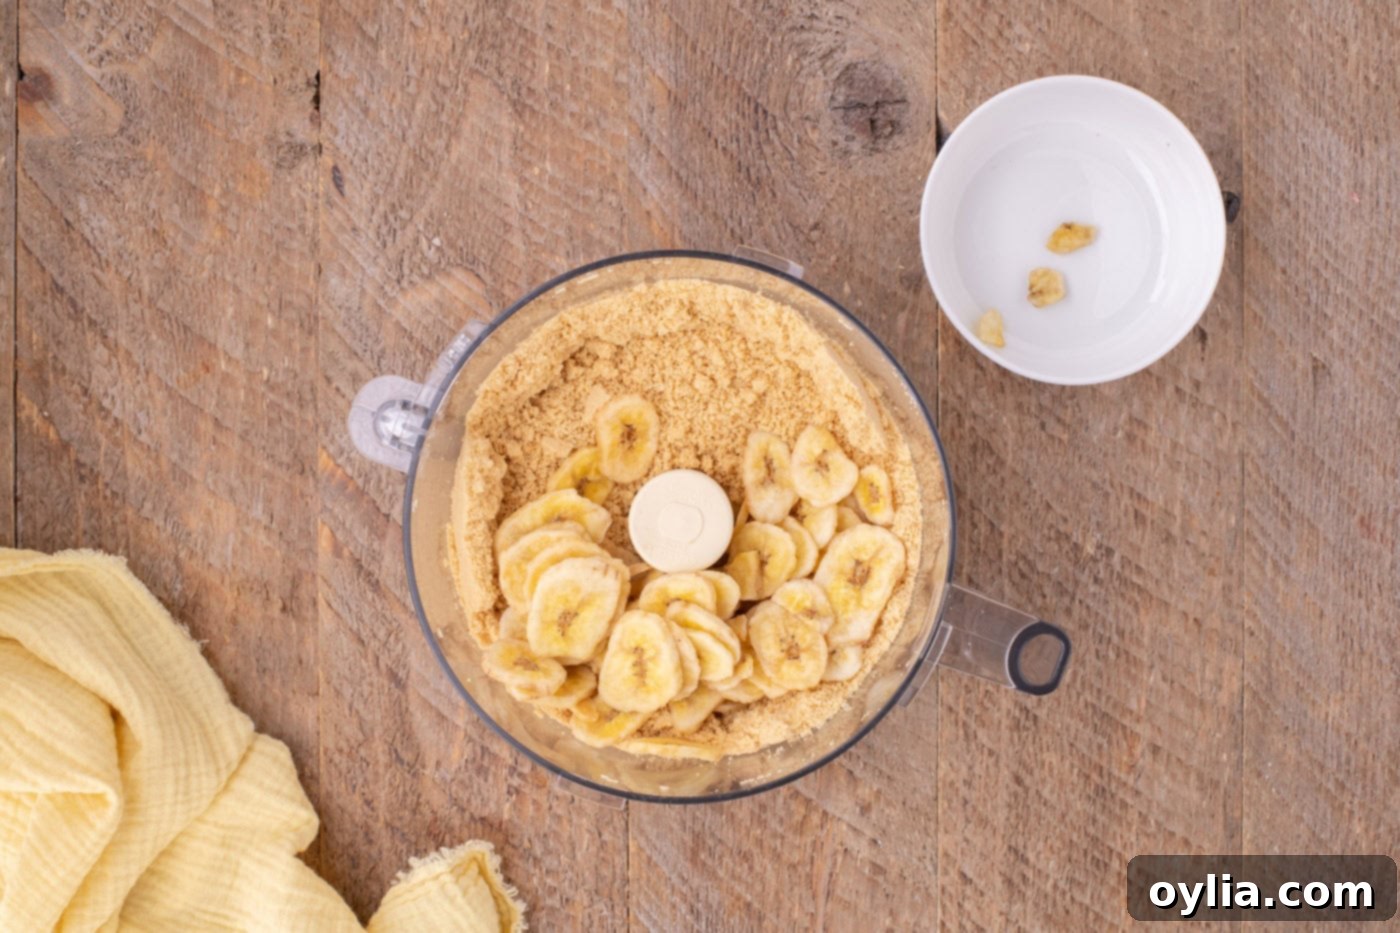
- Next, add the dried banana chips to the crushed Oreos in the food processor. Continue pulsing until the banana chips are also finely ground and thoroughly combined with the cookie crumbs. The final mixture should have a uniform, sandy texture, ensuring a smooth truffle consistency.

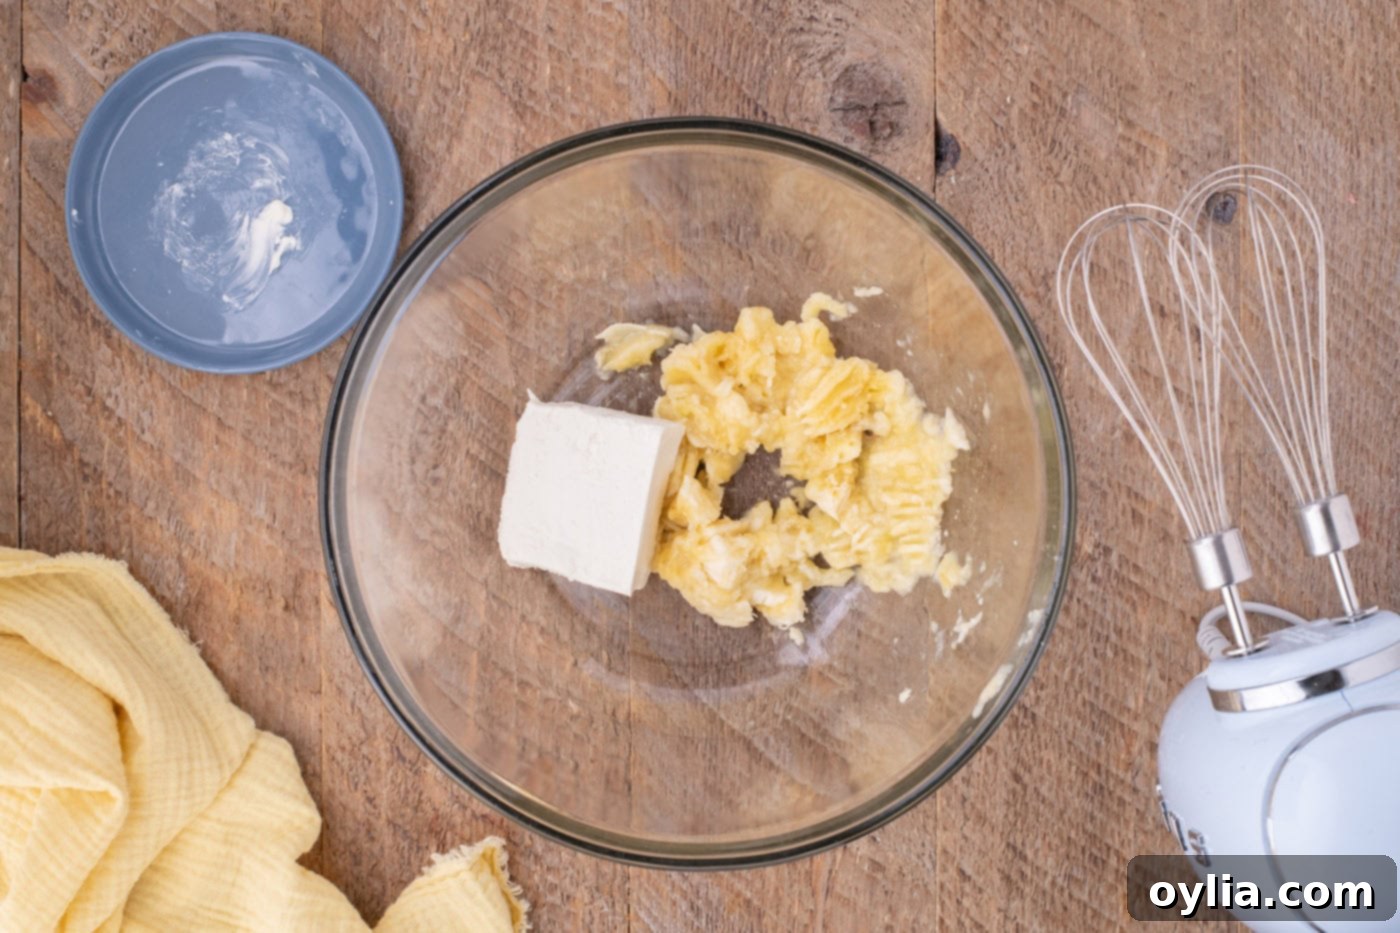
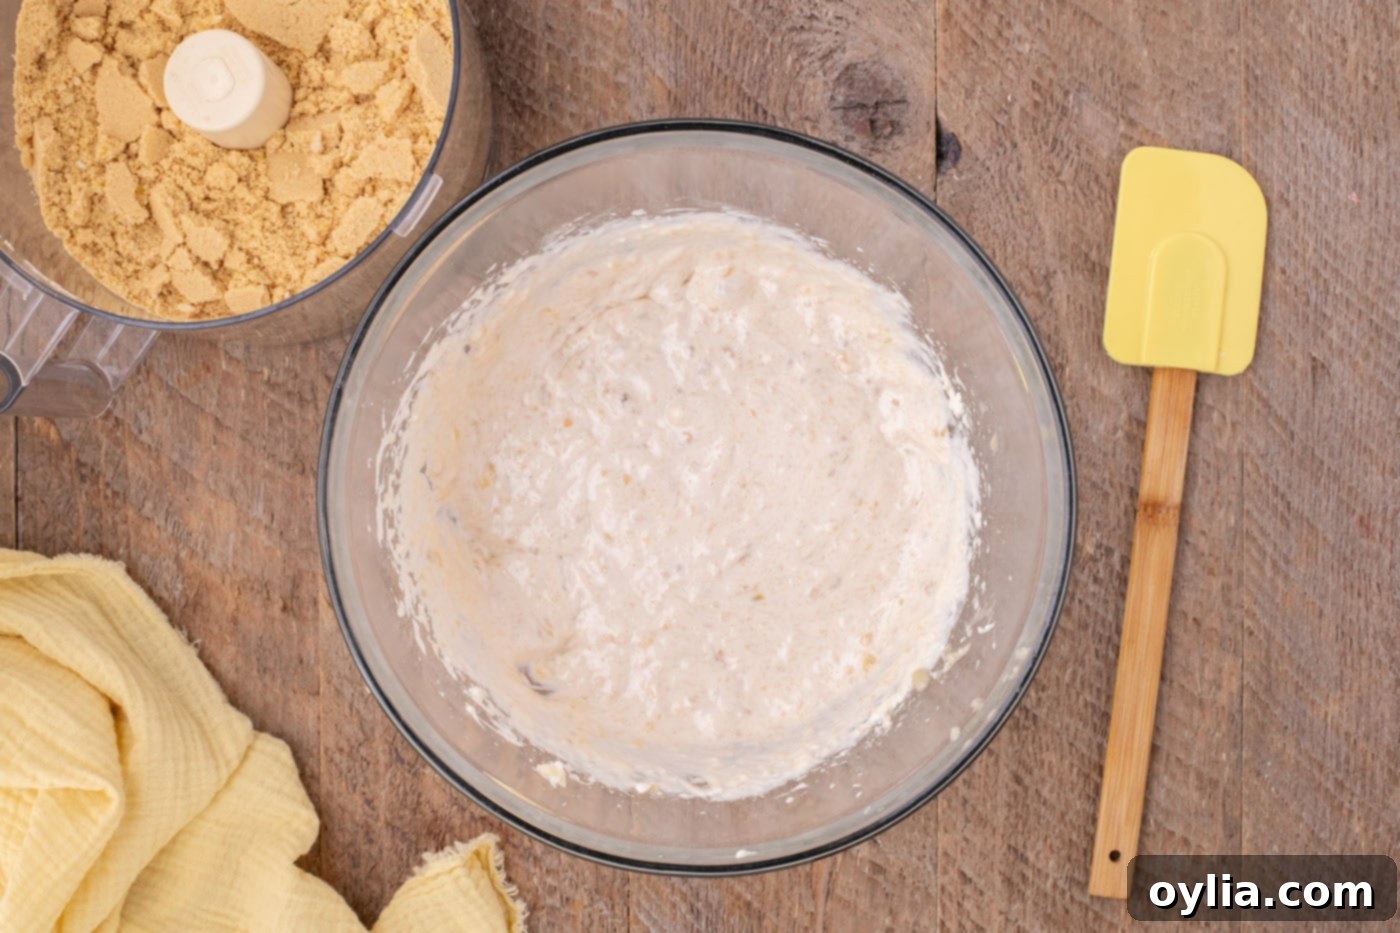
- In a separate medium-sized mixing bowl, mash your ripe bananas thoroughly with a fork until very smooth, with minimal lumps. Then, add the softened brick-style cream cheese to the mashed bananas. Using a hand-held mixer, blend the banana and cream cheese mixture on high speed until it is completely smooth and creamy, with no visible cream cheese pockets. This step is crucial for a homogenous truffle filling.


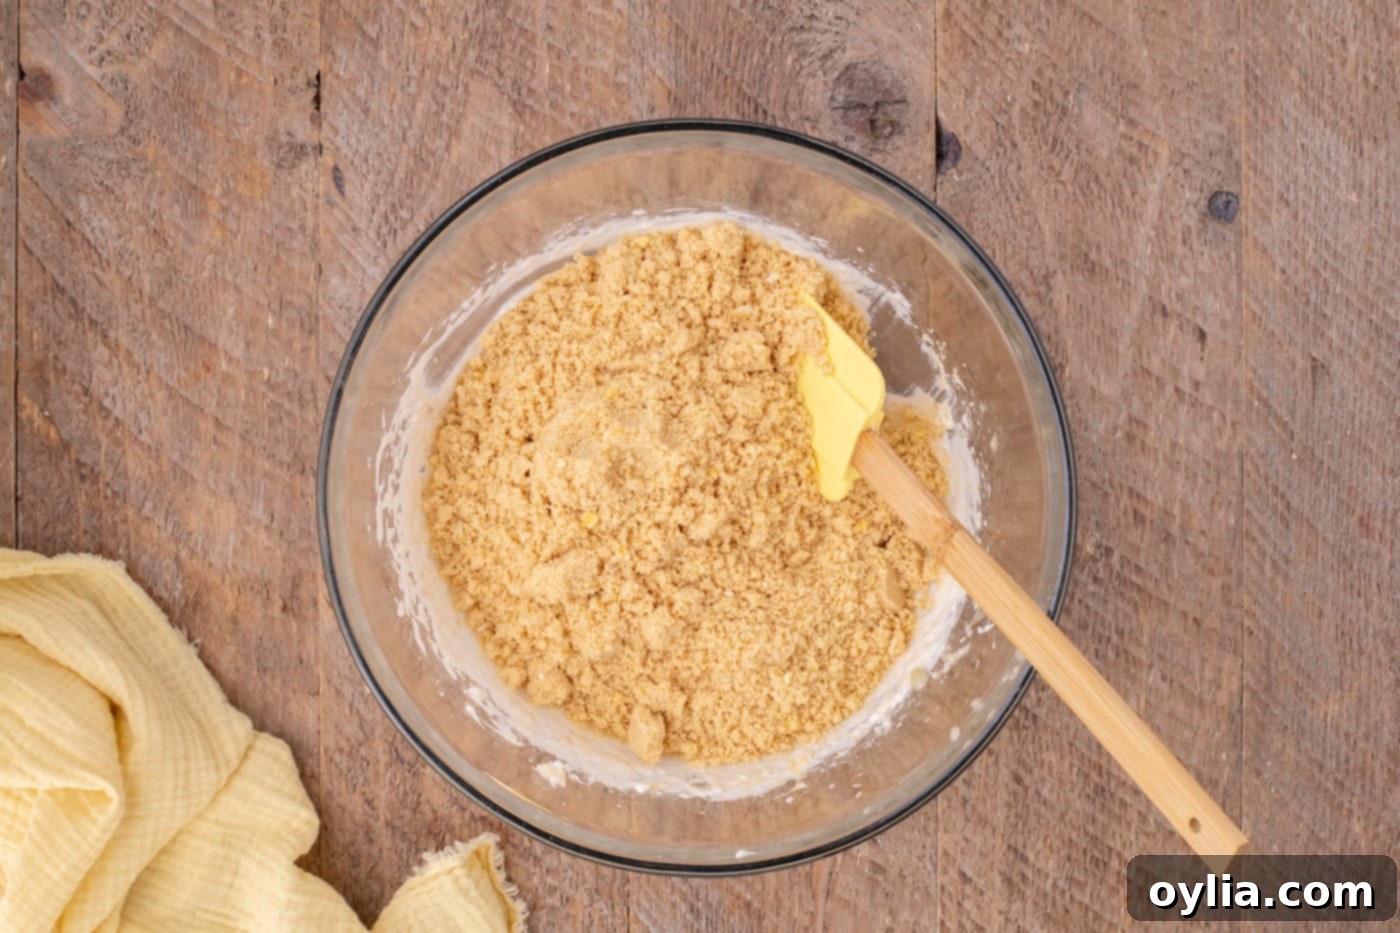
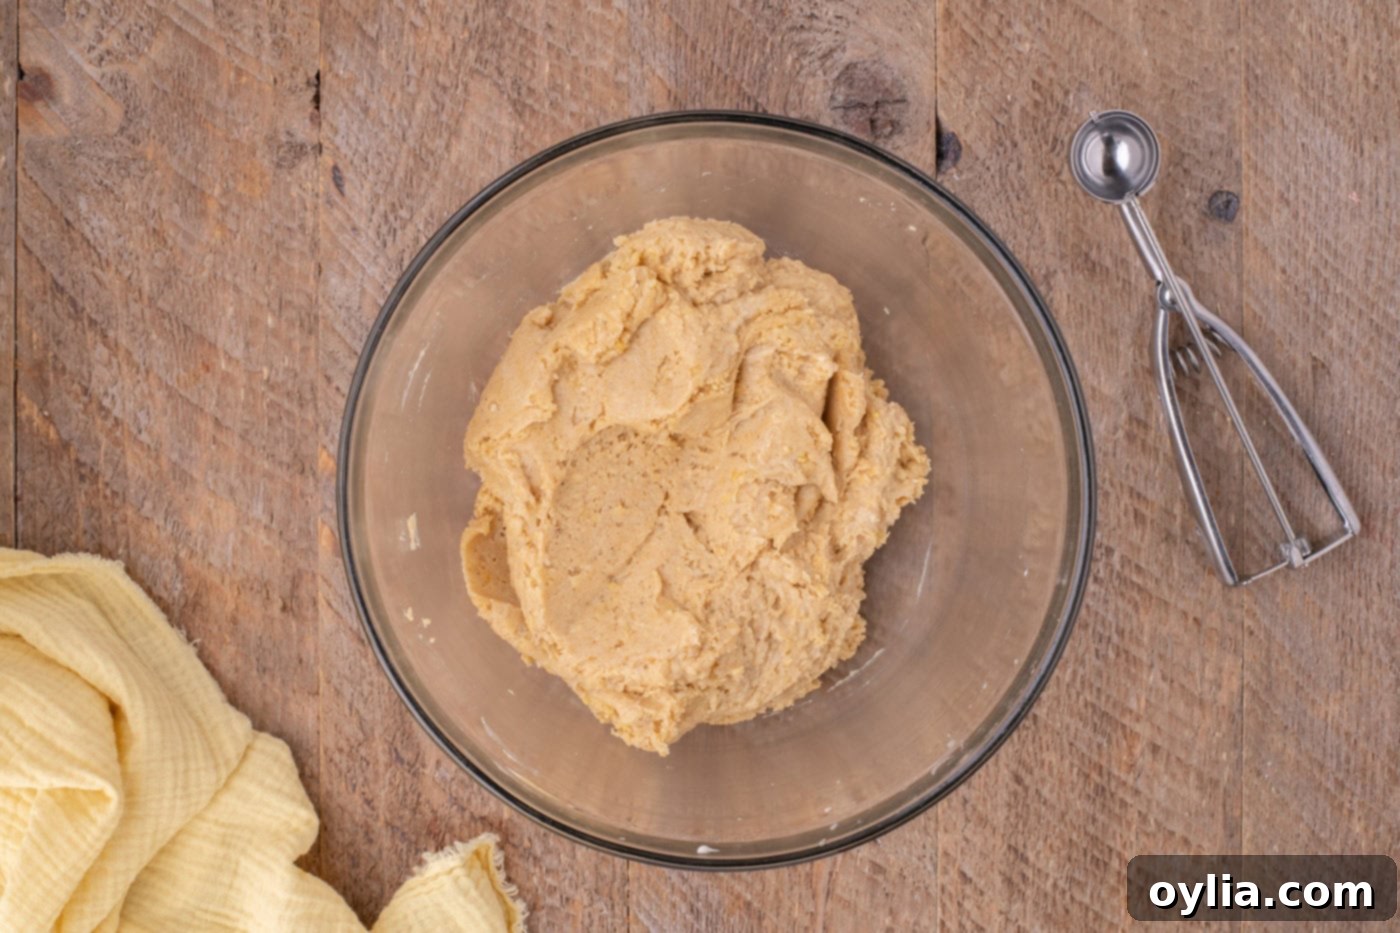
- Now, gently fold the cookie and banana chip crumbs into the banana and cream cheese mixture. Use a rubber spatula to mix until all ingredients are well combined and a thick, paste-like dough ball begins to form. Ensure there are no dry spots remaining.


- Cover the mixing bowl with plastic wrap and refrigerate the dough mixture for at least 1 hour. This chilling time is essential, as it allows the mixture to firm up, making it much easier to scoop and roll into perfect truffle balls.
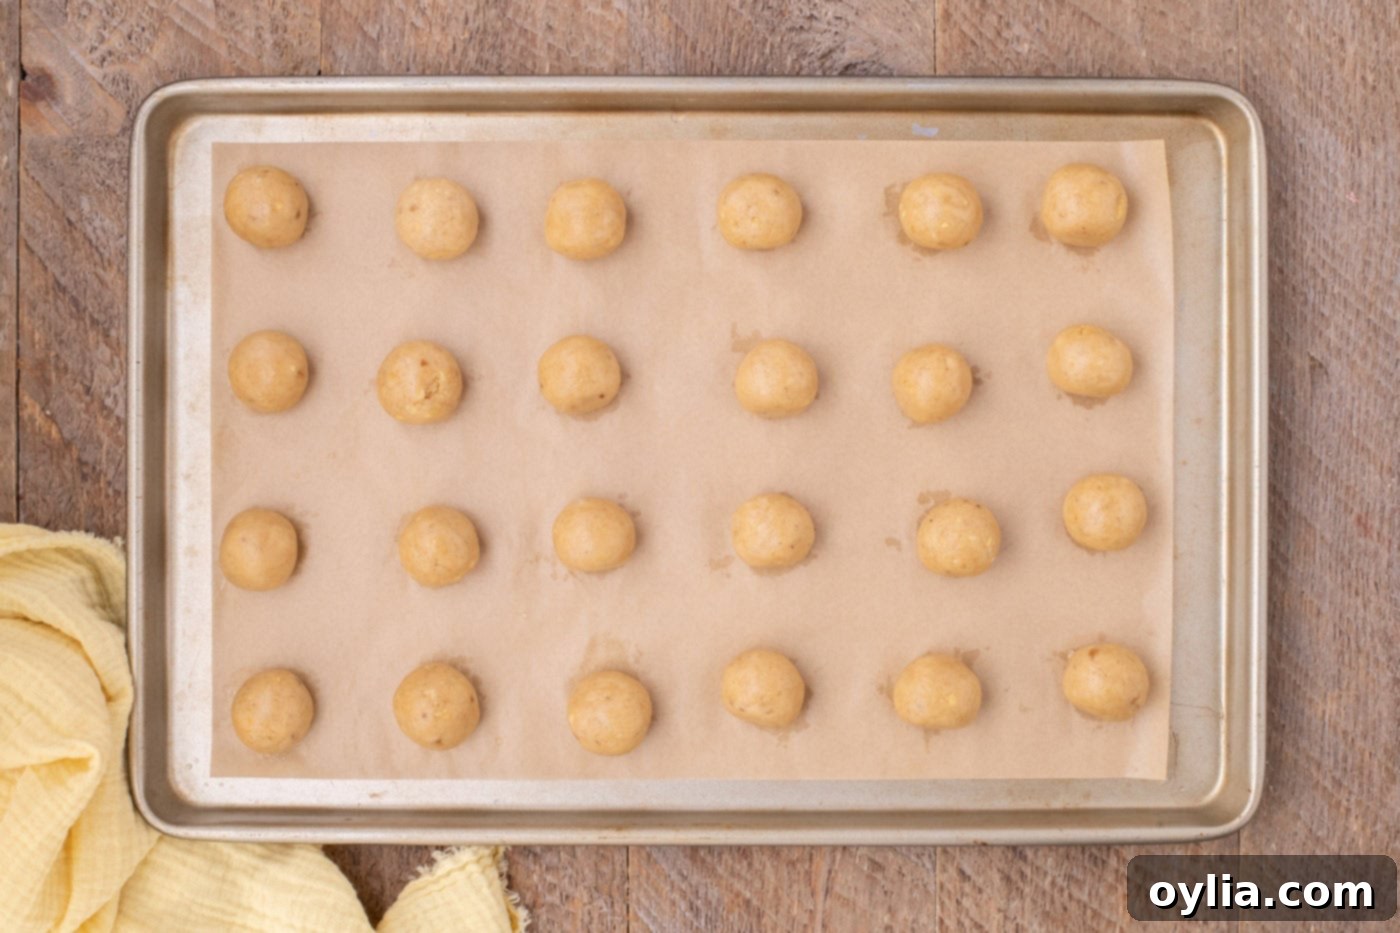
- Once chilled, remove the dough from the refrigerator. Using a small cookie dough scoop (approximately 1 tablespoon size), scoop uniform amounts of the dough. Place these mounds onto your prepared parchment-lined baking sheet, leaving a little space between each.
- Gently roll and shape each mound of dough into smooth, compact balls. Aim for a consistent size and shape for an attractive presentation. Once all truffles are rolled, return the baking sheet to the freezer and freeze them for 2 hours, or until they are completely firm. This step is critical for preventing the truffles from falling apart when dipped into warm chocolate.

- While the truffles are firming up, prepare your chocolate coating. Place the white chocolate in a microwave-safe bowl. Heat it in 30-second intervals, stirring thoroughly between each interval, until the chocolate is fully melted and beautifully smooth. Once melted, stir in the vegetable oil until it is well blended. The oil helps to thin the chocolate slightly, making it easier to dip and giving a glossy finish.
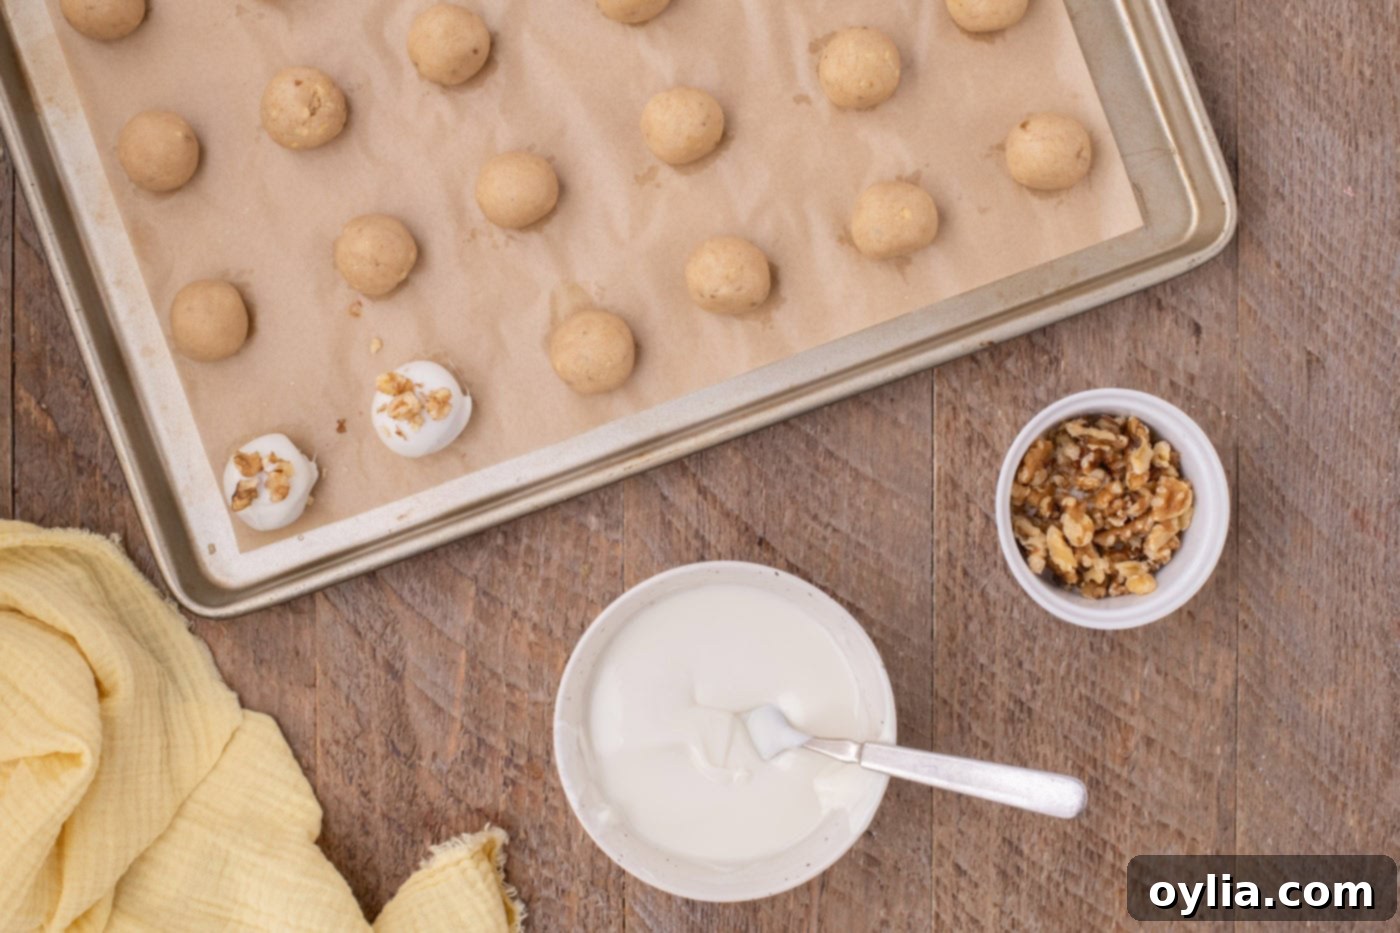
- Once the truffles are rock solid from the freezer, it’s time to coat them. Using a fork, carefully dip one frozen truffle ball into the melted white chocolate, ensuring it’s completely submerged. Gently tap the fork against the side of the bowl to allow any excess chocolate to drip off. This helps create a thin, even coating. Immediately transfer the chocolate-covered truffle back onto the parchment-lined baking sheet.

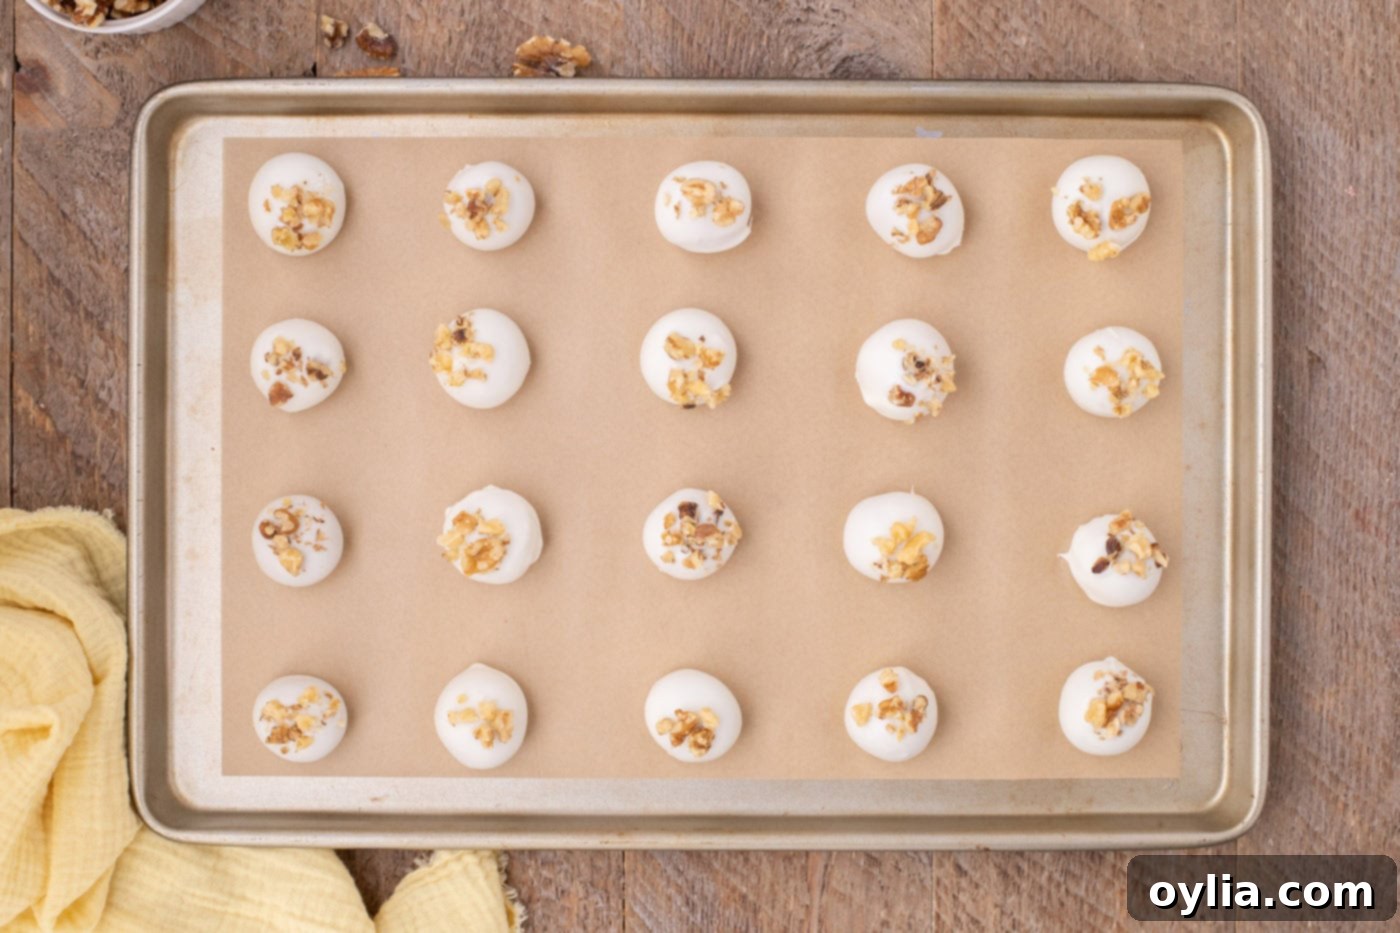
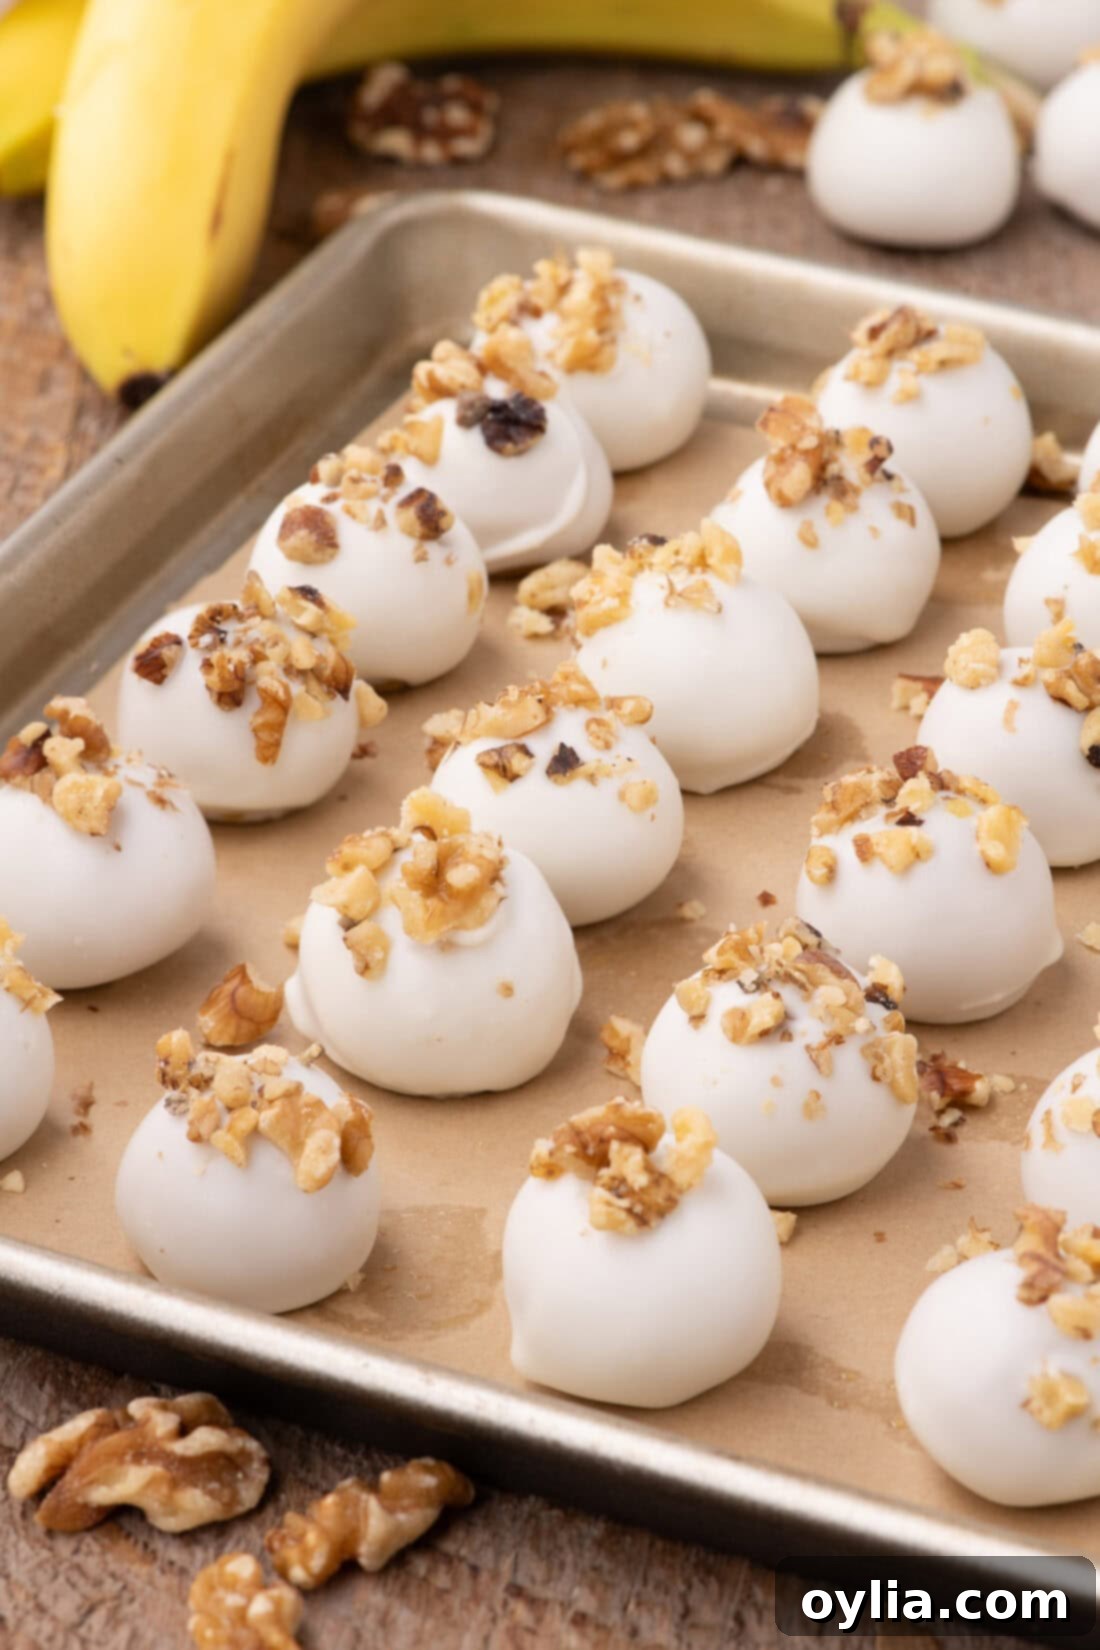
- Before the white chocolate has a chance to set (which happens quickly with frozen truffles!), sprinkle generously with your crushed walnuts. This adds a fantastic textural contrast and nutty flavor. Continue this process with the remaining truffles, working efficiently.
EXPERT TIP – Speed is your ally when adding toppings. The cold truffles will cause the chocolate to set very rapidly. If you find the chocolate on a truffle has already hardened before you can add the walnuts, simply dab a tiny bit of fresh melted white chocolate onto that spot, then quickly press the crushed walnuts onto it. This acts as a “glue” and ensures your toppings stick perfectly.

Frequently Asked Questions & Expert Tips for Banana Truffles
To maintain their freshness and firm texture, store your homemade banana truffles in an airtight container in the refrigerator for up to 4 days. While they remain perfectly edible beyond this period, the quality might slightly diminish. It’s important to note a common occurrence: when truffles are removed from the refrigerator and allowed to come to room temperature, the chocolate coating may develop a fine layer of condensation. This can sometimes cause the chocolate shell to soften slightly or appear cloudy. To minimize this, you can try letting them come to temperature gradually or simply serve them directly from the fridge if you prefer a firmer bite.
Absolutely! These banana truffles are excellent for make-ahead preparations, which can be a real time-saver for entertaining. You can prepare them right up until the point they need to be coated in chocolate. Simply keep the rolled, un-dipped truffle balls stored in an airtight container in the freezer. They can be stored this way for up to 2-3 weeks. When you’re ready to serve, just pull them out and proceed with the chocolate coating and toppings. I highly recommend keeping the truffle balls frozen, rather than just chilled in the refrigerator, before dipping. Their solid frozen state makes them much easier to handle, ensures a nice, even chocolate coating, and helps the chocolate set almost instantly, giving you a beautiful, professional finish.
Of course! While walnuts offer a classic crunch, feel free to get creative with your toppings. Consider finely shredded coconut (toasted or untoasted), mini chocolate chips, sprinkles for a festive touch, a drizzle of contrasting chocolate (dark on white, or vice versa), or even additional crushed banana chips or Golden Oreo crumbs for extra flavor and texture. Ensure any toppings are applied immediately after dipping, while the chocolate is still wet.
If your truffle mixture is too soft or sticky, it’s likely due to one of two reasons: either your bananas were overly ripe (too watery) or your cream cheese wasn’t the firm, brick-style variety. Ensure you’re using brick cream cheese and ripe but not mushy bananas. If the mixture is still too soft after the initial refrigeration, try adding a tablespoon or two more of finely crushed Golden Oreos or plain vanilla wafers to absorb excess moisture, then chill again until firm enough to roll.
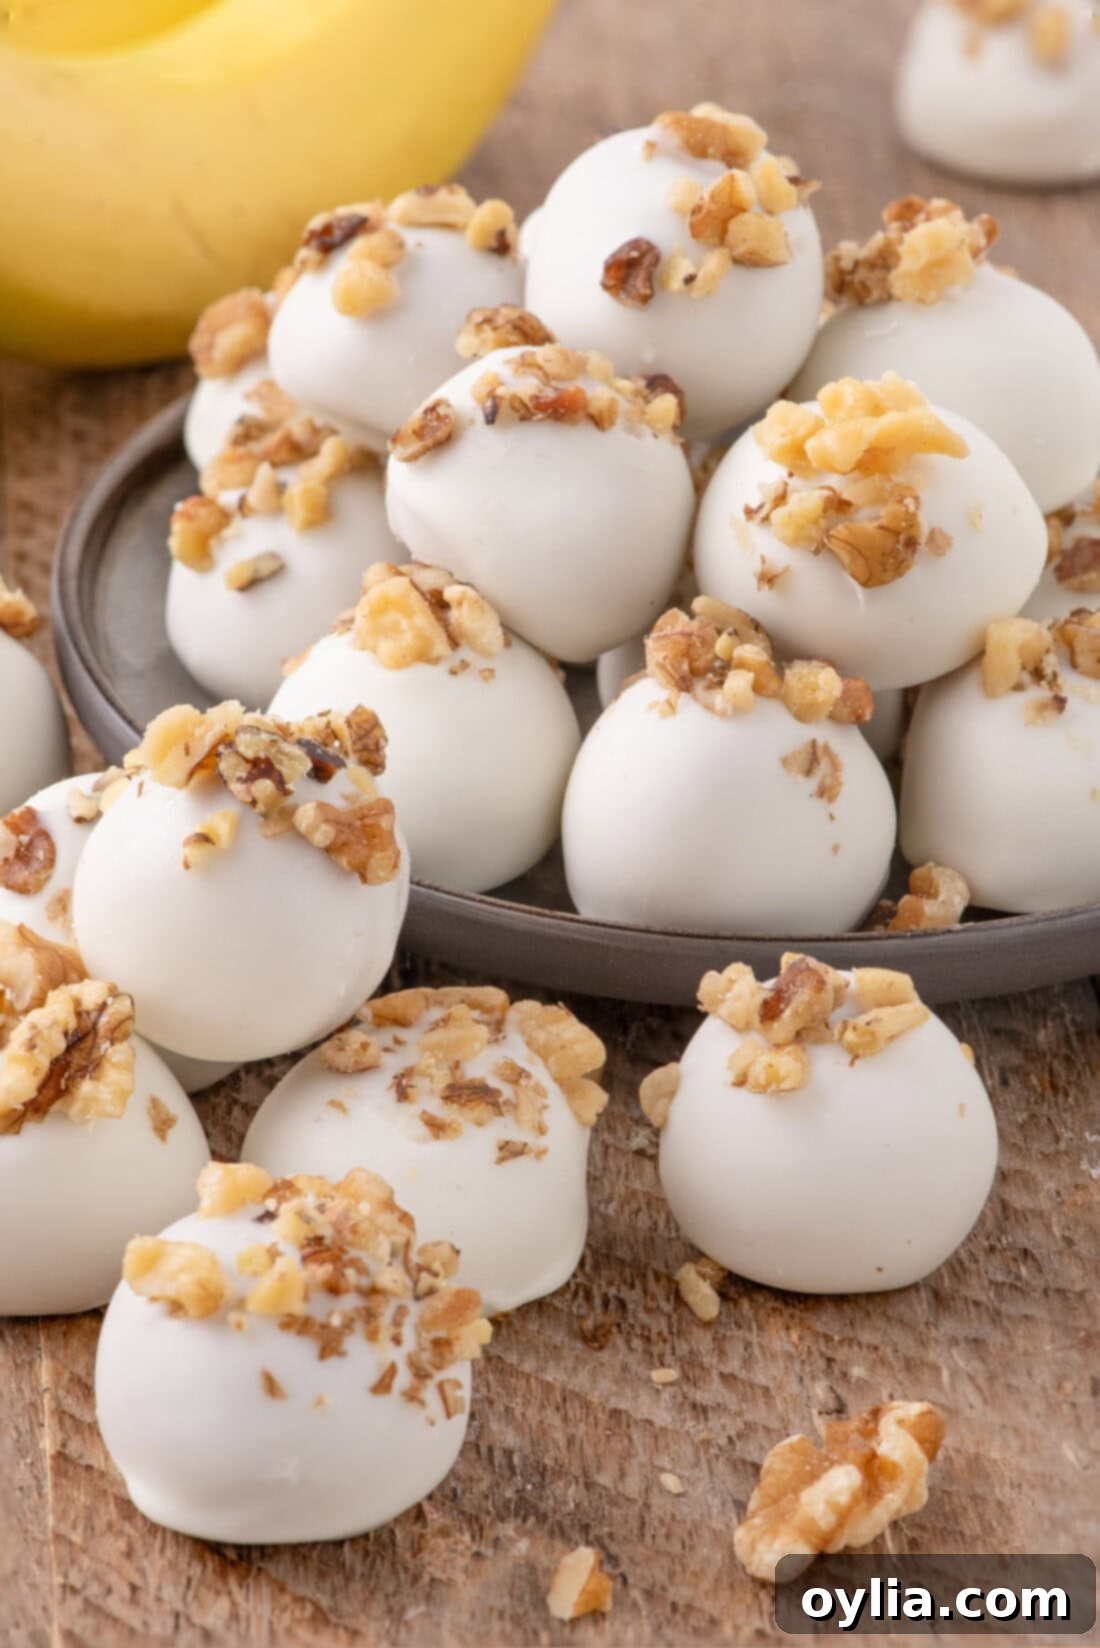
Creative Serving Suggestions for Your Banana Truffles
This versatile banana truffle recipe is a delightful addition to virtually any event or gathering. Whether you’re celebrating birthdays, hosting elegant bridal or baby showers, contributing to a potluck, or bringing a sweet treat to holiday get-togethers, these truffles are sure to be a crowd-pleaser. Their charming size and delicious flavor make them an ideal finger food dessert.
For an extra touch of elegance and flavor, consider drizzling the tops of your freshly dipped truffles with an additional layer of melted white chocolate – or perhaps milk or dark chocolate for a beautiful contrast – before you sprinkle on the nuts. This creates an appealing visual swirl and adds another layer of chocolatey goodness. And don’t feel limited to just walnuts! Instead of nuts, you could opt for a sprinkle of extra crushed banana chips to intensify the banana flavor and add a satisfying crunch. Alternatively, a dusting of golden Oreo cookie crumbs would tie back to the truffle’s base, offering a delightful texture and familiar sweetness. For a truly special presentation, arrange them in mini cupcake liners on a tiered dessert stand, or scatter them artfully on a platter for an irresistible display that invites everyone to indulge.
More Irresistible Truffle & Sweet Treat Recipes to Explore
If you’ve enjoyed making these banana truffles, you’ll love exploring other delightful no-bake and baked treat recipes from our collection. Expand your dessert repertoire with these other fan favorites:
- Classic Oreo Truffles
- Rich Mocha Truffles
- Decadent Carrot Cake Truffles
- Luscious Red Velvet Cake Balls
I’m passionate about baking and cooking, and I love sharing my kitchen adventures and delicious creations with all of you! To make sure you never miss out on a new recipe, I offer a convenient newsletter delivered straight to your inbox every time a new post goes live. Simply subscribe today and start receiving your free daily recipes to inspire your next culinary masterpiece!
No-Bake Banana Truffles
IMPORTANT – There are often Frequently Asked Questions within the blog post that you may find helpful. Simply scroll back up to read them!
Print It
Pin It
Rate It
Save ItSaved!
Ingredients
- 18.12 ounce package Golden Oreo cookies family-sized, for a perfect vanilla base
- 2 cups dried banana chips for intensified banana flavor and crunch
- 2 ripe bananas mashed, for natural sweetness and creamy texture
- 4 ounces cream cheese full-fat, brick-style, softened to room temperature for smooth blending
- 16 ounces white chocolate chips or melting wafers, for coating
- 3 teaspoons vegetable oil or coconut oil, to thin the chocolate for dipping
- 1 cup walnuts finely chopped, for topping (or other preferred toppings)
Things You’ll Need
-
Food processor
-
Hand mixer
-
Baking sheet
-
1 Tablespoon cookie scoop
Before You Begin: Important Tips for Success
- For the best possible texture and consistency in your truffles, it is essential to use only full-fat, brick-style cream cheese. Avoid spreadable cream cheese from tubs, as its higher water content will result in a soft, undesirable truffle texture.
- Always soften your cream cheese to room temperature before you start mixing. This ensures it blends smoothly and evenly with the other ingredients, preventing any lumps or pockets of unmixed cream cheese in your truffle filling. To accelerate the softening process, you can cut the cream cheese into smaller cubes and let them rest on the counter.
- You’ll need about 2 ripe bananas to achieve 1 cup of mashed banana. Choose bananas with visible brown spots on their peel; these are perfectly sweet and soft enough to mash easily, which is crucial for incorporating them into the truffle mixture.
- While white chocolate provides a beautiful, sweet contrast for the coating, feel free to get creative! You can easily switch to dark, milk, or semi-sweet chocolate to alter the flavor profile of your truffles to your liking.
Instructions
-
Prepare your baking sheet by lining it with parchment paper; this will ensure easy removal of the truffles and minimal mess. Set it aside.
-
Place all the Golden Oreo cookies (including their cream filling) into a food processor. Pulse them until they are finely crushed, resembling coarse crumbs with no large pieces remaining.
-
Add the dried banana chips to the crushed Oreos in the food processor. Continue to pulse until the banana chips are also finely ground and thoroughly combined with the cookie crumbs, creating a uniform, sandy mixture.
-
In a medium mixing bowl, mash the ripe bananas thoroughly with a fork until they are very smooth. Add the room-temperature cream cheese to the mashed bananas and, using a hand-held mixer, blend on high speed until the mixture is completely smooth and free of any lumps.
-
Gently fold the finely crushed cookie and banana chip mixture into the cream cheese and banana blend using a rubber spatula. Mix until all ingredients are well incorporated and form a cohesive, paste-like dough ball.
-
Cover the dough mixture and refrigerate it for a minimum of 1 hour. This crucial step allows the dough to firm up, making it significantly easier to handle and shape.
-
Once chilled, use a small (1 tablespoon) cookie dough scoop to portion out uniform amounts of the dough. Place these portions onto your parchment-lined baking sheet.
-
Carefully roll each dough portion into a smooth, spherical ball. After shaping, transfer the baking sheet to the freezer and freeze for 2 hours, or until the truffles are completely firm. This is key for successful dipping.
-
In a microwave-safe bowl, melt the white chocolate in 30-second intervals, stirring well after each interval, until the chocolate is smooth and fully melted. Stir in the vegetable oil until it is completely blended, creating a slightly thinner and more manageable chocolate coating.
-
Using a fork, carefully dip a frozen truffle ball into the melted white chocolate, ensuring it’s fully submerged. Gently tap the fork against the side of the bowl to remove any excess chocolate, then place the coated truffle back onto the parchment-lined baking sheet.
-
Immediately after dipping, sprinkle each truffle with the crushed walnuts before the white chocolate has a chance to set. Work quickly, as the cold truffles will cause the chocolate to harden rapidly.
EXPERT TIP – To ensure your walnuts (or other toppings) adhere perfectly, work swiftly. If you find the chocolate on a truffle has already set, simply dab a tiny bit of fresh melted white chocolate onto that spot and then press the walnuts onto it, using the fresh chocolate as an adhesive.
Expert Tips & FAQs
- Storage: Store your completed banana truffles in an airtight container in the refrigerator for up to 4 days. While still perfectly edible after this, the texture and freshness are best within this timeframe. Be aware that when cold truffles are brought to room temperature, the chocolate coating can form condensation. This natural process can slightly soften the chocolate layer, though it doesn’t affect their delicious taste.
- Make Ahead: For convenient entertaining or meal prep, these truffles can be prepared well in advance of their final chocolate coating. Keep the rolled, un-dipped truffle balls in an airtight container in the freezer. They can be stored frozen for up to 2-3 weeks. When you’re ready to serve, simply retrieve them from the freezer and proceed with the dipping step. Freezing the truffle balls before dipping is highly recommended over just chilling, as it allows for a much cleaner, smoother, and quicker chocolate coating that sets almost instantly.
- Customizing Toppings: Feel free to experiment beyond walnuts! Other fantastic topping options include toasted shredded coconut, mini chocolate chips, colorful sprinkles for festive occasions, or a contrasting chocolate drizzle (e.g., dark chocolate over white chocolate). For an extra banana kick, you can crush more banana chips or Golden Oreo cookies to sprinkle on top.
- Troubleshooting Soft Mixture: If your truffle mixture feels too soft or sticky even after refrigeration, it might be due to overly ripe (watery) bananas or using spreadable cream cheese. To remedy this, try incorporating an additional tablespoon or two of finely crushed Golden Oreos or plain vanilla wafers into the mixture. This will help absorb excess moisture. Then, return it to the refrigerator to chill until it reaches a firm, rollable consistency.
Nutrition Information
The recipes on this blog are tested with a conventional gas oven and gas stovetop. It’s important to note that some ovens, especially as they age, can cook and bake inconsistently. Using an inexpensive oven thermometer can assure you that your oven is truly heating to the proper temperature. If you use a toaster oven or countertop oven, please keep in mind that they may not distribute heat the same as a conventional full sized oven and you may need to adjust your cooking/baking times. In the case of recipes made with a pressure cooker, air fryer, slow cooker, or other appliance, a link to the appliances we use is listed within each respective recipe. For baking recipes where measurements are given by weight, please note that results may not be the same if cups are used instead, and we can’t guarantee success with that method.
