Creamy No-Churn Rocky Road Ice Cream: Your Go-To Easy Homemade Recipe
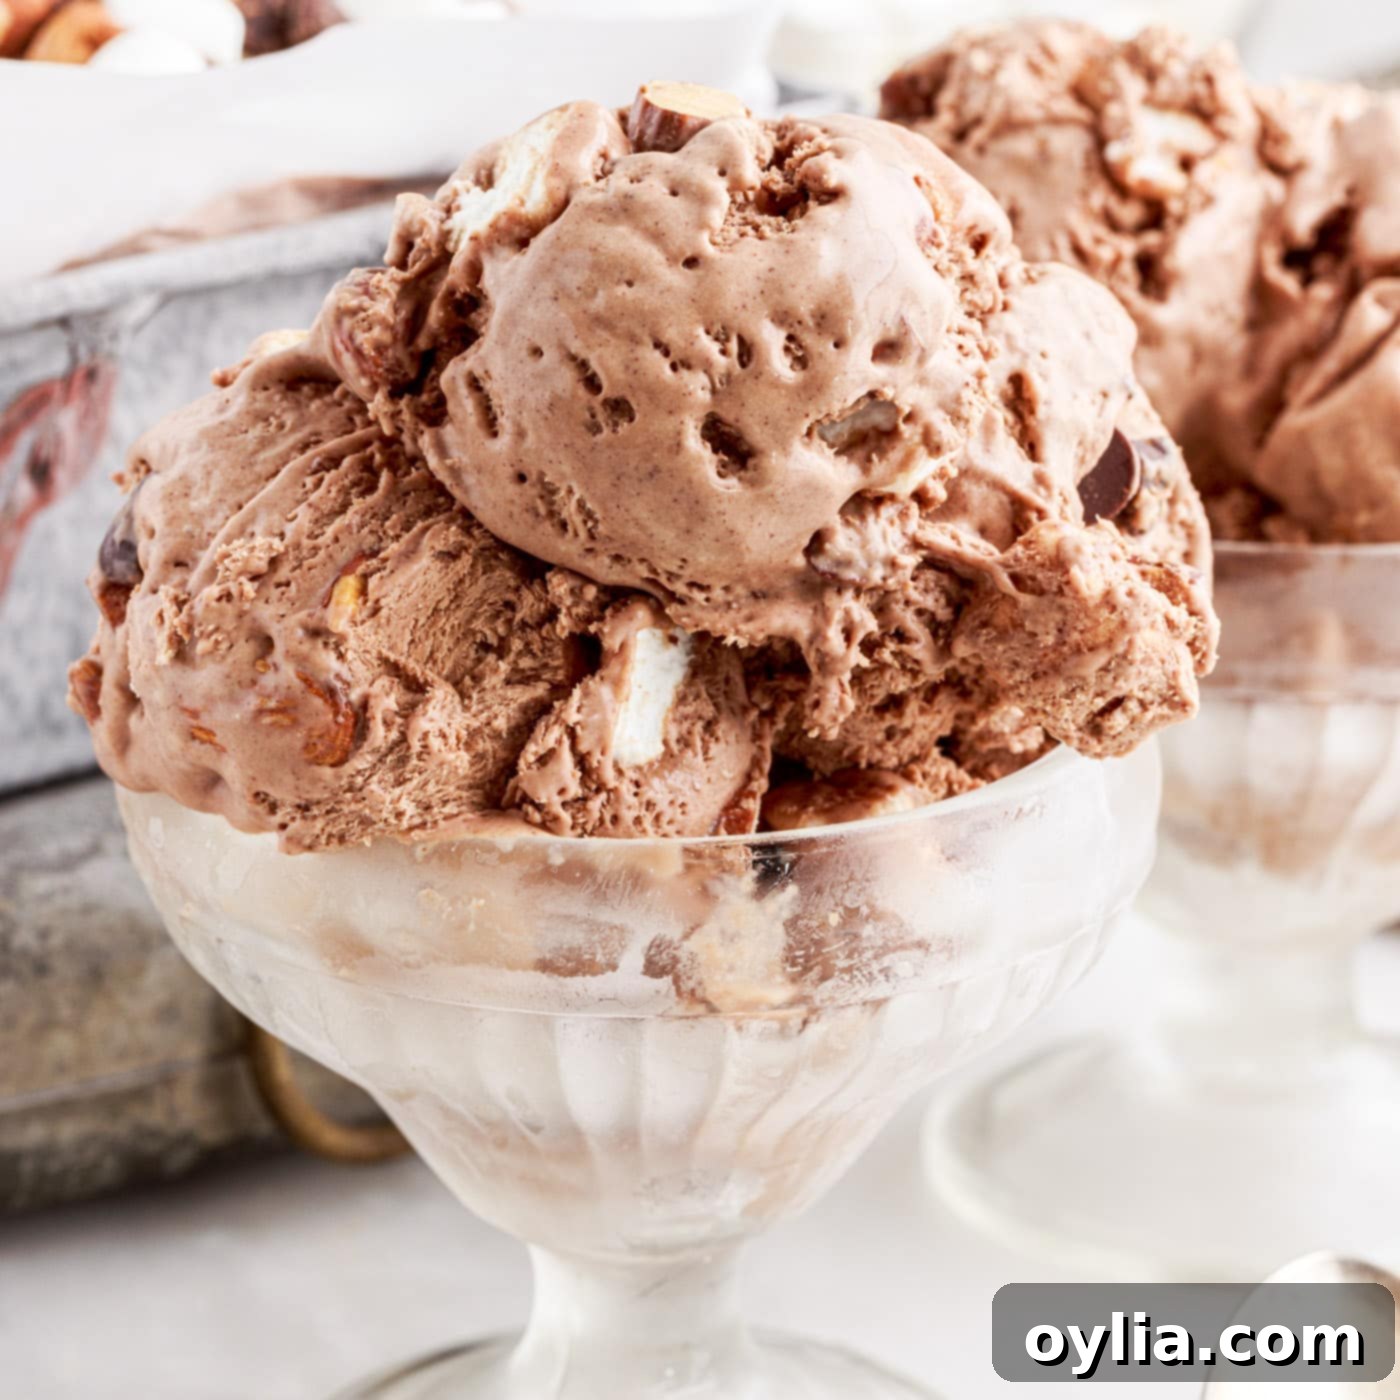
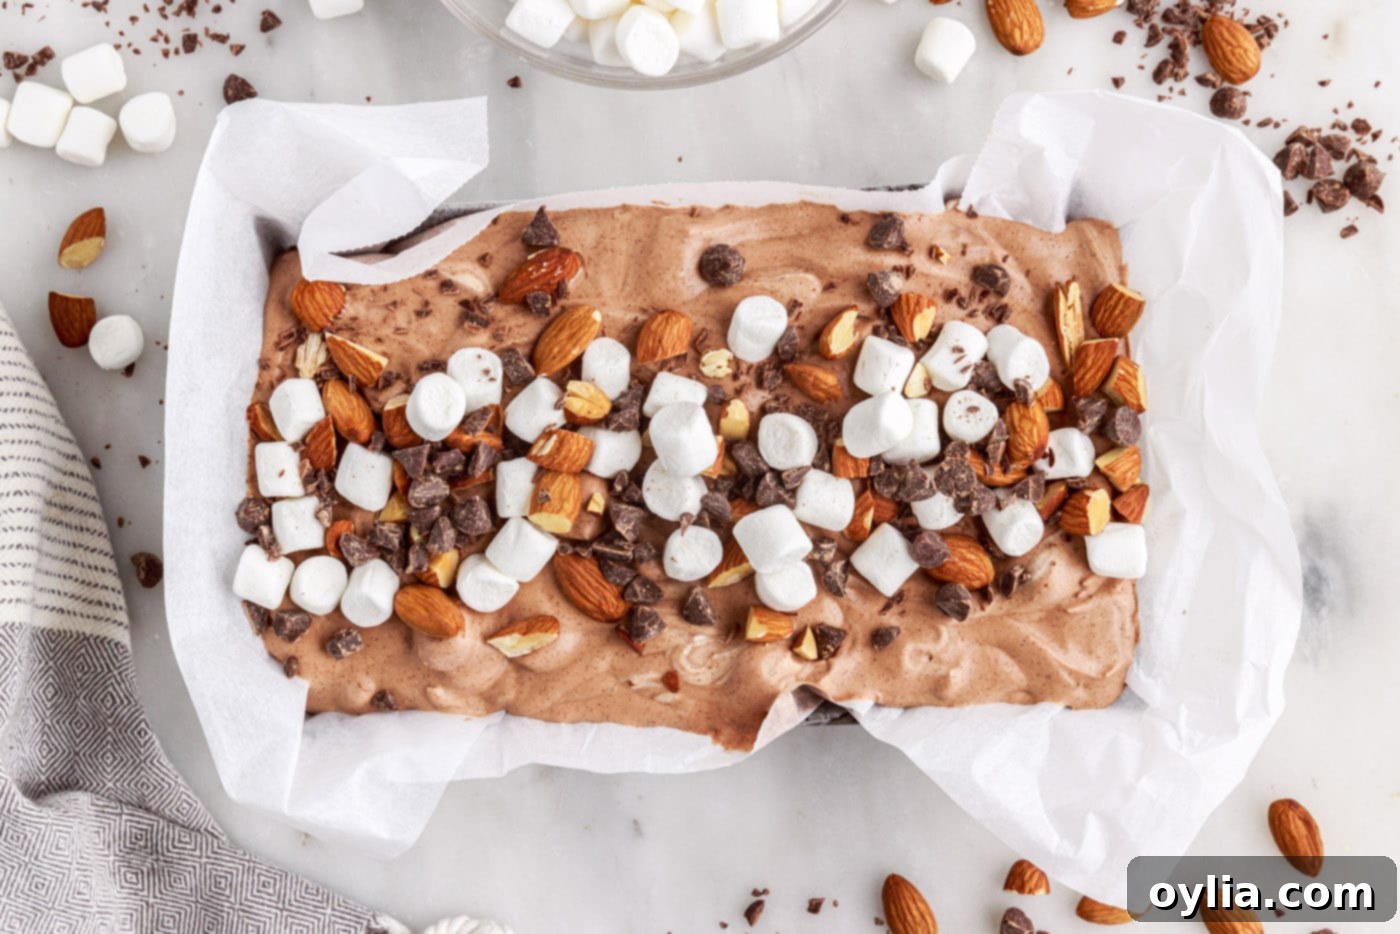
Prepare to delight your taste buds with our incredibly rich and creamy no-churn Rocky Road ice cream! This delightful dessert is a symphony of textures and flavors, generously loaded with soft mini marshmallows, satisfyingly crunchy almonds, and decadent chocolate chips, all beautifully swirled into a smooth, luscious chocolate ice cream base. Every spoonful promises a perfect blend of sweet, chewy, and crunchy, making it an irresistible treat for any occasion, all without the need for an ice cream machine. Get ready to create a classic dessert that will impress everyone with minimal effort and maximum flavor, right in your own kitchen.
Why This Easy No-Churn Rocky Road Recipe is a Must-Try
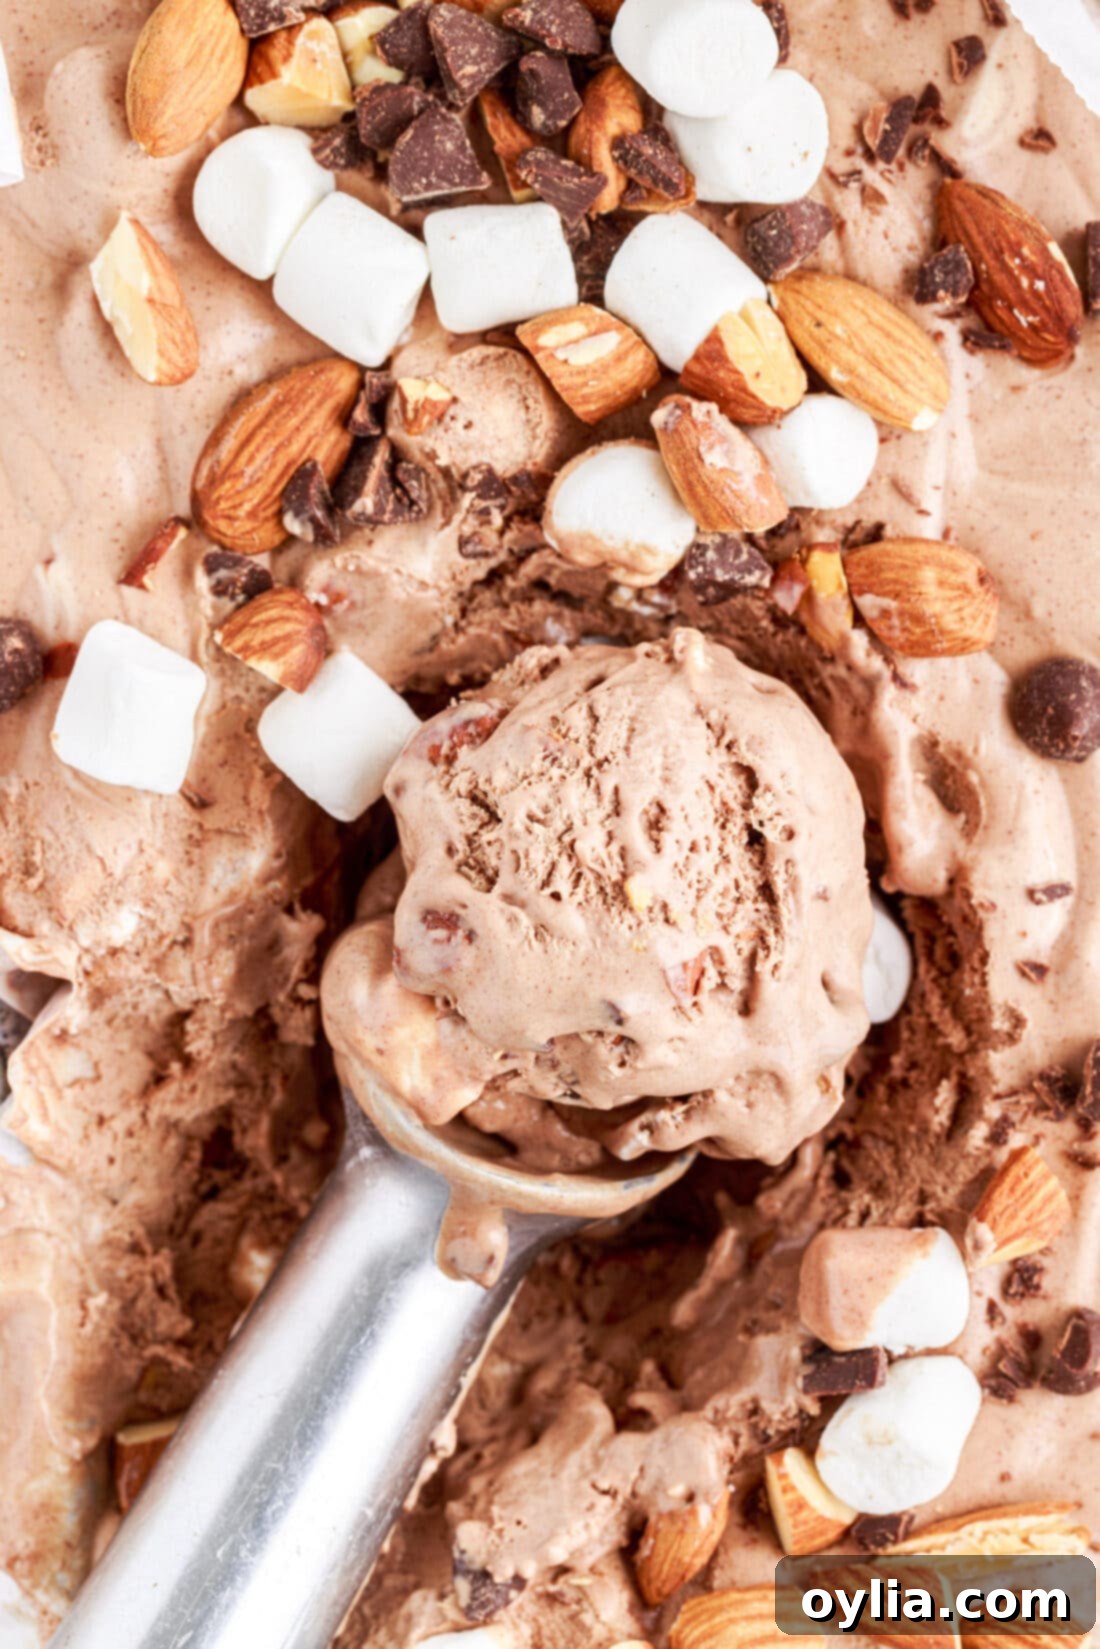
Rocky Road ice cream holds a truly special place in dessert history, famously known as the first ice cream to embrace the joy of mix-ins. This pioneering spirit in the culinary world paved the way for countless beloved ice cream flavors we enjoy today, proving that a little creativity can go a long way. Our recipe lovingly honors this true classic, offering the comforting, cloud-like texture of pillowy mini marshmallows alongside the robust, satisfying crunch of roasted almonds, all infused with a deep, decadent chocolate flavor that’s simply divine.
What makes our version truly exceptional and a must-try is its incredible simplicity: it’s made entirely without the need for an expensive or specialized ice cream maker! This means no bulky equipment to store, no pre-freezing bowls overnight, and absolutely no fuss. You’ll be able to whip up this creamy, chocolatey dream, brimming with delightful goodies, right in your own kitchen using just a few common tools. With a stand mixer (or even just a trusty hand mixer) and a handful of basic ingredients, the active hands-on prep time for this indulgent dessert is astonishingly short—you’ll be done in around 15 minutes. After a quick and easy assembly, it simply needs time to freeze, leaving you free to relax while your homemade masterpiece slowly comes to life in the freezer. It’s the perfect solution for satisfying those intense ice cream cravings with minimal effort and maximum, mouth-watering reward.
Essential Ingredients for Your Homemade Rocky Road Indulgence
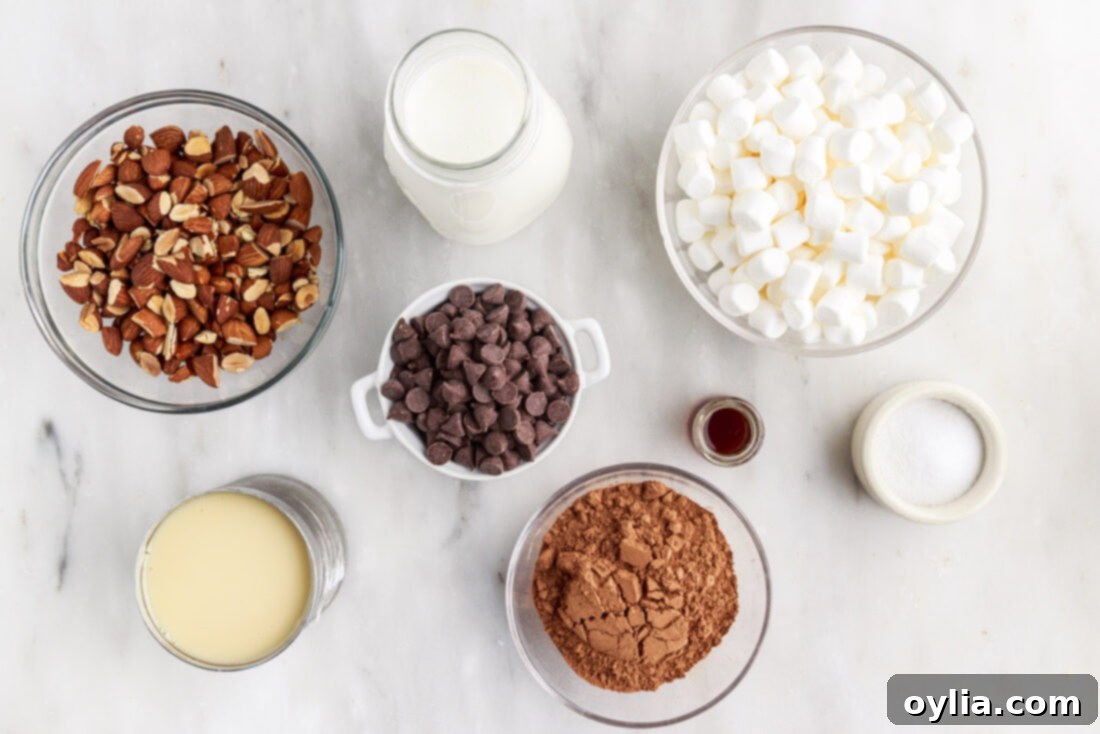
Crafting this luscious no-churn Rocky Road ice cream requires just a few readily available, high-quality ingredients. These simple staples will transform into an extraordinary, rich, and satisfying dessert. Each component plays a crucial role in achieving the signature creamy texture and the classic, beloved flavor profile of Rocky Road. While we’ll dive into detailed suggestions for exciting variations and substitutions below, here’s a quick overview of what you’ll need to gather to begin your easy homemade ice cream adventure. For precise measurements, exact quantities, and the full step-by-step instructions, please be sure to refer to the printable recipe card conveniently located at the very end of this post.
Ingredient Spotlight & Smart Substitution Suggestions
Understanding each ingredient’s unique role will not only help you perfect this classic recipe but also empower you to confidently experiment with delicious variations tailored to your taste. Here’s a closer look at the stars of our no-churn Rocky Road:
- For the Creamy No-Churn Ice Cream Base:
- Heavy Whipping Cream: This is the absolute cornerstone of any no-churn ice cream recipe. When whipped to firm, stiff peaks, it expertly incorporates air, creating an incredibly light, fluffy texture that freezes beautifully without developing unwanted ice crystals. Always ensure your heavy cream is very cold before whipping for the quickest and best results.
- Sweetened Condensed Milk: This truly is the magic ingredient in no-churn ice cream! Sweetened condensed milk provides both the essential sweetness and the wonderfully smooth, creamy consistency that entirely eliminates the need for an ice cream maker. Its unique composition and low water content are key to preventing the formation of large ice crystals, ensuring you get that delightful, perfectly scoopable texture every time.
- Semi-Sweet Chocolate Chips (for the base): These are melted down to form the foundation of our rich chocolate ice cream base. Semi-sweet chocolate chips are a fantastic and versatile choice, providing a balanced sweetness that pairs beautifully with the other ingredients.
- Unsweetened Cocoa Powder: To truly deepen the chocolate flavor and enhance the rich color of the base, unsweetened cocoa powder is added. It brings an extra layer of robust chocolate richness that beautifully complements the sweet mix-ins.
- Vanilla Extract: A crucial flavor enhancer, pure vanilla extract brings a warm, aromatic depth that rounds out the chocolate flavors and adds a touch of sophistication. Always opt for pure vanilla for the best taste.
- Sea Salt: Just a tiny pinch of sea salt works wonders by amplifying all the other flavors, particularly the chocolate. It brilliantly balances the sweetness and adds a subtle yet complex counterpoint to the overall profile.
- Mix-Ins – The Irresistible Heart of Rocky Road:
- Roasted Almonds: Traditionally, authentic Rocky Road ice cream features deliciously chopped almonds. Their satisfying crunch provides a wonderful textural contrast to the soft ice cream and chewy marshmallows. For an even richer, more profound nutty flavor, we highly recommend lightly toasting your almonds before adding them. You can use walnuts, pecans, or even hazelnuts in their place if you prefer, or combine different nuts for a truly varied flavor and texture experience. Check our expert tips below for how to easily roast your own almonds!
- Mini Marshmallows: These delightful little pillows add a distinct soft, chewy texture and a burst of sweet gooiness that remains appealing even when frozen. Mini marshmallows are ideal because their small size ensures they distribute evenly throughout every scoop of ice cream. If you only have larger marshmallows on hand, you can easily snip them into smaller, bite-sized pieces using clean kitchen shears.
- Chocolate Chips (for mixing in & garnish): While chocolate chips are absolutely essential for creating the rich base, they also make a fantastic additional mix-in and a beautiful garnish. Feel free to use either mini or regular-sized chocolate chips, depending on your preferred bite. You can also experiment with different chocolate types: dark chocolate for a more intense, less sweet profile; milk chocolate for extra creaminess and sweetness; or even white chocolate for a lovely color and flavor contrast. For an elegant touch, chocolate shavings or roughly chopped pieces of your favorite chocolate bar also work wonderfully as a garnish.
- Creative Substitution Suggestions:
- Vanilla Base Option: If you’re truly a vanilla enthusiast, you can easily adapt this recipe. Simply omit the melted chocolate chips and cocoa powder for the base, and instead follow our classic vanilla no-churn ice cream recipe, then enthusiastically incorporate all the traditional Rocky Road mix-ins.
- Nut-Free Alternative: For those with nut allergies or preferences, you can entirely omit the almonds. Consider substituting them with crunchy pretzels for a salty-sweet twist, or even sunflower seeds for a unique textural element. Crushed chocolate sandwich cookies also make a great nut-free crunch.
- Other Fun Mix-ins: Don’t be afraid to get creative and personalize your Rocky Road! Consider adding crushed graham crackers for a delicious s’mores-inspired twist, shredded coconut for tropical notes, a generous swirl of rich caramel or fudge sauce, or even a dash of espresso powder to create a sophisticated mocha Rocky Road.
Crafting Your No-Churn Rocky Road Ice Cream: A Simple Step-by-Step Guide
This recipe makes the process of creating delicious homemade ice cream a breeze, proving that you don’t need fancy equipment to make incredible desserts. Follow these clear visual step-by-step photos and detailed instructions to ensure your no-churn Rocky Road turns out perfectly creamy and delightful every single time. For your utmost convenience, you can also jump directly to the printable recipe card at the very bottom of this post for all precise measurements and comprehensive instructions.
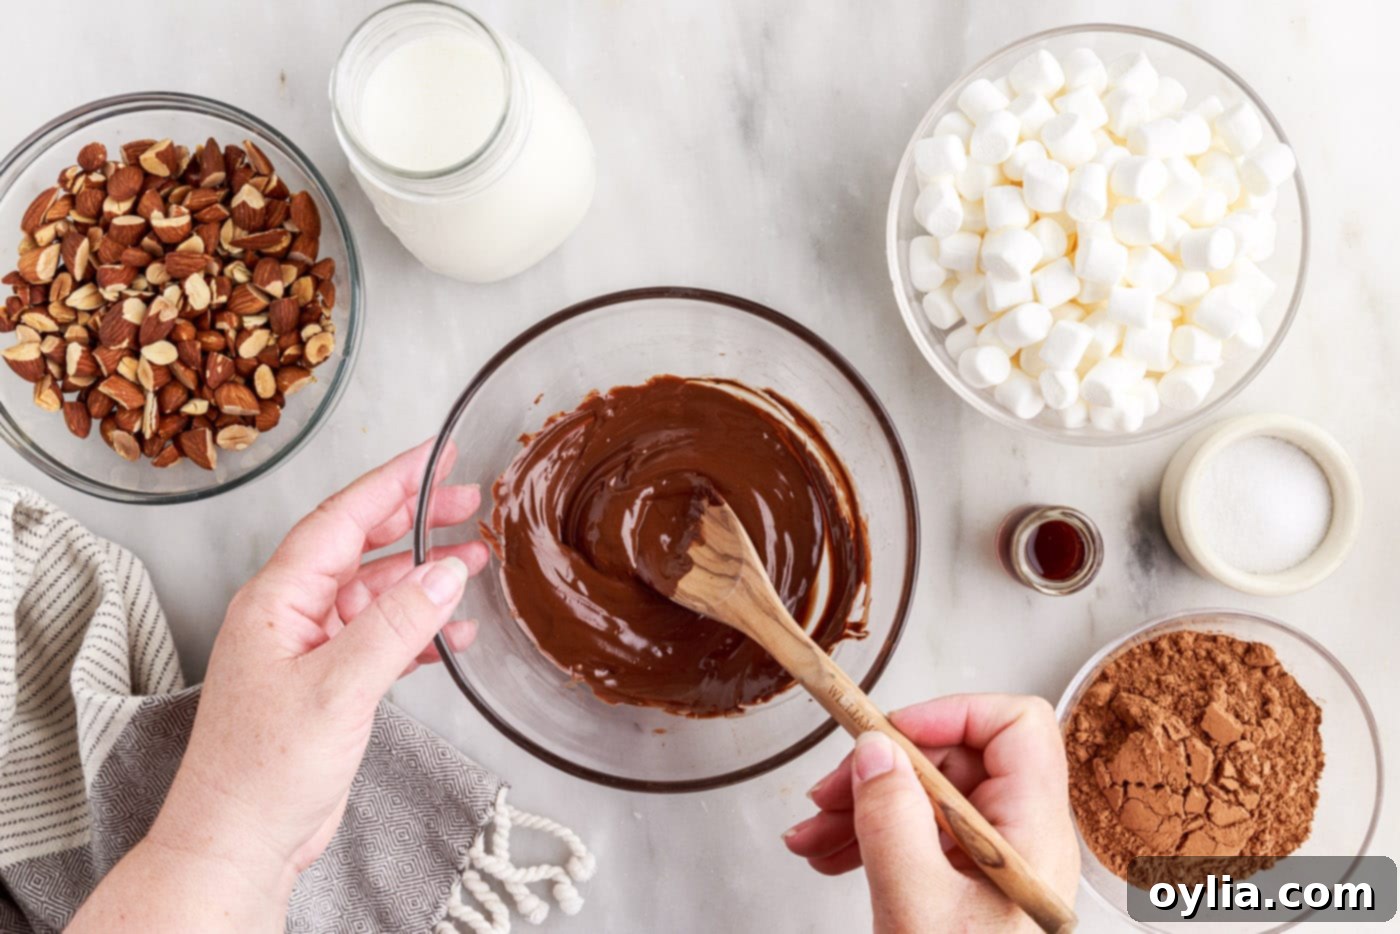
- In a microwave-safe glass bowl, carefully melt 1⁄2 cup of the semi-sweet chocolate chips. Heat in short 30-second bursts, ensuring you stir thoroughly after each interval until the chocolate is completely melted and beautifully smooth. This gentle melting process is crucial to prevent burning and ensures a wonderfully silky texture for your base.

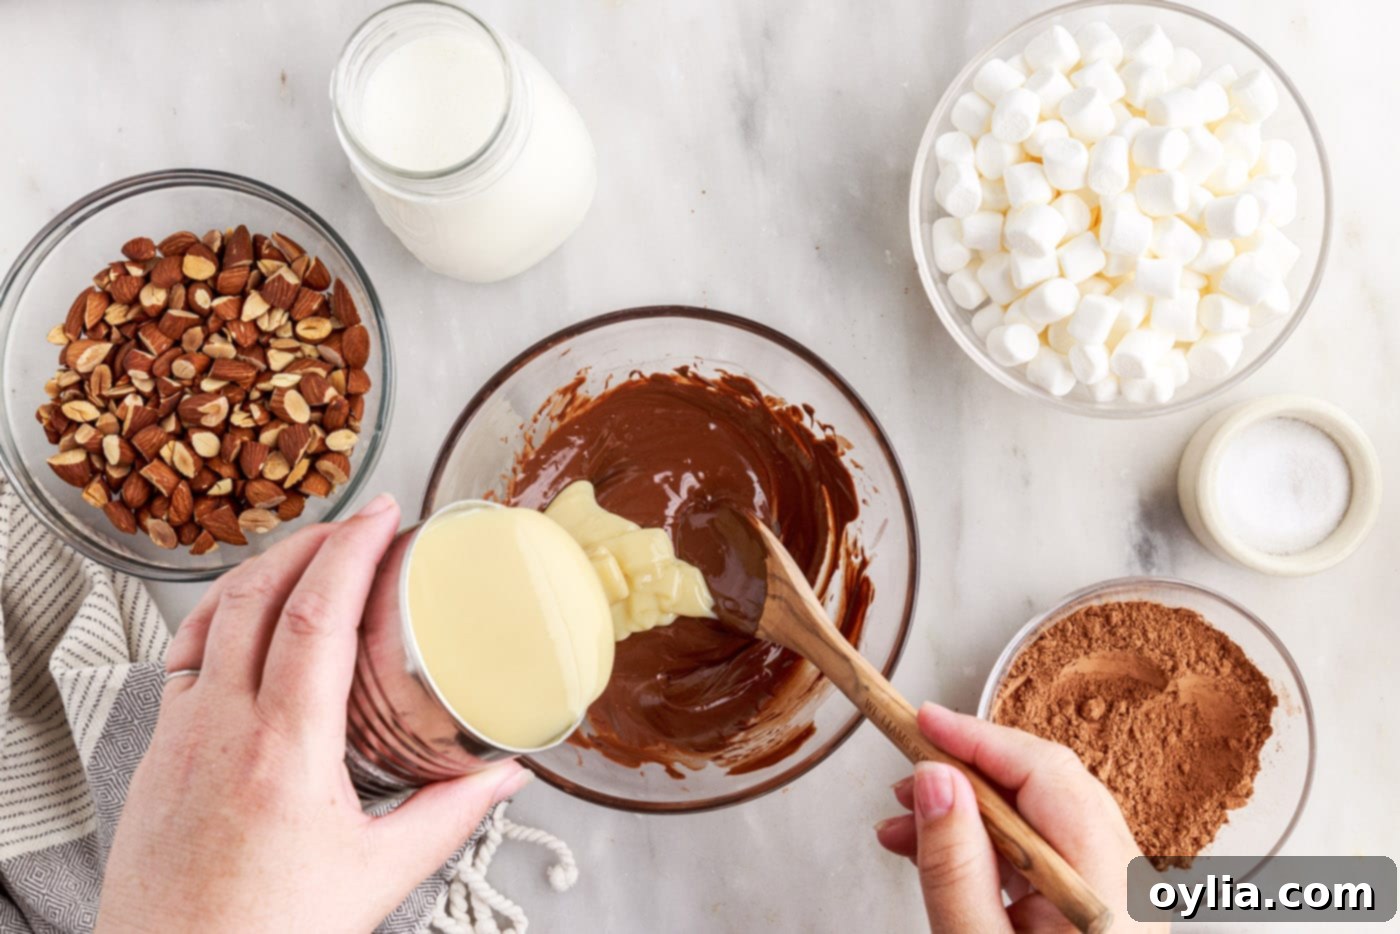
- Slowly and steadily pour the entire can of sweetened condensed milk into the warm, melted chocolate. Whisk continuously and thoroughly until these two ingredients are perfectly combined into a rich, smooth, and utterly uniform mixture. This crucial step forms the sweet, non-icy foundation of your no-churn ice cream.

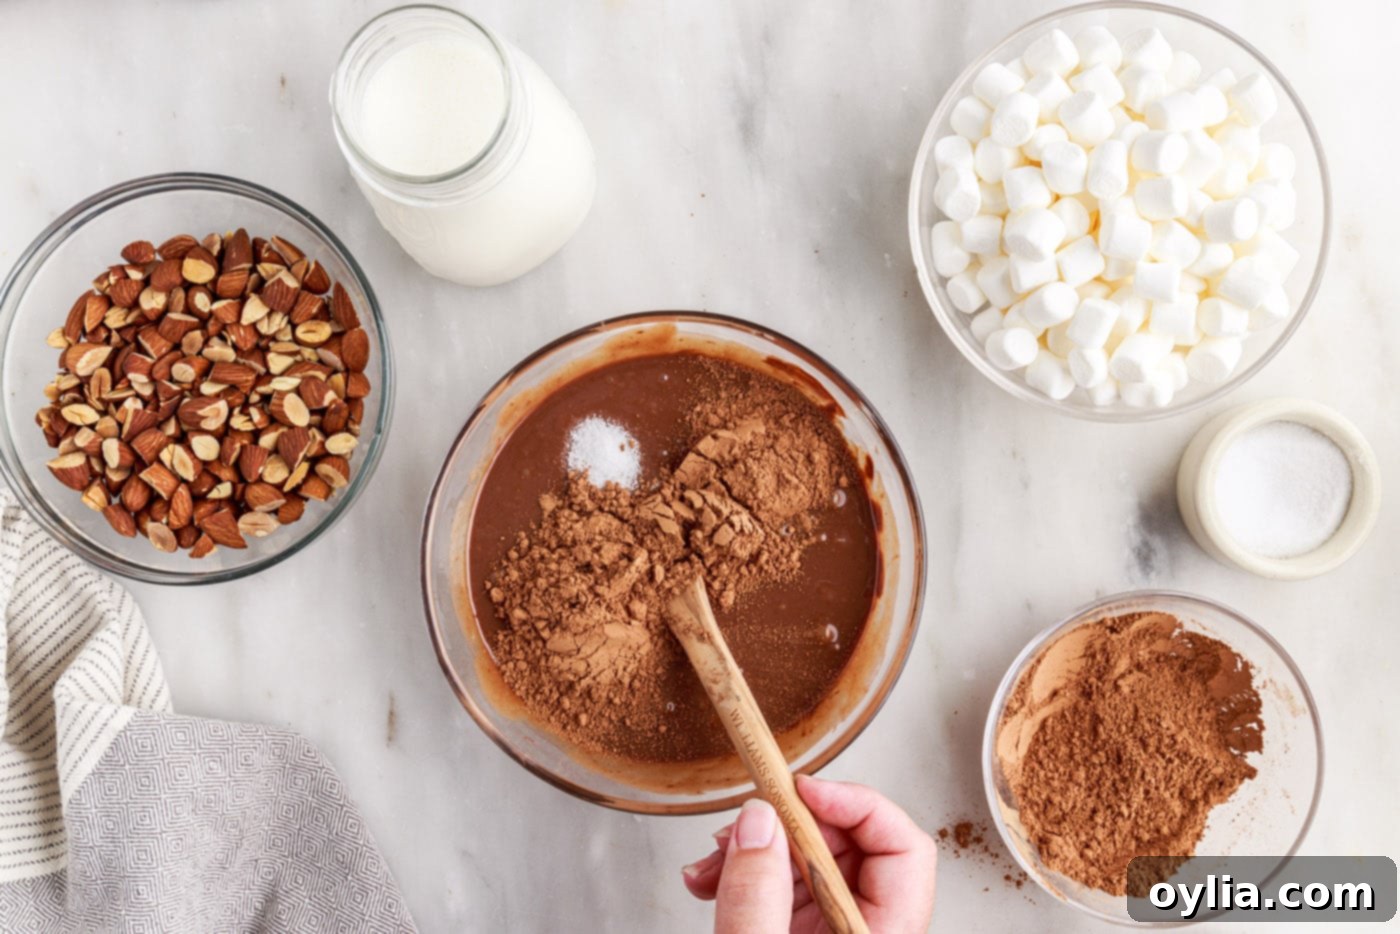
- Into this luscious chocolate-condensed milk mixture, stir in the sea salt, vanilla extract, and unsweetened cocoa powder. Mix diligently until all ingredients are fully incorporated, and the mixture becomes deeply chocolatey and wonderfully fragrant.

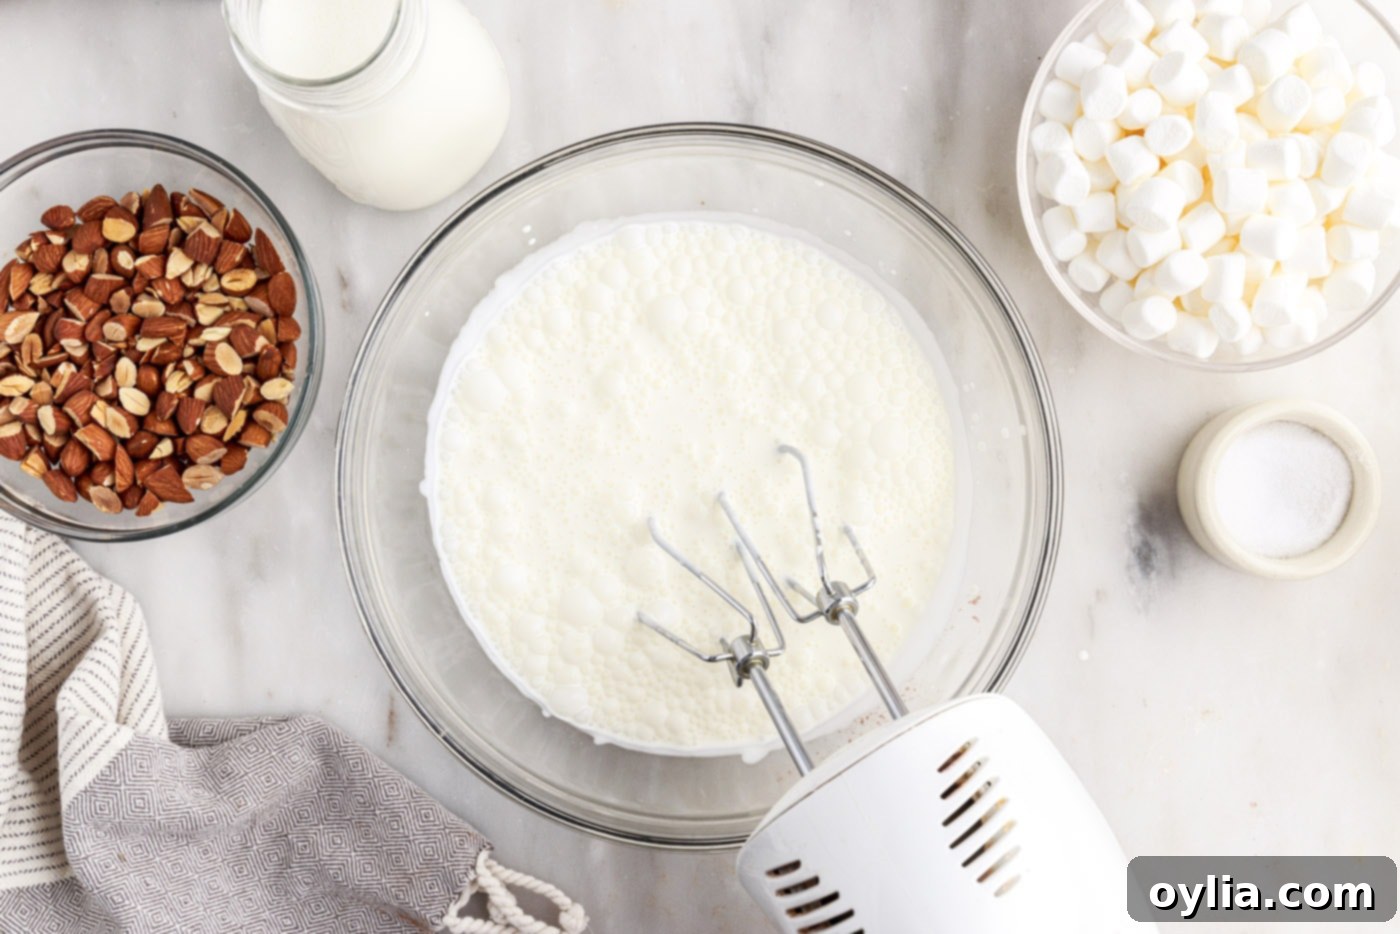
- In the clean bowl of a standing mixer fitted with a whisk attachment, or using a large bowl and a robust hand mixer, whip the very cold heavy cream until firm, stiff peaks form. Be vigilant not to over-whip, as this can cause the cream to become granular.

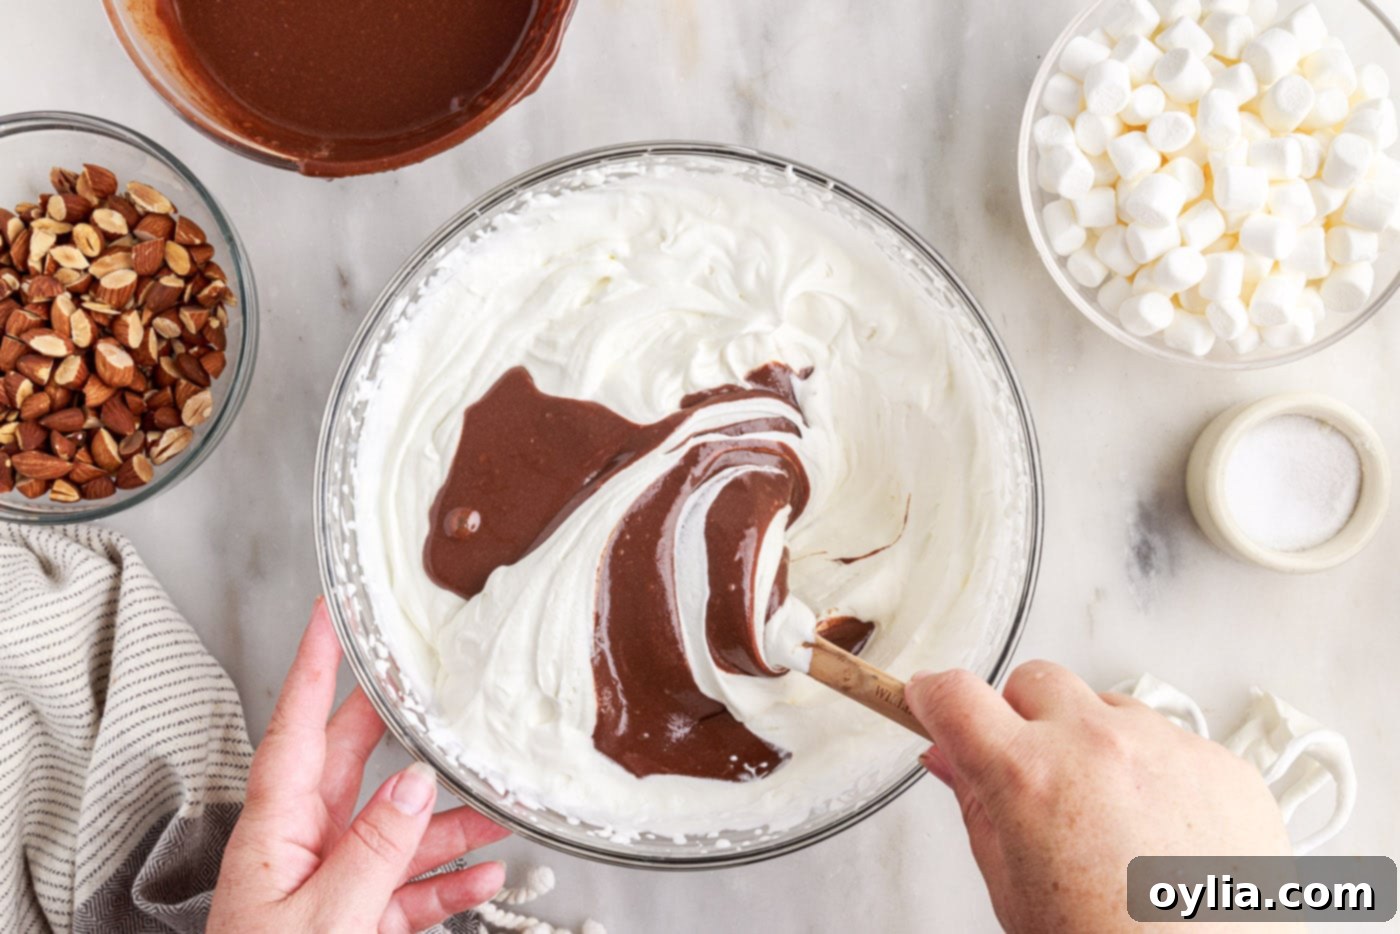
- With a flexible rubber spatula, gently and slowly fold the prepared chocolate mixture into the whipped cream. Add it in small increments, folding delicately using broad, upward strokes to maintain as much of the whipped cream’s volume and airy lightness as possible. The key here is to combine thoroughly without deflating the airy cream, which provides the incredibly soft and creamy texture of your no-churn ice cream.

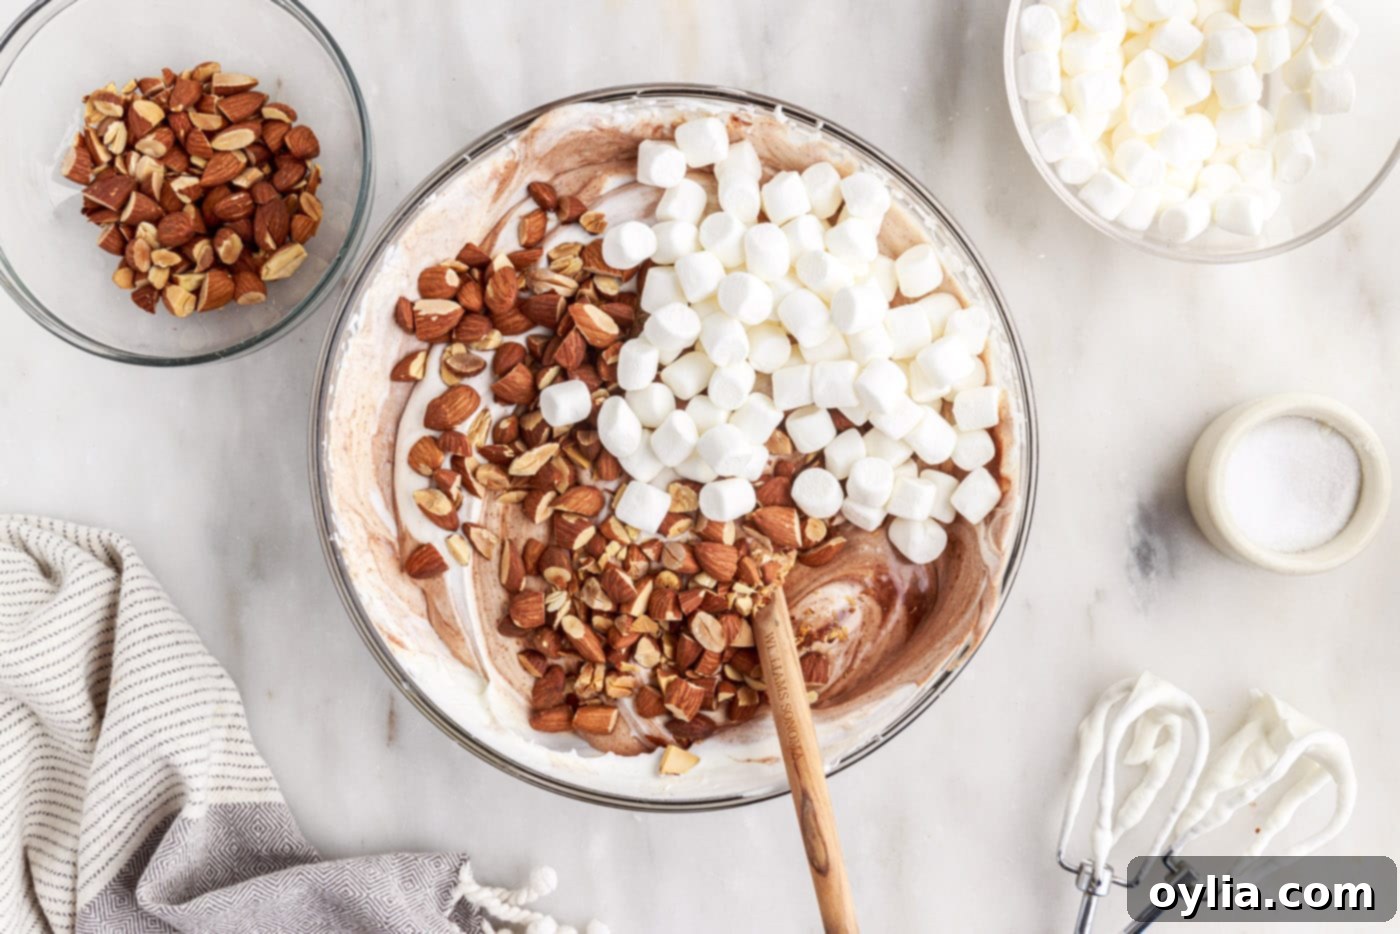
- Once the ice cream base is uniform and beautifully marbled, carefully fold in most of your chopped roasted almonds and 2 cups of the mini marshmallows. Make sure to reserve a good portion of the almonds and marshmallows to sprinkle generously on top of the ice cream later for an appealing finish and extra texture.

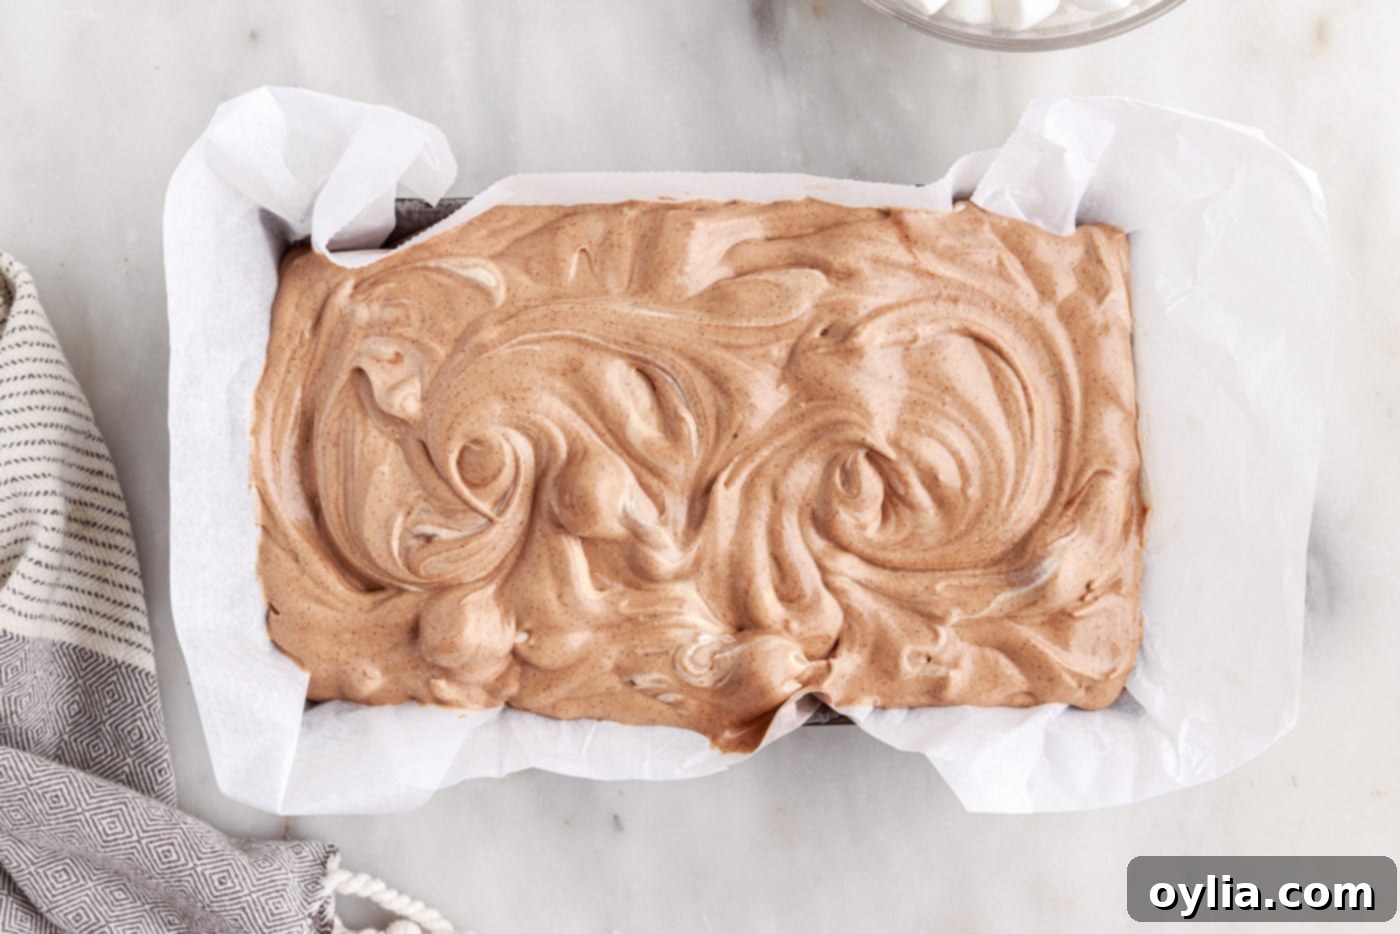
- Prepare a standard 9”x5” loaf pan by lining it completely with parchment paper, leaving an overhang on the sides for easy lifting. This smart step makes for effortless removal of your frozen ice cream once it’s set. Gently spoon the finished ice cream mixture into the prepared loaf pan, mounding it slightly if desired for a rustic look.

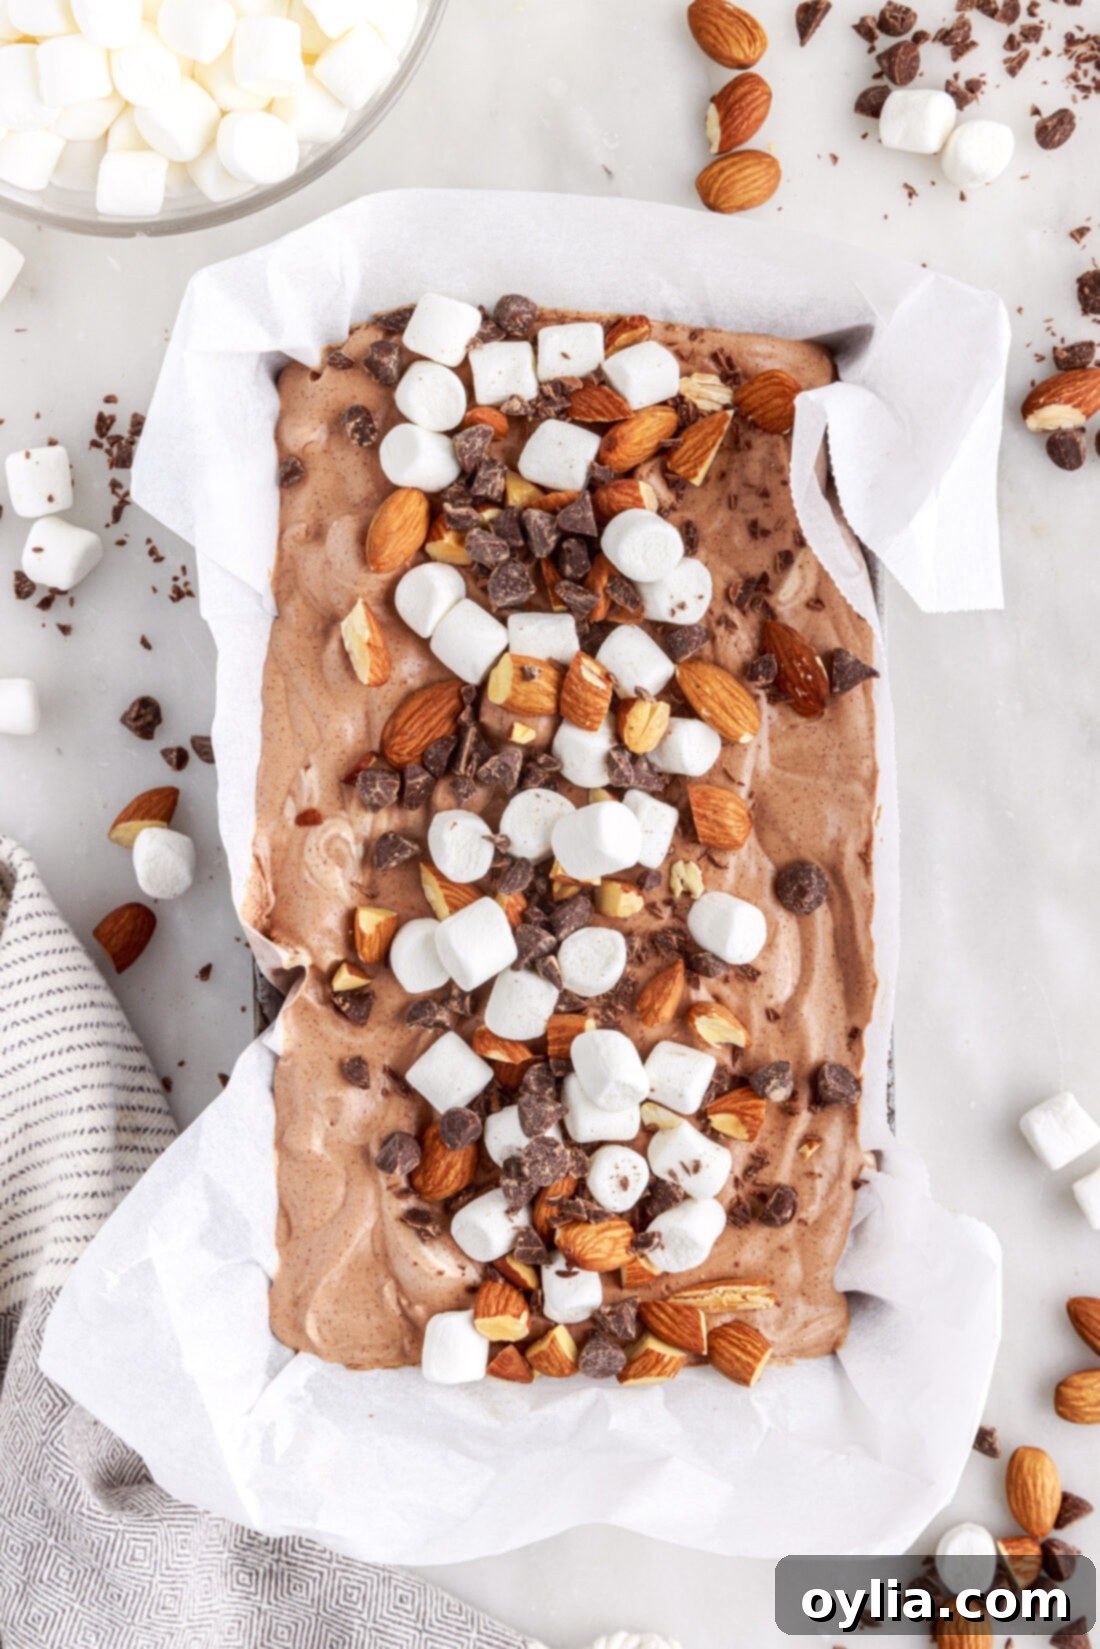
- Now for the grand and visually appealing finale! Generously top the ice cream mixture with the remaining roughly chopped chocolate chips (the other 1⁄2 cup you set aside earlier), the rest of the reserved almonds, and the remaining mini marshmallows. This creates a beautiful, inviting presentation and ensures every single scoop is packed with an abundance of delightful goodies.

- Carefully place the loaf pan in your freezer. Allow it to freeze for a minimum of 4 hours, or until the ice cream is completely solid and perfectly scoopable. For the absolute best results and a firm, creamy texture, we highly recommend considering an overnight freeze.
Frequently Asked Questions & Expert Tips for Perfect Rocky Road
To maintain its luxurious creamy texture and prevent the formation of unwanted ice crystals, it’s crucial to store your no-churn Rocky Road ice cream correctly. Keep it in the freezer for up to 1 month. The key is to cover it very tightly: first, press plastic wrap directly onto the surface of the ice cream to create an airtight seal, then cover the entire pan with aluminum foil, or transfer the ice cream to an airtight, freezer-safe container. This multi-layered protection effectively safeguards it from freezer burn and preserves its deliciousness.
Absolutely! No-churn ice cream is a fantastic make-ahead dessert, making it perfect for busy hosts or when you just want to have a quick, satisfying treat readily available. You can easily prepare it a day or two in advance, or even up to a full month, as long as you follow the proper storage guidelines mentioned above. This convenience makes it ideal for entertaining guests or simply ensuring you always have a delightful dessert on hand.
Several factors can influence how well your no-churn ice cream freezes. Firstly, ensure your heavy cream is whipped to true stiff peaks; this incorporates enough air, which is vital for the correct texture. Secondly, double-check that your sweetened condensed milk is not expired. However, the most common culprits are often insufficient freezing time or an inadequate freezer temperature. Your freezer should ideally be at 0°F (-18°C) or colder for optimal freezing. Allow at least 4-6 hours for the ice cream to firm up completely, or for best results, consider freezing it overnight. If you’re using a glass loaf pan, be aware that it conducts cold more slowly than metal pans, so it may indeed require an extra hour or two of chilling time.
Yes, absolutely! While semi-sweet chocolate chips are our standard recommendation and provide a beautifully balanced flavor, feel free to experiment with other types of chocolate to customize your Rocky Road. Using dark chocolate will result in a more intense, less sweet ice cream base, appealing to those who prefer a richer cacao flavor. Milk chocolate, conversely, will yield a sweeter, even creamier result. You can also chop up your favorite chocolate bar for a more gourmet touch and varied texture in your mix-ins. Just ensure that any chocolate used for the base is melted smoothly for a uniform consistency.
- Pre-Chill Your Mixing Bowl and Whisk: For superior whipping, place your mixing bowl and whisk attachment (or hand mixer beaters) in the freezer for 10-15 minutes before you begin whipping the heavy cream. This helps the cream whip faster and achieve those desirable firm peaks, especially helpful in a warm kitchen.
- Gentle Folding is Paramount: When it comes to combining the rich chocolate mixture with the airy whipped cream, gentle folding is absolutely key. Over-mixing will cause the air to deflate from the cream, which will result in a denser, less creamy, and potentially icier ice cream. Use a rubber spatula and employ broad, upward strokes to delicately combine the ingredients.
- Roast Your Own Almonds for Maximum Flavor: As mentioned earlier in our ingredient notes, taking the extra step to roast your own almonds truly elevates their nutty flavor and adds an irresistible aroma. Simply spread roughly chopped almonds evenly on a baking sheet and roast them in an oven preheated to 350°F (175°C) for approximately 7-10 minutes, or until they achieve a beautiful golden brown color and release a wonderfully fragrant aroma. Allow them to cool completely before incorporating them into the ice cream mixture.
- Don’t Be Shy with the Mix-ins: Rocky Road is celebrated for its generous additions! Feel completely free to adjust the quantities of marshmallows, almonds, and chocolate chips to perfectly suit your personal preference for maximum deliciousness and textural excitement. Load it up!
- Patience is a Virtue (Especially for Freezing): The most challenging part of making no-churn ice cream is undoubtedly waiting for it to freeze! Resist the urge to check it too soon. A minimum of 4 hours in the freezer is necessary for it to set, but for the absolute best, most scoopable, and perfectly firm texture, an overnight chilling often yields superior results.
Delightful Serving Suggestions for Your Rocky Road Masterpiece
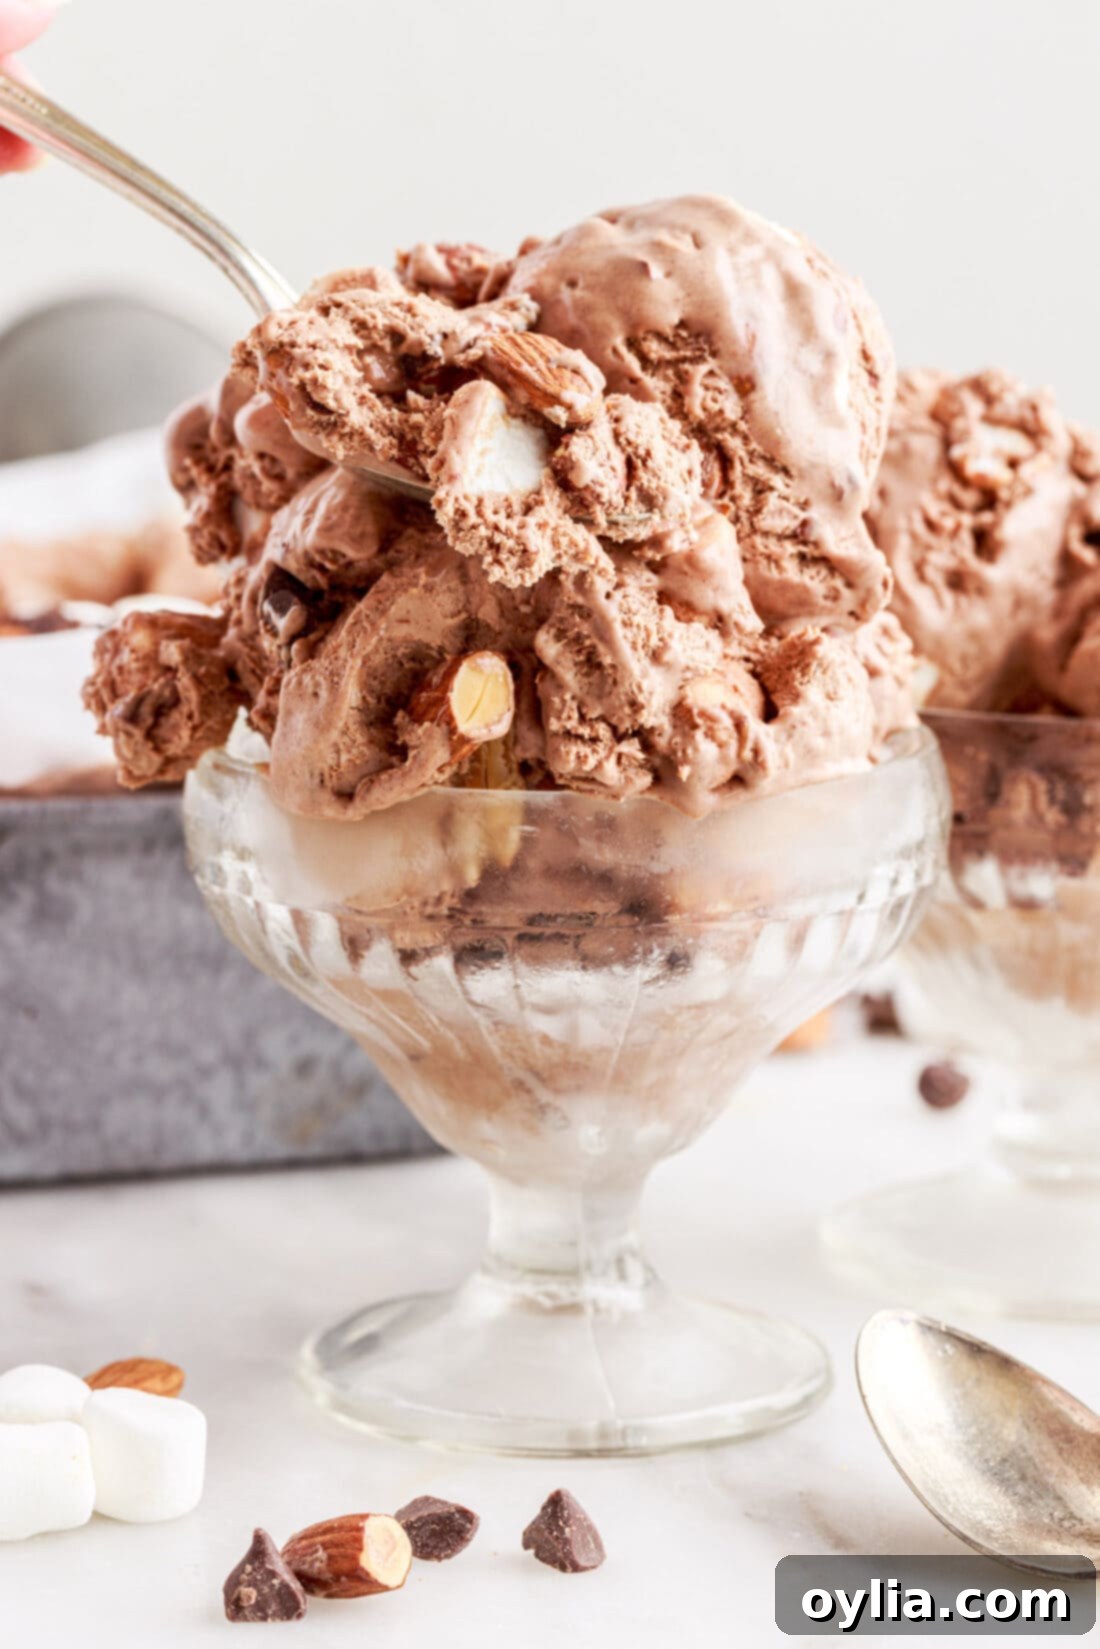
Once your homemade no-churn Rocky Road ice cream is perfectly frozen and ready, the serving possibilities are truly endless, allowing you to customize your dessert experience! We absolutely love to pile ours high with an extra generous amount of soft mini marshmallows, freshly roasted almonds, and additional chocolate chips or luxurious chocolate shavings. This strategy maximizes that iconic crunch and varied texture that Rocky Road is famous for, ensuring every bite is exciting. Serve your creamy masterpiece proudly in classic ice cream cones for a delightful, nostalgic feel, or present it elegantly in sophisticated dessert cups or bowls. For an extra touch of sheer indulgence, don’t hesitate to add a luscious dollop of freshly whipped cream and a decadent drizzle of rich chocolate fudge or warm caramel sauce. A tiny sprinkle of flaky sea salt can also beautifully elevate and balance all the sweet flavors. However you choose to serve it, get ready to enjoy every single scoop of this irresistible, easy-to-make, and incredibly satisfying treat!
Explore More Delicious & Easy Homemade Ice Cream Recipes
If you absolutely loved making this incredibly easy no-churn Rocky Road, then you’re truly in for a treat! Our kitchen is brimming with a wide array of other homemade ice cream recipes that are just as delightful, simple to prepare, and guaranteed to satisfy your sweet tooth. Whether you’re a devoted fan of classic, comforting flavors or eager to explore something new, exciting, and perhaps a bit adventurous, our extensive collection has something wonderful for everyone. Dive into these creamy, dreamy creations and effortlessly expand your dessert repertoire with more homemade goodness:
- Classic Chocolate Ice Cream
- Fun Birthday Cake Rolled Ice Cream
- Easy No-Churn Birthday Cake Ice Cream
- Decadent Nutella Swirl Cheesecake Ice Cream
- Refreshing Vanilla Blackberry Jam Ice Cream
- Rich Peanut Butter Chocolate Chip Ice Cream
- Homemade Mint Chocolate Chip Ice Cream (our most popular!)
I love to bake and cook and share my kitchen experience with all of you! Remembering to come back each day can be tough, that’s why I offer a convenient newsletter every time a new recipe posts. Simply subscribe and start receiving your free daily recipes!

No-Churn Rocky Road Ice Cream
IMPORTANT – There are often Frequently Asked Questions within the blog post that you may find helpful. Simply scroll back up to read them!
Print It
Pin It
Rate It
Save ItSaved!
Ingredients
- 1 cup semi-sweet chocolate chips divided
- 14 ounces sweetened condensed milk
- ¼ teaspoon sea salt
- 2 teaspoons vanilla extract
- ¼ cup unsweetened cocoa powder
- 3 cups heavy whipping cream
- 2 cups roasted almonds lightly chopped, divided
- 2 ½ cups mini marshmallows divided
Things You’ll Need
-
9×5 loaf pan
-
Electric mixer
-
Mixing bowls
Before You Begin
- We find that using metal loaf pans is preferable as they tend to freeze the ice cream mixture quicker and more efficiently. While a glass pan will certainly do the job effectively, it may require an extra hour or two of chilling time. When planning, allot for a total of 4-6 hours for this ice cream to set and become perfectly scoopable.
- No-churn ice cream inherently requires no added granulated sugar, as it cleverly derives all its delightful sweetness directly from the sweetened condensed milk. It naturally results in a slightly softer-set ice cream compared to traditional churned varieties, which contributes to its wonderfully creamy and melt-in-your-mouth texture.
- For the most robust and authentic flavor, we highly recommend taking the time to roast your own almonds. Simply chop them roughly, spread them evenly on a baking sheet, and roast them in an oven preheated to 350°F (175°C) for approximately 7-10 minutes, or until they turn a beautiful golden brown and become exquisitely fragrant. Allow them to cool completely before incorporating them into your ice cream. While roasted almonds offer an enhanced flavor profile, raw almonds can also be used successfully.
- Feel completely free to customize the amount of mini marshmallows, roasted almonds, and chocolate chips or chocolate shavings you add to the top of your ice cream. We’re big fans of loading ours up generously for maximum crunch, texture, and visual appeal!
- Store your finished no-churn Rocky Road ice cream in the freezer for up to 1 month. For optimal freshness and to diligently prevent any freezer burn, ensure it’s covered very tightly with plastic wrap directly touching the surface, then wrapped again with aluminum foil, or transferred to an airtight, high-quality freezer-safe container.
Instructions
-
In a glass bowl, microwave 1⁄2 cup of the chocolate chips in 30-second intervals, stirring between each interval, until the chocolate chips are melted and smooth.
-
Slowly pour the sweetened, condensed milk into the melted chocolate, whisking to combine into a smooth mixture.
-
Add sea salt, vanilla extract, and cocoa powder into the chocolate mixture.
-
In the bowl of a standing mixer, or using a hand mixer and large bowl, whip the heavy cream until stiff peaks form.
-
Slowly pour and the fold the chocolate mixture into the whipped cream, adding just a little at a time so as not to deflate the whipped cream.
-
Fold in most of the almonds and 2 cups of the mini marshmallows, reserving the rest for the top of the ice cream.
-
Line a standard 9”x5” loaf pan with parchment paper. Mound the ice cream mixture into the loaf pan.
-
Top with roughly chopped chocolate chips (use the remaining 1⁄2 cup of chips), the remaining almonds and mini marshmallows.
-
Freeze for at least 4 hours or until the ice cream is solid and scoopable.
Nutrition
The recipes on this blog are tested with a conventional gas oven and gas stovetop. It’s important to note that some ovens, especially as they age, can cook and bake inconsistently. Using an inexpensive oven thermometer can assure you that your oven is truly heating to the proper temperature. If you use a toaster oven or countertop oven, please keep in mind that they may not distribute heat the same as a conventional full sized oven and you may need to adjust your cooking/baking times. In the case of recipes made with a pressure cooker, air fryer, slow cooker, or other appliance, a link to the appliances we use is listed within each respective recipe. For baking recipes where measurements are given by weight, please note that results may not be the same if cups are used instead, and we can’t guarantee success with that method.
