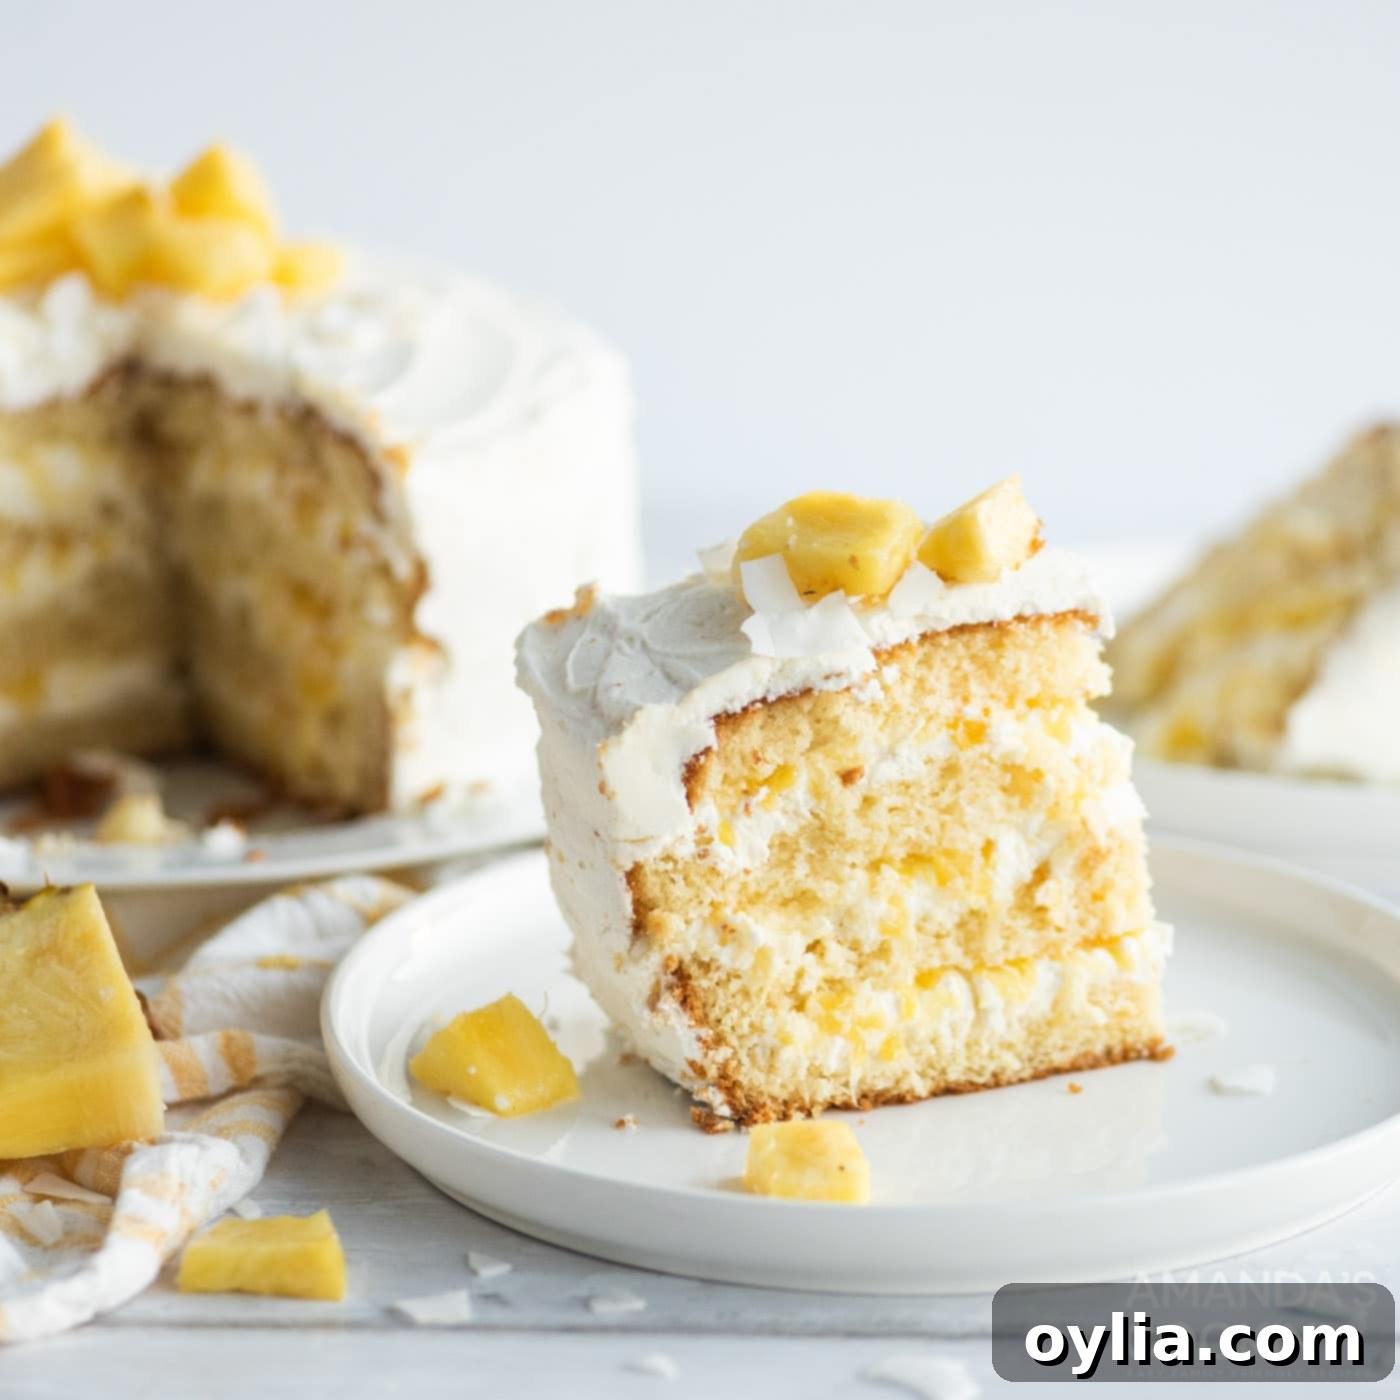
Easy Tropical Pineapple Cake with Cream Cheese Coconut Frosting
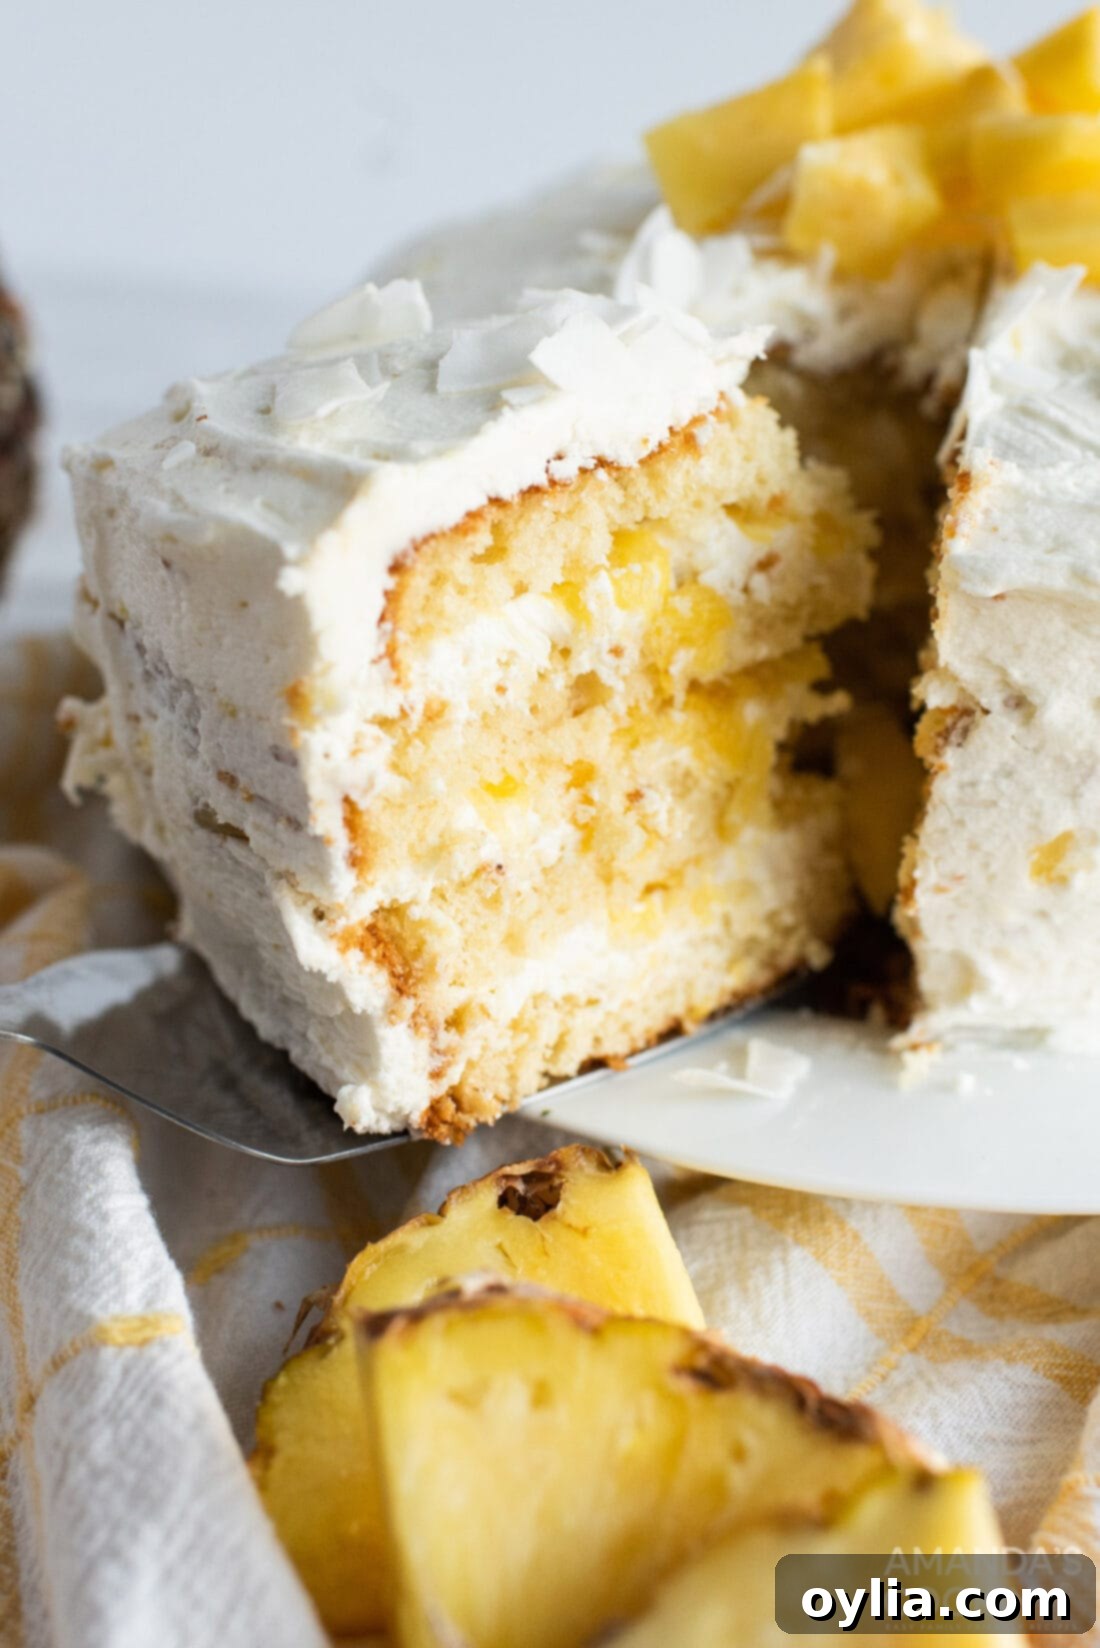
Prepare to be enchanted by this incredible Pineapple Cake recipe, a delightful blend of tropical flavors that promises pure bliss in every bite. We start with a cleverly enhanced white cake mix, creating a foundation that is wonderfully moist and tender. This fluffy base is then generously layered with a luscious cream cheese and crushed pineapple filling, offering a perfect balance of tangy sweetness. To top it all off, a smooth, dreamy coconut-pineapple infused cream cheese frosting adds an irresistible finish, making this cake an absolute showstopper for any gathering.
Why This Pineapple Cake Recipe Is a Must-Try
While pineapple upside-down cake holds a special place in many hearts, a classic, layered pineapple cake offers a unique and equally enchanting experience. Our version takes the humble white cake mix and elevates it into an impressive, gourmet-tquality dessert with minimal effort. This recipe works wonders because it leverages simple shortcuts to create complex, tropical flavors that taste completely homemade.
The magic truly happens with the harmonious combination of pineapple and coconut. These two tropical powerhouses are like a match made in heaven, always creating a sensation when paired in desserts. The bright, tangy sweetness of pineapple perfectly complements the rich, nutty notes of coconut, delivering a taste that instantly transports you to a sun-drenched beach. While this Pineapple Coconut Cake unmistakably screams spring and summer, its comforting and celebratory nature makes it surprisingly popular during Thanksgiving, Christmas, and Easter too. It’s a truly versatile, year-round cake that adds a touch of elegance and tropical flair to any dessert table it graces, making it a guaranteed crowd-pleaser for all seasons and occasions.
Gather Your Ingredients for This Tropical Delight
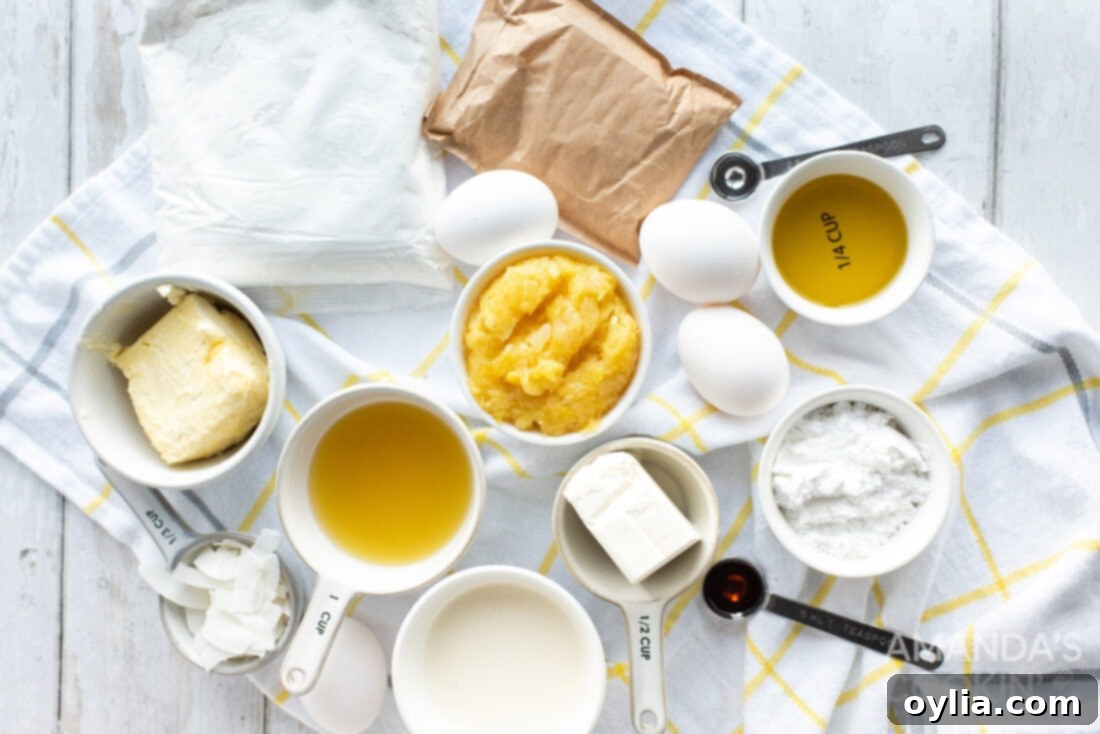
To embark on your journey to create this mouthwatering pineapple coconut cake, you’ll need a selection of simple ingredients that come together to form an extraordinary dessert. From the base cake mix to the creamy filling and luscious frosting, each component plays a vital role. For a complete list of all measurements, specific ingredients, and detailed instructions, please refer to the printable recipe card located at the very end of this comprehensive guide. We’ve laid out everything you need to know for a successful baking experience!
Ingredient Spotlight & Expert Substitution Tips
Let’s dive deeper into the key ingredients that make this tropical pineapple cake truly special, along with some helpful substitution suggestions to suit your pantry and preferences:
- CAKE BASE: We’re starting with a standard white cake mix for convenience and consistent results. The real secret weapon here is the addition of instant vanilla pudding mix and reserved pineapple juice directly into the batter. The dry pudding mix isn’t prepared; it’s simply added to the cake mix to infuse extra moisture, tenderness, and a richer flavor profile, making the cake taste less like a box mix and more like it was made from scratch. Make sure to grab *instant* pudding, not cook-and-serve. If vanilla isn’t your preference, you can certainly experiment with instant pineapple pudding mix for an even more intense pineapple flavor, or even a cheesecake flavored pudding for a creamy twist.
- PINEAPPLE JUICE: This is crucial for both the cake and the icing. When you drain your crushed pineapple, be sure to reserve the juice. This pineapple juice not only moistens the cake batter but also adds an authentic, bright pineapple flavor that artificial extracts can’t quite replicate. It’s also vital for achieving the perfect consistency and flavor in our glorious frosting.
- FILLING: The heart of this cake is its delightful cream cheese filling. You’ll need softened cream cheese – full-fat is highly recommended for the best texture and flavor. Combined with powdered sugar for sweetness and structure, and a touch of coconut extract to tie into our tropical theme, this forms a rich base. The heavy whipping cream is beaten to stiff peaks and gently folded in, creating a light, airy, and incredibly creamy texture that beautifully complements the cake layers.
- CRUSHED PINEAPPLE: This recipe uses two cans of crushed pineapple. One will be used primarily for its juice in the cake batter and frosting, with the crushed fruit sprinkled over the filling layers. The second can’s juice is reserved specifically for the icing, ensuring you have enough liquid to achieve the desired consistency, while its crushed fruit provides an excellent garnish. Ensure it’s well-drained for the filling layers to prevent sogginess.
- ICING: The crowning glory! Our frosting starts with softened butter, creamed until light and fluffy. This forms the backbone of a classic buttercream. Powdered sugar provides sweetness and structure, while more coconut extract amplifies the tropical notes. The reserved pineapple juice is the liquid component, allowing you to adjust the frosting’s consistency to be perfectly smooth and spreadable.
- UNSWEETENED SHREDDED COCONUT: This is used as a beautiful and flavorful garnish. You can use sweetened or unsweetened, shredded or flaked, depending on your preference for sweetness and texture. Toasted coconut can also add another layer of flavor and visual appeal.
By understanding each ingredient’s role and knowing your substitution options, you’ll be well-equipped to bake a truly personalized and perfect pineapple cake every time!
Step-by-Step Guide: Crafting Your Perfect Pineapple Cake
These step-by-step photos and instructions are designed to help you visualize each stage of making this delectable tropical cake. For a convenient printable version of this recipe, complete with precise measurements and detailed instructions, simply Jump to Recipe at the bottom of this post.
- First, prepare your baking pans. Thoroughly grease two 8 or 9-inch round cake pans to prevent sticking, ensuring your cakes release cleanly.
- Preheat your oven to 350 degrees F (175 degrees C). This allows the oven to reach and maintain the correct temperature for even baking.
- In a large mixing bowl, using an electric mixer, combine the white cake mix, dry instant vanilla pudding mix, eggs, olive oil, vanilla extract, and reserved pineapple juice. Start mixing on a low speed until all the dry ingredients are just moistened. Once combined, increase the speed to medium and beat for approximately 2 minutes. This ensures a well-aerated, smooth batter.
- Divide the cake batter evenly between your two greased pans.
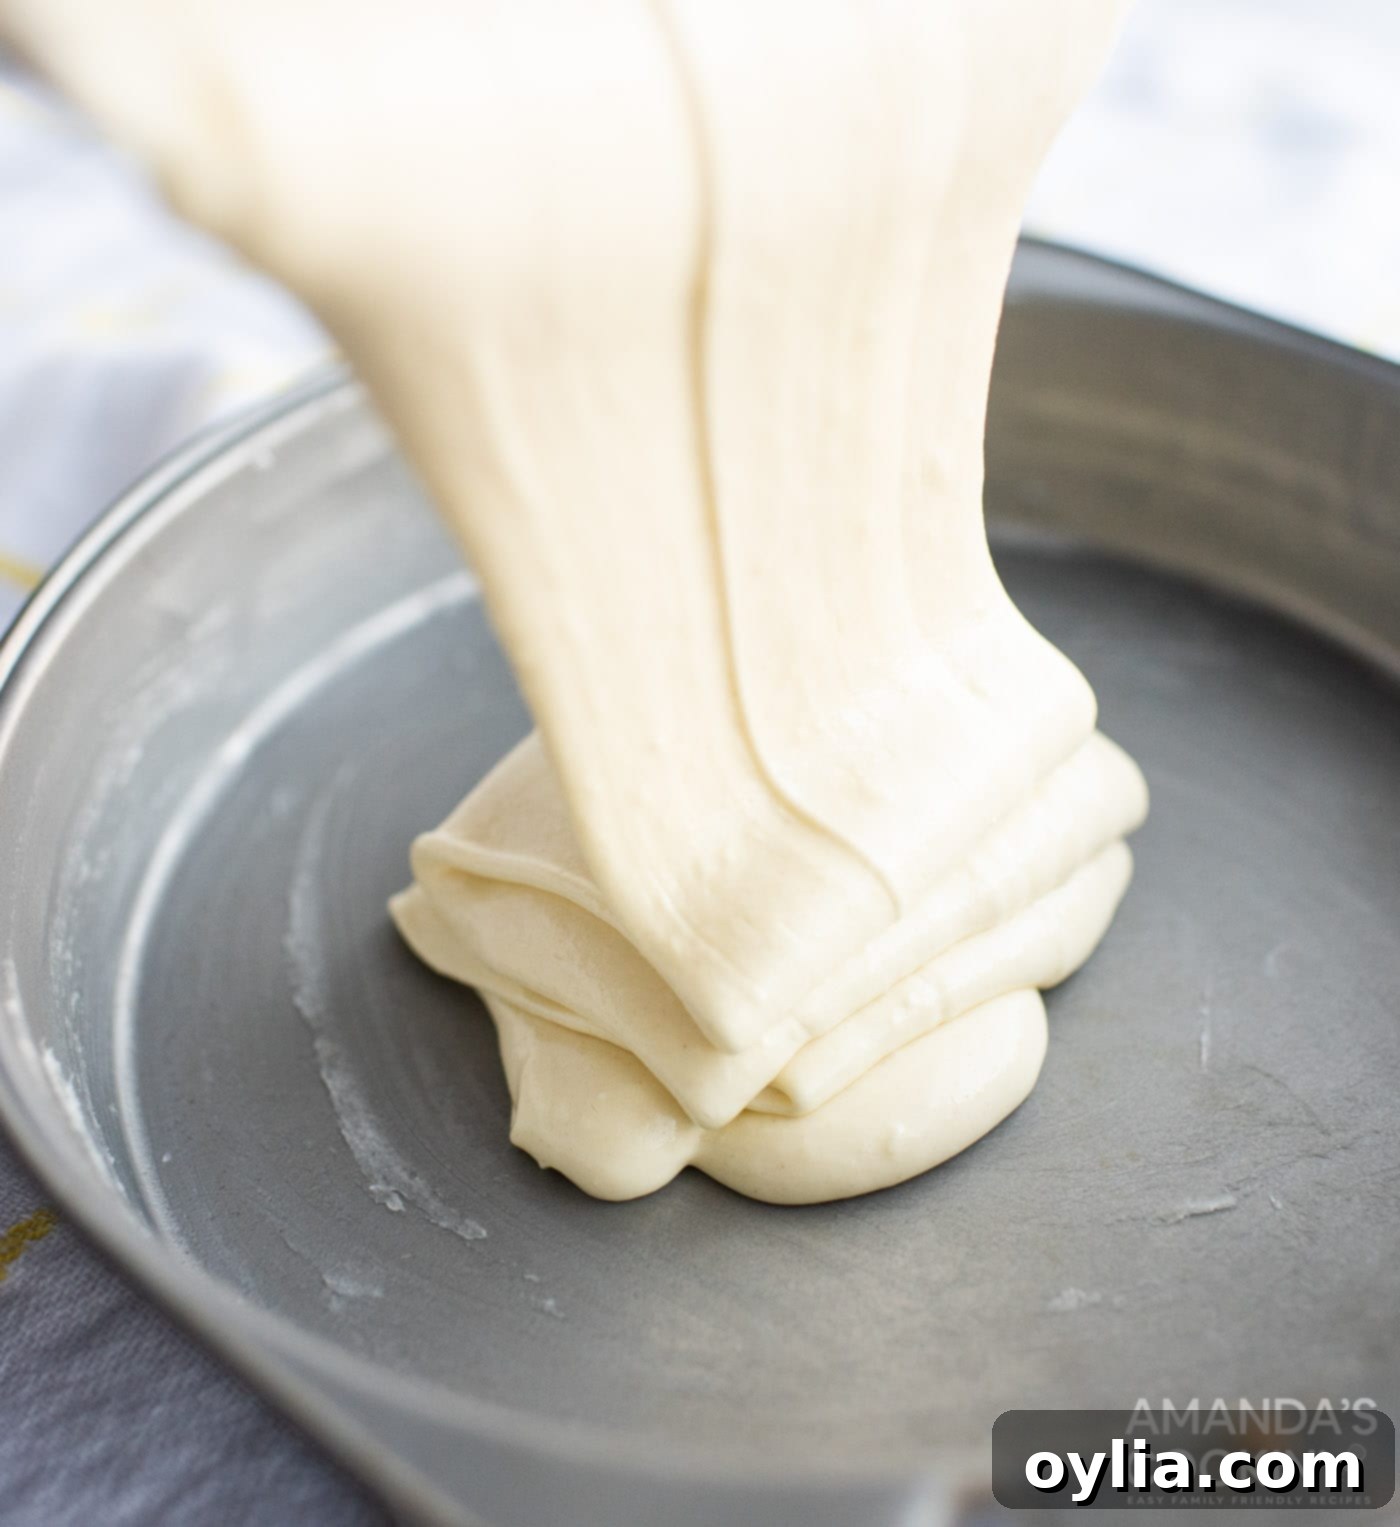 Bake for 25-30 minutes, or until a toothpick inserted into the center of a cake comes out clean. This indicates that the cakes are fully cooked. Allow the cakes to cool in their pans for 10-15 minutes before carefully inverting them onto a cooling rack to cool completely. Cooling thoroughly is essential before frosting to prevent melting.
 - While the cakes are cooling, prepare the creamy filling. In a bowl, beat the softened cream cheese until it’s light and smooth. Gradually add the powdered sugar and coconut extract, mixing until completely combined and creamy. In a separate bowl, beat the heavy cream until stiff peaks form. Gently fold the whipped cream into the cream cheese mixture until just combined. Be careful not to overmix, as this will deflate the airy texture. Set the finished filling aside in the refrigerator to chill slightly.
- Next, prepare the dreamy coconut pineapple icing. In a clean bowl, cream the softened butter with an electric mixer until light and fluffy. Gradually add the powdered sugar, coconut extract, and reserved pineapple juice, mixing until a smooth, desired consistency is reached. You may need to adjust the amount of pineapple juice to get your ideal frosting texture – add more for a thinner consistency, less for a thicker one.
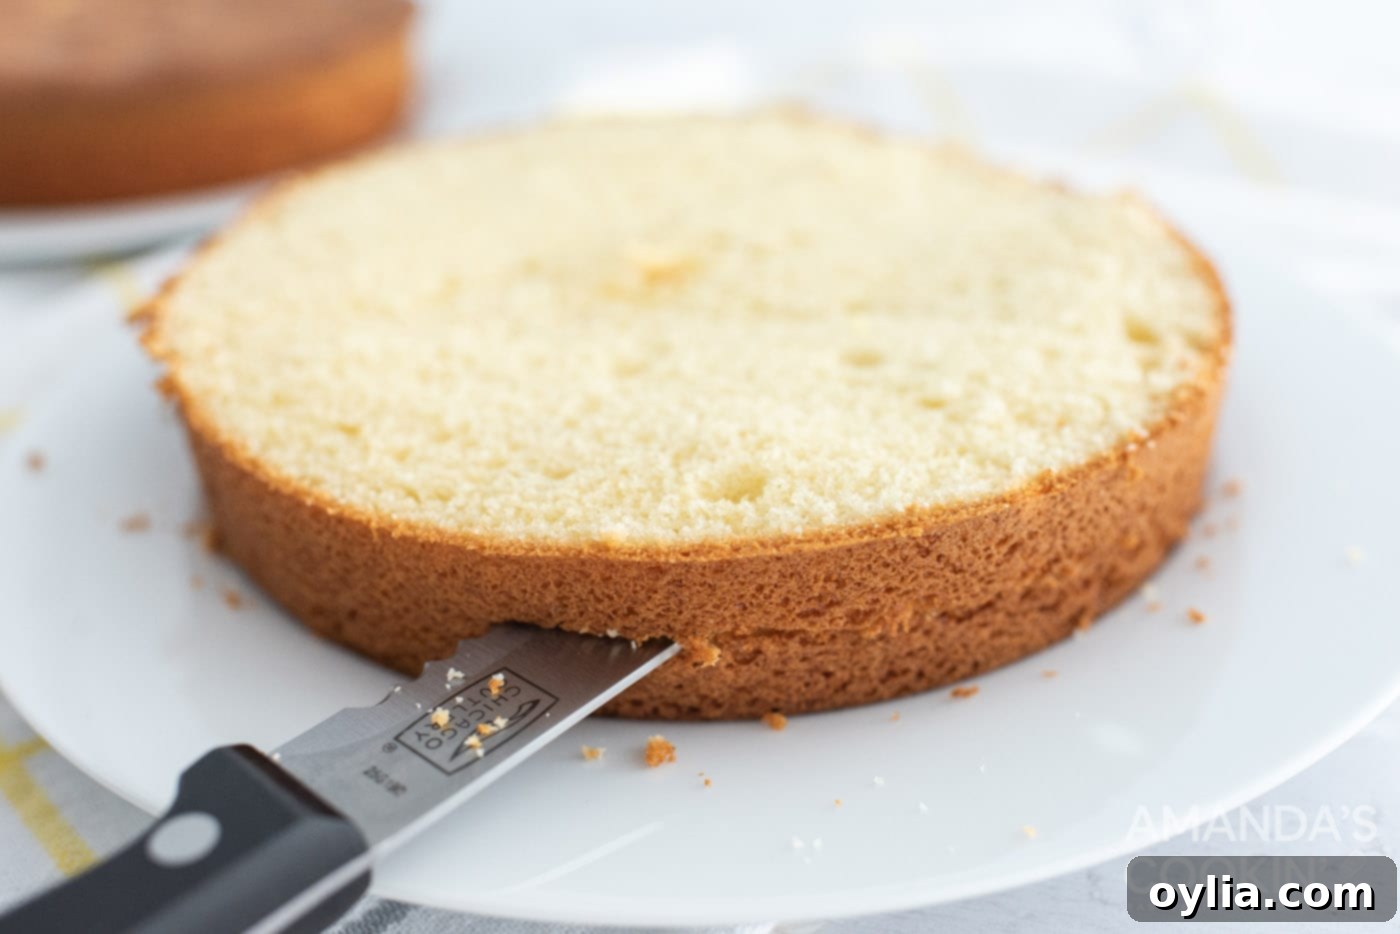
- Once your cake layers are completely cool, use a long, serrated knife to carefully cut each cake in half horizontally, creating four thin layers. Place one bottom cake layer on a plate or a sturdy cake stand.
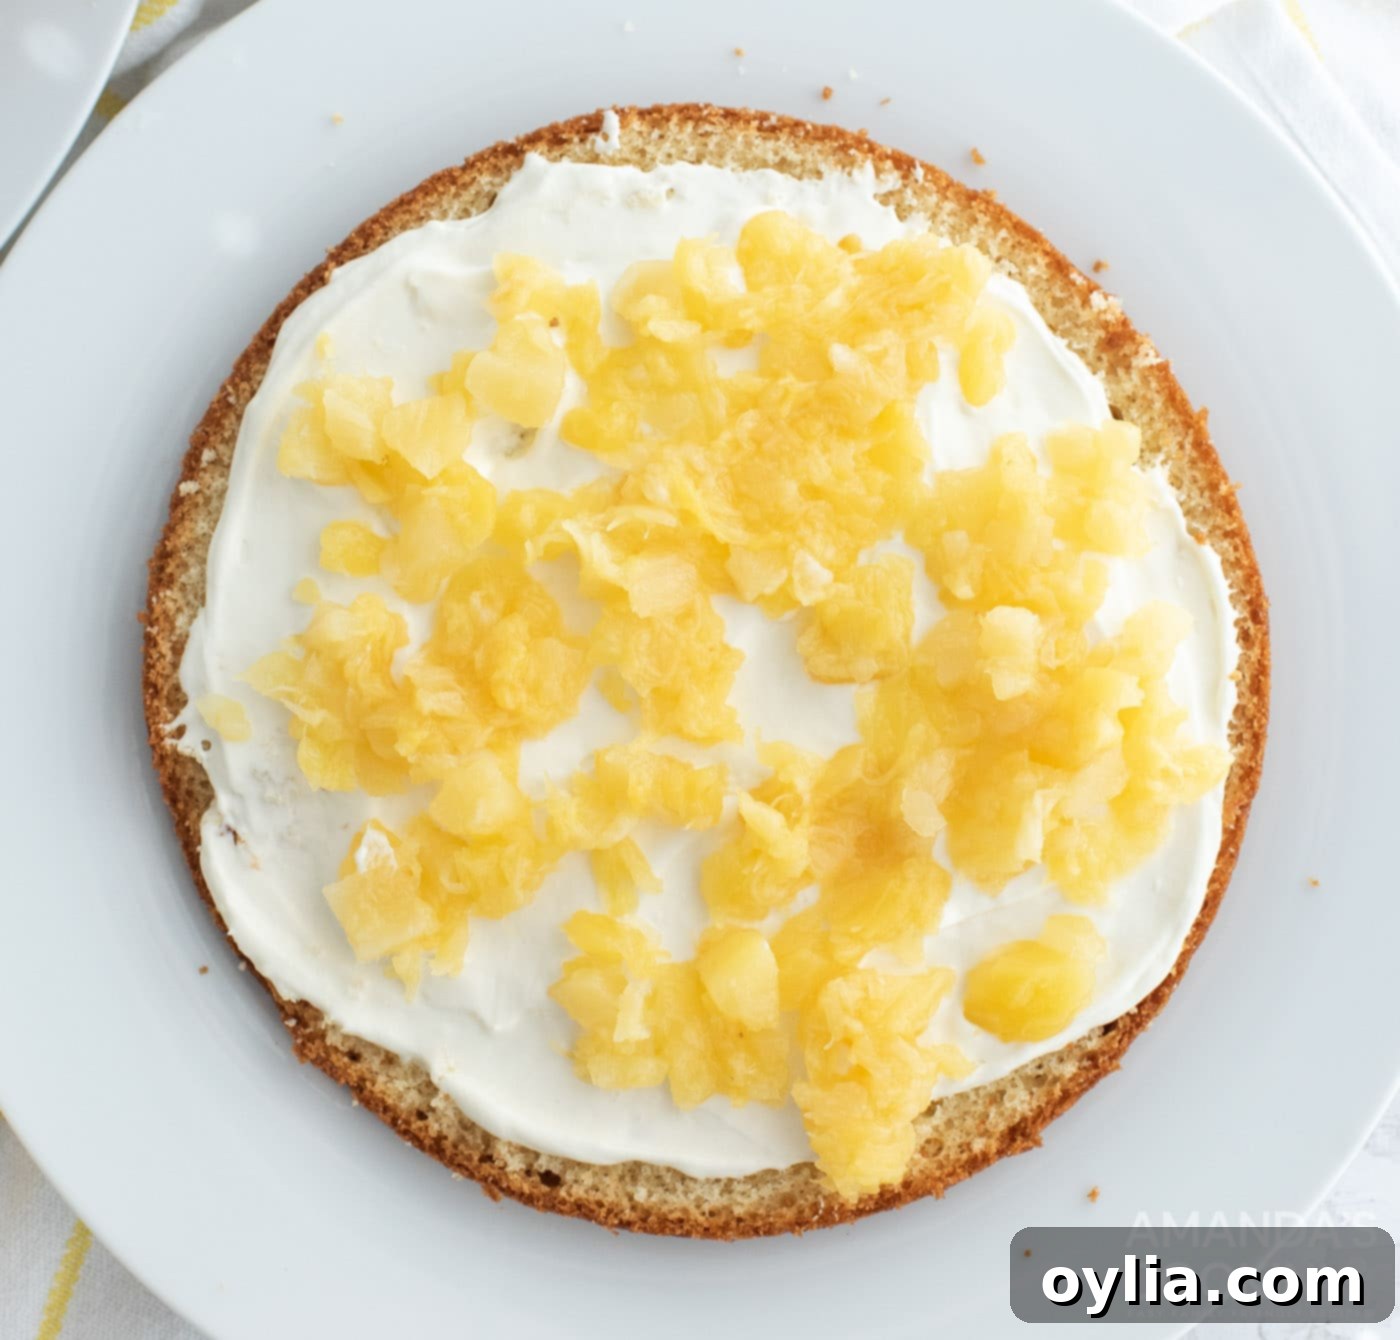
 Spread a generous layer of the cream cheese filling evenly over the cake. Then, sprinkle a portion of the drained crushed pineapple on top of the filling.
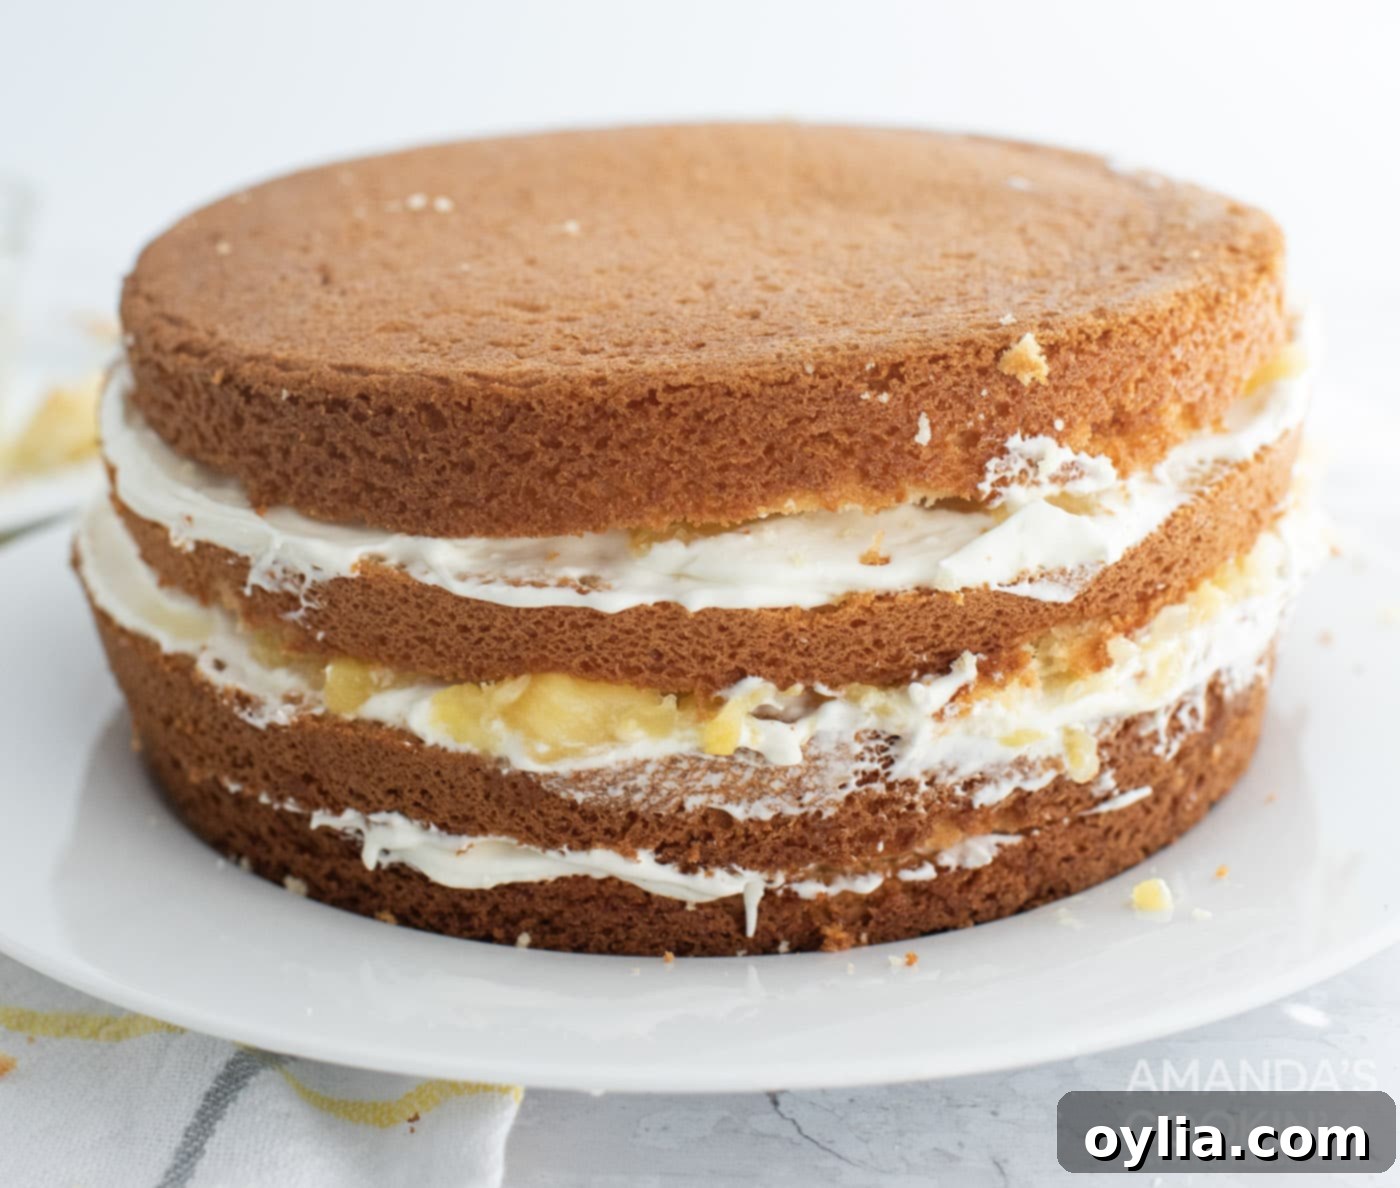
- Repeat the layering process: Add another cake layer, spread with filling, and sprinkle with crushed pineapple. Continue with the third layer. Finally, place the last cake top layer on. To help the cake set and make frosting easier, place the layered cake in the refrigerator for approximately 30 minutes.
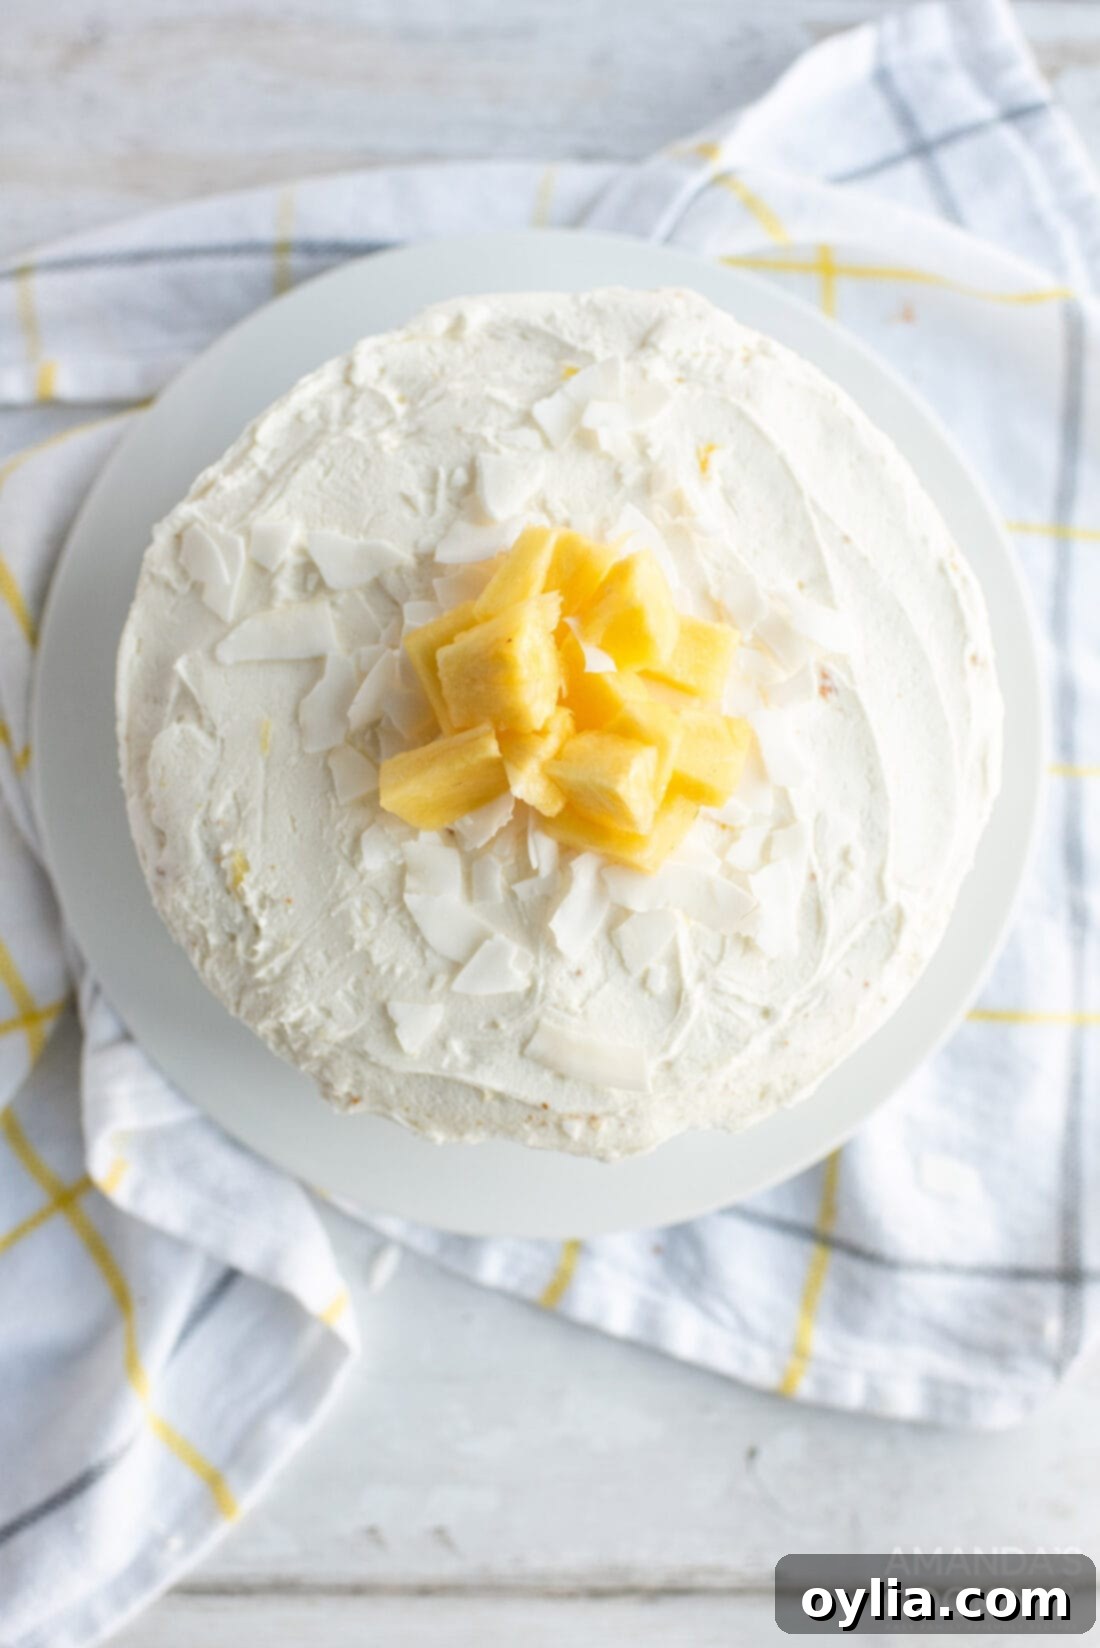
- Remove the chilled cake from the fridge. Apply the coconut pineapple icing to the entire cake, spreading it evenly over the top and sides with an offset spatula or knife. For a beautiful finish, generously sprinkle unsweetened shredded coconut over the frosted cake.
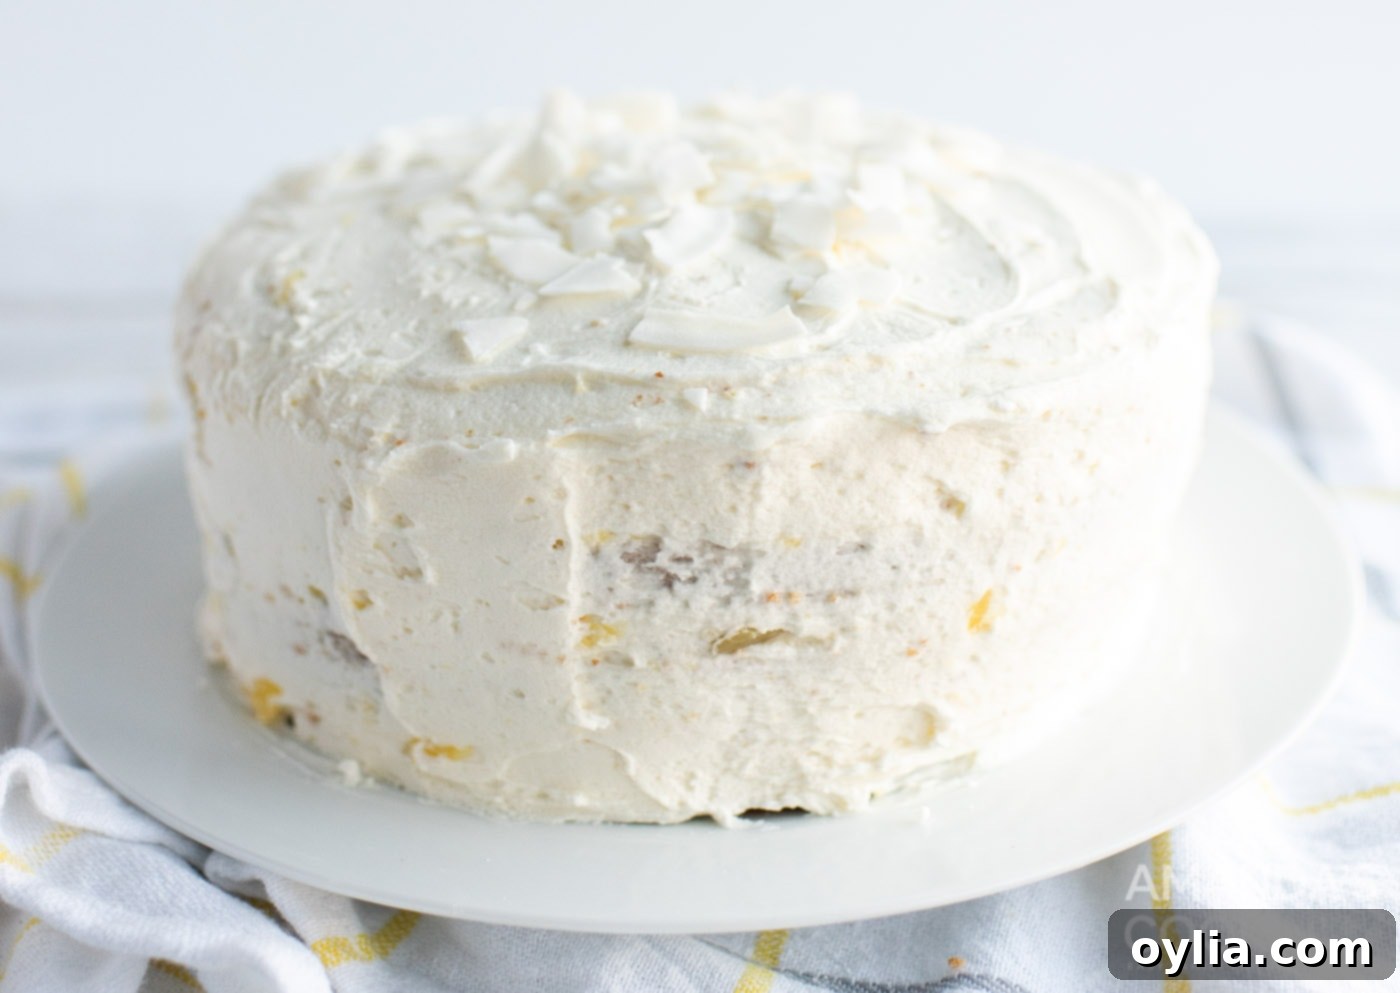 If desired, garnish with additional coconut flakes or pineapple slices and chunks for an extra festive look. Serve chilled or at room temperature.
Frequently Asked Questions & Expert Tips for Pineapple Cake Success
Absolutely! This pineapple cake freezes beautifully, making it perfect for preparing ahead or saving leftovers. To freeze, allow your fully assembled and frosted cake to cool completely. For best results, I recommend flash-freezing it unwrapped for about an hour or two until the frosting is firm. This prevents the plastic wrap from sticking. Once firm, remove it from the freezer, wrap it tightly in plastic wrap, and then follow with a layer of aluminum foil. This double-layer protection helps prevent freezer burn. Place it back in the freezer, where it will last for approximately 3-4 months. When you’re ready to enjoy, immediately unwrap the cake upon taking it out of the freezer to prevent the plastic wrap from fusing with the frosting as it thaws. Let it thaw in the refrigerator overnight or at room temperature for a few hours before serving.
Due to the cream cheese in the filling and frosting, this tropical cake must be stored in the refrigerator. Keep it in an airtight cake carrier or under a cake dome to maintain its freshness and prevent it from drying out or absorbing other odors from the fridge. Stored correctly, your pineapple cake will remain delicious for 3-4 days.
Yes, absolutely! This is an excellent cake to prepare a day ahead, especially for entertaining. Making it in advance allows the flavors to meld beautifully, often enhancing the overall taste. Simply assemble and frost the cake as directed, then store it in an airtight container in the refrigerator until you’re ready to serve. This also helps firm up the layers and frosting, making slicing easier.
Expert Tips for a Flawless Pineapple Cake:
- Room Temperature Ingredients: For the cream cheese and butter in the filling and frosting, ensure they are at true room temperature. This is crucial for a smooth, lump-free consistency and easier mixing.
- Drain Pineapple Well: When using crushed pineapple for the filling, make sure to drain it thoroughly to prevent excess moisture from making your cake soggy. Pat it dry with paper towels if needed.
- Don’t Overmix: When mixing the cake batter and especially when folding the whipped cream into the cream cheese filling, mix only until just combined. Overmixing can lead to a tough cake or a deflated filling.
- Level Your Cakes: For perfectly even layers, use a serrated knife or a cake leveling tool to trim any domes off the cooled cake layers before slicing them horizontally.
- Chill for Stability: Chilling the cake after layering and before the final frosting step is a game-changer. It helps set the filling and firm up the cake, making it much easier to frost cleanly and prevent shifting.
- Adjust Frosting Consistency: If your frosting is too thick, add more reserved pineapple juice a teaspoon at a time until it’s spreadable. If it’s too thin, add a bit more powdered sugar.
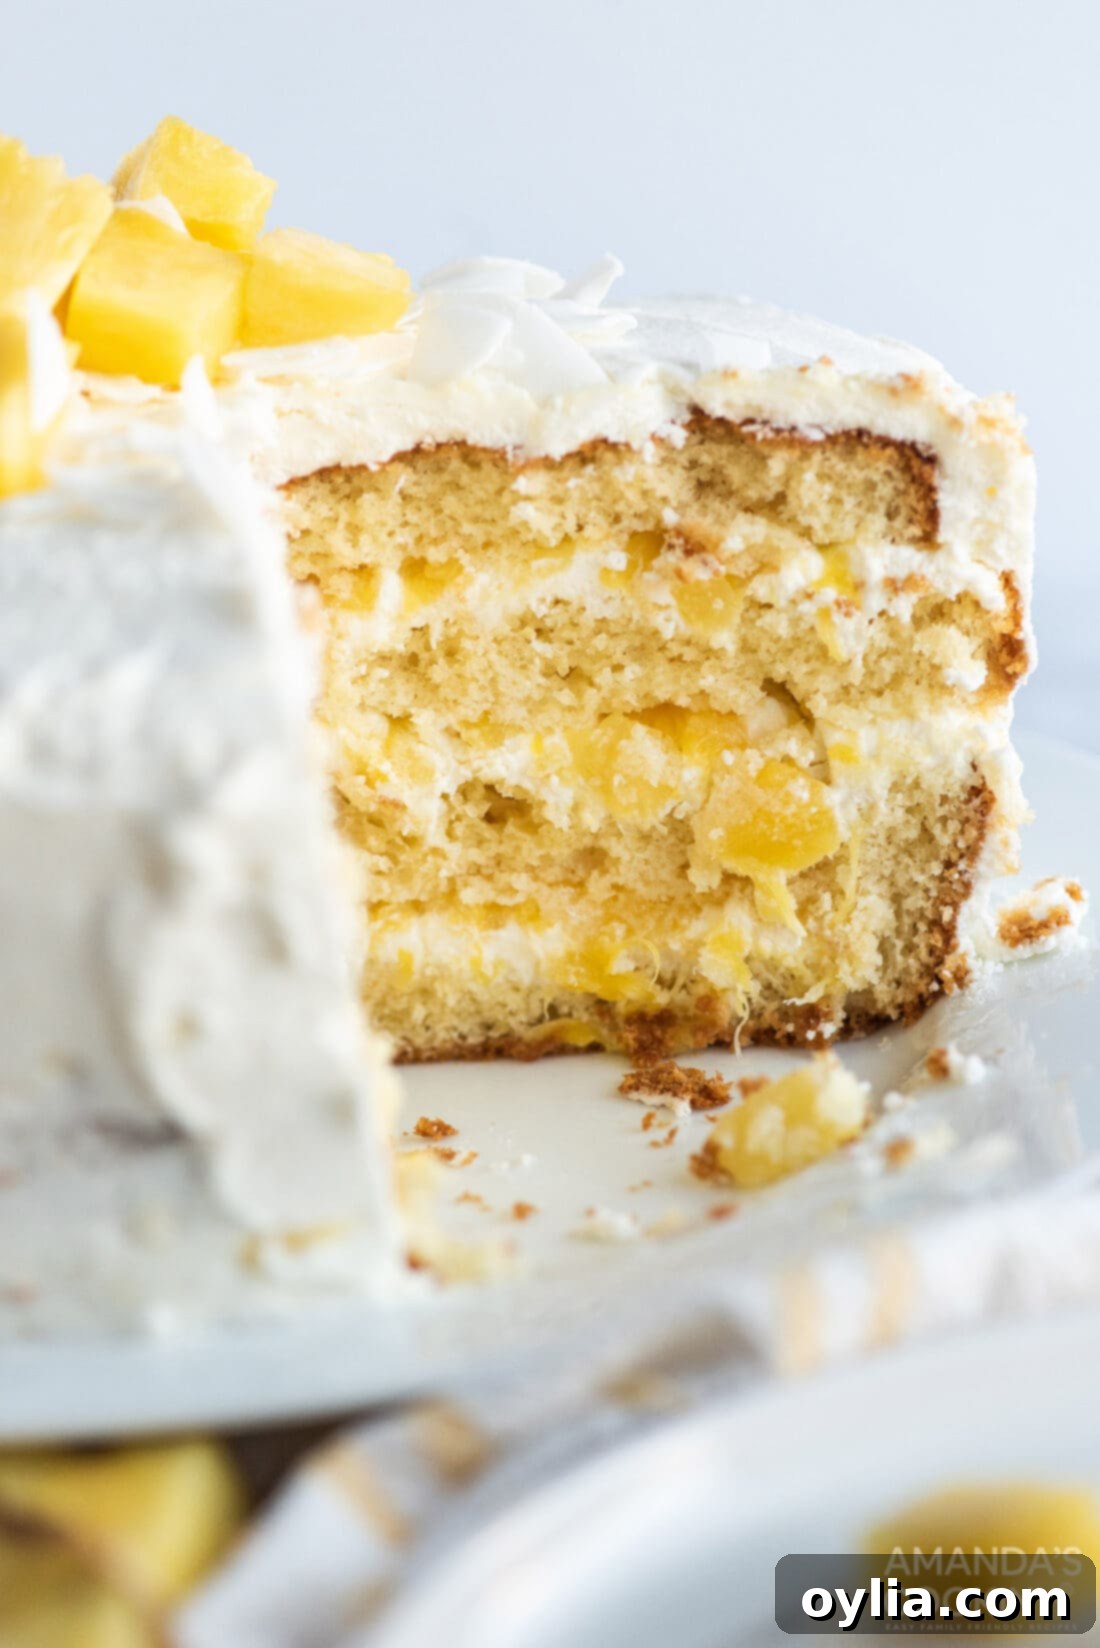
Delightful Serving Suggestions for Your Tropical Pineapple Cake
This exquisite pineapple cake is truly a versatile dessert, perfect for any time of year. Its vibrant tropical flavors are an instant mood-lifter, making it an ideal choice to serve alongside your festive holiday dessert spread for Easter, Thanksgiving, or Christmas. Imagine the bright, refreshing notes cutting through the richness of traditional holiday fare!
During the warmer months, this cake truly shines. Embrace its fruity, tropical essence by serving it as the star of your summer BBQs, garden parties, or casual get-togethers. It’s also an exceptional choice for a birthday cake, especially for the pineapple lover in your life, promising a memorable and delicious celebration. To elevate its presentation, consider dressing the cake up with a fun and creative design using additional shredded coconut, carefully arranged pineapple chunks, or delicate fresh mint leaves. Alternatively, serve it simply as is – its inherent beauty and irresistible aroma are often all the adornment it needs. Pair a slice with a scoop of vanilla bean ice cream, a dollop of extra whipped cream, or a refreshing glass of iced tea for an unforgettable dessert experience.
More Irresistible Pineapple Recipes to Explore
- Pineapple Dream Dessert
- Easy Pineapple Salsa
- Pineapple Yogurt Dessert
- Classic Pineapple Upside Down Cake
- Pineapple Spinach Smoothie Bowl
- Pineapple Quick Bread
- Pineapple Upside Down Cake in Cast Iron Skillet
I absolutely adore spending time in the kitchen, experimenting with new recipes, and sharing my culinary discoveries with all of you! Remembering to come back each day for new inspiration can sometimes be tricky, which is why I’ve made it easy for you. I offer a convenient newsletter that delivers a brand-new recipe directly to your inbox every time one posts. Simply subscribe today and start receiving your free daily recipes – a little slice of kitchen joy delivered straight to you!
Pineapple Cake
IMPORTANT – There are often Frequently Asked Questions within the blog post that you may find helpful. Simply scroll back up to read them!
Print It
Pin It
Rate It
Save ItSaved!
Ingredients
Cake
- 16.25 oz white cake mix we used Betty Crocker, 1 box
- 3.4 oz instant vanilla pudding mix
- 4 eggs
- ½ cup olive oil
- 1 tsp vanilla extract
- 1 cup pineapple juice reserved from can of crushed pineapple
Filling
- 8 oz cream cheese
- ½ cup powdered sugar
- 1 tsp coconut extract
- ¾ cup heavy whipping cream
- 16 oz crushed pineapple 2 8 oz cans. Separate crushed pineapple and juice and set aside in separate bowls.
Icing
- ¾ cup butter softened
- 3 cups powdered sugar
- 6 tsp pineapple juice reserved from can of crushed pineapple
- 1 tsp coconut extract
- ¾ cup unsweetened shredded coconut or flaked
Garnish
- 8 oz crushed pineapple 1 can. *You will need the extra juice from this can for the icing* The extra pineapple chunks can be used for garnish
Things You’ll Need
-
2 9-inch round cake pans
-
Mixing bowls
-
Hand mixer
-
Rubber spatula
Before You Begin
- Store any leftover pineapple cake in the refrigerator for 3-4 days to maintain freshness, especially due to the cream cheese in the frosting and filling.
- *As you will notice, I stated in the garnish section of the recipe card that you will need 1 additional can of crushed pineapple. You will most likely need this extra can specifically for the pineapple juice to make your icing with, ensuring the perfect consistency and flavor.* The leftover pineapple chunks from this can can then be creatively used to decorate the top of the cake, adding both beauty and an extra burst of fresh fruit flavor.
Instructions
-
Thoroughly grease two 8 or 9-inch round cake pans to ensure your cakes don’t stick.
-
Preheat your oven to 350 degrees F (175 degrees C).
-
Using an electric mixer, combine the white cake mix, dry pudding mix, eggs, olive oil, vanilla, and pineapple juice. Start on low speed until all ingredients are just moistened, then increase to medium and beat for approximately 2 minutes to create a smooth batter.
-
Pour the batter evenly between the two greased pans. Bake for 25-30 minutes, or until a toothpick inserted into the center comes out clean. Allow to cool in the pans for 10-15 minutes before transferring to a cooling rack to cool completely.
-
To make the filling, beat softened cream cheese until light and creamy. Add powdered sugar and coconut extract, mixing until fully combined. In a separate bowl, beat heavy cream until stiff peaks form. Gently fold the whipped cream into the cream cheese mixture until just blended.
-
Prepare the icing by creaming the softened butter with an electric mixer. Gradually add powdered sugar, coconut extract, and reserved pineapple juice, mixing until the desired smooth consistency is achieved. You will most likely need the extra can of crushed pineapple called for in the garnish section of the recipe card to obtain the correct amount of pineapple juice for the icing.
-
Once cakes are completely cooled, carefully cut them in half horizontally to create four layers. Place one bottom cake layer on a plate or cake stand. Spread an even layer of filling and sprinkle with drained crushed pineapple. Repeat with the next two layers, topping with the final cake layer. Place the assembled cake in the fridge for approximately 30 minutes to set slightly, making it easier to frost.
-
Generously apply the icing to the cake, spreading it evenly over the entire top and sides. Sprinkle shredded coconut on top for decoration. Garnish with additional coconut or pineapple slices/chunks if desired for an extra tropical touch. Serve and enjoy!
Nutrition
The recipes on this blog are tested with a conventional gas oven and gas stovetop. It’s important to note that some ovens, especially as they age, can cook and bake inconsistently. Using an inexpensive oven thermometer can assure you that your oven is truly heating to the proper temperature. If you use a toaster oven or countertop oven, please keep in mind that they may not distribute heat the same as a conventional full sized oven and you may need to adjust your cooking/baking times. In the case of recipes made with a pressure cooker, air fryer, slow cooker, or other appliance, a link to the appliances we use is listed within each respective recipe. For baking recipes where measurements are given by weight, please note that results may not be the same if cups are used instead, and we can’t guarantee success with that method.
