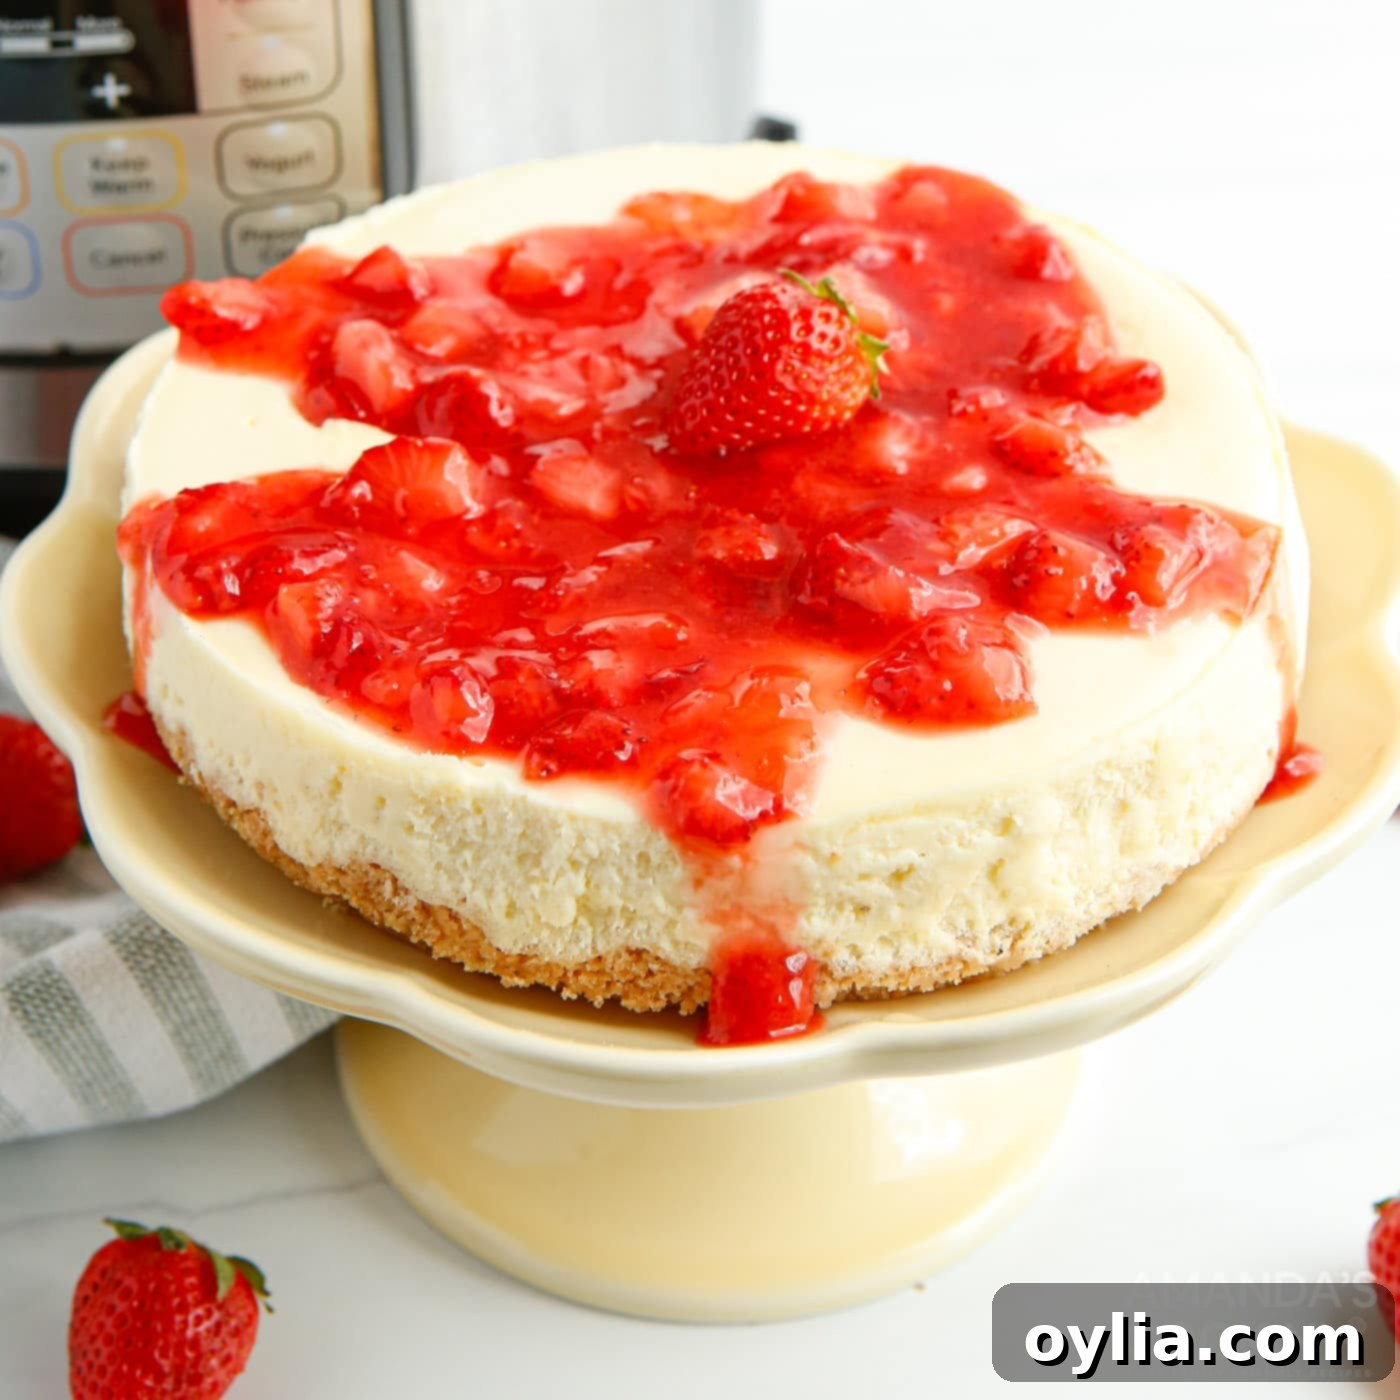
Ultimate Instant Pot Strawberry Cheesecake: Creamy, Decadent, and Easy to Make
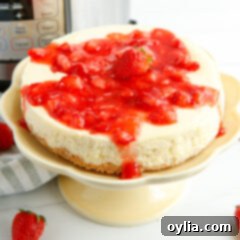
Prepare to be amazed by this **Instant Pot Strawberry Cheesecake**, a truly impressive dessert that brings together a rich, dense cheesecake base with a vibrant, homemade fresh strawberry sauce. It’s a decadent treat that looks like it took hours, but thanks to your pressure cooker, it’s surprisingly easy and quick to achieve. Perfect for entertaining or simply indulging your sweet tooth, this creamy delight is guaranteed to impress your family and friends!
Forget the complexities of traditional water baths and long baking times. The Instant Pot creates a perfectly steamy environment, ensuring your cheesecake comes out incredibly smooth, beautifully set, and crack-free every single time. Topped with a bright, sweet, and slightly tangy strawberry sauce, this dessert is a harmonious blend of textures and flavors that will have everyone asking for seconds.
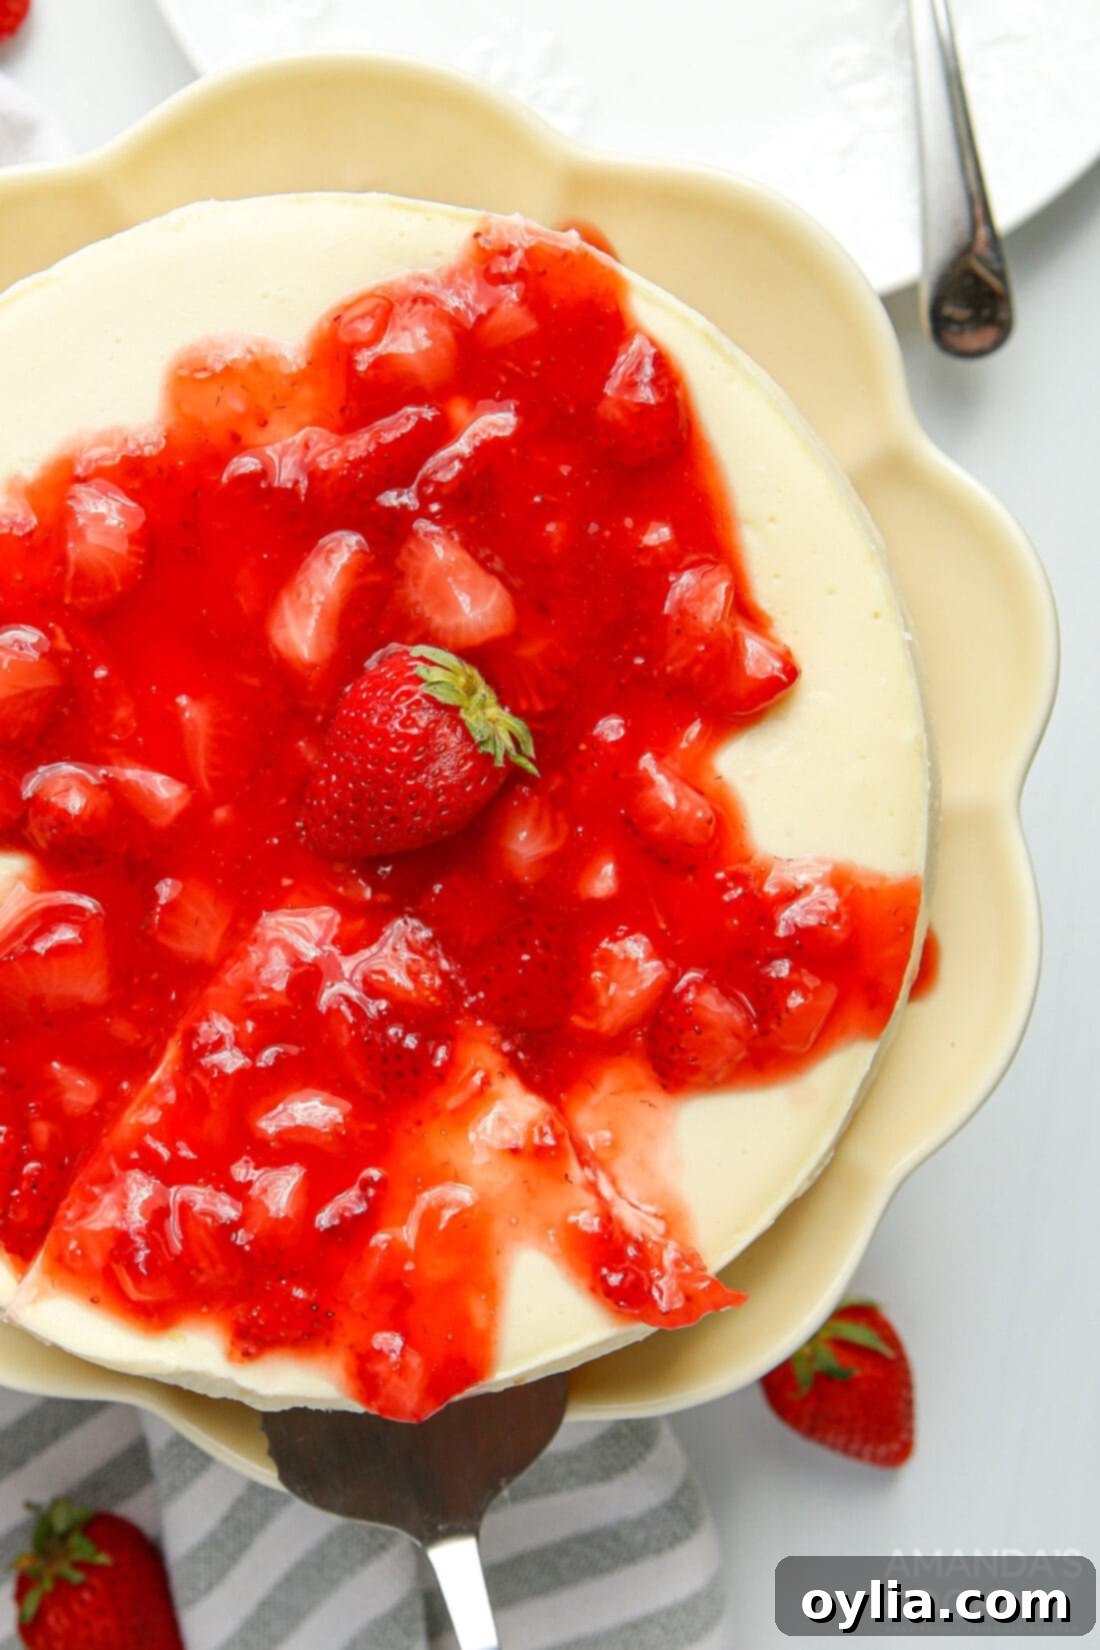
Why You’ll Love This Instant Pot Strawberry Cheesecake Recipe
This Instant Pot Strawberry Cheesecake recipe is a game-changer for several reasons, making it a favorite for both novice and experienced bakers alike. We start with a classic **graham cracker crust**, forming a sturdy and flavorful foundation. Next, a simple yet luxurious blend of cream cheese and other essential ingredients creates a creamy cheesecake filling that’s simply irresistible. Finally, you’ll whip up your own **fresh strawberry sauce** to crown this magnificent dessert, adding a burst of fresh fruit flavor.
The beauty of using a classic cheesecake base in your Instant Pot is the endless array of possibilities it unlocks. Just like our popular Instant Pot Cherry Cheesecake, this strawberry version offers incredible versatility. Feel free to experiment with any type of berry sauce or your favorite toppings to customize it to your liking. Whether you prefer blueberries, blackberries, or even a rich chocolate ganache, this base is the perfect canvas for your culinary creativity.
The Instant Pot Advantage: Perfect Cheesecake Every Time
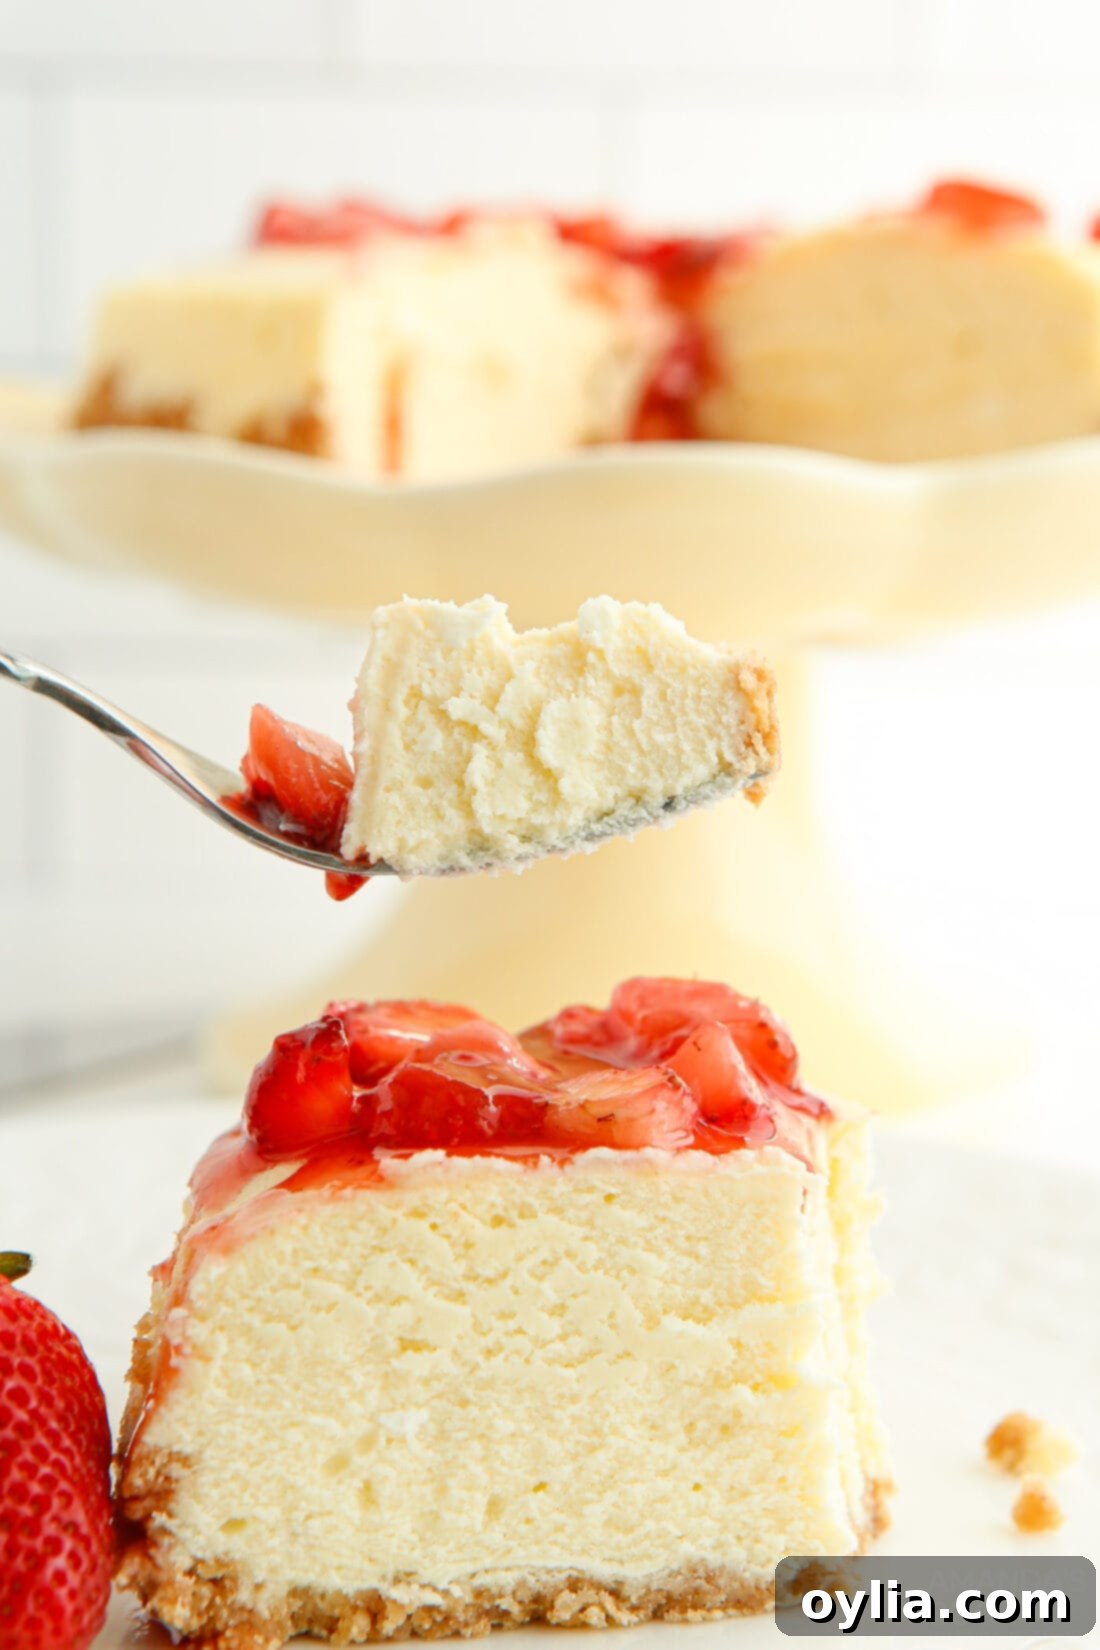
The Instant Pot truly shines when it comes to making cheesecake. Its controlled, steamy environment mimics a traditional water bath, which is crucial for achieving that signature velvety smooth texture and preventing unsightly cracks on the surface. Unlike oven-baked cheesecakes that often require constant monitoring and can be prone to drying out, the pressure cooker provides a consistent, moist heat that ensures a perfectly cooked and impossibly creamy result with minimal effort.
In just 35 minutes of active cooking time in the Instant Pot, you’ll have a cheesecake that is dense, rich, and utterly delicious. The hands-off nature of pressure cooking means you can focus on other tasks while your dessert is effortlessly transforming into a masterpiece. Once it’s chilled, you’re left with a truly decadent dessert that tastes like it came from a gourmet bakery, all thanks to the magic of your Instant Pot and a few simple steps.
RELATED: You might also like this recipe – No Bake Strawberry Cheesecake Bars
Ingredients You Will Need
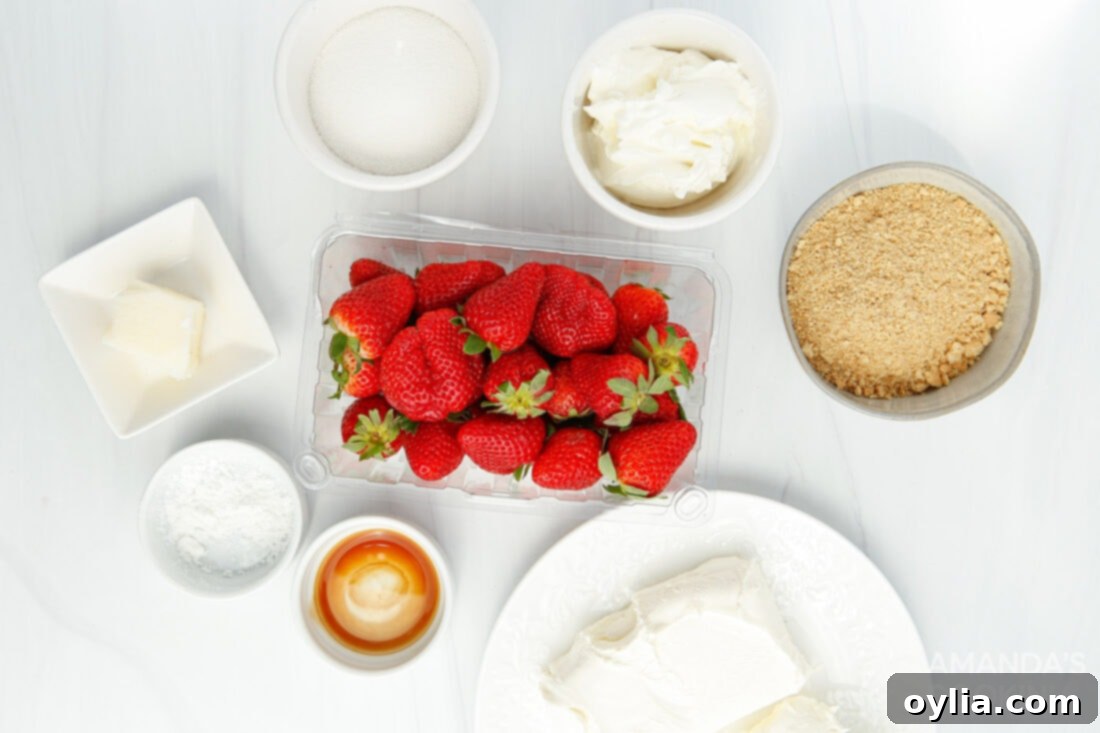
Gathering your ingredients is the first step to creating this delightful Instant Pot Strawberry Cheesecake. Below is a concise overview of what you’ll need. For all precise measurements, detailed ingredients lists, and step-by-step instructions, please refer to the printable recipe card located at the end of this comprehensive guide. We recommend having all your ingredients at room temperature before you begin, especially the dairy products, to ensure the smoothest, most lump-free batter.
Expert Tips for Ingredients & Substitutions
For the Luscious Strawberry Topping
Our recipe features an easy-to-make **fresh strawberry sauce** that perfectly complements the rich cheesecake. However, if you’re short on time or prefer a different flavor profile, you have several excellent options:
- Homemade Jam: A homemade strawberry jam can offer a deeper, more concentrated berry flavor. Simply warm it slightly before spooning over the cheesecake for a beautiful sheen.
- Store-Bought Pie Filling: For ultimate convenience, a good quality store-bought strawberry pie filling works wonderfully. It’s already thickened and ready to use.
- Other Berries: Don’t limit yourself to strawberries! Blueberry, blackberry, or even a homemade cherry pie filling would be equally delicious, adding a different color and flavor dimension.
- Alternative Toppings: If you’re not a fan of fruit toppings, consider a drizzle of rich caramel sauce, a smooth chocolate ganache, or simply a dollop of whipped cream and fresh berries for an elegant presentation. You can also leave the cheesecake plain for a classic, unadorned experience.
For the Perfect Crust
The base of our cheesecake is a simple yet delightful **graham cracker crust**, made with crushed graham crackers, melted butter, and a touch of sugar. This combination bakes up into a sturdy, slightly sweet, and wonderfully crumbly layer. For variations:
- Chocolate Graham Crackers: Swap regular graham crackers for chocolate graham crackers to introduce a subtle cocoa flavor that pairs beautifully with strawberries.
- Alternative Biscuits: If graham crackers are not readily available, or you simply want to try something different, vanilla wafers, crumbled shortbread cookies, or digestive biscuits make fantastic replacements. Ensure they are finely crushed to achieve the right texture.
- Add Spices: A pinch of cinnamon or nutmeg in your graham cracker crust can add an extra layer of warmth and flavor.
For the Velvety Cheesecake Filling
Achieving a smooth, creamy, and lump-free cheesecake filling starts with your ingredients. **Using room temperature ingredients is paramount** for the best texture. Cold cream cheese and eggs won’t blend smoothly, leading to lumps and potentially overmixing, which can cause cracks.
- Room Temperature Cream Cheese: To quickly bring cream cheese to room temperature, remove it from its packaging, cut it into 1-inch cubes, and spread them on a plate. Let them sit at room temperature for about 30 minutes. This significantly speeds up the softening process compared to leaving the entire block out.
- The Role of Flour: Do not skip the all-purpose flour or attempt to substitute it. Flour is crucial for giving the cheesecake its structure and firming it up, preventing it from being too soft or runny.
- Eggs as a Binding Agent: Eggs act as the primary binding agent, helping the cheesecake set properly. Always use large eggs, not jumbo. Jumbo eggs contain more liquid, which can alter the delicate balance of the recipe and affect the final texture.
- Avoid Overmixing: When blending the cream cheese mixture, mix until just smooth and creamy. Overmixing incorporates too much air, which can cause the cheesecake to puff up too much during cooking and then crack as it cools. Add eggs one at a time and mix only until combined.
How to Make Instant Pot Strawberry Cheesecake: Step-by-Step Guide
These step-by-step photos and detailed instructions are here to guide you visually through the process of making this delicious recipe. For a convenient printable version of this recipe, complete with precise measurements and comprehensive instructions, please Jump to Recipe at the bottom of this post.
-
Prep Your Instant Pot and Springform Pan
Pour 1 ½ cups of water into the bottom of your 6 qt Instant Pot. This water will create the steam needed for pressure cooking. Next, prepare a 7-inch springform pan by placing a parchment paper round in the bottom. This prevents sticking and makes removal easier. Generously grease the sides of the pan with cooking spray or butter to ensure a clean release for your cheesecake.
-
Craft the Graham Cracker Crust
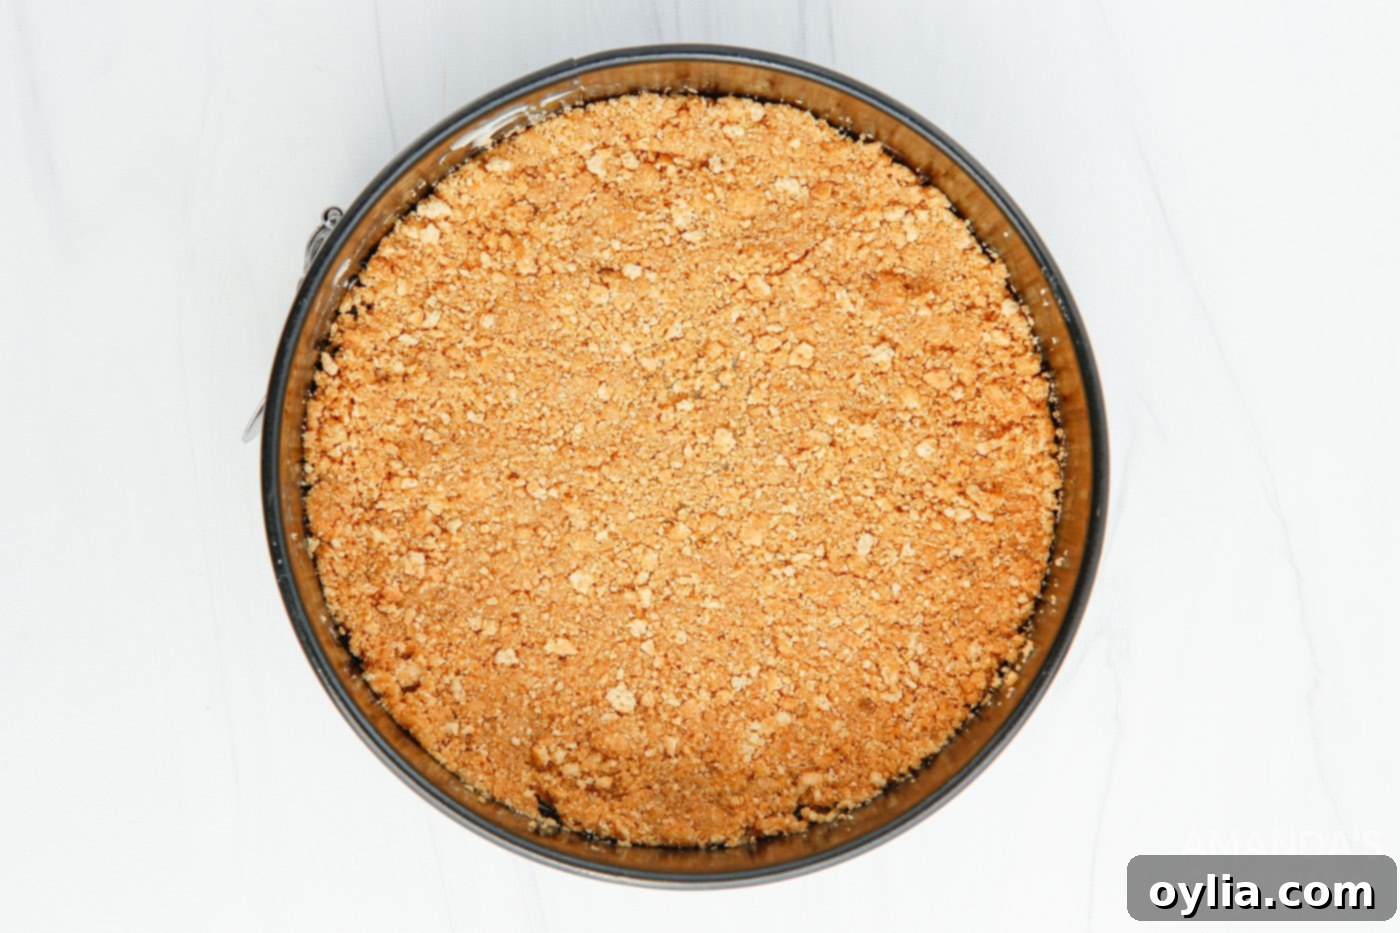
In a medium bowl, combine the graham cracker crumbs with the melted butter. Stir thoroughly until the crumbs are evenly moistened, resembling wet sand. Press this mixture firmly and evenly into the bottom of your prepared springform pan. Use the bottom of a glass or your knuckles to ensure it’s tightly packed. This creates a solid, delicious base for your cheesecake. Place the crust into the freezer while you prepare the cheesecake filling; this helps it set and prevents crumbling when the filling is added.
-
Prepare the Silky Cheesecake Batter
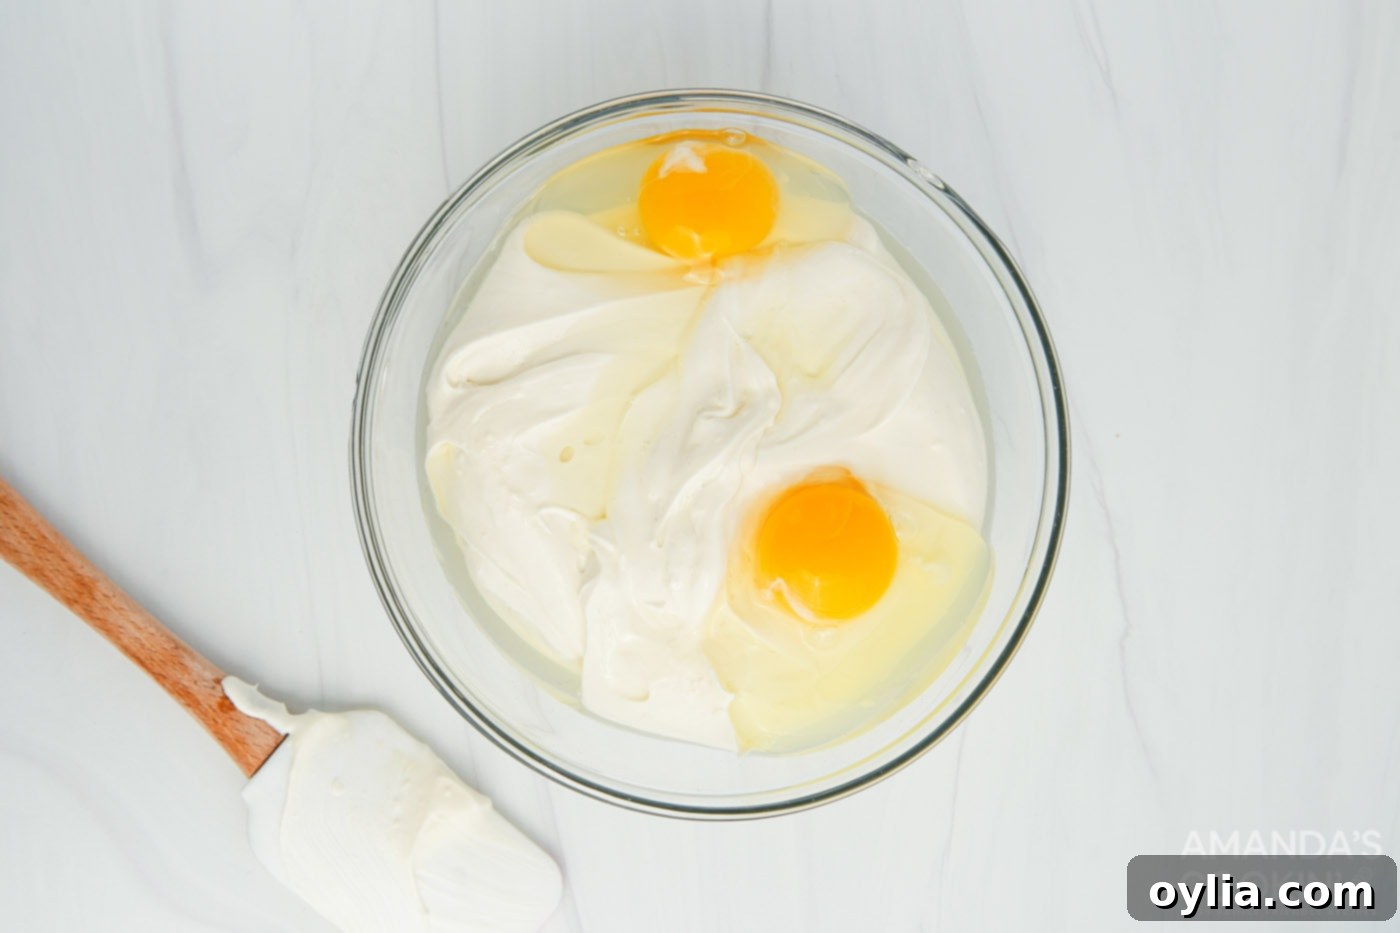
In a large mixing bowl, add the softened cream cheese and granulated sugar. Using an electric mixer (handheld or stand mixer), beat the mixture on medium-low speed until it’s perfectly smooth and creamy, with no lumps remaining. Scrape down the sides of the bowl as needed. Next, add the eggs one at a time, mixing only until just incorporated after each addition. Be careful not to overmix, as too much air can cause cracks. Finally, blend in the sour cream, sifted all-purpose flour, and vanilla extract until everything is just combined and the batter is smooth and uniform.
-
Fill the Pan and Seal for Pressure Cooking
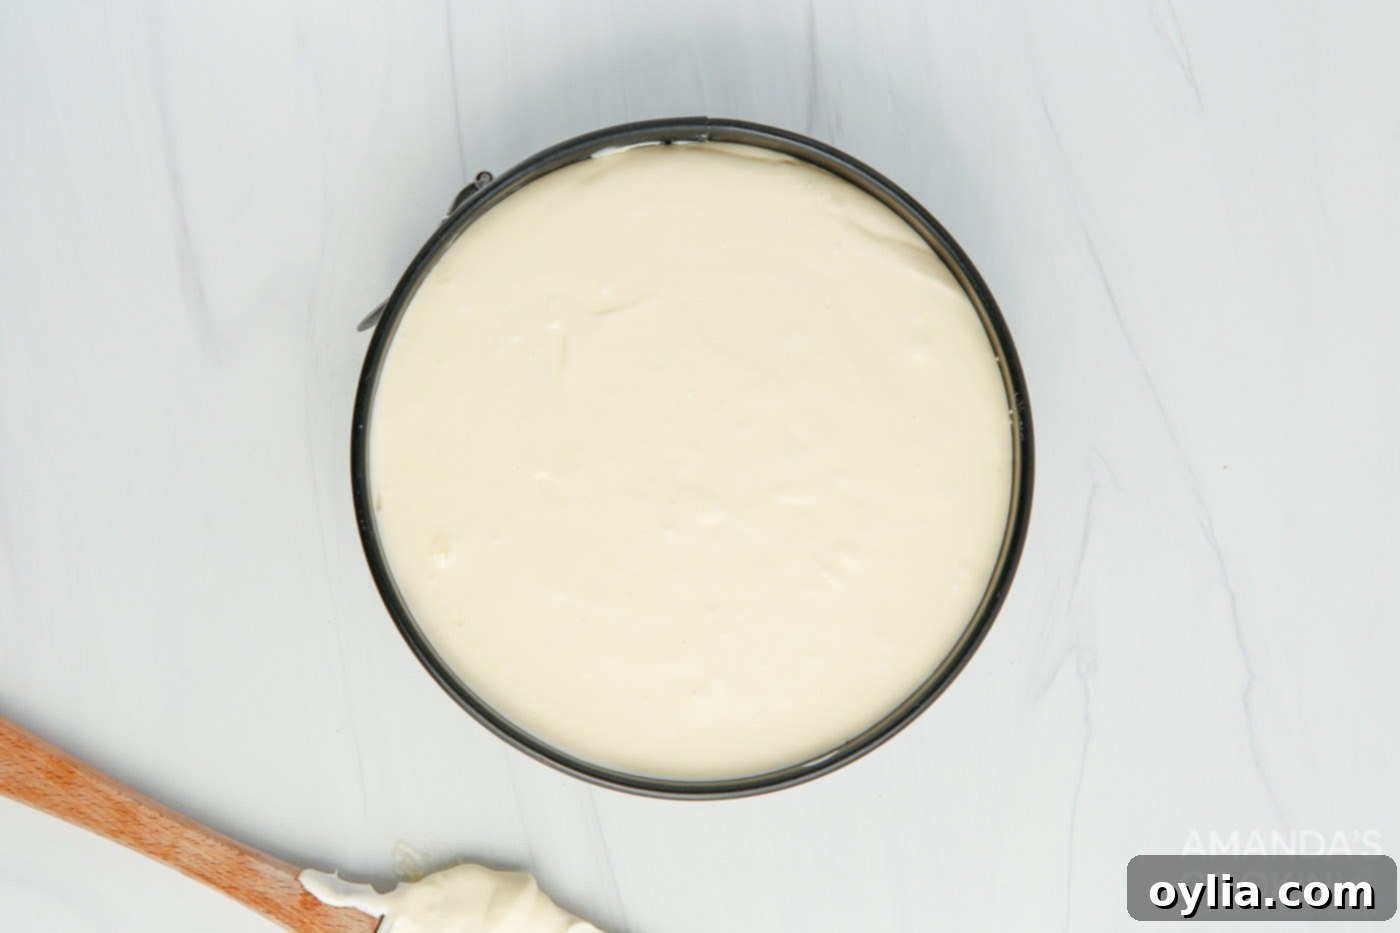
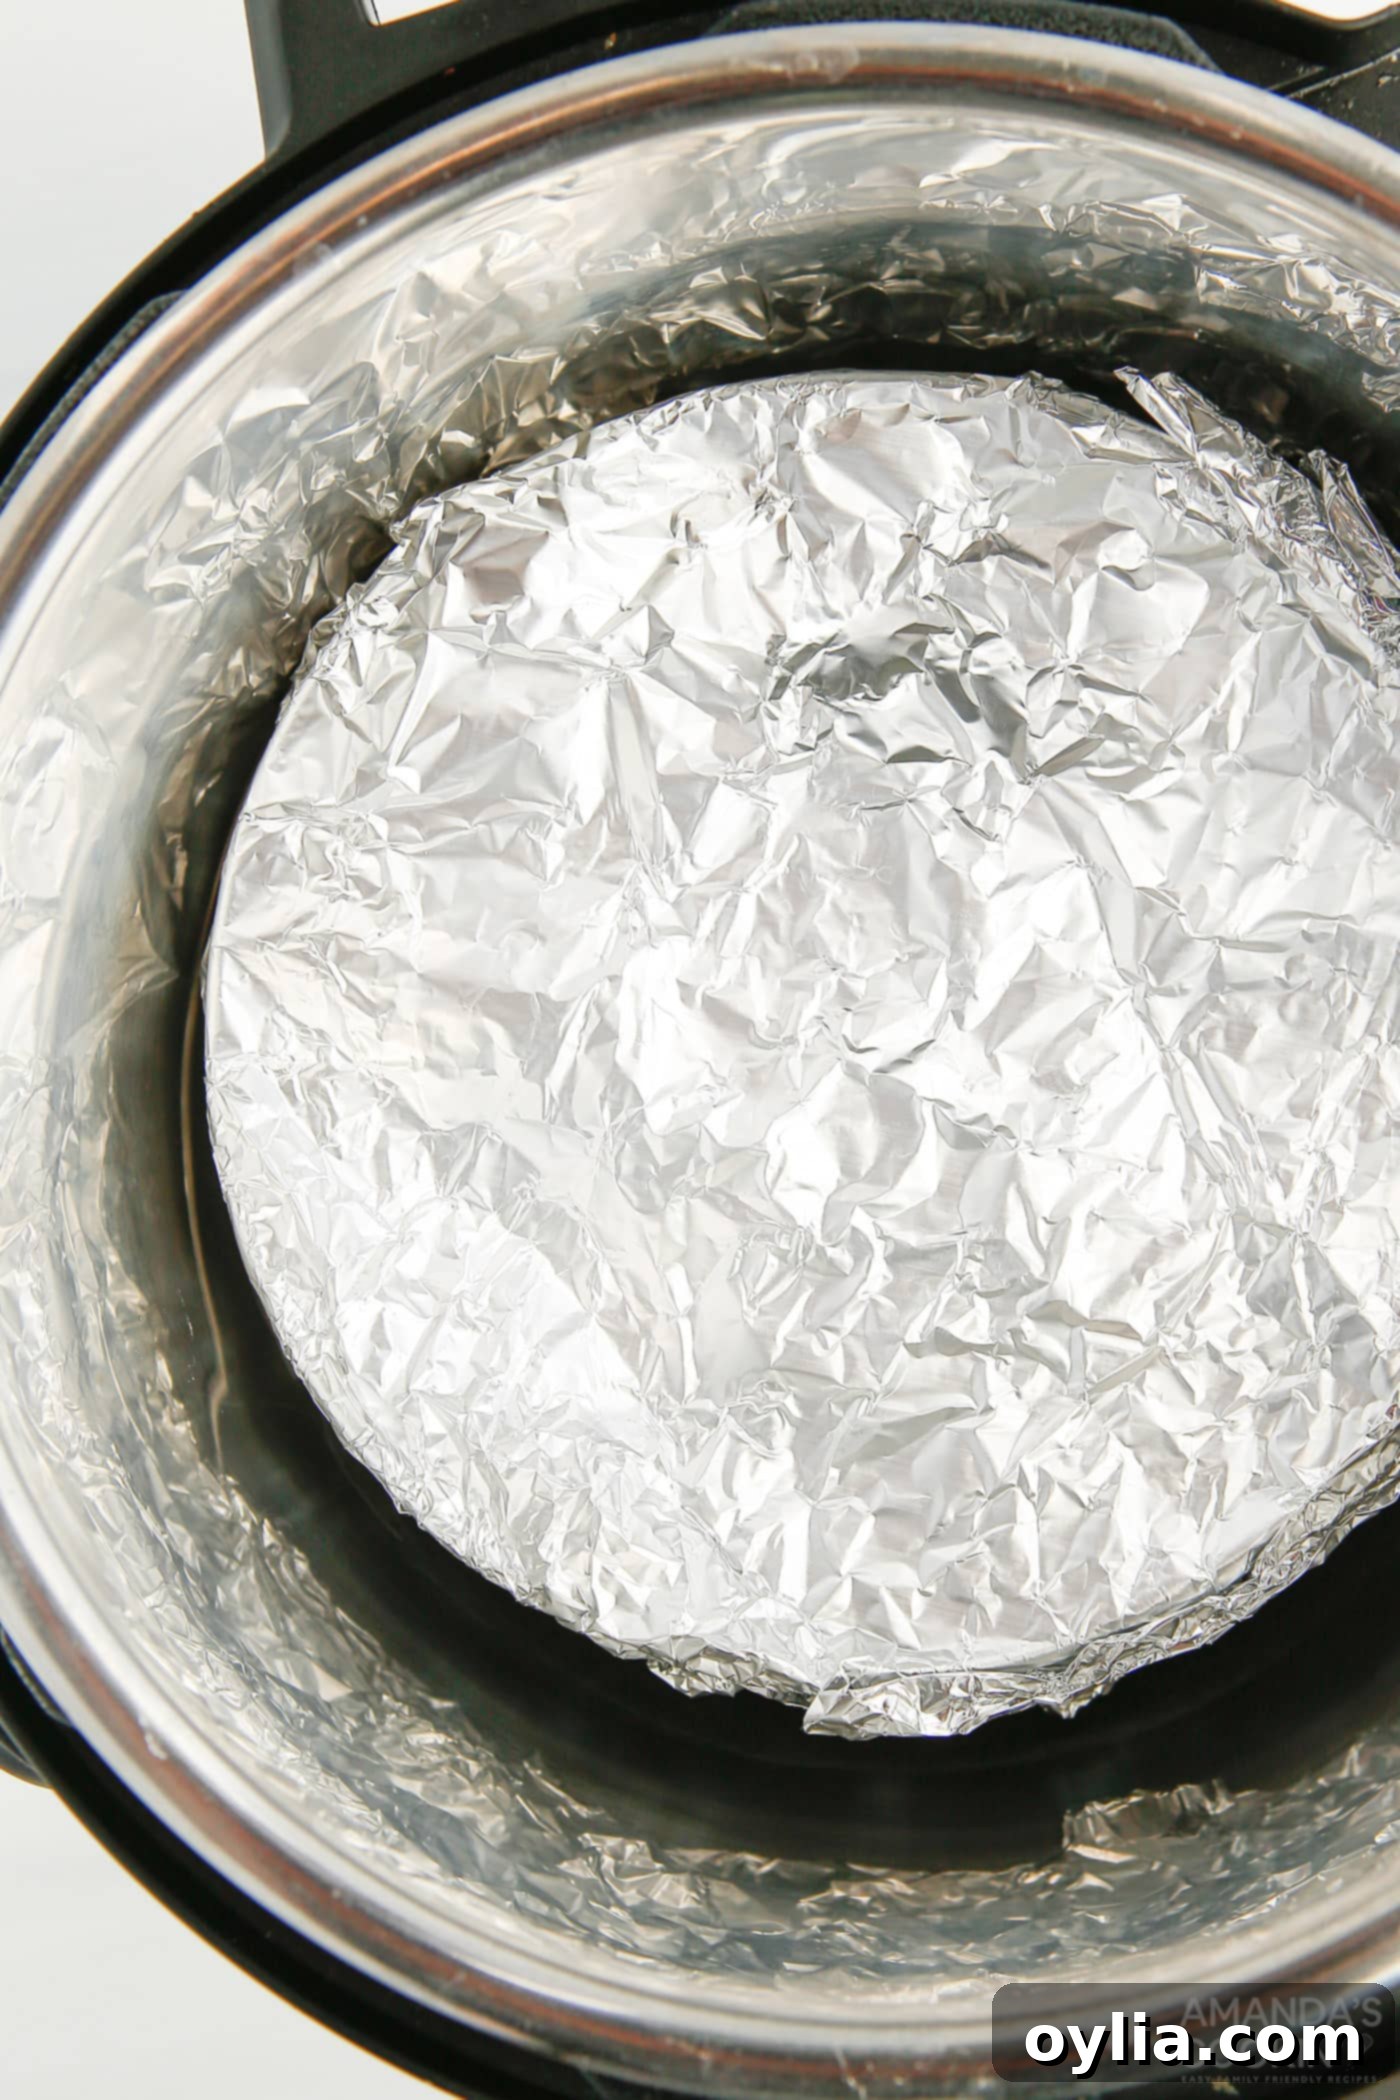
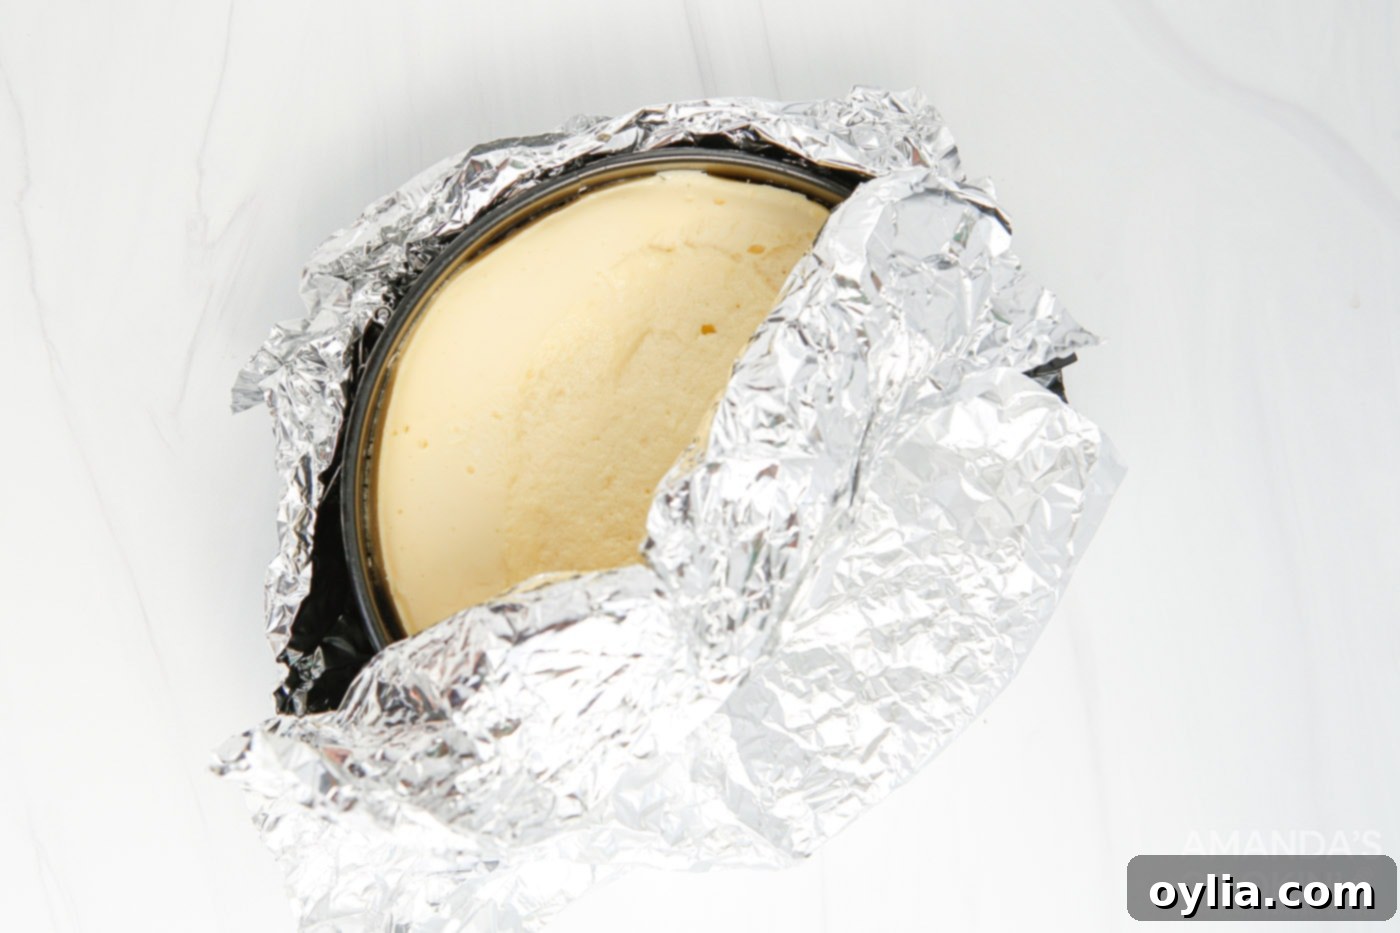
Remove your chilled crust from the freezer. Carefully pour the prepared cheesecake filling evenly over the graham cracker crust in the springform pan. Gently tap the pan on the counter a few times to release any trapped air bubbles. Use a small spatula or frosting knife to smooth out the top of the cheesecake, ensuring an even surface. Now, it’s crucial to wrap the pan tightly with aluminum foil. This prevents any excess moisture or condensation from the Instant Pot from dripping onto the cheesecake surface during cooking, keeping it perfectly smooth and preventing a soggy top.
-
Pressure Cook to Perfection
Carefully place the foil-wrapped cheesecake pan onto the trivet (or a homemade foil sling) inside the Instant Pot. Ensure the pan is centered and stable. Close the Instant Pot lid, making sure it’s securely locked. Set the steam release valve to the “Sealing” position. Select the “Manual” or “Pressure Cook” setting and set the cooking time to 35 minutes on High Pressure. Once the cooking cycle is complete, **do not quick release** the pressure. Allow the steam to naturally release for 10 minutes. This gradual pressure release is vital for preventing cracks in the cheesecake. After 10 minutes of natural release, carefully quick release any remaining steam by turning the valve to “Venting” until the float valve drops.
-
Cool and Chill for Ideal Setting
Once the pressure has fully released, carefully remove the cheesecake from the Instant Pot using the trivet handles. Remove the foil covering. The cheesecake will appear slightly jiggly in the center – this is normal! Allow it to cool on your kitchen counter for about 15 minutes. This gradual cooling prevents thermal shock. After the initial cooling, transfer the cheesecake (still in the pan) to the refrigerator. Chill for a minimum of 6 hours, but ideally overnight, for the best firm texture and flavor development. Chilling is essential for the cheesecake to fully set.
-
Whisk Up the Fresh Strawberry Sauce
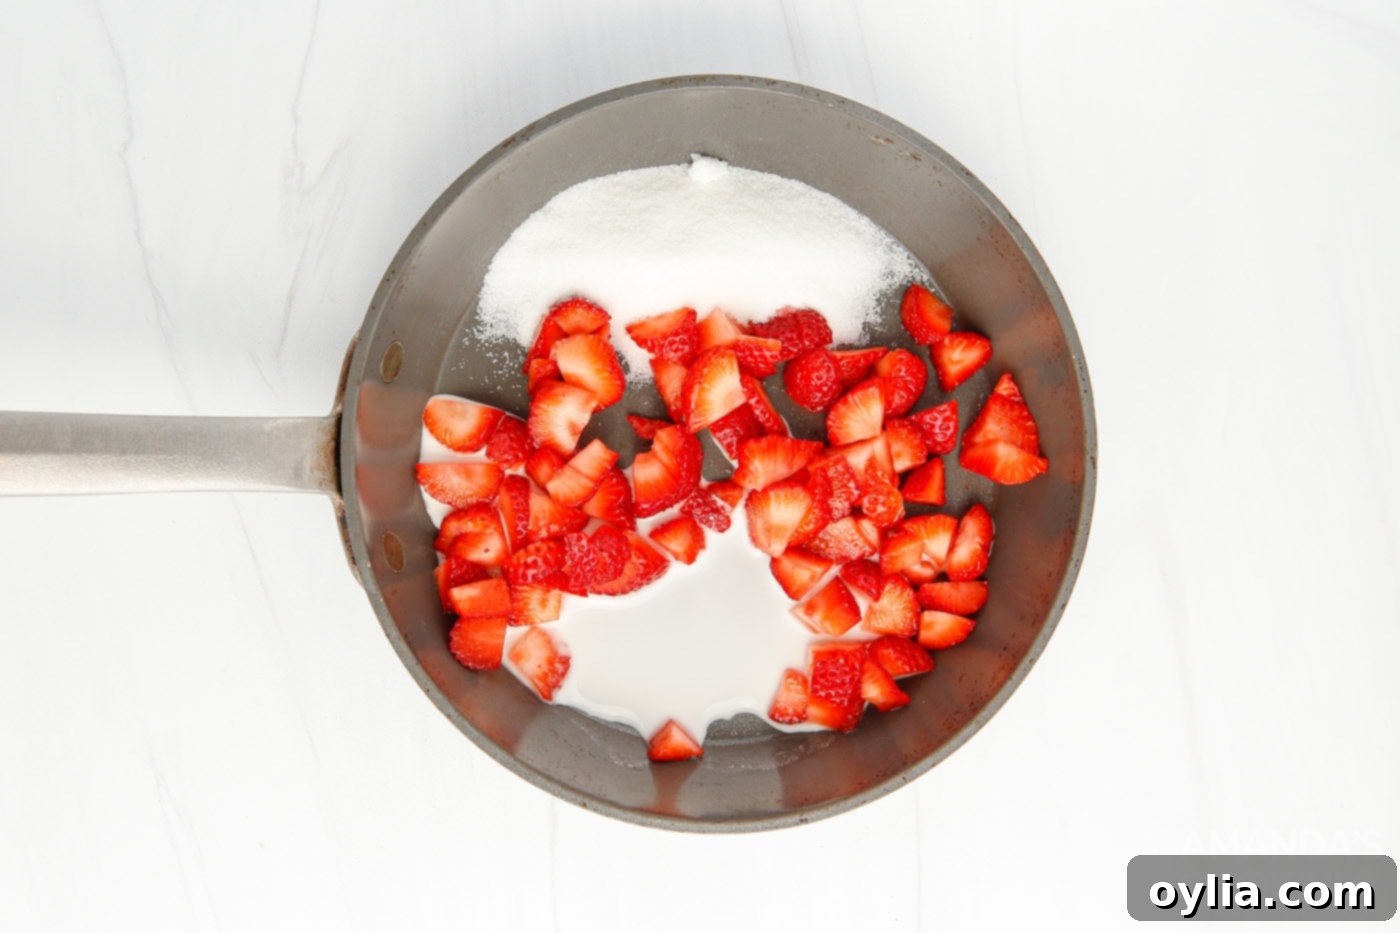
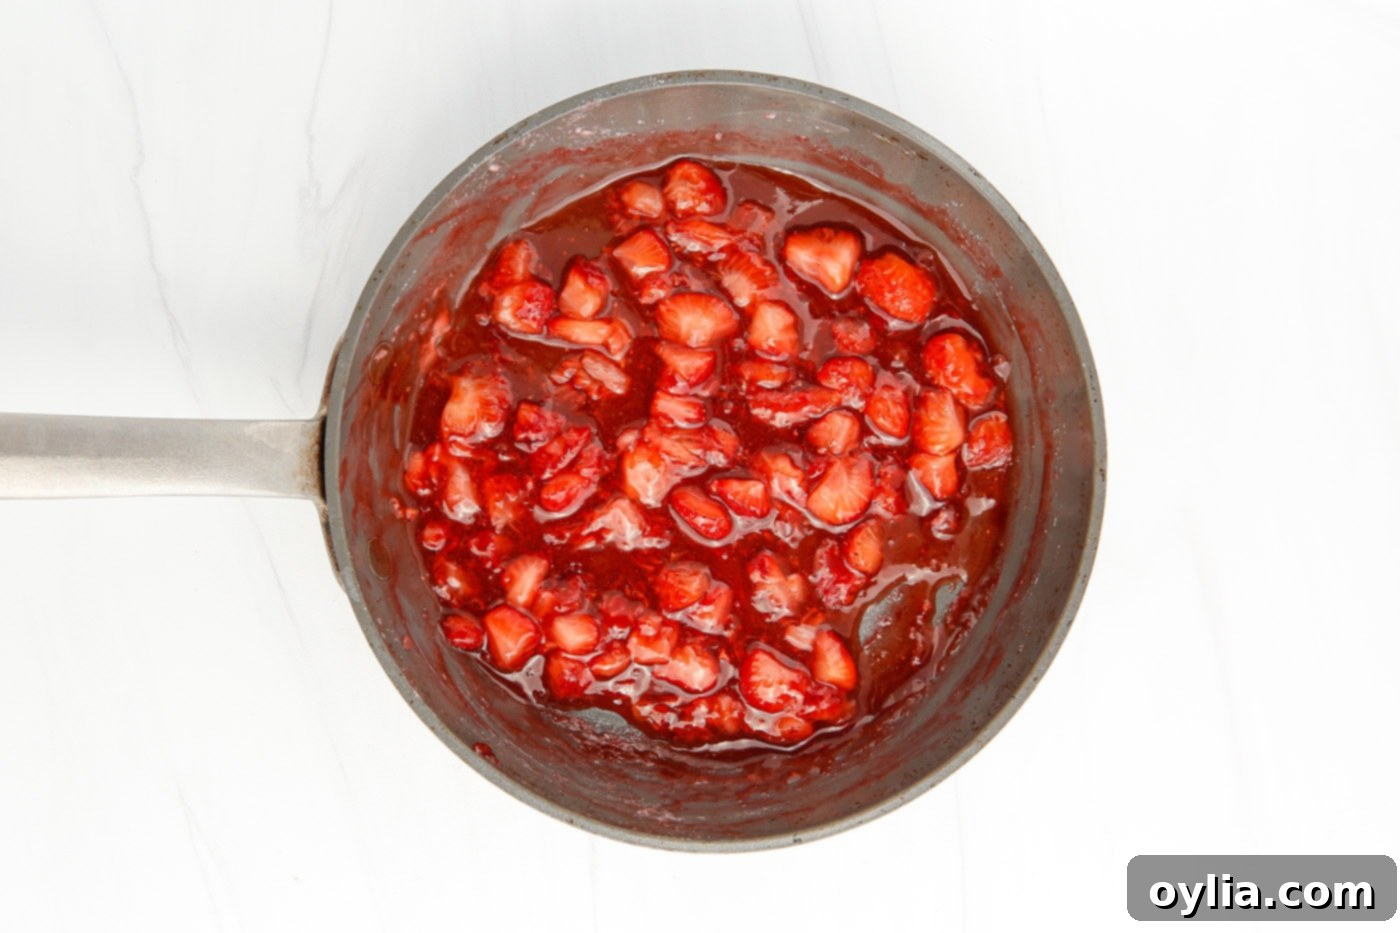
While the cheesecake chills, prepare your delicious strawberry topping. In a small bowl, mix the 2 tablespoons of water with the 1 tablespoon of cornstarch until a smooth “slurry” forms – this is your thickening agent. In a small saucepan, combine the diced strawberries, granulated sugar, and the cornstarch slurry. Cook this mixture over medium-high heat, stirring occasionally. As it heats, the strawberries will soften, and the sauce will gradually thicken. Continue cooking until it reaches your desired consistency – a vibrant, pourable sauce. Remove from heat and allow it to cool completely before topping the chilled cheesecake. This cooling period is important for the sauce to fully thicken and for the flavors to meld.
-
Assemble and Serve Your Masterpiece
When you’re ready to serve, carefully remove the chilled cheesecake from the springform pan. You can run a thin, warm knife around the edges to help with a clean release if needed. Transfer the cheesecake to a serving plate. Generously spoon the cooled homemade strawberry sauce over the top, allowing it to artfully drip down the sides. For an extra touch, garnish with fresh whole strawberries or a sprig of mint. Slice the cheesecake into portions and serve immediately. Enjoy the rich, creamy texture perfectly balanced with the sweet and tangy strawberry topping!
Frequently Asked Questions & Expert Tips
Absolutely! This Instant Pot Strawberry Cheesecake freezes beautifully. For best results, we highly recommend freezing the cheesecake **without** the strawberry topping. Once your cheesecake has completely cooled and chilled, carefully remove it from the springform pan. Wrap the entire cheesecake tightly first in several layers of plastic wrap, then again in a layer of heavy-duty aluminum foil or freezer paper. This double layer protects against freezer burn. It can be stored in the freezer for approximately 4-5 months. When you’re ready to enjoy it, simply transfer the frozen cheesecake to the refrigerator and allow it to thaw completely overnight. Once thawed, prepare your fresh strawberry sauce and top as desired.
To maintain its freshness and delicious texture, store your strawberry cheesecake in an airtight container in the refrigerator. If you don’t have a container large enough, cover it tightly with plastic wrap. Properly stored, the cheesecake will remain fresh and delightful for 3-4 days. It’s always best to store it with the strawberry topping already applied if serving within a day or two, otherwise, store the sauce separately and add it just before serving.
Condensation is a common occurrence when cooking with a pressure cooker, and cheesecake is no exception. This happens due to the steam trapped inside the Instant Pot. Don’t worry, it’s easily remedied! After removing the foil, you can gently blot up any excess moisture on the surface of your cheesecake with a clean paper towel. To help prevent this from happening in the first place, ensure you wrap your springform pan very tightly with aluminum foil before placing it in the Instant Pot. This acts as a barrier, shielding the cheesecake from direct steam droplets.
Absolutely! In fact, making Instant Pot cheesecake ahead of time is highly recommended and often yields the best results. The cheesecake needs ample time to fully cool down on the counter after cooking, and then a significant period to chill thoroughly in the refrigerator. A minimum of 6 hours of chilling is required for the cheesecake to set properly, but chilling it overnight (12-24 hours) will give you the firmest, creamiest texture and allow the flavors to deepen beautifully. This makes it an ideal make-ahead dessert for parties or special occasions. For instructions on freezing your cheesecake for longer storage, please refer to the freezing FAQ above.
This recipe is developed for a 6-quart Instant Pot and a 7-inch springform pan. This combination allows for enough space for the cheesecake to cook properly and for easy placement and removal. If you have a larger Instant Pot, a 7-inch pan will still work perfectly. If you have a smaller Instant Pot, you might need to adjust the pan size accordingly, which could impact cooking times.
Several factors contribute to cheesecake cracks, but with an Instant Pot, they’re easier to avoid. Key tips include: using room temperature ingredients, not overmixing the batter (especially after adding eggs to avoid incorporating too much air), and crucial for Instant Pot cooking, allowing for a full 10-minute natural pressure release. Drastic temperature changes can cause cracks, so letting it cool gradually in the pot, then on the counter, and finally in the fridge is important.
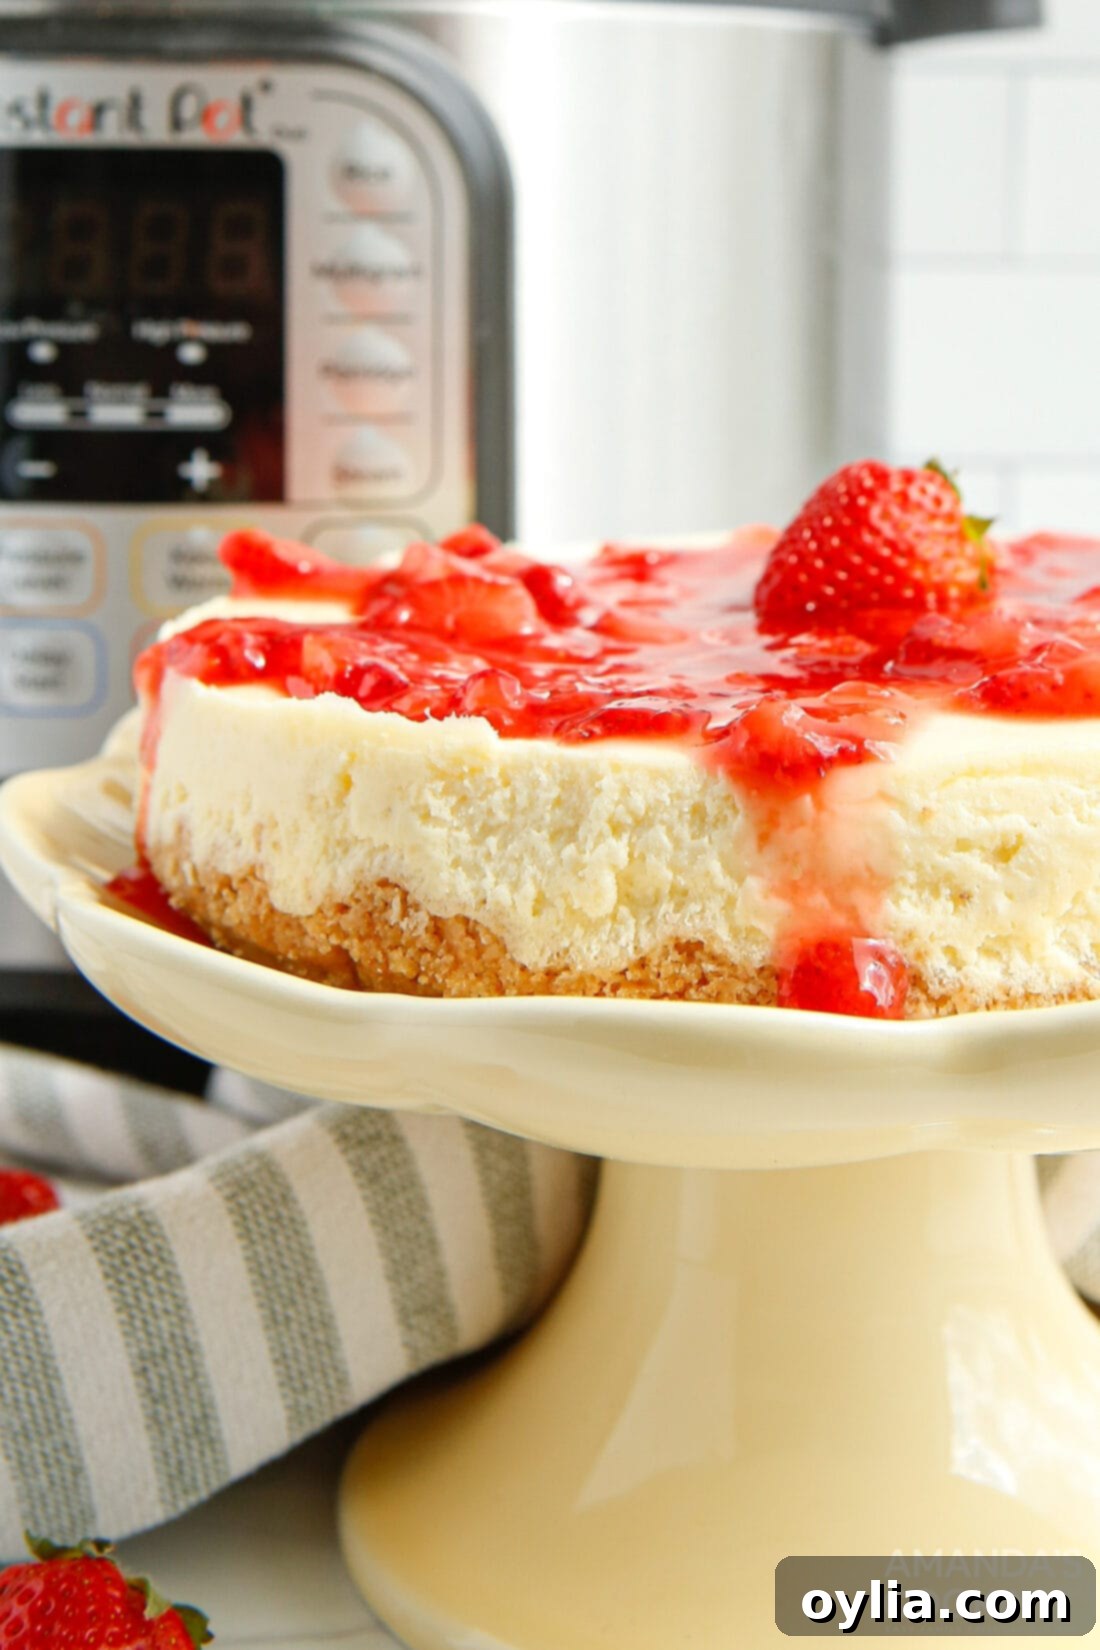
Serving Suggestions for Your Instant Pot Strawberry Cheesecake
While Instant Pot Strawberry Cheesecake is a standalone showstopper, a few thoughtful additions can elevate the experience even further. This rich and creamy dessert can be quite filling, making it the perfect grand finale to a delightful meal. Consider pairing it with a lighter main course such as flavorful grilled cilantro lime chicken breasts or tender Pork Chops Al Pastor. For a balanced dinner, complement your main with a side of fresh roasted asparagus or sweet slow cooker balsamic carrots.
When it comes to serving the cheesecake itself, you can customize it based on your guests and the occasion. Cut it into 8 generous slices for a hearty dessert, or for a larger gathering, opt for 12 smaller portions to ensure everyone gets a taste. A truly fun and interactive idea for entertaining a crowd is to set up a “cheesecake bar.” Slice the cheesecake plain and let your guests choose from an assortment of toppings. Offer small bowls of our homemade strawberry sauce, alongside other fruit options like blueberry or cherry topping, fresh berries (strawberries, raspberries, blueberries), and of course, a generous bowl of freshly whipped cream. For an extra touch of indulgence, consider adding chocolate shavings, a drizzle of warm caramel, or a sprinkle of toasted nuts. A sprig of fresh mint on each plate adds a pop of color and freshness.
More Delicious Instant Pot Recipes You’ll Love
The Instant Pot is a versatile kitchen appliance that can handle much more than just cheesecake! If you’ve enjoyed the ease and efficiency of making dessert in your pressure cooker, you’ll love exploring these other fantastic Instant Pot recipes:
- Instant Pot Lasagna
- Instant Pot Sloppy Joe
- Instant Pot Mac and Cheese
- Instant Pot Cherry Cheesecake
- Instant Pot Mississippi Pot Roast
- Instant Pot Lemon Curd Cheesecake
- Instant Pot Oreo Cheesecake
I love to bake and cook and share my kitchen experience with all of you! Remembering to come back each day can be tough, that’s why I offer a convenient newsletter every time a new recipe posts. Simply subscribe and start receiving your free daily recipes!
Instant Pot Strawberry Cheesecake
IMPORTANT – There are often Frequently Asked Questions within the blog post that you may find helpful. Simply scroll back up to read them!
Print It
Pin It
Rate It
Save ItSaved!
Ingredients
Crust
- 1 ½ cup graham cracker crumbs
- 6 Tbsp unsalted butter melted
Cheesecake
- 16 oz cream cheese softened at room temperature
- ½ cup granulated sugar
- 2 eggs large, at room temperature
- ¼ cup sour cream
- 3 Tbsp all purpose flour sifted
- 1 tsp vanilla extract
- 1 ½ cup water for bottom of the instant pot
- cooking spray
Strawberry Sauce
- 1 cup strawberries diced
- ¼ cup granulated sugar
- 1 Tbsp cornstarch
- 2 Tbsp water
Things You’ll Need
-
6 qt Instant Pot Duo
-
7 inch springform pan
-
Hand mixer
-
Mixing bowls
Before You Begin
- Store leftovers in an airtight container in the refrigerator for 4-5 days.
- Room temperature cream cheese and eggs will produce the best results, ensuring a smooth, lump-free batter.
- The cheesecake will appear slightly jiggly in the center immediately after cooking; this is normal and it will finish setting as it chills in the refrigerator. If it’s excessively runny, return it to the Instant Pot for an additional 5-10 minutes.
- Springform pans are highly recommended for the effortless release of the cheesecake. If you encounter any sticking, a thin, warm butter knife run carefully around the edges of the pan can help release the cheesecake cleanly.
Instructions
-
Pour 1 ½ cups of water into the bottom of your Instant Pot. Prepare your springform pan by placing a parchment round into the bottom and grease the sides of the pan with cooking spray or butter.
-
Combine the graham cracker crumbs with the melted butter until well mixed. Press the mixture tightly into the bottom of your springform pan. Place the crust into the freezer while you prepare the cheesecake filling.
-
In a large bowl, add the cream cheese and granulated sugar. Use a hand or electric mixer to blend the cream cheese mixture until smooth and creamy. Add the eggs in, one at a time, until mixed in. Next, blend in the sour cream, flour, and vanilla extract until just combined.
-
Remove the crust from the freezer and pour the cheesecake filling into the crust. Smooth out the top of the cheesecake with a small spatula or frosting knife. Wrap the pan tightly with aluminum foil to prevent excess moisture from dripping onto the cheesecake.
-
Lower the cheesecake on the trivet inside of the Instant Pot and close the lid. Set the steam valve to seal and choose manual high pressure for 35 minutes. Naturally release the steam for 10 minutes after cooking, and then quick release any remaining steam.
-
Cool the cheesecake on the counter for 15 minutes before placing in the refrigerator to chill. Chill for at least 6 hours or overnight.
Making the strawberry sauce
-
Mix together the water and cornstarch to create a slurry. Add the diced strawberries, granulated sugar, and cornstarch slurry to a small saucepan. Cook on medium-high heat, stirring occasionally, until the strawberries soften and the sauce thickens. Remove from heat and allow to cool completely before serving.
-
When ready to serve, remove the cheesecake from the springform pan and top generously with the cooled strawberry sauce. Slice the cheesecake and serve, enjoy this delightful dessert!
Nutrition
The recipes on this blog are tested with a conventional gas oven and gas stovetop. It’s important to note that some ovens, especially as they age, can cook and bake inconsistently. Using an inexpensive oven thermometer can assure you that your oven is truly heating to the proper temperature. If you use a toaster oven or countertop oven, please keep in mind that they may not distribute heat the same as a conventional full sized oven and you may need to adjust your cooking/baking times. In the case of recipes made with a pressure cooker, air fryer, slow cooker, or other appliance, a link to the appliances we use is listed within each respective recipe. For baking recipes where measurements are given by weight, please note that results may not be the same if cups are used instead, and we can’t guarantee success with that method.
