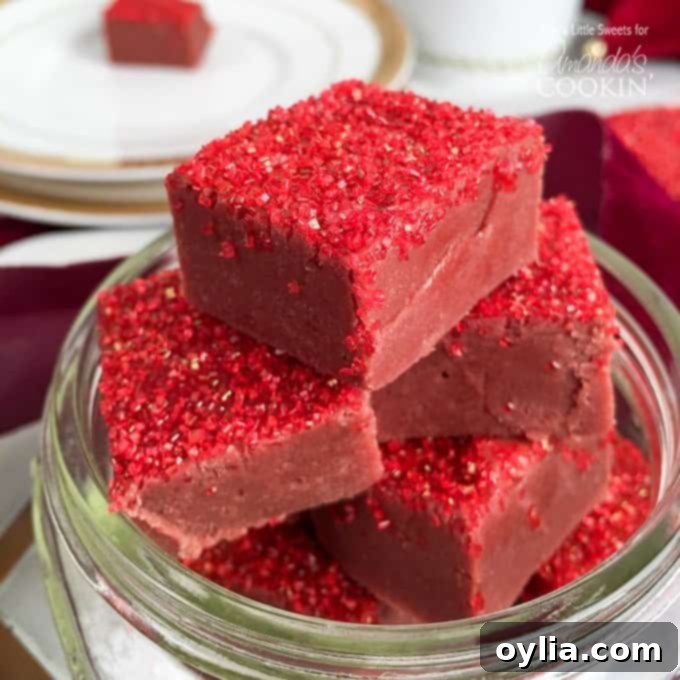
Irresistibly Creamy Red Velvet Fudge: The Ultimate Easy Marshmallow Recipe for Gifting & Indulgence
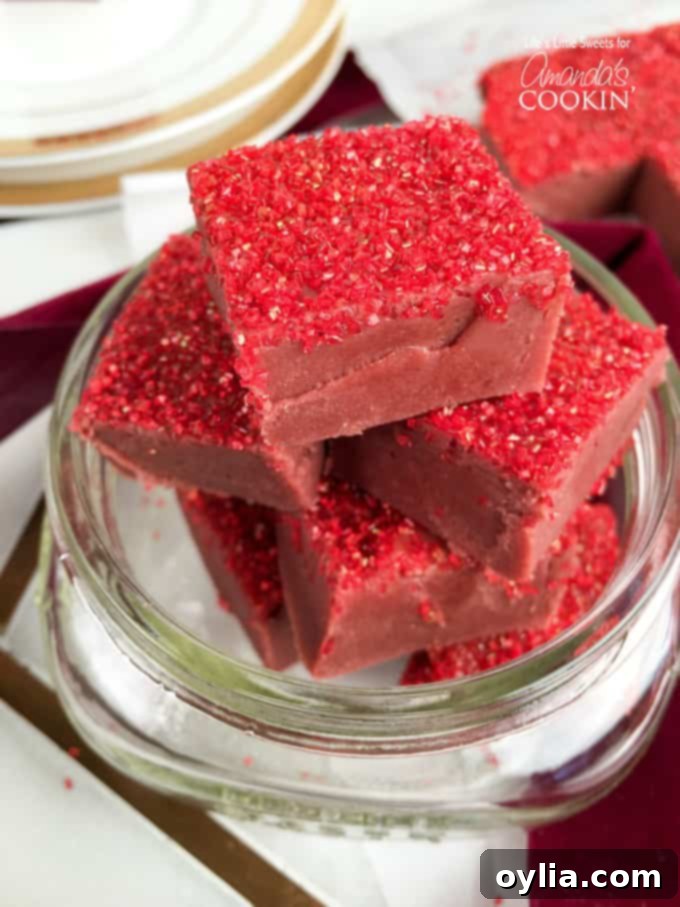
Prepare to fall in love with this **Red Velvet Fudge**! It’s a truly delightful confection that boasts a luxuriously smooth, intensely **chocolatey** flavor, making it the perfect indulgence for yourself or a thoughtful, homemade gift for someone special. What makes this recipe truly stand out is its incredible simplicity, thanks to the use of mini marshmallows. Forget about complicated candy thermometers or endless stirring; this is an easy and quick fudge recipe that delivers gourmet results every time.
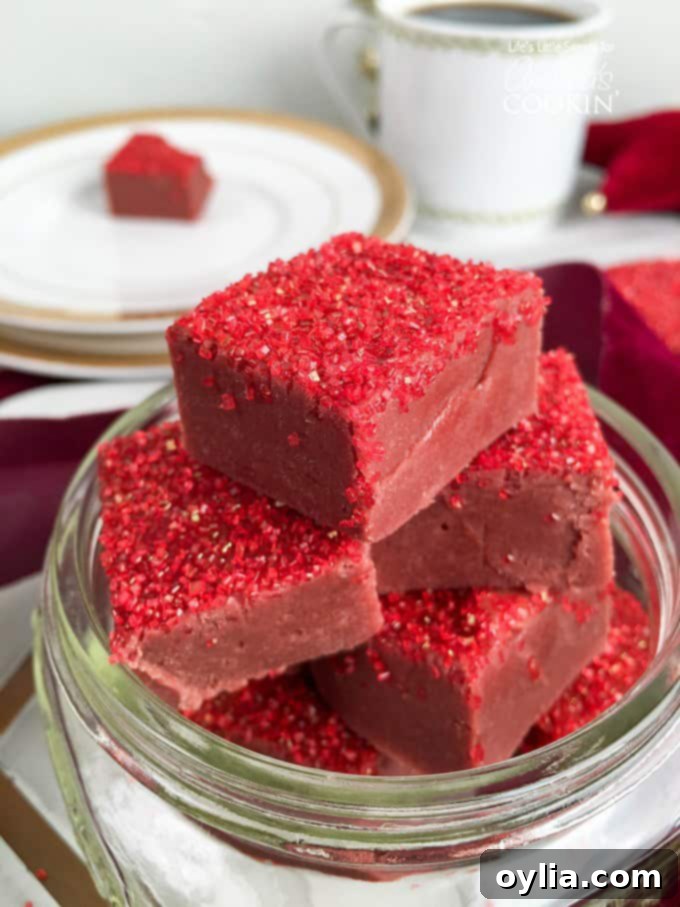
Discover the Magic of Red Velvet Fudge
Red. Velvet. Fudge. Just hearing those words conjures images of rich, decadent sweetness and vibrant color. For many, it’s the stuff culinary dreams are made of. This particular recipe transforms those dreams into a tangible, delicious reality, offering a treat that’s as beautiful to look at as it is to eat. Inspired by a deep appreciation for all things red velvet – and building on the success of a beloved Chocolate Walnut Fudge recipe – this creation is designed to be effortlessly smooth and bursting with flavor.
The secret to this Red Velvet Fudge’s unparalleled smoothness lies in a trio of essential ingredients: creamy mini marshmallows, rich butter, and luscious white chocolate. These components melt together to form a velvety base that sets perfectly without becoming grainy or brittle. But it’s not just about texture; the flavor profile is equally important. This fudge delivers a full, rich taste, achieved through the harmonious blend of butter, vanilla, and crucially, unsweetened cocoa powder combined with white chocolate. While some might think cocoa powder would diminish the vibrant red, it’s a deliberate choice here. It imparts that classic, deep chocolate undertone that is the hallmark of true red velvet, elevating the flavor far beyond what a simple food dye could achieve on its own. You *could* get a brighter red without the cocoa powder, sure, but you would be missing out on that rich, authentic red velvet chocolate flavor that makes this fudge so irresistible.
Please note: This post contains affiliate links. This means that if you make a purchase through one of these links, I may earn a small commission at no additional cost to you. These commissions help support the maintenance of this blog and allow me to continue sharing delicious recipes. Thank you for your support!
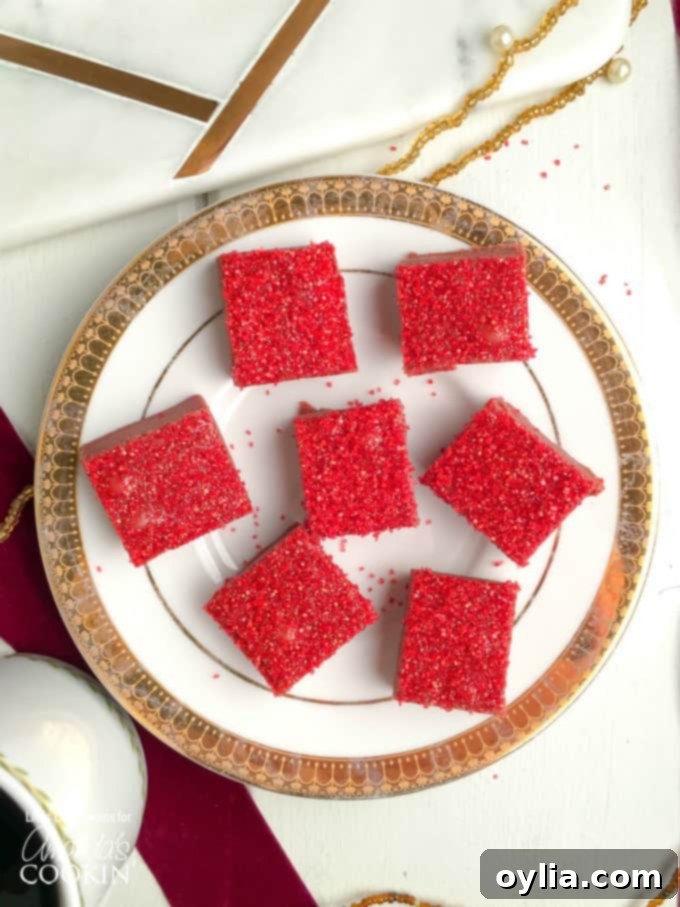
Why This Is The Easiest Red Velvet Fudge You’ll Ever Make
Many traditional fudge recipes can be intimidating, often requiring a candy thermometer and precise temperature control. But this red velvet fudge recipe simplifies the process dramatically, making it accessible even for novice confectioners. The star ingredient in achieving this ease and creamy texture is the **mini marshmallows**. When melted, marshmallows create a stable, smooth base that emulsifies beautifully with the other ingredients, ensuring a consistent and foolproof batch of fudge every time. This means less stress in the kitchen and more time enjoying your homemade treat!
Beyond the marshmallows, the combination of butter, heavy cream, and white chocolate chips further contributes to the luxurious mouthfeel. These ingredients not only add richness but also aid in the smooth melting and setting process. The unsweetened cocoa powder is key to developing that signature red velvet flavor – a subtle chocolate note that perfectly complements the sweetness of the white chocolate and sugar. It’s this thoughtful blend that gives the fudge its depth and complexity without overpowering the iconic red velvet profile.
Essential Ingredients for Your Red Velvet Fudge
Crafting the perfect red velvet fudge begins with selecting the right ingredients. Each component plays a vital role in achieving that creamy texture, rich flavor, and vibrant color.
- 4 tablespoons unsalted butter, plus extra for greasing: Butter is crucial for richness, flavor, and to prevent sticking. Using unsalted butter allows you to control the salt content in your fudge precisely. Don’t skimp on greasing your pan and parchment paper; it’s the key to easy removal later.
- 3 cups mini marshmallows: These are the secret to our “no-fail” fudge! They melt down to create an incredibly smooth, stable base, eliminating the need for a candy thermometer and making the process much simpler.
- 1 cup sugar (organic pure cane sugar recommended): Sugar provides the essential sweetness and contributes to the fudge’s structure. Organic pure cane sugar often has a finer texture and purer flavor, which can subtly enhance the final product.
- 1/2 cup heavy cream (heavy whipping cream works too): Heavy cream adds unparalleled richness and helps create the silky-smooth consistency of the fudge. It’s a crucial element for that melt-in-your-mouth experience.
- 1/4 cup unsweetened cocoa powder (use high quality!): This is where the “velvet” in red velvet comes from! Don’t be afraid to use cocoa powder; it provides the deep, subtle chocolate flavor that truly defines red velvet, without making it taste like pure chocolate fudge. Using a good quality cocoa powder makes a noticeable difference in the depth of flavor.
- 1/2 teaspoon kosher salt: A small amount of salt is vital. It doesn’t make the fudge salty, but rather balances the sweetness and enhances all the other flavors, making them pop.
- 1/2 teaspoon pure vanilla extract: Vanilla is a universal flavor enhancer in baking. Pure vanilla extract adds warmth and depth, complementing both the chocolate and the creamy base beautifully.
- 12 ounces white chocolate chip morsels (high quality is key!): White chocolate chips contribute to the fudge’s sweetness and creaminess. They also provide a light base that allows the red food coloring to shine vibrantly. As with cocoa, investing in good quality white chocolate chips will greatly improve the texture and taste of your fudge.
- Desired amount of red gel food dye (approx. 38-40 drops): To achieve that iconic, striking red hue, gel food dye is superior to liquid. Gel colors are more concentrated, meaning you need less to get a vibrant color, and they won’t thin out your fudge mixture. Adjust the amount to your desired intensity.
- 1 tablespoon or more of red sugar sprinkles: These are for a festive finish! Sprinkles add a lovely textural contrast and make the fudge visually appealing, especially when gifting.
Recommended Kitchen Tools for Perfect Fudge
Having the right tools on hand will make your fudge-making process even smoother and more enjoyable. Here’s what you’ll need:
- 8″x 8″ baking pan: The ideal size for this recipe, ensuring the perfect thickness for your fudge squares.
- Parchment paper: Essential for lining the pan, making it incredibly easy to lift the set fudge out without any sticking.
- Cookie sheet: While not strictly for the fudge itself, it’s often handy for transferring hot pans or placing ingredients on.
- Sharp knife: For clean, precise cuts once the fudge has set. A warm, sharp knife makes all the difference.
- Cutting board: Provides a stable surface for cutting your fudge into perfect squares.
- Baking spatula: Great for scraping down the sides of your saucepan and ensuring all the fudge mixture is transferred.
- Wooden spoon: A sturdy wooden spoon is perfect for stirring the mixture over heat, as it won’t scratch your saucepan.
- Mason jars or decorative boxes: If you’re planning to share your delicious creation, these are perfect for attractive gift-giving.
- Decorative and festive ribbon (red velvet ribbon highly recommended!): The perfect finishing touch for a homemade gift, adding an extra touch of elegance and charm.
The Perfect Gift for Any Occasion
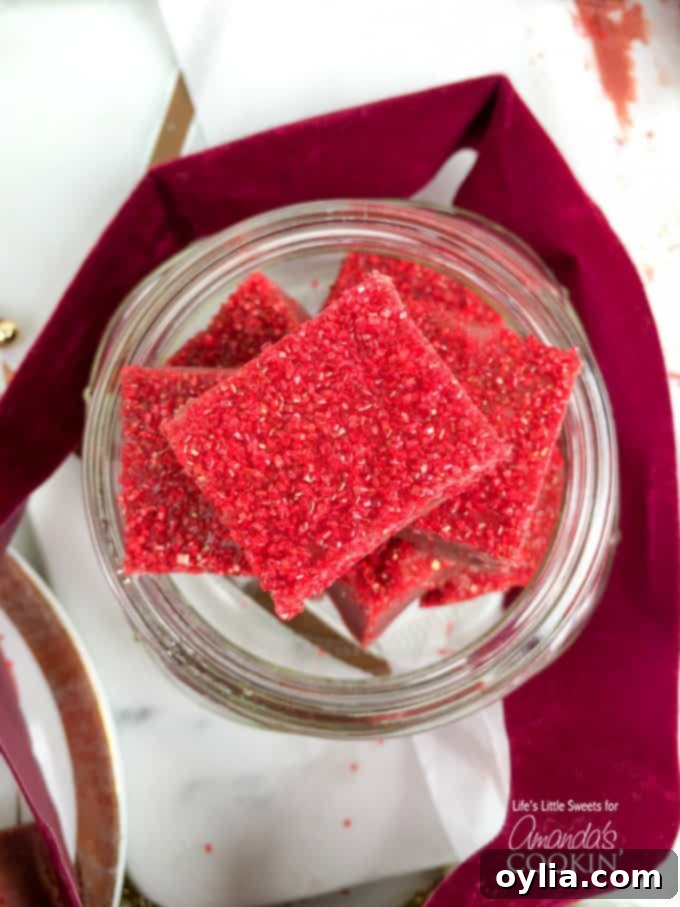
Imagine the delight of receiving a beautifully packaged box of this homemade Red Velvet Fudge for Christmas, Valentine’s Day, a birthday, or as a thoughtful hostess gift. Its vibrant color and rich flavor make it an instant showstopper. Don’t forget that classic touch of elegance – a gorgeous red velvet ribbon tied around the box or jar truly elevates the presentation, making your gift even more special and memorable. This fudge isn’t just a dessert; it’s a gesture of love and care, perfectly conveying warmth and thoughtfulness.
Quick & Easy: Enjoy Homemade Fudge in Just 20 Minutes!
One of the most appealing aspects of this Red Velvet Fudge recipe is its incredible speed. Not including the cooling and setting time (which can be as short as 1 hour in the refrigerator!), this entire recipe goes from start to finish in a remarkable **20 minutes**. This makes it an ideal choice for last-minute treats, spontaneous gatherings, or whenever a craving for something sweet strikes. Its efficiency doesn’t compromise on quality; you’ll still achieve that deep, satisfying red velvet flavor and smooth texture with minimal effort.
Tips for Success and Variations
Achieving Perfect Fudge Every Time
- Low and Slow Heat: When melting the butter, marshmallows, sugar, cream, and cocoa, always use low to medium-low heat. Gentle heat prevents scorching the mixture and ensures an ultra-smooth consistency. Patience here pays off!
- Grease and Line Generously: Don’t skip buttering the pan and crisscrossing the parchment paper, then buttering the parchment too. This is your best defense against sticky situations and guarantees effortless removal of the fudge.
- Quality Ingredients Matter: As noted in the ingredient list, using high-quality unsweetened cocoa powder and white chocolate chips truly makes a difference in the depth of flavor and overall texture.
- Gel Food Dye for Vibrant Color: Gel food coloring provides a much richer and more concentrated color than liquid food coloring, without adding excess moisture to your fudge. Adjust the drops to achieve your desired shade of red.
- Cutting Clean Squares: Once the fudge is completely set, use a sharp knife, and for extra clean cuts, you can run the knife under hot water and wipe it dry between slices.
Creative Variations to Try
- Nutty Red Velvet Fudge: For added crunch and flavor, fold in 1/2 cup of chopped walnuts or pecans along with the vanilla and white chocolate chips. This echoes the original inspiration for the recipe!
- Double Chocolate Red Velvet Fudge: Add 1/2 cup of semi-sweet or dark chocolate chips to the mixture along with the white chocolate for an even deeper chocolate experience.
- Cream Cheese Swirl: For a classic red velvet cake flavor, consider swirling in a small amount of sweetened cream cheese mixture (softened cream cheese, powdered sugar, and a touch of vanilla) right after pouring the red fudge into the pan.
- Festive Toppings: Beyond red sugar sprinkles, you could top with white chocolate shavings, mini chocolate chips, or even a dusting of powdered sugar for a snowy effect.
- Espresso Boost: A tiny pinch of espresso powder (1/4 teaspoon) added with the cocoa powder can deepen the chocolate flavor without making the fudge taste like coffee.
Serving and Storage Suggestions
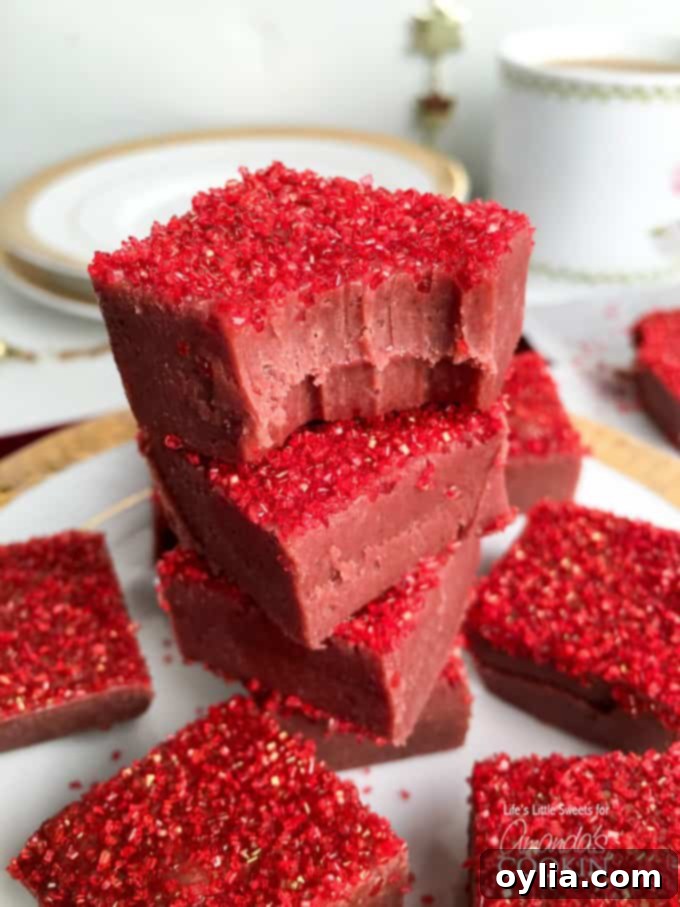
This Red Velvet Fudge is incredibly versatile for serving. It’s fantastic on its own as a sweet treat after dinner, alongside a cup of coffee or tea, or as part of a larger dessert platter for special occasions. For an extra touch, you can serve individual squares in small paper liners.
To store your homemade fudge, place it in an airtight container. It will keep well in the refrigerator for up to 5 days, maintaining its freshness and delightful texture. For longer storage, this fudge freezes beautifully. Wrap individual pieces tightly in plastic wrap, then place them in a freezer-safe bag or container for up to 3 months. Thaw at room temperature before serving for the best experience.
More Delightful Valentine’s Day & Indulgent Recipes
If you’re looking for more ways to celebrate or simply indulge, be sure to explore these other fantastic recipes. Whether it’s for Valentine’s Day, a special anniversary, or just because, these treats are sure to impress!
- Heart Shaped Valentine Cupcakes – Another festive and adorable treat.
- Pink Mudslide – A lovely, romantic beverage.
- Red Velvet Fudge – (You’re already here!)
- Heart Oreo Truffles – Easy and adorable no-bake treats.
- Valentine Heart Cupcakes – Festive cupcakes perfect for gifting.
- Chocolate Covered Fruit Truffles – A healthier, yet still indulgent, option.
- Valentine Play Dough Cookie Pops – A fun activity with delicious results.
- Valentine Cherry Hand Pies – Individual, fruity delights.
Red Velvet Fudge
IMPORTANT – There are often Frequently Asked Questions within the blog post that you may find helpful. Simply scroll back up to read them!
Print It
Pin It
Rate It
Save ItSaved!
Ingredients
- 4 tablespoons of unsalted butter plus more for greasing the 8 x 8 inch pan and parchment paper
- 3 cups of mini marshmallows
- 1 cup sugar I use organic pure cane sugar and it works very well
- ½ cup heavy whipping cream heavy whipping cream works as well
- ¼ cup unsweetened cocoa powder use the best quality you can find, it does make a difference
- ½ teaspoon kosher salt
- ½ teaspoon pure vanilla extract
- 12 ounces white chocolate chip morsels use the best quality you can find, it does make a difference
- desired amount of red gel food dye I use 38-40 drops
- 1 tablespoon or more of red sugar sprinkles
Before You Begin
Instructions
-
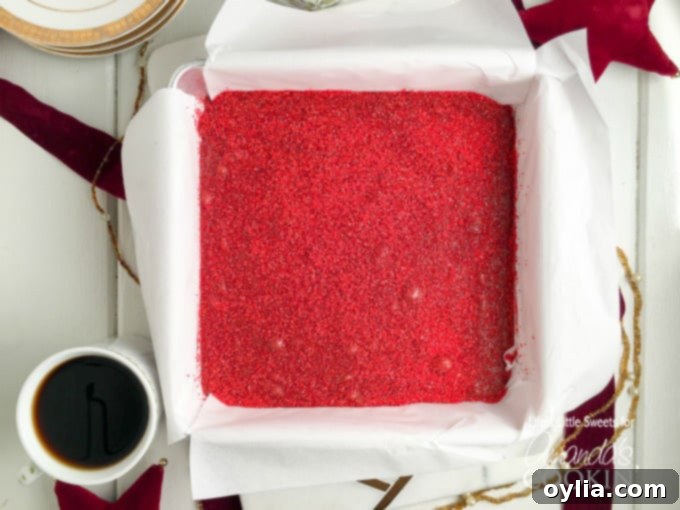
Grease an 8 x 8 inch pan with butter and then line with 2 pieces parchment paper that are crisscrossed, leaving an overhang. Butter the paper and set aside the pan. This step helps enable you to remove the formed fudge from the pan with ease later on.
-
Using a medium or large saucepan over low-medium heat, add 4 tablespoons of butter, 3 cups mini marshmallows, 1 cup sugar, 1/2 cup heavy cream, 1/4 cup cocoa powder and 1/2 teaspoon kosher salt. Stir gently until the mini marshmallows are melted, this may take 8-10 minutes.
-
Remove from heat, add 1/2 teaspoon vanilla, 12 ounces of white chocolate chip morsels and desired amount of red gel food dye (about 38 drops), stir until the chocolate is fully melted and everything is combined. Pour into prepared 8″ x 8″ pan. Allow to cool for 30 minutes. Sprinkle 1 tablespoon or more of red sugar sprinkles over the top 15 minutes into cooling. Cover and transfer to refrigerator and set for 1 hour.
-
When the fudge is completely set, use the overhang of the parchment paper to gently lift the fudge onto a cutting board to cut for serving. Package in jars or boxes if you are gift giving and don’t forget the red velvet ribbon! Enjoy!
The recipes on this blog are tested with a conventional gas oven and gas stovetop. It’s important to note that some ovens, especially as they age, can cook and bake inconsistently. Using an inexpensive oven thermometer can assure you that your oven is truly heating to the proper temperature. If you use a toaster oven or countertop oven, please keep in mind that they may not distribute heat the same as a conventional full sized oven and you may need to adjust your cooking/baking times. In the case of recipes made with a pressure cooker, air fryer, slow cooker, or other appliance, a link to the appliances we use is listed within each respective recipe. For baking recipes where measurements are given by weight, please note that results may not be the same if cups are used instead, and we can’t guarantee success with that method.

