Best Cast Iron Skillet Pineapple Upside Down Cake Recipe: Perfectly Caramelized & Easy!
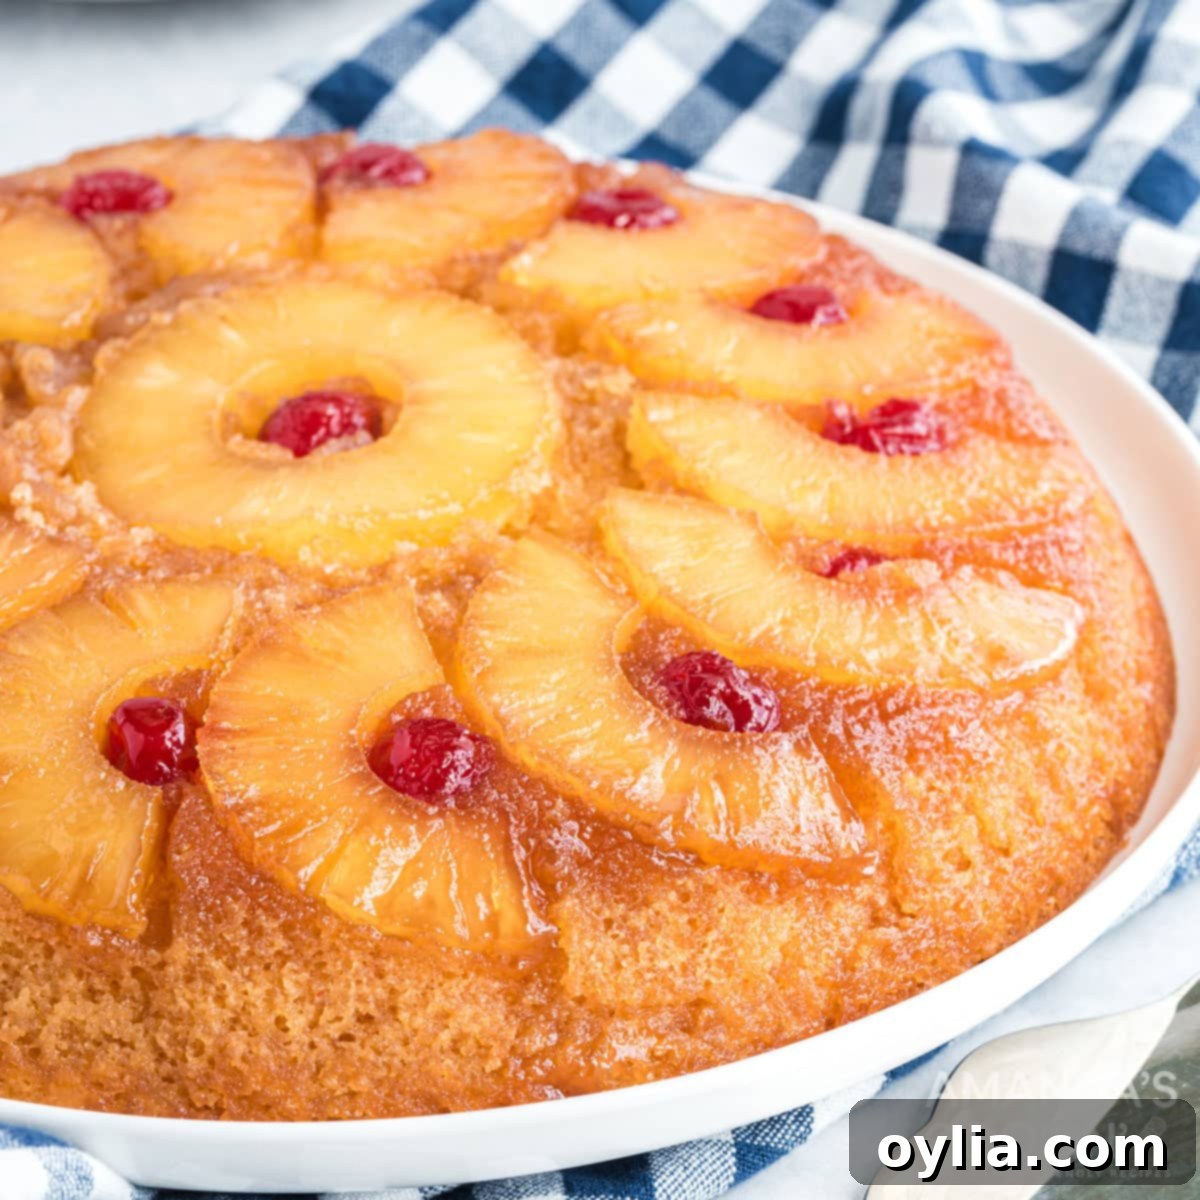
Prepare to be amazed by the ultimate pineapple upside down cake, baked to a golden, caramel-crusted perfection. While this beloved classic can be made in any standard cake pan, using a seasoned cast iron skillet elevates it to an entirely new level, creating an unparalleled depth of flavor and texture that will keep you coming back for more. This method transforms simple ingredients into a show-stopping dessert with a naturally irresistible caramel coating.
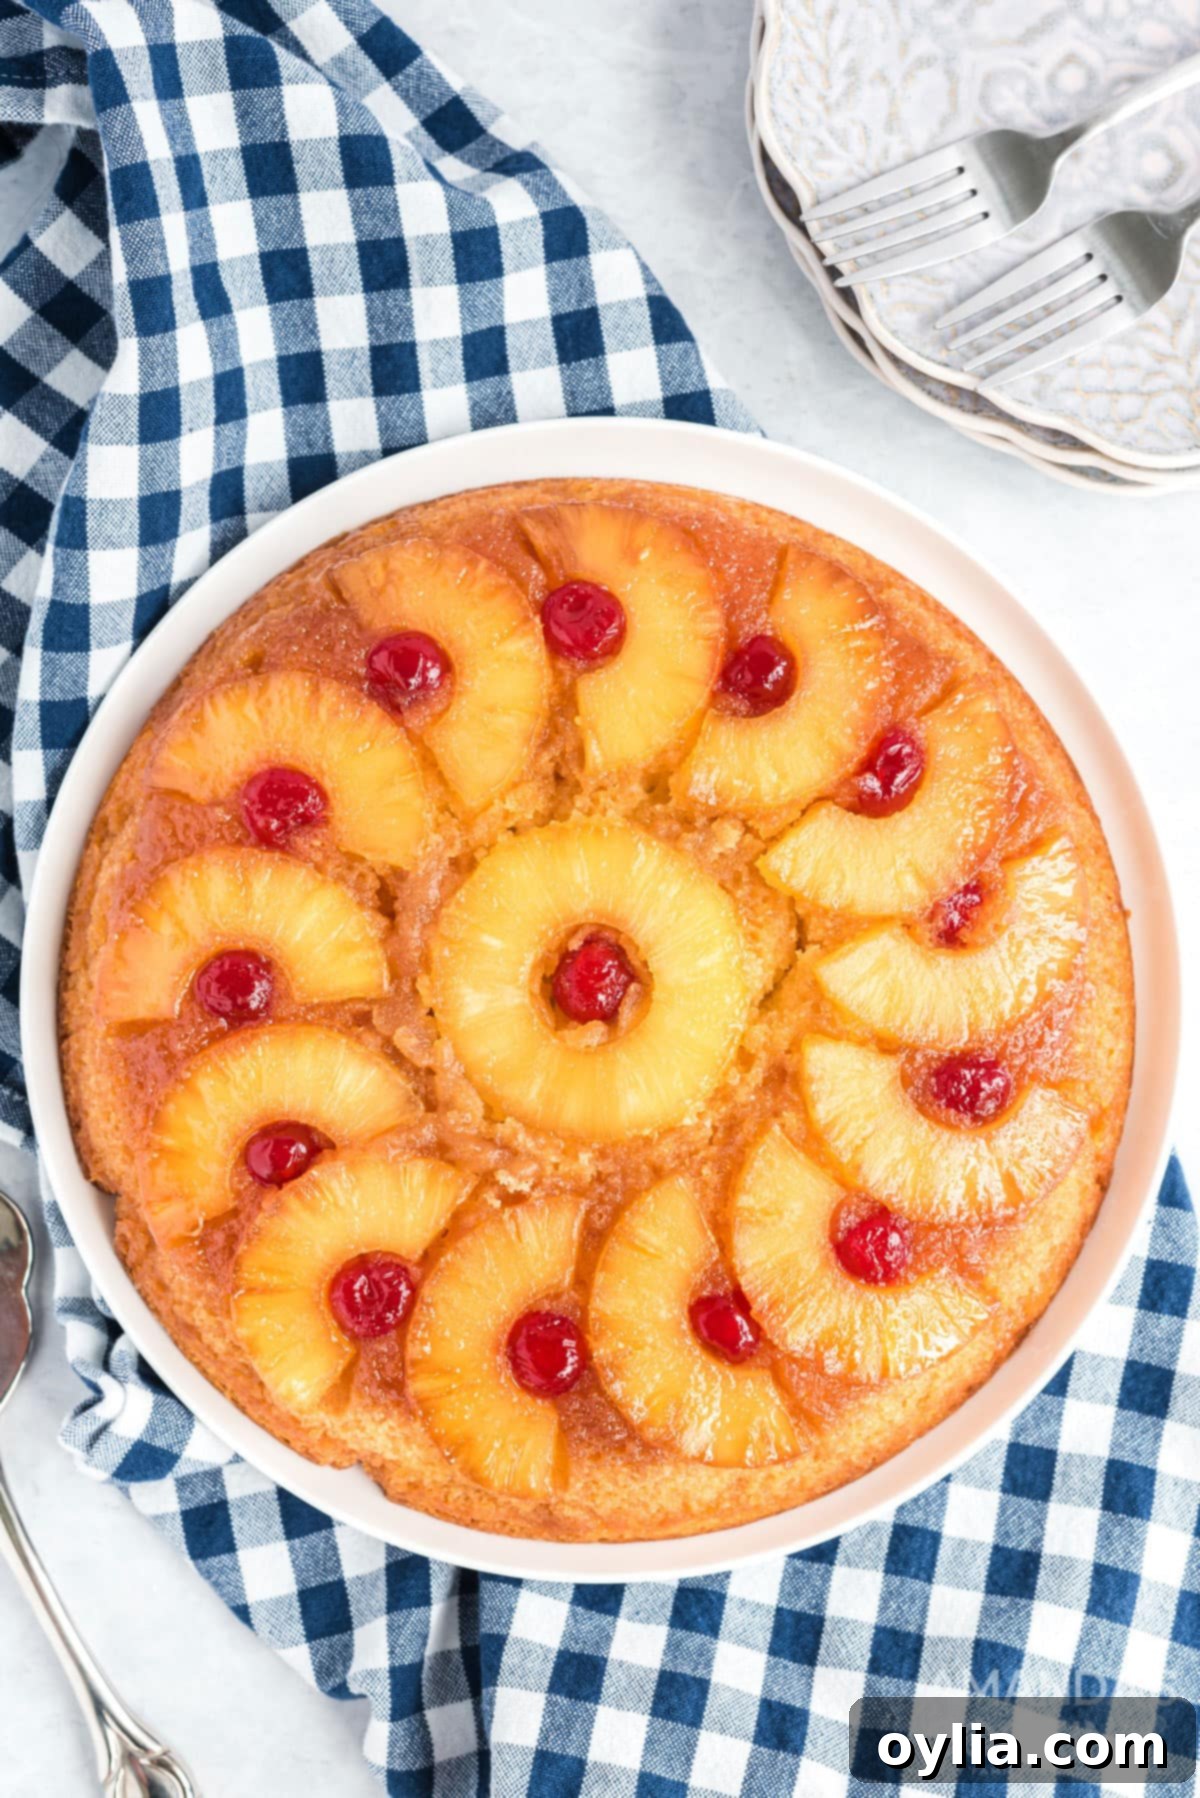
Pineapple Upside Down Cake: A Cast Iron Skillet Classic
This timeless recipe for the best pineapple upside down cake has been a staple in my kitchen for over 30 years. About a decade ago, I discovered the magic of baking it in a cast iron skillet, and I haven’t looked back since. While you can certainly achieve delicious results in a regular cake pan, the cast iron method provides a distinct advantage, creating a uniquely crisp and intensely caramelized topping that truly sets this cake apart. This is the same cherished recipe, perfected with a simple yet transformative cooking vessel.
The charm of this homemade cake lies in its clever preparation method: the topping is assembled first at the bottom of the pan, then beautifully inverted after baking to reveal its stunning fruit and caramel design. Beyond its impressive presentation, this is a truly no-fuss yellow cake. All the batter ingredients are simply combined in one bowl and mixed, eliminating the need for tedious sifting, whisking, creaming, or complex incorporation techniques. It’s an easy-to-make dessert that tastes incredibly gourmet.
Related Recipe: Craving more pineapple goodness? Don’t miss our delightful Pineapple Pound Cake!
Why a Cast Iron Skillet Makes All the Difference
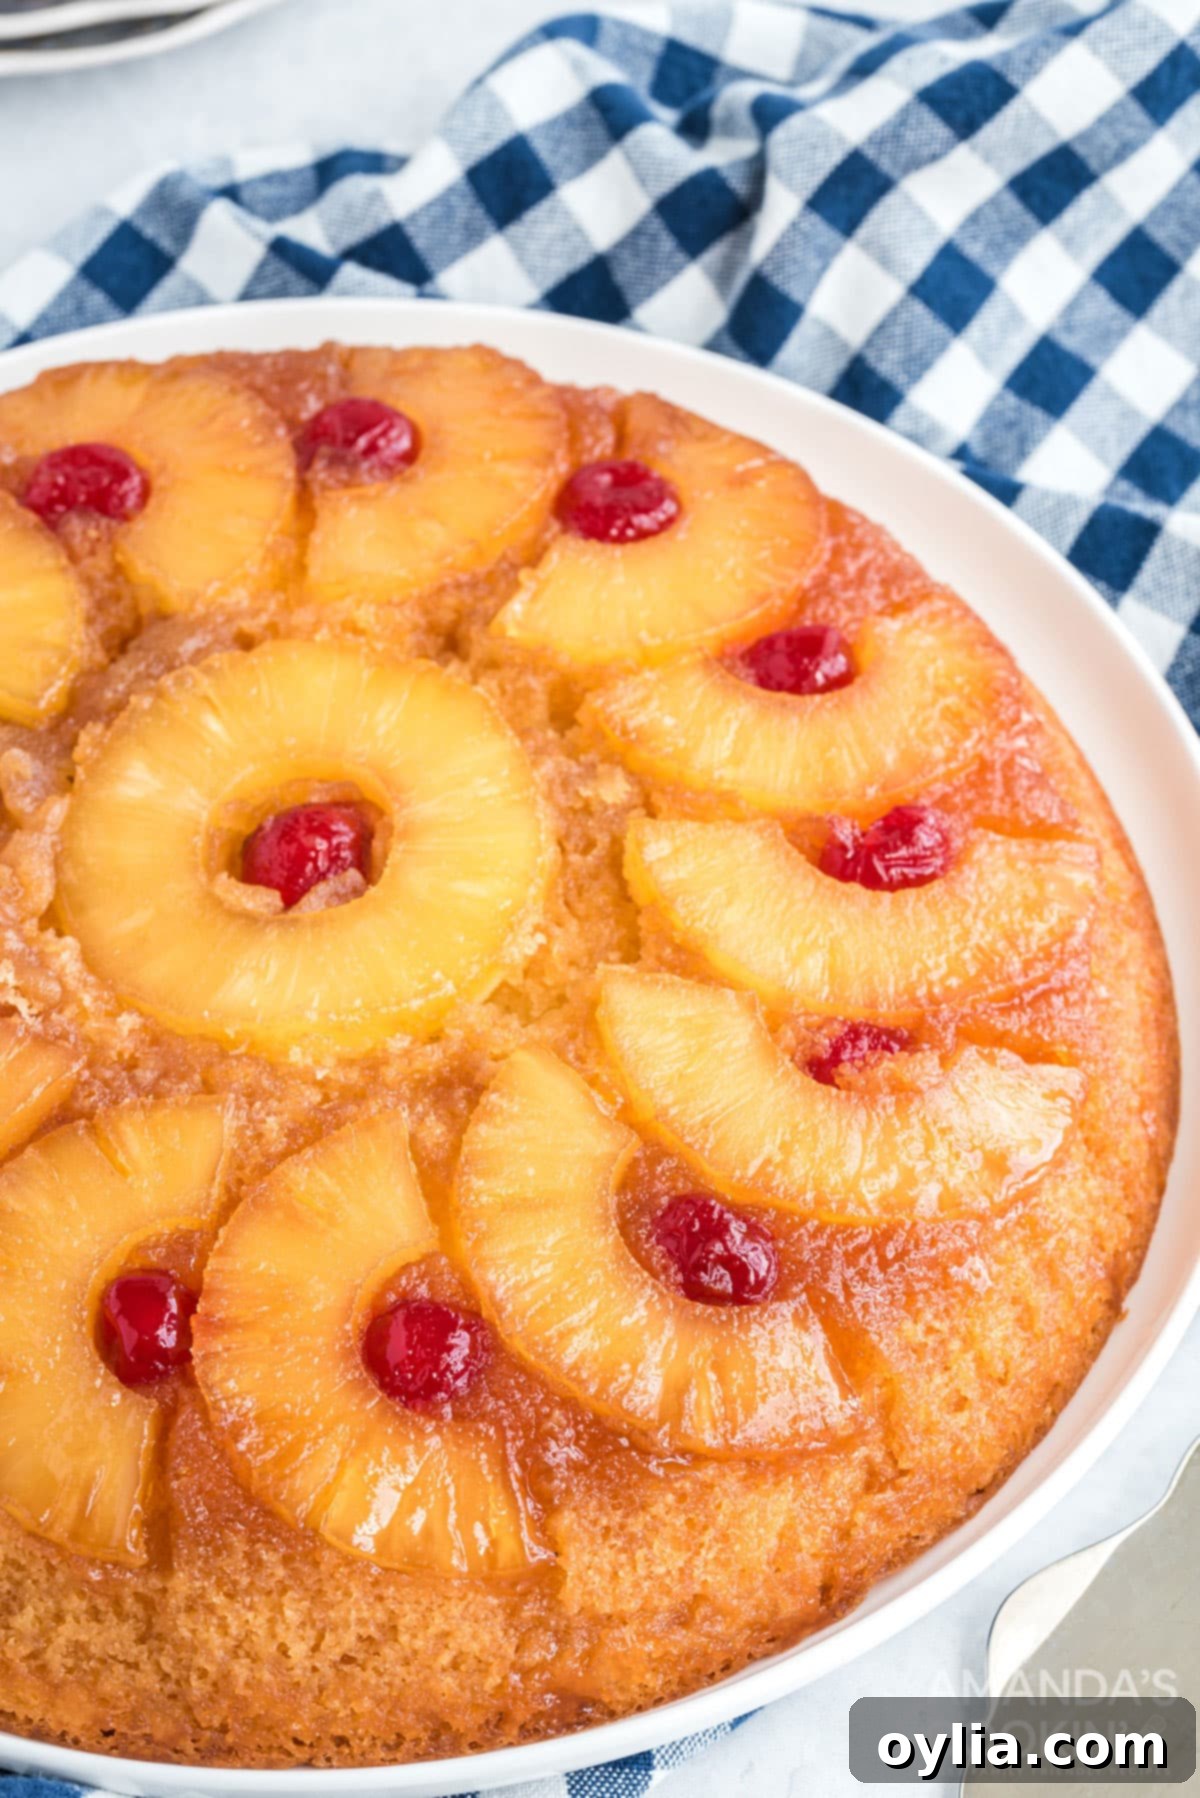
Using a cast iron skillet for your pineapple upside down cake isn’t just a preference; it’s a game-changer. The heavy, even heat distribution of cast iron creates an intensely caramelized crust that a standard baking pan simply cannot replicate. As the brown sugar and butter melt and bubble, the cast iron’s consistent temperature ensures a deep, rich, golden-brown topping that is perfectly crisp without burning. This unique crust provides an incredible textural contrast to the soft, moist cake beneath, enhancing every bite with a wonderful chewiness and a more pronounced caramel flavor. Plus, baking in cast iron adds a rustic, charming appeal to your dessert, making it ideal for family gatherings or special occasions. If you’ve never tried it this way, prepare to be converted!
Ingredients You Will Need for This Easy Pineapple Upside Down Cake
For precise measurements, a comprehensive list of ingredients, and detailed instructions, please refer to the printable recipe card available at the conclusion of this post. Gathering your ingredients before you start will make the baking process even smoother and more enjoyable!
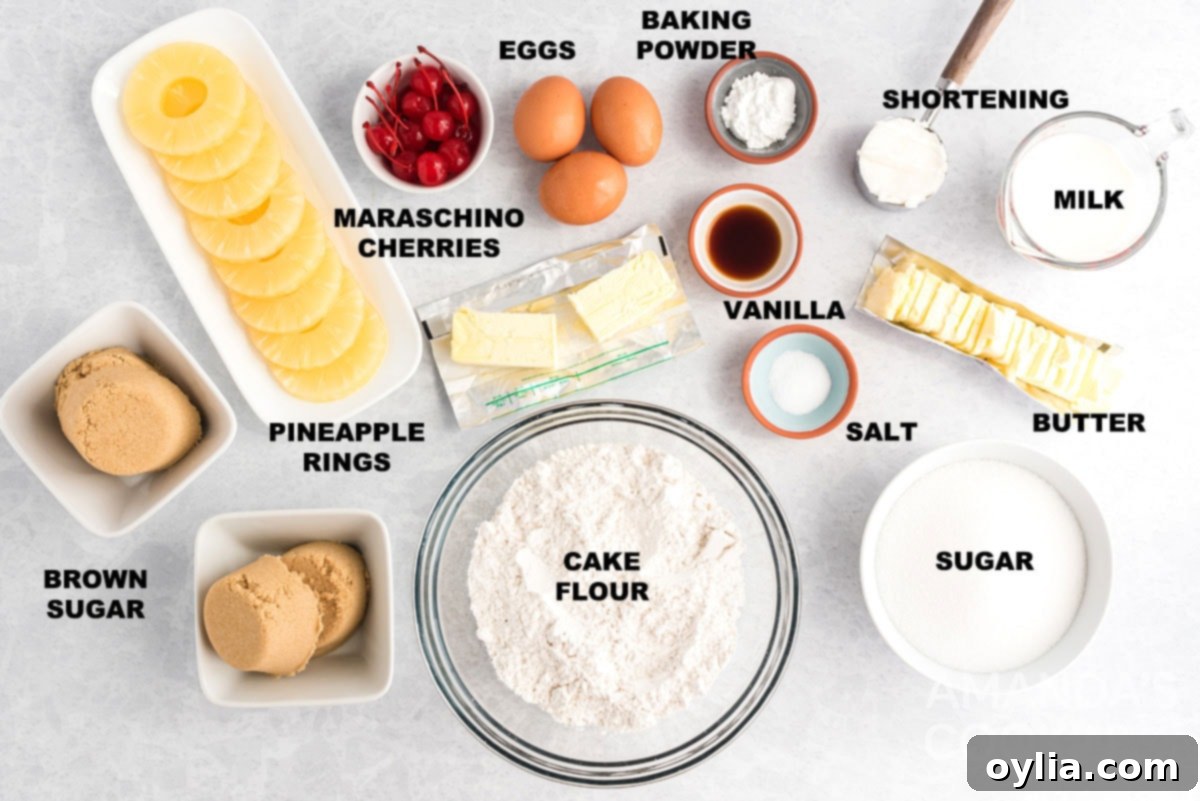
Ingredient Information and Substitute Suggestions
- CAKE FLOUR: I highly recommend using cake flour for this recipe, as it results in a lighter, more tender crumb. However, if you don’t have cake flour on hand, you can easily create a substitute: use 2 ¼ cups minus 4 tablespoons of all-purpose flour, sifted together with 4 tablespoons of cornstarch. This trick helps to mimic the low protein content of cake flour. For an even quicker and easier option, a boxed yellow cake mix can be used in place of the homemade batter; just ensure it’s enough for two 9-inch cakes.
- BUTTER: Unsalted butter is preferred to control the salt content in the cake and topping. Make sure your butter for the topping is good quality as it forms the base of the caramel.
- BROWN SUGAR: Packed light brown sugar is essential for the rich caramel topping. The molasses in brown sugar provides that distinctive flavor and gooey texture.
- PINEAPPLE RINGS: Canned pineapple rings, drained, are traditional and convenient. Reserve the juice if you plan to store any leftover cake to keep it moist.
- MARASCHINO CHERRIES: These add a pop of color and a touch of sweetness to the center of each pineapple ring. Feel free to use fresh pitted cherries or even other berries if you prefer.
- OTHER BATTER INGREDIENTS: Granulated sugar, shortening, milk, large eggs, baking powder, salt, and vanilla extract all contribute to the classic yellow cake flavor and texture. Ensure eggs and milk are at room temperature for optimal mixing.
How to Make Pineapple Upside Down Cake in a Cast Iron Skillet
These step-by-step photos and instructions are provided to help you visualize the process of making this delightful recipe. For a convenient printable version, simply scroll down to the end of this post!
These instructions are specifically tailored for making two 9-inch cakes in cast iron skillets. For guidance on using standard cake pans, please refer to the helpful notes at the end of the recipe. Remember, you can easily print these comprehensive instructions at the bottom of this post.
- Preheat Oven: Begin by preheating your oven to 375 degrees Fahrenheit (190°C). Position an oven rack in the center for even baking.
EXPERT TIP: This recipe yields two cakes. I often use just one 9-inch cast iron skillet by baking one cake at a time. After removing the first cake, simply wipe out the skillet and repeat the process for the second. If you’re fortunate enough to have two skillets, you can bake both simultaneously by staggering them on different racks in the oven for optimal air circulation.
- Prepare the Topping Base: Place ¼ cup of butter in your cast iron skillet. Transfer the skillet to the preheated oven for just a few minutes until the butter is completely melted. Watch it closely to prevent browning.
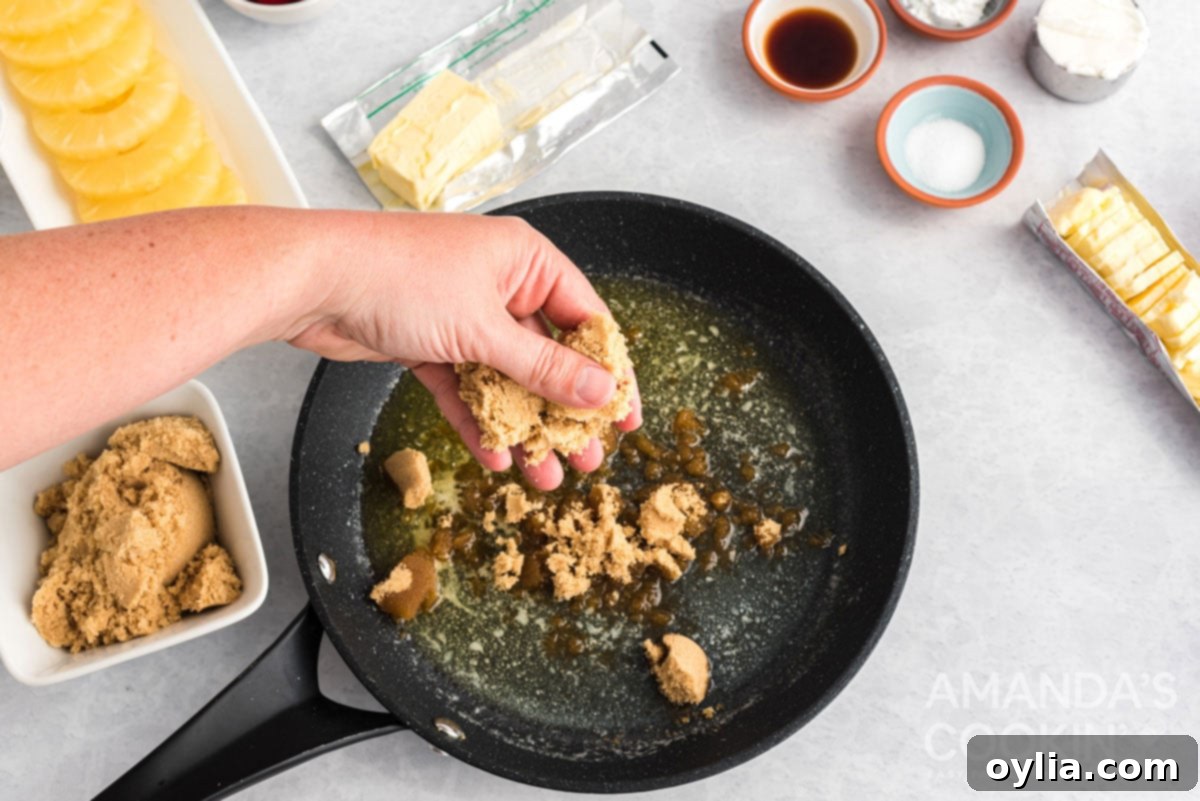
- Add Brown Sugar: Carefully remove the hot skillet from the oven. Evenly sprinkle 1 cup of packed light brown sugar over the melted butter. Drain your pineapple rings, making sure to reserve the juice – it can be used later to keep any leftover cake moist.

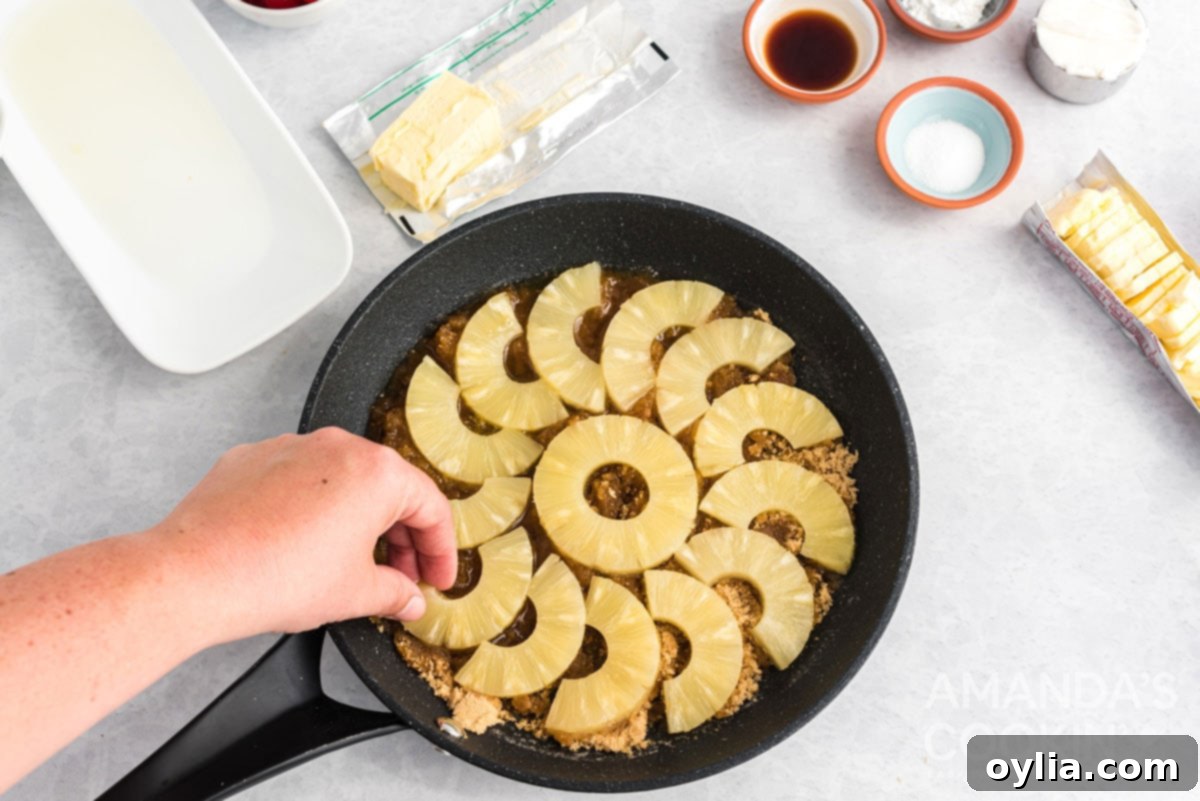
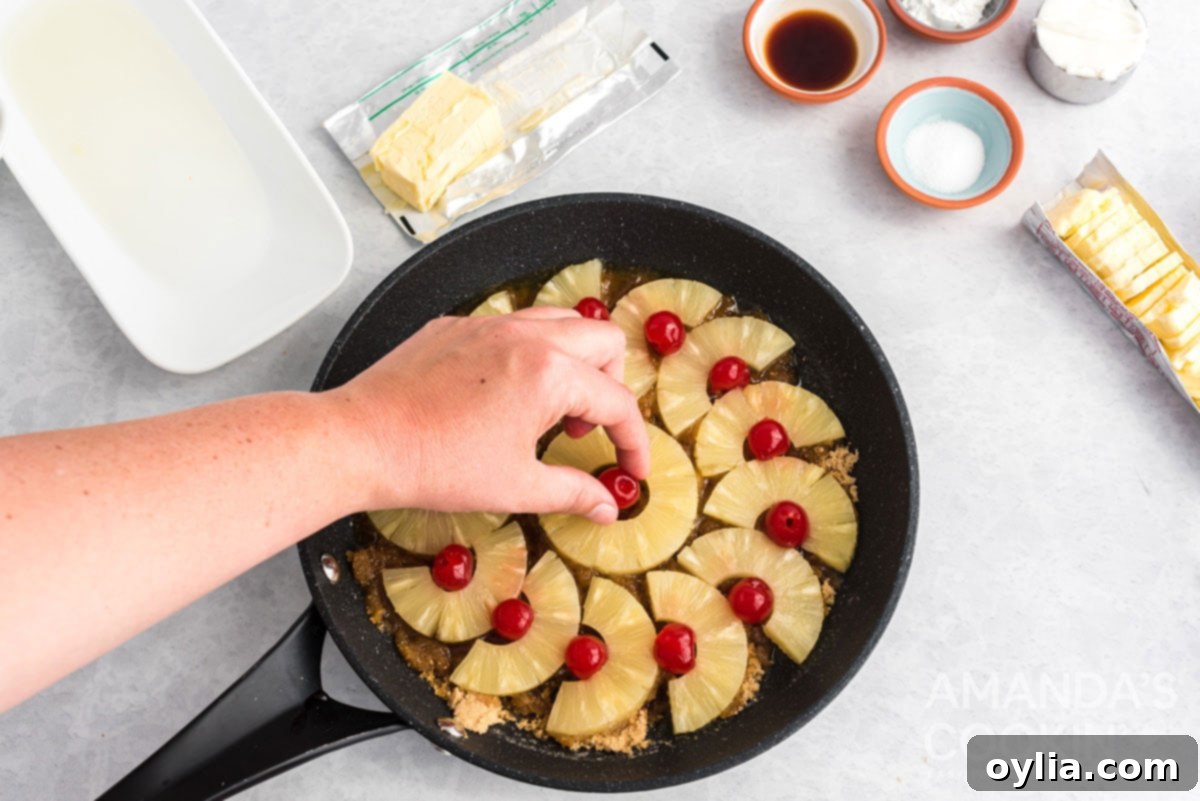
- Arrange Fruit: Gently arrange the drained pineapple rings onto the layer of brown sugar in the skillet. For that classic look, place one maraschino cherry in the center of each pineapple ring. This creates a beautiful, vibrant pattern that will be revealed when the cake is inverted.


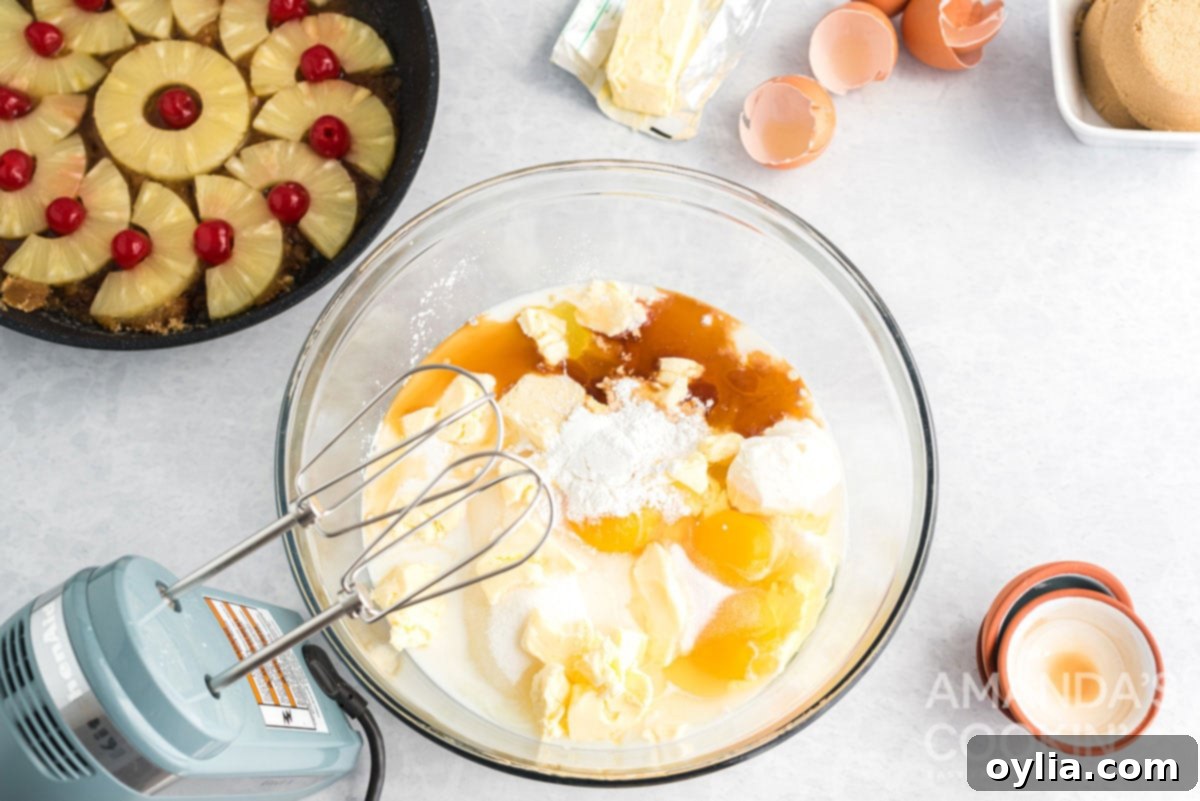
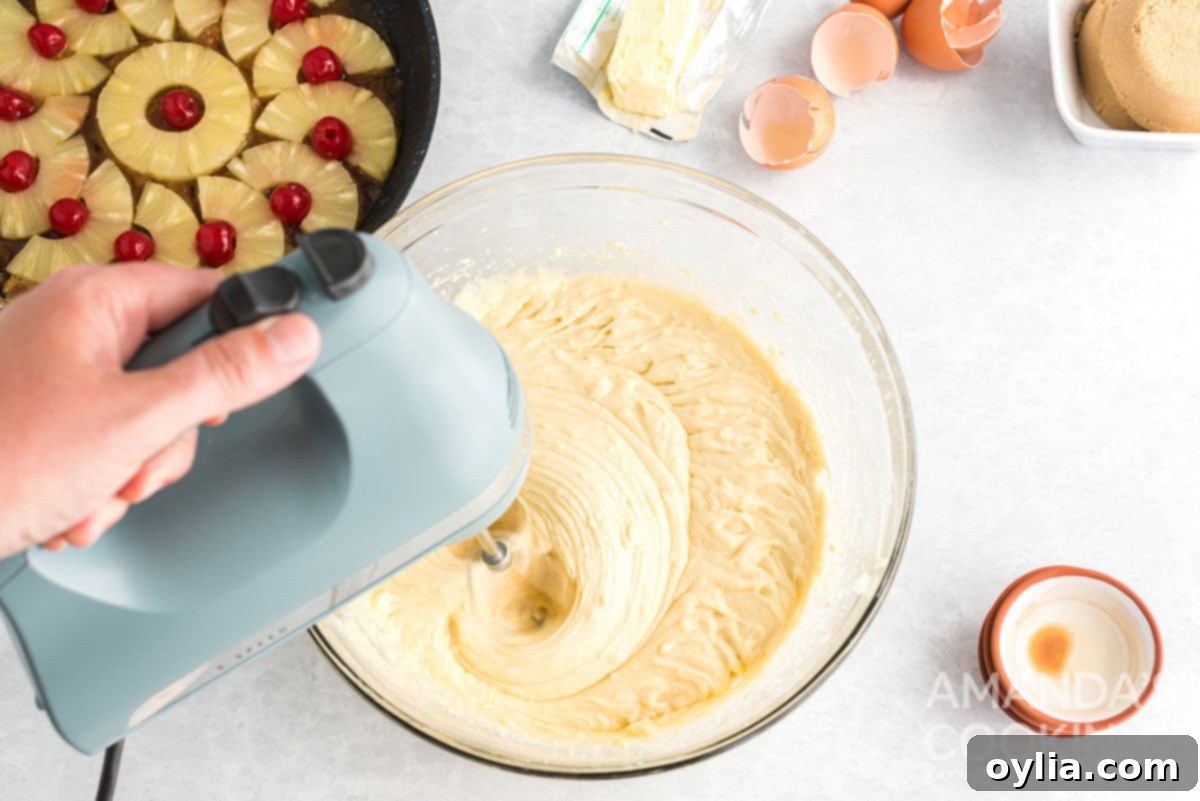
- Prepare Cake Batter: In a large mixing bowl, combine all the cake batter ingredients. Using a stand or handheld mixer, mix on low speed for about 30 seconds to just incorporate the ingredients. Then, increase the speed to medium and continue mixing for 5 minutes, occasionally scraping down the sides of the bowl with a spatula to ensure everything is well combined. This simple method guarantees a smooth and airy batter without complex steps.


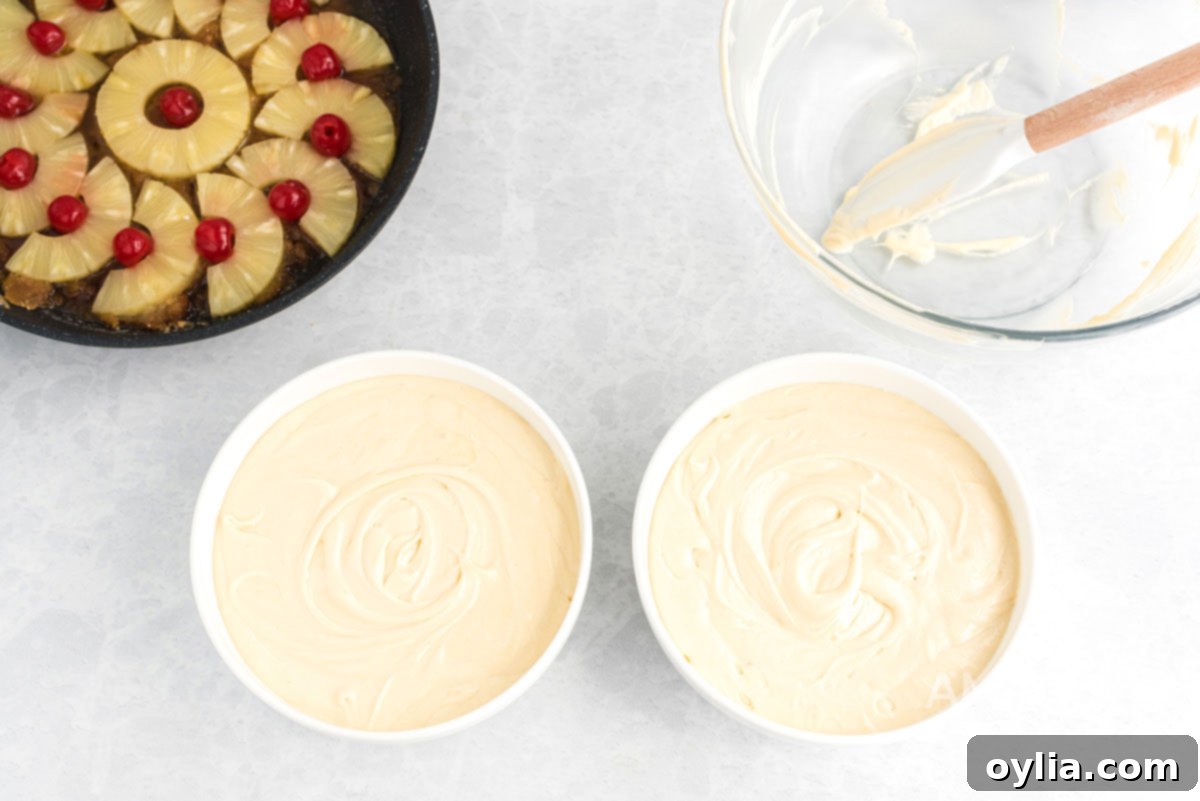
- Divide Batter: Evenly separate the prepared cake batter into two separate bowls. Don’t worry if you notice a few small bits of butter still visible in the batter; this is perfectly normal and will not affect the beautiful texture or taste of your baked cake!

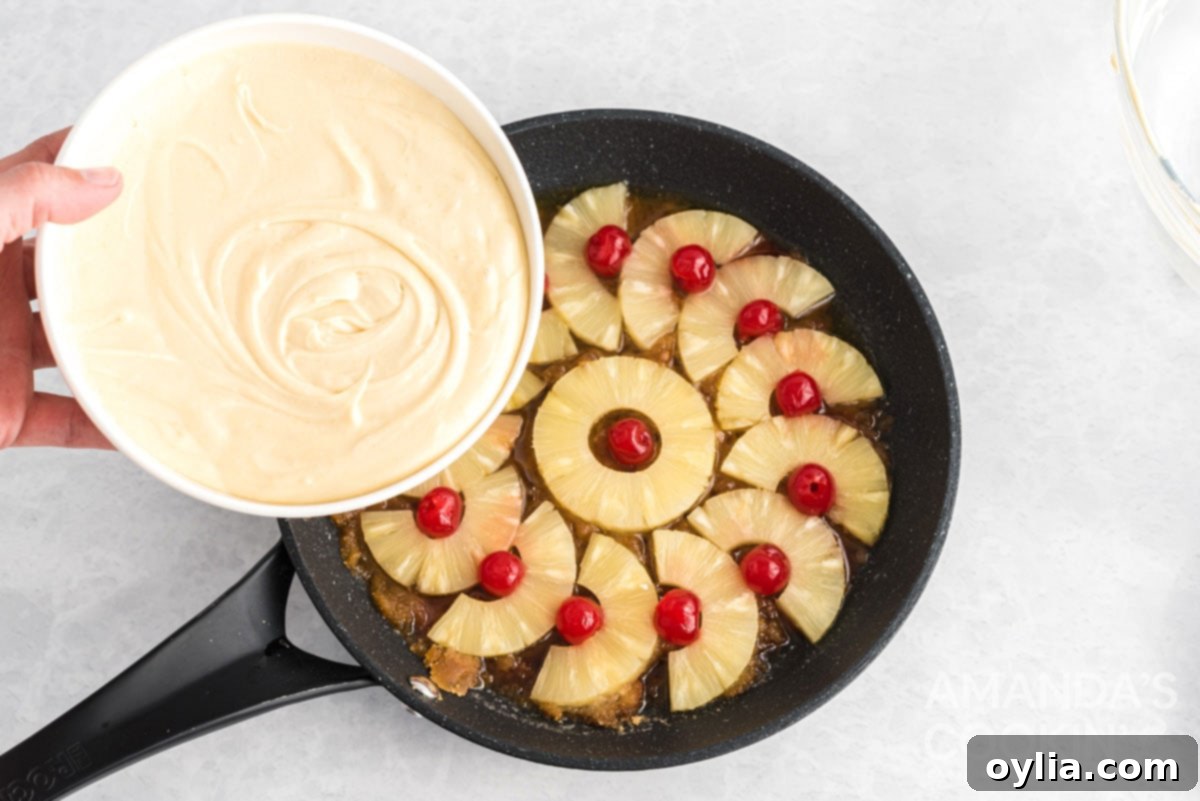
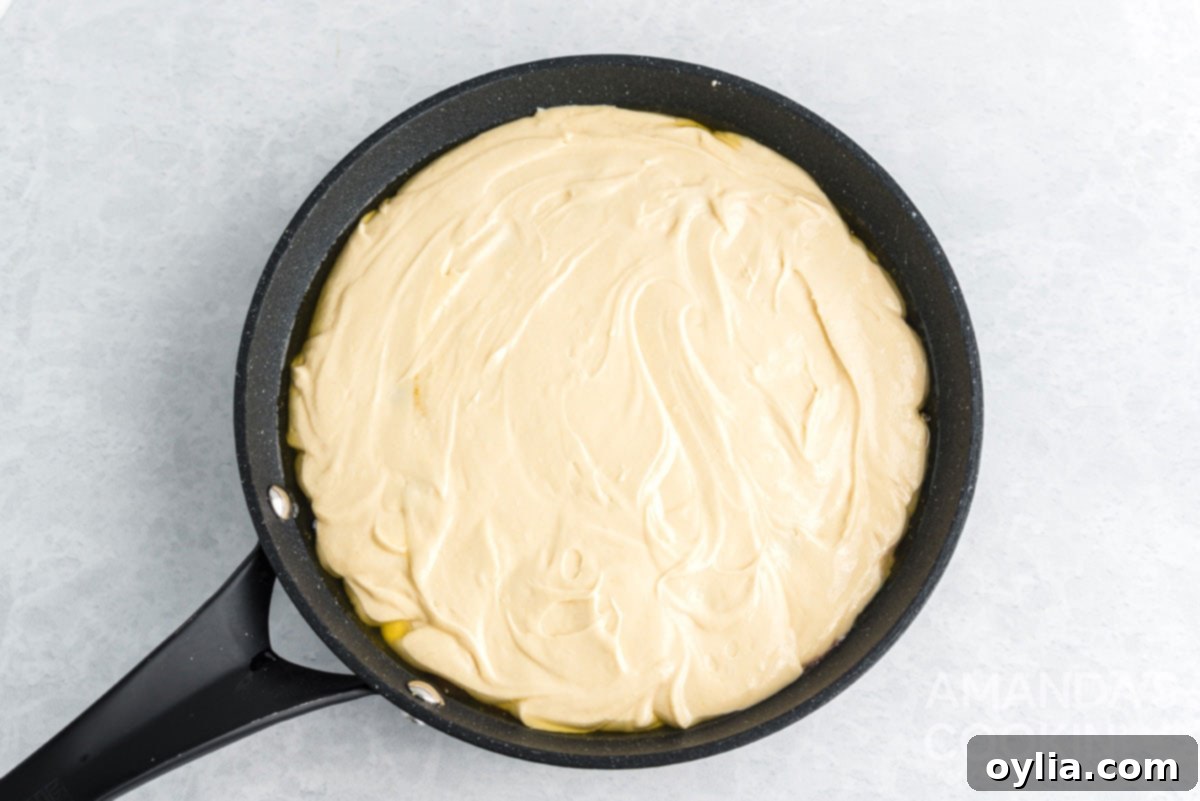
- Pour Batter Over Fruit: Carefully, yet with reasonable speed, pour one portion of the cake batter over the arranged pineapples in the skillet. Distribute the batter evenly as you pour, moving around the pan to ensure you don’t shift any of the fruit pieces out of place. This gentle technique helps maintain the integrity of your topping design.


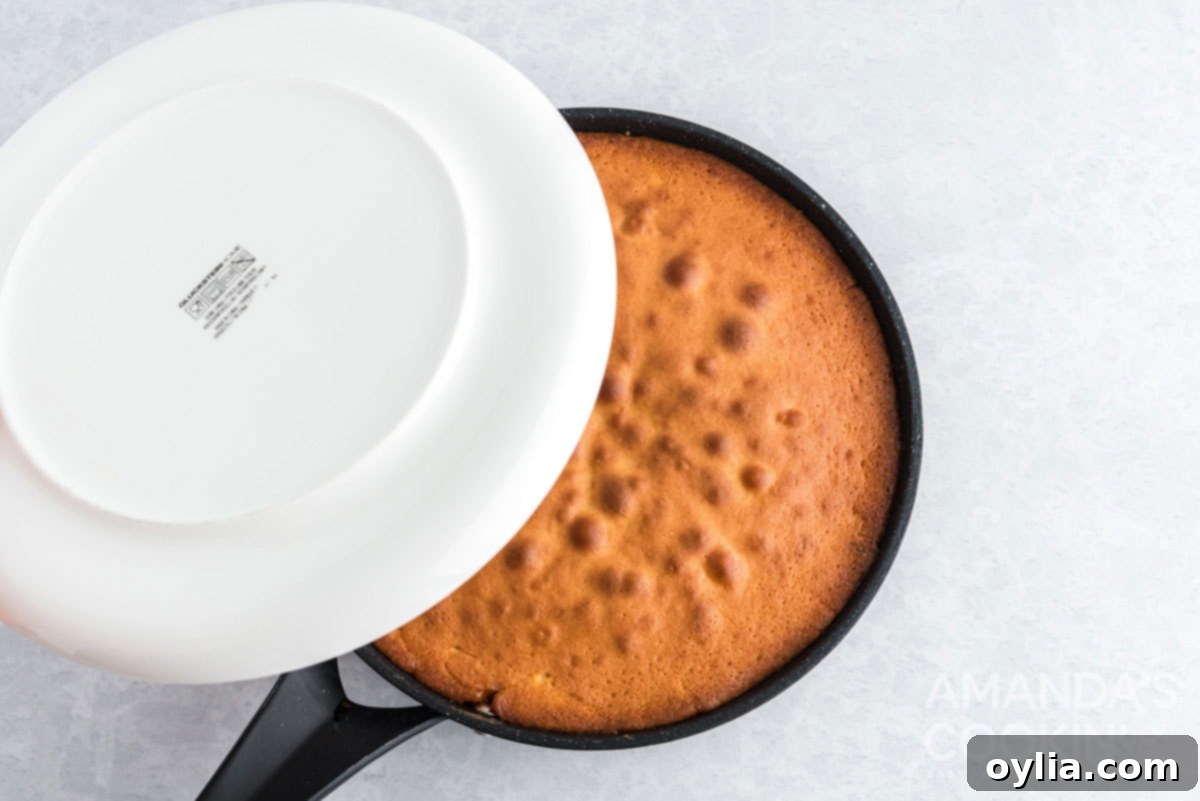
- Bake and Cool: Bake the cake for approximately 30 minutes. You’ll know it’s ready when the sides are bubbly and the top of the cake is beautifully browned. Once baked, remove the skillet from the oven and let it cool on a wire rack for exactly 10 minutes. This cooling period is crucial for the caramel to set slightly and for the cake to release easily.
- Invert and Serve: After cooling, carefully place a flat cake plate or serving platter over the skillet. Using oven mitts for protection, confidently invert the pan onto the plate. If, by chance, any topping remains in the skillet, simply use an icing spatula to gently scoop it up and patch any bare spots on top of your stunning cake. Serve warm and enjoy!

Frequently Asked Questions and Expert Tips for Success
Absolutely! This versatile recipe can be adapted for a 13×9 inch baking pan or standard 9-inch round cake pans. If using a 13×9 pan, arrange your pineapple rings to form decorative “flowers” or a continuous pattern across the entire surface; you should be able to fit at least 8 or more rings. Bake the 13×9 pan for 35-40 minutes, or until a toothpick inserted into the center of the cake comes out clean. Before inverting, you might need to run a knife gently around the edges to loosen the cake. For 9-inch round cake pans, follow the baking times specified for the cast iron skillet.
Yes, you can! To substitute all-purpose flour for cake flour in this pineapple upside down cake recipe, simply use 2 ¼ cups minus 4 tablespoons of all-purpose flour, and sift it together with 4 tablespoons of cornstarch. This mixture will help achieve a texture very similar to that provided by cake flour, ensuring your cake remains light and tender.
Certainly! Feel free to use pineapple chunks or tidbits if that’s what you have or prefer. Simply arrange the pineapple pieces into circles, flowers, or any pattern you desire at the bottom of the pan. Place a maraschino cherry in the center of each arrangement, just as you would with the slices. The only notable difference between chunks and tidbits is that tidbits are slightly smaller, offering a finer texture in the topping.
To maintain the freshness and moisture of your pineapple upside down cake, allow it to cool completely before storing. Loosely wrap the cake in plastic wrap, then place it inside an airtight container. Store it in the refrigerator for 3-4 days. I highly recommend using a cake carrier for storing and transporting cakes; it simplifies life considerably!
Yes, this cake freezes beautifully! First, ensure the cake is completely cooled. Then, place it on a baking sheet and flash freeze it for approximately 45 minutes to firm up. Once firm, remove it from the freezer and wrap it thoroughly a few times in plastic wrap, followed by a layer of aluminum foil. This double layer of protection helps prevent freezer burn. Store in the freezer for up to 3 months. When you’re ready to enjoy it, simply transfer the frozen cake to the refrigerator to thaw overnight before serving.
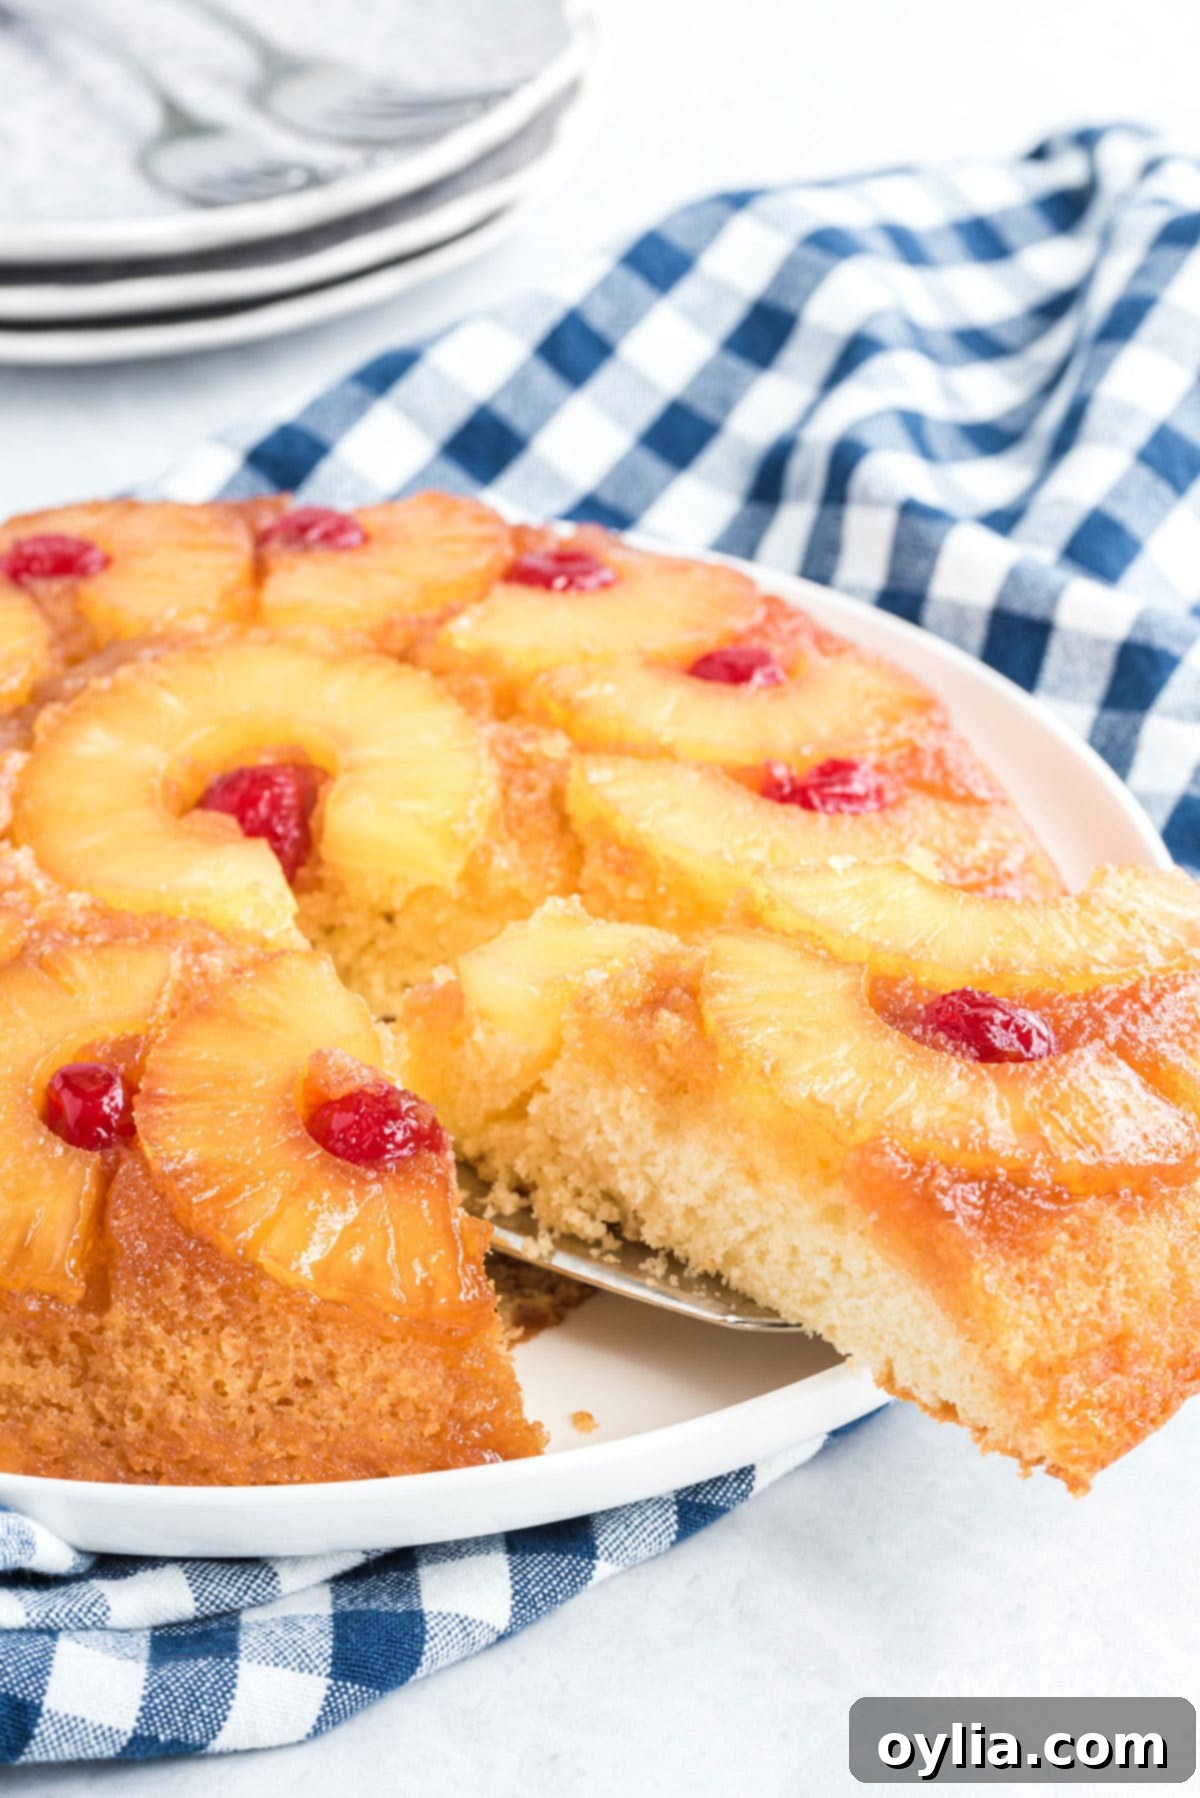
This pineapple upside down cake recipe is a cherished family staple that I prepare regularly, and for good reason. A beloved dessert in countless homes, when made in a cast iron skillet, it truly is in a league of its own. The caramelization achieved with cast iron is simply unmatched, creating a memorable treat every time.
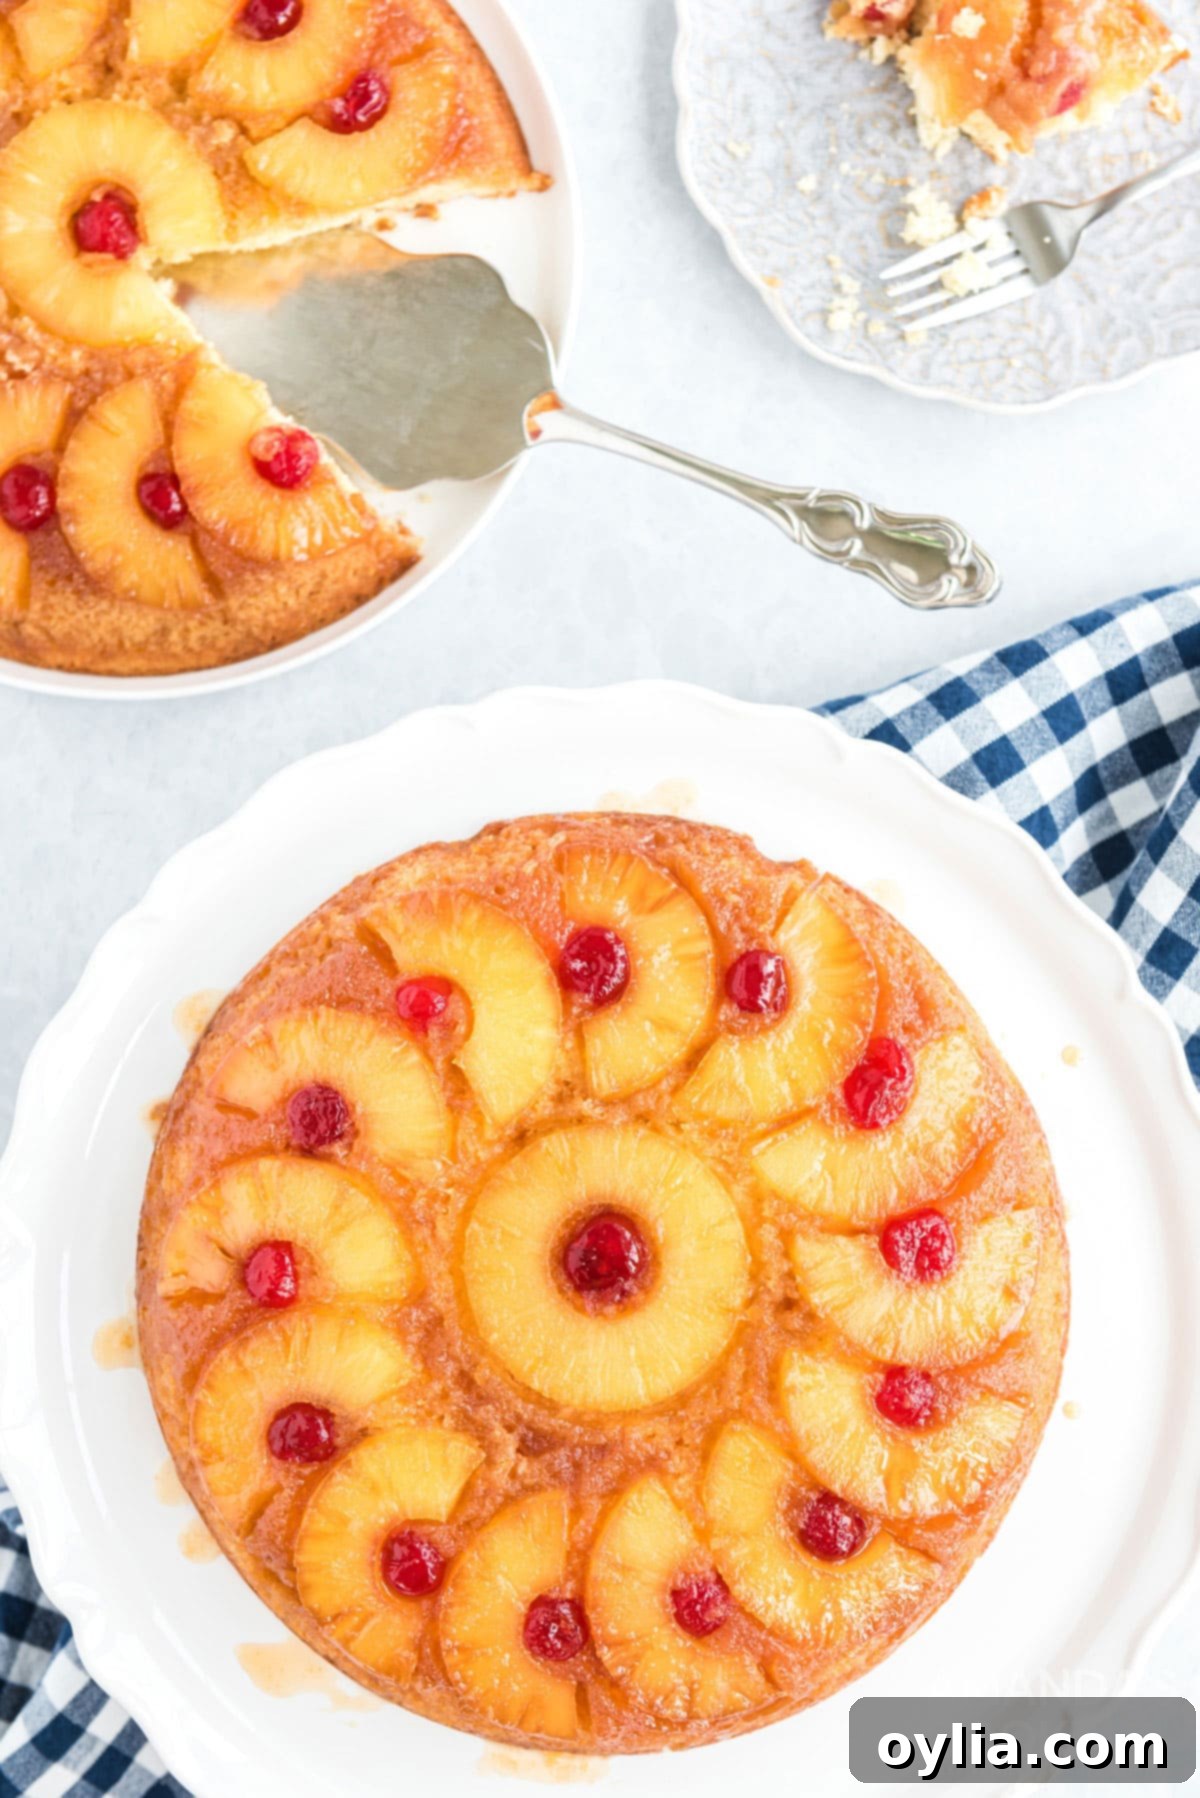
Serving Suggestions for Your Pineapple Upside Down Cake
This recipe thoughtfully yields two delicious 9-inch round cakes. You have the flexibility to use two skillets if you have them, baking both at once for efficiency. Alternatively, you can use a single skillet, cool and invert the first cake, wipe the skillet clean, and then proceed with baking the second. Honestly, there is no better way to prepare a pineapple upside down cake; the cast iron skillet truly makes a profound difference in the caramelization and overall flavor profile. Serve your cake warm for the ultimate indulgent experience, perhaps with a scoop of vanilla bean ice cream or a dollop of freshly whipped cream. Enjoy every caramelized bite!
More Delicious Upside Down Cake Recipes to Try
If you love the concept of an upside down cake, you’re in for a treat! Explore these other fantastic recipes:
- Peach Upside Down Cake
- Blueberry Upside Down Cake
- Banana Upside Down Muffins
- Raspberry Upside Down Cake
- Mini Pineapple Upside Down Cakes
I absolutely adore baking and cooking, and I love nothing more than sharing my favorite recipes with you! I know it can be challenging to remember to come back and search for specific recipes, so I’ve made it incredibly easy for you with my weekly newsletter. You can subscribe for free, and I’ll send a collection of delicious, tried-and-true recipes directly to your email inbox every week.
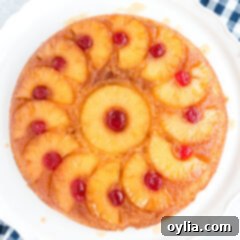
Pineapple Upside Down Cake
IMPORTANT – There are often Frequently Asked Questions within the blog post that you may find helpful. Simply scroll back up to read them!
Print It
Rate It
Save ItSaved!
Ingredients
Cake Batter
- 2 ¼ cups cake flour
- 1 ½ cups granulated sugar
- ¼ cup shortening
- ½ cup cold unsalted butter cut into thin slices
- ¾ cup milk
- 3 large eggs
- 2 ½ teaspoons baking powder
- 1 teaspoon salt
- 1 ½ teaspoons vanilla extract
Topping
- ½ cup unsalted butter divided
- 2 cups packed light brown sugar divided
- 20 oz can pineapple rings
- maraschino cherries
Things You’ll Need
-
Cast iron skillet
-
Mixing bowls
-
Hand mixer
-
Wire cooling racks
Before You Begin
- This recipe is designed to make TWO delicious 9-inch skillet cakes, perfect for sharing or enjoying later!
- For the best tender crumb, I recommend using cake flour. However, if it’s not available, you can substitute it with 2 ¼ cups minus 4 tablespoons of all-purpose flour, sifted together with 4 tablespoons of cornstarch.
- This recipe is made from scratch and yields two 9-inch cakes or one larger 13″x9″ cake. If you prefer a simpler route, feel free to use a box of yellow cake mix (enough for two skillets); just keep a close eye on the baking time, as it should be very similar.
- This is truly a no-fuss yellow cake! The beauty of this recipe is its simplicity: all ingredients are combined in one bowl and mixed together. There’s absolutely no sifting, whisking, creaming, or complicated incorporation steps required, making it ideal for bakers of all skill levels.
Instructions
Cast Iron Skillet Method
-
Preheat your oven to 375°F (190°C) and ensure the oven rack is centered. This recipe makes two cakes. If you have only one 9-inch cast iron skillet, you can bake the cakes one at a time. Simply bake the first cake, then carefully wipe out the skillet once the cake is removed, and start fresh with the second. If you’re lucky enough to have two skillets, bake them simultaneously, staggering them in the oven for even heat circulation.
-
To begin the topping, place ¼ cup of unsalted butter directly into your cast iron skillet. Place the skillet in the preheated oven for just a few minutes, long enough for the butter to fully melt. Keep a close eye on it to prevent browning.
-
Carefully remove the hot skillet from the oven. Evenly sprinkle 1 cup of packed light brown sugar over the melted butter. Next, drain your canned pineapple rings, making sure to reserve the juice; it’s useful for keeping any leftover cake moist.
-
Gently place the drained pineapple rings onto the brown sugar layer in the skillet. For a classic presentation, position one maraschino cherry in the center of each pineapple ring. This creates a beautiful, vibrant pattern that will greet you upon inversion.
-
Prepare the cake batter by combining all the specified cake batter ingredients in a large mixer bowl. With a stand or handheld mixer, mix on low speed for about 30 seconds to initially combine. Then, increase the speed to medium and mix for 5 minutes, pausing occasionally to scrape down the sides of the bowl to ensure all ingredients are thoroughly incorporated. This method ensures a perfectly smooth and light batter.
-
Divide the prepared cake batter evenly between two separate bowls. Don’t be concerned if you observe a few small bits of butter still present in the batter; this is quite normal and will absolutely not detract from the beautiful outcome of your baked cake!
-
Carefully, but with a bit of urgency, pour one portion of the batter over the arranged pineapples in the skillet. It’s important to pour the batter on top while moving around the pan to evenly distribute it, preventing any of the delicate fruit pieces from shifting out of place.
-
Bake the cake for approximately 30 minutes. The cake is done when the sides are bubbly and golden, and the top has browned beautifully. Once baked, remove the skillet from the oven and allow it to cool on a wire rack for precisely 10 minutes. This crucial cooling period allows the caramel to set and ensures an easy release.
-
Place a flat cake plate or your desired serving platter over the skillet. Using reliable oven mitts, confidently invert the pan onto the plate. If you find any delicious topping residue left in the skillet, simply use an icing spatula to scoop it up and gently patch any bare spots on top of your magnificent cake.
Regular Cake Pan Method
-
The fundamental instructions remain largely the same whether you use standard 9-inch round cake pans or a single 13-inch x 9-inch baking pan. For a 13-inch x 9-inch baking pan, arrange the pineapple rings creatively to form flowers or a pleasing pattern across the entire surface; you should comfortably fit about 8 or more “flowers.” Bake the 13-inch x 9-inch pan for a slightly longer duration, typically 35-40 minutes, or until a wooden skewer inserted into the center comes out clean. Before inverting, you may need to gently loosen the cake from the sides of the pan with a thin knife or offset spatula. For 9-inch round cake pans, adhere to the baking times specified for the cast iron skillet method.
Nutrition
The recipes on this blog are tested with a conventional gas oven and gas stovetop. It’s important to note that some ovens, especially as they age, can cook and bake inconsistently. Using an inexpensive oven thermometer can assure you that your oven is truly heating to the proper temperature. If you use a toaster oven or countertop oven, please keep in mind that they may not distribute heat the same as a conventional full sized oven and you may need to adjust your cooking/baking times. In the case of recipes made with a pressure cooker, air fryer, slow cooker, or other appliance, a link to the appliances we use is listed within each respective recipe. For baking recipes where measurements are given by weight, please note that results may not be the same if cups are used instead, and we can’t guarantee success with that method.
This recipe for Pineapple Upside Down Cake was originally published here on May 11, 2010. It has since been thoroughly updated with fresh tips, new photographs, and enhanced details to provide the best possible baking experience for our readers.
