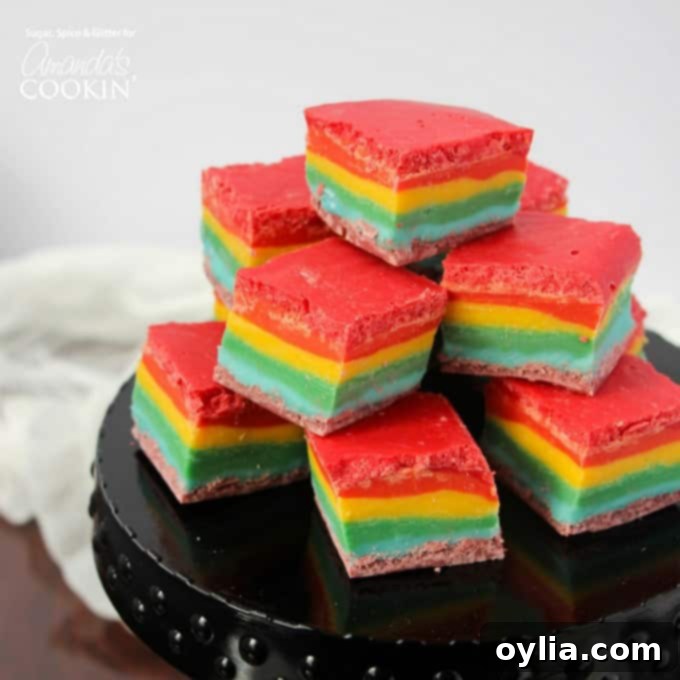
Easy No-Cook Rainbow Fudge Recipe: A Vibrant & Kid-Friendly Dessert for Any Occasion
When it comes to delightful treats that require minimal effort but deliver maximum impact, no-cook fudge and no-churn ice creams are absolute game-changers. They are consistently among my top choices for easy desserts suitable for practically any event or celebration. With that in mind, and the spirit of vibrant festivities often around, I was inspired to create something truly special: this incredible Rainbow Fudge. It’s a spectacularly colorful, joyful, and undeniably kid-friendly confection that stands as a brilliant, playful counterpart to other favorites like my 4-Ingredient Bailey’s Fudge. Imagine a dessert that brings a burst of color and a smile to everyone’s face, without even needing to turn on the oven!
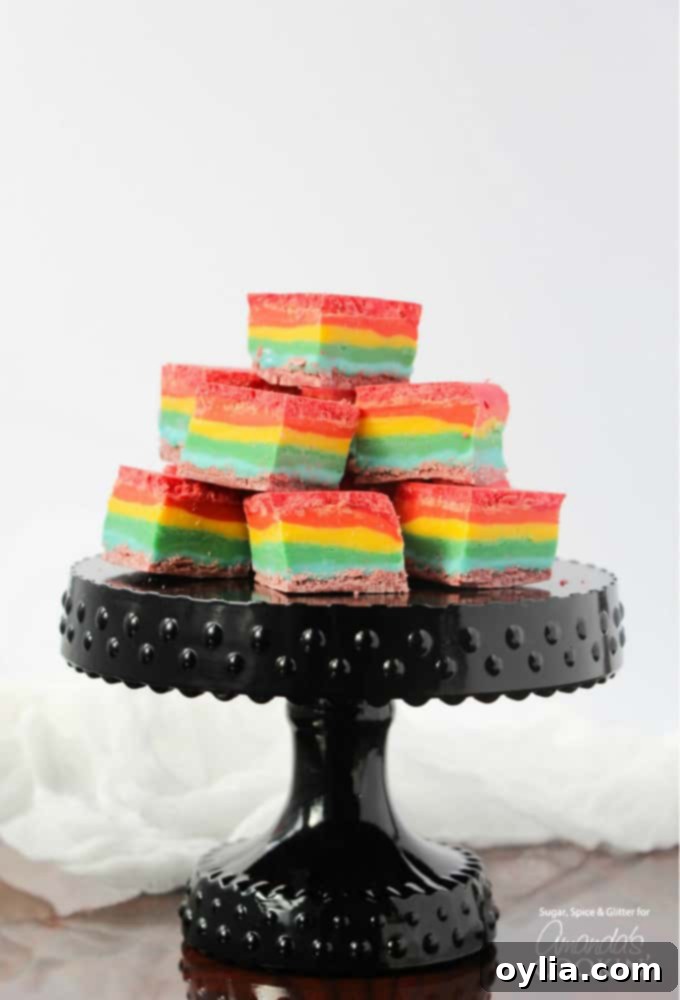
Why You’ll Love This No-Bake Rainbow Fudge
This Rainbow Fudge recipe is more than just a dessert; it’s an experience. Its appeal lies in its stunning visual presentation and its irresistibly creamy texture. While it might seem like a complex creation with its multiple vibrant layers, the “no-cook” aspect means it’s surprisingly simple to prepare. Unlike many traditional fudge recipes that demand precise candy thermometer readings and constant stirring, this version relies on the magic of candy melts and sweetened condensed milk to create a perfectly smooth, decadent treat every time.
One unique characteristic of this layered fudge is that it requires a bit of patience. Each individual layer needs time to cool and set in the refrigerator before the next can be added. While this might sound time-consuming, it actually makes the recipe incredibly flexible and ideal for those with a busy schedule. You can easily integrate the few minutes it takes to prepare and spread each layer into your day. For example, you could mix the red layer while making breakfast, add the orange layer during a brief break before lunch, or whip up another color as you enjoy your afternoon coffee. This intermittent approach transforms what could be a long waiting period into a series of quick, manageable steps, making the entire process quite enjoyable and stress-free.
The Secret to Vibrant Rainbow Fudge: Color Options Explained
Achieving the distinct, bright colors for each layer of your Rainbow Fudge is key to its captivating appeal. Fortunately, you have a few straightforward options to choose from, depending on your preference for convenience, cost, and control over the final shades:
- Buy Pre-Colored Candy Melts/Melting Chocolate: This is by far the easiest and most convenient method. You simply purchase candy melts in each of the desired rainbow colors (red, orange, yellow, green, blue, purple). This option guarantees consistent, vibrant colors and saves you the step of coloring them yourself. It’s perfect for beginners or when you’re short on time.
- Buy Primary Colored Candy Melts and Mix: If you want a little more control over your shades or want to be more economical, you can buy candy melts in just the primary colors (red, yellow, and blue). Then, you’ll mix these to create the secondary colors:
- Red + Yellow = Orange
- Yellow + Blue = Green
- Red + Blue = Purple
This method allows for slight variations in hue and can be a fun, creative step in the process. For this approach, you’ll typically want 1 cup of each primary colored candy melt to have enough to mix the secondary shades.
- Buy White Candy Melts or Chocolate and Use Gel-Based Food Coloring: This option offers the most flexibility in terms of color intensity and allows you to use a single base product. It’s also often more cost-effective if you already have a collection of food colorings. When choosing this method, it is absolutely crucial to ensure that your food coloring is gel-based, not water-based.
Important Note on Food Coloring: Using water-based food coloring with chocolate or candy melts can cause the mixture to seize or separate, resulting in a curdled, clumpy, and unusable texture. Gel food coloring, on the other hand, is oil-based and will blend smoothly, ensuring your fudge layers remain perfectly creamy and vibrant. Always double-check the label of your food coloring to avoid disappointment!
For this specific recipe, I’ve based the instructions on using method #1 – purchasing pre-colored candy melts – for simplicity and guaranteed success. However, feel free to adapt if you prefer to mix your own colors!
Before you dive into this sweet indulgence, if you’re looking for some healthy rainbow-themed recipes, be sure to check out some fantastic options like Fresh Rainbow Salsa or Healthy Rainbow Spaghetti over on Sugar, Spice & Glitter. They offer a refreshing balance before digging into the richness of fudge!
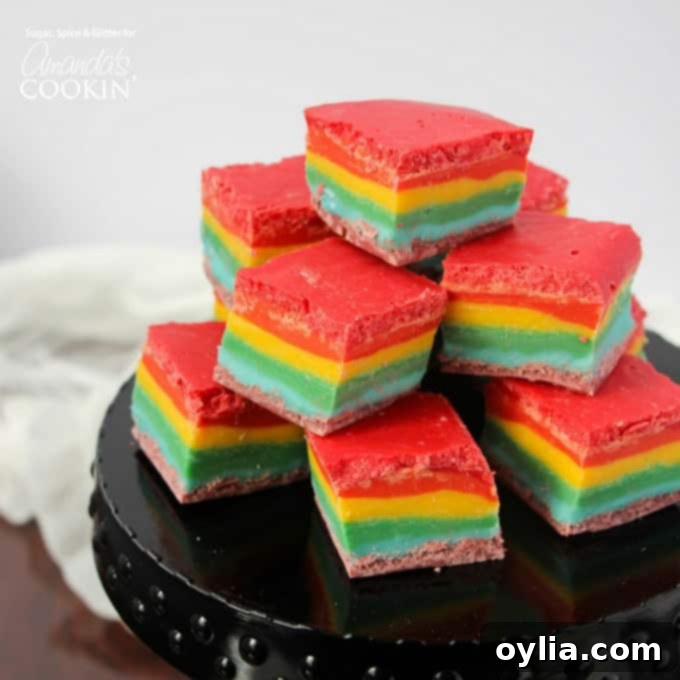
Ingredients for Your Colorful Fudge Creation
Gathering your ingredients is the first exciting step towards creating this dazzling dessert. Each component plays a vital role in achieving the perfect texture and vibrant look of your Rainbow Fudge. Make sure you have all these on hand before you begin:
- 1/2 cup red candy melts
- 1/2 cup orange candy melts
- 1/2 cup yellow candy melts
- 1/2 cup green candy melts
- 1/2 cup blue candy melts
- 1/2 cup purple candy melts
- 1 cup sweetened condensed milk (This is the magical ingredient that makes this fudge so creamy and sets perfectly without cooking!)
- 2 teaspoons vanilla extract, optional (While optional, vanilla enhances the sweet flavor profile of the fudge beautifully.)
Looking to source a variety of colors? You can often find different colored candy melts online or at specialty craft stores!
Helpful Kitchen Tools
Having the right tools can make the preparation process even smoother and more enjoyable. These items are commonly found in most kitchens, making this a truly accessible recipe:
- Loaf pan (A standard 9×5 inch loaf pan is ideal for the perfect fudge thickness.)
- Small microwave-safe bowls (You’ll need several for melting each color separately.)
- Measuring cups and spoons (For accurate ingredient portions.)
- Sharp kitchen knife (Essential for clean, precise cuts once the fudge is set.)
- Offset spatula or the back of a spoon (For spreading each layer evenly.)
- Parchment paper (Crucial for easy removal of the fudge from the pan.)
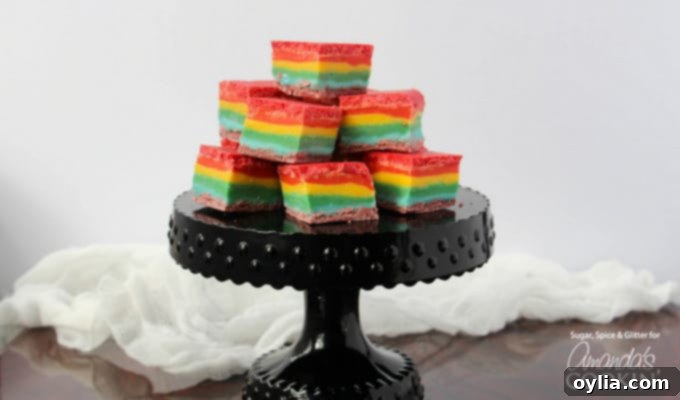
How to Make No-Bake Rainbow Fudge: Step-by-Step Guide
Creating this beautiful Rainbow Fudge is a process that builds anticipation with each colorful layer. Follow these simple steps to bring your vibrant vision to life:
- Prepare Your Pan: Line a standard loaf pan with parchment paper, allowing an overhang on the sides for easy lifting once the fudge is set. This step is crucial for effortless removal. Set it aside.
- Melt the First Layer (Red): Place your red candy melts in a small microwave-safe bowl. Add 2 tablespoons of sweetened condensed milk to the bowl.
- Microwave and Stir: Heat the mixture in the microwave for 25-30 seconds. Remove and stir well with a spoon or small spatula. If the mixture isn’t completely smooth, reheat in 10-second intervals, stirring thoroughly after each, until a perfectly smooth, pourable consistency is achieved. Be careful not to overheat.
- Spread the First Layer: Pour the melted red candy mixture into the bottom of the prepared loaf pan. Using the back of a spoon or an offset spatula, gently spread it into an even, smooth layer.
- Chill to Set: Place the loaf pan with the red layer in the refrigerator for at least one hour, or until the fudge is firm and solid to the touch. This step is vital to prevent the colors from bleeding into each other.
- Repeat for Each Color: Once the red layer is completely set, repeat steps 2-5 for the orange candy melts, then the yellow, green, blue, and finally, the purple candy melts. Ensure each layer is fully chilled and firm before adding the next.
- Final Chill: After the final purple layer has been added and set, place the entire pan back in the fridge for an additional hour or two to ensure everything is thoroughly firm.
- Unmold and Cut: When all layers are fully set, carefully remove the fudge from the loaf pan by lifting the parchment paper overhang. Gently peel off the parchment paper.
- Slice and Serve: Using a sharp kitchen knife (you can warm it under hot water and wipe it dry for cleaner cuts), slice the fudge into desired square or rectangular pieces. Serve immediately or store for later enjoyment!
Pro Tips for Perfect Layered Fudge
- Patience is Key: The most important tip for this recipe is to be patient and allow each layer to fully set before adding the next. Rushing this step will result in muddy colors rather than distinct, beautiful stripes.
- Don’t Overheat Candy Melts: When melting the candy melts, use short intervals and stir frequently. Overheating can cause them to seize or become grainy, affecting the texture of your fudge.
- Even Spreading: For a professional-looking finish, ensure each layer is spread evenly from edge to edge. An offset spatula is particularly helpful for this.
- Clean Cuts: For neat squares, use a sharp knife and clean it between cuts. For an extra clean edge, run your knife under hot water, wipe it dry, and then make your cut. Repeat for each slice.
- Experiment with Thickness: While 1/2 cup per layer creates a nice balance, you can slightly adjust the amount of candy melts per layer to make some stripes thicker or thinner if you desire.
Variations and Customizations
This Rainbow Fudge recipe is wonderfully versatile! Here are a few ideas to customize it:
- Holiday Themes: Change the colors to match different holidays! Red and green for Christmas, red and pink for Valentine’s Day, or orange and black for Halloween.
- Flavor Boost: Instead of or in addition to vanilla extract, try other flavorings! A touch of almond extract, peppermint extract, or even a citrus zest could add an interesting twist to individual layers or the entire batch.
- Toppings Galore: Before the final layer fully sets, sprinkle some festive edible glitter, mini chocolate chips, or colorful sprinkles on top for added texture and visual appeal. A drizzle of melted white chocolate or dark chocolate could also be a lovely finish.
- Shape It Up: Instead of a loaf pan, try a square baking dish for thinner, wider fudge pieces, or even small silicone molds for individual bite-sized shapes.
Serving and Storing Your Rainbow Fudge
- Serving: This colorful fudge is perfect for parties, potlucks, birthdays, or as a fun treat to brighten an ordinary day. Arrange the squares on a platter for a stunning presentation.
- Storing: Store your Rainbow Fudge in an airtight container at room temperature for up to one week, or in the refrigerator for up to two weeks. If refrigerated, allow it to come to room temperature for a few minutes before serving for the best texture. You can also freeze fudge for longer storage (up to 2-3 months), just be sure to wrap it tightly.
Do you have someone in your life that would love this cute and easy rainbow fudge? Its vibrant colors are truly mesmerizing and are sure to delight anyone!
More Rainbow-Inspired Recipes to Brighten Your Day
If you’re as captivated by the beauty of rainbow-themed food as I am, you’re in luck! There’s a whole spectrum of colorful recipes waiting to be explored. After enjoying this delightful fudge, why not check out these other fun and whimsical rainbow creations? From breakfast to lunch, there’s a rainbow for every meal:
- This incredible Rainbow Grilled Cheese that’s as surprising as it is delicious.
- Fluffy and fun Rainbow Pancakes, perfect for a special weekend breakfast.
- And for a truly festive occasion like St. Patrick’s Day, don’t miss these enjoyable Rainbows, Shamrocks, and Gold St. Patrick’s Day Cookies!
These recipes are guaranteed to bring a burst of color and a lot of joy to your kitchen and your table!
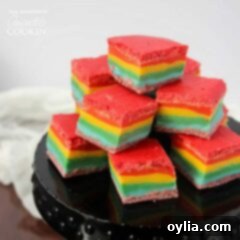
Rainbow Fudge
IMPORTANT – There are often Frequently Asked Questions within the blog post that you may find helpful. Simply scroll back up to read them!
Print It
Rate It
Save ItSaved!
Ingredients
- ½ cup red candy melts
- ½ cup orange candy melts
- ½ cup yellow candy melts
- ½ cup green candy melts
- ½ cup blue candy melts
- ½ cup purple candy melts
- 1 cup sweetened condensed milk
- 2 teaspoons vanilla extract optional
Instructions
-
Line a loaf pan with parchment paper and set aside.
-
Place your red candy melts in a small microwavable bowl along with 2 Tablespoons of sweetened condensed milk.
-
Heat in the microwave for 25 seconds, stir well, and reheat as needed to achieve a smooth texture.
-
Pour the red candy melts into the bottom of the loaf pan and smooth down to an even layer with the back of a spoon or an offset spatula.
-
Place the fudge in the fridge for at least an hour, until set and solid to the touch.
-
Repeat process with the orange candy melts, then the yellow, green, blue, and ending with the purple.
-
When all layers are added and set, pop the fudge out of the loaf pan and pull off the paper.
-
Use a sharp kitchen knife to cut into squares and serve.
Nutrition
The recipes on this blog are tested with a conventional gas oven and gas stovetop. It’s important to note that some ovens, especially as they age, can cook and bake inconsistently. Using an inexpensive oven thermometer can assure you that your oven is truly heating to the proper temperature. If you use a toaster oven or countertop oven, please keep in mind that they may not distribute heat the same as a conventional full sized oven and you may need to adjust your cooking/baking times. In the case of recipes made with a pressure cooker, air fryer, slow cooker, or other appliance, a link to the appliances we use is listed within each respective recipe. For baking recipes where measurements are given by weight, please note that results may not be the same if cups are used instead, and we can’t guarantee success with that method.

