Easy No-Bake Grasshopper Pie Recipe: Creamy Mint Chocolate Delight (Alcohol-Free!)
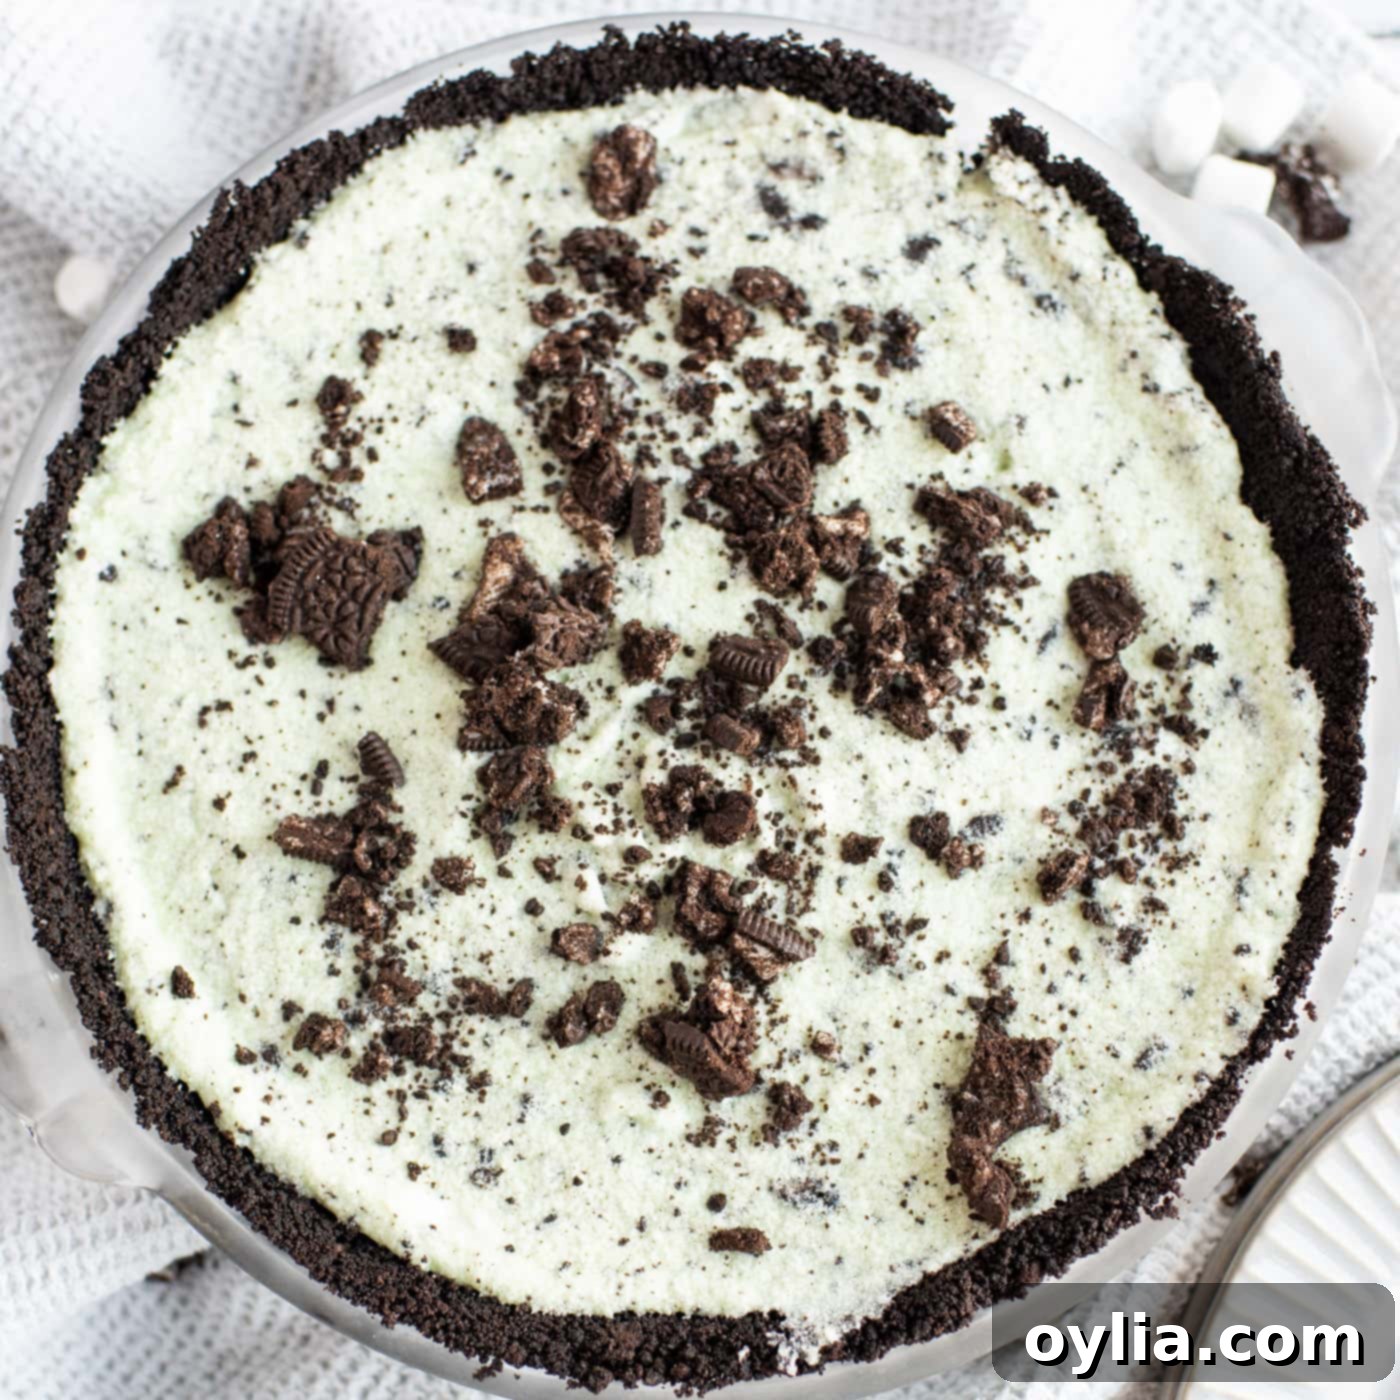
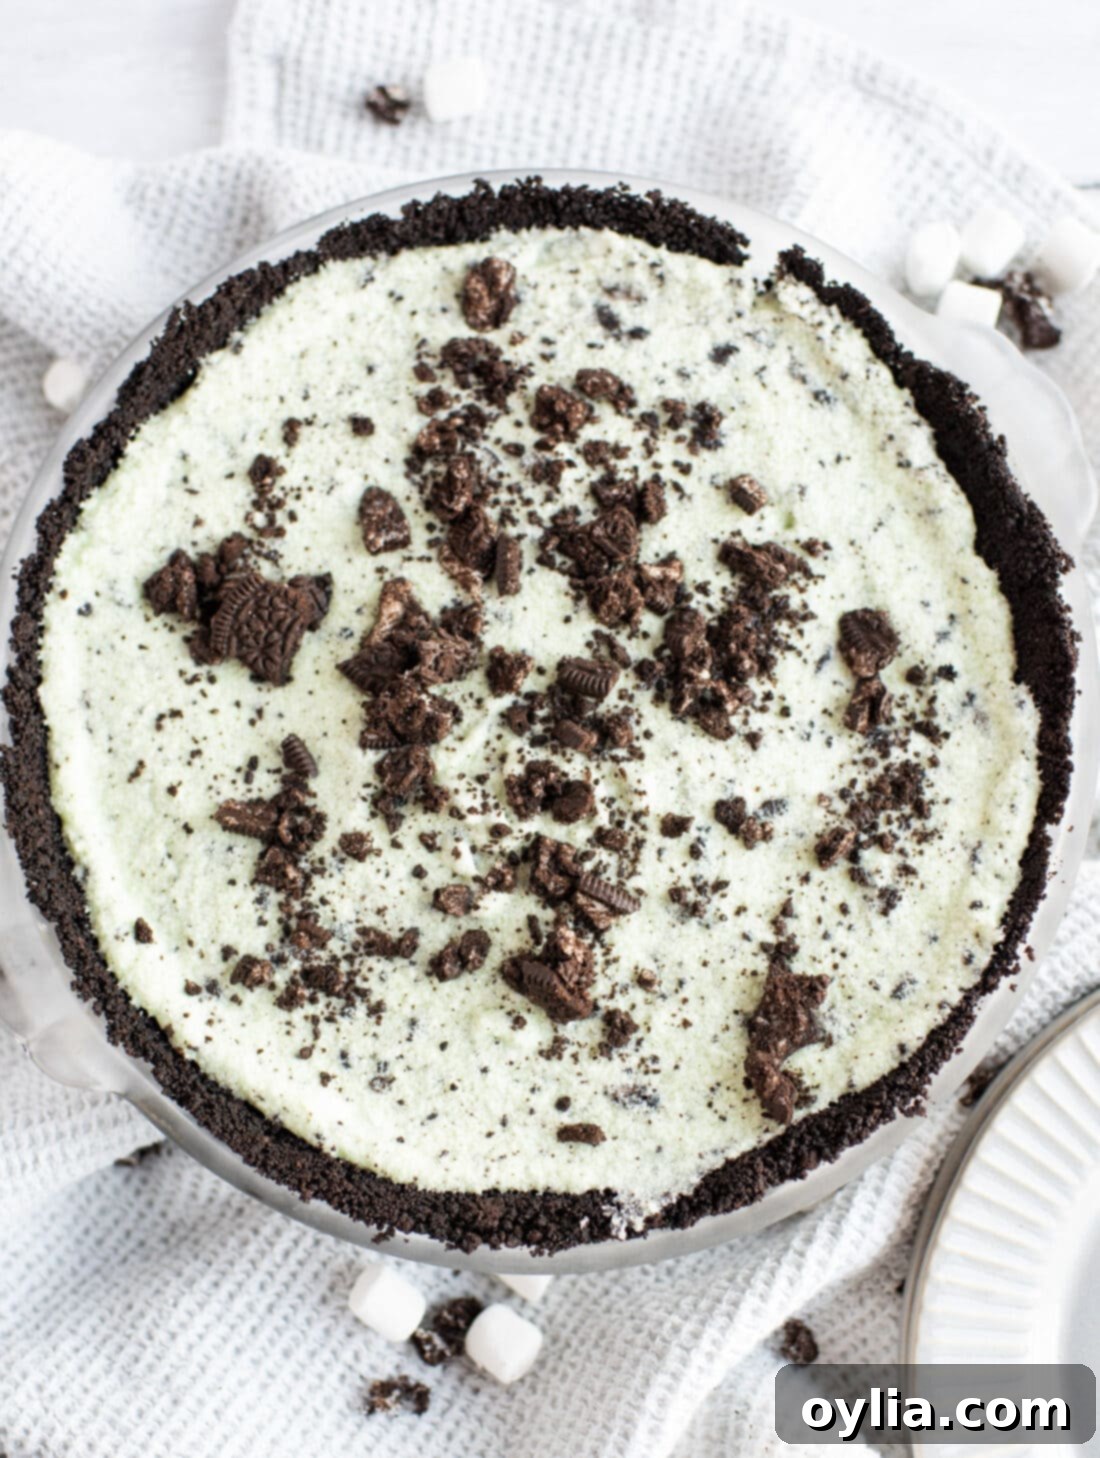
Indulge in a slice of pure bliss with our incredible **No-Bake Grasshopper Pie**! This dessert is the epitome of sweet and minty perfection, boasting a light and creamy texture that literally melts in your mouth. Forget the fuss of baking or worrying about alcohol; this version is completely family-friendly, requires no oven time, and comes together with just 7 simple ingredients. It’s the ultimate hassle-free dessert that delivers big on flavor and festive cheer.
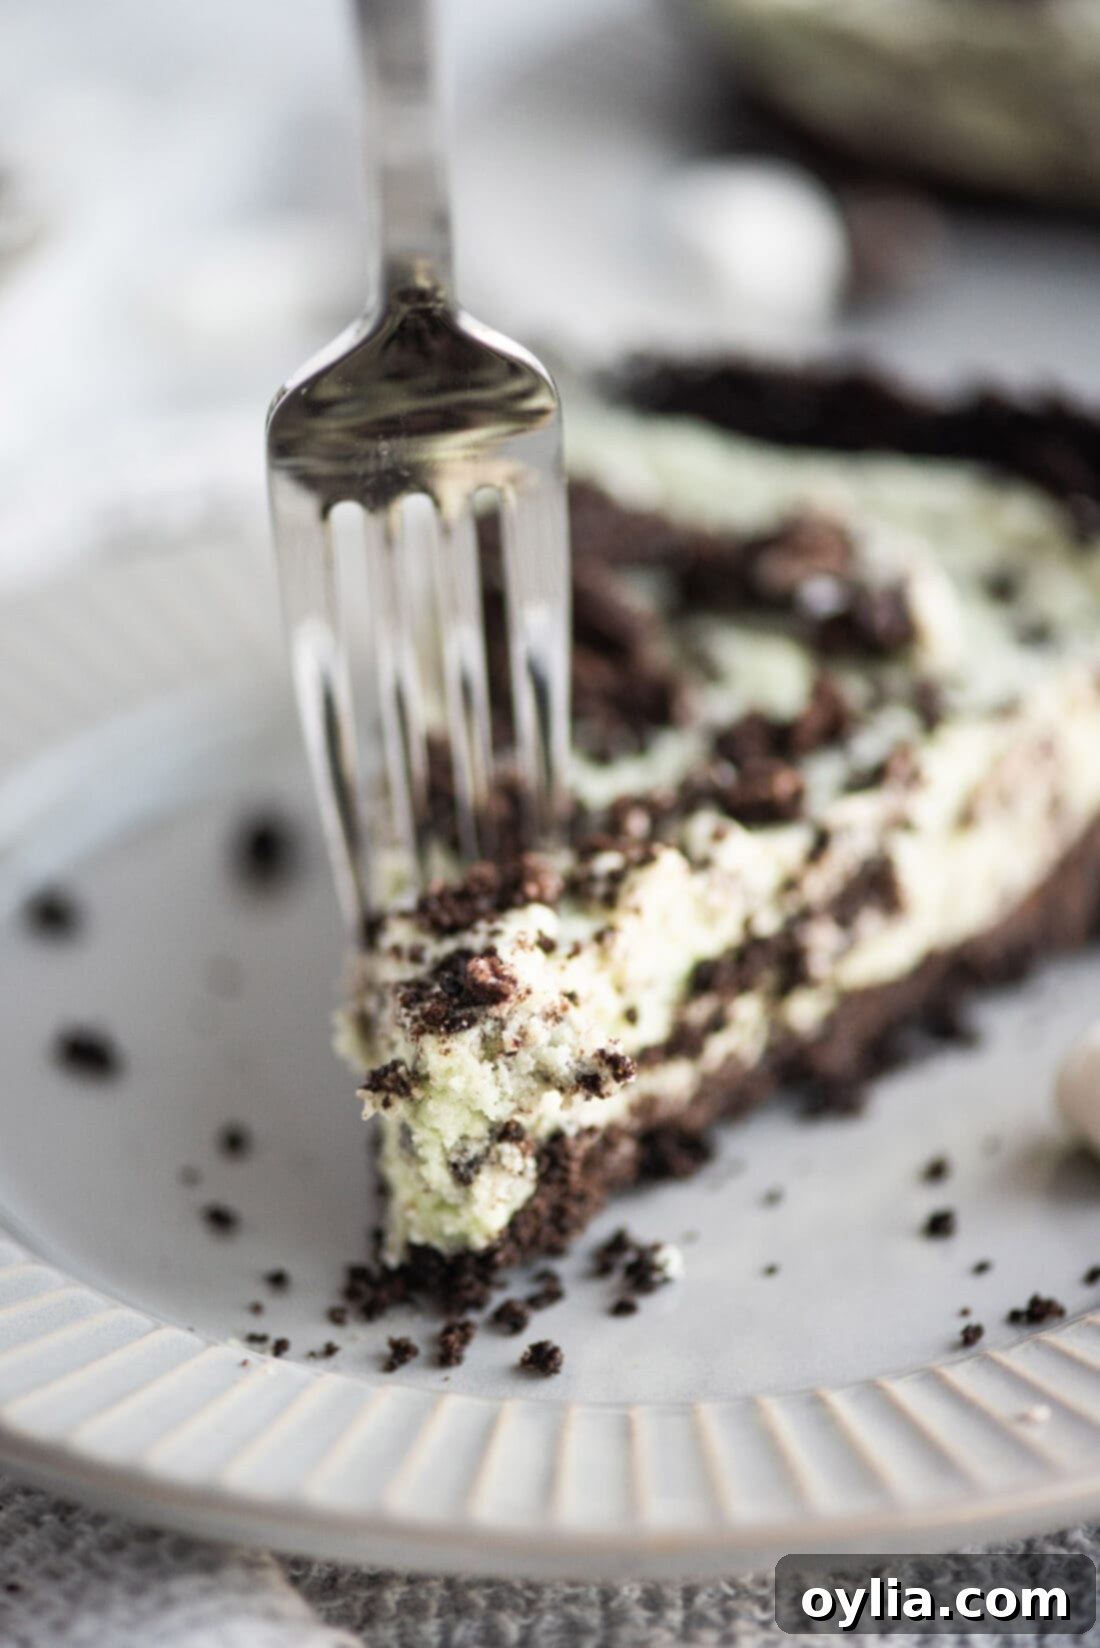
Why This Grasshopper Pie Recipe Is a Must-Try
Grasshopper pie takes its name and signature flavor profile from the classic Grasshopper cocktail, a delightful concoction known for its vibrant green hue and mint-chocolate notes. While the traditional cocktail features crème de menthe (a mint-flavored liqueur) and crème de cacao, our simplified pie recipe beautifully captures all that mint chocolate goodness without any alcohol. This makes it a perfect dessert for everyone, from kids to adults, and ideal for any gathering where you want to serve something universally appealing.
What truly makes this recipe a winner is its incredible convenience. It’s a **no-bake dessert**, which means your oven stays off, keeping your kitchen cool – a huge plus during warmer months or when your oven is already occupied with other holiday dishes. With just seven readily available ingredients, you’ll spend less time shopping and more time enjoying. We swap out the alcohol with a combination of refreshing peppermint extract and a touch of green food coloring, achieving that iconic minty flavor and eye-catching emerald shade. Whether you’re planning your menu for Christmas, Thanksgiving, St. Patrick’s Day, or simply craving a cool, refreshing treat, this Oreo-sprinkled pie is guaranteed to be a hit on any dessert table.
Simple Ingredients for Your Minty Masterpiece
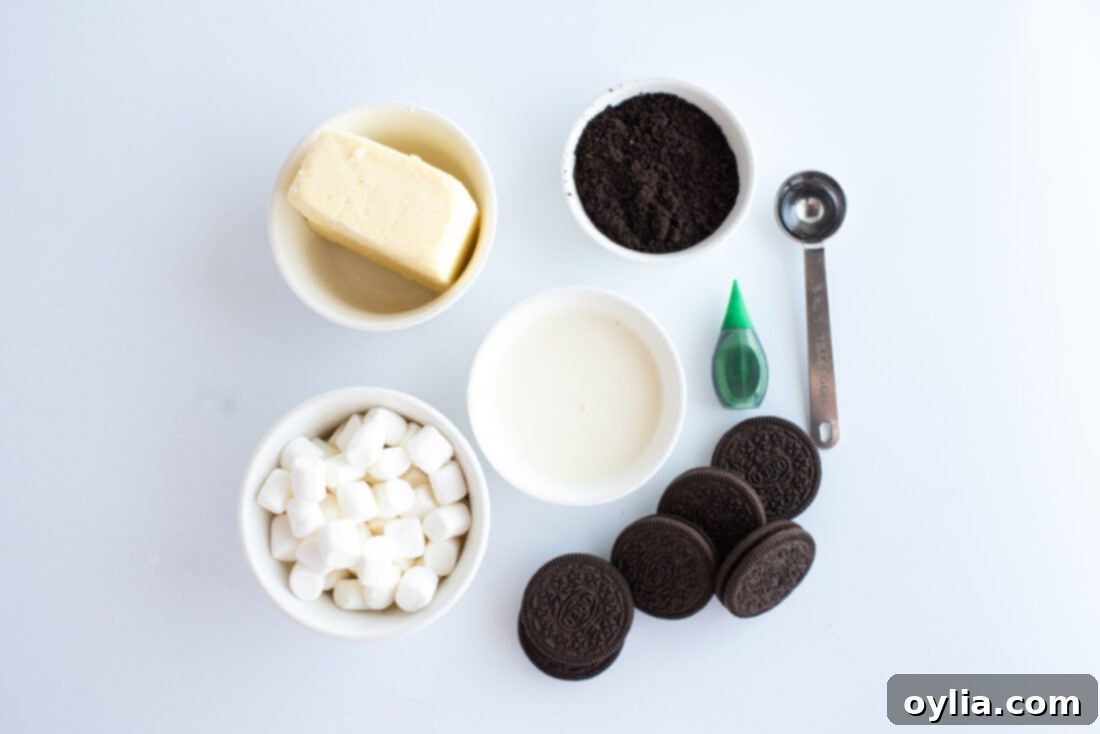
Creating this irresistible Grasshopper Pie is remarkably straightforward, thanks to a short and sweet ingredient list. You likely have many of these staples in your pantry already! For precise measurements, a comprehensive list, and detailed instructions, be sure to check out the printable recipe card located at the very end of this article. But first, let’s talk about the key components that come together to create this creamy, minty magic.
Ingredient Spotlight & Easy Substitutions
Let’s dive a little deeper into the ingredients and discuss some helpful tips and alternative options to make this Grasshopper Pie truly your own.
CRUST: Our chosen base for this delightful pie is a rich chocolate graham cracker crust. Graham cracker crusts are a tried-and-true favorite in our kitchen for their perfect balance of sweetness and texture, providing an ideal foundation for various no-bake desserts. To make the crumbs, you can either purchase pre-crushed chocolate graham crackers or easily crush whole crackers yourself using a food processor. If you don’t have a food processor, simply place the graham crackers in a large zip-top bag and use a rolling pin to crush them into fine crumbs. The melted butter acts as a binding agent, creating a firm yet crumbly crust. For those who love an extra dose of chocolatey goodness, you can absolutely substitute the chocolate graham cracker crust with an Oreo cookie crust. We’ve used this successfully in our mint chocolate lasagna recipe, and it adds another layer of decadent flavor that pairs wonderfully with the mint filling.
FILLING: The heart of our Grasshopper Pie lies in its smooth, creamy, and wonderfully minty filling. This luscious mixture is crafted from mini marshmallows, heavy cream, peppermint extract, and a touch of green food coloring, all folded with crushed Oreos. Let’s break down each component:
- Mini Marshmallows: These are the secret to the pie’s unique, fluffy texture and subtle sweetness. When melted with heavy cream, they create a wonderfully stable base that sets beautifully without gelatin.
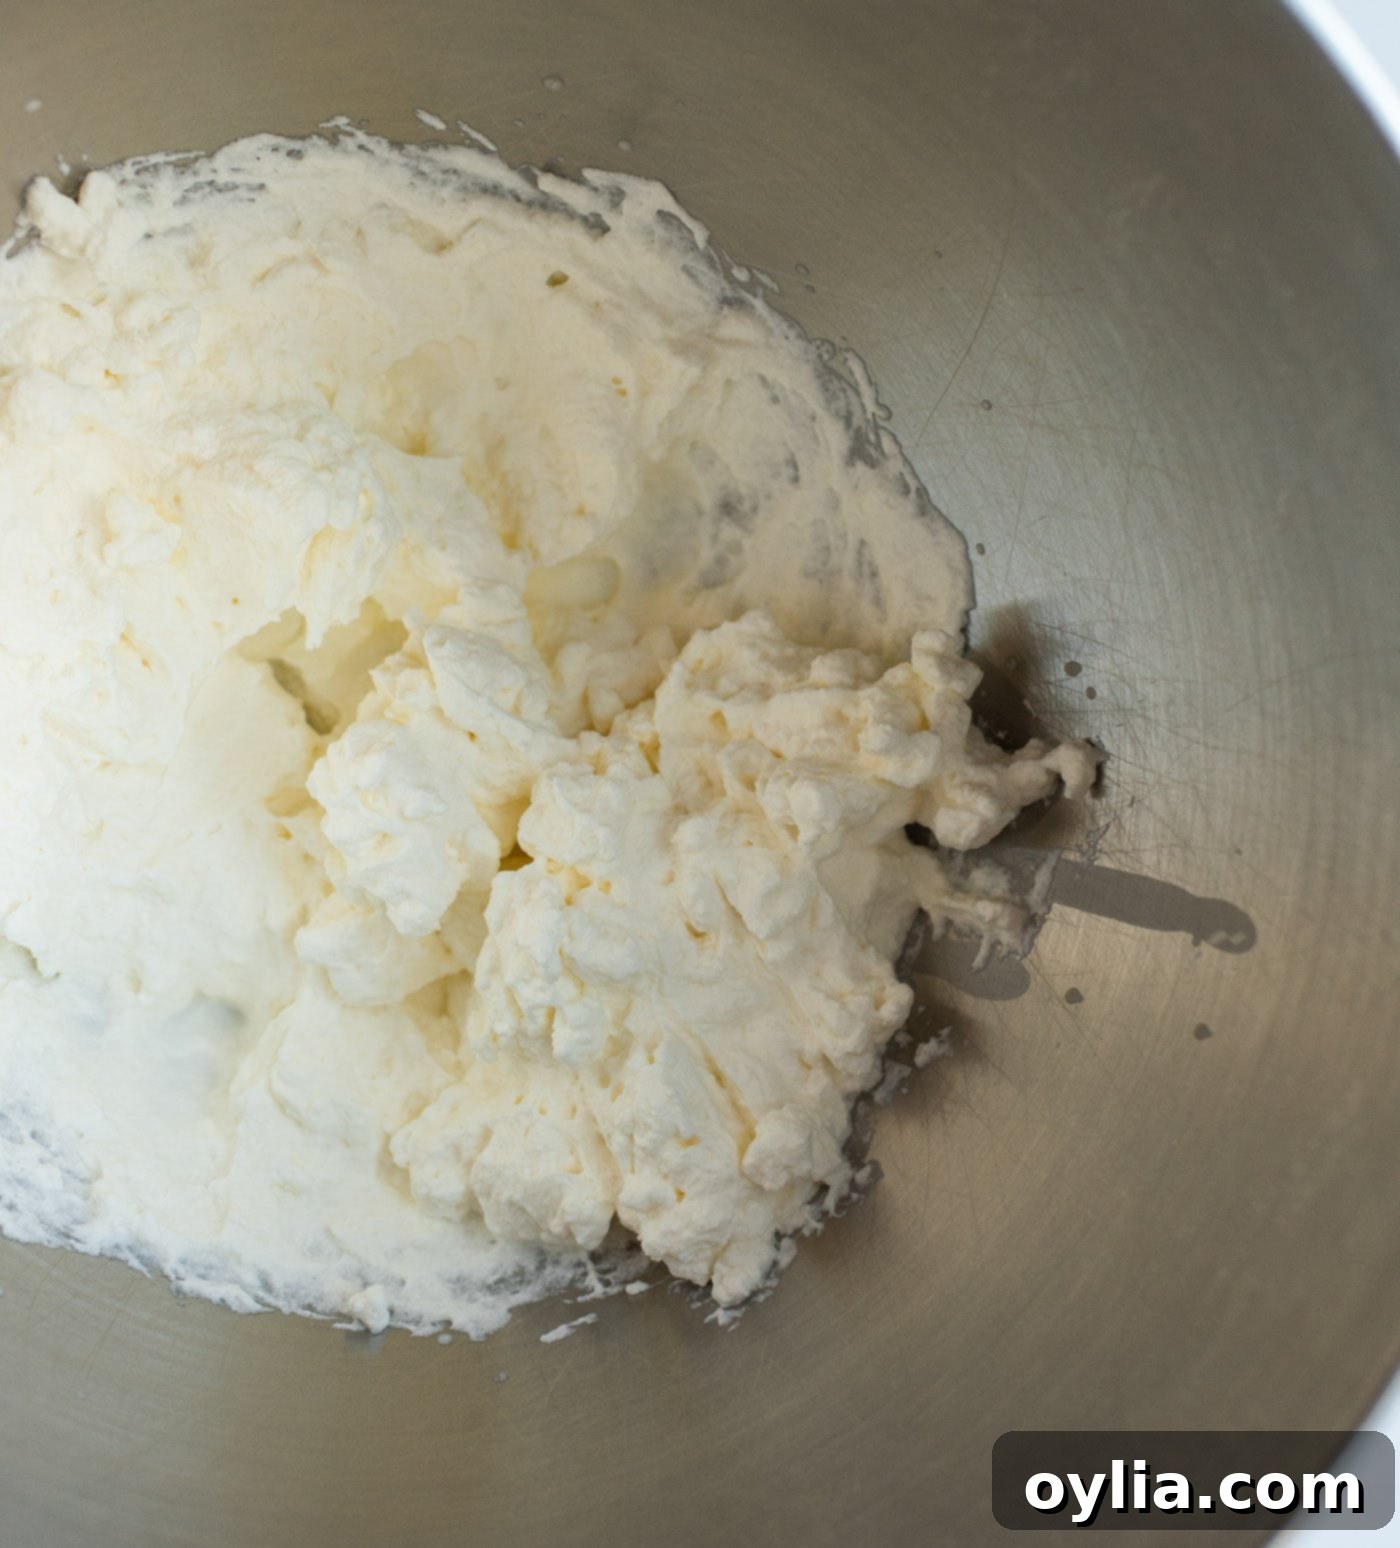
- Heavy Cream: You’ll use heavy cream in two stages. First, a smaller amount is heated with the marshmallows to create the base. Second, a larger portion is whipped until stiff peaks form, adding incredible airiness and richness to the filling. Make sure your heavy cream is very cold before whipping for the best results.
- Peppermint Extract: This is where the signature mint flavor comes from! We use peppermint extract to keep the pie alcohol-free. Be sure to use a good quality extract for the best taste. While mint extract exists, peppermint typically delivers that more distinct, vibrant “mint chocolate” flavor we associate with grasshopper desserts.
- Green Food Coloring (Optional): The vibrant green color is iconic for Grasshopper Pie, giving it that playful, festive appearance. While entirely optional, a few drops of green food coloring really make the pie pop! You can adjust the amount to achieve your desired shade, from a subtle pastel green to a bold emerald.
- Crushed Oreos: We recommend using regular Oreos, crushed into small pieces, for both the filling and a generous topping. The chocolatey crunch contrasts beautifully with the smooth mint filling. However, if you’re a true mint fanatic and want to amplify the flavor, feel free to use mint-flavored Oreos for an extra burst of refreshing taste!
Step-by-Step: Crafting Your Creamy Grasshopper Pie
These step-by-step photos and detailed instructions are provided to help you visualize each stage of making this delicious pie. For a quick jump to the full printable version of this recipe, complete with precise measurements and instructions, simply Jump to Recipe at the bottom of the post.
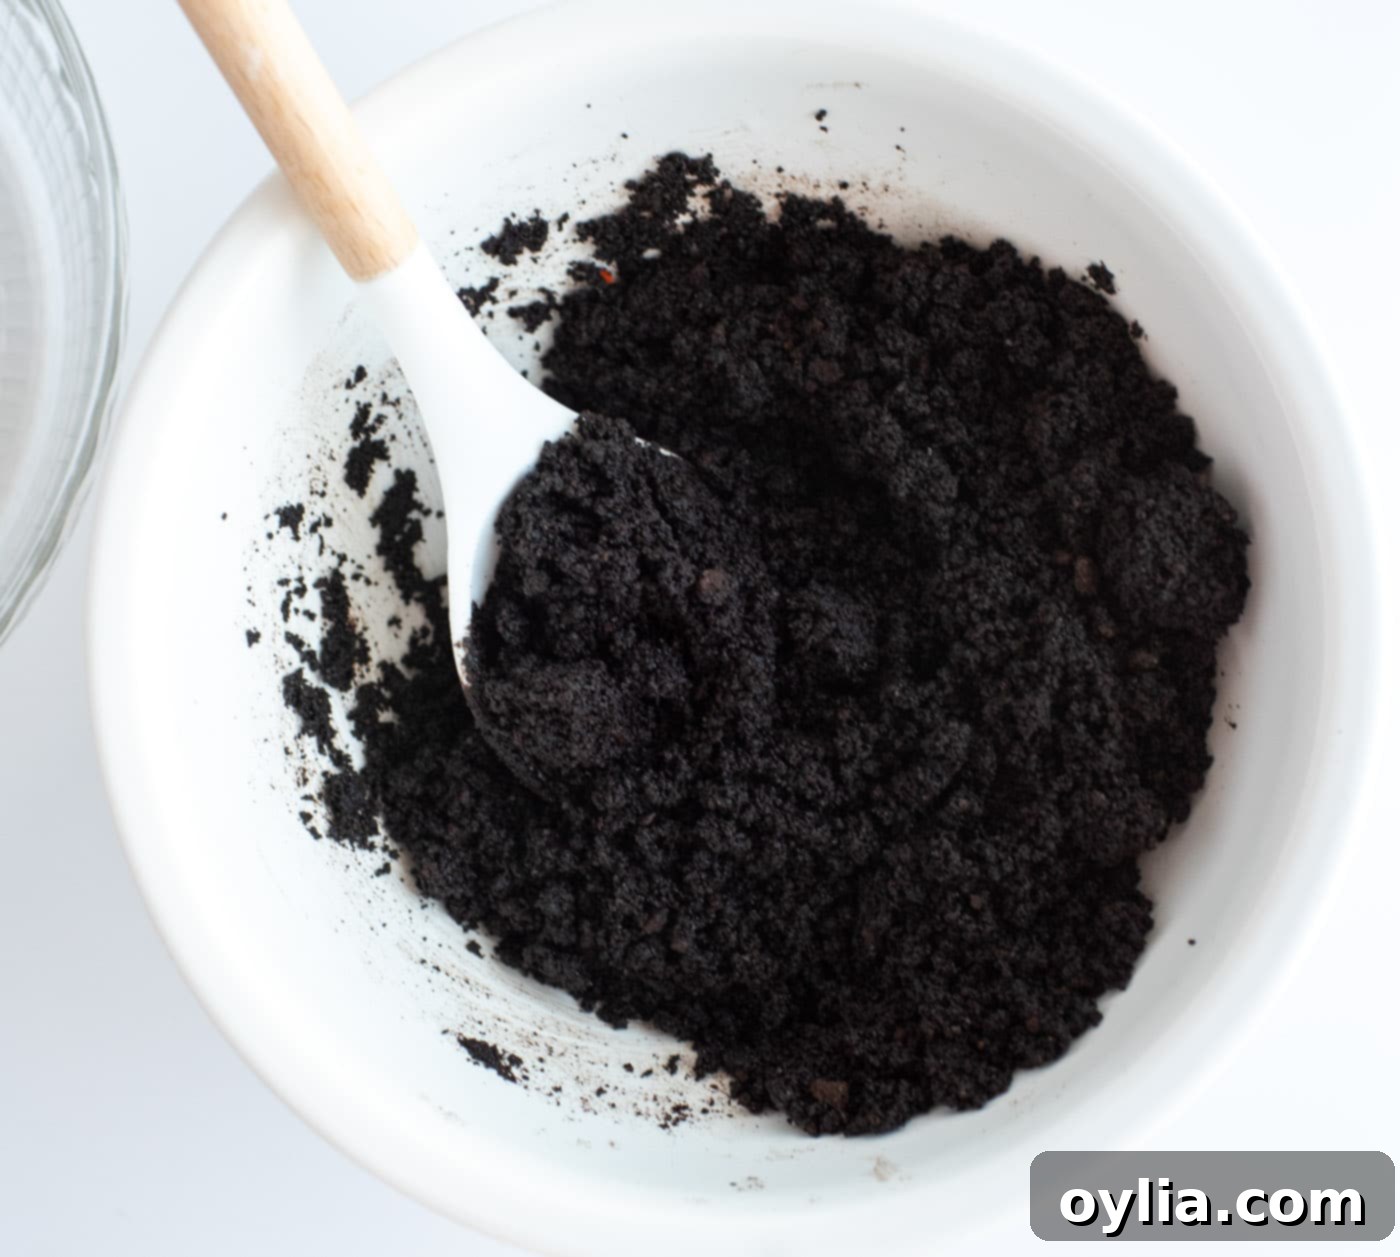
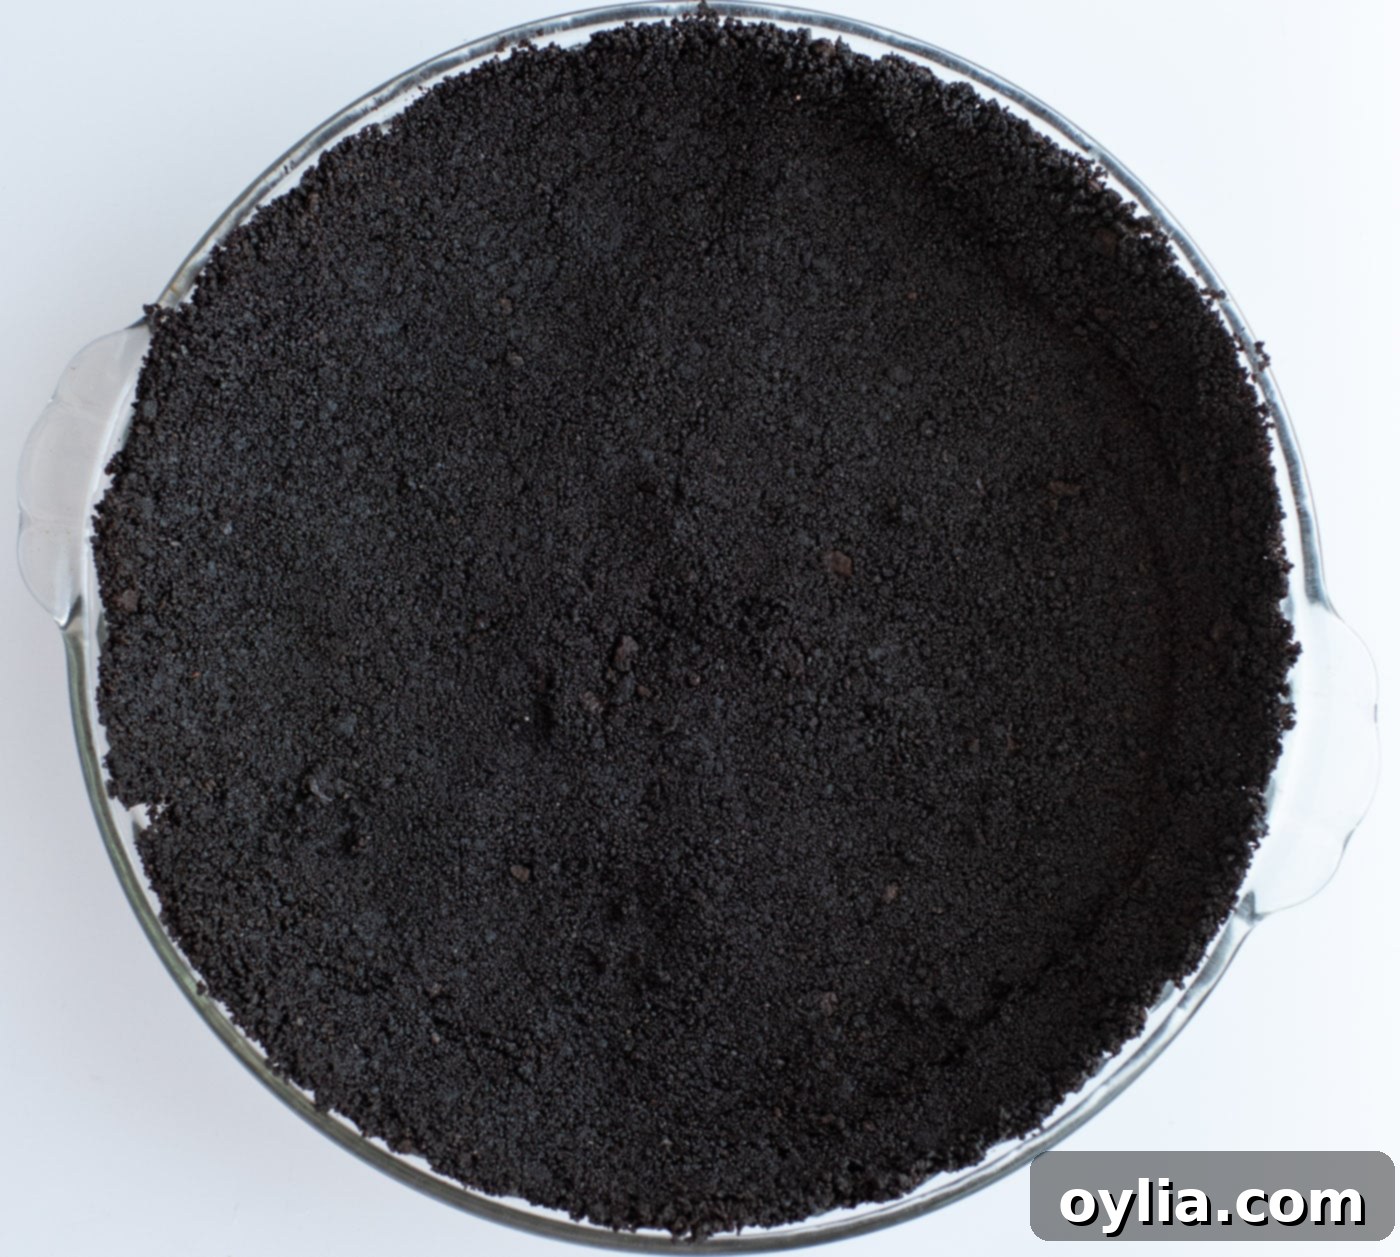
- Prepare the Crust: In a medium bowl, combine your melted butter with the chocolate graham cracker crumbs. Mix thoroughly until the crumbs are evenly moistened. Press this mixture firmly and evenly into the bottom and up the sides of an 8 or 9-inch pie plate. A flat-bottomed measuring cup or the back of a spoon works perfectly for this. Once the crust is formed, place it into the freezer for at least 15-20 minutes while you prepare the filling. This helps it set and become firm, preventing it from crumbling when sliced.

Melted butter being mixed into chocolate graham cracker crumbs for the pie crust. 
The perfectly pressed chocolate graham cracker crust in the pie plate, ready for the freezer. - Melt Marshmallow Mixture: Set up a double boiler: fill a saucepan with about an inch or two of water and bring it to a gentle simmer. Place a heat-proof bowl over the saucepan (ensure the bottom of the bowl does not touch the water). Add the mini marshmallows and 2/3 cup of heavy cream to the bowl. Stir frequently until the marshmallows are completely melted and the mixture is smooth and glossy. This gentle melting process prevents scorching. Once melted, carefully remove the bowl from the heat. Stir in the peppermint extract and, if desired, a few drops of green food coloring until the color is uniform. Set this mixture aside and allow it to cool slightly at room temperature. It should still be pourable but not piping hot, to avoid deflating the whipped cream in the next step.

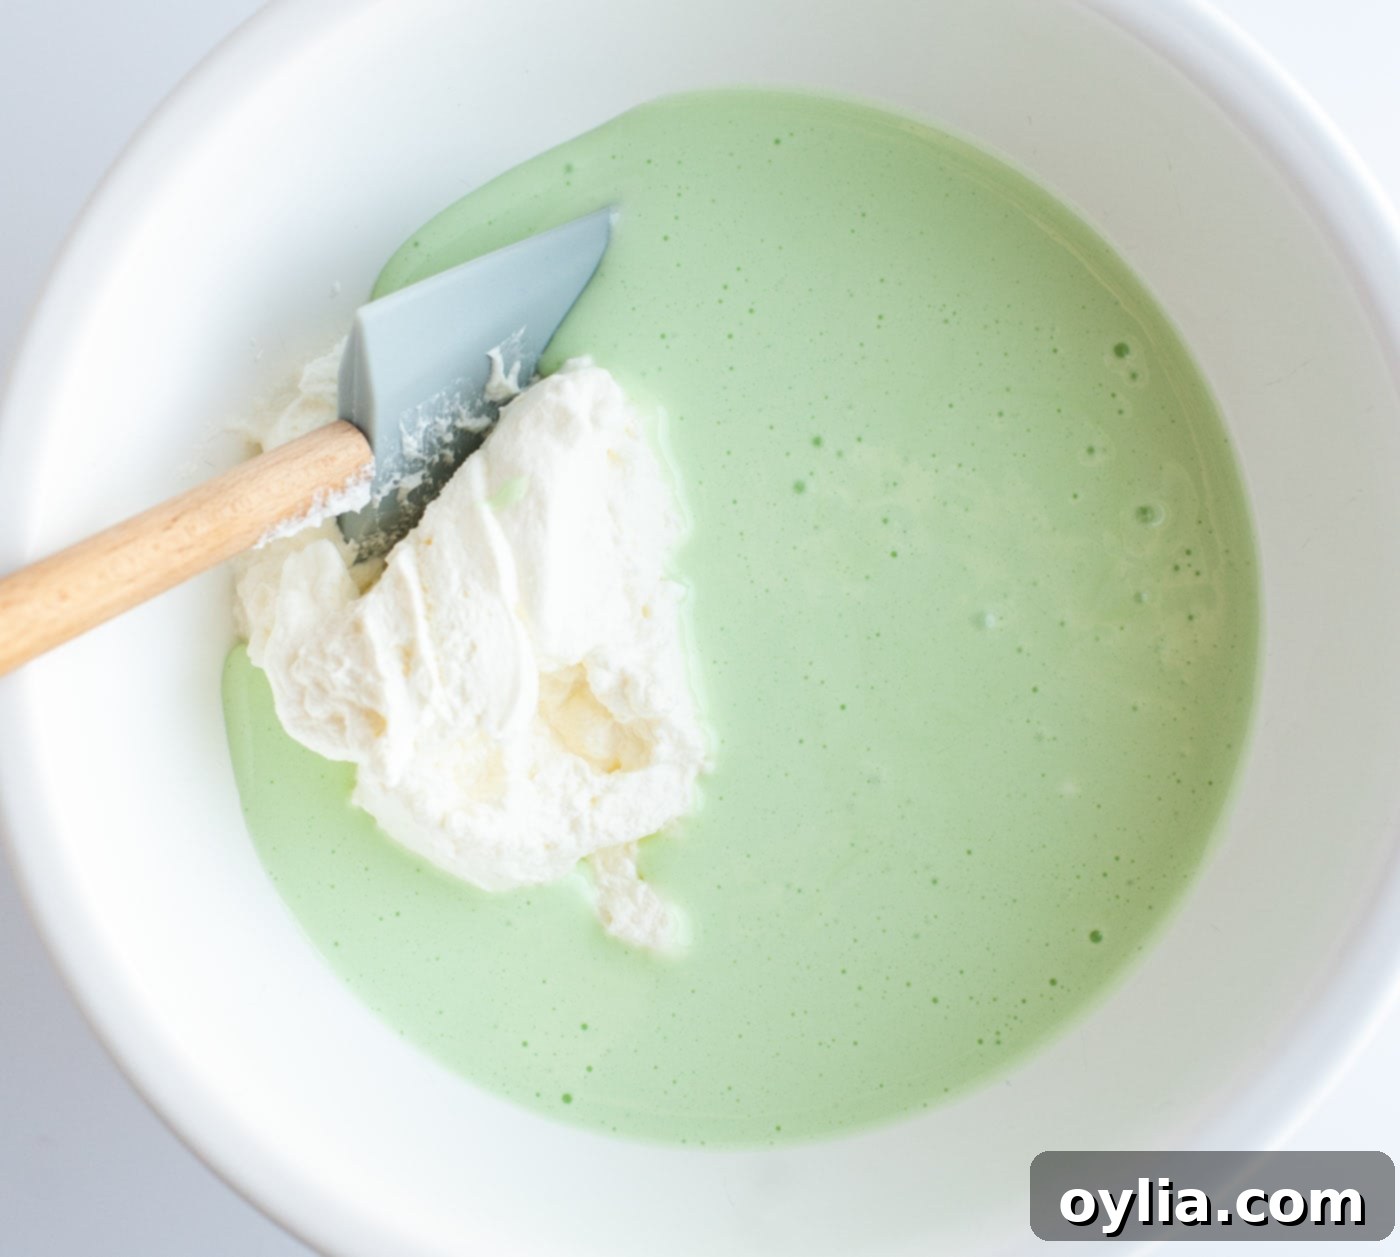
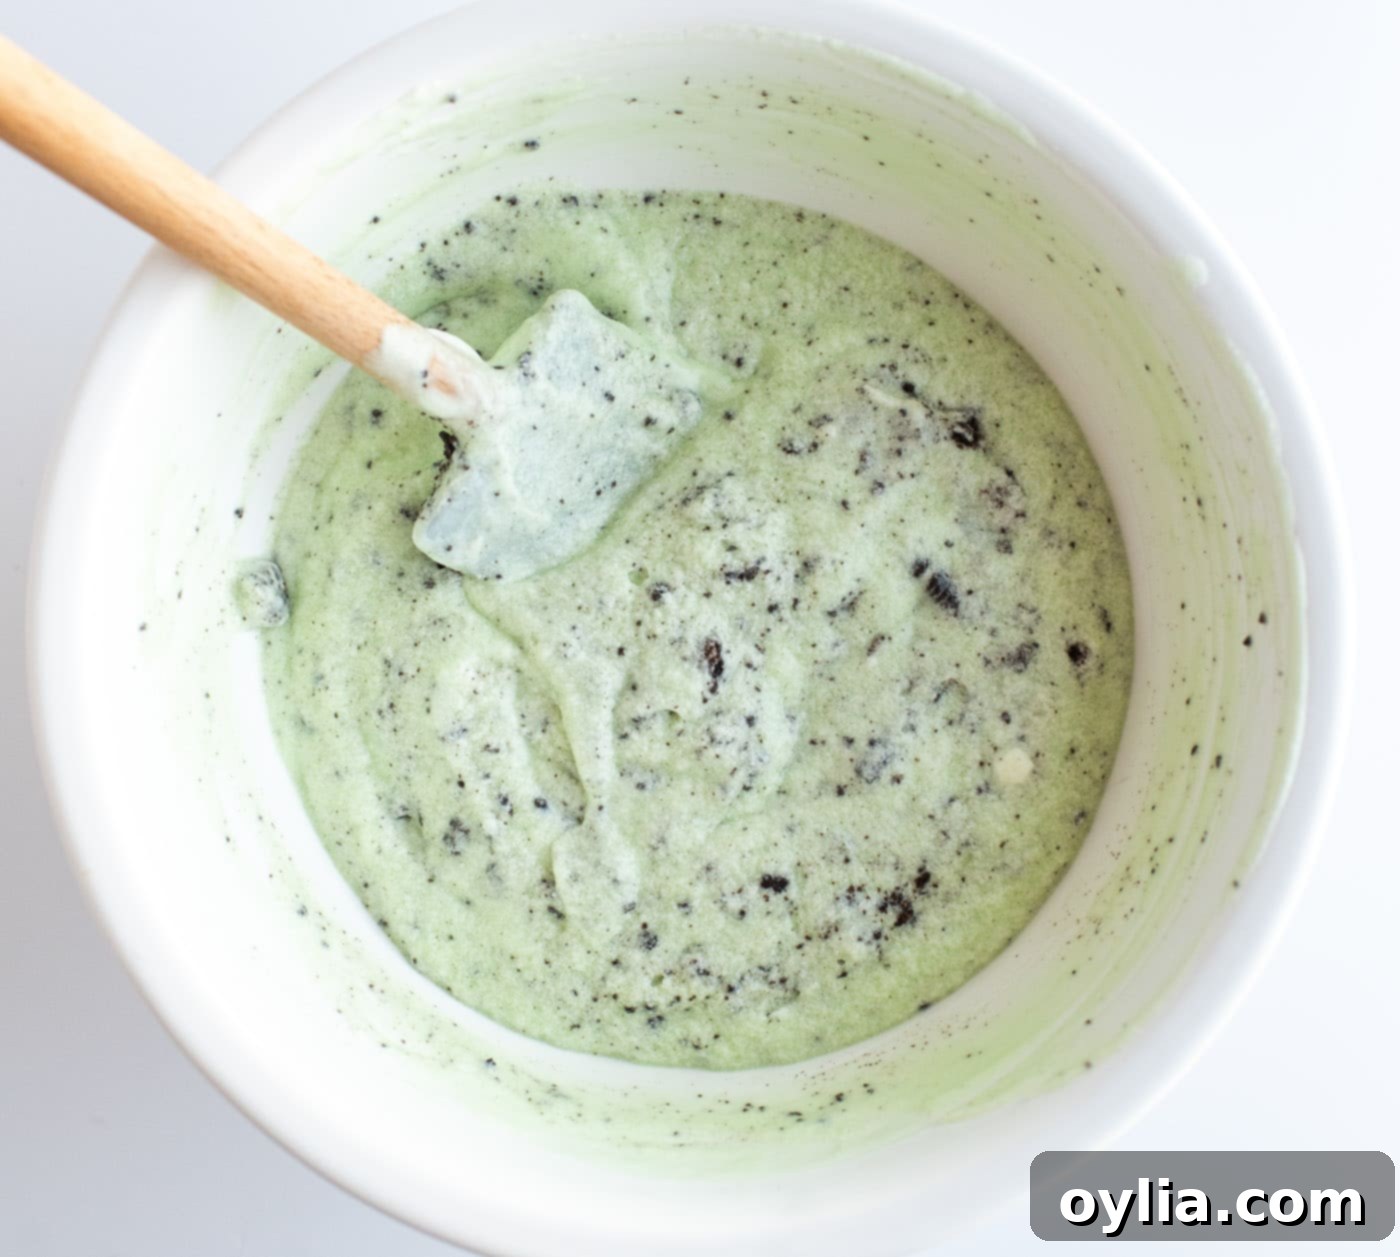
Marshmallows and heavy cream melting together in a double boiler, forming the smooth base of the filling. - Prepare Whipped Cream and Combine: In a separate, clean bowl, use an electric mixer (or a stand mixer with a whisk attachment) to beat 1 cup of very cold heavy cream. Beat on medium-high speed until stiff peaks form. This means when you lift the beaters, the cream should hold its shape firmly. Now, gently fold the whipped cream into the slightly cooled marshmallow mixture using a spatula. Be careful not to overmix; you want to maintain the airy texture of the whipped cream. Finally, fold in 3/4 of your crushed Oreos, reserving the remaining 1/4 for topping the pie later.

Green food coloring and peppermint extract being incorporated into the marshmallow base. 
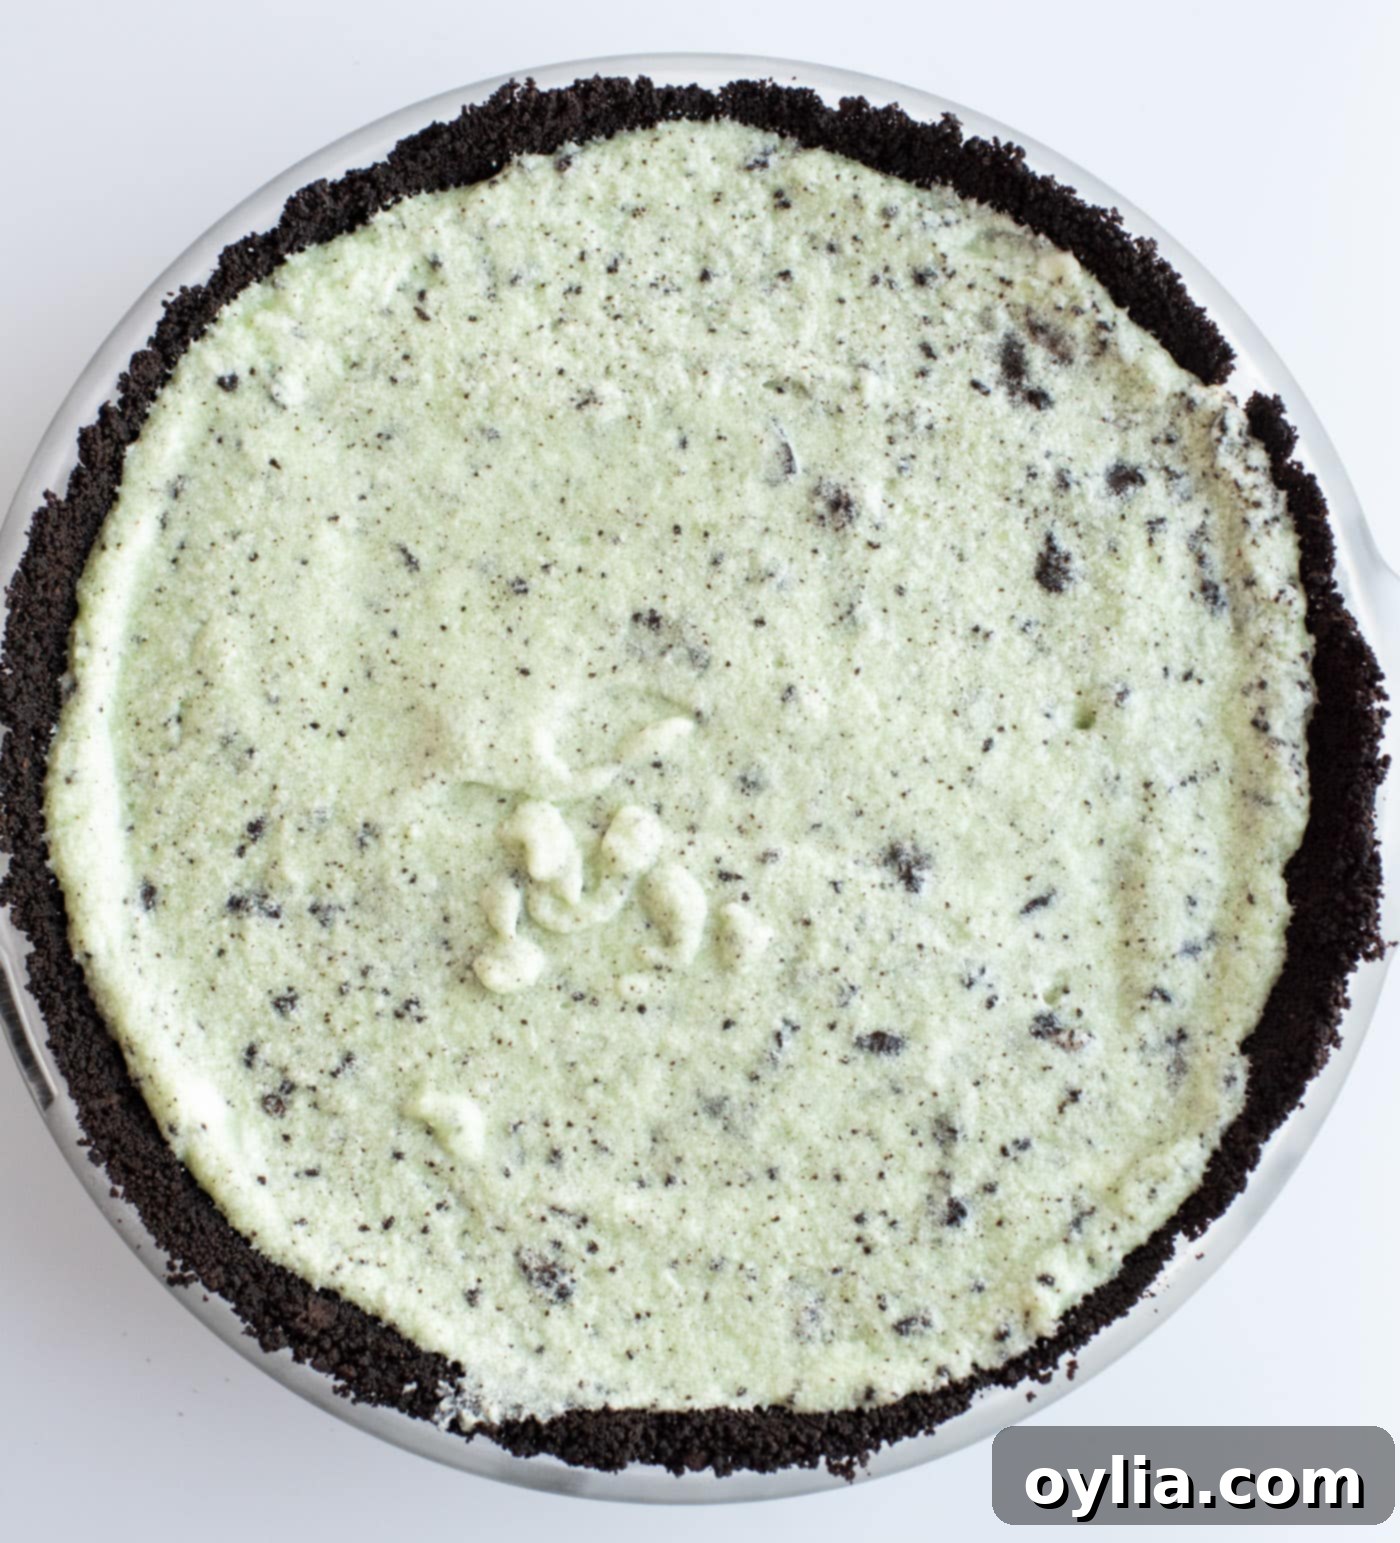
Crushed Oreos gently folded into the creamy green mint filling, adding a delightful crunch. - Assemble and Chill: Retrieve your chilled pie crust from the freezer. Carefully pour the minty, Oreo-filled mixture into the crust, spreading it evenly with a spatula. Sprinkle the top generously with the remaining crushed Oreos. For the best setting and flavor development, place the assembled pie back into the freezer for a minimum of two hours before serving. This crucial chilling time allows the pie to firm up completely, ensuring clean, perfect slices every time.

The completed Grasshopper Pie, topped with crushed Oreos and ready for freezing.
Frequently Asked Questions & Expert Tips
Yes, absolutely! Freezing is a key step in this recipe, as it helps the pie set beautifully and achieve its desired firm, yet creamy texture. This Grasshopper Pie is truly at its best when served chilled or even straight from the freezer, offering a delightful coolness that enhances the mint flavor. While we’ve tested freezing this pie for up to 3-4 days with perfect results, it can generally be stored in the freezer for about 2 months. To ensure optimal freshness and prevent freezer burn, make sure to store it properly in an airtight container or wrap it tightly first in plastic wrap, then in a layer of aluminum foil.
Absolutely! This is one of the best features of this no-bake pie – it’s an excellent make-ahead dessert, perfect for busy hosts. You can prepare your Grasshopper Pie a few days in advance and keep it stored in the freezer until you’re ready to serve. For best results, wrap the entire pie (while still in its pie plate) several times with plastic wrap, followed by a final layer of aluminum foil. This protects it from freezer odors and ensures it stays fresh. There’s no need to thaw it before serving; simply pull it out of the freezer, slice, and enjoy!
No problem! You can still melt the marshmallows and heavy cream in a regular saucepan over very low heat. The key is to stir constantly and avoid high heat to prevent the marshmallows from sticking or burning. Alternatively, you can use a microwave: combine marshmallows and cream in a microwave-safe bowl, heat in 30-second intervals, stirring well after each, until smooth. Be careful not to overheat.
Certainly! While chocolate graham crackers or Oreos are traditional and delicious choices, feel free to experiment. Chocolate wafers, shortbread cookies, or even vanilla wafers mixed with cocoa powder could make for an interesting and tasty crust variation. Just ensure you maintain the proper ratio of crumbs to melted butter for a stable crust.
To enhance the mint flavor, you can add a tiny bit more peppermint extract (start with 1/4 teaspoon increments) or incorporate finely chopped Andes mints into the filling or as a topping. For more chocolate, use an Oreo crust, add chocolate chips or chocolate shavings to the filling, or drizzle with chocolate syrup before serving.
Serving Suggestions for Your Grasshopper Pie
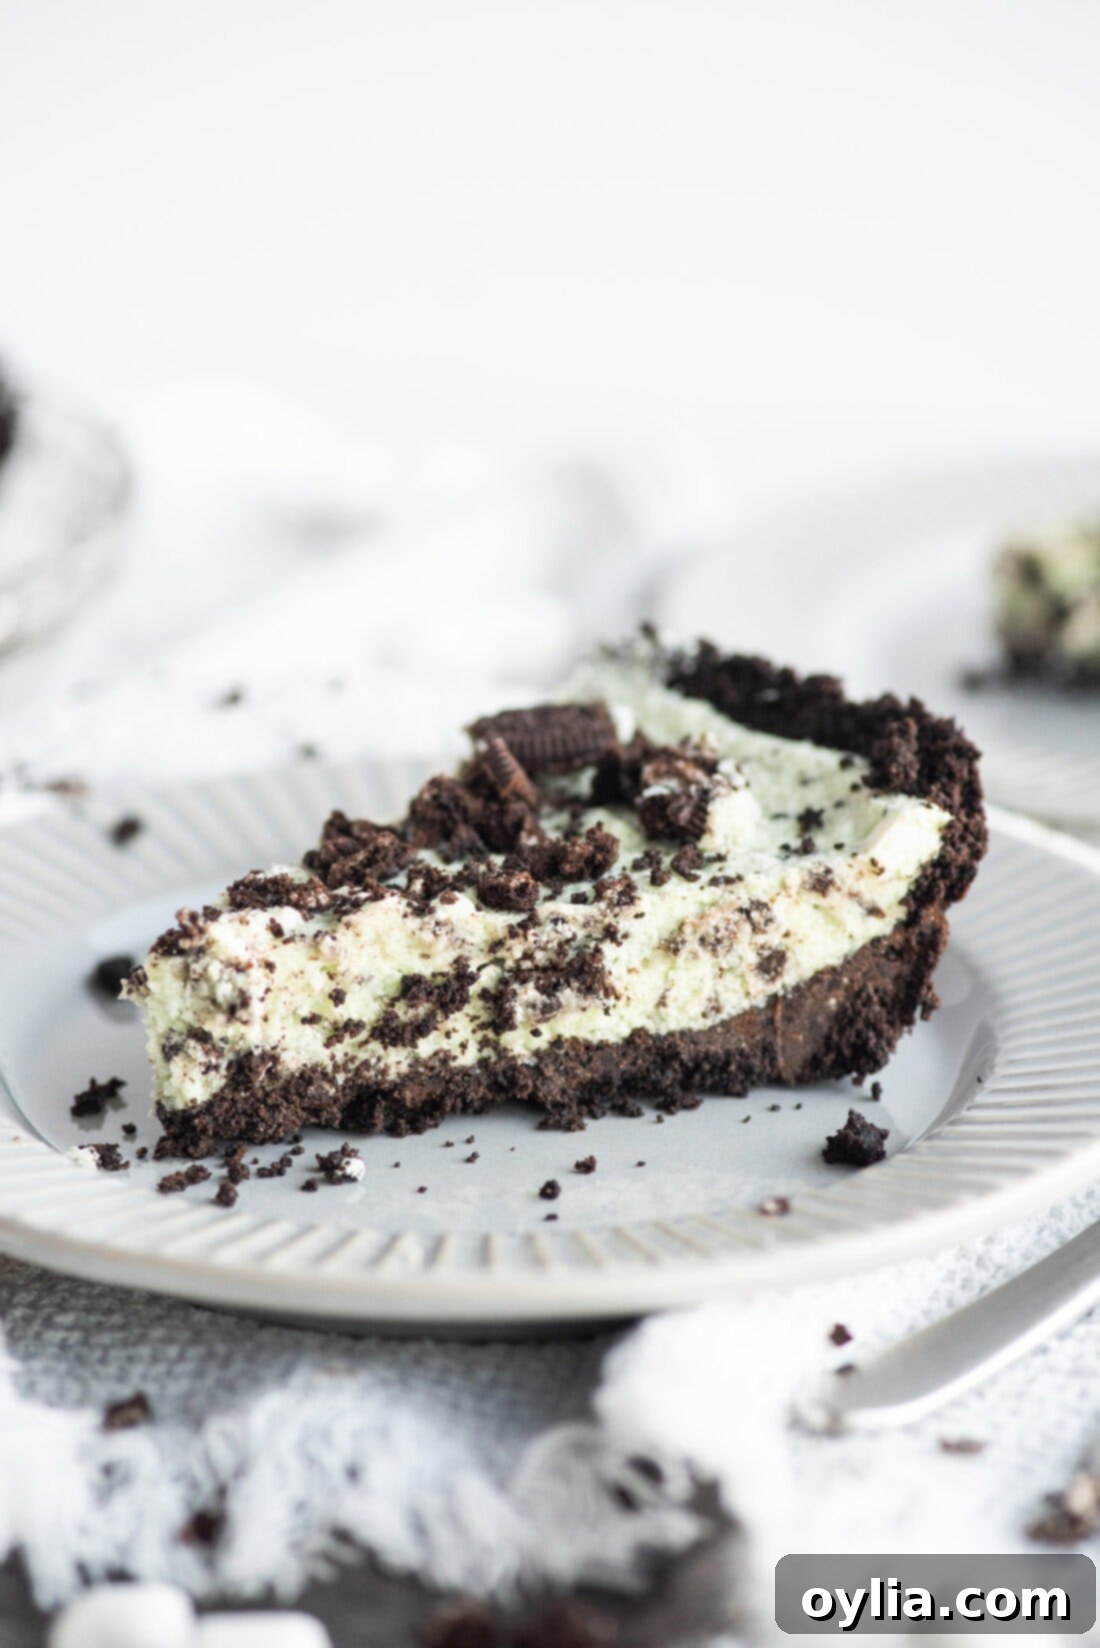
While this Grasshopper Pie is utterly delicious as is, simply topped with its crunchy crushed Oreos, there are plenty of ways to elevate its presentation and flavor profile. Remember, this is one of those pies that truly shines when served well-chilled or even frozen, providing a refreshing counterpoint to its rich taste. Here are some ideas to make your pie even more spectacular:
- Classic Whipped Topping: A generous dollop of homemade whipped cream or a ready-made Cool Whip topping is always a fantastic addition. You can pipe it on for an elegant finish or simply spoon it for a more rustic look.
- Andes Mints: For an extra layer of mint-chocolate flavor and a beautiful garnish, chop up some Andes Mints and sprinkle them over the top of the pie before serving.
- Chocolate Shavings: Use a vegetable peeler or a fine grater to create delicate chocolate shavings from a bar of dark or milk chocolate. These add a sophisticated touch and intense chocolate flavor.
- Chocolate Drizzle: A simple drizzle of chocolate syrup or melted chocolate over each slice adds an artistic flourish and enhances the chocolate notes.
- Additional Crunch: If you love texture, consider adding extra crumbled chocolate graham crackers or even a sprinkle of mini chocolate chips on top.
- Fresh Mint Sprig: A small sprig of fresh mint placed on each slice before serving adds a pop of color and hints at the refreshing flavors within.
This pie is fantastic for holiday gatherings, especially St. Patrick’s Day with its green hue, or as a refreshing option for summer desserts. Its vibrant color and irresistible flavor make it a festive treat for any occasion.
Discover More Mint Chocolate Delights
If you’re as enamored with the classic combination of mint and chocolate as we are, you’re in luck! This iconic duo creates some of the most refreshing and decadent desserts. After you’ve savored every last bite of this Grasshopper Pie, be sure to explore these other fantastic mint chocolate recipes that are sure to satisfy your cravings:
- Mint Chocolate Lasagna: Layers of minty goodness and chocolate cream.
- Chocolate Mint Brownies: Fudgy brownies topped with a cool mint frosting.
- Oreo Thin Mint Shooters: A fun, bite-sized dessert with classic flavors.
- Mint Chocolate Popsicles: A refreshing frozen treat perfect for warmer days.
- Chocolate Mint Cookies: Soft, chewy cookies bursting with mint and chocolate.
- Homemade Mint Chocolate Chip Ice Cream: The ultimate classic, made fresh at home.
I love to bake and cook and share my kitchen experience with all of you! Remembering to come back each day can be tough, that’s why I offer a convenient newsletter every time a new recipe posts. Simply subscribe and start receiving your free daily recipes!
We hope you thoroughly enjoy creating and sharing this wonderful No-Bake Grasshopper Pie. It’s a timeless dessert that brings together the refreshing zest of mint with the indulgent richness of chocolate, all wrapped up in an incredibly easy-to-make package. Perfect for any occasion, this pie is sure to become a beloved favorite in your recipe collection. Happy baking (or rather, no-baking)!
Grasshopper Pie
IMPORTANT – There are often Frequently Asked Questions within the blog post that you may find helpful. Simply scroll back up to read them!
Print It
Pin It
Rate It
Save ItSaved!
Ingredients
Crust
- 1 ½ cups chocolate graham cracker crumbs
- ¼ cup butter melted
Filling
- 3 ½ cups mini marshmallows
- ⅔ cups heavy whipping cream for marshmallow mixture
- 1 cup heavy whipping cream for whipped cream
- 1 ½ teaspoon peppermint extract
- 4 drops green food coloring optional
- 12 Oreos crushed. regular or mint flavored
Things You’ll Need
-
9 inch pie pan
-
Electric mixer
-
Double boiler
Before You Begin
- You can buy graham crumbs directly from the store or you can crush whole graham crackers by placing them in a food processor. If you do not have a food processor, you can also place graham crackers in a large ziptop bag and crush them with a rolling pin until fine.
- For the best whipped cream, ensure your heavy cream, bowl, and beaters are all very cold before whipping. This will help you achieve stiff peaks faster and prevent over-whipping.
- When adding food coloring, start with fewer drops than you think you need and gradually add more until you reach your desired shade of green. A little goes a long way!
Instructions
-
In a medium bowl, thoroughly mix melted butter and chocolate graham cracker crumbs until well combined. Press this mixture firmly into an 8 or 9-inch pie plate, covering the bottom and sides evenly. Place the prepared crust into the freezer for at least 15-20 minutes to chill and set.
-
Using a double boiler, melt the mini marshmallows and 2/3 cup heavy cream together, stirring frequently until the mixture is smooth and completely melted. Once melted, remove the bowl from the heat. Stir in the peppermint extract and green food coloring (if using) until the color is uniform. Set aside and allow the mixture to cool slightly to a lukewarm temperature.
-
In a separate, chilled bowl, use an electric mixer to beat 1 cup of very cold heavy cream until stiff peaks form. Gently fold the whipped cream into the slightly cooled marshmallow mixture until just combined, being careful not to overmix. Then, fold in 3/4 of the crushed Oreos, reserving the remaining 1/4 for topping the pie.
-
Pour the creamy mint-Oreo mixture into the chilled pie crust, spreading it evenly. Sprinkle the top with the reserved crushed Oreos. Place the pie back in the freezer for at least two hours (or preferably longer) to allow it to set completely before slicing and serving.
Nutrition
The recipes on this blog are tested with a conventional gas oven and gas stovetop. It’s important to note that some ovens, especially as they age, can cook and bake inconsistently. Using an inexpensive oven thermometer can assure you that your oven is truly heating to the proper temperature. If you use a toaster oven or countertop oven, please keep in mind that they may not distribute heat the same as a conventional full sized oven and you may need to adjust your cooking/baking times. In the case of recipes made with a pressure cooker, air fryer, slow cooker, or other appliance, a link to the appliances we use is listed within each respective recipe. For baking recipes where measurements are given by weight, please note that results may not be the same if cups are used instead, and we can’t guarantee success with that method.
This post originally appeared here on June 6, 2009 and has since been updated with a new recipe as well as new photos and expert tips for an even better experience.
