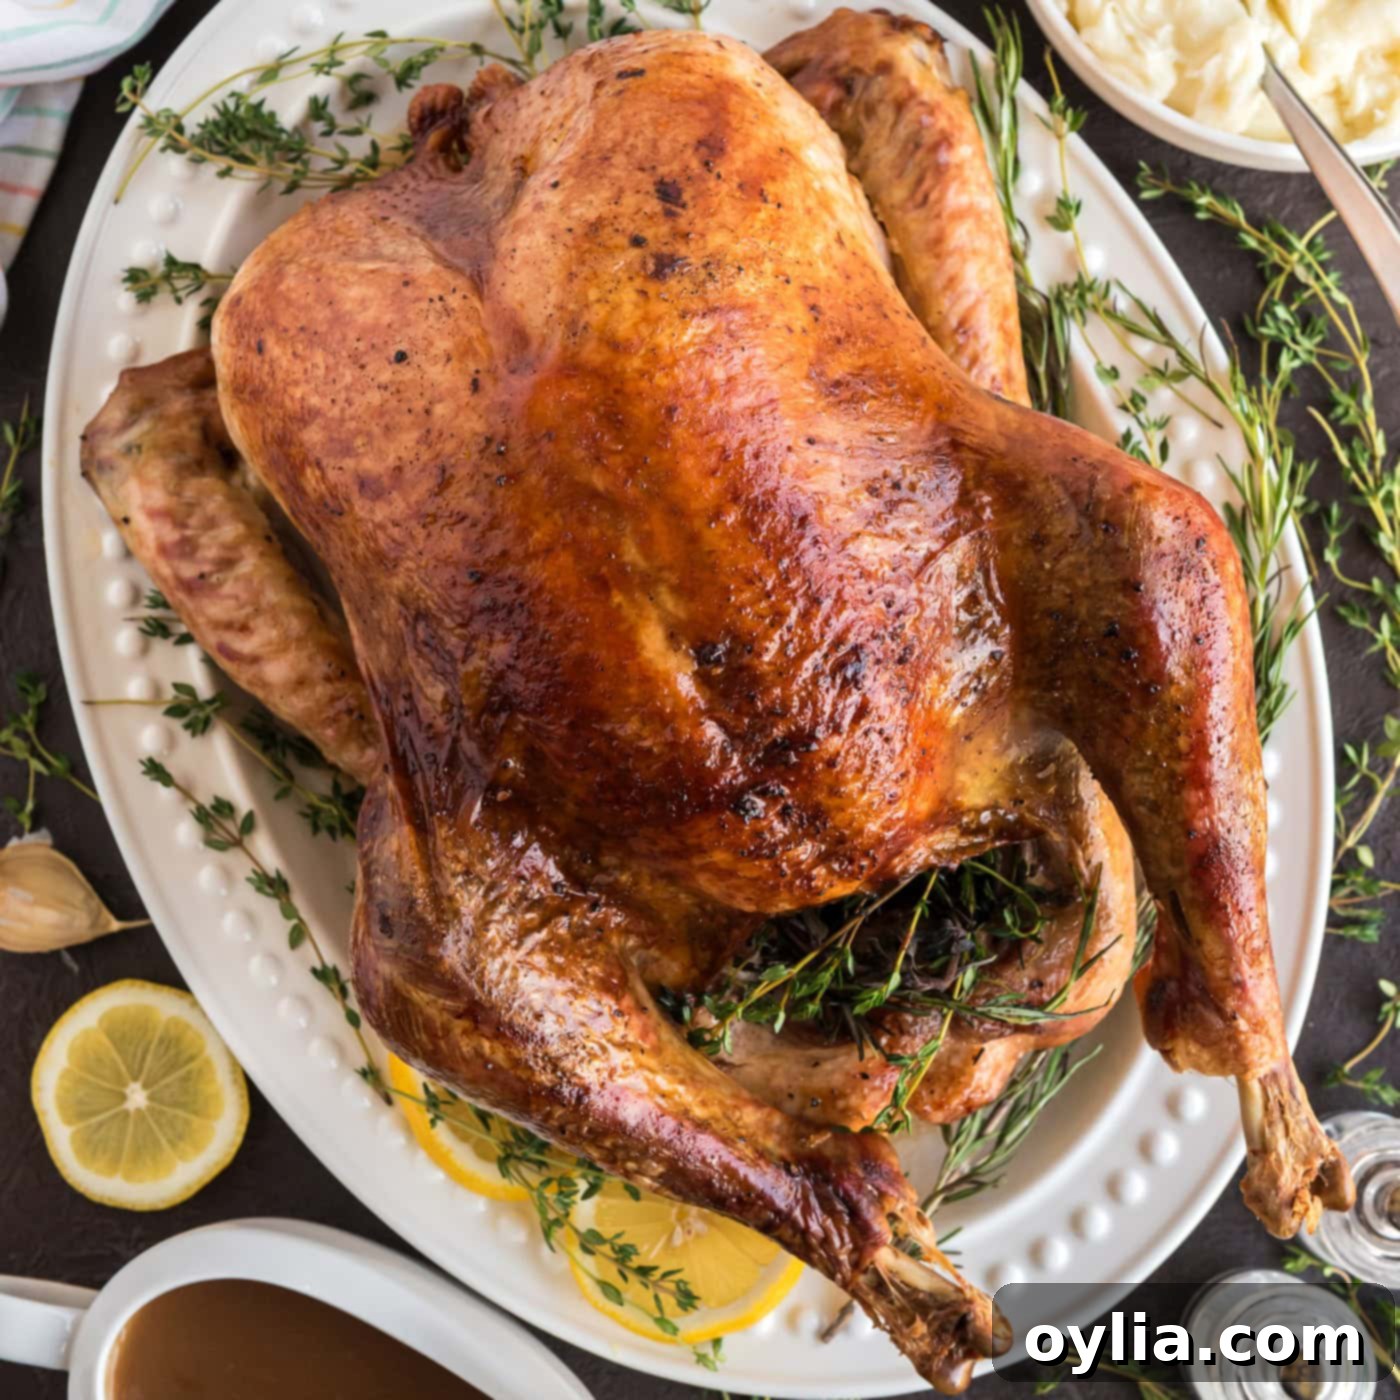
Perfect Roasted Turkey: Achieve Juicy Meat and Golden Crispy Skin Every Time
Mastering the art of a perfectly roasted turkey with irresistibly golden, crispy skin is a quintessential skill for holiday hosts and home cooks alike. This fool-proof, easy-to-follow recipe promises tender, juicy meat and a show-stopping presentation, making it an essential addition to your holiday repertoire. With simple ingredients and straightforward steps, you’ll achieve flavorful results that will impress everyone at your Thanksgiving, Christmas, or Easter dinner.
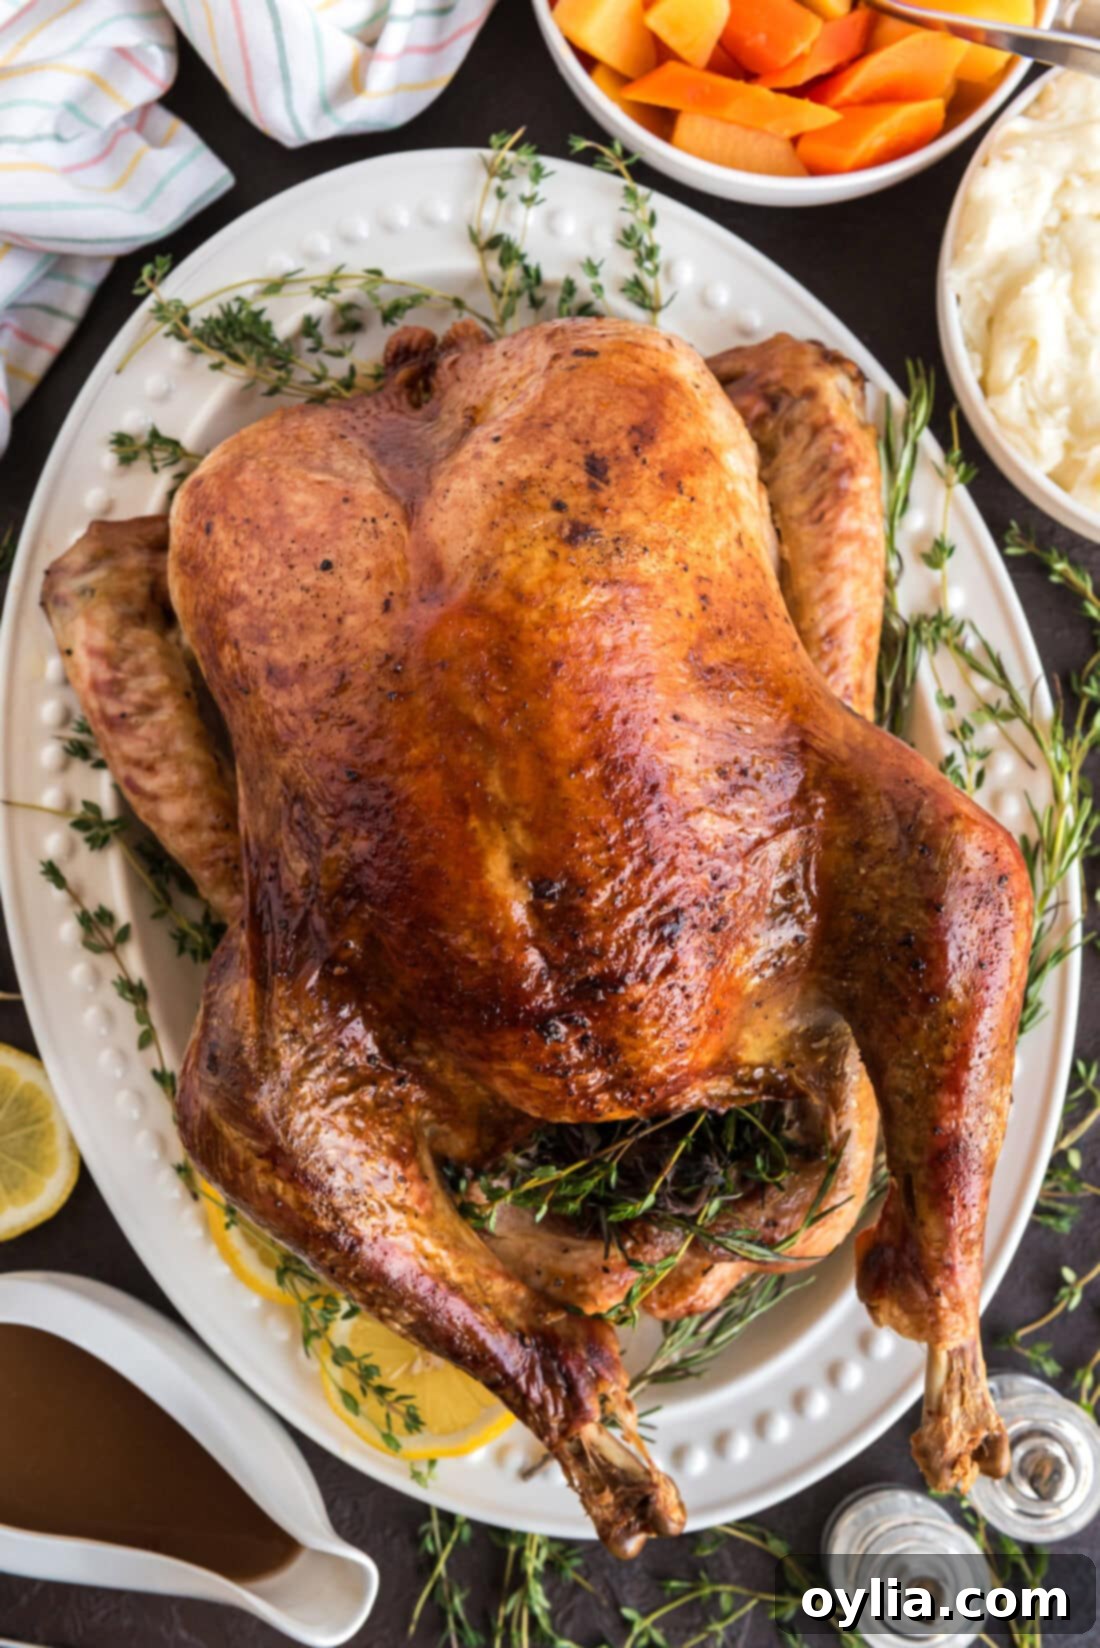
Why This Easy Roasted Turkey Recipe Works Wonders
Creating a succulent, flavorful roasted turkey doesn’t need to be an intimidating or time-consuming ordeal. This recipe simplifies the process, focusing on core techniques and common ingredients to deliver extraordinary results. You’ll primarily need fresh butter, savory broth, a generous amount of salt and pepper, and a blend of aromatic herbs to deeply enhance the turkey’s natural flavor. A major bonus? The rich, caramelized pan drippings left at the bottom of your roasting pan are the perfect base for an incredible homemade turkey gravy, ensuring every bite of your dish is smothered in deliciousness. It’s truly a win-win situation for your holiday feast.
We’ve designed this guide as a comprehensive crash course for beginners, covering all the essential details to cook a turkey perfectly. Below, you’ll find crucial tips on how to safely thaw your turkey, the ideal internal temperature for doneness, and a breakdown of how long your turkey should roast in the oven. Even seasoned cooks will find valuable insights to refine their roasting technique and achieve that coveted golden, crispy skin and incredibly juicy meat.
Essential Ingredients for Your Perfect Roasted Turkey
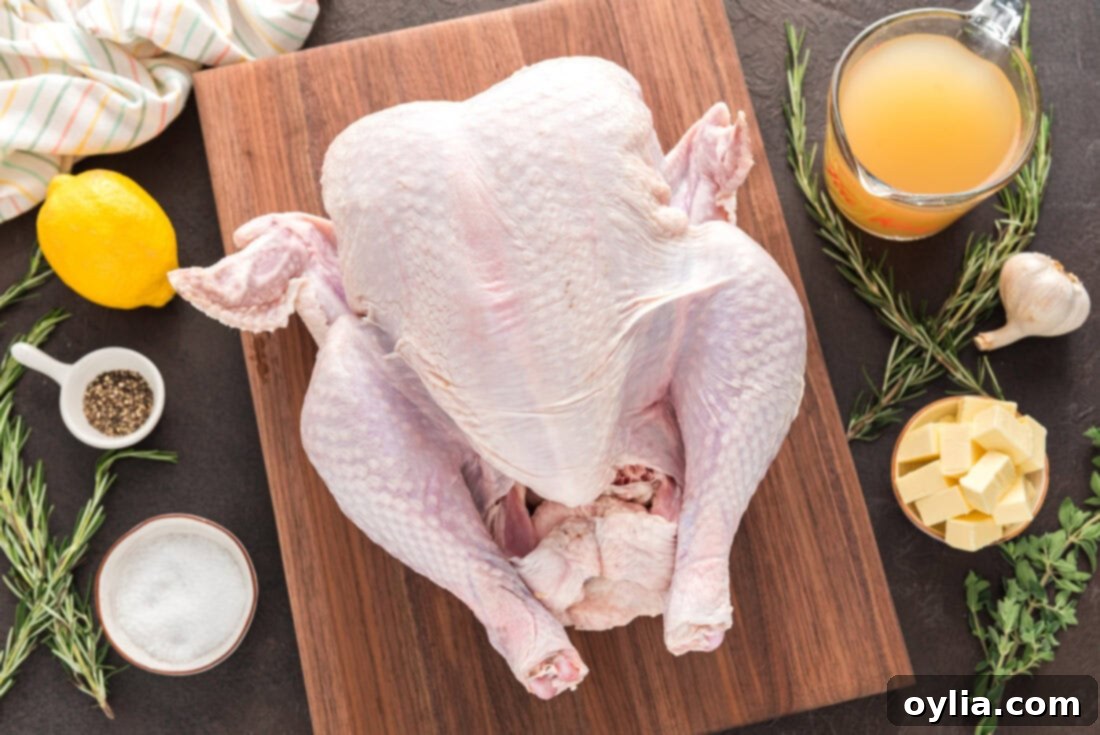
Before you begin, gather these simple yet powerful ingredients. You’ll find all precise measurements, ingredient details, and comprehensive instructions in the printable recipe card located at the end of this post. These fundamental components are all you need to transform a humble turkey into a magnificent centerpiece.
Ingredient Information & Expert Substitution Suggestions
Understanding each ingredient’s role is key to a flawless roasted turkey. Here’s a closer look, along with smart substitution ideas:
TURKEY – This easy roasted turkey recipe is optimally designed for a whole turkey weighing between 13-14 pounds, though it can comfortably accommodate up to 16 pounds. A general guideline for roasting an unstuffed turkey is to allocate approximately 13 minutes of cooking time per pound. Use this metric to accurately calculate the roasting duration based on your turkey’s exact weight. For instance, our 13-14 pound turkey was perfectly cooked in just under 3 hours. A critical tip for even cooking: avoid trussing the turkey legs. Leaving the cavity open allows hot air to circulate freely, ensuring the entire bird cooks evenly and thoroughly.
BUTTER – We are strong advocates for using butter on the turkey, as it consistently delivers a beautifully golden and irresistibly crispy skin, while also contributing rich flavor and moisture. However, if you prefer or need an alternative, good quality olive oil can be an excellent substitute, providing a crisp exterior and a slightly different flavor profile. Other fat options like duck fat or even a compound butter (infused with herbs and garlic) can also elevate the taste and texture.
CHICKEN BROTH – Adding two cups of chicken broth to the bottom of the roasting pan serves multiple vital functions. It creates a steamy environment that helps keep the turkey moist, prevents the pan drippings from burning, and most importantly, forms the flavorful foundation for your delicious gravy. If chicken broth isn’t available, vegetable broth or even plain water can be used as effective substitutes. The goal is to have enough liquid to collect those precious drippings without them scorching.
KOSHER SALT & FRESH GROUND BLACK PEPPER – Generous seasoning is paramount for a truly flavorful turkey. Kosher salt, with its larger crystals, adheres well to the skin and seasons the meat effectively. Freshly ground black pepper adds a pungent, aromatic kick. Don’t be shy with these; they are the primary flavor enhancers. Beyond salt and pepper, consider a blend of garlic powder, onion powder, and a pinch of paprika for an extra layer of savory depth.
OPTIONAL AROMATICS (Lemon, Rosemary, Thyme, Garlic) – While optional, these fresh aromatics significantly elevate the turkey’s flavor profile. Sliced lemon, fresh sprigs of rosemary and thyme, and minced garlic placed inside the turkey’s cavity infuse the meat with fragrant notes as it roasts. Remember, these are for flavor, not for stuffing. They release their essential oils and aromas, subtly flavoring the meat from the inside out without affecting cooking times or food safety like traditional stuffing would.
How to Make the Best Roasted Turkey: Step-by-Step Guide
These step-by-step photos and detailed instructions are provided to help you visualize the process of making this delicious roasted turkey recipe. For a convenient printable version of this recipe, complete with precise measurements and instructions, you can Jump to Recipe at the bottom of this post.
- Preheat Oven: Begin by preheating your oven to a high temperature of 450 degrees F (230°C). This initial high heat is crucial for achieving that desirable crispy, golden skin before the temperature is lowered for even cooking.
- Prepare Turkey: Thoroughly pat the entire turkey dry, inside and out, with paper towels. This step is vital for ensuring the skin becomes wonderfully crispy. Discard the used paper towels immediately to maintain hygiene.
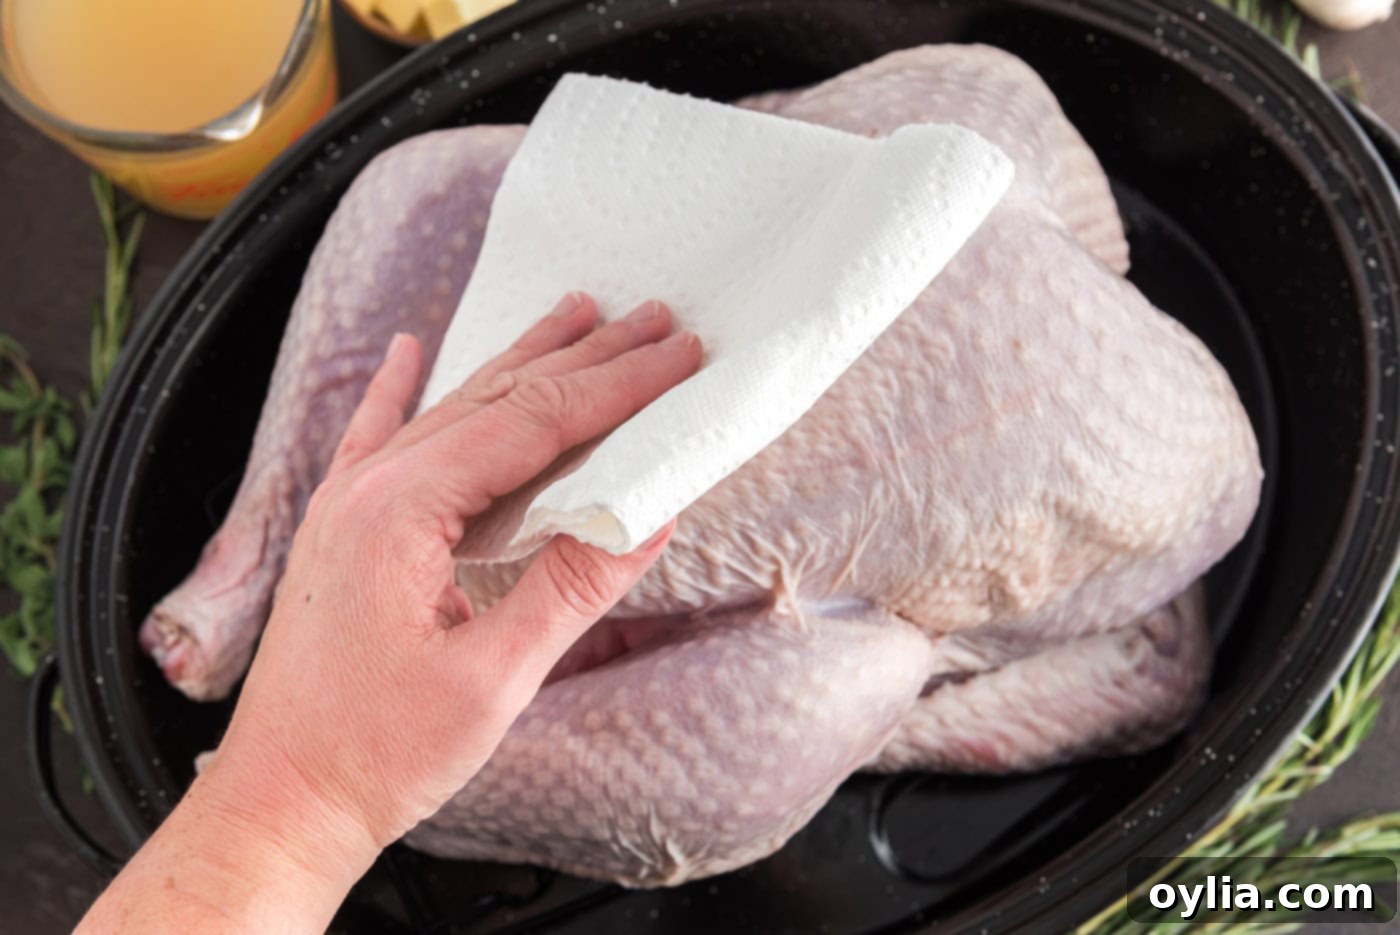
- Set Up Roasting Pan: Carefully place the prepared turkey into a sturdy roasting pan. Remove the giblets and neck from the turkey cavity; you can save these for making stock or gravy, or discard them. Tuck the wings underneath the turkey’s shoulders to prevent them from burning during roasting. If you’re using the optional aromatic ingredients (lemon slices, rosemary, thyme, garlic), now is the time to loosely place them into the turkey’s cavity. Remember, these are for flavor infusion, not stuffing.
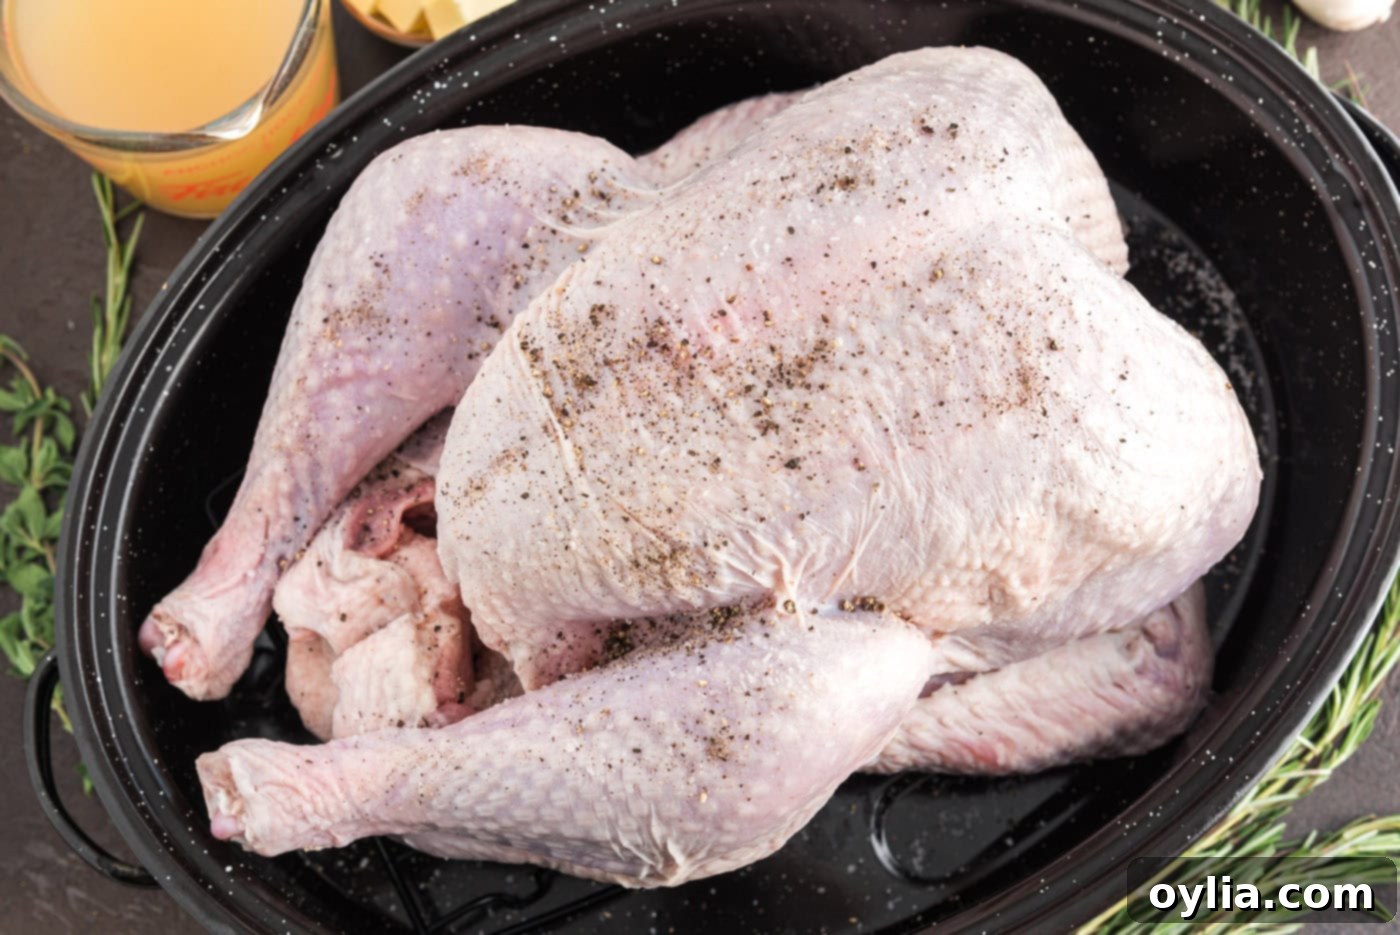
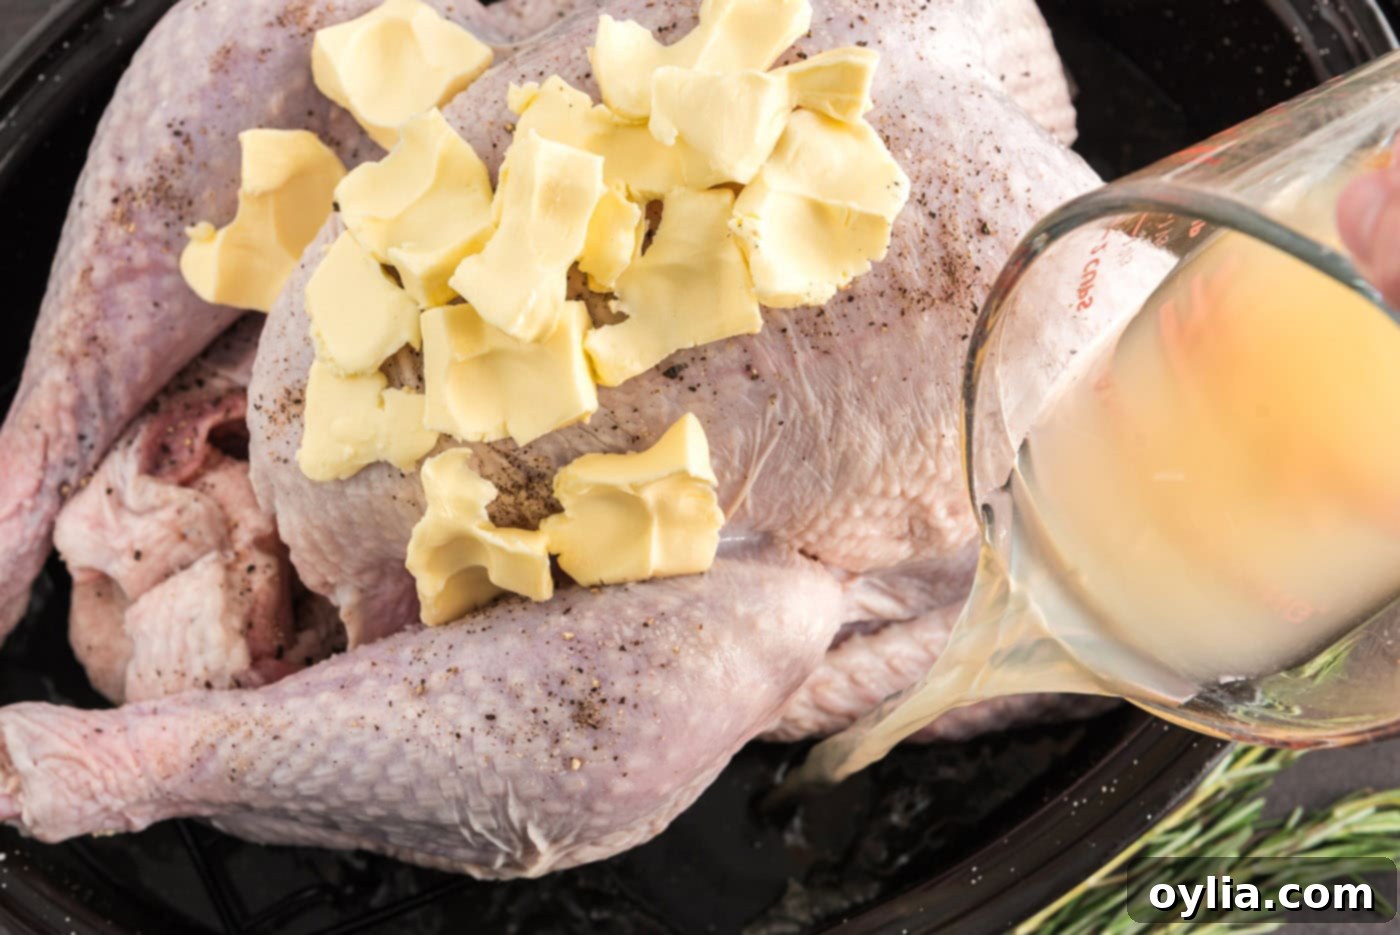
- Season and Butter: Generously sprinkle Kosher salt and fresh ground black pepper all over the exterior of the turkey, ensuring all surfaces are seasoned. For best results, gently loosen the skin over the breast meat and carefully rub some softened butter directly onto the meat under the skin. Then, spread the remaining softened butter evenly over the entire surface of the turkey skin. This ensures both flavor and a beautiful golden crust.
- Add Broth: Pour 2 cups of chicken broth (or vegetable broth or water) into the bottom of the roasting pan. This liquid helps to keep the turkey moist and prevents the pan drippings from scorching, creating a rich base for your gravy.
- Roast the Turkey: Place the roasting pan with the prepared turkey onto the center rack of your preheated oven. Immediately close the oven door and reduce the heat to 350 degrees F (175°C). Roast the turkey for approximately 13 minutes per pound. For a 13-14 pound turkey, this means it should be done in just under 3 hours. Cooking times can vary, so always rely on a meat thermometer for accuracy.
- Basting and Browning Control: Using a turkey baster, periodically baste the turkey with the flavorful pan liquids every 45 minutes or so. This helps to keep the skin moist and promotes even browning. As the turkey approaches its estimated cooking time, keep a close eye on the skin. If the top begins to brown too quickly or appears to be getting too dark, loosely tent a piece of aluminum foil over the turkey to protect the skin from over-browning.
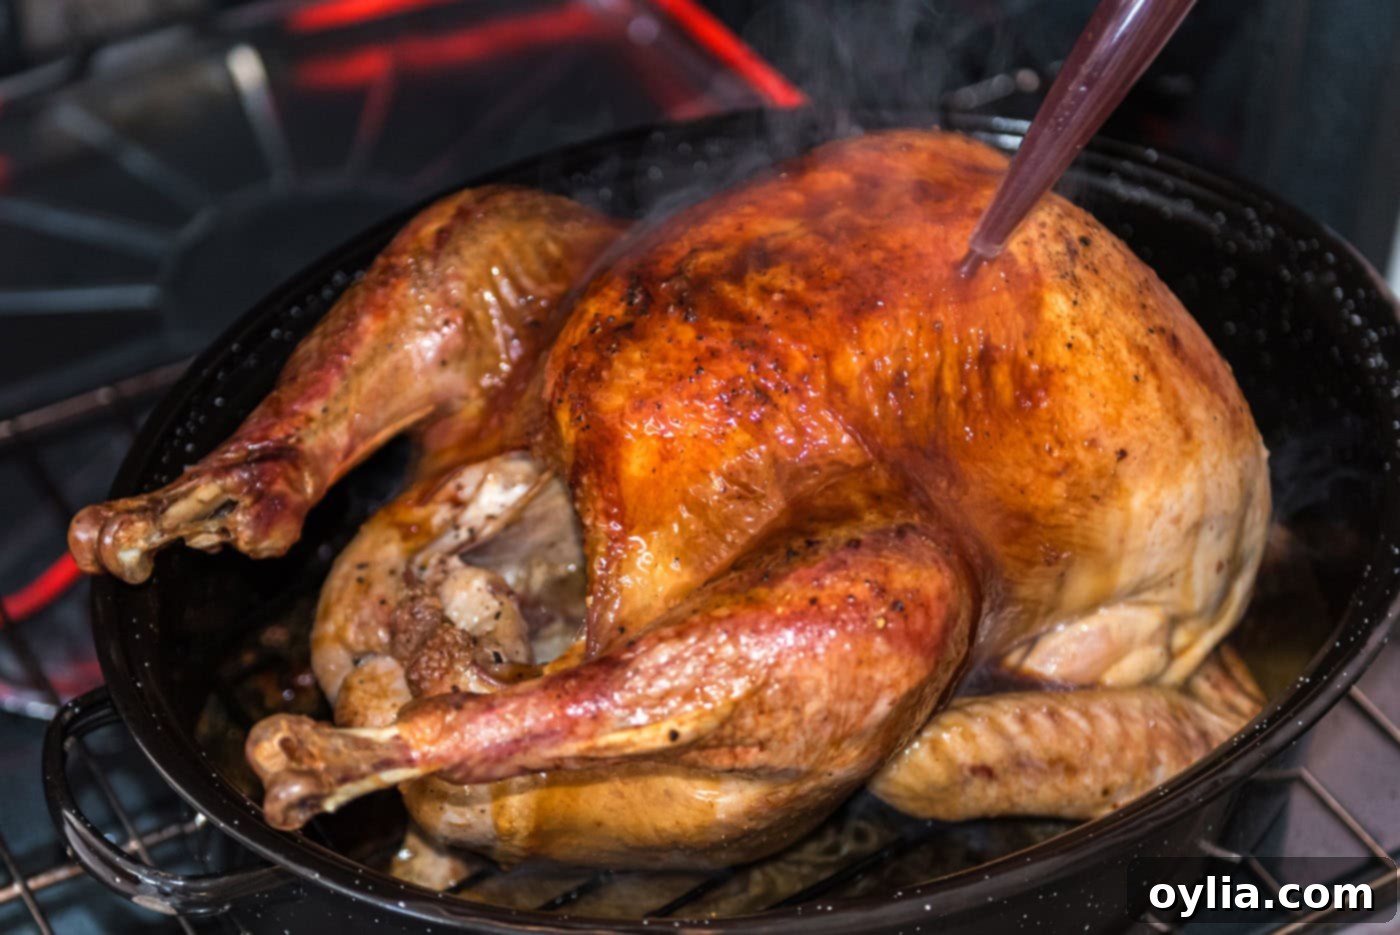
- Check for Doneness: The most crucial step for a safe and delicious turkey is to check its internal temperature. Insert a reliable meat thermometer into the thickest part of the breast and the thickest part of the thigh, ensuring it doesn’t touch any bone. The turkey is done when it registers 165 degrees F (74°C) in the breast and 175 degrees F (79°C) in the thigh. For juicier results, many chefs prefer to remove the turkey from the oven when the breast reaches 160F (71°C), as it will continue to cook and rise in temperature by a few degrees as it rests (this is called carryover cooking).
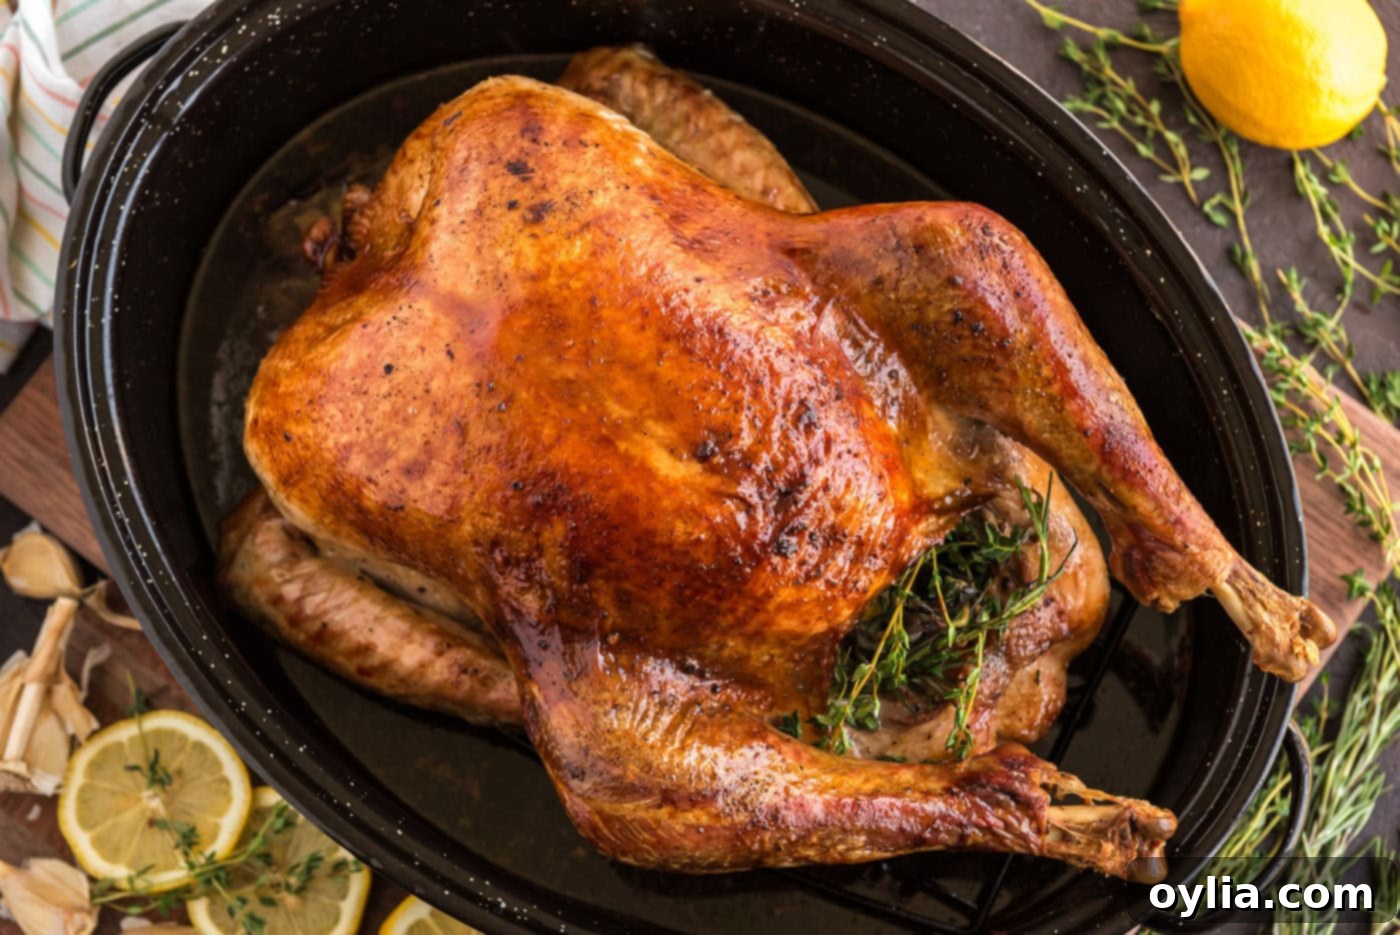
- Rest the Turkey: Once cooked, remove the turkey from the oven and tent it loosely with aluminum foil. Allow the turkey to rest for a minimum of 15-20 minutes (or even up to 30 minutes for larger birds) before carving. This resting period is critical as it allows the juices to redistribute throughout the meat, ensuring every slice is incredibly tender and moist. Use this valuable time to prepare your gravy from the pan drippings or finish up any side dishes.
Frequently Asked Questions & Expert Tips for Roasting Turkey
A whole roasted turkey is safely cooked when an instant-read thermometer inserted into the thickest part of the breast registers 165°F (74°C) and the thickest part of the thigh registers 175°F (79°C). Many experienced cooks, including myself, prefer to remove the turkey from the oven when the breast reaches 160°F (71°C), as carryover cooking during the resting period will bring it up to the safe temperature of 165°F, resulting in a juicier bird.
The safest and most recommended method for thawing a turkey is in the refrigerator. Allot approximately 24 hours of thawing time for every 5 pounds of turkey. Place the turkey, still in its original packaging, on a baking sheet or in a large pan to catch any drips, and refrigerate. I always recommend adding an extra day just in case it needs more time. If you’re pressed for time and your turkey is still frozen, you can use the cold water method. Submerge the packaged turkey in a cooler or a clean sink filled with cold water, ensuring the water fully covers the turkey. Change the cold water every 30 minutes to maintain a safe temperature until the turkey is fully thawed. Never use warm or hot water, as this can encourage bacterial growth.
While traditional, it is generally recommended to cook your stuffing separately in a casserole dish or prepare a batch of crockpot stuffing on the side. For optimal and even cooking of the turkey, you want hot air to circulate freely within the cavity. Stuffing the cavity can significantly extend the turkey’s cooking time, as the stuffing must reach a safe internal temperature of 165°F (74°C) to be safe to eat. This often means the turkey meat itself can become overcooked and dry by the time the stuffing is ready. Cooking them separately ensures both the turkey and the stuffing achieve perfect doneness.
To ensure food safety and freshness, store any leftover roasted turkey in an air-tight container in the refrigerator for up to 4 days. For longer storage, you can freeze leftovers in an air-tight container or a heavy-duty freezer bag for up to 3 months. Be aware that turkey meat can sometimes become a bit drier when frozen and then thawed, so consider using it in recipes where moisture isn’t the primary focus, such as soups, stews, or casseroles.
Absolutely, letting your turkey rest after it comes out of the oven is one of the most critical steps for achieving juicy, tender meat. This resting period allows the muscle fibers to relax and the internal juices, which have concentrated in the center during cooking, to redistribute throughout the entire bird. If you carve the turkey prematurely, these precious juices will flow out onto your cutting board, leaving you with dry meat. Aim for a rest of 15-20 minutes, or even up to 30 minutes for larger birds. This is the perfect time to whip up some delicious turkey gravy on the stovetop using the pan drippings.
While brining (either wet or dry) can significantly enhance a turkey’s moisture and flavor, this recipe is designed to produce an incredibly juicy bird without it. The key is thorough seasoning, butter application (especially under the skin), diligent basting, and most importantly, precise temperature monitoring and a proper resting period. If you’re a beginner or simply want a less involved process, rest assured this recipe will deliver excellent results without the extra step of brining.
Achieving that coveted crackly, golden skin is all about moisture control and heat. First, ensure your turkey is thoroughly patted dry before seasoning – this is non-negotiable. Second, the initial high oven temperature (450°F) helps to crisp up the skin quickly. Third, applying butter over and under the skin promotes browning and crispiness. Finally, avoid excessive basting directly on the skin itself, as this can reintroduce moisture and make it less crispy. If the skin is getting too dark, tent it loosely with foil, but don’t cover it completely or too early, which can steam the skin.
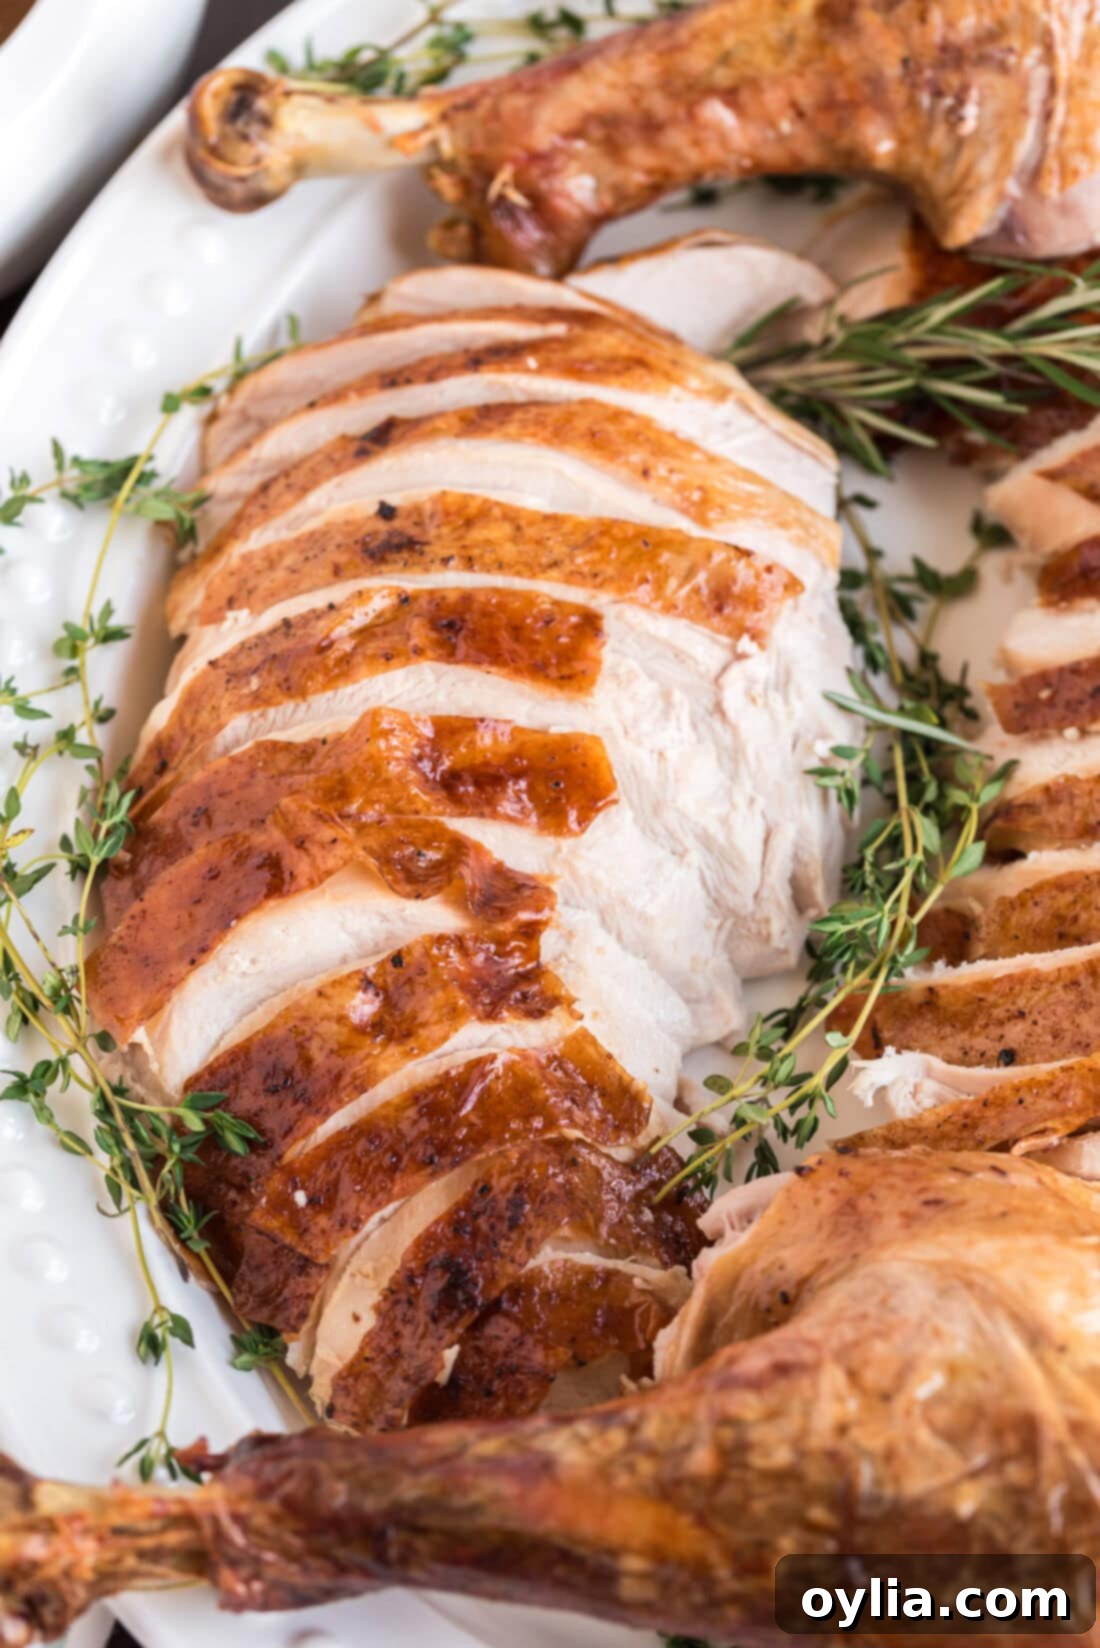
Delicious Serving Suggestions for Your Roasted Turkey
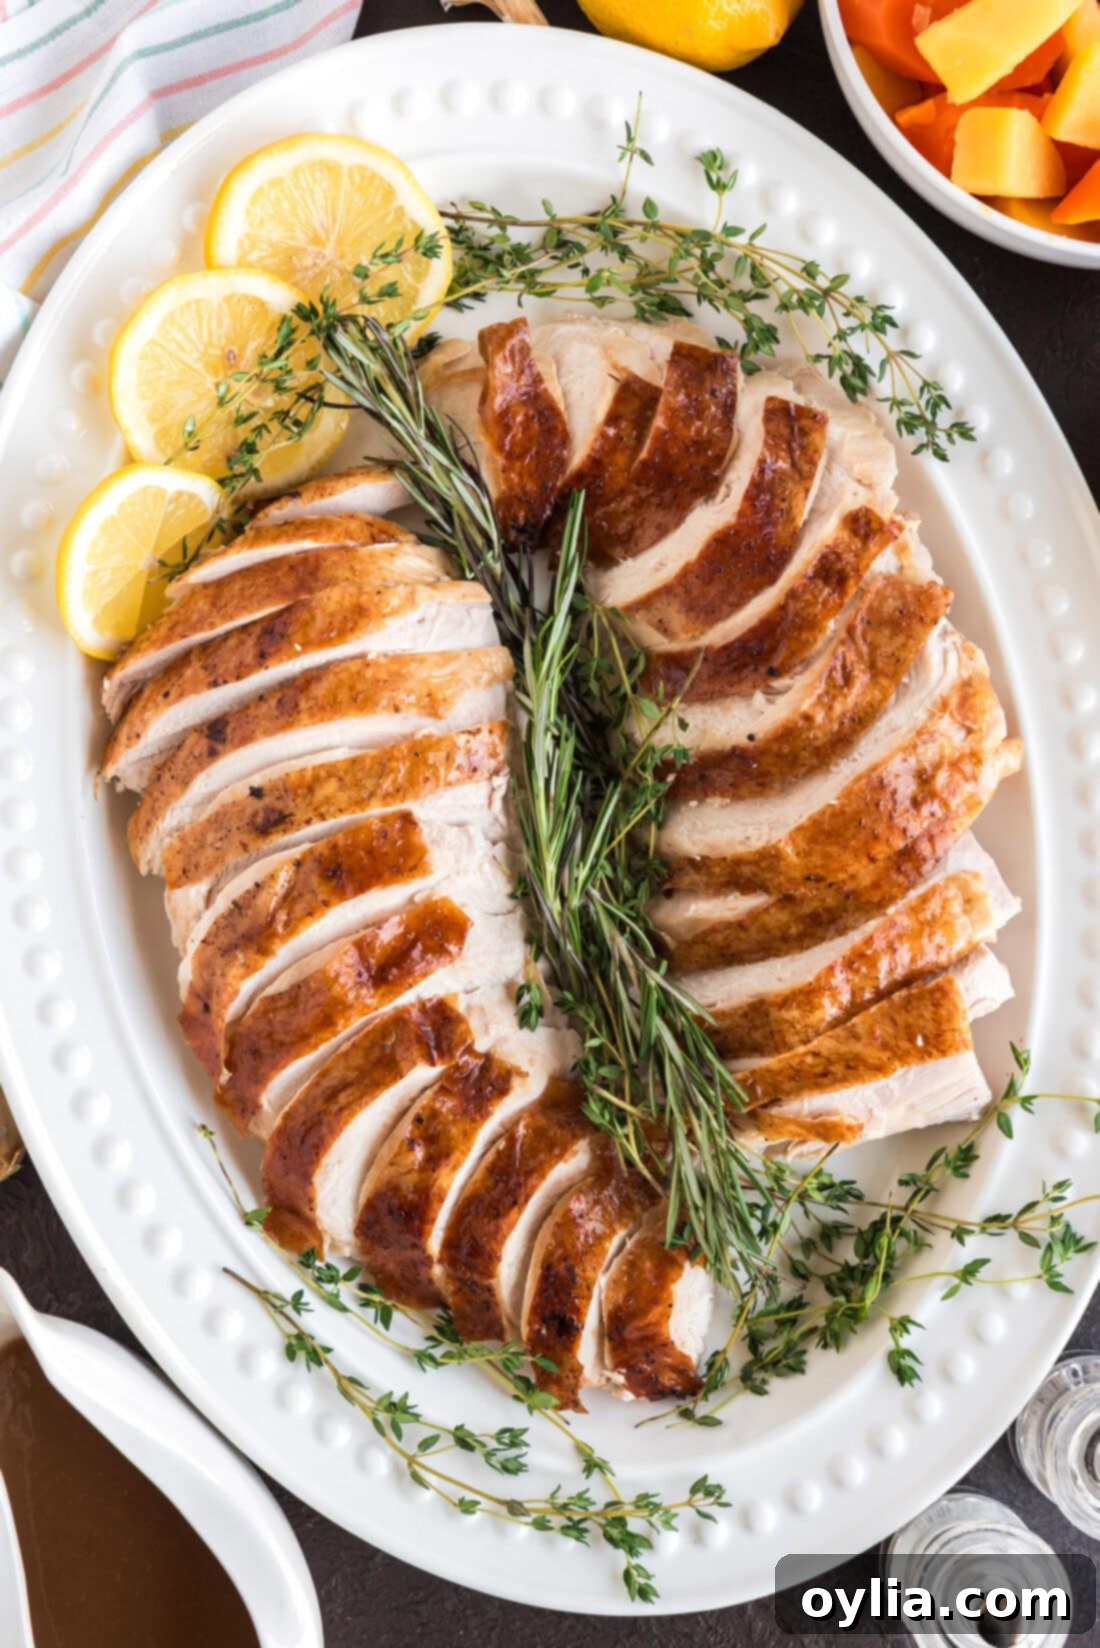
Roasted turkey traditionally takes center stage at grand holiday spreads, whether it’s for Thanksgiving, Easter, or Christmas. However, its deliciousness shouldn’t be confined to just a few times a year – it’s fantastic any time! Serve your perfectly roasted turkey with classic, comforting side dishes to complete the meal. Popular choices include fluffy mashed potatoes, creamy sweet potato casserole, and a flavorful crockpot green bean casserole. Don’t forget the essential homemade turkey gravy made from your pan drippings, a tangy cranberry sauce, and warm dinner rolls to soak up all the goodness. Leftovers are perfect for sandwiches, soups, or even turkey pot pie!
More Delightful Poultry Recipes to Explore
- Roast Duck: For a richer, more decadent poultry experience.
- Roasted Chicken: A classic weeknight meal that’s simple and satisfying.
- Spatchcock Chicken: A quicker roasting method for incredibly juicy chicken.
- Crockpot Turkey Breast: Perfect for smaller gatherings or when you want less fuss.
I absolutely love to bake and cook, and sharing my kitchen experiences and delicious recipes with all of you brings me immense joy! Remembering to come back each day for new culinary inspiration can sometimes be tough, which is why I offer a convenient newsletter delivered directly to your inbox every time a new recipe posts. Simply subscribe here and start receiving your free daily recipes, making it easier than ever to discover your next favorite meal!
Roasted Turkey
IMPORTANT – There are often Frequently Asked Questions within the blog post that you may find helpful. Simply scroll back up to read them!
Print It
Pin It
Rate It
Save It
Saved!
Prevent your screen from going dark
Course:
Dinner
Cuisine:
American
10
servings (10 people)
3
hours
10
minutes
557
Amanda Davis
Ingredients
-
14
pound
whole turkey
thawed or fresh -
2
cups
chicken stock
or substitute the same amount water or vegetable stock -
½
cup
unsalted butter
1 stick, softened to room temperature -
1-2
Tablespoons
Kosher salt
or amount to taste -
½
teaspoon
fresh ground black pepper or peppercorn medley
or amount to taste
Optional Ingredients
-
1
lemon
sliced -
2-4
sprigs
fresh rosemary -
4
sprigs
fresh thyme -
2-4
cloves
garlic
minced
Things You’ll Need
-
roasting pan -
turkey baster -
Instant read thermometer
Before You Begin
- We are partial to using butter on the turkey as it yields golden crispy skin and a richer flavor, however, you can easily substitute with olive oil if preferred.
- Don’t truss the turkey legs – you’re banking on the air circulating freely in the cavity while in the oven in order to cook evenly and prevent undercooked spots.
- Thawing Your Turkey – For safe and effective thawing in the refrigerator, it’s best to allot 24 hours for every 5 pounds of turkey. Place the turkey, in its original packaging, on a baking sheet or in a large pan to catch any potential drips, then place it in the fridge. I always recommend giving yourself 1 extra day for the turkey to thaw in the refrigerator just in case it takes longer.
- If you are pressed for time and your turkey is still frozen, you can use a quicker cold water thawing method. Submerge the packaged turkey completely in a cooler or clean sink filled with cold water. It’s crucial to change the water every 30 minutes until the turkey is fully thawed. Do not use warm or hot water, as this can bring the turkey into the temperature “danger zone” where bacteria multiply rapidly.
- A whole roasted turkey should be cooked to an internal temperature of 165°F (74°C) when an instant-read thermometer is inserted into the thickest portion of the breast, or 175°F (79°C) when inserted into the thickest part of the thigh. For the juiciest results, I typically remove my turkey from the oven when it reaches 160°F (71°C) in the breast, as it will continue to cook and rise in temperature by a few degrees as it rests.
Instructions
-
Preheat your oven to a high heat of 450 degrees F (230°C). This initial high temperature helps achieve crispy skin.
-
Thoroughly pat the turkey dry, inside and out, with paper towels. This step is essential for golden, crispy skin. Discard paper towels immediately after use.
-
Place the turkey in a sturdy roasting pan. Remove the giblets and neck from the cavity; save them for stock/gravy or discard. Tuck the wings behind the turkey’s shoulders to prevent burning. If desired, add optional aromatics (lemon slices, rosemary, thyme, garlic) to the turkey’s cavity for flavor.
-
Liberally sprinkle Kosher salt and fresh ground black pepper all over the turkey. Rub the softened butter evenly over the entire surface of the turkey skin, and gently under the skin on the breast for extra moisture.
-
Pour 2 cups of chicken broth (or vegetable broth or water) into the bottom of the roasting pan to keep the turkey moist and prevent drippings from burning.
-
Place the roasting pan with the prepared turkey onto the center rack of the preheated oven. Immediately close the door and reduce the heat to 350 degrees F (175°C). Bake for approximately 13 minutes per pound. A 13-14 pound turkey should be done in just under 3 hours, but always check internal temperature.
-
Baste the turkey with the pan juices using a turkey baster every 45 minutes to keep it moist and encourage browning. If the top skin starts to brown too quickly, loosely tent a piece of aluminum foil over the turkey to prevent over-browning.
-
Once the turkey is nearing its expected cook time, insert a meat thermometer into the thickest part of the breast and thigh, avoiding bones. The turkey is done when the breast registers 165 degrees F (74°C) and the thigh 175 degrees F (79°C). For a juicier turkey, remove it at 160°F (71°C) as it will continue cooking while resting.
-
Allow the turkey to rest, loosely tented with foil, for 15-20 minutes before carving. This crucial step ensures the juices redistribute, resulting in incredibly moist and tender meat.
Expert Tips & FAQs
- Don’t forget to save every drop of those flavorful pan juices! They are the secret ingredient to making incredible homemade turkey gravy.
- For storing leftovers, place them in an air-tight container and keep in the refrigerator for up to 4 days. You can also freeze leftovers in an air-tight container or a large ziptop bag for up to 3 months. Be aware that frozen and thawed turkey meat may be slightly drier, making it perfect for soups, casseroles, or turkey salad.
- Always use a reliable instant-read meat thermometer to ensure your turkey reaches a safe internal temperature. This is the best way to prevent both undercooked and overcooked, dry turkey.
- Consider a smaller turkey or a turkey breast if you are cooking for a small gathering to avoid excessive leftovers and ensure an easier cooking process.
Nutrition
Serving:
1
serving
|
Calories:
557
cal
|
Carbohydrates:
3
g
|
Protein:
71
g
|
Fat:
27
g
|
Saturated Fat:
10
g
|
Cholesterol:
257
mg
|
Sodium:
1128
mg
|
Potassium:
786
mg
|
Sugar:
1
g
|
Vitamin A:
485
IU
|
Vitamin C:
6.7
mg
|
Calcium:
45
mg
|
Iron:
3
mg
Tried this Recipe? Pin it for Later!
Follow on Pinterest @AmandasCookin or tag #AmandasCookin!
The recipes on this blog are tested with a conventional gas oven and gas stovetop. It’s important to note that some ovens, especially as they age, can cook and bake inconsistently. Using an inexpensive oven thermometer can assure you that your oven is truly heating to the proper temperature. If you use a toaster oven or countertop oven, please keep in mind that they may not distribute heat the same as a conventional full sized oven and you may need to adjust your cooking/baking times. In the case of recipes made with a pressure cooker, air fryer, slow cooker, or other appliance, a link to the appliances we use is listed within each respective recipe. For baking recipes where measurements are given by weight, please note that results may not be the same if cups are used instead, and we can’t guarantee success with that method.
This post originally appeared here on Mar 17, 2019 and has since been updated with new photos and expert tips to provide the most comprehensive guide to roasting a perfect turkey.
