Easy Instant Pot Funfetti Cheesecake Recipe: A Burst of Joy in Every Slice
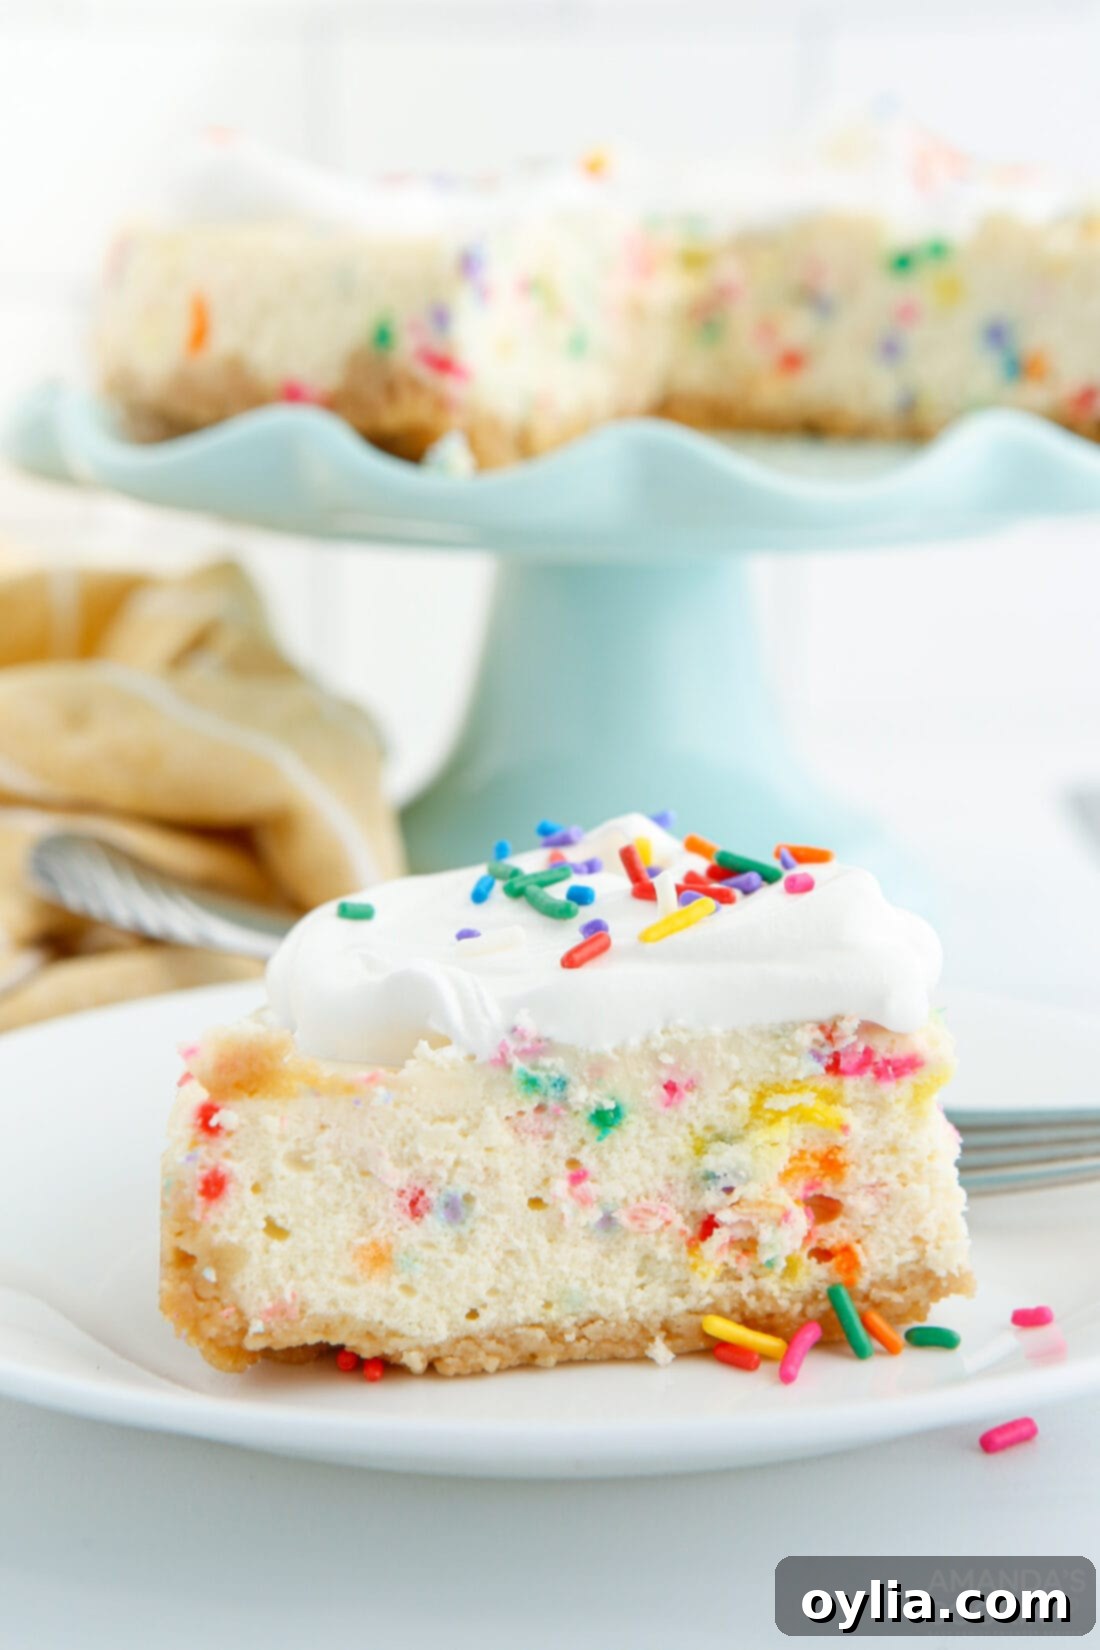
Get ready for a celebration in every bite with this incredibly vibrant and deliciously creamy Instant Pot Funfetti Cheesecake! Imagine a smooth, rich vanilla cheesecake base, generously studded with a rainbow of colorful sprinkles, all resting on a perfectly crunchy golden sandwich cookie crust. This isn’t just a dessert; it’s a party on a plate, guaranteed to bring smiles and make any occasion extra special. And the best part? Making cheesecake in your Instant Pot ensures a consistently moist, crack-free result every single time, without the fuss of a traditional water bath.
Whether you’re planning a birthday party, looking for a festive holiday treat, or simply want to brighten an ordinary day, this funfetti cheesecake is your go-to recipe. It’s an irresistible dessert that appeals to all ages, from kids mesmerized by the colorful specks to adults who appreciate a perfectly baked, silky-smooth cheesecake. Let’s dive into making this show-stopping dessert that’s as fun to look at as it is to eat!
Why This Instant Pot Funfetti Cheesecake Recipe Works So Well
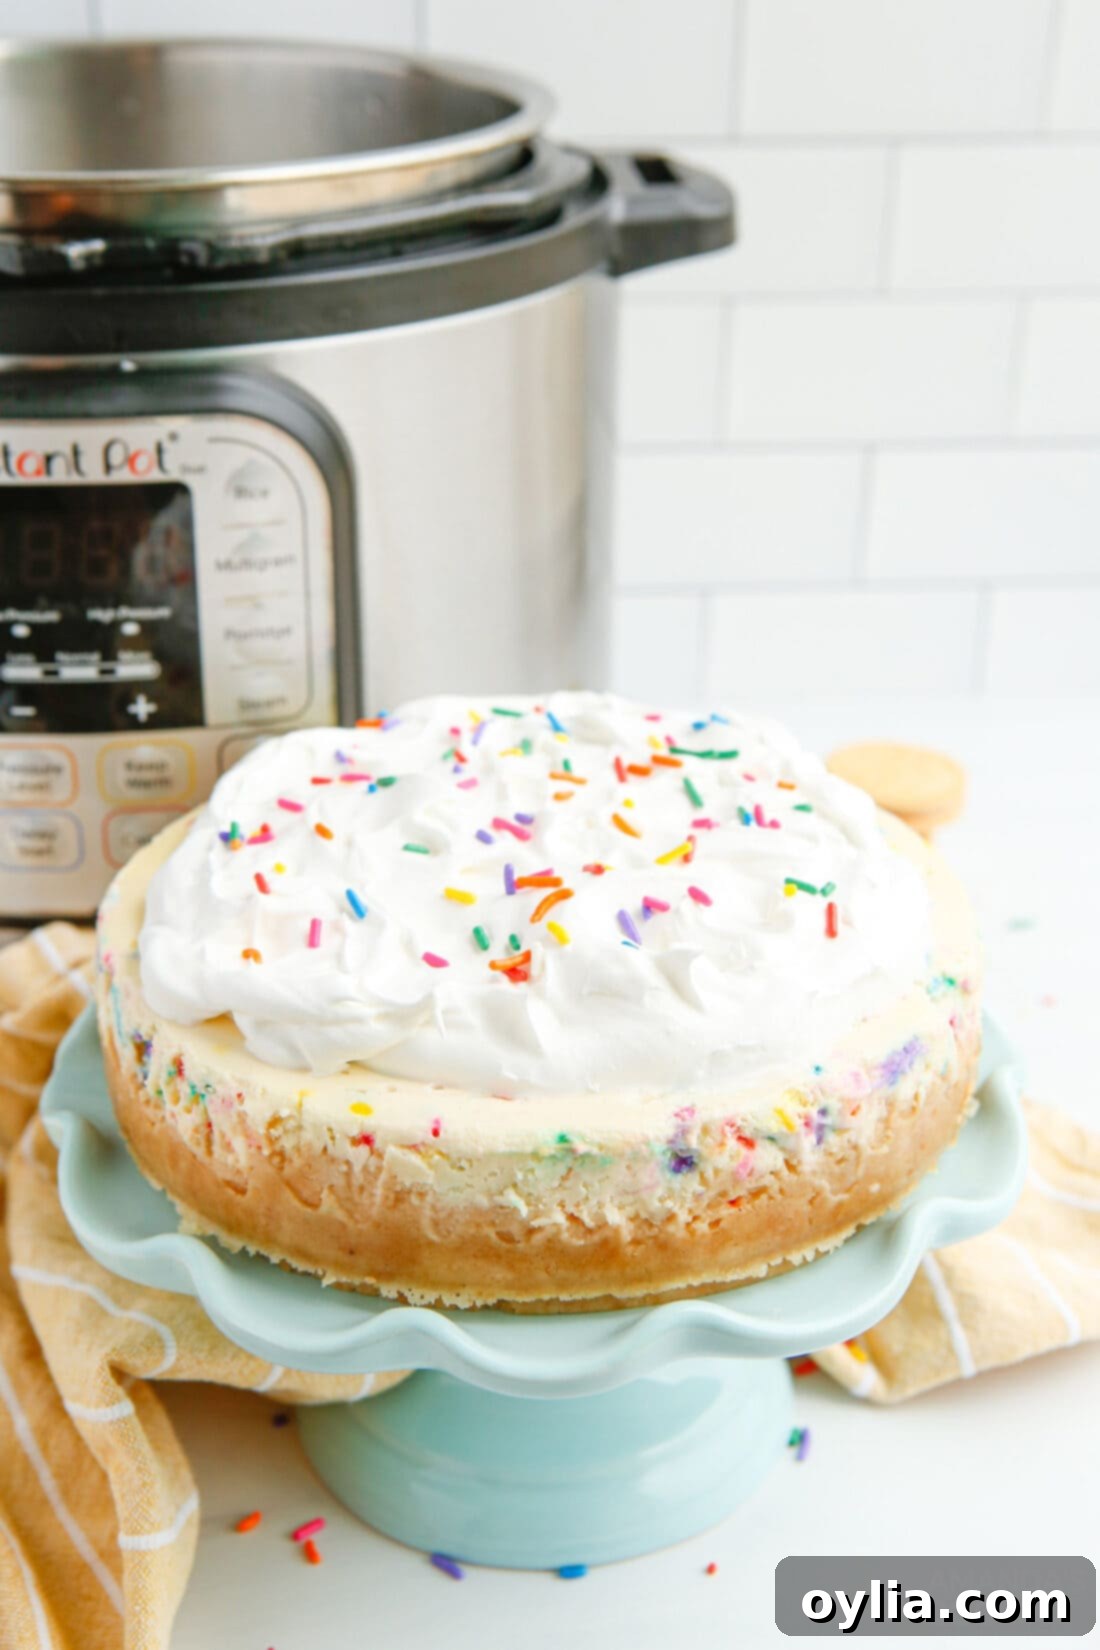
Cooking cheesecake in a pressure cooker, like the Instant Pot, is a game-changer. The sealed, steamy environment inside the Instant Pot creates a perfectly moist and evenly cooked cheesecake, eliminating common issues like cracks and dry edges often associated with oven-baked cheesecakes. This method ensures a velvety-smooth texture that is simply divine.
Having perfected our Instant Pot Cherry Cheesecake and Instant Pot Strawberry Cheesecake, we were eager to infuse even more joy and vibrant color into our Instant Pot repertoire. That’s where this delightful Funfetti Cheesecake comes in! It combines the ease and reliability of pressure cooking with the playful charm of funfetti sprinkles, making it an instant favorite.
This recipe is particularly fantastic for celebrations, especially for those who might not prefer traditional cakes but absolutely adore the rich, creamy decadence of a cheesecake. It’s a guaranteed hit at birthday parties, family gatherings, or any event where you want a dessert that stands out. Both children and adults will be captivated by its festive appearance and heavenly taste.
Key Ingredients for Your Funfetti Cheesecake
Creating this spectacular Instant Pot Funfetti Cheesecake requires a few simple, high-quality ingredients. Most of these are likely already staples in your pantry or easily found at your local grocery store. For the complete list of exact measurements, detailed ingredients, and step-by-step instructions, please refer to the printable recipe card located at the end of this blog post.
Gathering your ingredients beforehand, especially ensuring they are at room temperature when specified, will make the baking process smooth and enjoyable. Let’s take a quick look at the main components that make this cheesecake so special.
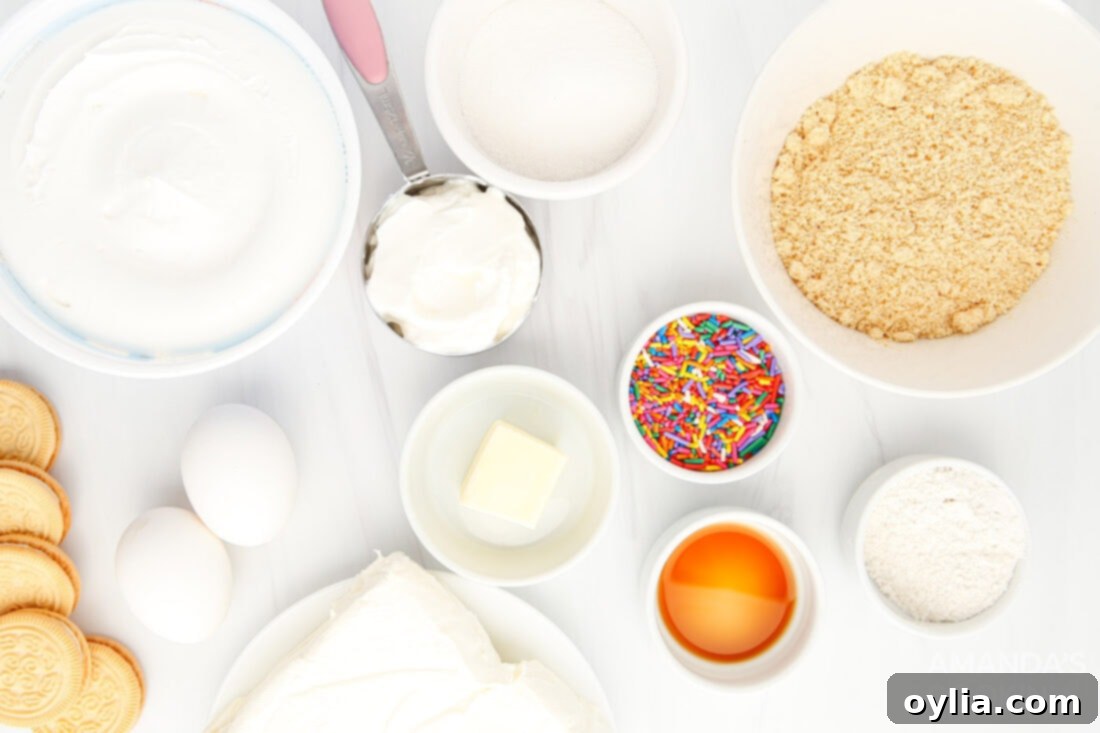
Ingredient Information & Smart Substitution Suggestions
Crafting the Perfect Cheesecake Filling:
CHEESECAKE BASE – The secret to an irresistibly creamy and lump-free cheesecake lies in using room temperature ingredients, particularly your cream cheese and eggs. When cream cheese is cold, it won’t blend smoothly with sugar and other ingredients, leading to a lumpy batter. To speed up the process, remove your cream cheese from its packaging, cut it into small cubes, and spread them out on a plate. Allow them to sit at room temperature for approximately 30 minutes, or until softened. For a truly rich flavor, opt for full-fat block cream cheese.
Do not be tempted to omit or substitute the all-purpose flour in this recipe. Flour is essential for providing structure and ensuring the cheesecake sets properly, preventing it from being too soft or runny. Similarly, eggs are critical as a binding agent, holding all the ingredients together and contributing to the cheesecake’s smooth texture. Always use large eggs, not jumbo. Jumbo eggs contain more liquid, which can subtly alter the scientific balance of the recipe, potentially impacting the final texture. For the best vanilla flavor, use a good quality vanilla extract, or even vanilla bean paste for visible specks.
FUNFETTI SPRINKLES – These are the star of the show! Use good quality jimmie-style sprinkles that hold their color well during baking. Avoid nonpareils as they tend to bleed color excessively and can melt into the batter. Gently fold them in at the very end to ensure even distribution without overmixing.
Building the Delicious Crust:
CRUST – Our chosen crust for this Instant Pot Funfetti Cheesecake is made from vanilla sandwich cookies, specifically golden Oreos. Their delicate vanilla flavor and crisp texture provide a fantastic base that complements the creamy cheesecake perfectly. If golden Oreos are not available, you have several delicious alternatives:
- Graham Crackers: A classic choice for cheesecake, graham crackers create a subtly sweet and crunchy base. For instructions on how to prepare a graham cracker crust, you can refer to our Instant Pot Cherry Cheesecake recipe.
- Sugar Cookies: Crushed sugar cookies offer a buttery, sweet, and firm crust, providing a homemade touch.
- Digestive Biscuits: Popular in many parts of the world, digestive biscuits provide a slightly less sweet but equally satisfying base.
Regardless of your choice, ensure the cookies are finely crushed for a uniform crust texture that holds together well. Combining them with melted butter creates the perfect consistency for pressing into your springform pan.
How to Make Instant Pot Funfetti Cheesecake: Step-by-Step Guide
These step-by-step photos and detailed instructions are provided to help you visualize each stage of making this incredible dessert. For a convenient printable version of this recipe, complete with precise measurements and instructions, simply Jump to Recipe at the bottom of this post.
- **Prepare Your Pan and Instant Pot:** Begin by lightly greasing the sides of your 7-inch springform pan with cooking spray or butter. This step helps prevent the cheesecake from sticking and makes for an easier release. Then, place a parchment paper round or a custom-cut sheet at the bottom of the pan. This is crucial for preventing the crust from sticking. Pour 1 ½ cups of water into the bottom of your Instant Pot; this creates the steam needed for pressure cooking.
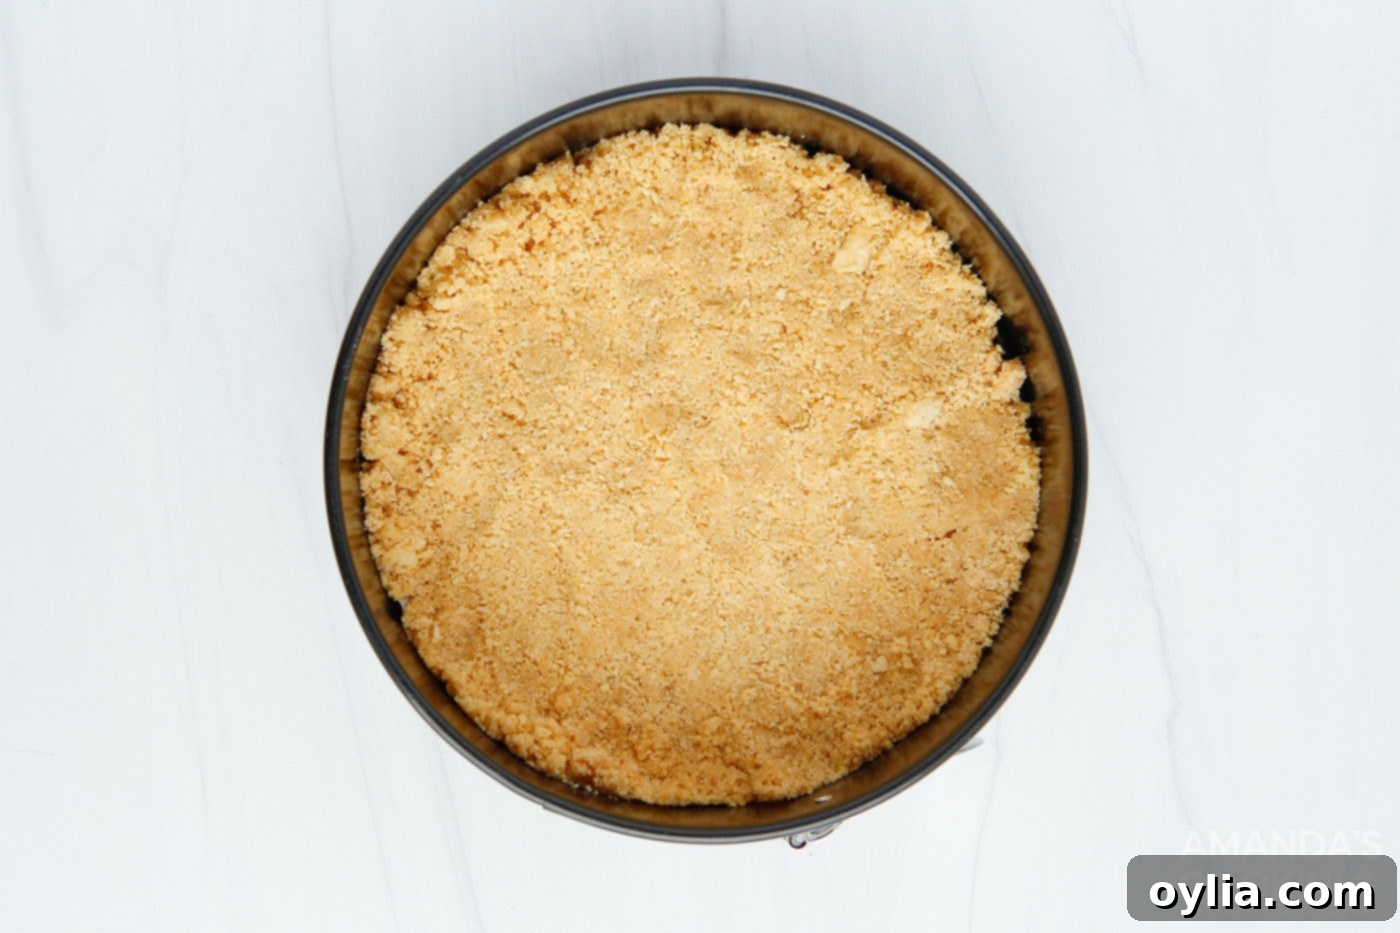
- **Craft the Cookie Crust:** Use a food processor to finely crush the vanilla sandwich cookies into crumbs. If you don’t have a food processor, you can place the cookies in a zip-top bag and crush them with a rolling pin. Transfer the crumbs to a bowl, add the melted butter, and mix thoroughly until well combined. Press this crust mixture firmly and evenly into the bottom of your prepared springform pan. For the best results, use the bottom of a glass or a flat measuring cup to compact the crust. Place the pan in the freezer to chill while you prepare the cheesecake filling; this helps the crust set and prevents it from crumbling.

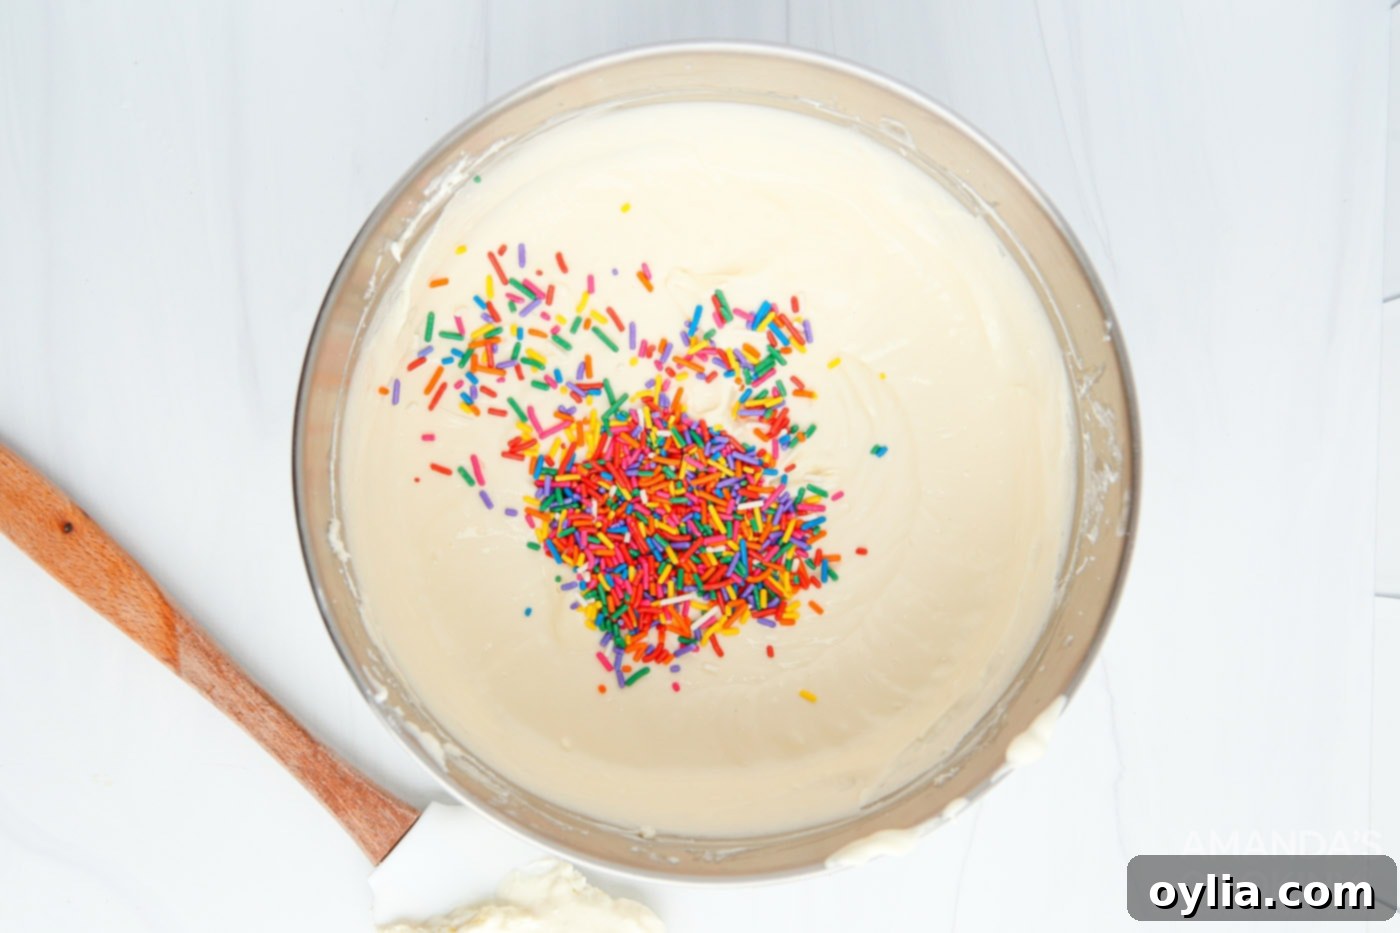
- **Mix the Creamy Filling:** In a large mixing bowl, or the bowl of a stand mixer fitted with the paddle attachment, add the softened cream cheese and granulated sugar. Blend on medium speed until the mixture is completely smooth and creamy, scraping down the sides of the bowl as needed. This ensures no lumps remain. Add the eggs one at a time, mixing just until combined after each addition. Be careful not to overmix the eggs, as this can incorporate too much air, leading to cracks in your cheesecake. Finally, mix in the sour cream, flour, and vanilla extract until just blended. Gently fold in the funfetti sprinkles using a spatula; overmixing here can cause the colors to bleed.

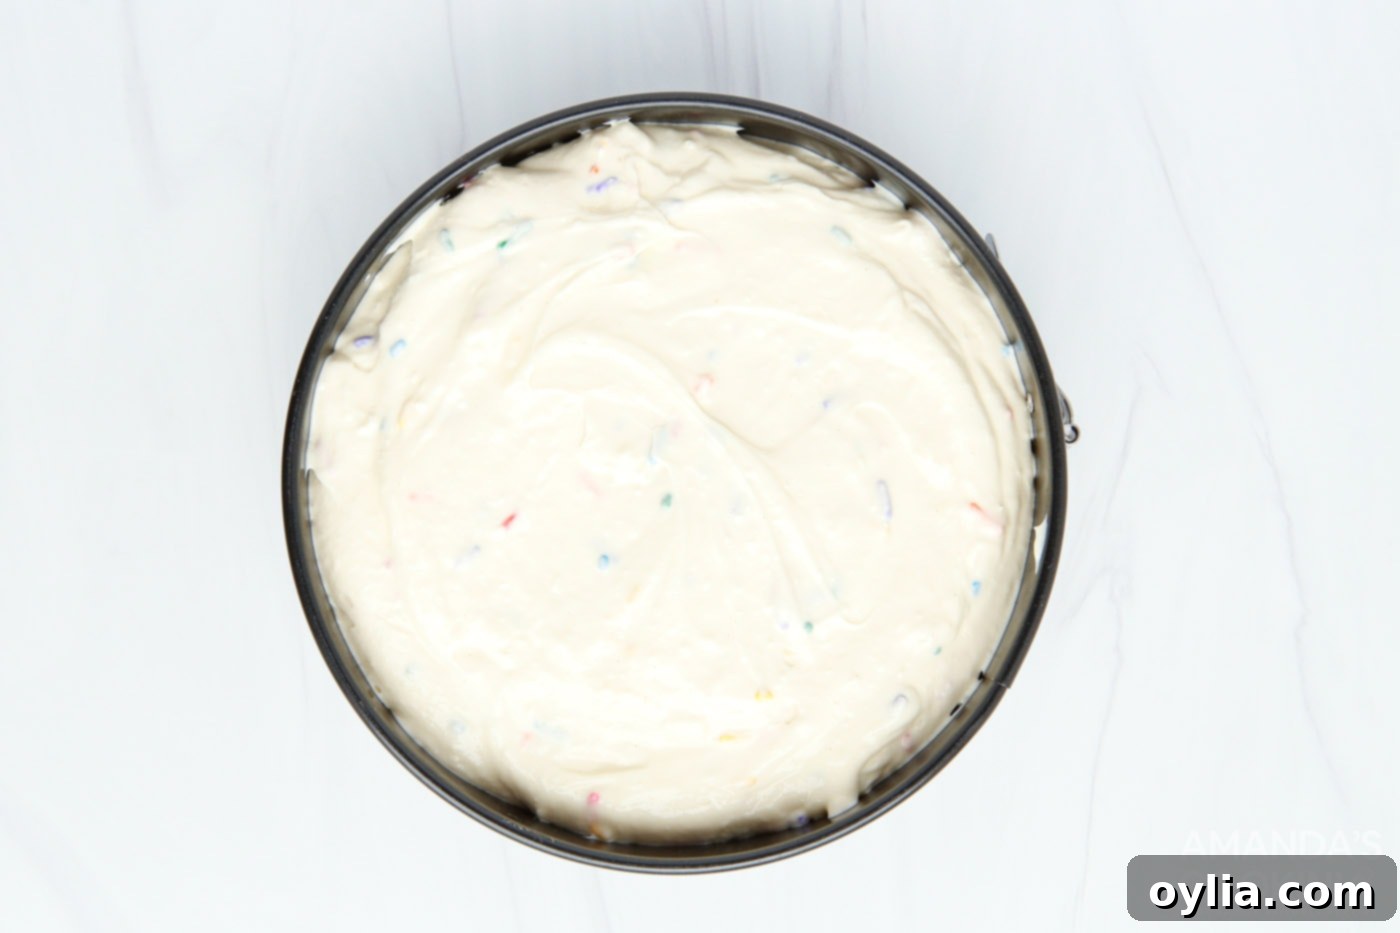
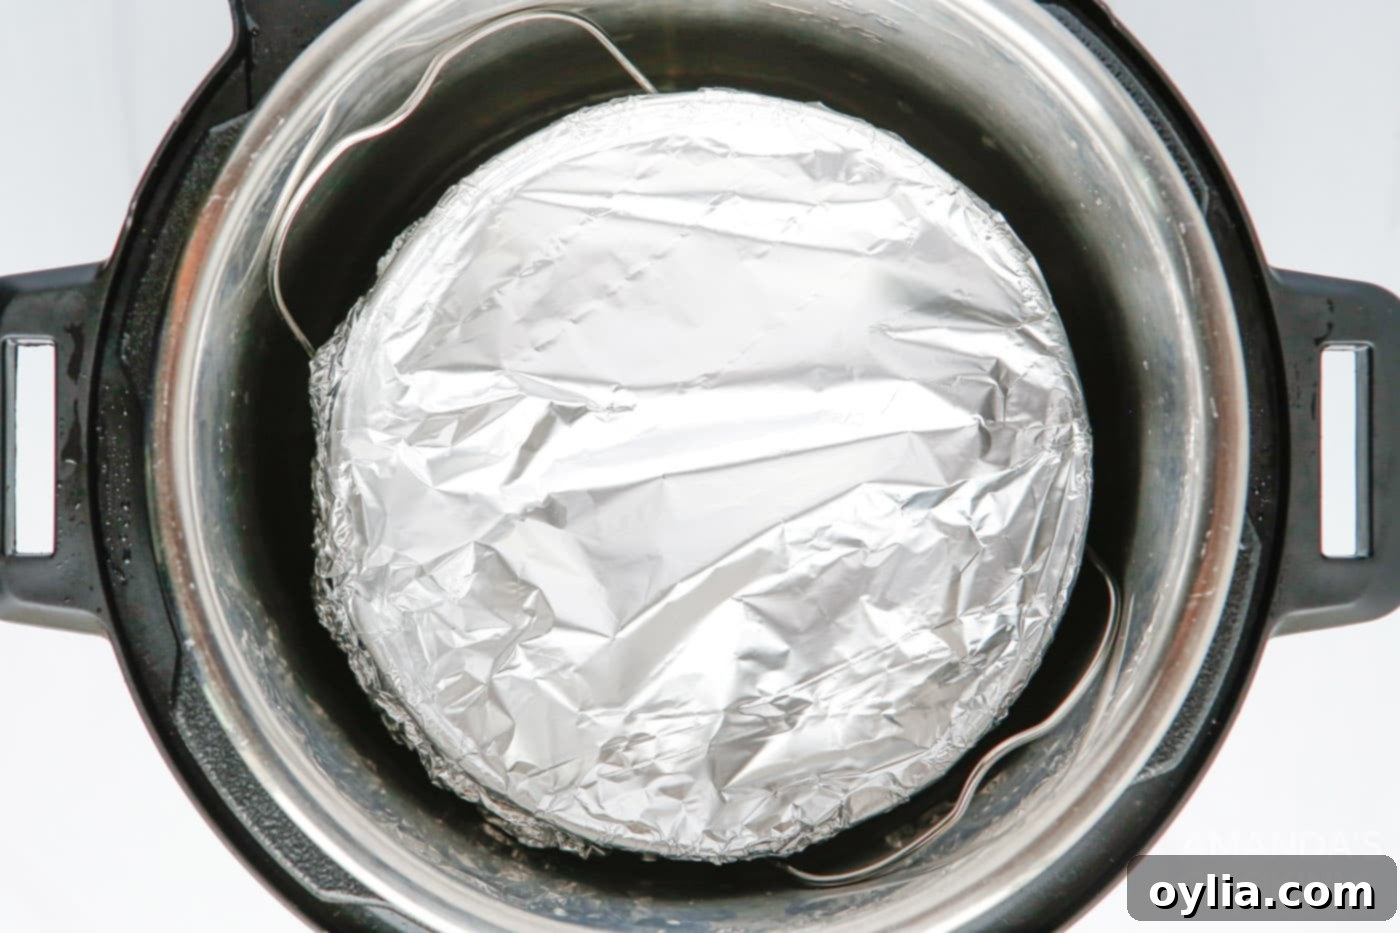
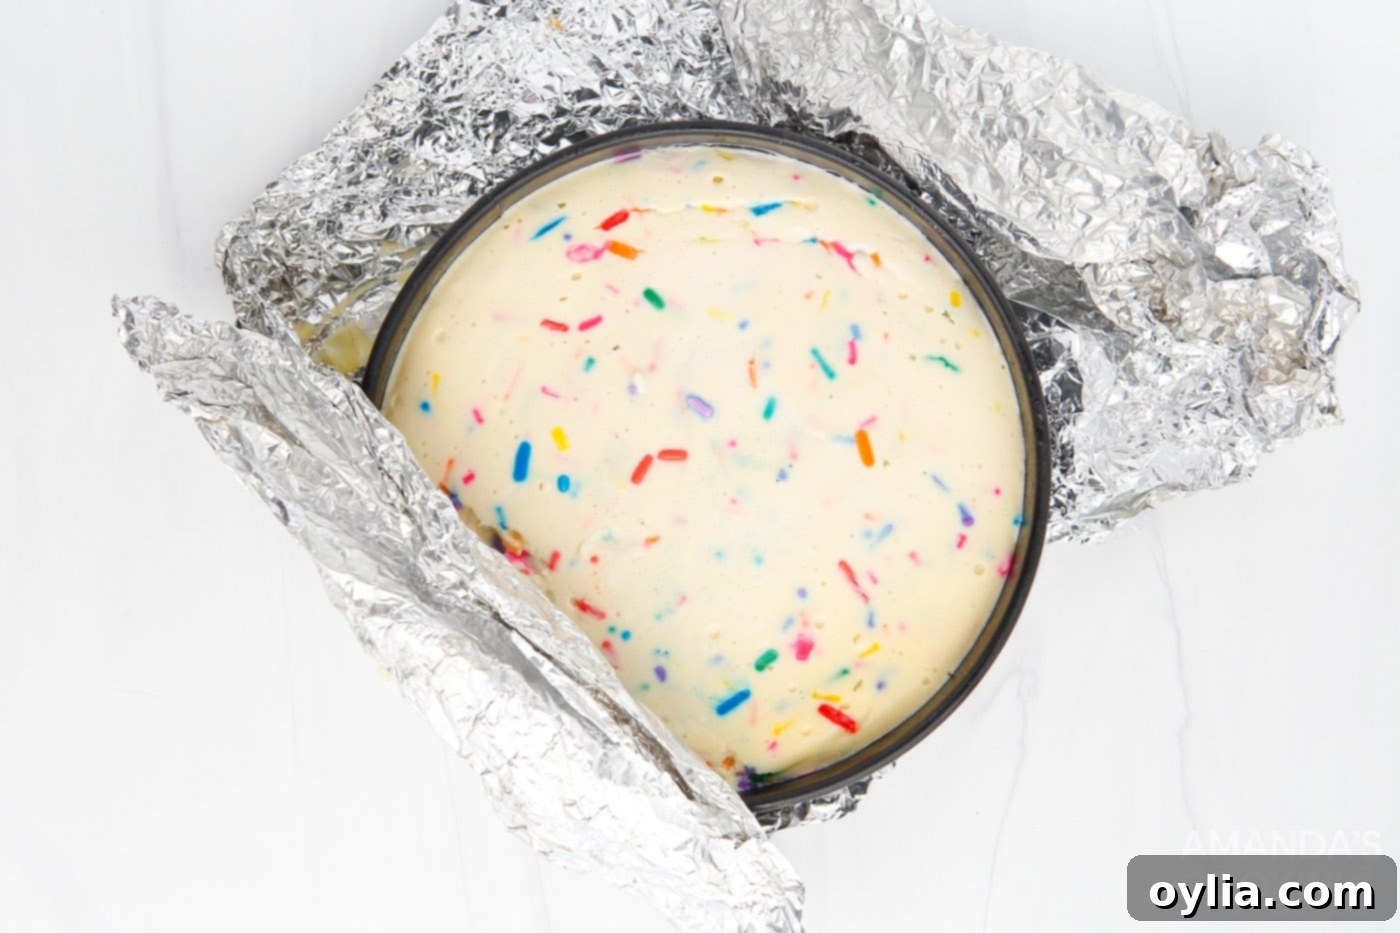
- **Pressure Cook to Perfection:** Pour the smooth cheesecake filling onto your chilled cookie crust in the springform pan. Use a small spatula or the back of a spoon to gently smooth out the top of the cheesecake. This helps create a beautiful, even surface. Tightly wrap aluminum foil over the top of the pan. This is vital to prevent any excess moisture from dripping onto the cheesecake during the cooking process. Carefully lower the cheesecake, using the trivet (or a foil sling for easier removal), inside your 6 qt Instant Pot. Close the lid, ensuring it’s properly sealed. Turn the steam release valve to the “Sealing” position. Select “Manual” or “Pressure Cook” on high pressure and set the cooking time for 35 minutes.


- **Release Pressure and Cool:** Once the cooking cycle is complete, allow the Instant Pot to naturally release steam for 10 minutes. This slow release is crucial for preventing cracks in your cheesecake. After 10 minutes, carefully quick-release any remaining steam by turning the valve to the “Venting” position. Once all the pressure has been released and the float valve has dropped, open the lid.
- **Chill for Ultimate Creaminess:** Remove the aluminum foil from the cheesecake. Let the cheesecake cool on the kitchen counter for about 15 minutes. This allows it to slowly adjust to room temperature. After this initial cooling, transfer the cheesecake to the refrigerator to chill thoroughly. This step is critical for the cheesecake to firm up and develop its signature creamy texture. Chill for a minimum of 6 hours, or ideally, overnight. Patience here will be rewarded!

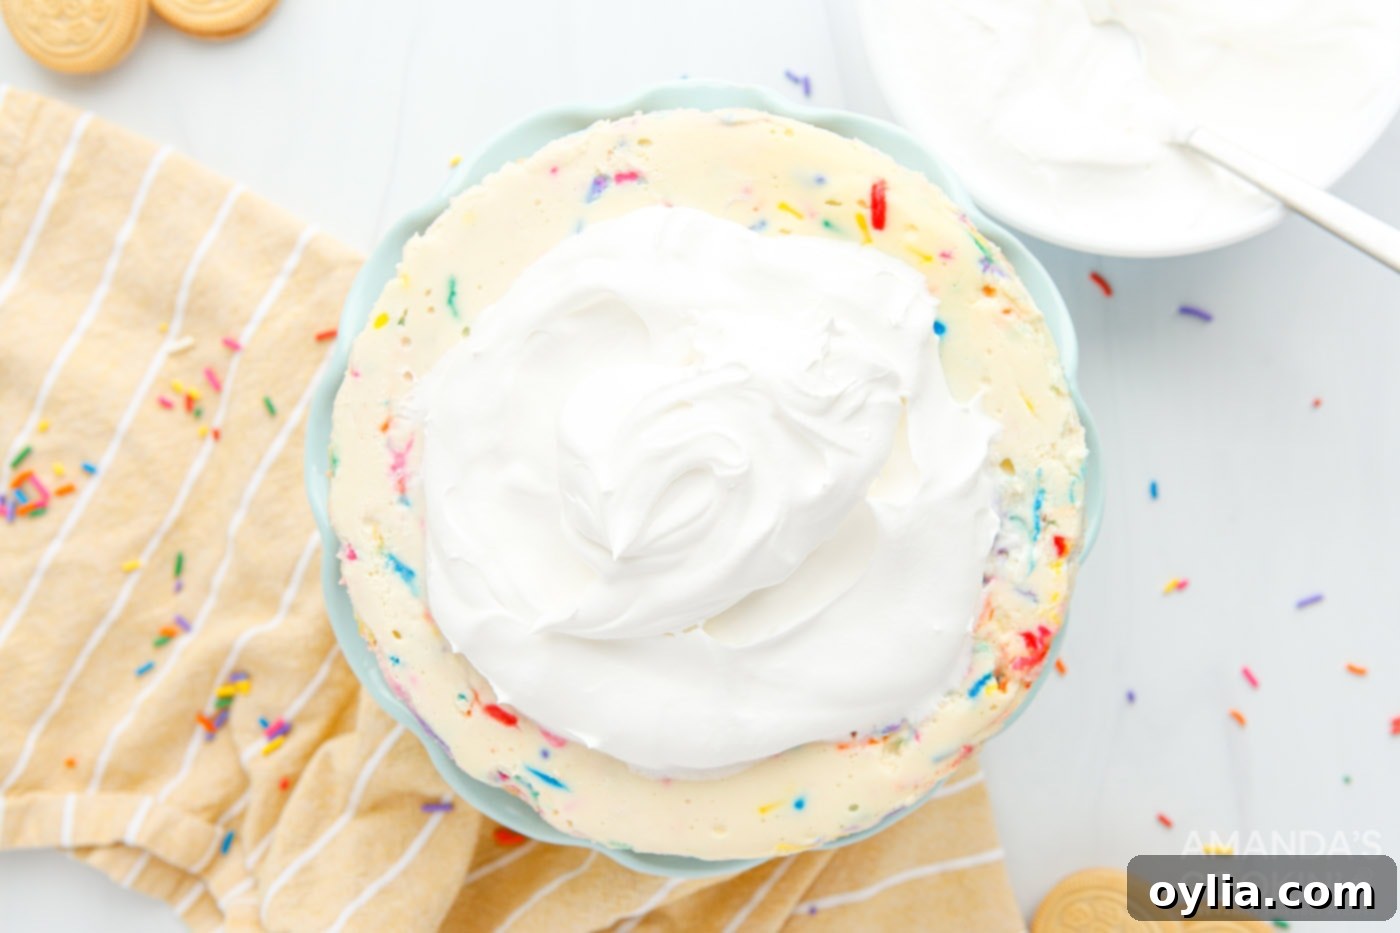
- **Garnish and Serve:** When you’re ready to serve your magnificent Instant Pot Funfetti Cheesecake, carefully remove it from the springform pan. You can run a thin, warm butter knife around the edges if needed to ensure a clean release. Spread a generous layer of whipped cream across the top of the cheesecake for an extra touch of indulgence. Garnish with additional funfetti sprinkles for an even more festive look. Slice into wedges and serve immediately to your eager guests!

Frequently Asked Questions & Expert Tips for Instant Pot Cheesecakes
Here are some common questions and expert advice to ensure your Instant Pot Funfetti Cheesecake turns out perfect every time!
To maintain its freshness and creamy texture, store any leftover funfetti cheesecake in an airtight container in the refrigerator. It will stay delicious for 4-5 days. Ensure it’s covered to prevent it from absorbing other food odors.
It’s perfectly normal for your cheesecake to have a slight jiggle in the center after it finishes cooking in the Instant Pot. This doesn’t mean it’s undercooked; rather, it indicates a perfectly moist and creamy texture. The cheesecake will continue to set and firm up as it chills in the refrigerator. If, however, the cheesecake appears too runny or liquid-like, you can return it to the Instant Pot for an additional 5-10 minutes of high-pressure cooking.
Using a springform pan is highly recommended for easy and clean release of your cheesecake. To ensure a flawless removal, gently run a thin, warm butter knife around the inner edges of the pan before unlatching the springform sides. This helps to loosen any cheesecake that might be sticking and prevents tears or cracks.
Absolutely! This Funfetti Cheesecake freezes beautifully, making it an excellent make-ahead dessert. To freeze, allow the cheesecake to cool completely to room temperature, then chill it in the refrigerator until firm. Once firm, wrap the entire cheesecake (or individual slices) tightly in plastic wrap, then again in freezer paper or heavy-duty aluminum foil. This double layer of protection helps prevent freezer burn. It can be stored in the freezer for approximately 4-5 months. When you’re ready to serve, transfer the frozen cheesecake to the refrigerator and allow it to thaw completely overnight. Top with fresh whipped cream and sprinkles before serving.
For the best results, use “jimmie” style sprinkles (the cylindrical ones). These sprinkles hold their shape and color well during baking. Avoid nonpareils (the tiny, round sprinkles) as they tend to bleed their colors into the batter and melt more readily, potentially turning your cheesecake a muddy color.
The Instant Pot method naturally minimizes cracks due to the moist, even cooking environment. However, a few tips ensure success: always use room temperature ingredients, avoid overmixing the batter (especially after adding eggs), ensure a natural pressure release for at least 10 minutes, and allow the cheesecake to cool gradually on the counter before chilling in the fridge.

Delightful Serving Suggestions
To ensure your Instant Pot Funfetti Cheesecake maintains its optimal texture and is thoroughly chilled, it’s best to keep it in the refrigerator until just before you’re ready to serve. This ensures each slice is firm, creamy, and refreshing.
For an extra touch of visual appeal and flavor, consider saving a few extra vanilla sandwich cookies to crumble on top of the whipped cream just before serving. A sprinkle of fresh funfetti sprinkles will further enhance its festive look. If you’re feeling particularly fancy, arrange some fresh berries—like raspberries or strawberries—around the outside of the cake for a beautiful contrast in color and a hint of tartness.
This Instant Pot Funfetti Cheesecake is perfect for grand occasions like birthday parties, anniversaries, or even as a cheerful holiday dessert. But let’s be honest, you don’t always need a specific reason to indulge in such a delightful treat. Sometimes, baking a funfetti cheesecake is simply a wonderful way to bring a little extra joy and color into an ordinary day!
More Irresistible Cheesecake Recipes to Try
If you’ve fallen in love with the creamy goodness of this Instant Pot Funfetti Cheesecake, you’ll be thrilled to discover our other fantastic cheesecake creations. From classic flavors to innovative twists, there’s a cheesecake for every craving and occasion:
- Mini Cheesecakes
- Oreo Cheesecake Bars
- Strawberry Swirl Cheesecake
- No Bake Pumpkin Cheesecake
- Chocolate Cheesecake Brownies
- No Bake Strawberry Cheesecake Bars
- Instant Pot Lemon Curd Cheesecake
- Instant Pot Oreo Cheesecake
- Salted Caramel Cheesecake
I love to bake and cook and share my kitchen experience with all of you! Remembering to come back each day can be tough, that’s why I offer a convenient newsletter every time a new recipe posts. Simply subscribe and start receiving your free daily recipes!

Instant Pot Funfetti Cheesecake
IMPORTANT – There are often Frequently Asked Questions within the blog post that you may find helpful. Simply scroll back up to read them!
Print It
Pin It
Rate It
Save ItSaved!
Ingredients
Crust
- 12 golden Oreos or any vanilla sandwich cookie, crushed into crumbs
- 3 Tbsp unsalted butter melted
Cheesecake
- 16 oz cream cheese softened at room temperature
- ½ cup granulated sugar
- 2 large eggs at room temperature
- ¼ cup sour cream
- 3 Tbsp all-purpose flour sifted
- 1 tsp vanilla extract
- ¼ cup funfetti sprinkles
- 1 ½ cup water for the bottom of the instant pot
- 1 cup whipped cream optional, for serving
Things You’ll Need
-
6 qt Instant Pot Duo
-
7 inch springform pan
-
Stand mixer
Before You Begin
- Room temperature cream cheese and eggs produce the best results.
- The cheesecake will be slightly jiggly in the center after cooking and finish setting after being chilled. If the cheesecake looks too runny, return to the Instant Pot to cook for another 5-10 minutes.
- Springform pans are recommended for easy release of the cheesecake. Use a warm butter knife to pull around the edges for the cheesecake if you’re having trouble releasing from the pan.
Instructions
-
Grease your springform pan sides with cooking spray or butter and place a parchment paper round or cut sheet into the bottom of the pan. Pour the 1 ½ cup of water into the bottom of your Instant Pot.
-
Use a food processor to crush vanilla sandwich cookies into crumbs. Add to a bowl with the melted butter and mix well. Press the crust mixture tightly into the bottom of your springform pan and place in the freezer to chill while you prepare the cheesecake filling.
-
In a large mixing bowl or stand mixer, add the cream cheese and granulated sugar. Blend the cream cheese mixture until smooth and creamy. Add the eggs in, one at a time, until combined. Mix in the sour cream, flour, and vanilla extract until just blended. Gently fold in the funfetti sprinkles.
-
Pour the cheesecake filling into the chilled cookie crust. Use a small spatula or knife to smooth out the top of the cheesecake. Wrap aluminum foil tightly over the pan to prevent excess moisture from dripping onto the cheesecake while cooking. Lower the cheesecake on the trivet inside of the Instant Pot and close the lid. Turn the steam valve to seal and choose manual high pressure for 35 minutes. Naturally release the steam for 10 minutes after cooking, and then quick release any remaining steam.
-
Let the cheesecake cool on the counter for 15 minutes before placing in the refrigerator to chill.
-
Chill for at least 6 hours or overnight.
-
When ready to serve, remove the cheesecake from the pan and spread the whipped cream across the top of the cheesecake. Garnish with extra sprinkles, slice and serve!
Nutrition
The recipes on this blog are tested with a conventional gas oven and gas stovetop. It’s important to note that some ovens, especially as they age, can cook and bake inconsistently. Using an inexpensive oven thermometer can assure you that your oven is truly heating to the proper temperature. If you use a toaster oven or countertop oven, please keep in mind that they may not distribute heat the same as a conventional full sized oven and you may need to adjust your cooking/baking times. In the case of recipes made with a pressure cooker, air fryer, slow cooker, or other appliance, a link to the appliances we use is listed within each respective recipe. For baking recipes where measurements are given by weight, please note that results may not be the same if cups are used instead, and we can’t guarantee success with that method.
