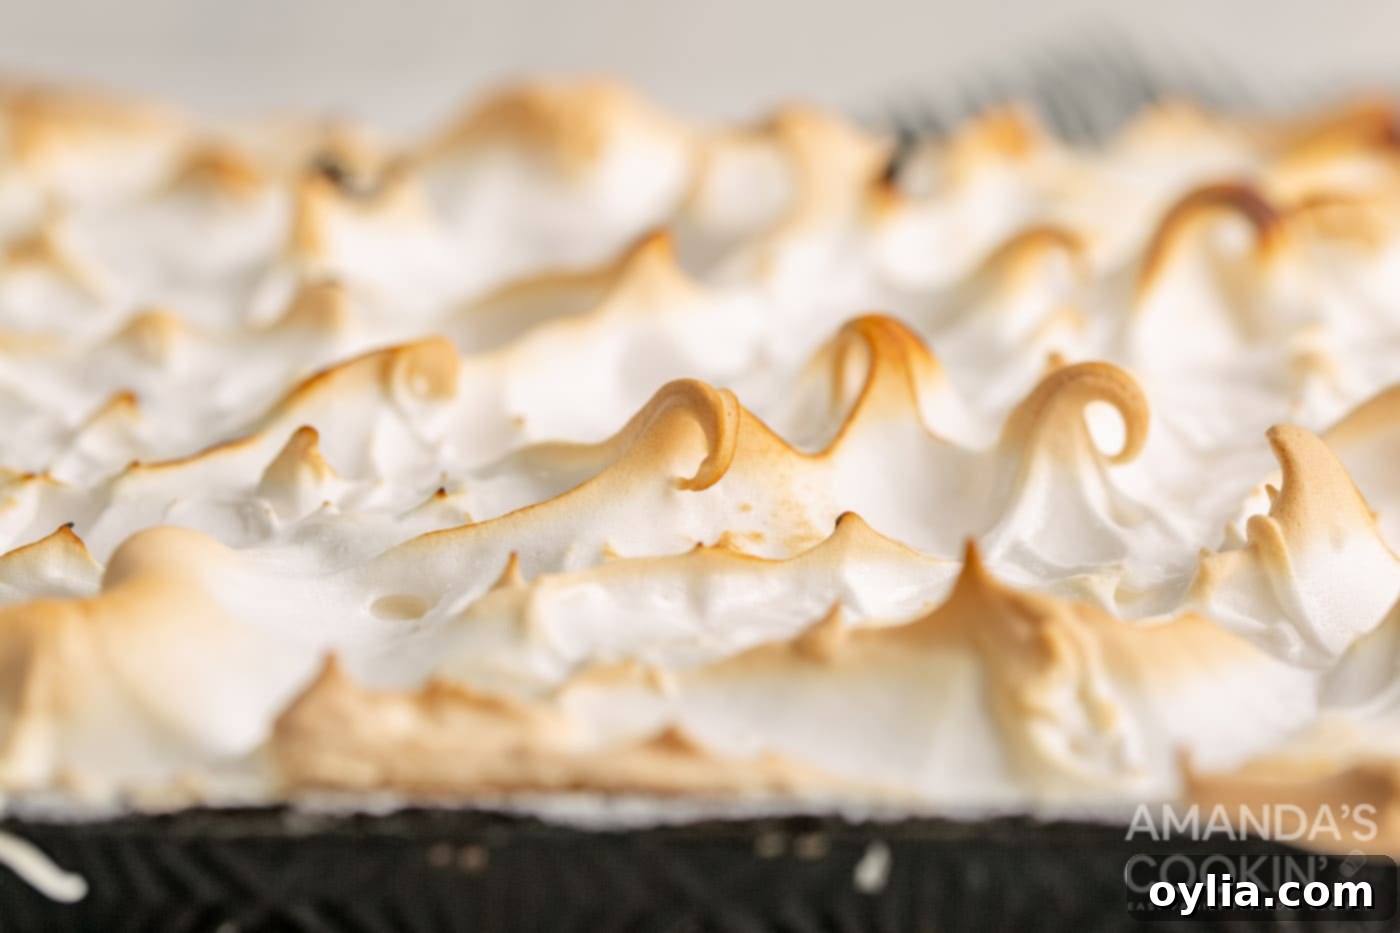
Irresistible Lemon Meringue Pie Bars: Your Guide to Tangy Sweet Perfection
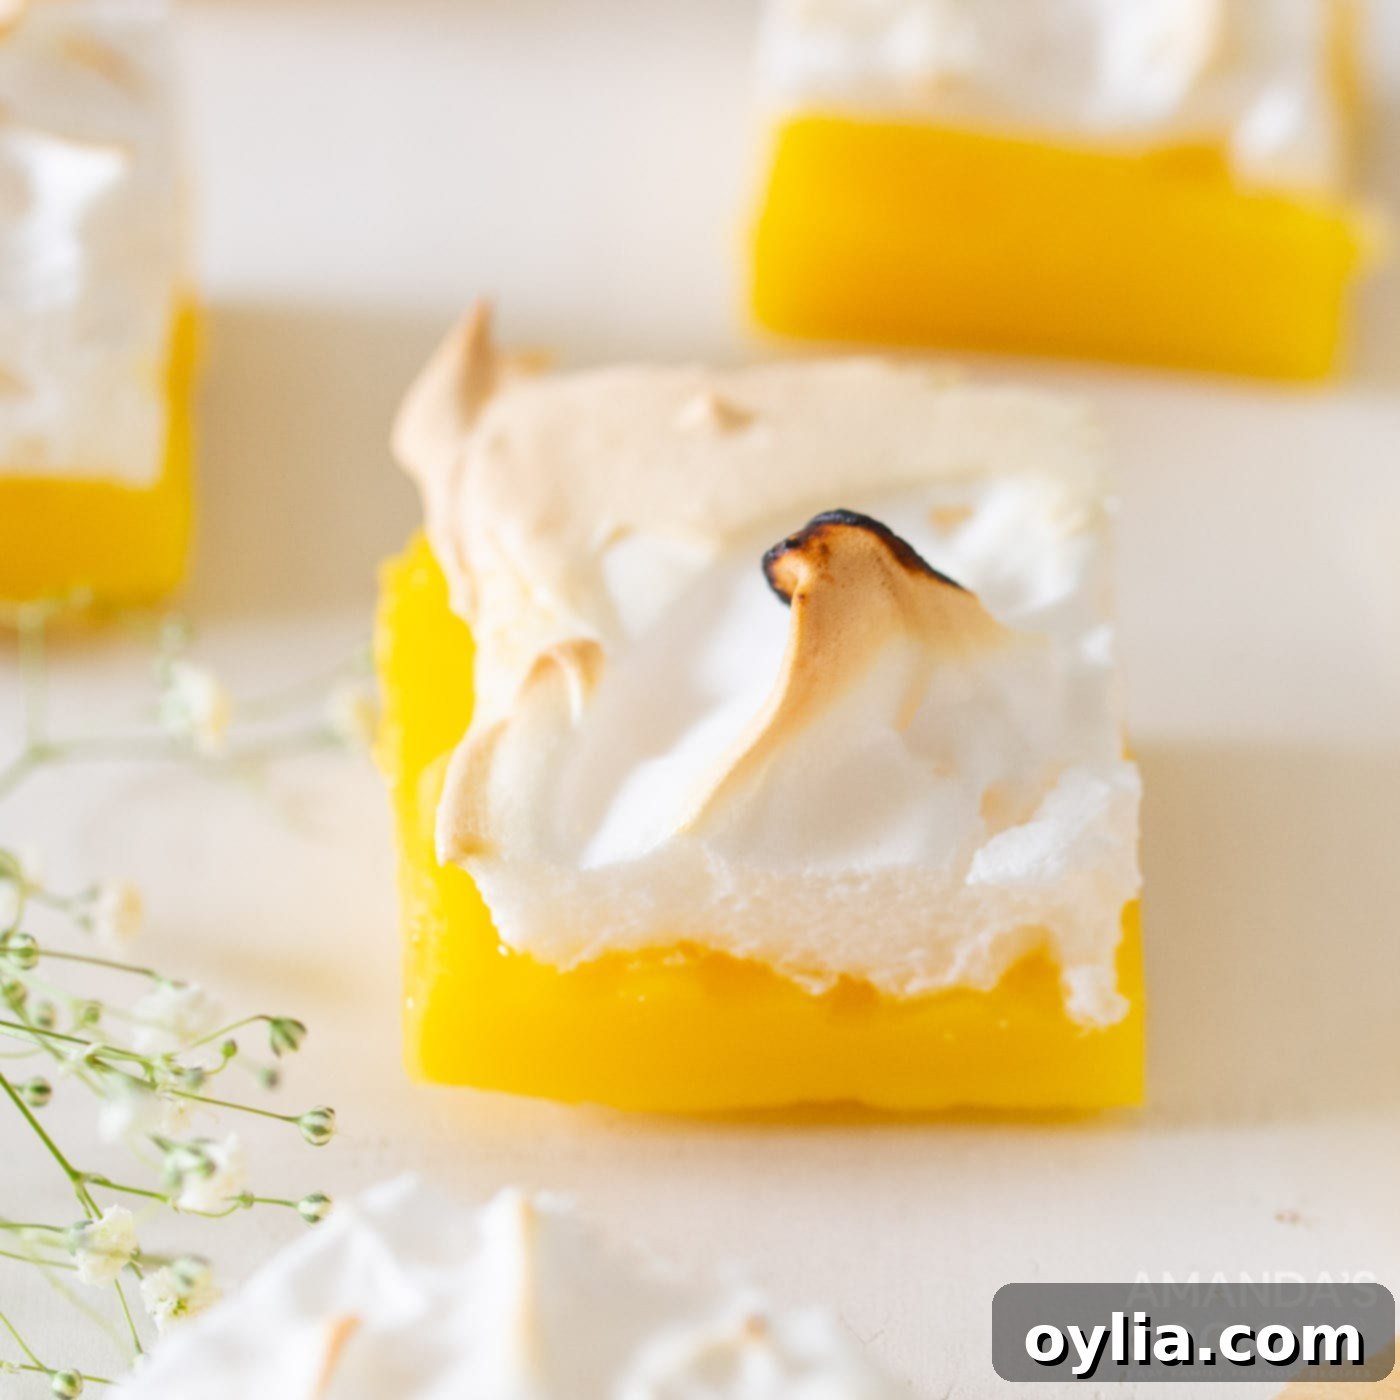
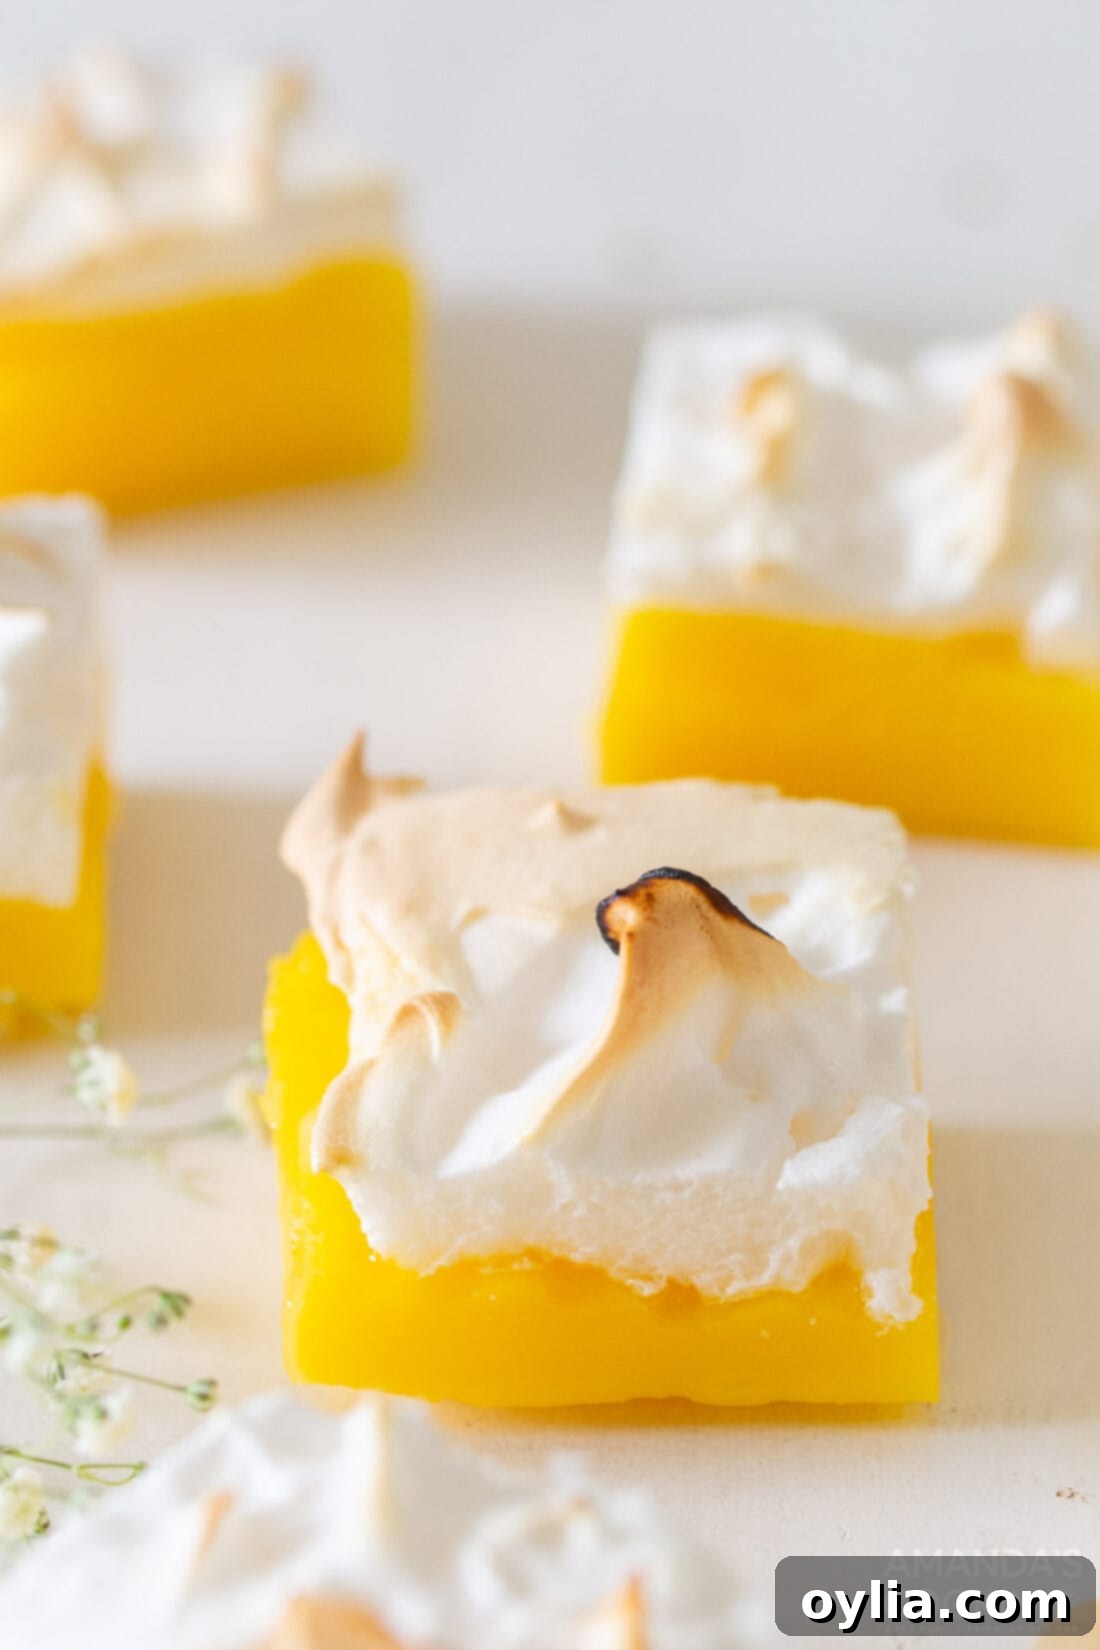
Prepare to be enchanted by these delightful **Lemon Meringue Pie Bars**, a perfect fusion of tangy homemade lemon curd and a cloud of fluffy, toasted meringue, all nestled atop a crisp pie crust. Imagine all the iconic flavors and textures of a classic lemon meringue pie, but reimagined in a convenient and shareable bar form. These easy-to-serve dessert bars are an absolute dream for any occasion, from casual family gatherings to elegant holiday feasts or vibrant spring and summer parties. They are not just a treat for the taste buds, but also a stunning visual spectacle with their golden peaks and sunny yellow filling.
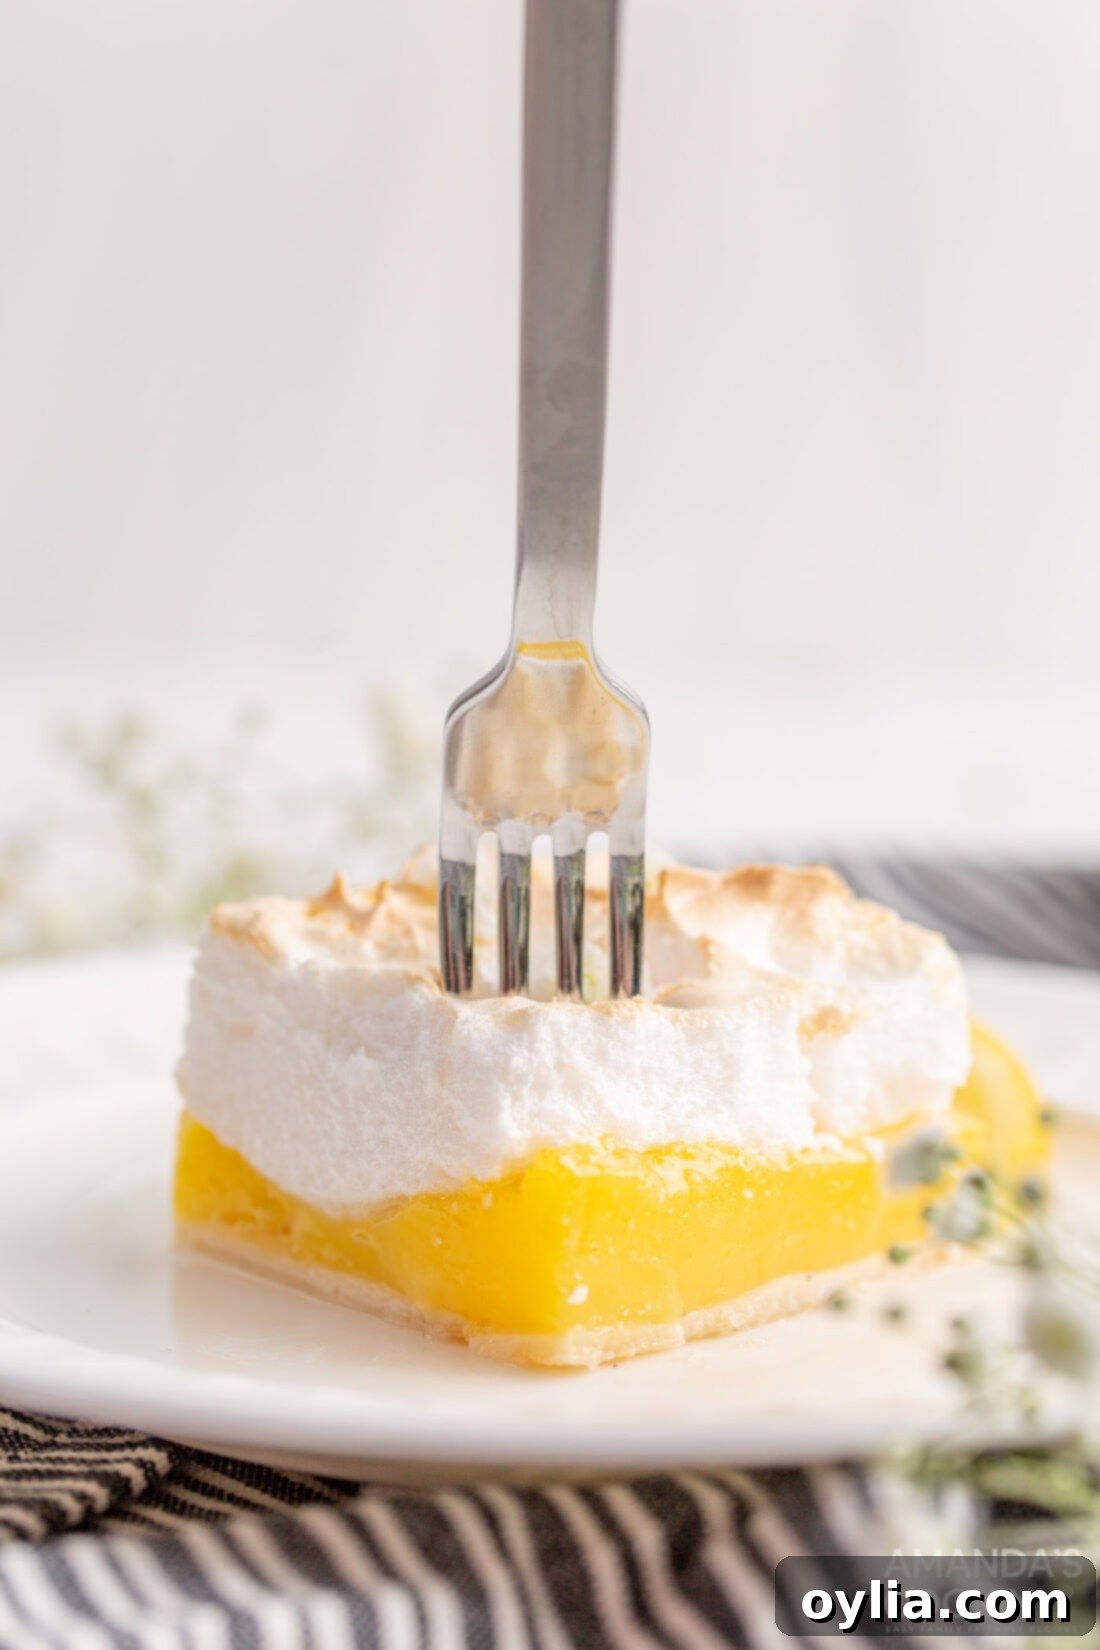
Why These Lemon Meringue Pie Bars Are a Must-Try
There’s a reason why these **lemon meringue pie bars** stand out as a fantastic dessert choice. Beyond their undeniable deliciousness, they offer several practical advantages over a traditional pie, making them an ideal candidate for your next baking adventure.
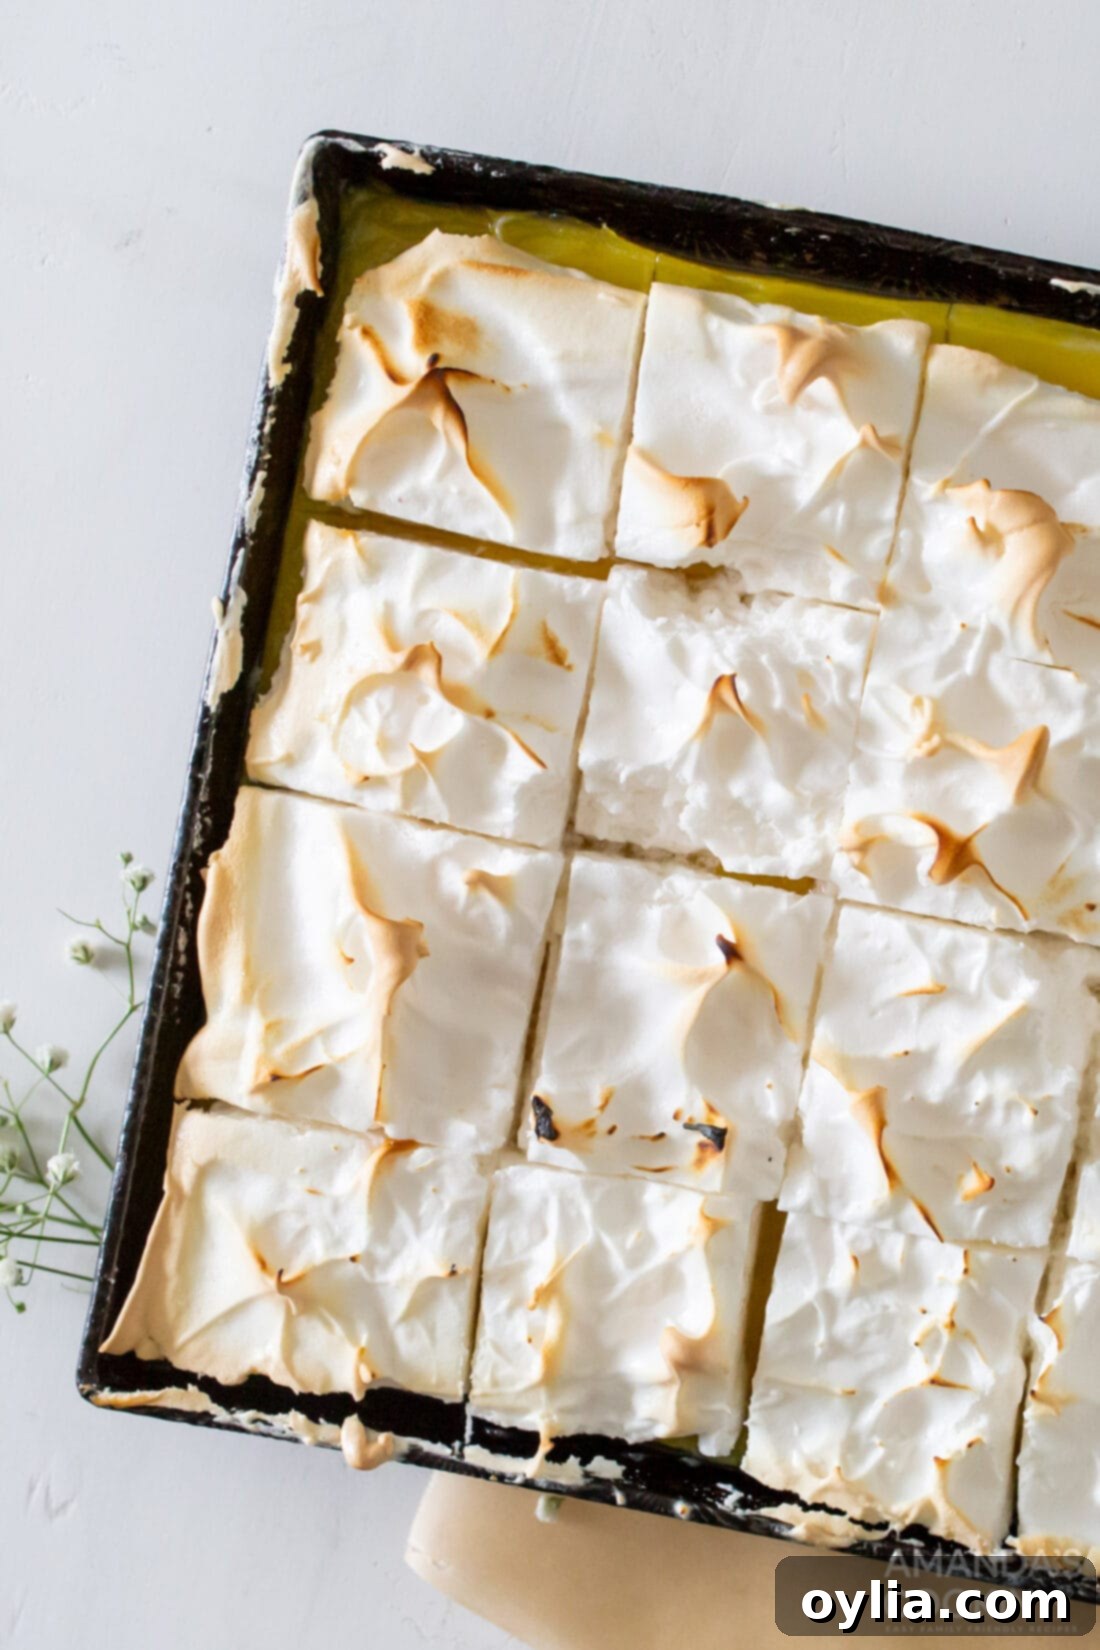
- **Increased Servings, Easier Sharing:** One of the most significant benefits of preparing this dessert in bar form is the yield. You’ll get more individual servings from a pan of these bars than from a single pie, making them perfect for larger gatherings, potlucks, or family celebrations. The uniform bar shape also makes portioning and serving incredibly simple and mess-free. No need for tricky pie slicing – just cut and serve!
- **Convenience and Portability:** These **lemon meringue dessert bars** are inherently more portable than a full pie. They pack beautifully into containers, making them an excellent choice for picnics, office parties, or when you need to bring a show-stopping dessert to a friend’s house. Their sturdy structure (once chilled) means less worry about presentation mishaps.
- **Textural Harmony:** The recipe delivers an exquisite interplay of textures in every bite. The buttery, slightly crisp crust provides a satisfying foundation. Above it, the luscious homemade lemon curd offers a smooth, creamy, and intensely flavorful experience. Finally, the light-as-air, pillowy meringue topping, with its subtly toasted peaks, adds a delightful airy contrast and a hint of caramelized sweetness.
- **Visually Appealing:** With their vibrant yellow filling and beautifully browned meringue peaks, these bars are a feast for the eyes. They automatically elevate any dessert spread and are sure to impress your guests with their professional look and homemade charm.
- **Mastering Key Baking Skills:** This recipe is a fantastic way to practice and perfect key baking techniques like making a classic lemon curd from scratch and whipping up a stable, fluffy meringue. Even if you’re new to these, our detailed instructions will guide you every step of the way, ensuring a successful and rewarding baking experience.
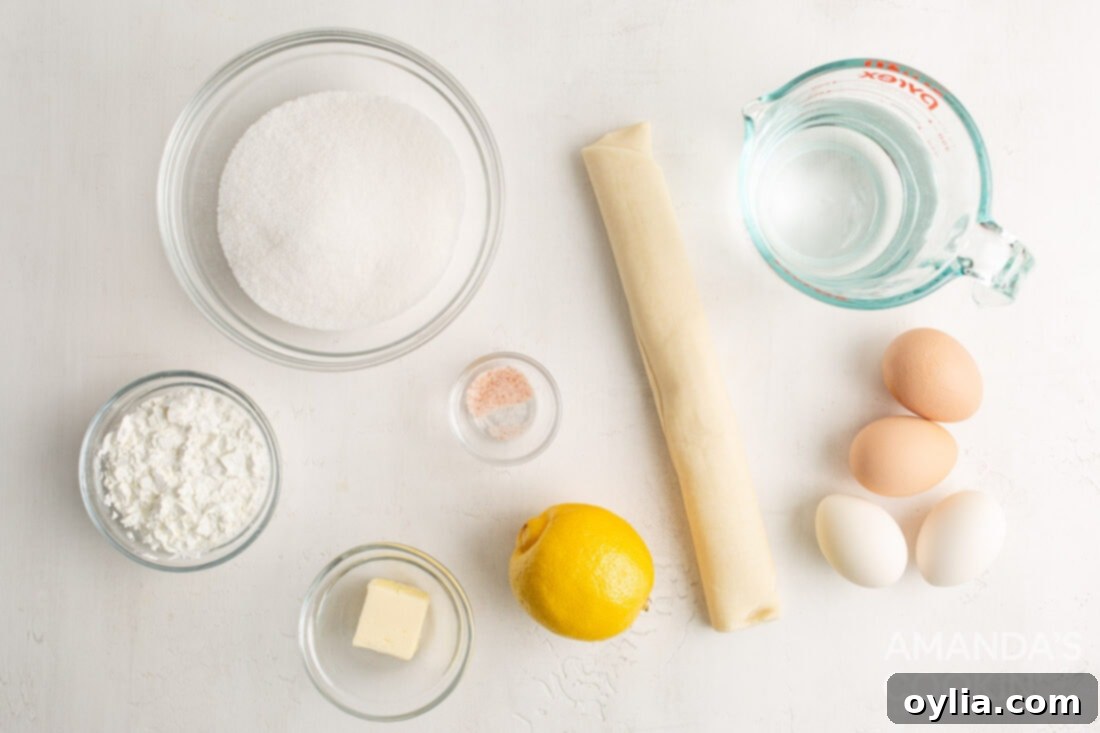
Essential Ingredients for Your Lemon Meringue Pie Bars
Crafting these delectable **lemon meringue pie bars** requires a few simple, yet key ingredients that come together to create a symphony of flavors and textures. We’ll break down each component, explaining its role and offering valuable tips. For precise measurements and step-by-step instructions, make sure to check out the printable recipe card located at the end of this post.
CRUST: The Foundation of Flavor
To make these **lemon meringue pie bars** as quick and convenient as possible without compromising on taste, we’re utilizing a premade pie dough. This is a fantastic shortcut for busy bakers, ensuring a consistently crisp and buttery base. However, for those who prefer to bake from scratch or want to explore different flavor profiles, you have several excellent options:
- **Homemade Pie Dough:** If you have a favorite pie crust recipe, feel free to use it! A classic butter-based pie crust will always yield superior flavor and flakiness.
- **Shortbread Crust:** A shortbread crust offers a wonderfully crumbly, buttery texture that pairs beautifully with the tangy lemon filling. It’s often very easy to press into a pan.
- **Graham Cracker Crust:** For a sweet and slightly spiced alternative, a graham cracker crust can add an interesting dimension. Combine crushed graham crackers with melted butter and a touch of sugar, then press into the pan.
Whichever crust you choose, ensure it’s pressed evenly into the pan and slightly larger than the base to account for any shrinkage during baking, preventing a gap between the crust and the filling.
FILLING: The Zesty Lemon Curd Heart
The star of these **lemon meringue pie bars** is the sweet and intensely tangy homemade lemon curd. This vibrant yellow filling isn’t just about flavor; its texture is crucial. Our recipe ensures a perfectly set, luscious curd thanks to a few key ingredients:
- **Fresh Lemon Juice and Zest:** This is where the bright, unmistakable lemon flavor comes from. Always opt for freshly squeezed lemon juice and finely grated zest for the most potent and aromatic results. The zest contains essential oils that contribute significantly to the overall citrusy punch.
- **Cornstarch:** This acts as our primary thickening agent. When heated, cornstarch creates a stable, thick consistency that allows the lemon curd to hold its shape beautifully when sliced into bars. It’s essential to whisk it thoroughly with the sugar and salt before adding liquids to prevent lumps.
- **Egg Yolks:** The egg yolks contribute to the rich color, silky smooth texture, and additional thickening of the curd. They also provide a beautiful richness that balances the tartness of the lemon. The tempering process (gradually adding warm liquid to the yolks) is vital to prevent them from scrambling.
- **Butter:** Added at the end, butter melts into the warm curd, lending a luxurious gloss, a smooth mouthfeel, and a subtle richness that rounds out the flavors.
TOPPING: The Cloud of Sweet Meringue
Don’t let the thought of making meringue intimidate you! This component of our **lemon meringue pie bars** is surprisingly simple and requires just three ingredients to create a magnificent, pillowy topping:
- **Egg Whites:** The foundation of meringue. When beaten, egg whites trap air, creating a light and airy foam. Ensure your egg whites are at room temperature, as this helps them whip up to a greater volume. Also, make sure there’s absolutely no trace of egg yolk or grease in your bowl or on your beaters, as this can prevent the whites from whipping properly.
- **Granulated Sugar:** Sugar is essential for both sweetness and stability in meringue. It dissolves into the egg whites, creating a glossy, firm structure. Adding it slowly helps ensure it fully incorporates without deflating the whites.
- **Pinch of Salt:** A tiny pinch of salt helps to stabilize the egg whites and can enhance their whipping ability.
When properly whipped, your meringue will resemble “marshmallow fluff”—glossy, smooth, and capable of holding stiff peaks when you lift the beaters. If you have a preferred method for making meringue or a go-to recipe you trust, feel free to substitute it, but this simple method is highly effective for these bars.
How to Make Delicious Lemon Meringue Pie Bars: A Step-by-Step Guide
These step-by-step photos and instructions are designed to help you visualize and confidently prepare this amazing recipe. For a convenient printable version, complete with precise measurements and detailed instructions, simply Jump to Recipe at the bottom of this page.
- **Prepare the Crust:** Begin by preheating your oven to 400°F (200°C). Lightly spray an 8×8 inch baking pan with non-stick spray. Unroll your premade pie crust and carefully cut it to fit the bottom of the dish. It’s crucial to cut the dough slightly larger than the base, as pie crusts tend to shrink during baking. Gently lay the pie crust dough into the prepared pan, pressing it firmly to the bottom and slightly up the sides to form a neat base.
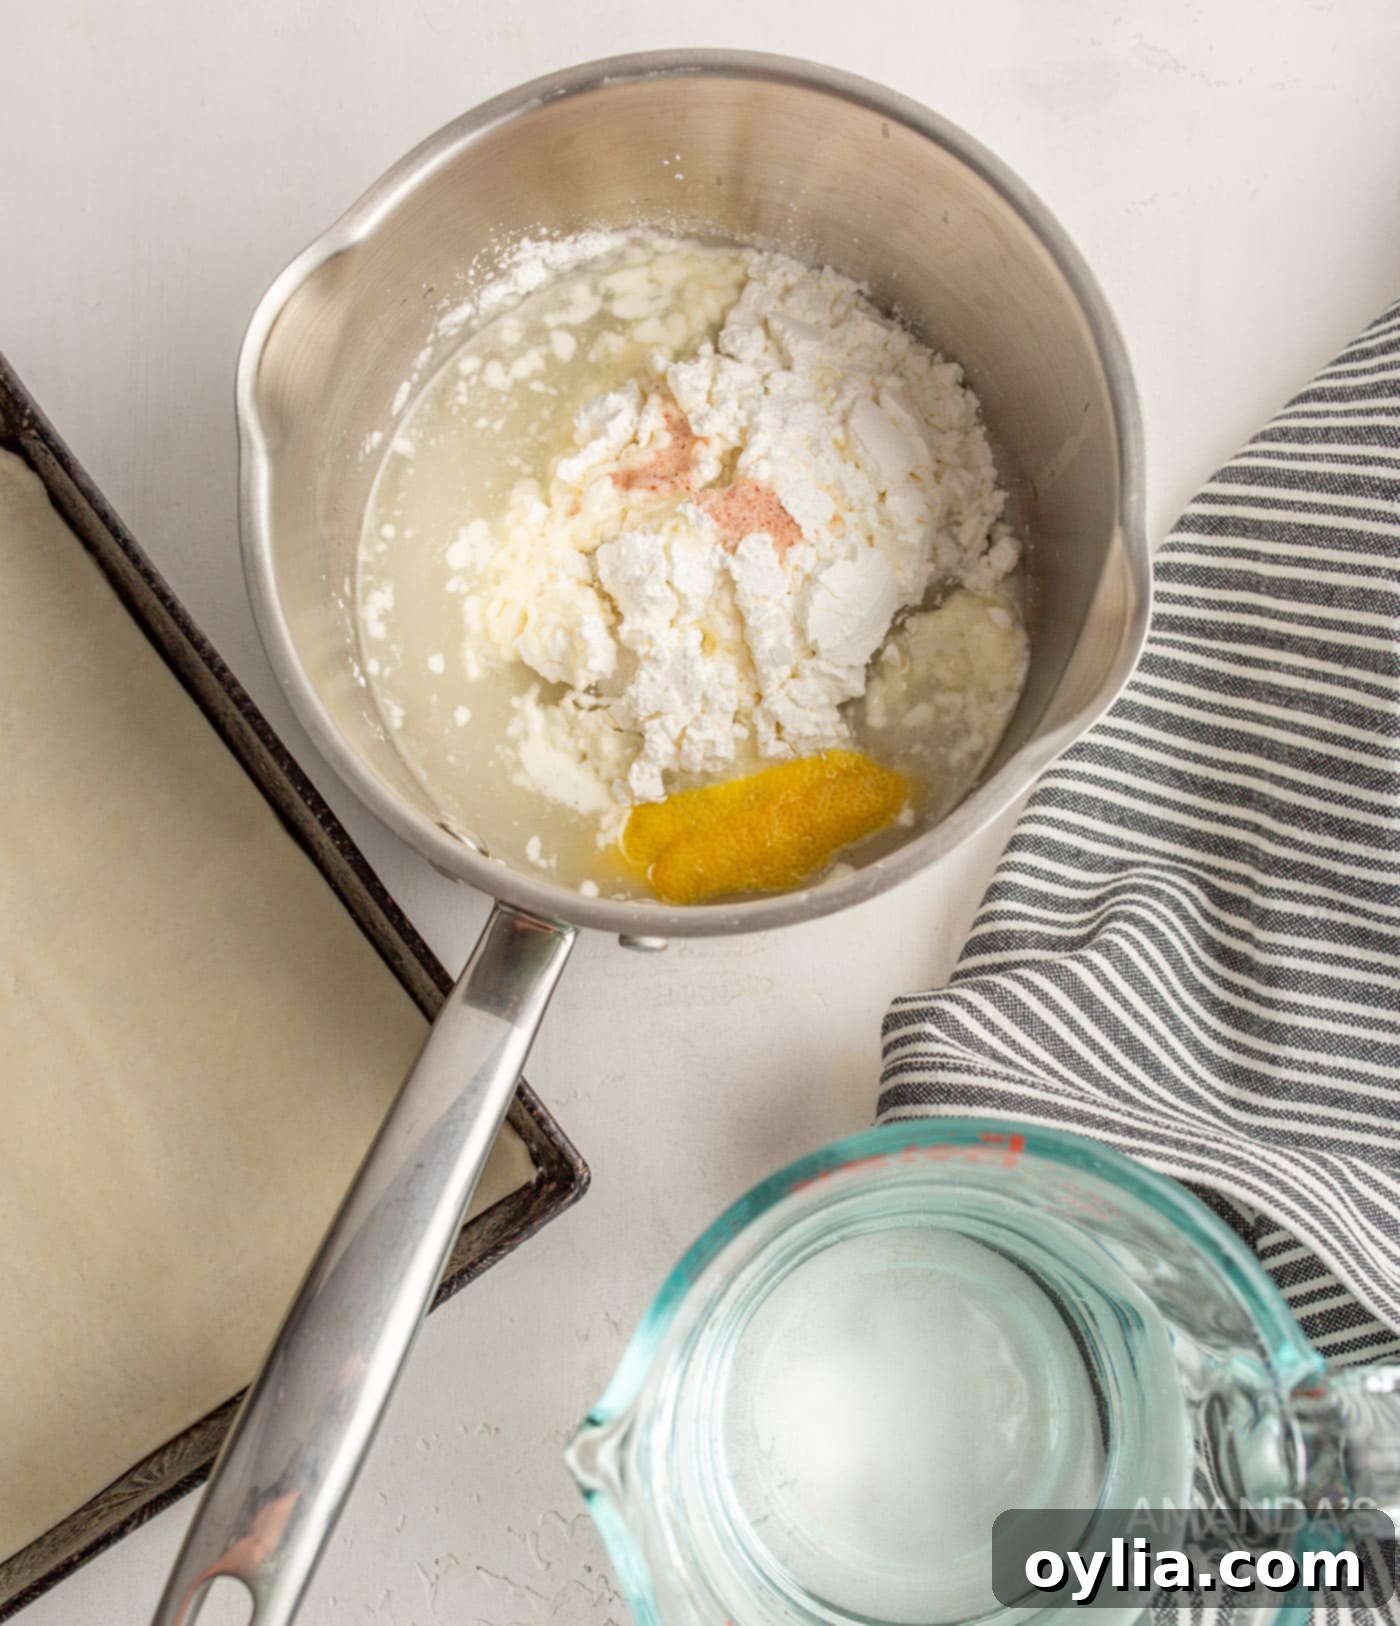
- **Start the Lemon Curd Base:** In a 2-quart saucepan, combine the cornstarch, granulated sugar, and salt. Give these dry ingredients a quick whisk to ensure they are thoroughly mixed and free of lumps. This prevents the cornstarch from clumping when the liquids are added. Now, whisk in the warm water, fresh lemon juice, and lemon zest until smooth. Place the saucepan on your stove and turn the burner to medium-low heat. Stir constantly, without stopping, until the mixture begins to thicken and gently boil. As soon as you see the first bubbles, remove the saucepan from the heat to prevent over-thickening.

The initial mixture of cornstarch, sugar, salt, water, lemon juice, and zest simmering in a saucepan. - **Temper the Egg Yolks:** In a separate small bowl, whisk your egg yolks until they are uniformly yellow and slightly frothy. Now, the key to a smooth curd: tempering. Slowly, one tablespoon at a time, drizzle five tablespoons of the warm cornstarch mixture into the whisked egg yolks. Whisk continuously and vigorously as you add each tablespoon. This gradual addition raises the temperature of the egg yolks gently, preventing them from scrambling when combined with the hot mixture.
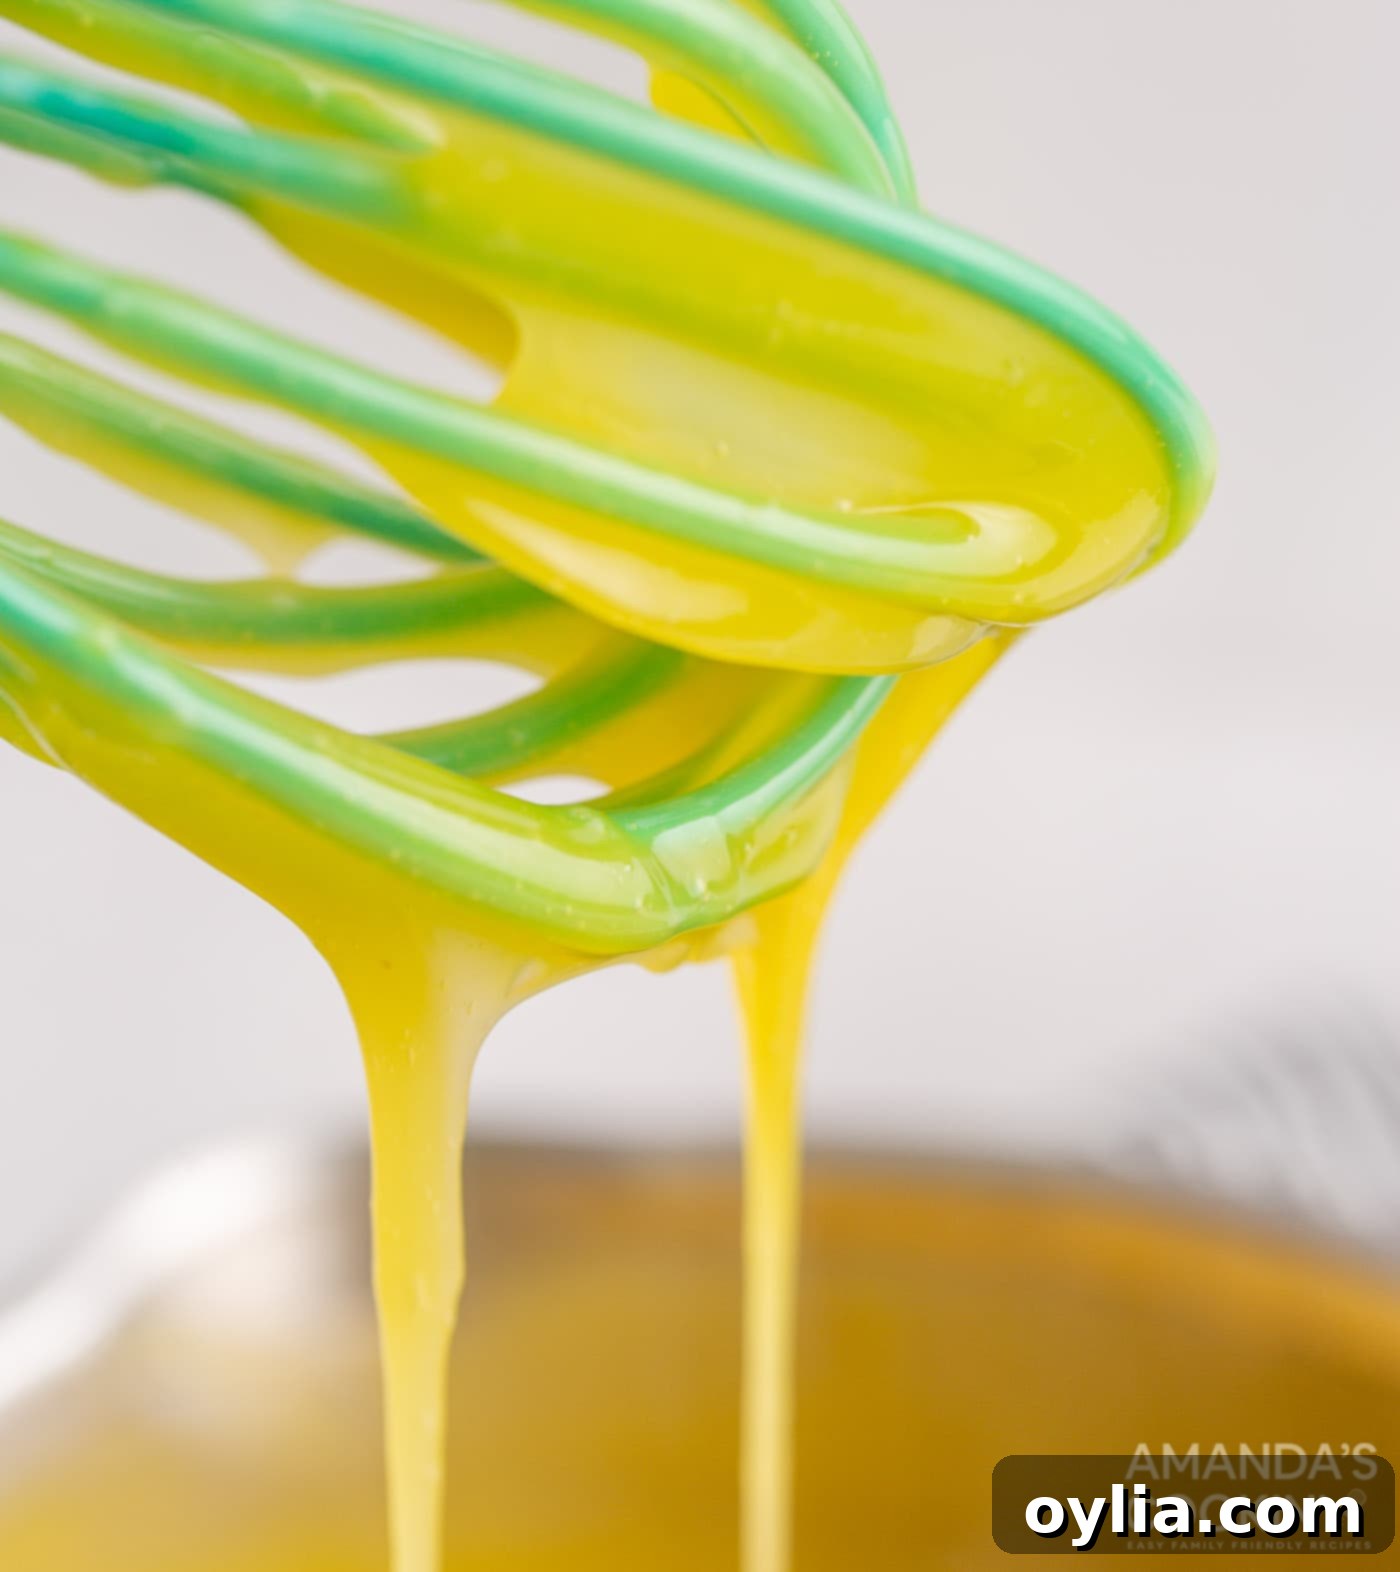
- **Combine and Thicken the Curd:** Once tempered, slowly drizzle the warmed egg yolk mixture back into the saucepan with the remaining cornstarch mixture, whisking constantly to ensure full incorporation. Return the saucepan to medium-low heat. Continue to whisk consistently (do not boil) for about 10 minutes, or until the lemon curd thickens to a consistency similar to pudding. It should coat the back of a spoon and hold its shape. Once thickened, remove from heat and stir in the butter until it is completely melted and incorporated, giving the curd a glossy finish.

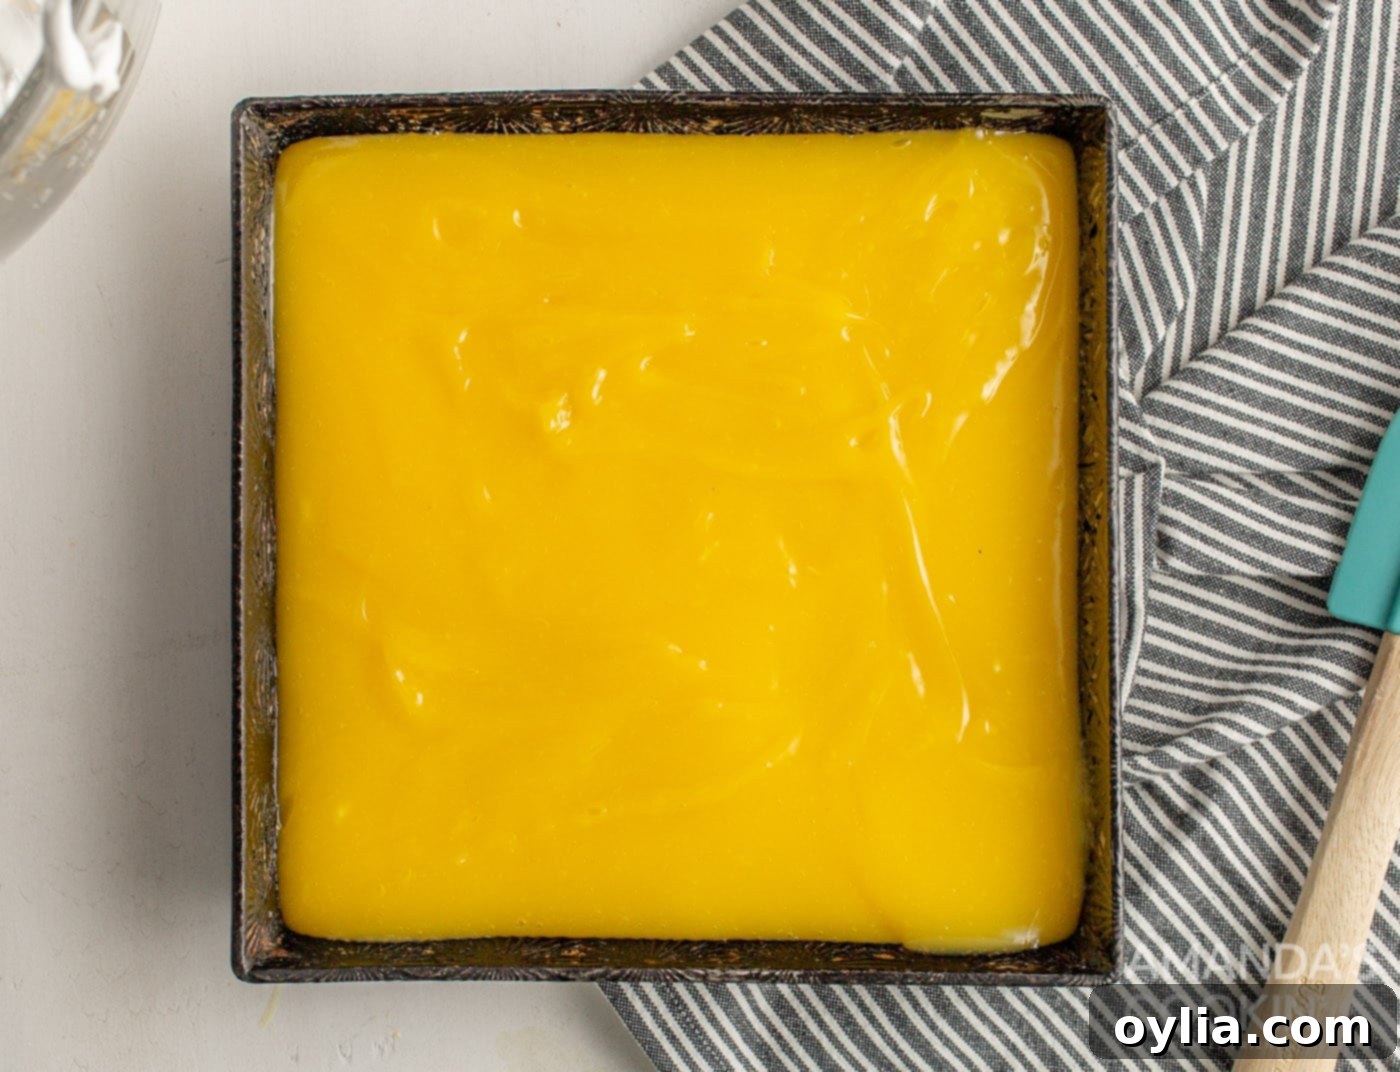
Tempering egg yolks by slowly drizzling in the warm lemon mixture. - **Pour the Filling:** Carefully pour the hot lemon curd mixture over the unbaked pie crust in your prepared 8×8 inch pan. Gently spread it evenly using a spatula.

The luscious lemon curd poured over the unbaked pie crust, ready for the meringue. - **Prepare the Meringue Topping:** Now for the airy topping! In a large, clean mixing bowl or the bowl of a stand mixer, add the egg whites and a pinch of salt. Using an electric mixer (with whisk attachment for a stand mixer), beat the egg whites on high speed. Continue beating until soft white peaks begin to form. These peaks will be fluffy but will gently flop over when the beater is lifted.
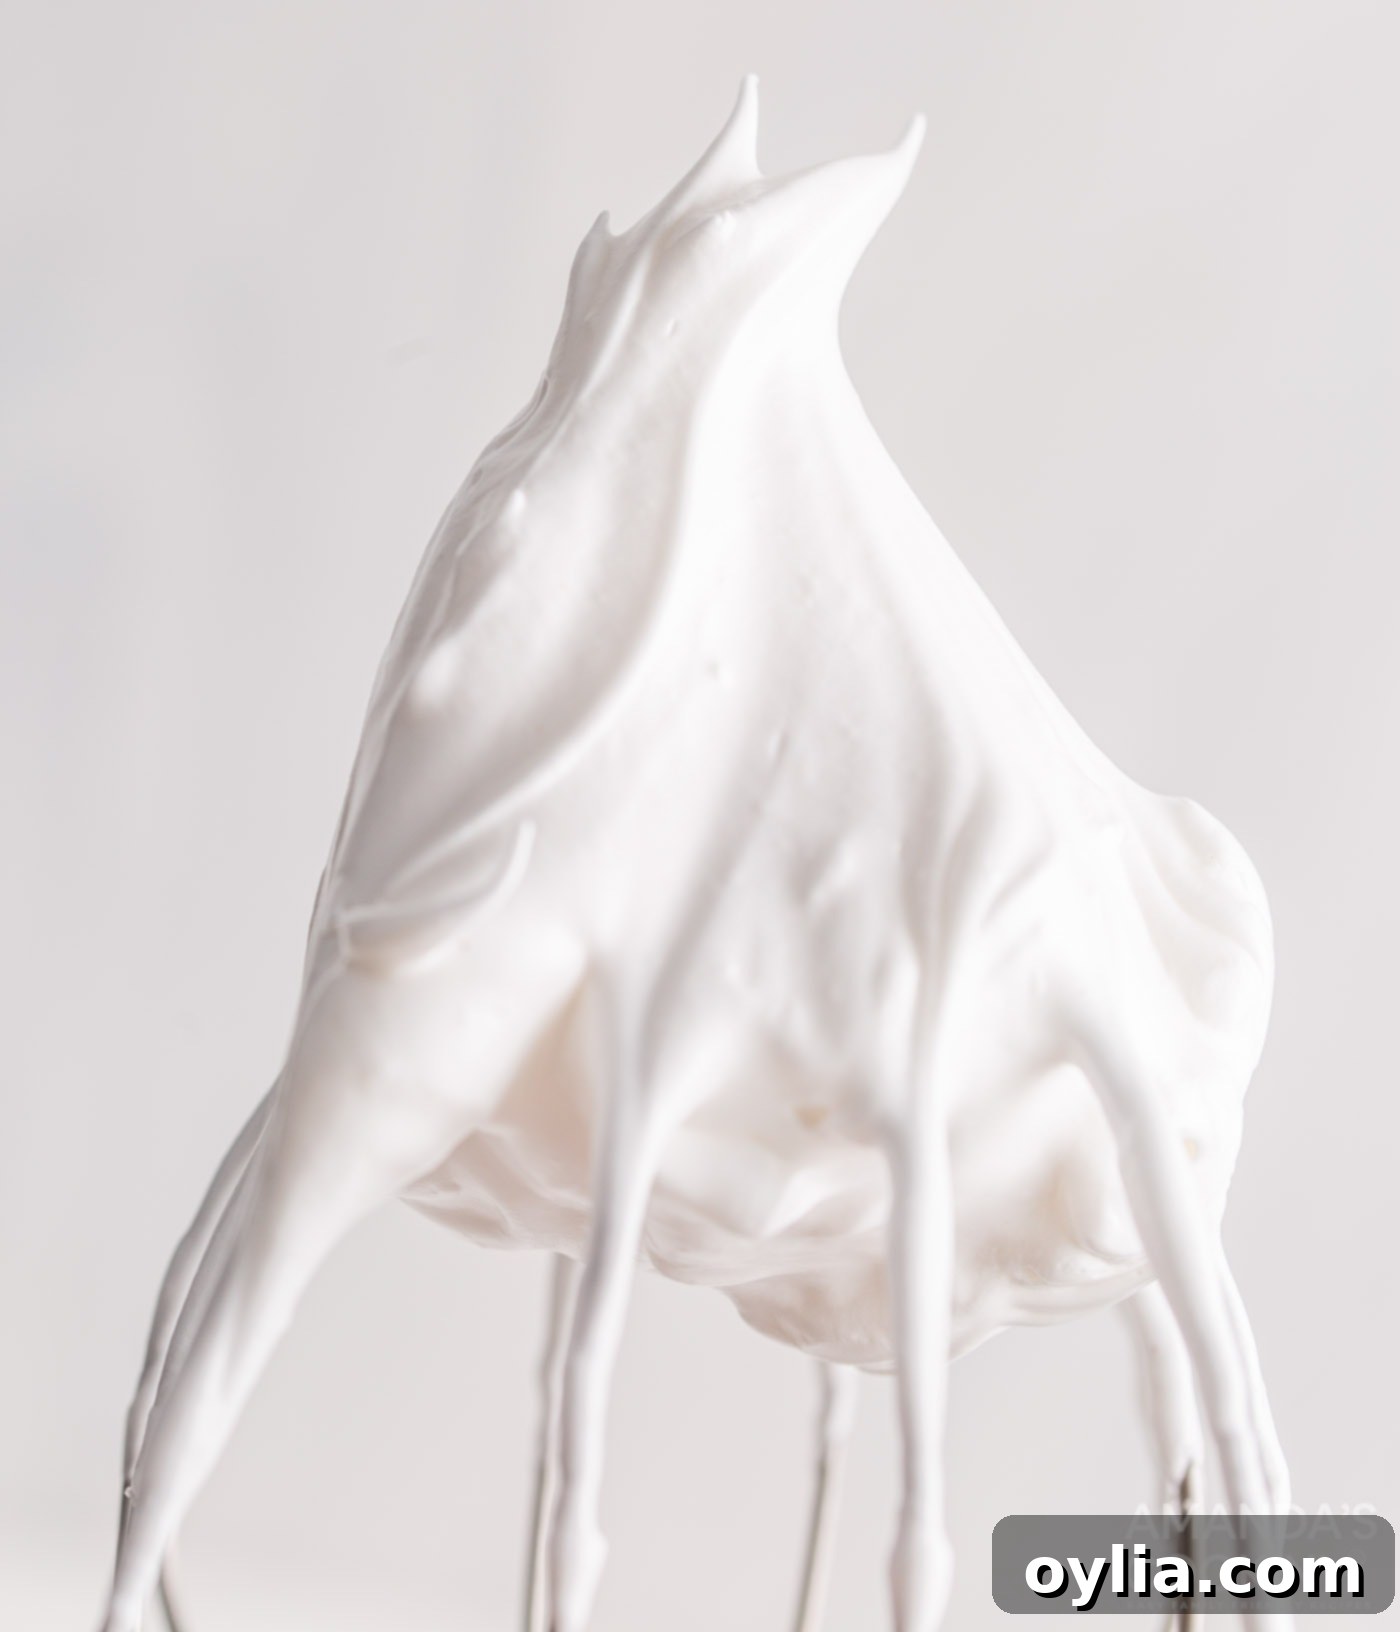
- **Add Sugar and Achieve Stiff Peaks:** Keep the mixer speed on high. Slowly, one tablespoon at a time, gradually add the granulated sugar to the egg whites. This slow addition allows the sugar to dissolve properly and integrate into the meringue, preventing a gritty texture. Continue beating on high speed until stiff white peaks have formed. The meringue should be very glossy, smooth, and hold its shape firmly when the beater is removed. It will have a consistency similar to that of marshmallow fluff, and if you lift the beater, the meringue should stand tall without wilting. This indicates a stable meringue.

Fluffy, stiff-peaked meringue, ready to be spread over the lemon curd. - **Top with Meringue:** Spoon generous dollops of the meringue topping onto the still-warm lemon filling. The warmth of the filling helps the meringue adhere slightly.

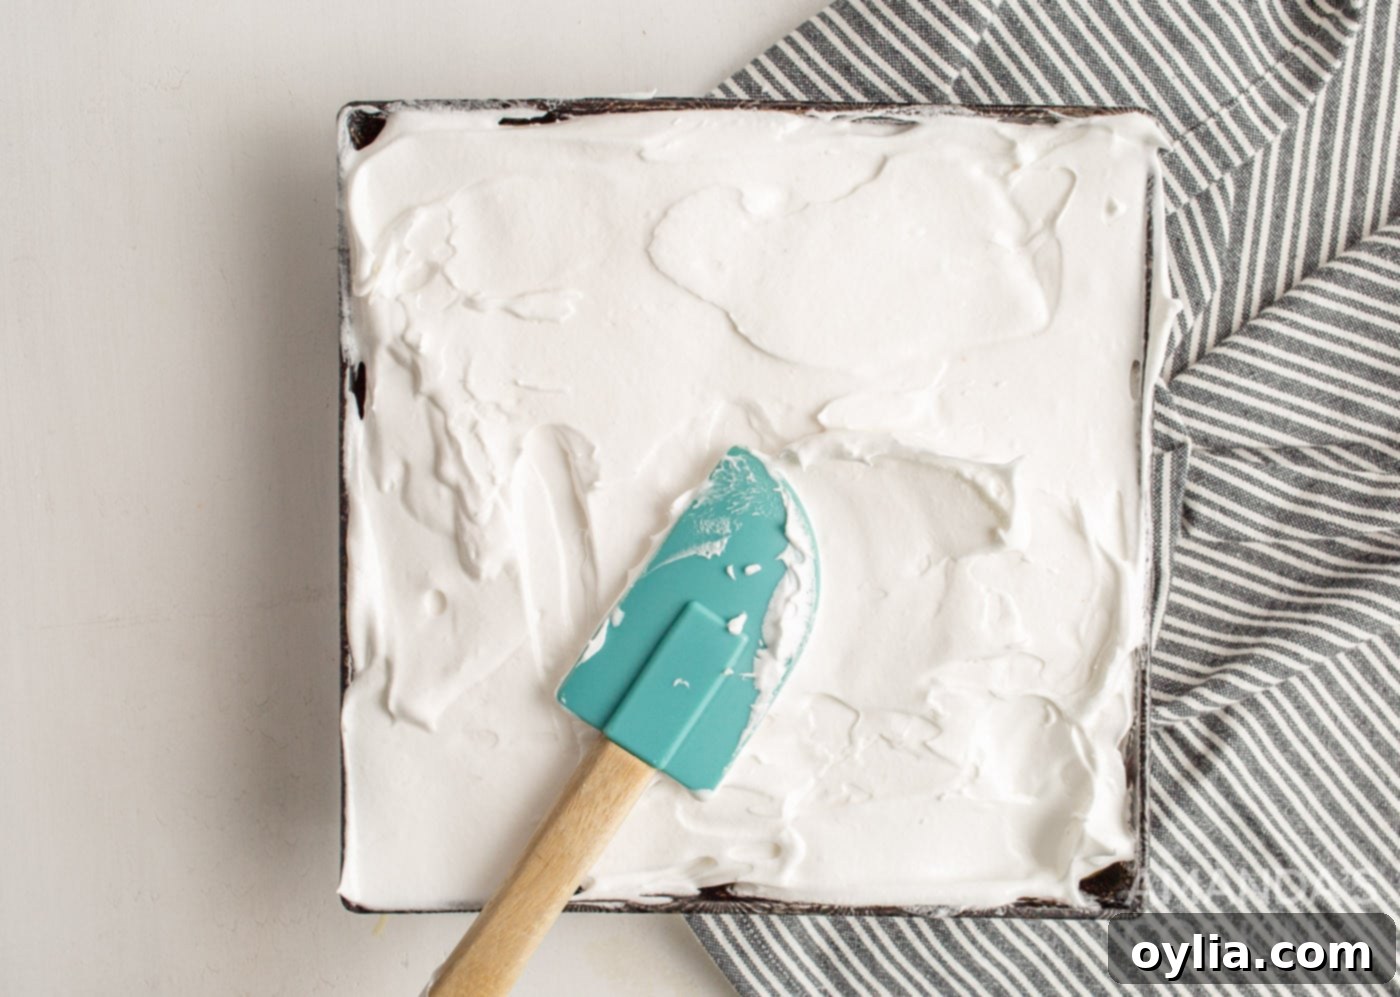
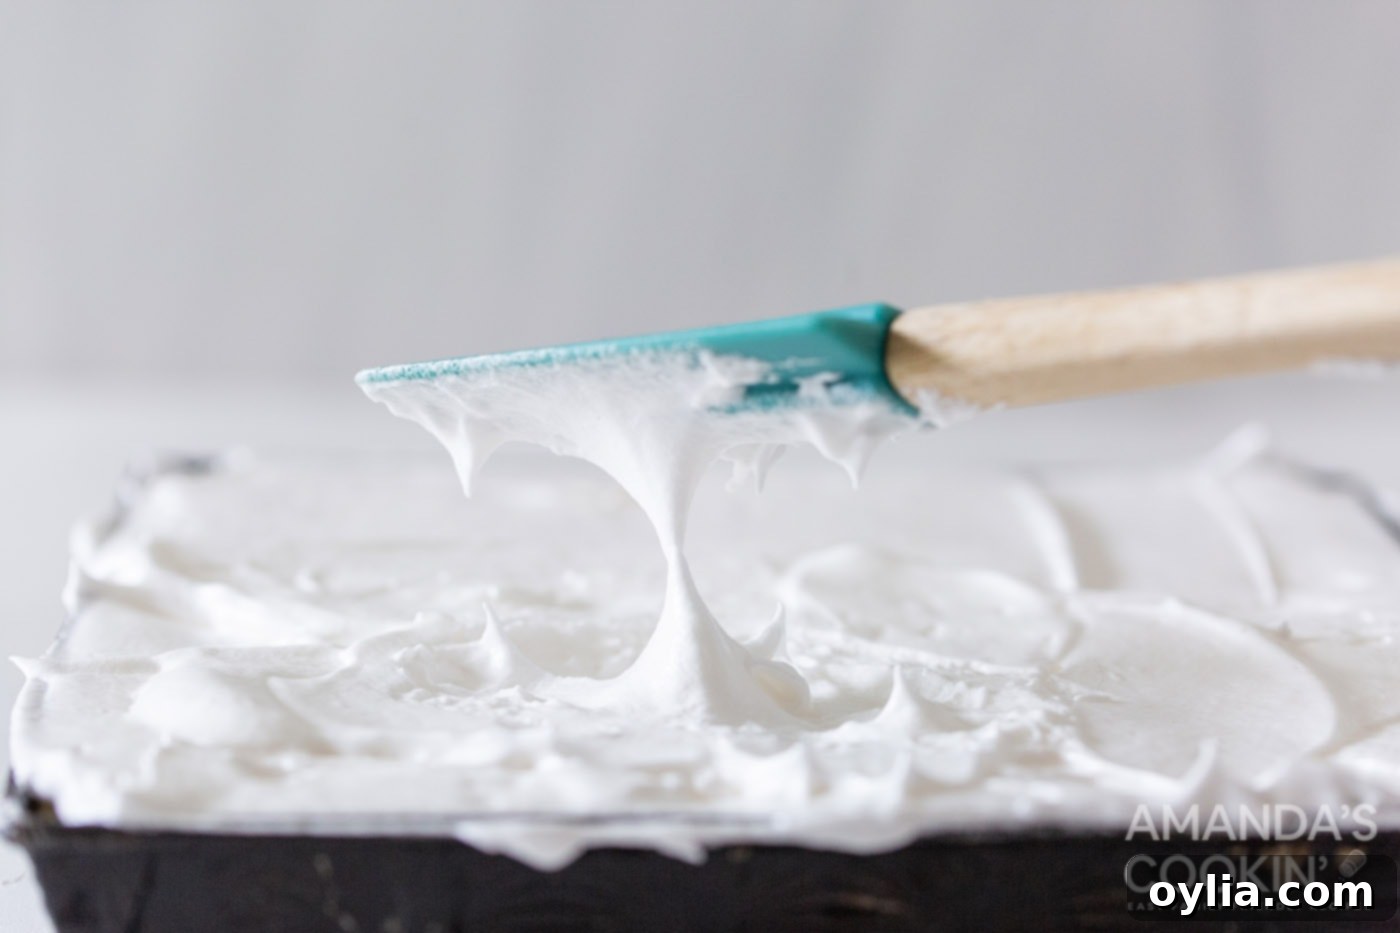
Spoon meringue over the warm lemon filling. - **Create Meringue Peaks:** Using the back of a spoon or a rubber spatula, gently spread the meringue over the entire surface of the lemon curd. Then, create the traditional decorative peaks by gently swirling and pulling the meringue with the back of your spoon or spatula. These peaks will brown beautifully in the oven, adding to the aesthetic appeal and texture.

Using a rubber spatula to create those classic meringue peaks. 
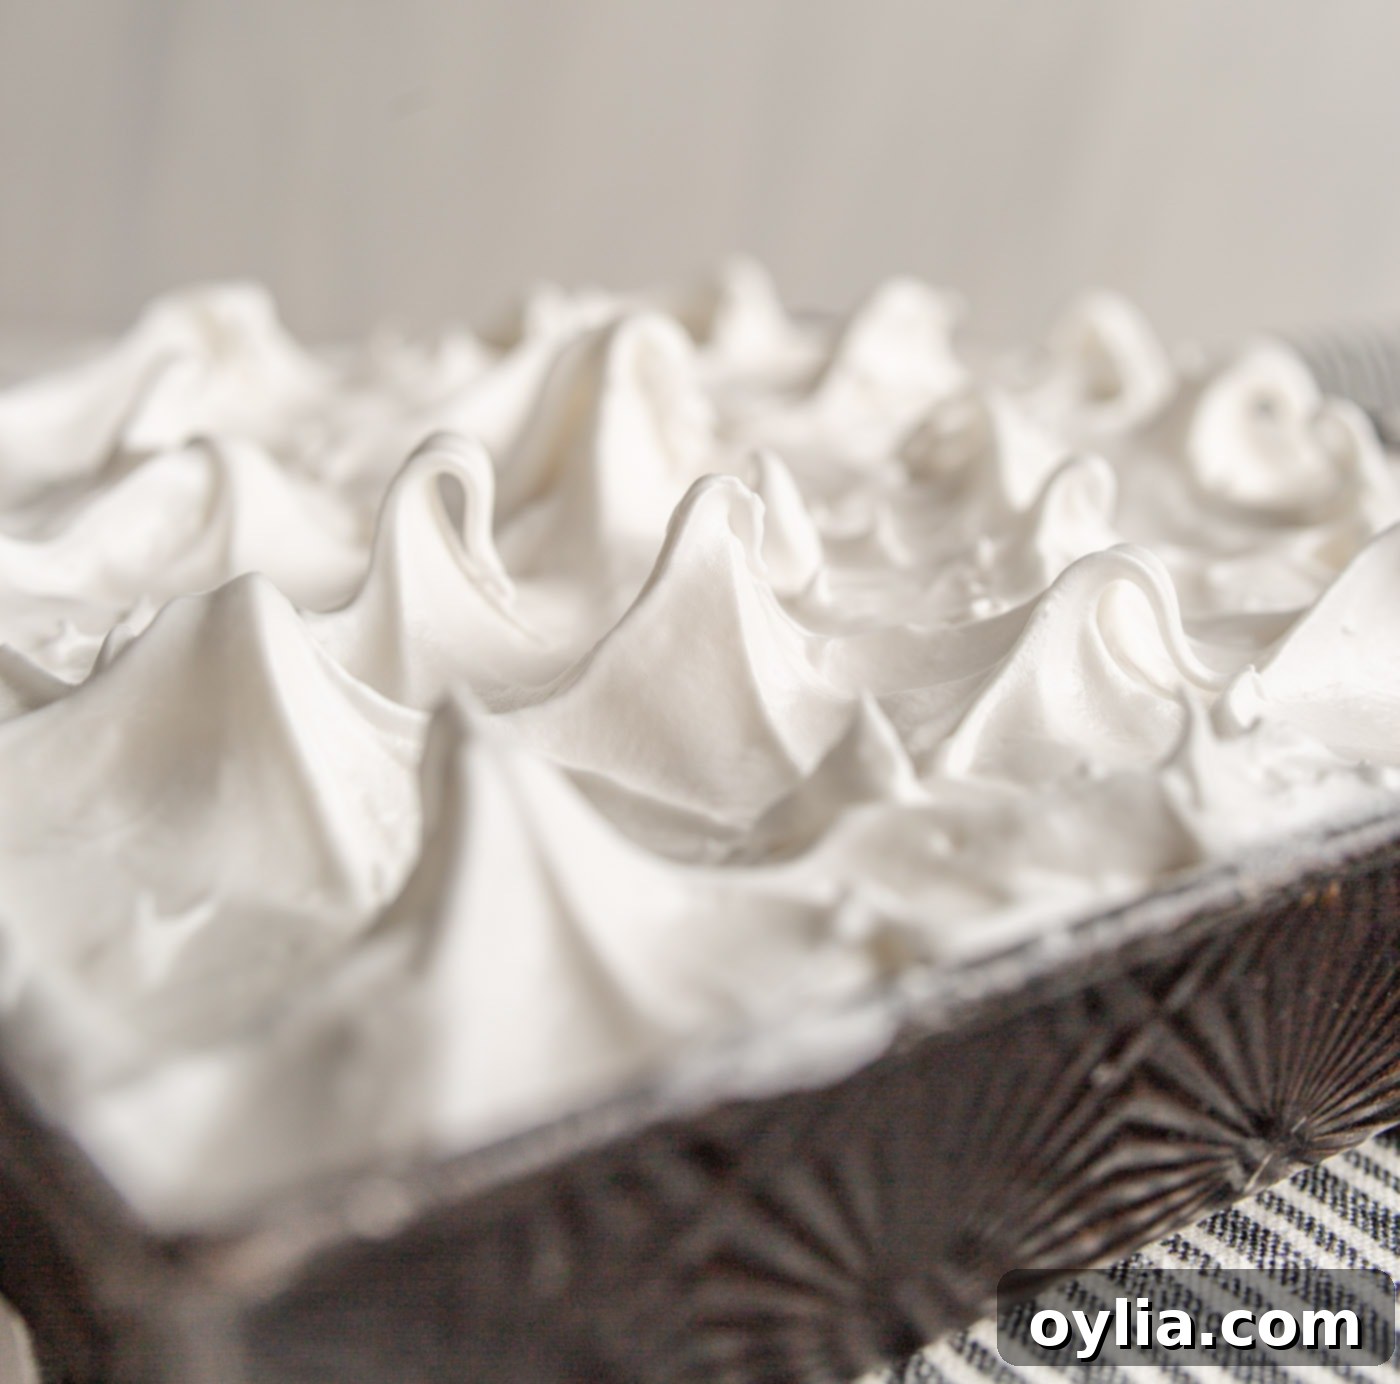
The beautifully peaked meringue, ready for its final bake. - **Bake to Golden Perfection:** Place the pan on the center rack of your preheated 400°F (200°C) oven. Bake for approximately 10-15 minutes. Keep a close eye on it! The meringue is done when it is beautifully set, lightly golden, and the tips of the peaks have achieved a lovely browned color. This toasting adds flavor and visual appeal.

The glorious sight of golden, toasted meringue fresh from the oven. - **Cool and Chill Thoroughly:** This step is crucial for the bars to set properly and for flavors to fully develop. Allow the baked **lemon meringue pie bars** to cool completely at room temperature for at least 1 hour. After that, transfer them to the refrigerator and let them chill for a minimum of 4-8 hours. For the best results and cleanest slices, chilling overnight is highly recommended. Once thoroughly chilled, they are ready to be cut into bars and served!
Frequently Asked Questions & Expert Tips for Perfect Lemon Meringue Pie Bars
Here are some common questions and expert advice to ensure your **lemon meringue pie bars** turn out absolutely perfect every time.
Absolutely! These **lemon meringue pie bars** are an excellent make-ahead dessert, which is perfect for holiday planning or party prep. We highly recommend preparing them one day in advance. This extended chilling time in the refrigerator not only allows the lemon curd to fully set and firm up, but also gives the flavors a chance to meld and deepen, resulting in a more harmonious and delicious treat. Just cover them loosely with plastic wrap once cooled to prevent condensation.
To maintain their freshness, texture, and flavor, store your **lemon meringue pie bars** in an airtight container or a baking dish tightly covered with a lid. Keep them refrigerated for up to 4 days. The airtight seal helps prevent the meringue from “weeping” (releasing moisture) and keeps the crust from becoming soggy.
Yes, these **lemon meringue pie bars** freeze wonderfully! Once they have fully cooled and chilled, cut them into individual bars. Place them in a single layer on a baking sheet and freeze until solid. Once frozen, transfer the bars to an airtight freezer-safe container or a heavy-duty freezer bag. They can be stored in the freezer for 2-3 months. Thaw them in the refrigerator overnight before serving. Note that the meringue might lose a tiny bit of its crispness after freezing, but the flavor will still be fantastic.
Meringue weeping (where liquid seeps from the meringue) is often caused by under-baking or not dissolving the sugar properly. Ensure you beat the meringue until the sugar is completely dissolved and it holds stiff, glossy peaks. Also, make sure the meringue is baked until the peaks are visibly browned and set, indicating that the sugar has caramelized and stabilized. Storing in an airtight container in the fridge also helps.
A runny lemon curd typically means it wasn’t cooked long enough or at a high enough temperature. Make sure you’re whisking it over medium-low heat until it’s thick enough to coat the back of a spoon and hold a trail when you run your finger across it. Patience is key! Also, ensure you’ve used the correct amount of cornstarch. Thorough chilling for at least 4-8 hours is also essential for final setting.
Serving Suggestions for Your Lemon Meringue Pie Bars
These versatile **lemon meringue pie bars** are a fantastic addition to almost any occasion, offering a burst of bright citrus flavor and a delightful texture that appeals to everyone. Their individual bar form makes them particularly well-suited for easy serving, whether it’s a formal event or a casual get-together.
- **Potlucks and BBQs:** Their portability and ease of handling make them a crowd-pleaser at outdoor events. They hold up well and are less messy than traditional pie slices.
- **Holiday Gatherings:** Lighten up your dessert table for Easter, Thanksgiving, or Christmas with these zesty bars. They offer a refreshing contrast to richer holiday treats.
- **Showers and Parties:** Impress guests at bridal showers, baby showers, or birthday parties with these elegant yet approachable dessert bars. Their vibrant appearance and delicious taste are always a hit.
- **Individual Plates or Straight from the Pan:** For more formal settings, serve chilled bars on individual plates, perhaps garnished with a fresh raspberry or a tiny sprig of mint for added color. For a more relaxed setting, simply set out the pan with a stack of forks and let everyone help themselves!
- **Pair with Fresh Fruit:** While perfect on their own, these bars can be beautifully complemented by a side of fresh berries, such as raspberries, blueberries, or sliced strawberries. The tartness of the lemon and the sweetness of the meringue pair wonderfully with the natural sweetness of fruit.
- **A Refreshing Spring and Summer Dessert:** With their bright, citrusy sweet lemon curd and light, pillowy soft toasted meringue, these bars are the quintessential refreshing dessert for spring and summer parties. They are invigorating and satisfying without being too heavy.
Explore More Delicious Dessert Recipes
If you’ve enjoyed making and tasting these lemon meringue pie bars, you might love exploring some of our other delightful dessert creations. Expand your baking repertoire with these fantastic recipes:
- Blueberry Delight: A layered dessert featuring a cookie crust, cream cheese filling, blueberry pie filling, and whipped topping.
- Lemon Icebox Cake: A no-bake, light, and refreshing cake perfect for warm weather.
- Strawberry Pretzel Salad: A unique sweet and salty dessert with a pretzel crust, cream cheese layer, and strawberry jello topping.
- Lemon Blueberry Icebox Cake: Another refreshing no-bake option combining tangy lemon and sweet blueberries.
- Cream Puff Chocolate Eclair Cake: An easy, no-bake cake that mimics the flavors of classic cream puffs and eclairs.
- Cream Puffs: Learn to make classic, airy cream puffs from scratch, perfect for filling with cream or custard.
- Lemon Cake: A moist and flavorful cake bursting with lemon zest and juice.
- Nanaimo Bars: A classic Canadian no-bake bar dessert with a crumbly base, custard-like filling, and chocolate topping.
I absolutely love to bake and cook, and my greatest joy is sharing my kitchen experiences and successful recipes with all of you! Remembering to come back each day for new inspiration can sometimes be tough, which is why I offer a convenient newsletter every time a new recipe posts. Simply subscribe today and start receiving your free daily recipes directly in your inbox!
Lemon Meringue Pie Bars
IMPORTANT – There are often Frequently Asked Questions within the blog post that you may find helpful. Simply scroll back up to read them!
Print It
Pin It
Rate It
Save ItSaved!
Course: Dessert
Cuisine: American
Ingredients
- 1 pie crust 9 inch
- ½ cup cornstarch
- 1 cup granulated sugar
- ¼ teaspoon salt
- 1-1/2 cup warm water
- zest of one lemon
- ½ cup lemon juice freshly squeezed, about 3-4 lemons
- 4 egg yolks
- 1 Tablespoon butter
Meringue Topping
- 4 egg whites
- a pinch of salt
- ½ cup granulated sugar
Things You’ll Need
-
Stand mixer
-
Saucepan
-
Rubber spatula
-
8×8 baking pan
Before You Begin
- These pie bars can be stored in the refrigerator in an airtight container for up to 3 days.
Instructions
-
Preheat the oven to 400F. Using an 8×8 inch pan, roll out the pie crust and cut to fit the bottom of the dish. Cut to be slightly bigger than the bottom since it will shrink as it cooks. Spray the 8×8 pan with non-stick spray and lay the pie crust dough into the bottom.
-
Into a 2 quart saucepan add the cornstarch, sugar, and salt. Give a quick whisk. Whisk the warm water, lemon juice, and zest into the saucepan. Turn the burner on medium-low. Stir until the mixture begins to boil. Remove from the heat.
-
In a small bowl, whisk the egg yolks. One Tablespoon at a time, drizzle five Tablespoons of the cornstarch mixture into the egg yolks, whisking to avoid clumping.
-
Next drizzle the warmed egg yolk mixture into the saucepan with the cornstarch to fully temper. Return to heat and whisk until thick, without boiling, for about 10 minutes. Add the butter and stir until melted.
-
Pour the lemon mixture over the unbaked pie crust.
Make the Meringue Topping
-
In a large bowl or stand mixture, add the egg whites and pinch of salt. Beat on high speed until soft white peaks form.
-
Keeping the speed on high, slowly add in sugar 1 Tablespoon at a time until all sugar is incorporated. Keep beating until stiff white peaks have formed. This will look similar to the texture of marshmallow fluff, will be glossy, and pull from the bowl during beating in a ribbon-like form. Removing the beater from the bowl should show the meringue holding form in a stiff peak.
-
Spoon out the meringue topping onto the still warm filling. Use the back of a spoon or a rubber spatula to pat the meringue making the traditional peaks of a lemon meringue.
-
Bake at 400F for 10-15 minutes on the center wrack. Remove from the oven when the meringue is set and browning on the tips.
-
Allow to cool at room temperature for 1 hour, refrigerate and allow to chill for 4-8 hours before serving.
Nutrition
Tried this Recipe? Pin it for Later!Follow on Pinterest @AmandasCookin or tag #AmandasCookin!
The recipes on this blog are tested with a conventional gas oven and gas stovetop. It’s important to note that some ovens, especially as they age, can cook and bake inconsistently. Using an inexpensive oven thermometer can assure you that your oven is truly heating to the proper temperature. If you use a toaster oven or countertop oven, please keep in mind that they may not distribute heat the same as a conventional full sized oven and you may need to adjust your cooking/baking times. In the case of recipes made with a pressure cooker, air fryer, slow cooker, or other appliance, a link to the appliances we use is listed within each respective recipe. For baking recipes where measurements are given by weight, please note that results may not be the same if cups are used instead, and we can’t guarantee success with that method.
