The Ultimate Homemade Crispy Chicken Burger Recipe: Golden, Juicy & Irresistibly Crunchy
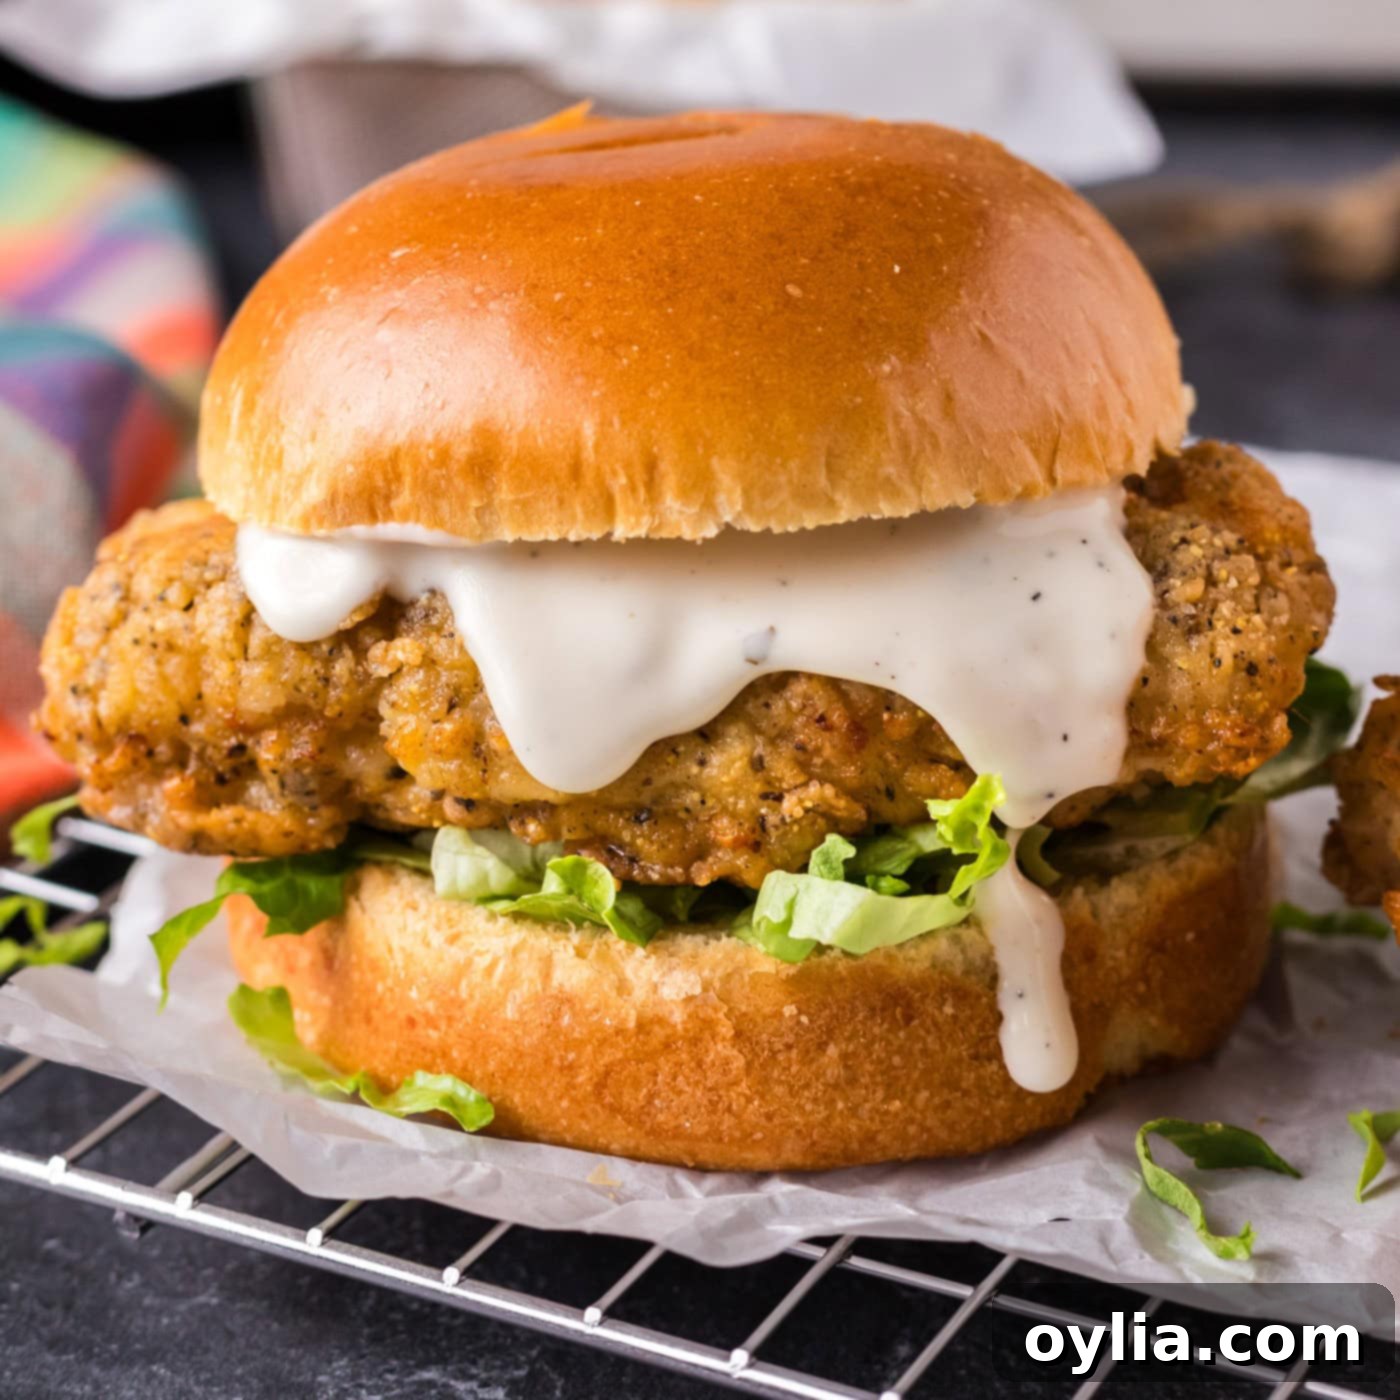
Prepare for an explosion of flavor and texture with this ultimate crispy chicken burger recipe! Imagine a chicken patty that’s magnificently golden and satisfyingly crunchy on the outside, yet incredibly tender and juicy on the inside. This isn’t just any chicken sandwich; it’s a culinary masterpiece that promises to elevate your homemade meal experience to new heights. Forget the drive-thru, because once you master this recipe, you’ll be craving these perfectly crafted burgers every time. Get ready to impress your taste buds and your guests with this simple yet sensational dish that’s perfect for any occasion, from weeknight dinners to weekend BBQs.
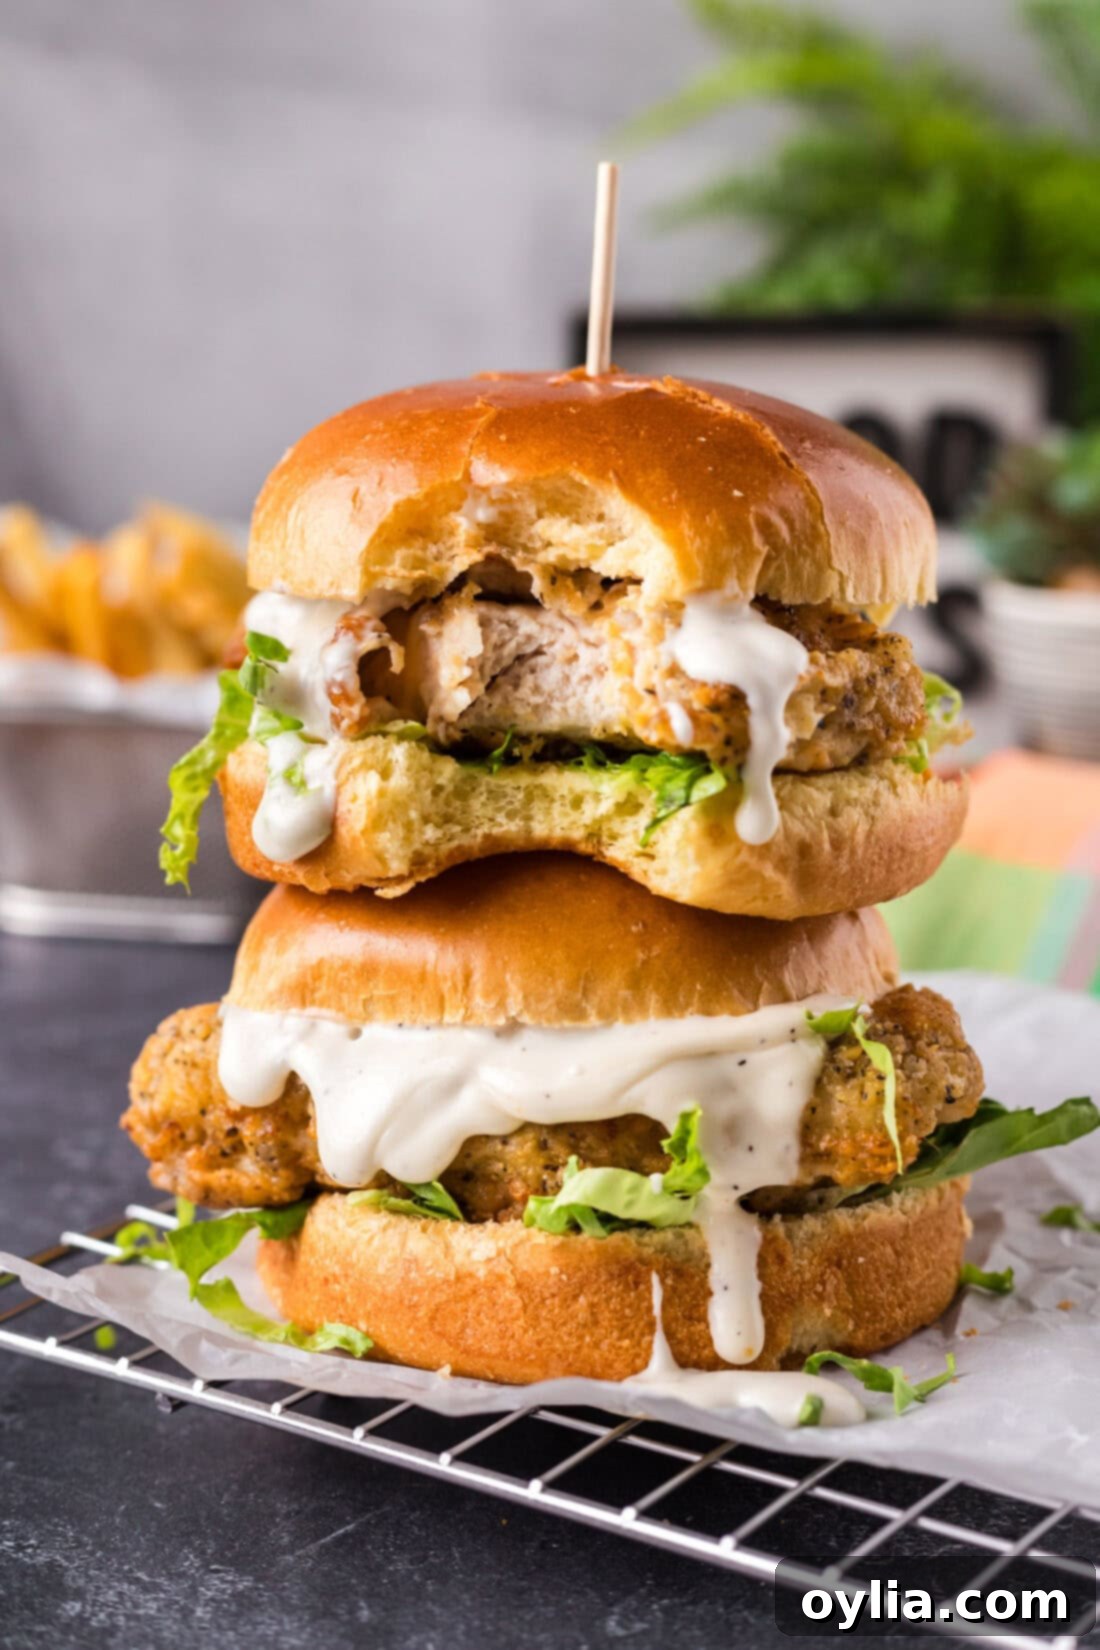
Why This Crispy Chicken Burger Recipe Works So Well
Whether you call it a crispy chicken burger or a crispy chicken sandwich, the secret to its undeniable appeal lies in the impeccable crunch and succulent interior. This recipe stands out because it focuses on perfecting the foundational elements, ensuring every bite is a triumph of flavor and texture. It all begins with our expertly crafted, extra crunchy fried chicken breading – a game-changer that sets this recipe apart from the rest.
Our method involves a strategic double-dredge process that guarantees maximum crispiness. First, the chicken is thoroughly coated in a meticulously seasoned flour mixture. This initial layer adheres to the chicken, forming a flavorful base. Next, it takes a refreshing dip into a buttermilk and egg mixture. This isn’t just for moisture; the acidity in the buttermilk works wonders, tenderizing the chicken while also creating a sticky surface for the final breading layer to cling to. Finally, the chicken goes back into the dry ingredients for a second, generous coating. This double-layer approach is crucial for building that robust, shattery crust that makes crispy chicken so irresistible.
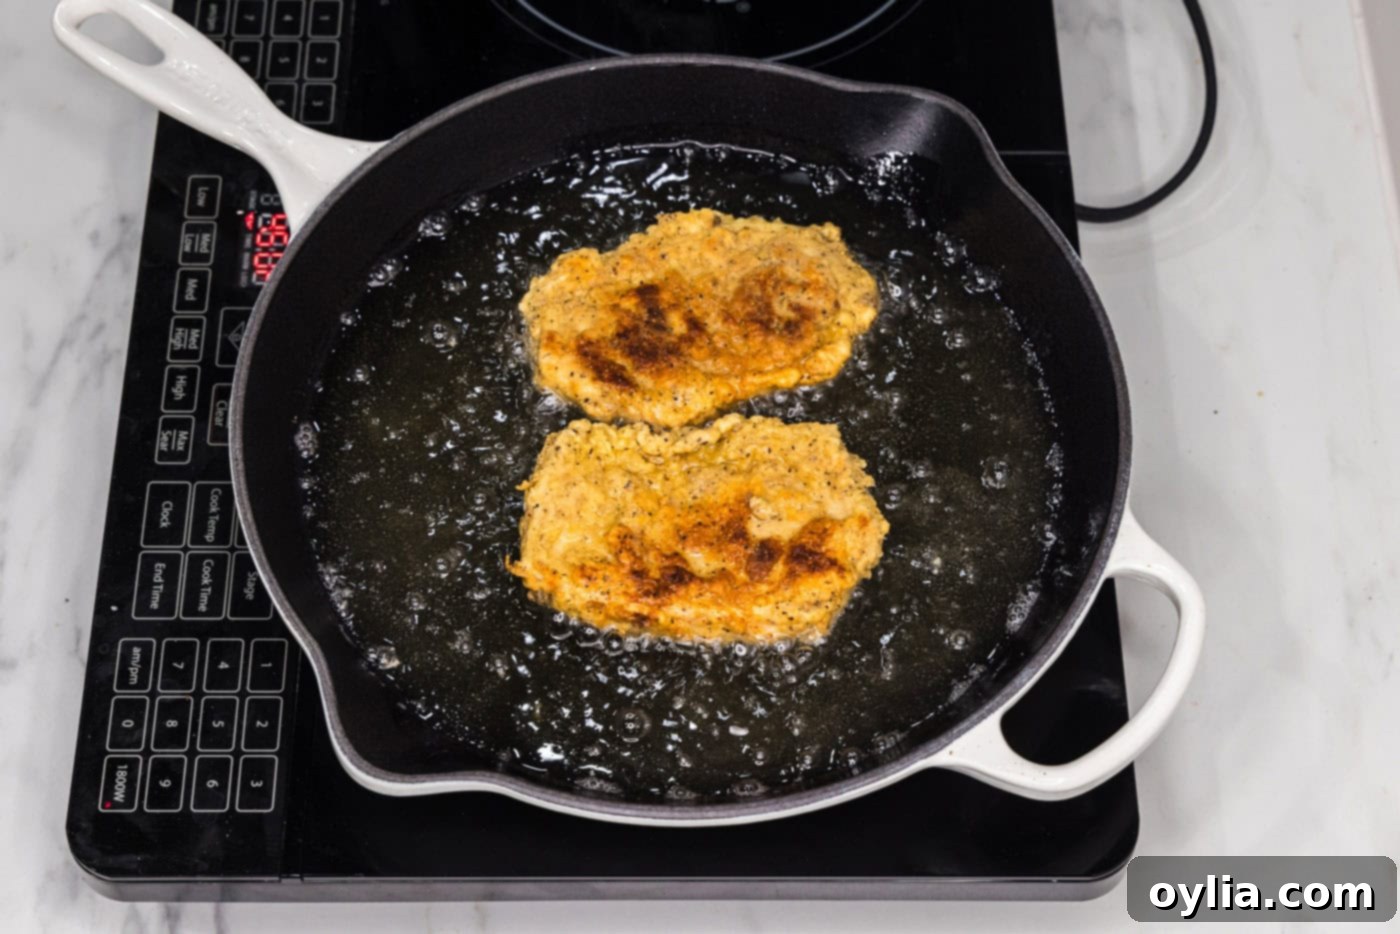
The cooking technique is just as vital. Pan-frying these perfectly breaded patties until they achieve a glorious golden hue and an audibly crisp texture is a skill worth mastering. The carefully controlled oil temperature ensures that the chicken cooks through evenly, remaining juicy, without the breading burning too quickly. This thoughtful combination of a superior breading technique and precise frying creates a foundation that truly makes a world of difference. It’s the reason why this homemade crispy chicken burger will become your new favorite!
Key Ingredients for Your Crispy Chicken Burger
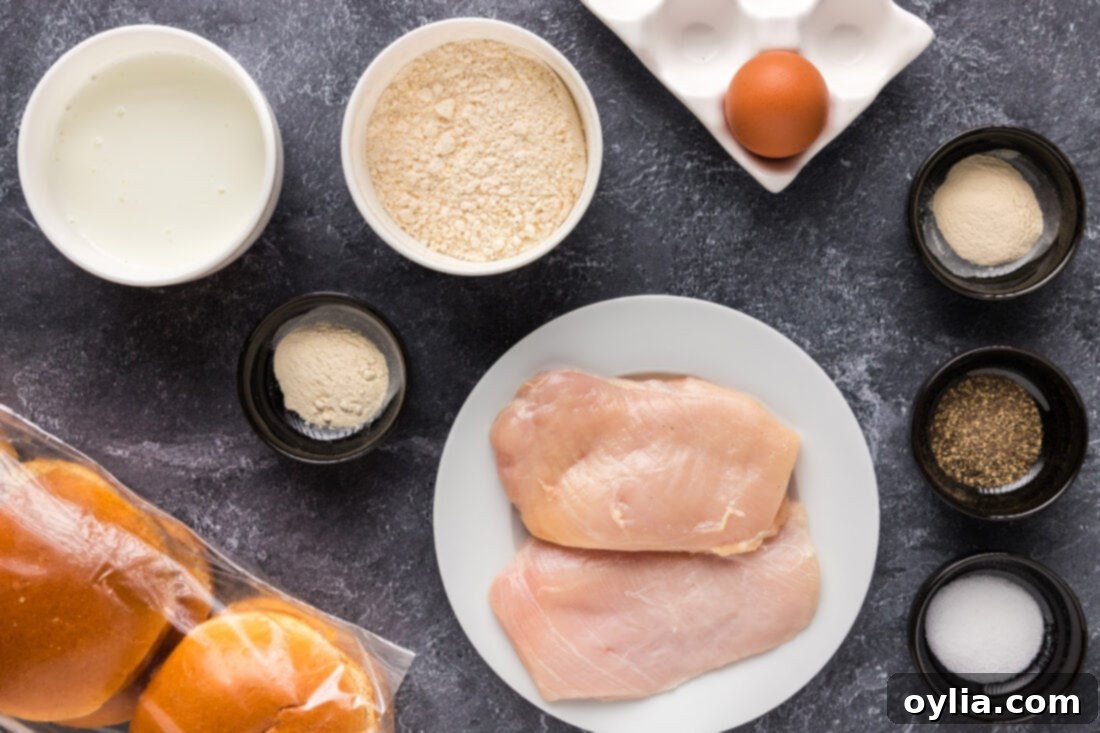
Crafting the perfect crispy chicken burger starts with a selection of fresh, high-quality ingredients. While the full list with precise measurements is available in the printable recipe card at the end of this post, let’s highlight some of the essential components that bring this dish to life. Gathering all your ingredients before you begin cooking (mise en place) will ensure a smooth and enjoyable cooking experience. You’ll be surprised at how simple these ingredients are, yet how transformative they become when combined correctly.
Ingredient Spotlight & Smart Substitutions
Understanding each ingredient’s role is key to mastering this recipe and confidently experimenting with substitutions. Here’s a deeper dive into the main components:
- CHICKEN: This recipe specifically calls for boneless, skinless chicken breasts. The beauty of chicken breasts is their lean protein content and relatively quick cooking time. For best results, you’ll want to carefully trim them to an even thickness – ideally about ½ to ¾ inch. This ensures they cook uniformly and thoroughly in the hot oil without drying out or having raw spots. A great tip for achieving even thickness is to place the chicken breast between two sheets of plastic wrap and gently pound it with a meat mallet or a heavy rolling pin.
- Substitution Suggestion: While breasts are excellent, boneless, skinless chicken thighs can also be used for an even juicier, richer flavor. Their natural fat content makes them very forgiving and difficult to overcook. Just ensure they are trimmed and flattened evenly as well. If using chicken tenders, cooking time will be significantly reduced, so watch them carefully.
- BREADING: The flour mixture is the backbone of our crispy coating. It’s not just plain flour; it’s a flavorful blend designed to adhere perfectly. We start with all-purpose flour, which provides a sturdy base. The magic comes from the seasonings: garlic powder, onion powder, salt, and black pepper. These spices infuse the chicken with a savory depth that’s absolutely crucial for that classic fried chicken taste.
- Substitution Suggestion: Feel free to customize your seasoning blend! A pinch of paprika or smoked paprika can add a beautiful color and smoky undertone. For a bit of heat, a dash of cayenne pepper or chili powder works wonders. Dried herbs like oregano or thyme can also be incorporated for an Italian twist. For a gluten-free option, a 1:1 gluten-free all-purpose flour blend can be used, though the texture might vary slightly.
- BUTTERMILK AND EGGS: This wet mixture plays a dual role: it tenderizes the chicken and acts as the perfect adhesive for the breading. The lactic acid in buttermilk helps to break down the chicken fibers, resulting in an exceptionally tender and moist patty. The egg, meanwhile, acts as a binder, ensuring the flour mixture firmly adheres to the chicken, creating a robust crust that won’t fall off during frying.
- Substitution Suggestion: If you don’t have buttermilk on hand, you can easily make your own by adding 1 tablespoon of white vinegar or lemon juice to a regular ½ cup of milk, stirring, and letting it sit for 5-10 minutes until it slightly curdles. For a dairy-free option, unsweetened plain plant-based milk (like almond or soy milk) with a tablespoon of vinegar can mimic buttermilk, though the tenderizing effect might be less pronounced.
- OIL FOR FRYING: The type of oil you use makes a difference in flavor and crispiness. Always opt for an oil with a high smoke point, such as vegetable oil, canola oil, peanut oil, or sunflower oil. These oils can withstand the high temperatures needed for frying without burning and imparting off-flavors to your chicken.
- Substitution Suggestion: While these are standard, avocado oil is another excellent high-smoke-point option if you prefer. Avoid olive oil or butter, as they have lower smoke points and will burn quickly.
- SANDWICH BUNS: The vessel for your glorious chicken! A good bun should be soft enough to cradle the patty and toppings but sturdy enough not to fall apart. Brioche buns are a popular choice for their slightly sweet and rich flavor, while potato buns offer a classic, soft texture.
- Substitution Suggestion: Feel free to use your favorite burger bun – sesame seed buns, whole wheat buns, or even a sturdy sourdough roll can work. Toasting the buns is highly recommended for added texture and to prevent them from getting soggy.
Crafting Your Crispy Chicken Burger: Step-by-Step Guide
These step-by-step photos and detailed instructions are here to help you visualize how to make this delicious recipe. For a quick reference, you can Jump to Recipe to get the printable version of this recipe, complete with precise measurements and instructions at the bottom of this post.
- Prepare the Chicken: Begin by trimming your boneless, skinless chicken breasts to an even thickness, ideally around ½ to ¾ inch. This crucial step ensures that your chicken cooks uniformly and thoroughly. Once trimmed, pat them thoroughly dry with paper towels. Removing excess moisture is vital for the breading to adhere properly and for achieving maximum crispiness. Set the prepared chicken aside.
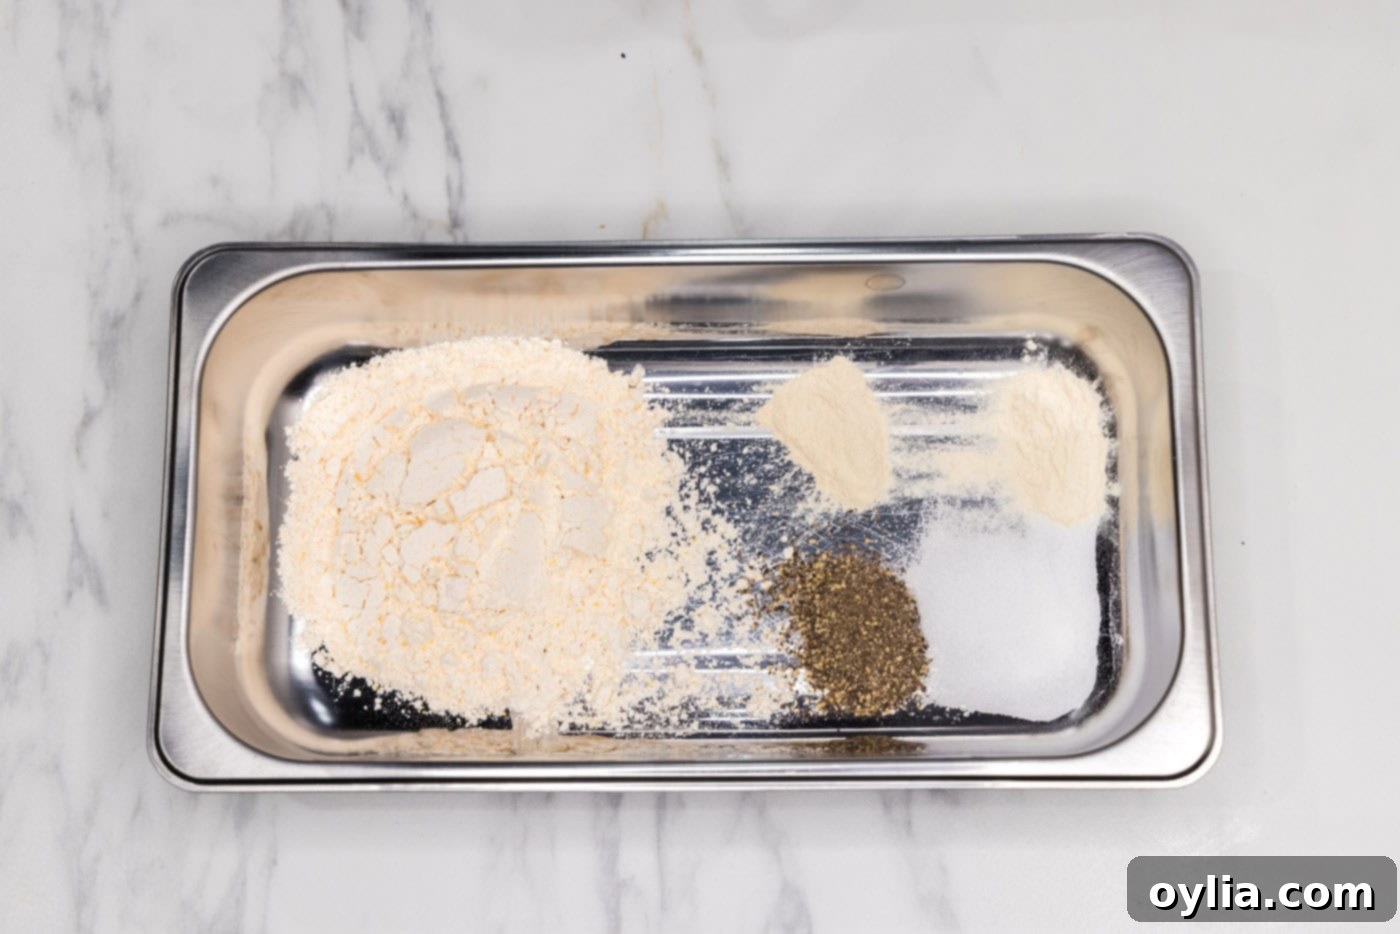
- Set Up Breading Stations: Lay out two breading trays (or shallow bowls/plates if you don’t have dedicated trays). In the first tray, whisk together all the dry ingredients: all-purpose flour, garlic powder, onion powder, salt, and black pepper. Ensure these are thoroughly combined to distribute flavor evenly.
CHEF’S TIP – While we recommend using breading trays for their ease of use and reduced mess, if you don’t have them, shallow bowls, plates, or even flat platters will work perfectly well for setting up your dredging stations.
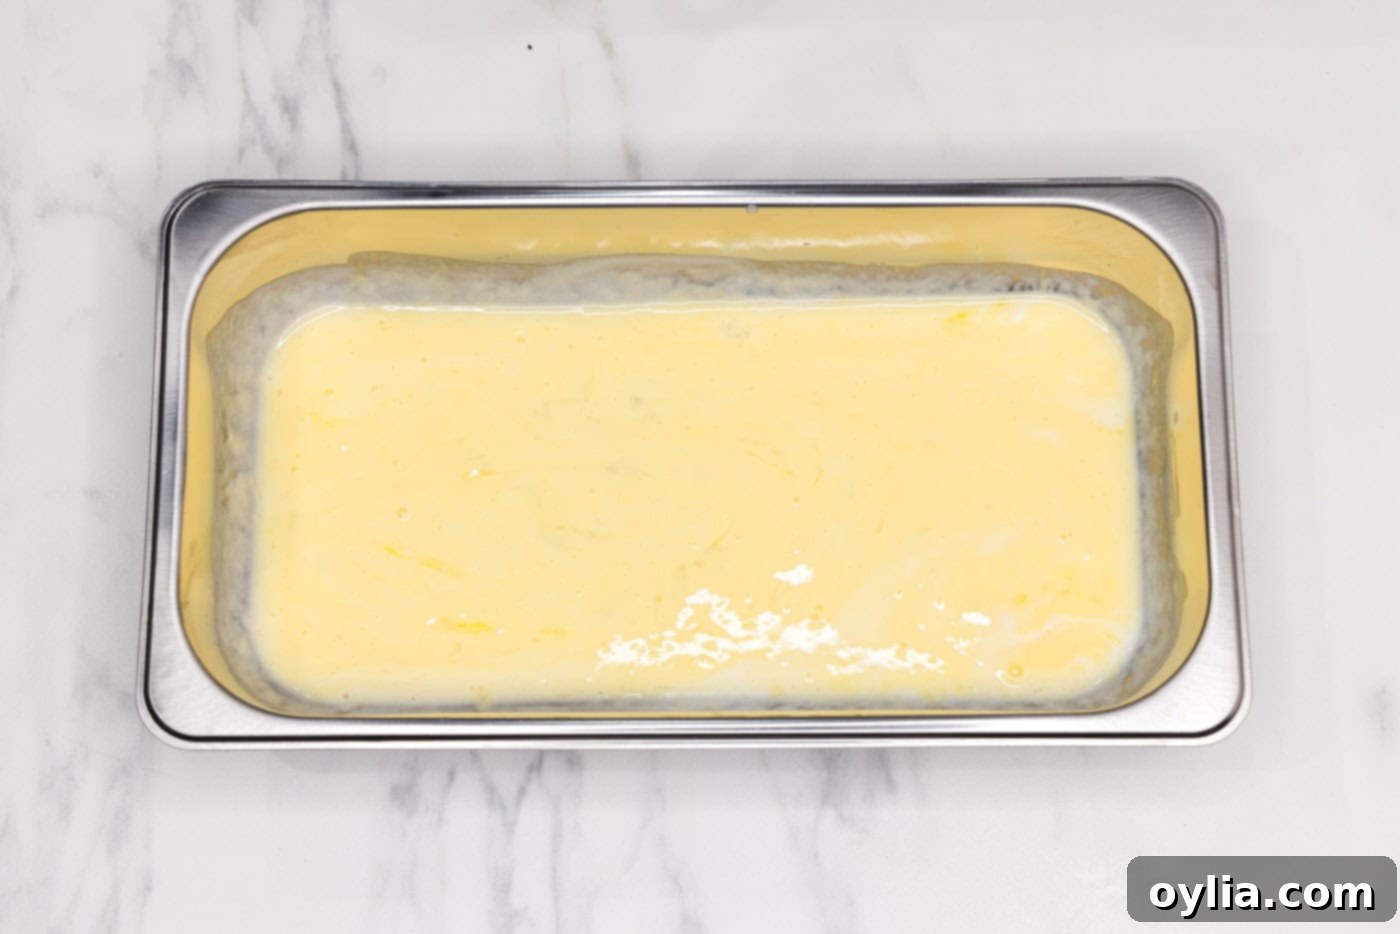
- Prepare Wet Mixture: In the second tray, whisk together the buttermilk and the large egg until well combined. This wet mixture is essential for tenderizing the chicken and providing a sticky surface for the breading.

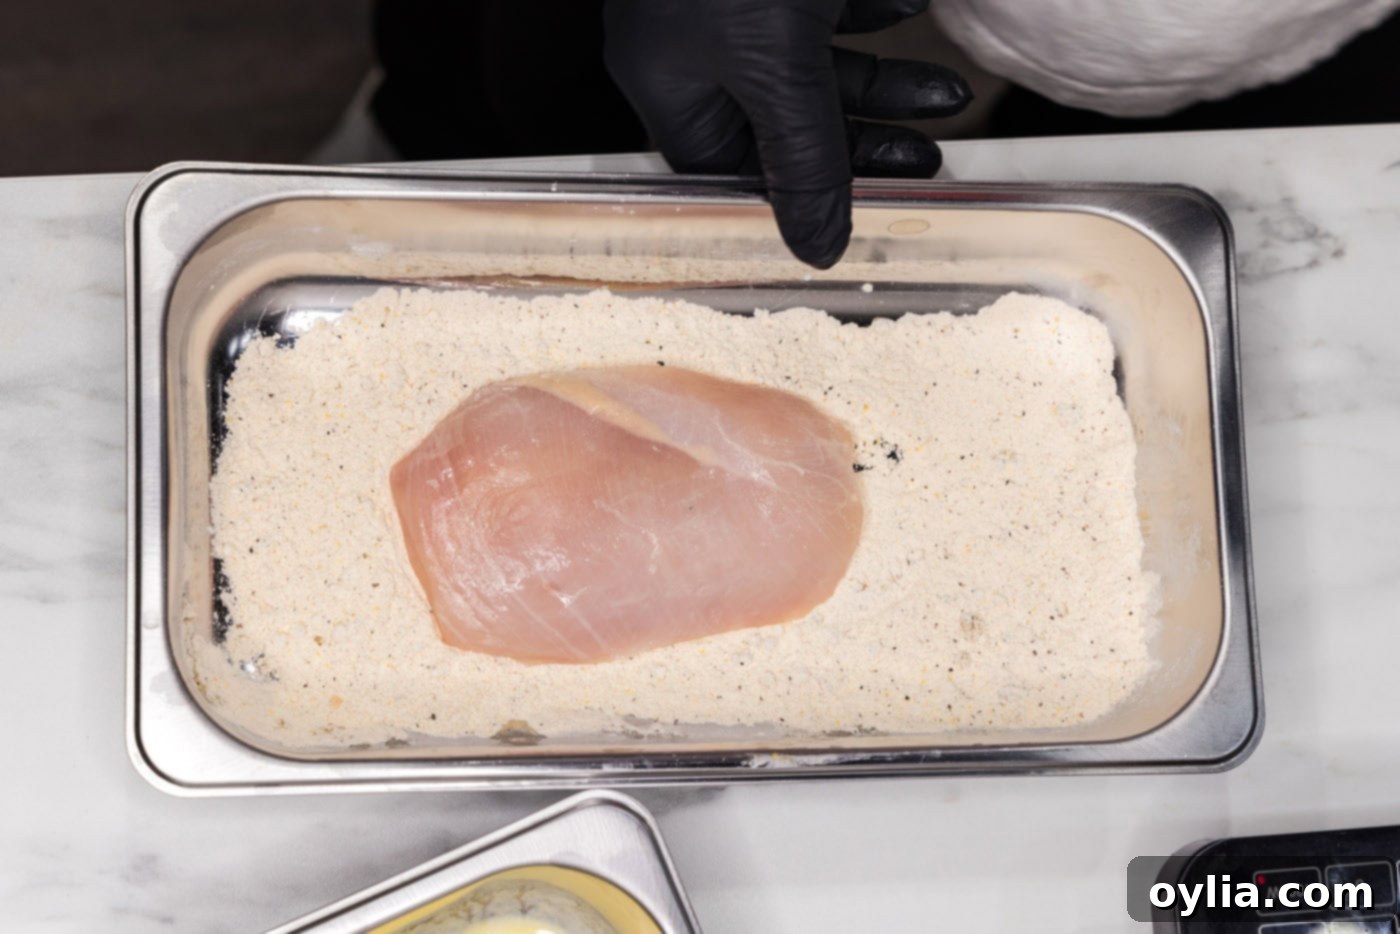
- First Dredge (Dry): Take a chicken breast and dredge it thoroughly in the dry flour mixture. Gently press the flour onto the chicken to ensure it adheres well, covering all surfaces. Lift the chicken and gently shake off any excess flour. This first dry layer creates a solid base for the subsequent coatings.

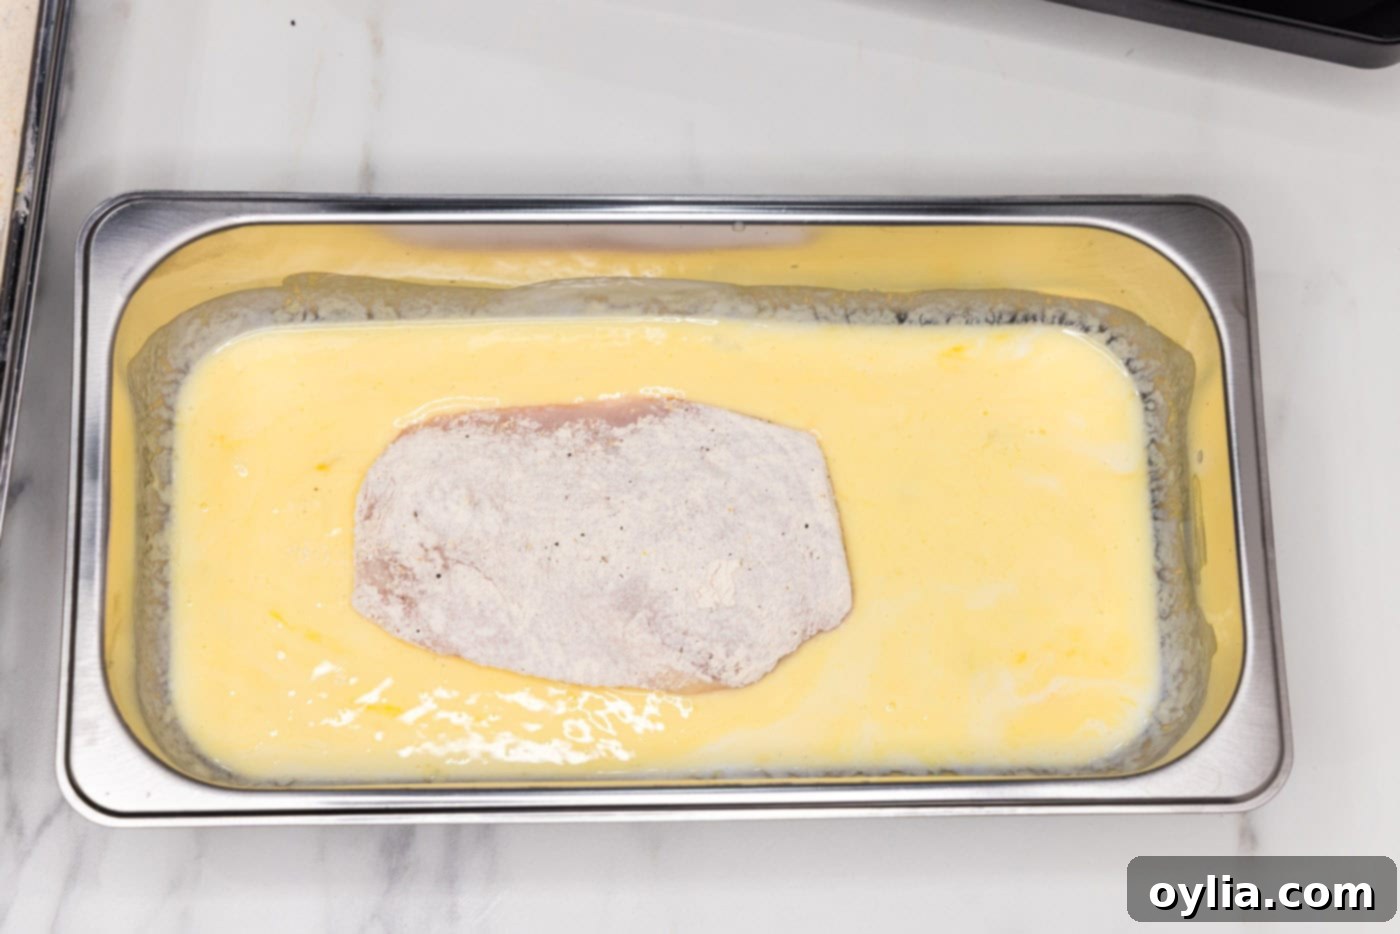
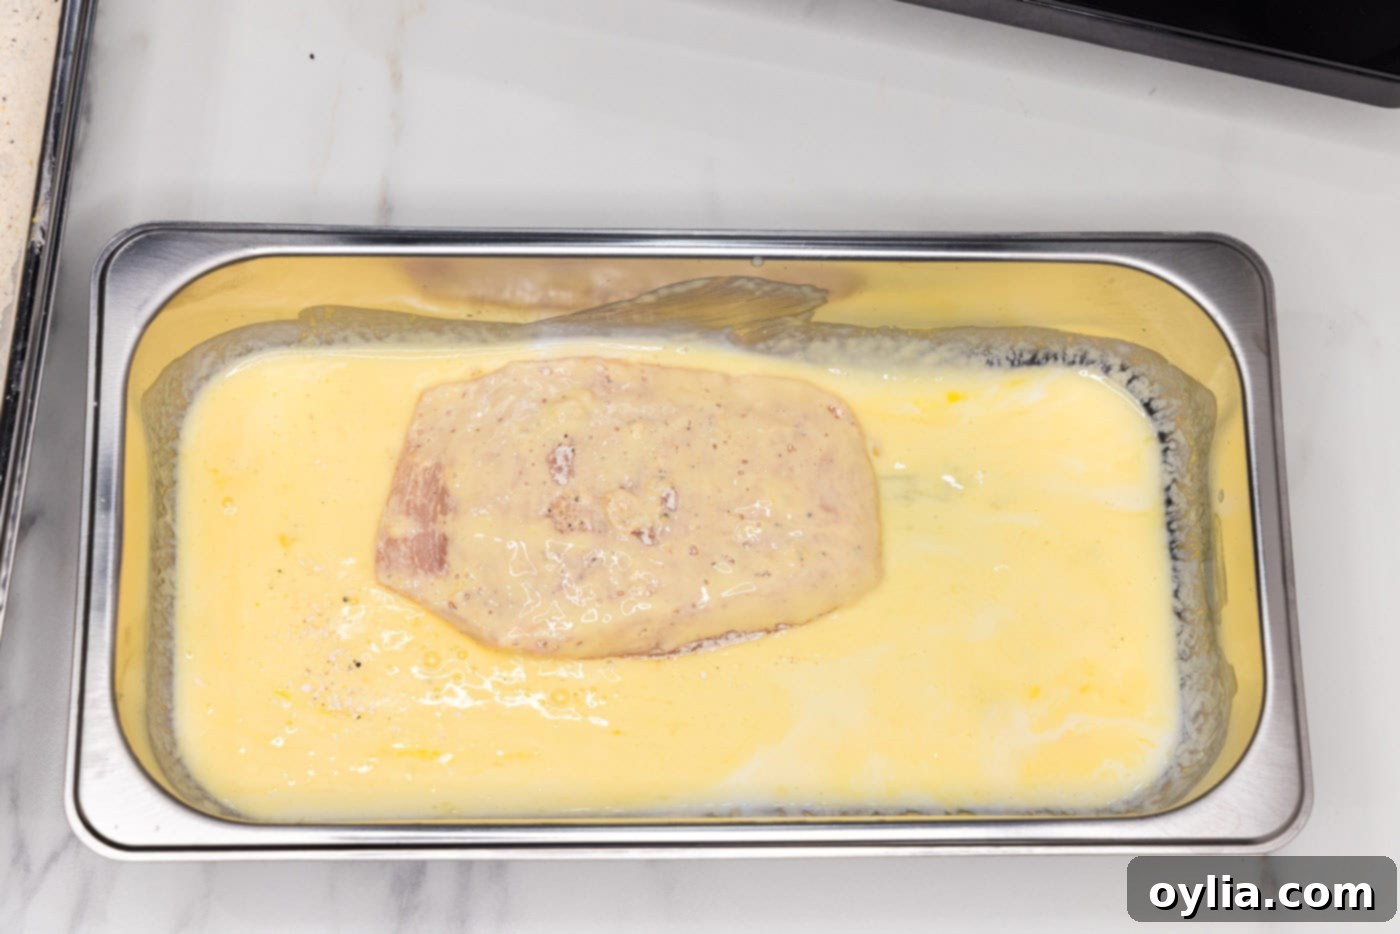
- Wet Dip: Dip the floured chicken breast into the buttermilk and egg mixture. Turn it over to coat completely, ensuring every part of the chicken is moistened. Let any excess liquid drip off before moving to the next step.


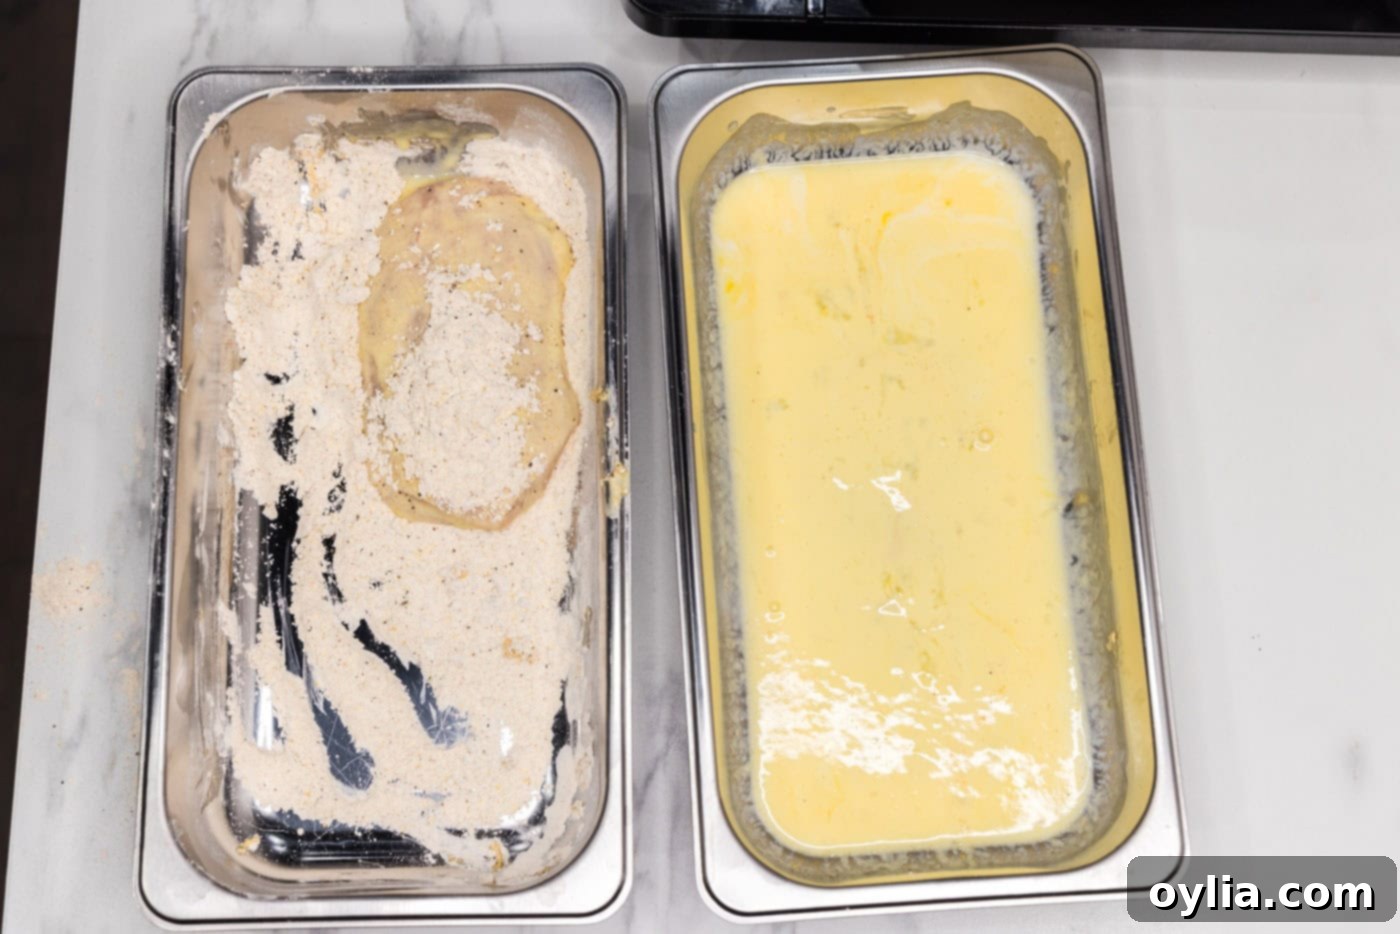
- Second Dredge (Dry) & Rest: Return the chicken breast to the dry flour mixture for a second coat. Again, press gently to ensure complete coverage on all sides. This double breading is what gives the burger its signature extra-crispy crust. Once fully coated, place the breaded chicken on a wire rack. Allow it to rest for at least 10-15 minutes while you prepare the oil. This resting period is crucial as it helps the breading adhere firmly to the chicken, preventing it from falling off during frying.

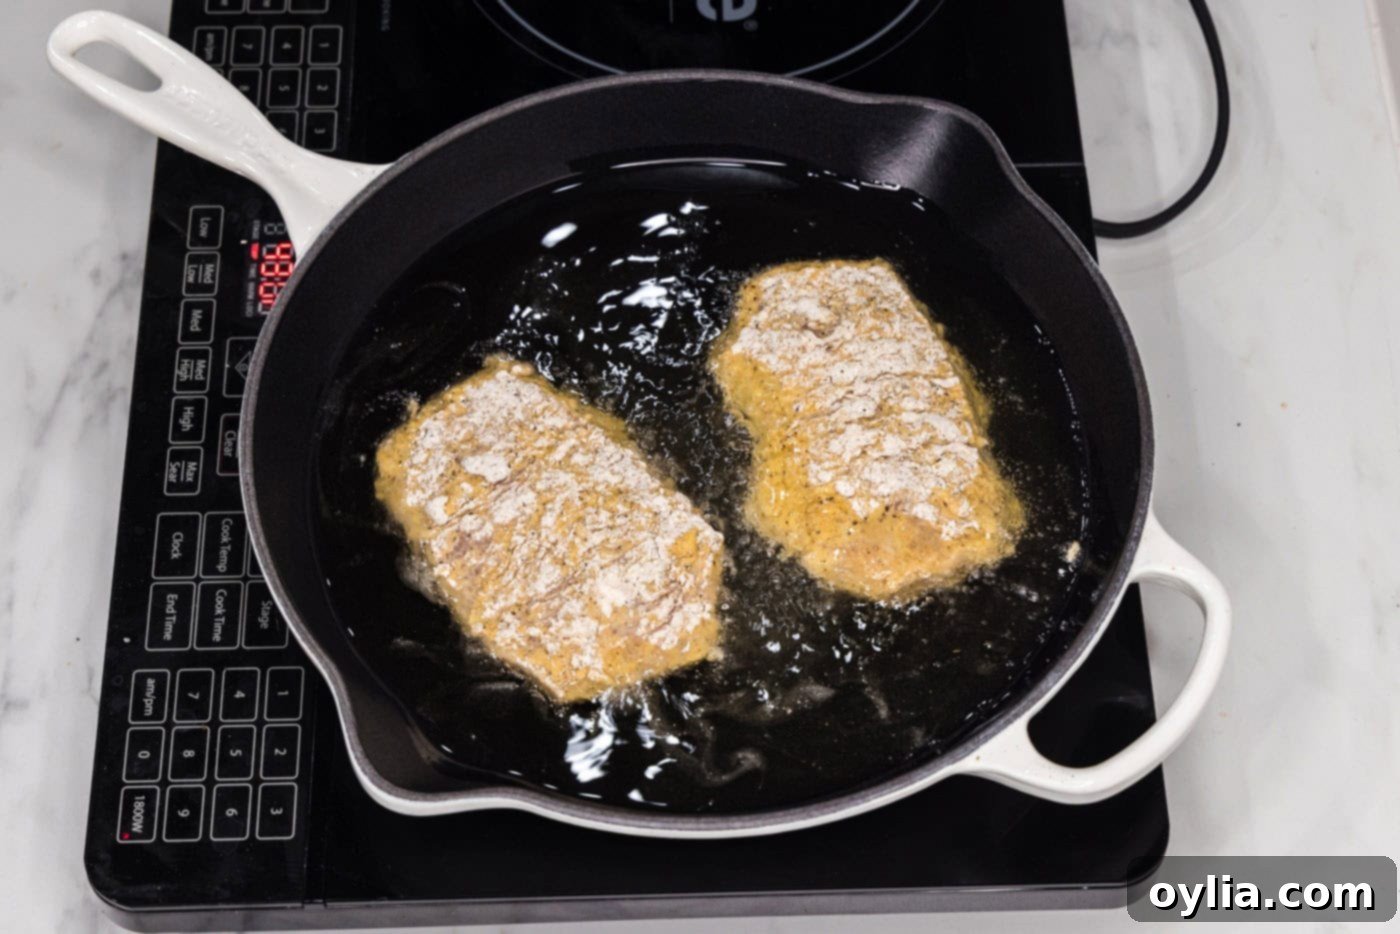
- Heat the Oil: Add enough oil to a large, heavy-bottomed skillet to come about ½-inch up the sides of the pan. Heat the oil over medium-high heat until its temperature reads a precise 345°F (175°C). Maintaining the correct oil temperature is critical for perfectly cooked, crispy chicken that isn’t greasy.
EXPERT TIP – We highly recommend using a heat temperature gun or a reliable deep-fry thermometer whenever you need to heat oil to a specific temperature. It’s not only incredibly accurate but also much safer than traditional thermometers that require you to place your hand near the hot oil. Avoid overcrowding the pan, as this can drop the oil temperature and lead to soggy chicken. - Fry the Chicken: Carefully place the breaded chicken breasts into the hot oil. Cook for approximately 5-7 minutes per side, or until the chicken is beautifully golden brown and the internal temperature reaches 165°F (74°C) as measured with an instant-read thermometer. The cooking time may vary slightly depending on the thickness of your chicken.


- Rest and Serve: Once cooked, remove the crispy chicken patties to a clean wire rack to allow any excess oil to drain off and for the chicken to rest for 2-3 minutes. This resting period helps the juices redistribute throughout the meat, ensuring a tender and moist interior. Serve immediately on your favorite sandwich buns with your desired toppings.
Frequently Asked Questions & Expert Tips for Perfection
To maintain freshness, store any leftover crispy chicken patties in an airtight container in the refrigerator for up to 4 days. When you’re ready to enjoy them again, reheat them in an air fryer at 375°F (190°C) for 5-8 minutes, or in a 350°F (175°C) oven for 10-15 minutes, or until warmed through and the crust has re-crisped. Avoid microwaving, as it will make the breading soggy.
Absolutely! While pan-frying delivers the traditional taste, you can achieve a great crispy chicken burger in an air fryer. After breading, spray the chicken patties lightly with oil. Cook in a preheated air fryer at 375°F (190°C) for 15-20 minutes, flipping halfway through, until the internal temperature reaches 165°F (74°C) and the exterior is golden and crisp. This method uses less oil and is a fantastic alternative.
There are a few key tricks. Firstly, pat the chicken breasts thoroughly dry before the first dredge – moisture is the enemy of adhesion! Secondly, ensure a good, even coat in the buttermilk mixture. Lastly, and most importantly, allow the breaded chicken to rest on a wire rack for at least 10-15 minutes before frying. This rest period gives the breading time to hydrate and bond with the chicken, making it much less likely to fall off in the oil.
Yes, you can! You can bread the chicken patties up to 2-3 hours in advance. After the second dredge, place them on a wire rack set over a baking sheet, cover loosely with plastic wrap, and refrigerate. This even helps the breading adhere better. When ready to cook, let them come to room temperature for about 15-20 minutes before frying for more even cooking.
There are several ways to kick up the heat! You can add ½ to 1 teaspoon of cayenne pepper or smoked paprika to your dry flour mixture for a spicy kick. For an even bolder flavor, incorporate a dash of your favorite hot sauce into the buttermilk mixture. And, of course, serving it with spicy mayo or a drizzle of hot honey is always a fantastic option.
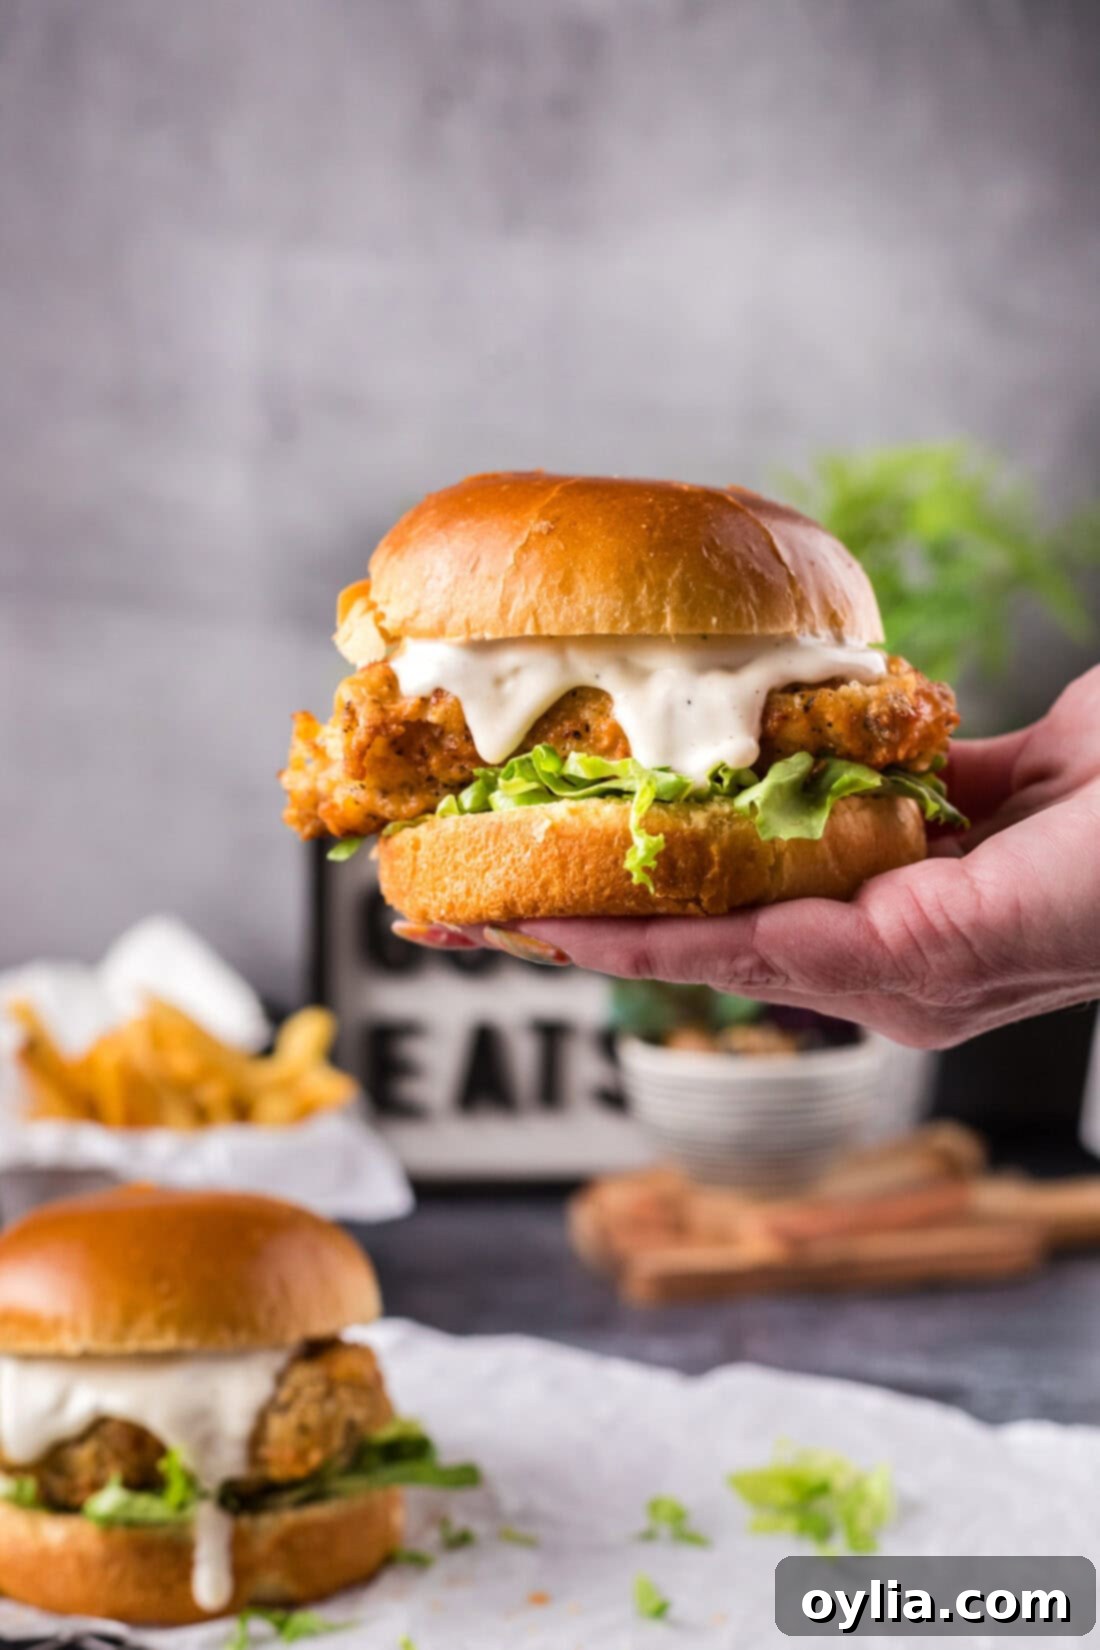
Delicious Serving Suggestions for Your Crispy Chicken Burger
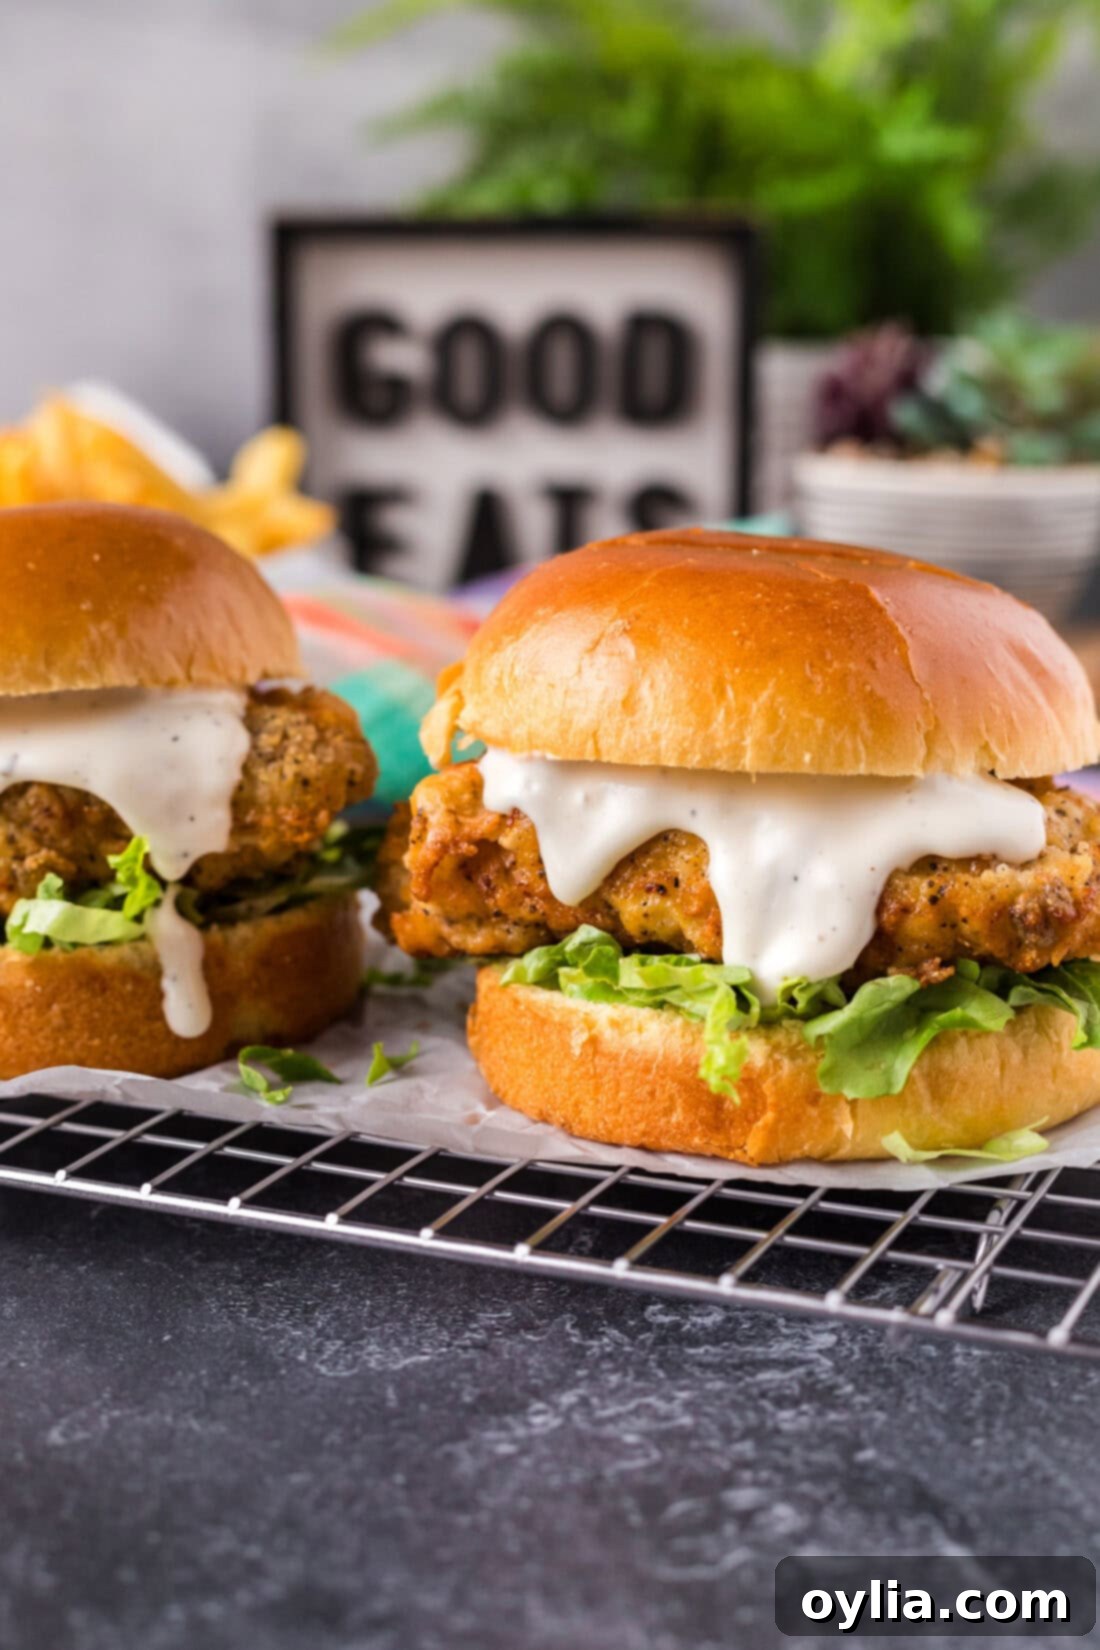
The beauty of a homemade crispy chicken burger lies in its versatility. Once you have that perfectly golden and juicy patty, the possibilities for customization are endless! Serve your glorious crispy chicken burger on soft, toasted sandwich buns with an array of your favorite toppings. Classic choices include crisp slices of fresh tomato, tangy pickles, crunchy iceberg lettuce, thinly sliced red onion, and a generous dollop of creamy mayonnaise. For an extra touch of flavor, consider adding a slice of your favorite cheese, like cheddar or Swiss, which melts beautifully over the hot chicken.
But don’t stop there! Elevate your burger experience with gourmet additions. A drizzle of hot honey can add a fantastic sweet and spicy contrast, while a homemade spicy mayo (simply mix mayo with sriracha or your preferred hot sauce) or a zesty garlic aioli will take your burger to the next level. For an extra crunch, try adding a spoonful of creamy coleslaw directly onto the burger, or some crispy fried onions. Bacon, avocado, or even a fried egg can also turn this into an epic meal.
And what’s a burger without the perfect side? Your crispy chicken burger pairs beautifully with a wide range of classic accompaniments. Enjoy it with a generous portion of crispy french fries, air fryer sweet potato fries, crunchy potato chips, a refreshing side salad, or a classic creamy coleslaw. For something a little different, consider serving it alongside golden onion rings, macaroni and cheese, or even a hearty baked bean salad. The combination of textures and flavors will make for a truly satisfying and unforgettable meal, no matter how you choose to enjoy it!
Discover More Delicious Burger & Sandwich Recipes
If you’ve enjoyed making and devouring this crispy chicken burger, we’re confident you’ll love exploring other exciting recipes from our collection. Expand your culinary repertoire with these mouth-watering options:
- Classic Fish Burger: A light yet satisfying alternative, perfect for seafood lovers.
- Juicy Smash Burger: For those who love a classic beef burger with a delightfully crispy edge.
- Spicy Oven Fried Chicken: Enjoy the flavors of fried chicken with a healthier twist, baked in the oven.
- Pork Tenderloin Sandwiches (Schnitzel Style): A European-inspired sandwich featuring tender, breaded pork.
- Simple & Delicious Chicken Sandwich: Another fantastic chicken option, easy for any day of the week.
- Flavorful Lamb Burgers: A unique and aromatic burger that offers a different taste experience.
I love to bake and cook and share my kitchen experience with all of you! Remembering to come back each day can be tough, that’s why I offer a convenient newsletter every time a new recipe posts. Simply subscribe and start receiving your free daily recipes!
Crispy Chicken Burger
IMPORTANT – There are often Frequently Asked Questions within the blog post that you may find helpful. Simply scroll back up to read them!
Print It
Pin It
Rate It
Save ItSaved!
Ingredients
- 8 ounces trimmed boneless, skinless chicken breasts
- ½ cup all purpose flour
- 1 Tablespoon garlic powder
- 1 Tablespoon onion powder
- 1 teaspoon salt
- 1 teaspoon black pepper
- ½ cup buttermilk
- 1 large egg
- oil for frying (e.g., vegetable, canola, peanut)
- 2 sandwich buns
Things You’ll Need
-
Breading trays or shallow bowls
-
Whisk
-
Large heavy bottomed skillet
-
Heat temperature gun or other deep-fry thermometer
Before You Begin
- It is crucial to trim the chicken breasts to an even thickness (around ½ to ¾ inch) so they cook evenly and thoroughly in the oil. Uneven pieces can lead to some parts being overcooked and dry, while others remain undercooked.
- For setting up your breading stations, dedicated breading trays are convenient. However, if you don’t have them, shallow bowls, plates, or platters will work perfectly fine. Just ensure they are wide enough to comfortably dredge the chicken.
- Accurate oil temperature is key to perfectly crispy and juicy chicken. We strongly recommend using a heat temperature gun or a reliable deep-fry thermometer to monitor the oil temperature. This ensures it stays at the optimal 345°F (175°C), preventing the chicken from becoming greasy (if too low) or burning (if too high). It’s also much safer than guessing or using a less precise method.
- Don’t skip the resting period after breading the chicken. Letting the breaded chicken sit on a wire rack for 10-15 minutes allows the breading to adhere properly to the chicken, significantly reducing the chances of it falling off during frying.
Instructions
-
Trim chicken breasts to an even thickness (approx. ½ to ¾ inch) and pat them very dry with paper towels. Set aside.
-
Set up two breading trays. In the first tray, whisk together all the dry ingredients (flour, garlic powder, onion powder, salt, and black pepper).
-
In the second tray, whisk together the buttermilk and egg until well combined.
-
Dredge each chicken breast in the dry flour mixture, gently pressing to ensure a thorough coating. Shake off any excess flour.
-
Dip the floured chicken breast into the wet egg mixture, turning to coat completely. Let excess liquid drip off.
-
Return the chicken breasts to the flour mixture for a second coat, pressing gently to cover all sides. Place the double-breaded chicken on a wire rack to rest for 10-15 minutes while you heat the oil.
-
Add enough oil to a large, heavy-bottomed skillet to reach about ½-inch up the sides of the pan. Heat the oil over medium-high heat until a heat temperature gun or deep-fry thermometer reads 345°F (175°C).
-
Carefully place the chicken breasts in the hot oil. Cook for approximately 5-7 minutes per side, or until the chicken is golden brown, crispy, and the internal temperature reaches 165°F (74°C). Avoid overcrowding the pan.
-
Remove the cooked chicken to a clean wire rack to drain and rest for 2-3 minutes. Serve immediately on toasted sandwich buns with your favorite toppings.
Expert Tips & FAQs
- Storage and Reheating: Store leftover crispy chicken patties in an airtight container in the refrigerator for up to 4 days. To re-crisp, reheat in an air fryer at 375°F (190°C) for 5-8 minutes or in a 350°F (175°C) oven for 10-15 minutes until thoroughly warmed.
- Even Cooking: Always ensure your chicken breasts are pounded to an even thickness. This is crucial for uniform cooking and to prevent dry spots or undercooked areas.
- Oil Temperature Matters: Maintain the oil temperature at 345°F (175°C) for optimal crispiness and to avoid greasy chicken. A kitchen thermometer is your best friend here!
- The Power of Resting: Don’t skip resting the chicken after breading (10-15 mins) and after frying (2-3 mins). These steps are vital for breading adhesion and juicy results.
- Spice It Up: Customize your spice blend! Add cayenne for heat, smoked paprika for depth, or a mix of dried herbs for a unique flavor profile.
Nutrition
The recipes on this blog are tested with a conventional gas oven and gas stovetop. It’s important to note that some ovens, especially as they age, can cook and bake inconsistently. Using an inexpensive oven thermometer can assure you that your oven is truly heating to the proper temperature. If you use a toaster oven or countertop oven, please keep in mind that they may not distribute heat the same as a conventional full sized oven and you may need to adjust your cooking/baking times. In the case of recipes made with a pressure cooker, air fryer, slow cooker, or other appliance, a link to the appliances we use is listed within each respective recipe. For baking recipes where measurements are given by weight, please note that results may not be the same if cups are used instead, and we can’t guarantee success with that method.
