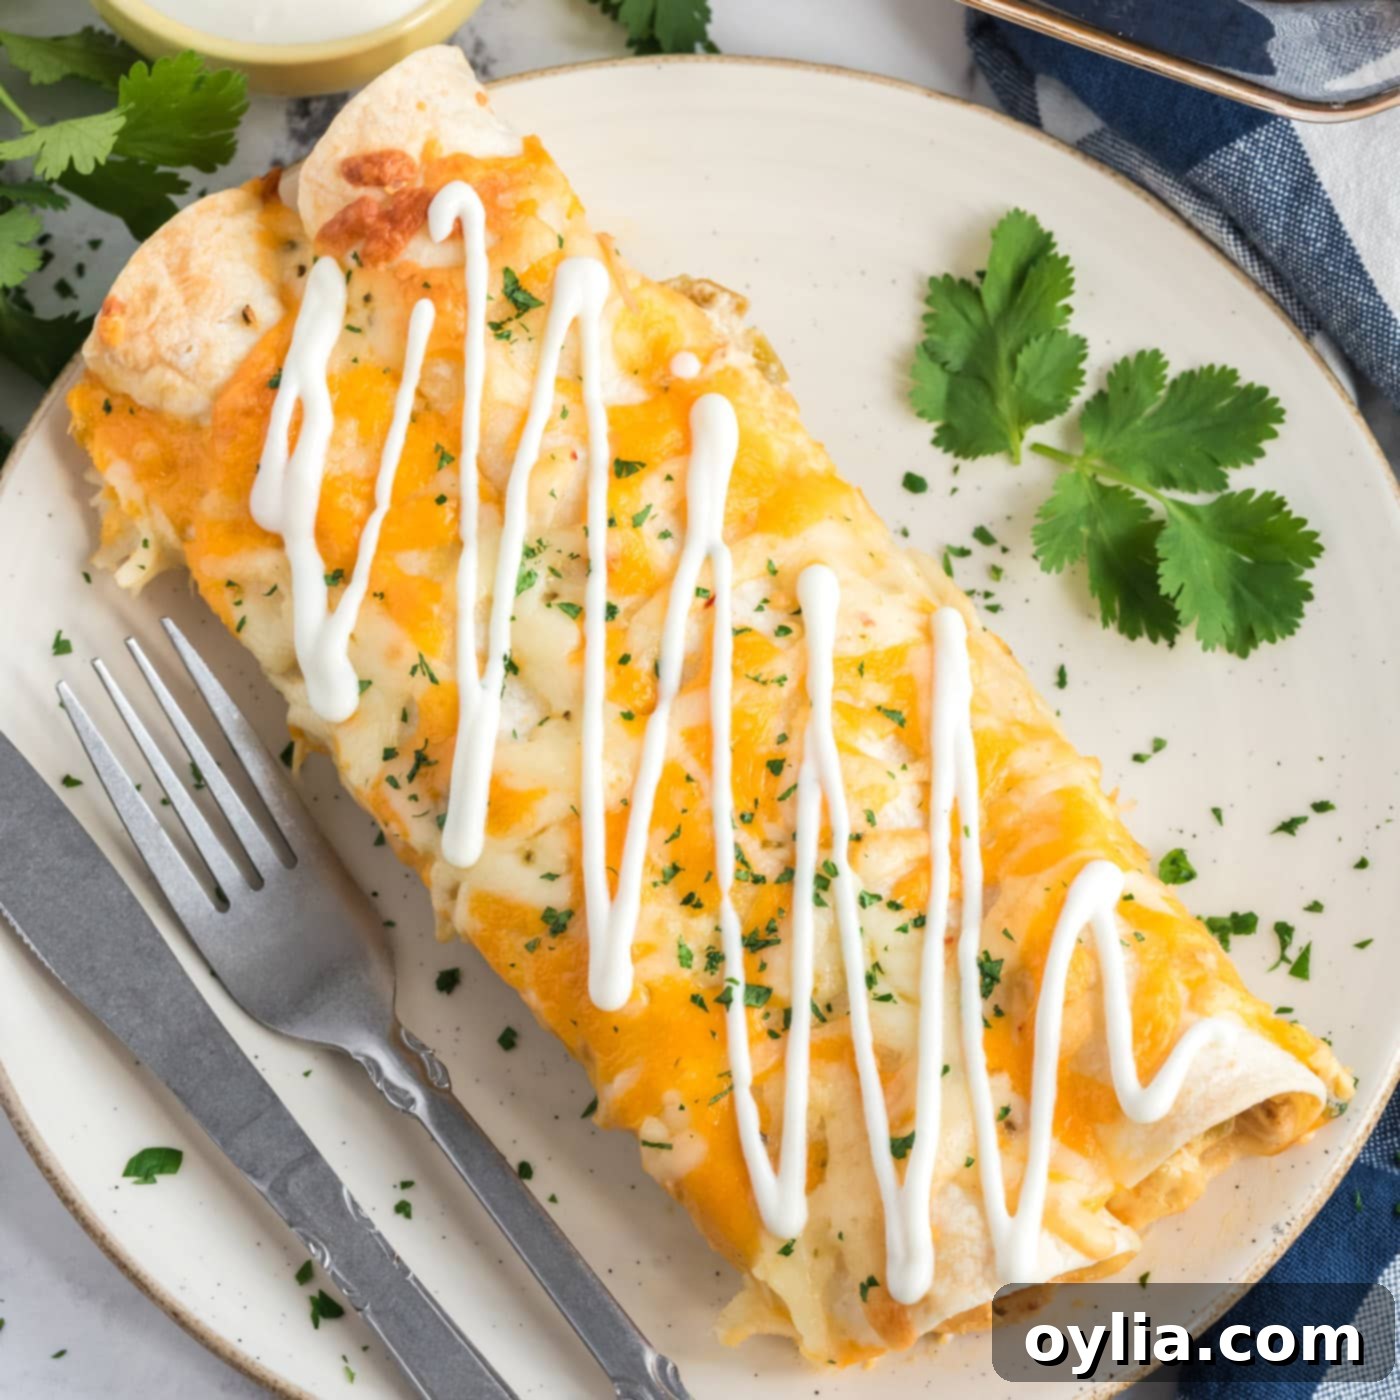
Authentic & Easy Shredded Chicken and Green Chile Enchiladas: A Flavorful Weeknight Delight
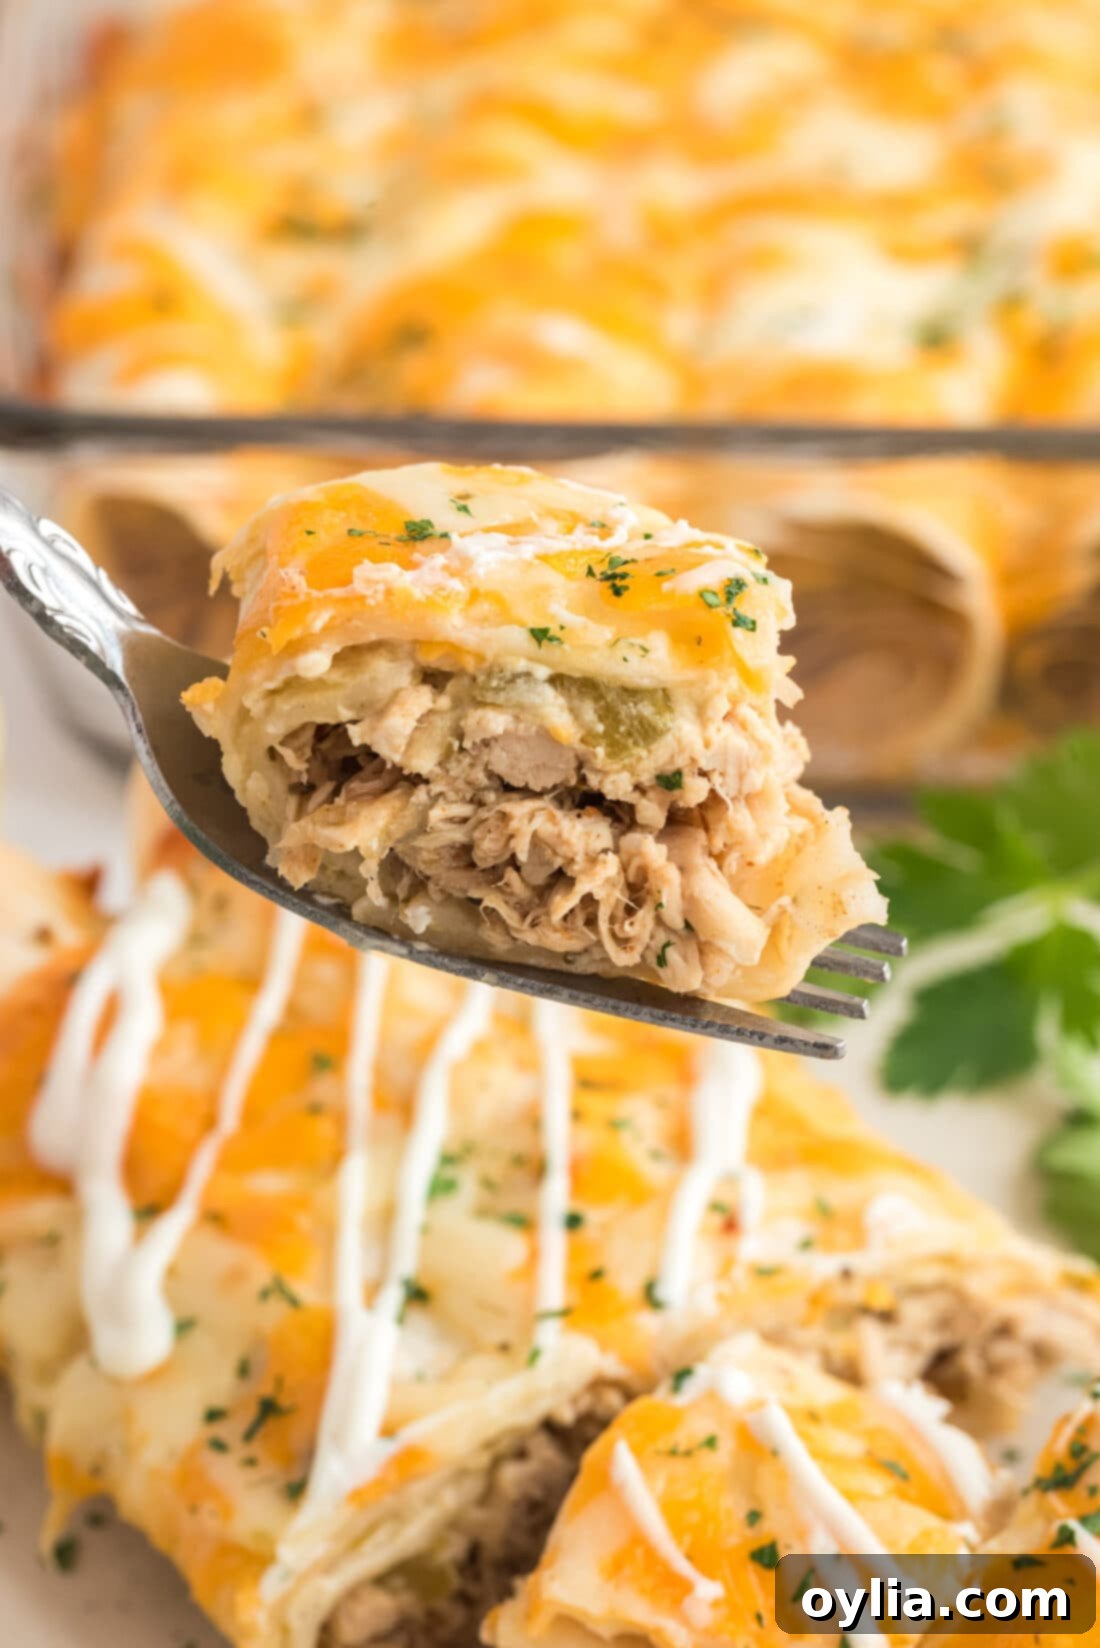
Craving a hearty, satisfying, and incredibly flavorful meal that’s both simple to prepare and perfect for a busy weeknight? Look no further than these mouthwatering shredded chicken and green chile enchiladas! Made with a handful of straightforward ingredients, this recipe delivers big on taste without the fuss, making it an ideal choice for a quick dinner or a convenient make-ahead meal. Whether you’re feeding a family or simply looking for delicious leftovers, these enchiladas are guaranteed to become a new favorite in your culinary repertoire.
Why This Recipe Is a Must-Try for Your Kitchen
These shredded chicken and green chile enchiladas aren’t just another dinner recipe; they’re a versatile solution for flavorful, home-cooked meals. Here’s why this recipe truly shines and deserves a spot on your regular rotation:
- Effortless Preparation: This recipe streamlines the cooking process. By utilizing a pre-cooked rotisserie chicken, you cut down significantly on prep time, making it achievable even on the busiest evenings. The steps are straightforward, perfect for both novice cooks and seasoned chefs looking for a quick fix.
- Freezer-Friendly Convenience: Life gets hectic, and having delicious, ready-to-bake meals on hand is a game-changer. These enchiladas are incredibly freezer-friendly, allowing you to prepare a large batch and store them for up to three months. Simply thaw and bake whenever a craving strikes!
- Unique & Irresistible Flavor Profile: While many enchilada recipes call for being smothered in a traditional red or green enchilada sauce, this version offers a delightful twist. The creamy, savory filling, combined with tender shredded chicken and aromatic green chiles, creates a rich, nuanced flavor that stands on its own. It’s a fantastic option if you prefer your enchiladas less saucy, yet still bursting with taste. Of course, a homemade or store-bought enchilada sauce can always be added on top if you wish to customize!
- Adaptable to Your Taste: Enchiladas are celebrated for their adaptability, and this recipe is no exception. It serves as an excellent base for various customizations. Experiment with different types of cheese, adjust the spice level with mild or hot chiles, or even swap out the protein. This flexibility ensures that you can tailor the dish to perfectly suit your family’s preferences every time.
No matter how you choose to enjoy them, enchiladas are a wonderful, comforting meal that can be savored any time of the year. This particular recipe offers a perfect blend of tradition and personal flair, making it a truly special dish.
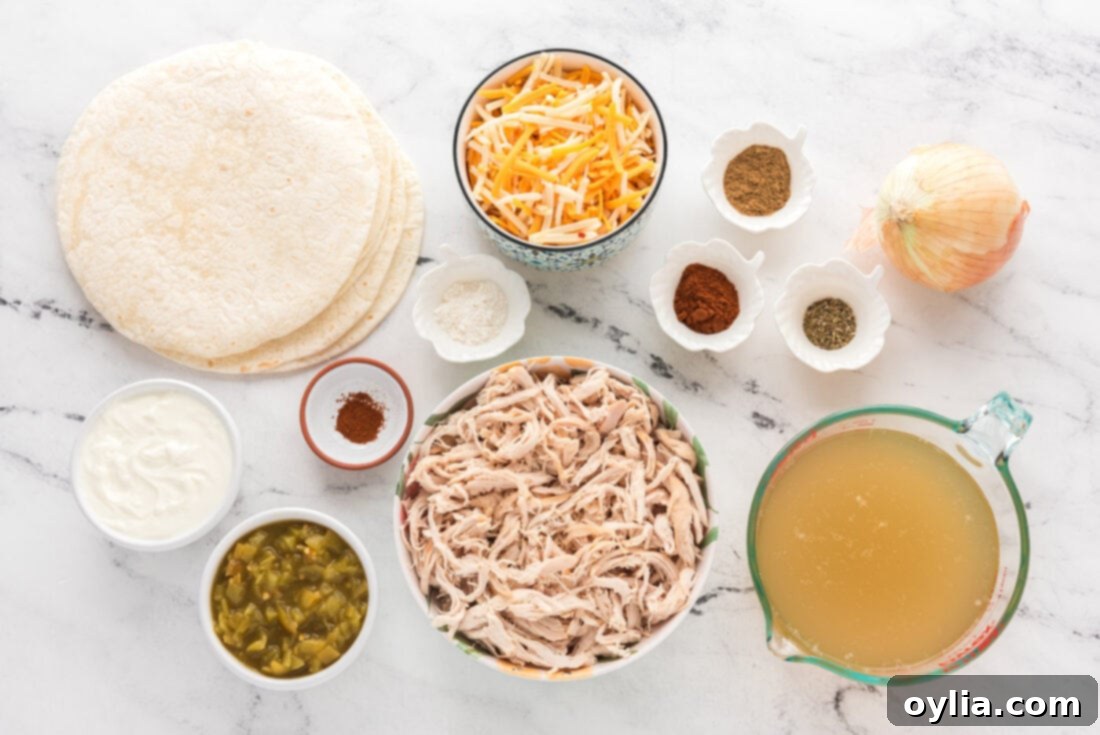
Gather Your Ingredients
Before you begin creating these delightful enchiladas, ensure you have all your ingredients ready. You’ll find a complete list of measurements, ingredients, and detailed instructions in the printable recipe card located at the end of this post.
Ingredient Spotlight & Smart Substitutions
Understanding your ingredients and knowing how to make smart substitutions can elevate your cooking and ensure delicious results every time. Here’s a closer look at the key components for these enchiladas:
CHICKEN: For ultimate convenience and to save precious time, I highly recommend using a store-bought rotisserie chicken. It’s already cooked, seasoned, and easily shredded, making it a fantastic shortcut. However, you have several other excellent options:
- Cook Your Own: If you prefer to cook your chicken from scratch, boneless, skinless chicken breasts or thighs are ideal. You can boil them, bake them, or even use a slow cooker or Instant Pot for tender, easily shreddable results. Cook until the internal temperature reaches 165°F (74°C).
- Leftover Chicken: This recipe is perfect for using up any leftover cooked chicken you might have from a previous meal.
- Homemade Stock: If you do cook your own chicken, especially if you’re boiling it, don’t discard the liquid! Use the flavorful stock it creates in place of the canned chicken broth listed in the recipe. This adds an extra layer of depth to your enchilada filling.
CHEESE: The right cheese can make all the difference. While the recipe calls for Mexican blend cheese, feel free to use your favorite or experiment with different combinations for varied flavors and textures:
- Mexican Blend: This is a reliable choice as it typically combines cheddar, Monterey Jack, Asadero, and Queso Blanco, offering a good melt and balanced flavor.
- Cheddar & Pepper Jack: A popular and delicious duo! Cheddar provides that classic sharp, savory note, while pepper jack adds a subtle, creamy heat.
- Monterey Jack: Excellent for its smooth melting properties and mild, buttery flavor.
- Queso Fresco or Cotija: If you want to add a fresh, crumbly cheese for garnish after baking, these are wonderful authentic options.
TORTILLA: The choice between flour and corn tortillas can significantly impact the texture and integrity of your enchiladas. We generally find that flour tortillas (8-inch size) are easier to work with for this recipe:
- Flour Tortillas: They are more flexible and less prone to tearing when rolled, making them excellent for holding the generous filling without breaking.
- Corn Tortillas: For a more traditional Mexican flavor, corn tortillas are a great alternative. However, they can be a bit more fragile. To prevent them from cracking when rolled, briefly warm them in a dry skillet, microwave, or oven before filling. This makes them pliable. If you opt for corn tortillas, you might end up with a few more enchiladas as they are typically smaller in size.
GREEN CHILES: These add a wonderful, mild Southwestern flavor without overwhelming heat. The recipe uses mild diced green chiles, but if you enjoy more spice, easily swap them for hot green chiles. You can also roast and chop your own fresh Hatch green chiles for an even more vibrant flavor.
SPICES: Chili powder, ground cumin, and dried oregano are the backbone of the savory, earthy flavors in this dish. Ensure your spices are fresh for the most potent and delicious results.
SOUR CREAM: Crucial for the creamy, tangy sauce that binds the filling together and adds a luxurious texture. Full-fat sour cream works best for richness, but you can use light sour cream if preferred.
Step-by-Step Guide to Crafting Perfect Shredded Chicken and Chile Enchiladas
These detailed step-by-step photos and instructions are designed to guide you visually through the process of making this delicious recipe. For a convenient printable version of this recipe, complete with precise measurements and instructions, simply Jump to Recipe at the bottom of this page.
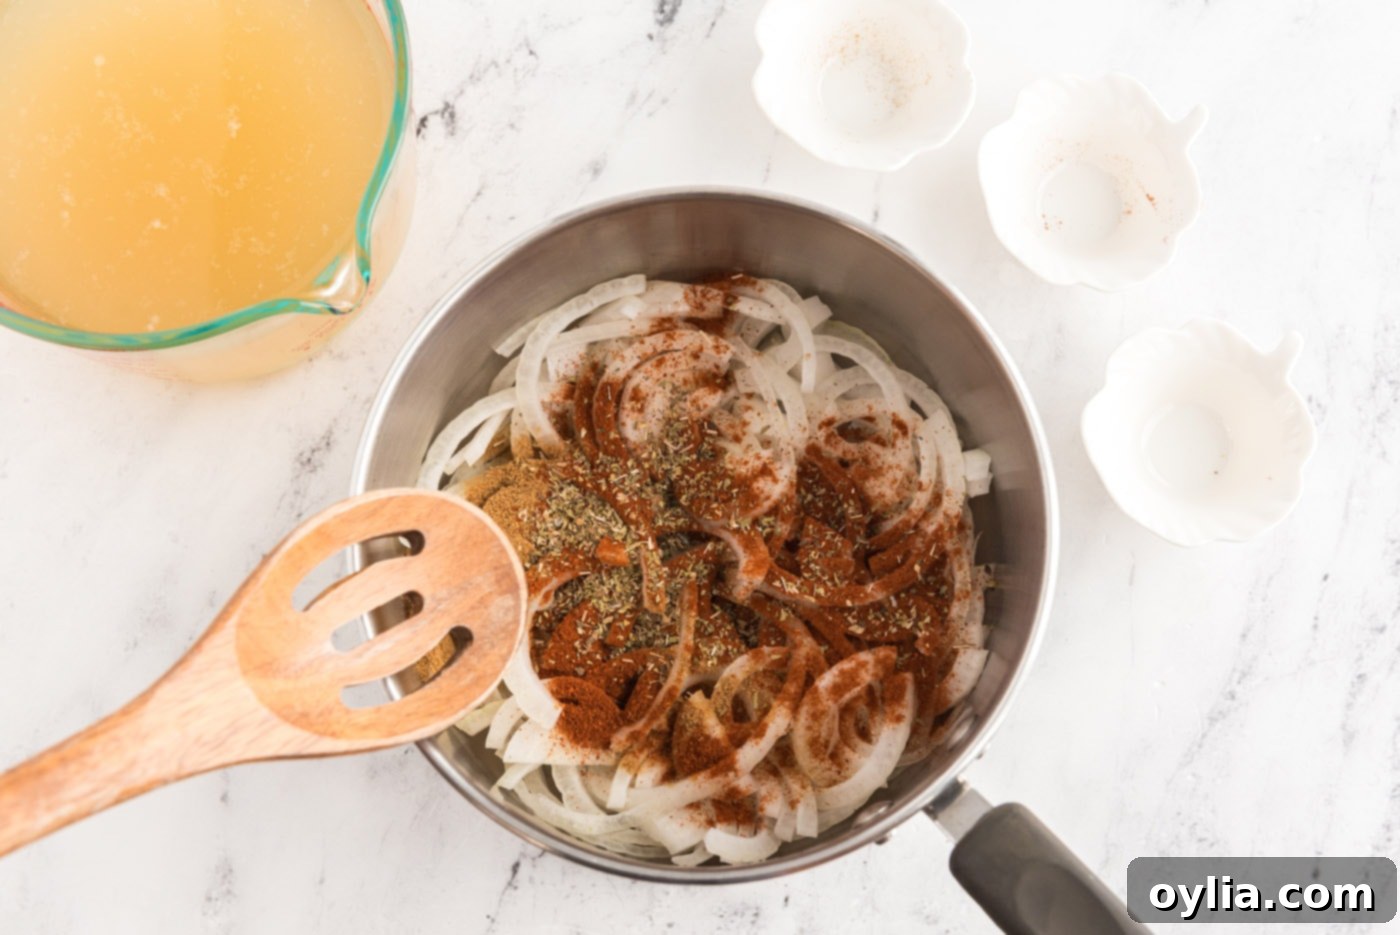
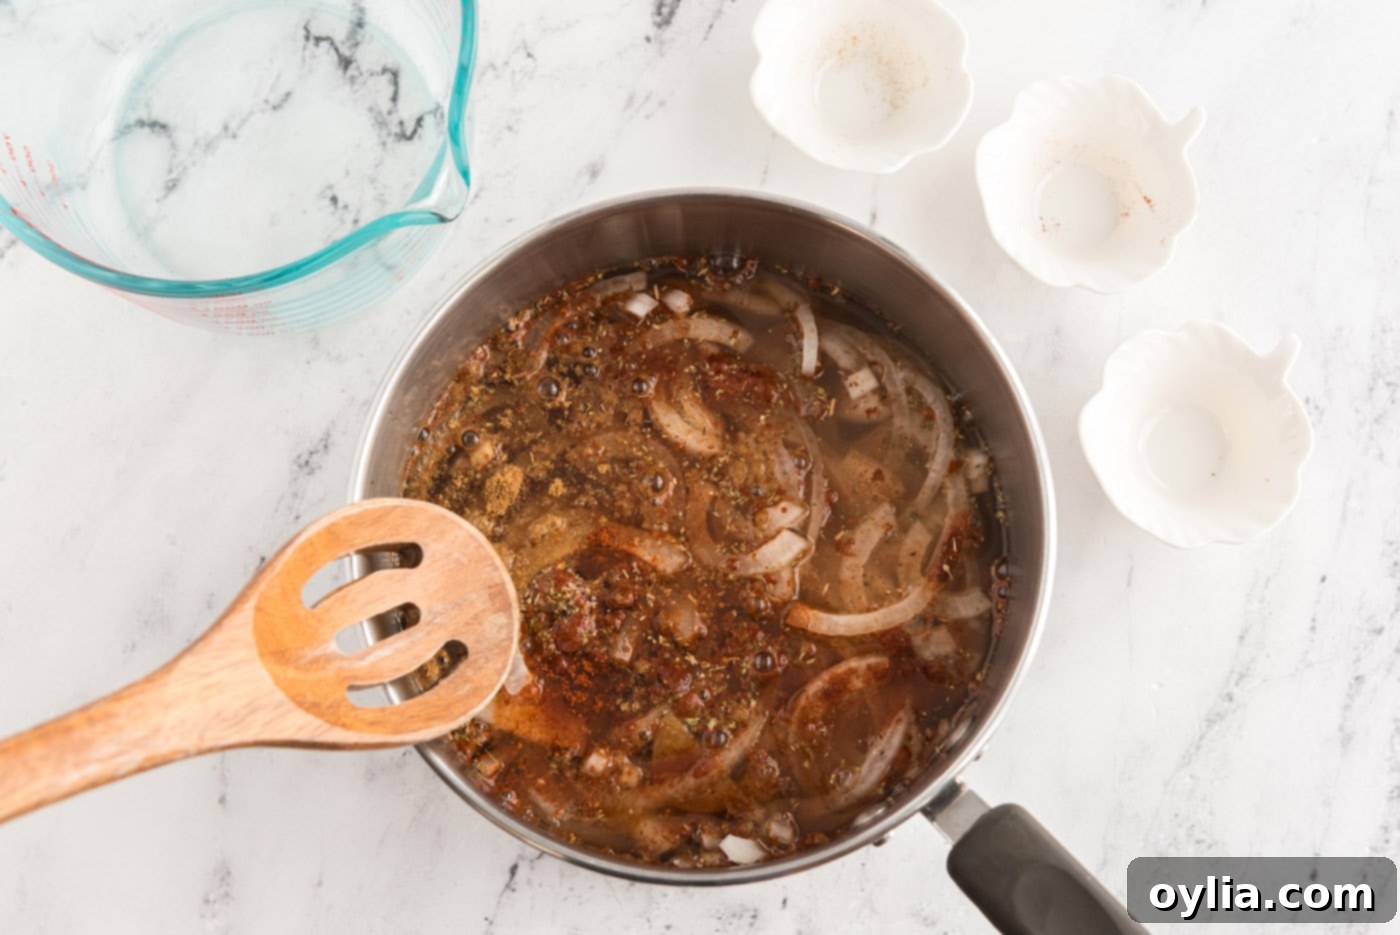
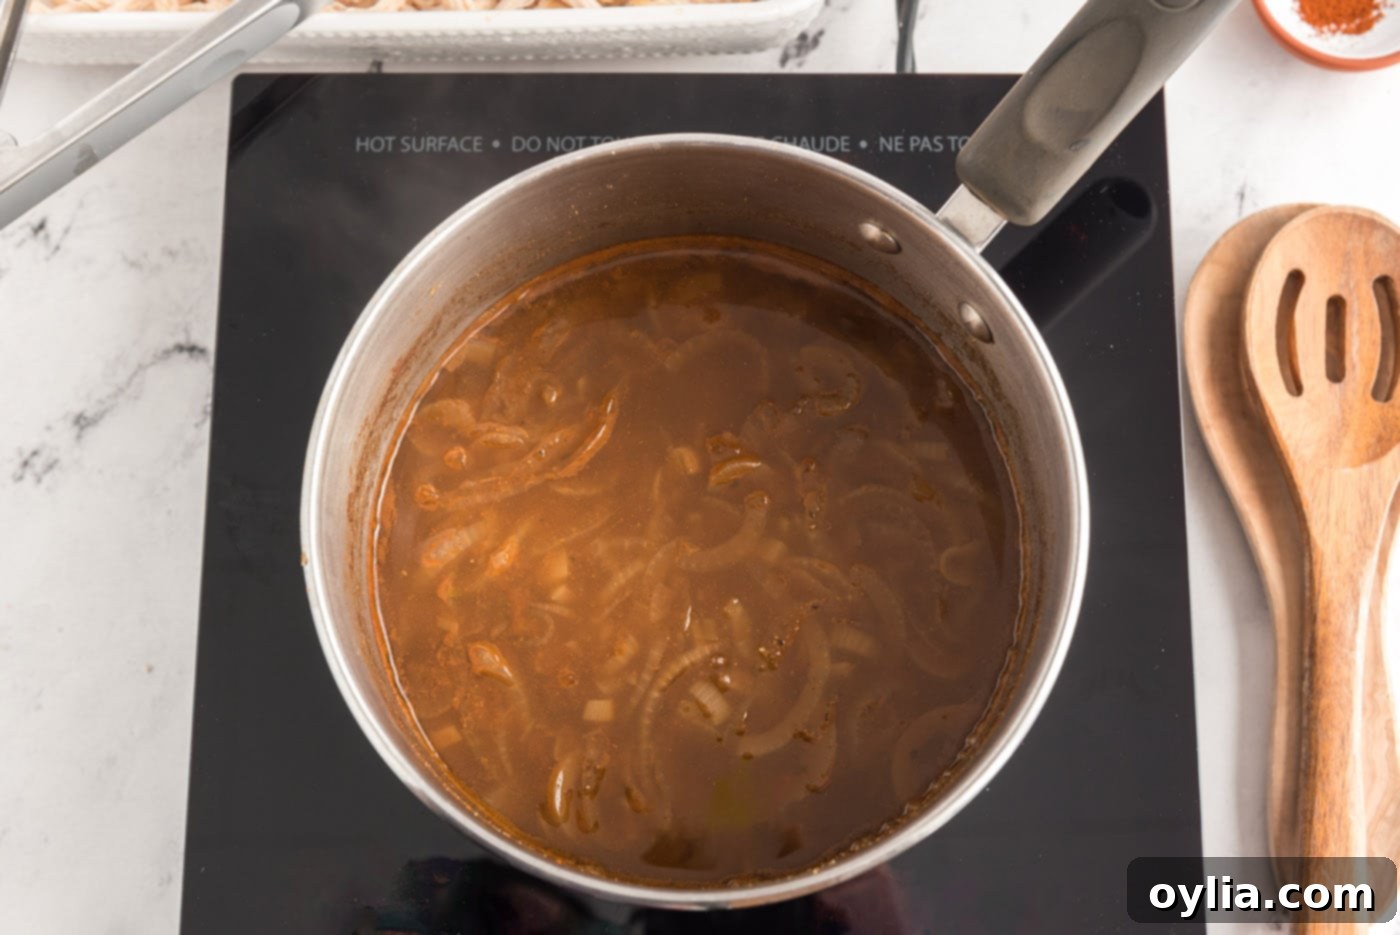
- Preheat your oven to 350°F (175°C). If you’re using a whole rotisserie chicken, remove all the meat and shred it into bite-sized pieces. Place the shredded chicken in a separate dish and keep it warm while you prepare the sauce. In a large saucepan, combine the chili powder (4.5 tsp), ground cumin, dried crushed oregano, thinly sliced large onion, and 28 ounces of chicken broth. Bring this mixture to a rolling boil over medium-high heat. Once boiling, reduce the heat slightly to maintain a gentle boil and continue cooking, stirring occasionally, until the liquid has reduced by half. This should take approximately 20 minutes, concentrating all those wonderful flavors.

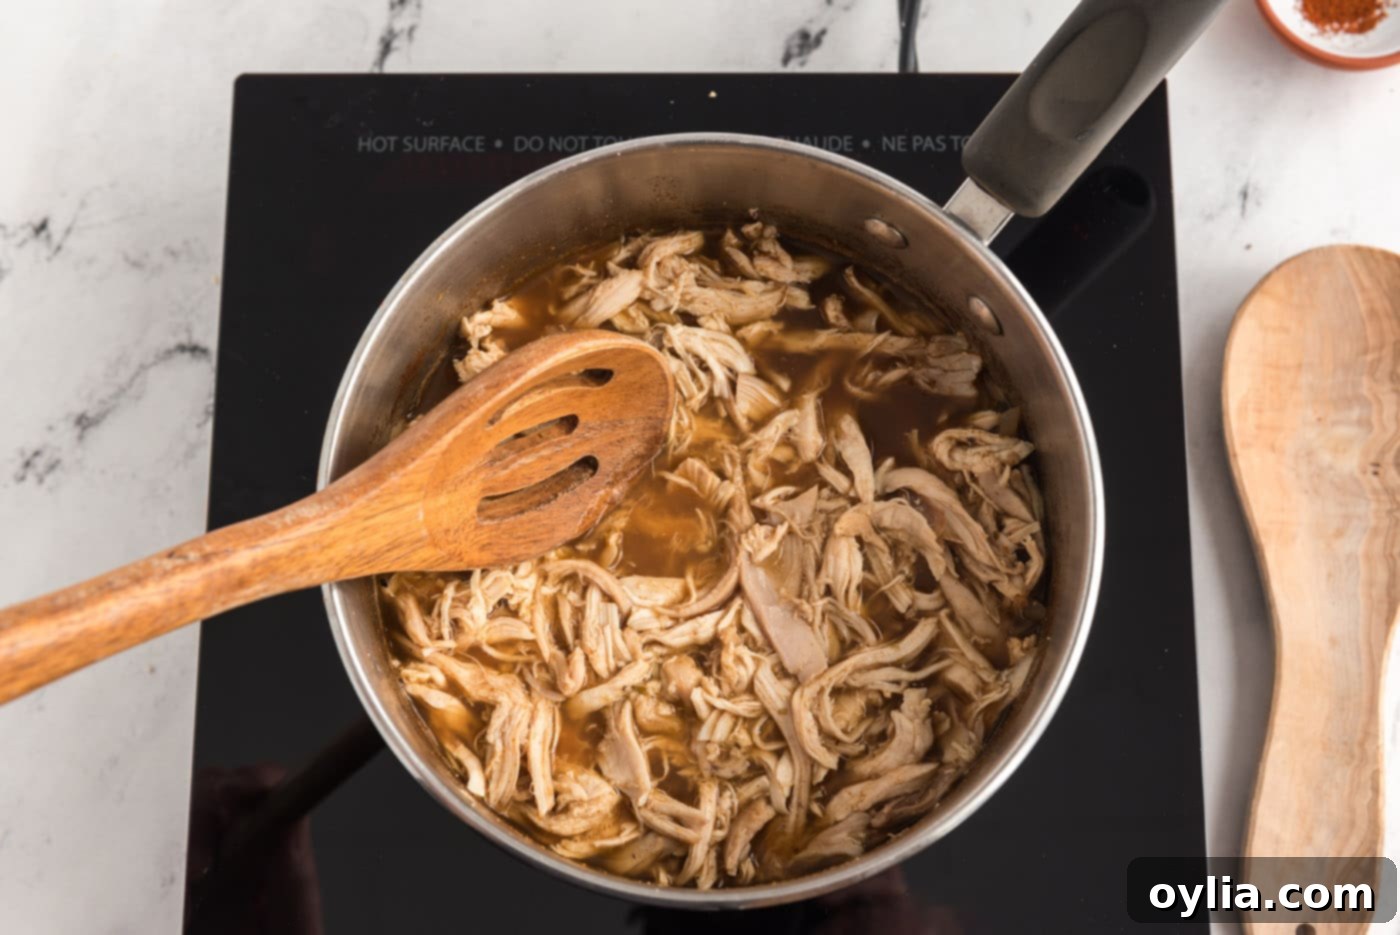
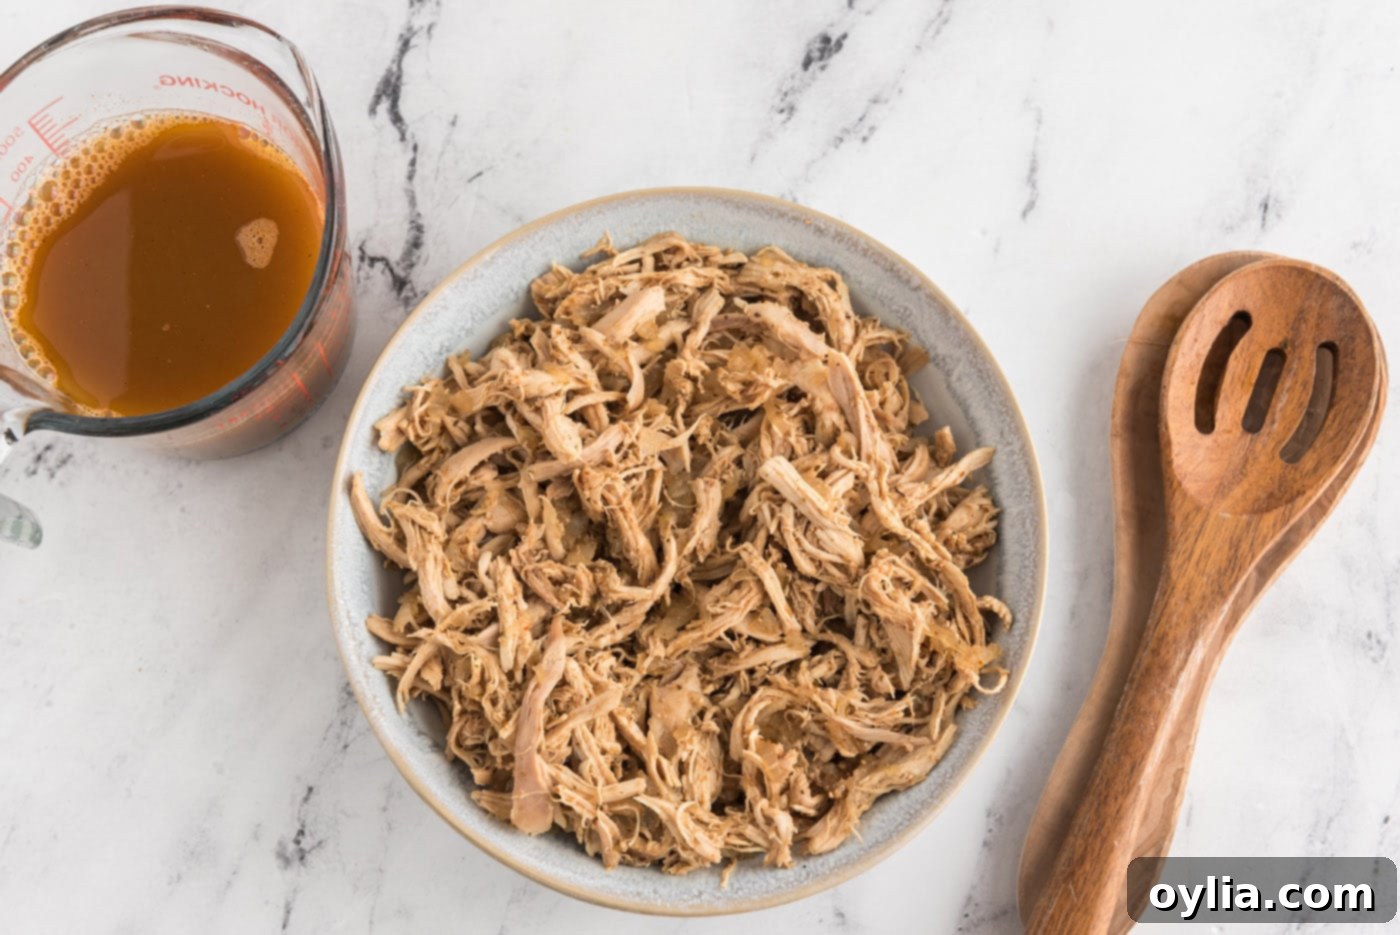
- Once the broth mixture has reduced, add the shredded chicken to the saucepan. Let it simmer gently for about ten minutes, allowing the chicken to fully absorb the rich flavors and heat through. Using a slotted spoon, carefully remove the chicken and cooked onion mixture from the saucepan and transfer it to a bowl. Reserve about one cup of the flavorful broth from the saucepan; this will be used later if your filling needs more moisture. Discard any remaining broth.


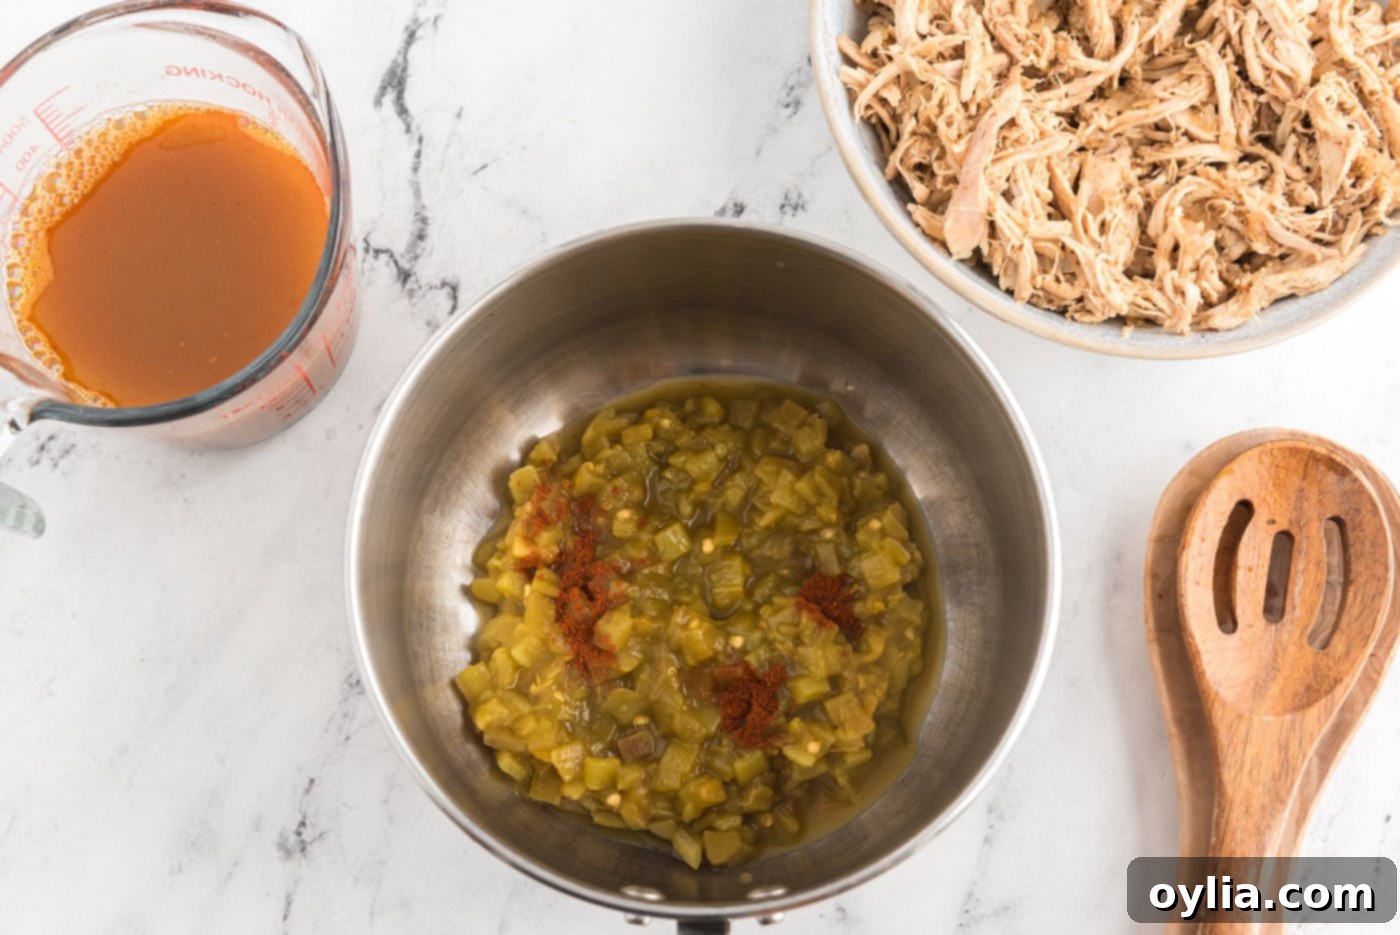
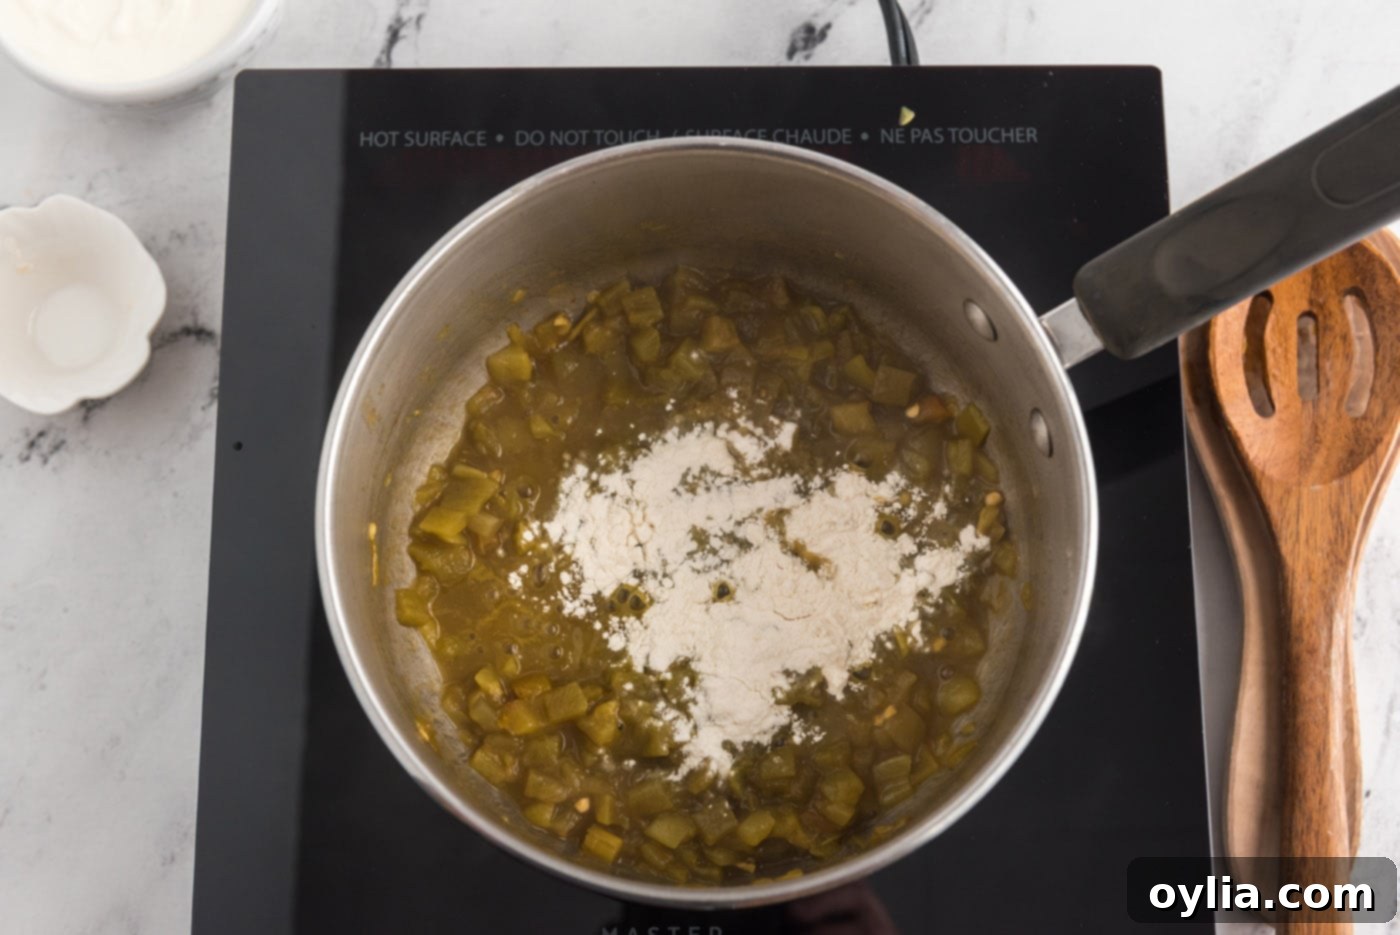
- Give your saucepan a quick rinse (or use a fresh one). Add the 8 ounces of undrained diced green chiles and the ¼ teaspoon of chili powder to the clean saucepan. Cook over medium heat for about one minute, or until the chiles are heated through and fragrant. Stir in the 1 tablespoon of all-purpose flour. Continue to cook and stir for another minute, allowing the flour to cook out and create a roux-like base for your creamy sauce.


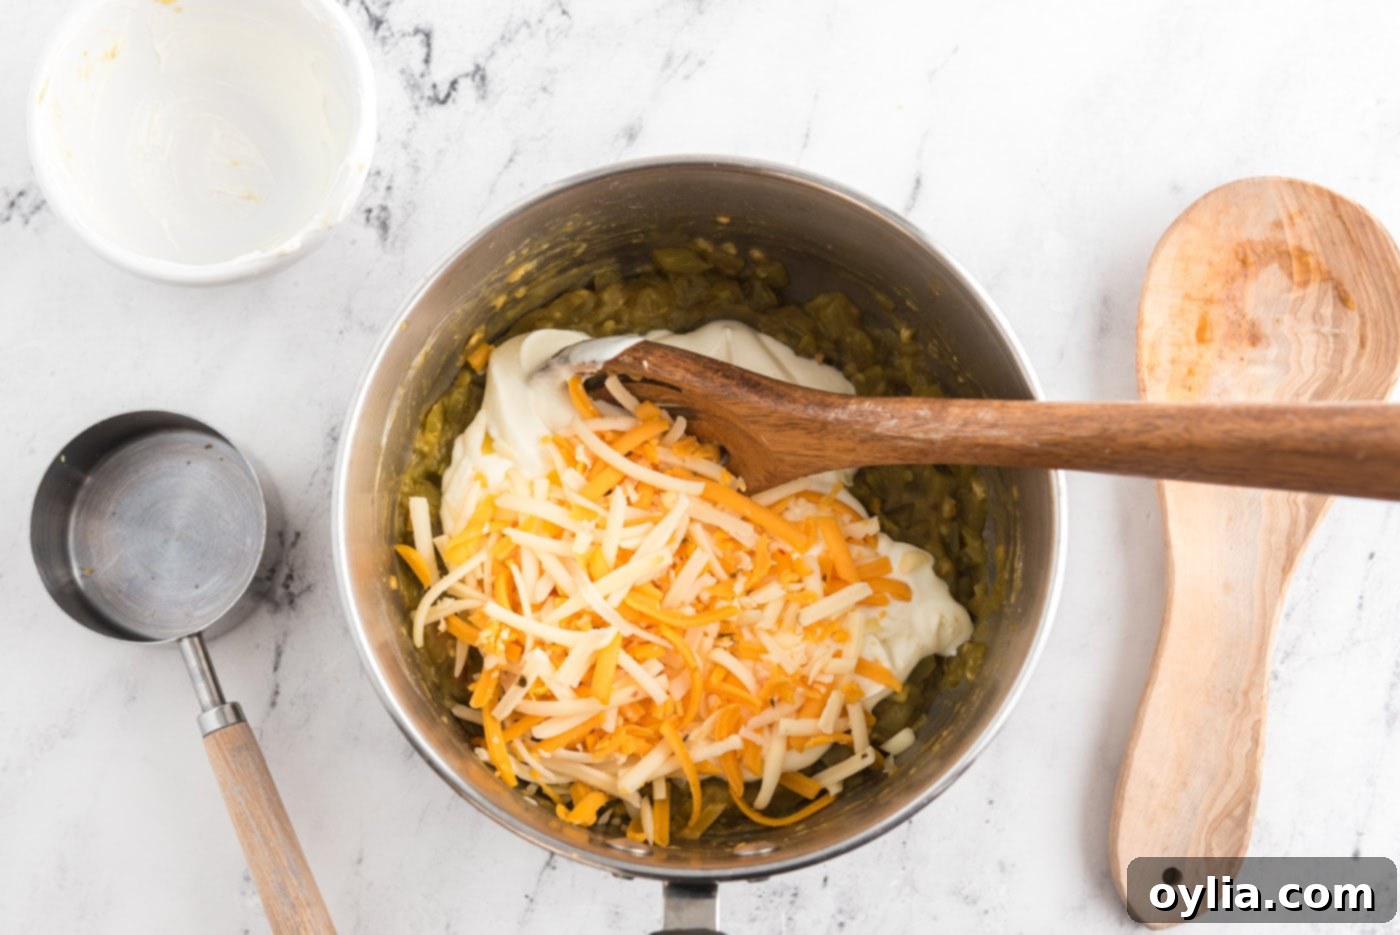
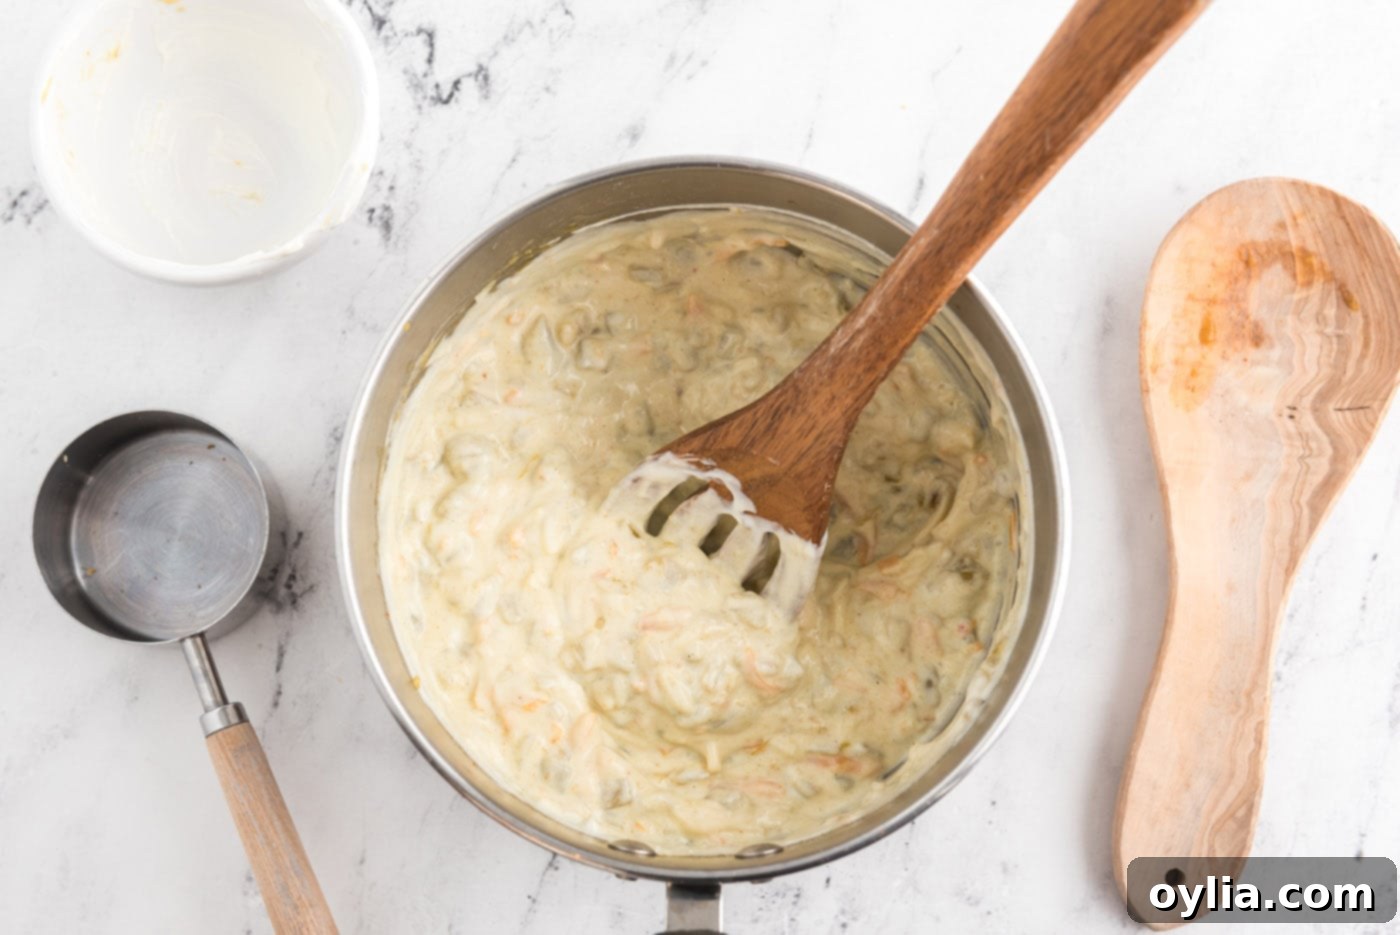
- Remove the saucepan from the heat. Stir in the 8 ounces of sour cream until fully incorporated and smooth. Then, fold in ½ cup of your shredded Mexican cheese. This creates a wonderfully rich and creamy chile sauce that will be spread inside your enchiladas.


- Prepare your baking dish by greasing or spraying a 13×9 baking dish with non-stick cooking spray. Set it aside for assembly.
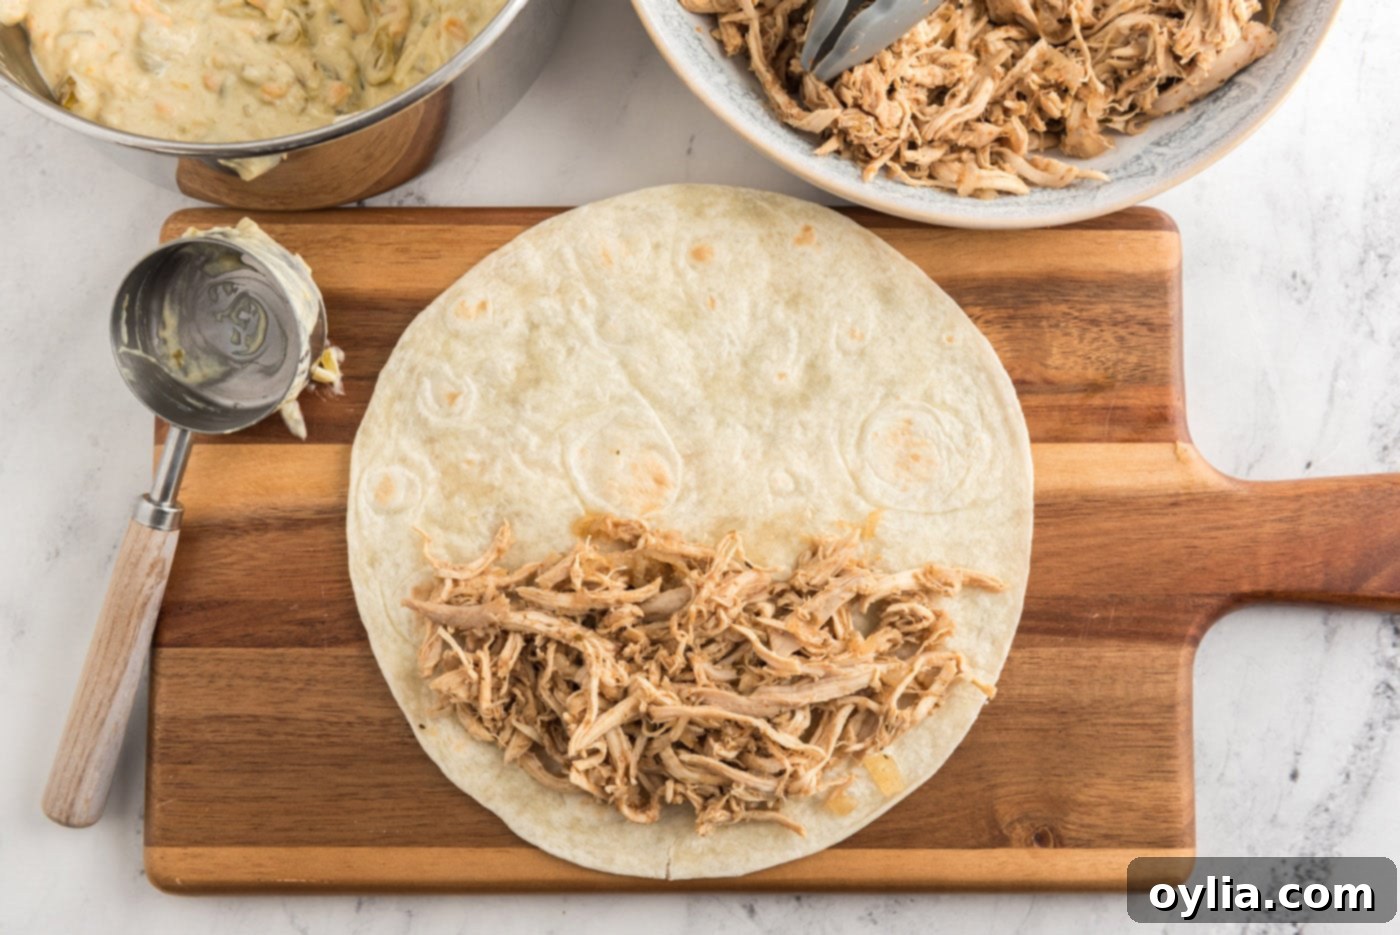
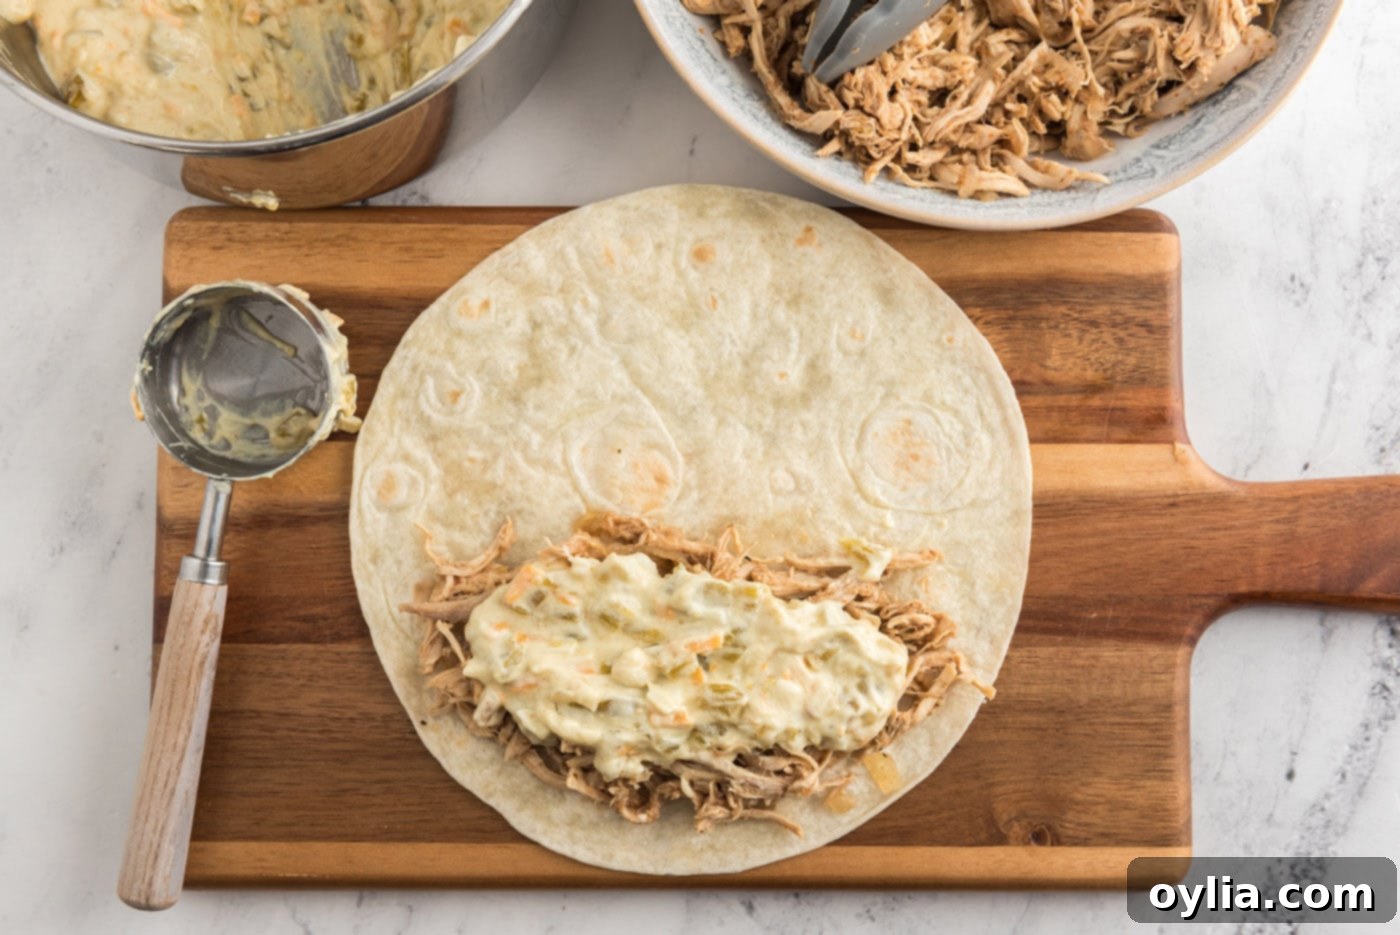
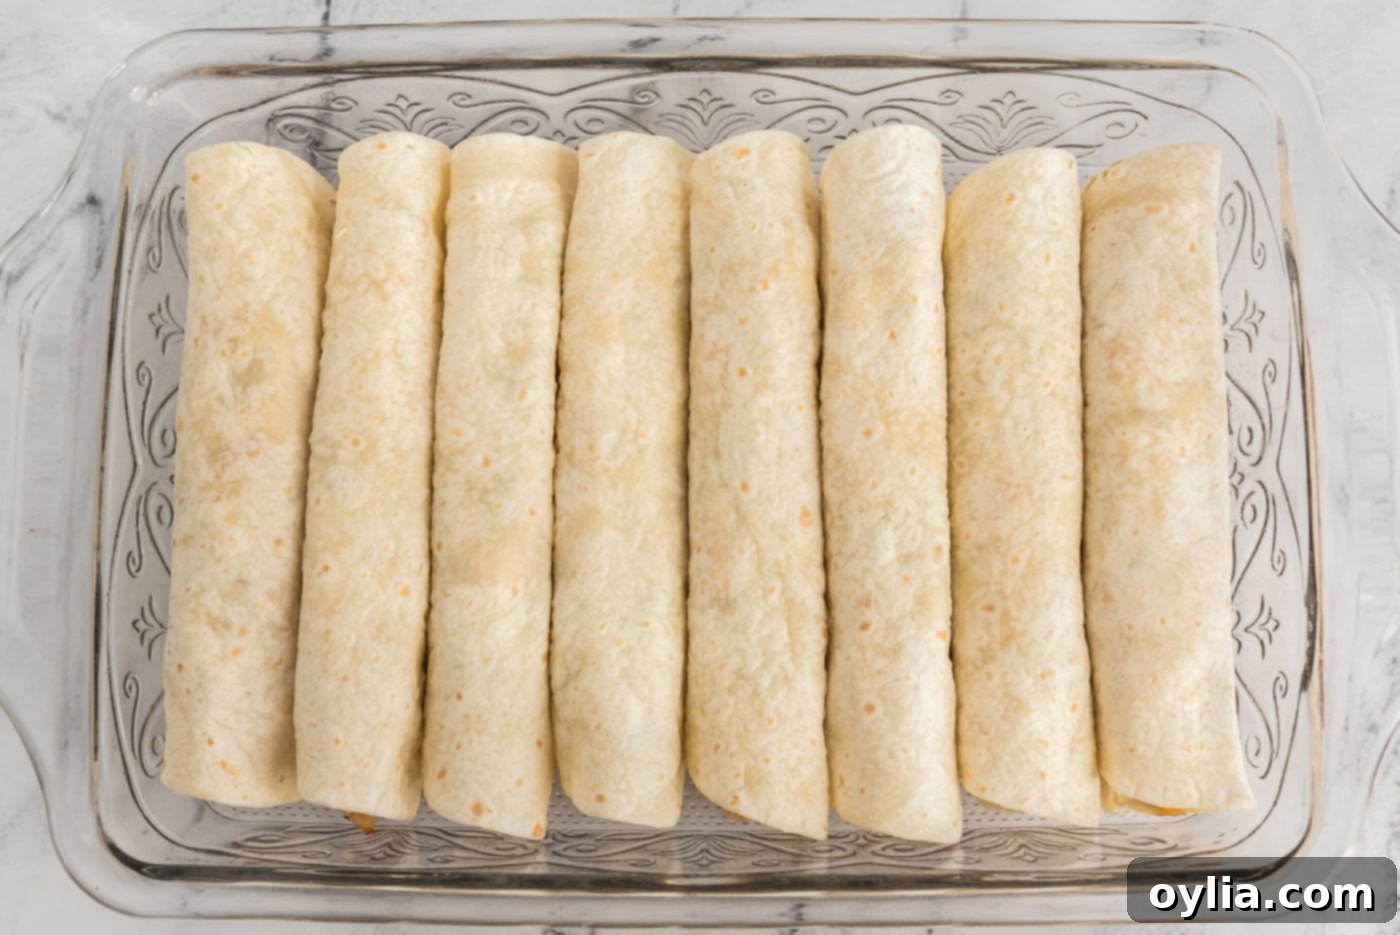
- Now, combine the reserved onion and chicken mixture in a large bowl. If the mixture seems too dry, add a tablespoon or two of the reserved chicken broth until it reaches a moist, pliable consistency. Take one 8-inch flour tortilla at a time and spoon a portion of the shredded meat mixture along one edge. Top this with a generous dollop of the creamy sour cream and chile mixture. Roll up the tortillas snugly, ensuring the filling is well contained (they will be quite full!). Arrange the rolled enchiladas in your prepared baking dish, placing them seam-side down to prevent unraveling during baking. Cover the dish tightly with aluminum foil. Bake in the preheated oven for 30 minutes.


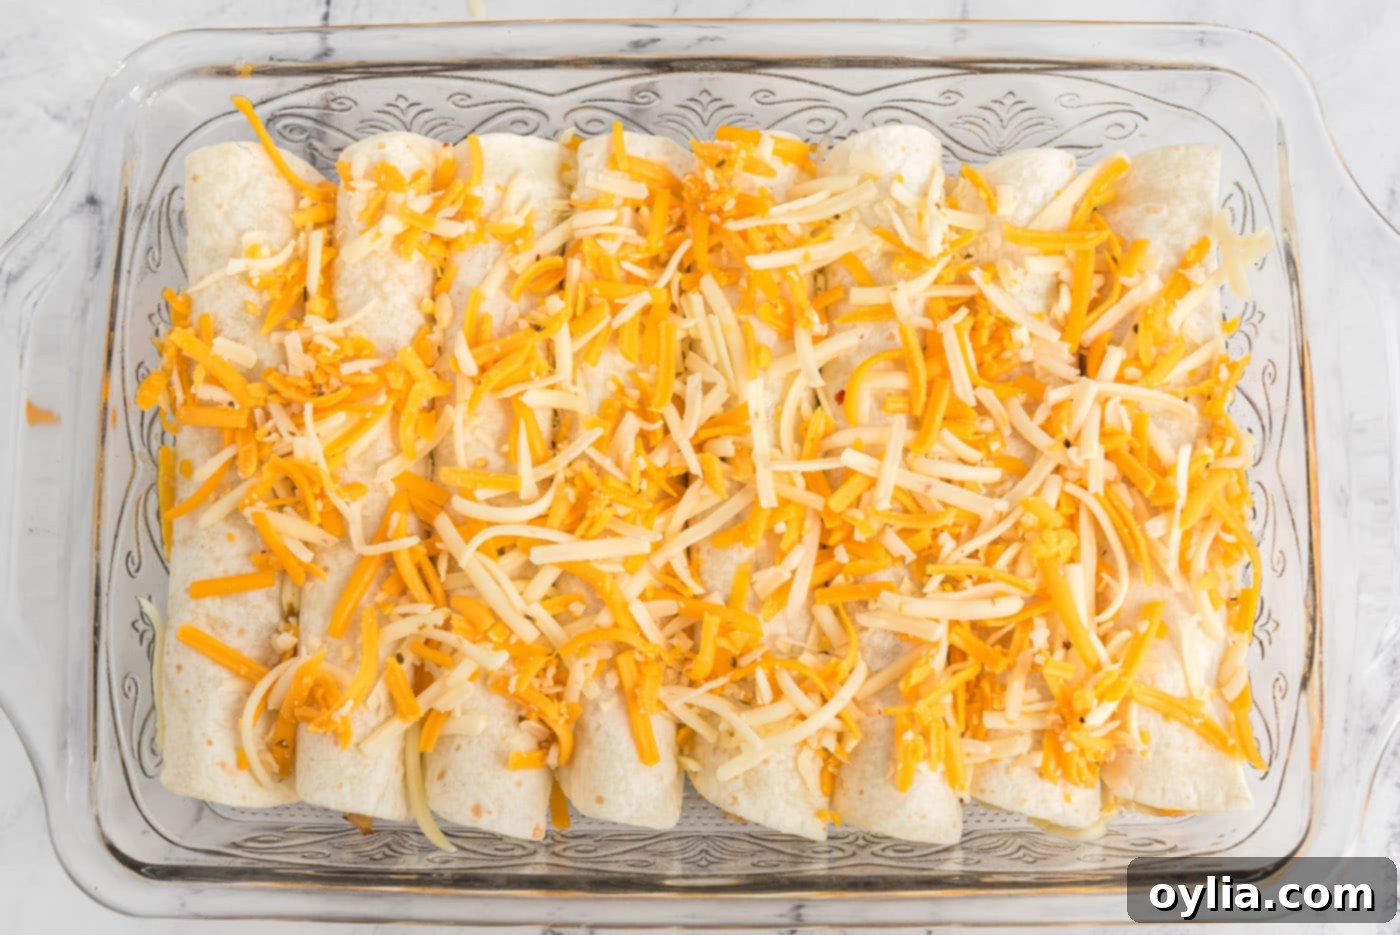
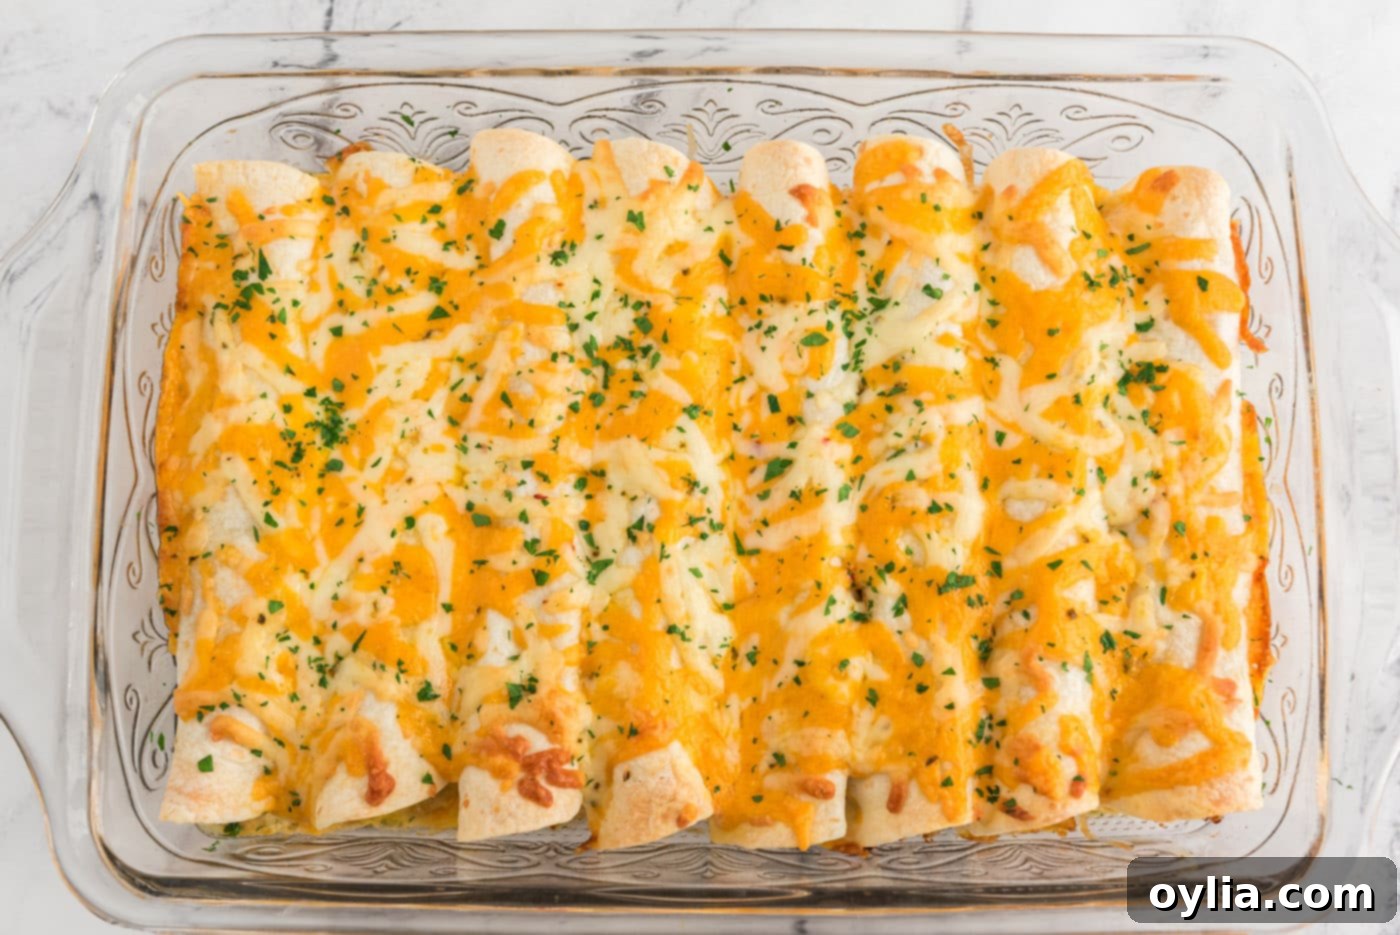
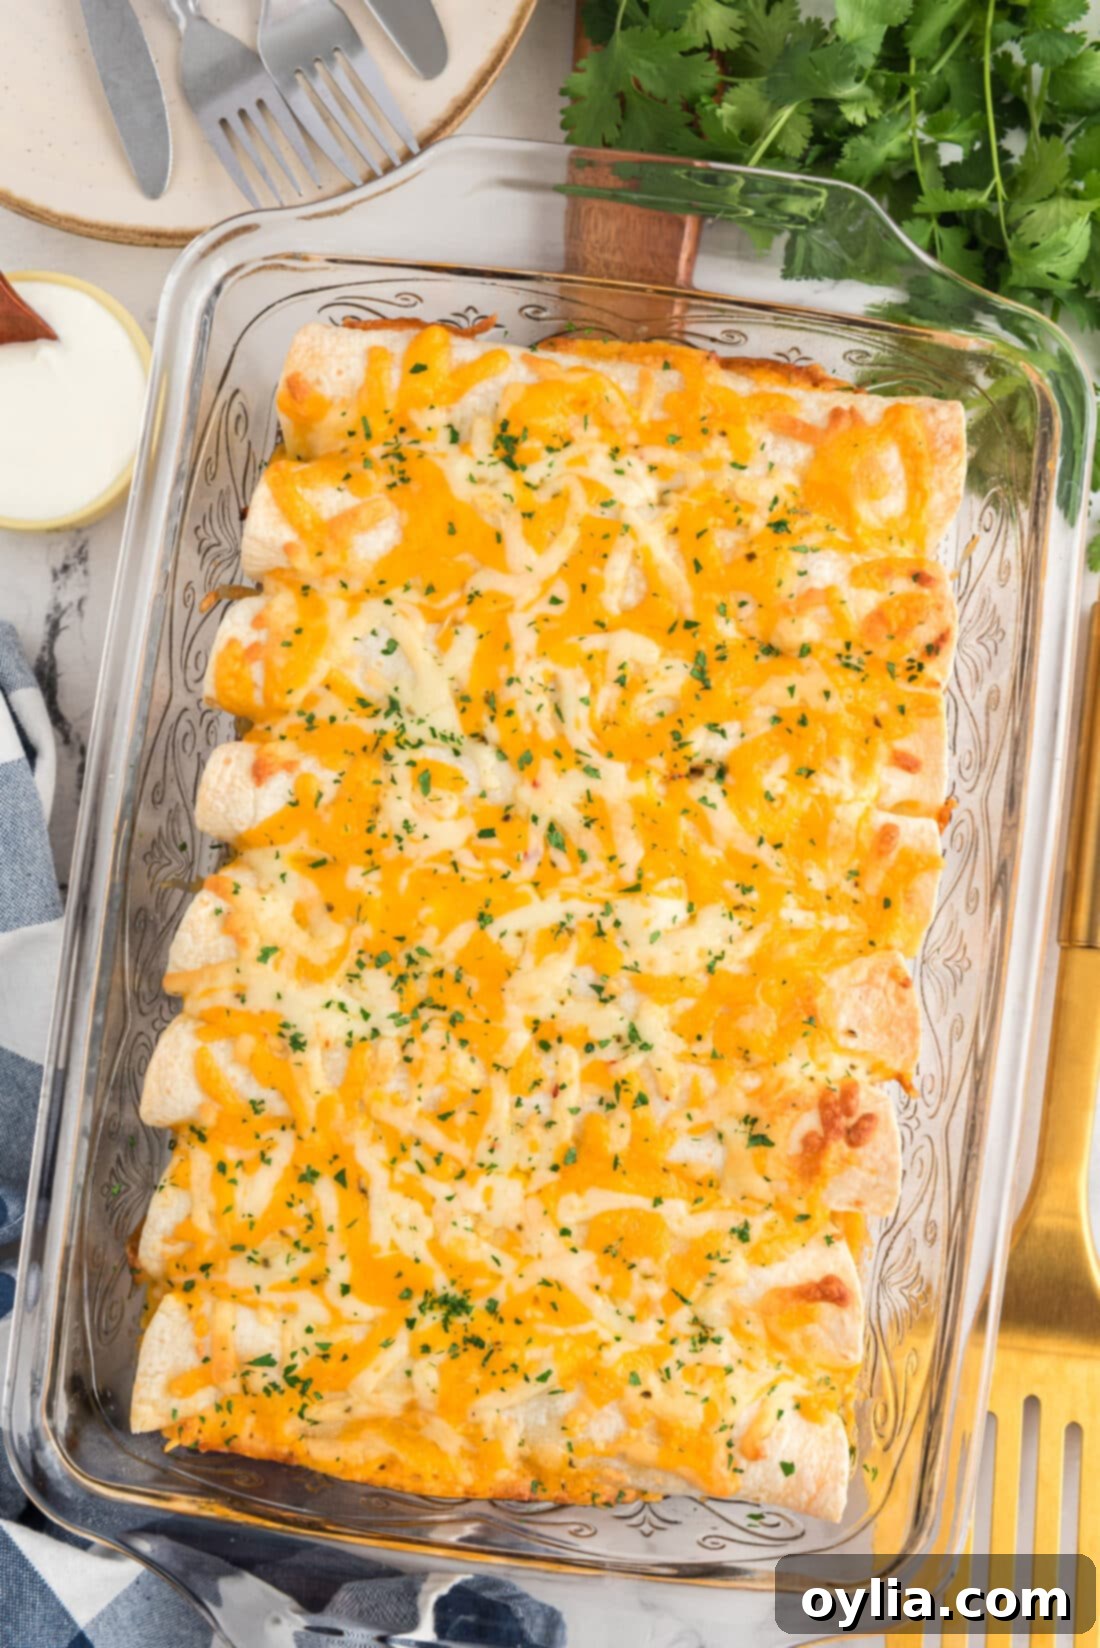
- After 30 minutes, carefully remove the foil cover from the baking dish. Generously sprinkle the remaining 1½ cups of shredded Mexican cheese over the enchiladas. Return the uncovered dish to the oven and bake for an additional 10 minutes, or until the cheese is beautifully melted and bubbly, and the enchiladas are thoroughly heated through. The edges of the tortillas might even turn slightly golden and crispy.


Frequently Asked Questions & Expert Tips
To maintain their freshness and flavor, store any leftover enchiladas in an airtight container. Keep them refrigerated for up to 4 days. When you’re ready to enjoy them again, simply reheat them in a 350°F (175°C) oven until thoroughly warmed through, or use your microwave for a quicker reheat.
Absolutely! These enchiladas are excellent for meal prepping. You can assemble them completely, right up to the point where they are ready to go into the oven. Cover the baking dish tightly and store it in the refrigerator. About 30 minutes before you plan to bake, take the dish out of the fridge to allow it to come closer to room temperature. Then, bake as directed in the recipe. If you don’t have time for the pre-bake warming, just add an extra 5-10 minutes to the covered baking time to ensure they heat through properly.
As written, this recipe yields enchiladas that are mild and flavorful, not spicy. The diced green chiles typically used are mild. If you prefer a bit of heat, you can easily increase the spice level by opting for hot green chiles instead of mild ones, or by adding a pinch of cayenne pepper to the chicken mixture.
Yes, these enchiladas freeze beautifully, making them ideal for long-term meal planning! Place the prepared enchiladas (whether cooked or uncooked) in an airtight freezer-safe container or a large zip-top bag, ensuring they are seam-side down to maintain their shape. They can be frozen for up to 3 months. To reheat: If uncooked, thaw them in the refrigerator overnight, then bake according to the recipe instructions, adding a few extra minutes if needed. If they are precooked, simply pop them into a 350°F (175°C) oven directly from frozen until they are warmed through, which might take 45-60 minutes.
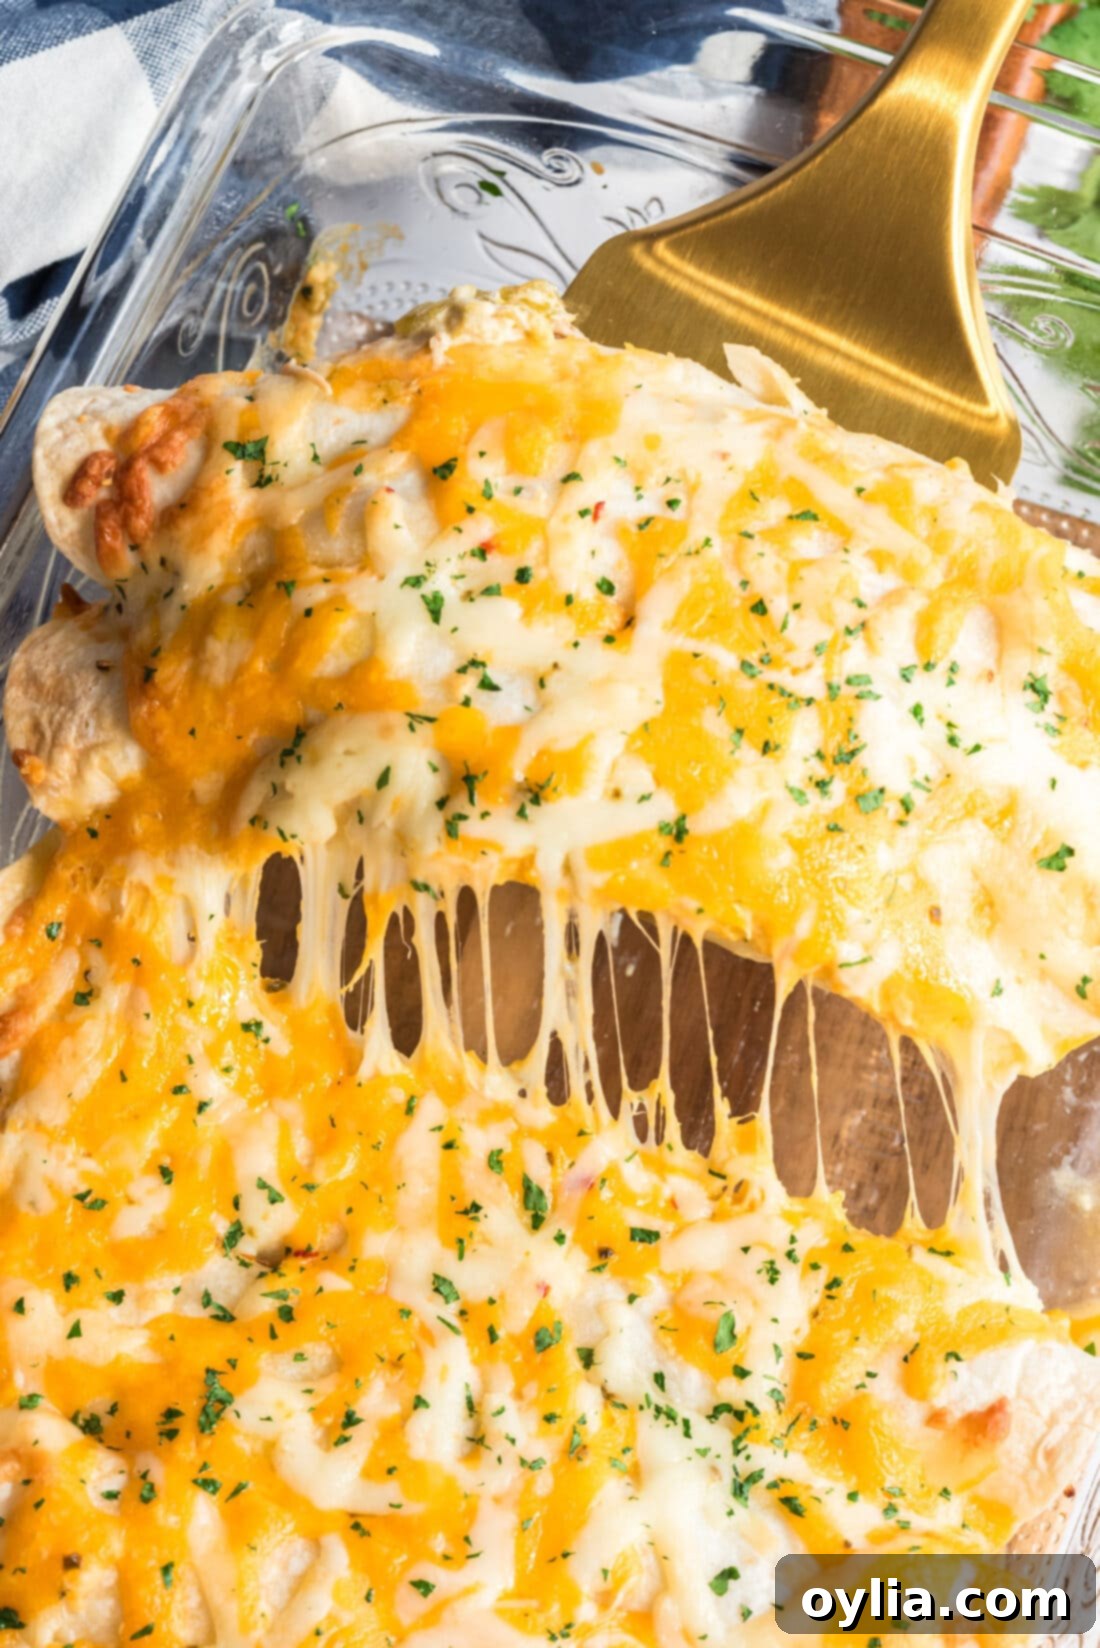
Delicious Serving Suggestions
These shredded chicken and green chile enchiladas are wonderfully satisfying on their own, but pairing them with the right sides and garnishes can elevate your meal to a true feast. Here are some fantastic serving suggestions:
- Classic Sides: Serve them alongside a generous helping of classic Spanish rice and a side of seasoned black or pinto beans. The combination is a timeless Mexican-inspired comfort meal.
- Fresh Garnishes: Enhance both the flavor and visual appeal with fresh toppings. Common choices include a dollop of extra sour cream or Greek yogurt for tang, finely diced tomatoes, thinly sliced green onions or red onions for a bite, and fresh chopped cilantro for a vibrant herbal note. A squeeze of fresh lime juice can also brighten the flavors.
- Add a Sauce: While this recipe features a creamy internal sauce, you can certainly drizzle your favorite homemade enchilada sauce (red or green) over the top after baking for an extra layer of flavor. Alternatively, serve the sauce on the side for those who prefer their enchiladas “smothered” or to dip.
- Simple Salad: A crisp green salad with a light vinaigrette can provide a refreshing contrast to the richness of the enchiladas.
- Guacamole & Salsa: A bowl of fresh guacamole or a vibrant salsa adds another dimension of taste and texture.
More Mouthwatering Mexican-Inspired Recipes
If you loved these enchiladas, you’re sure to enjoy these other fantastic recipes that bring the vibrant flavors of Mexican cuisine to your table:
- Crispy Chimichangas
- Zesty Salsa Verde (Green Salsa)
- Hearty Mexican Lasagna
- Tender Instant Pot Carnitas
- Flavorful Chicken Tinga
I’m passionate about baking and cooking, and I love sharing my kitchen experiences and delicious recipes with all of you! Remembering to check back for new recipes can be tough, which is why I offer a convenient newsletter every time a new recipe posts. Simply subscribe here and start receiving your free daily recipes directly to your inbox!

Shredded Chicken and Chile Enchiladas
IMPORTANT – There are often Frequently Asked Questions within the blog post that you may find helpful. Simply scroll back up to read them!
Print It
Pin It
Rate It
Save ItSaved!
Ingredients
- 4 cups shredded chicken we used a 3 pound rotisserie chicken
- 4 ½ teaspoons chili powder
- 1 Tablespoon ground cumin
- 1 teaspoon dried oregano crushed
- 1 large onion thinly sliced
- 28 ounces chicken broth
- 8 ounces diced green chiles two 4 ounce cans, undrained
- ¼ teaspoon chili powder
- 1 Tablespoon all purpose flour
- 8 ounces sour cream
- 2 cups shredded Mexican cheese
- 8 flour tortillas 8 inches
Things You’ll Need
-
13×9 baking dish
-
Saucepan
Before You Begin
- For ultimate convenience, I recommend using a rotisserie chicken from the supermarket. However, you can also cook and shred your own chicken or use leftover cooked chicken. If cooking your own, use the resulting chicken stock in place of canned broth for extra flavor.
- Feel free to use your favorite blend of cheese. A Mexican cheese blend works perfectly, or a mix of pepper jack and cheddar will provide a great balance of creaminess and mild spice.
- We’ve found that flour tortillas are generally easier to roll and hold the filling better without tearing. However, for a more traditional taste, corn tortillas can be used. If using corn tortillas, warm them slightly before filling to make them more pliable and prevent cracking. Note that corn tortillas are usually smaller, so you might yield a few more enchiladas.
Instructions
-
Preheat oven to 350°F (175°C). Shred chicken and keep warm. In a saucepan, combine 4½ tsp chili powder, ground cumin, dried oregano, thinly sliced onion, and chicken broth. Bring to a boil over medium-high heat. Cook until reduced by half, about 20 minutes.
-
Add shredded chicken to the broth mixture and simmer for 10 minutes to heat through and infuse flavors. Remove chicken and onion with a slotted spoon. Reserve 1 cup of the broth and discard the rest.
-
Rinse the saucepan. Add diced green chiles (undrained) and ¼ teaspoon chili powder; cook for about 1 minute until heated. Stir in 1 tablespoon all-purpose flour. Cook and stir for one minute more.
-
Remove from heat. Stir in 8 ounces of sour cream and ½ cup of shredded Mexican cheese until well combined and creamy.
-
Grease or spray a 13×9 baking dish; set aside.
-
Combine chicken and onion mixture. If too dry, add a bit of the reserved broth. Divide the chicken mixture among flour tortillas, placing it along one edge. Top with the sour cream mixture, then roll up the tortillas tightly. Arrange in the baking dish, seam side down. Bake, covered with foil, for 30 minutes.
-
Uncover the dish and sprinkle with the remaining 1½ cups of shredded cheese. Bake uncovered for another 10 minutes, or until the cheese is melted and bubbly and enchiladas are heated through.
Expert Tips & FAQs
- While these enchiladas are incredibly flavorful on their own, you can always incorporate homemade enchilada sauce into the mix, or simply offer it on the side for those who enjoy smothered enchiladas. For a fresh finish, garnish with extra sour cream, diced tomatoes, onions, and chopped cilantro.
- Storage: Store any leftovers in an airtight container in the refrigerator for up to 4 days. Reheat them in a 350°F (175°C) oven until warmed through, or use a microwave for a quicker option.
- Make Ahead: This recipe is fantastic for preparing in advance! You can assemble the entire dish up to the point of baking. Cover it tightly and store in the refrigerator. Before cooking, remove the dish from the fridge about 30 minutes early to bring it closer to room temperature, then bake as directed. If you’re short on time, simply add a little extra baking time to compensate.
- Freezing: These enchiladas are perfectly freezer-friendly. Place prepared enchiladas (cooked or uncooked) in an airtight container or large freezer bag, seam side down, and freeze for up to 3 months. To cook, thaw overnight in the refrigerator and bake as directed, adding a few extra minutes if needed. If precooked, bake from frozen at 350°F (175°C) until heated through (approx. 45-60 min).
Nutrition
The recipes on this blog are tested with a conventional gas oven and gas stovetop. It’s important to note that some ovens, especially as they age, can cook and bake inconsistently. Using an inexpensive oven thermometer can assure you that your oven is truly heating to the proper temperature. If you use a toaster oven or countertop oven, please keep in mind that they may not distribute heat the same as a conventional full sized oven and you may need to adjust your cooking/baking times. In the case of recipes made with a pressure cooker, air fryer, slow cooker, or other appliance, a link to the appliances we use is listed within each respective recipe. For baking recipes where measurements are given by weight, please note that results may not be the same if cups are used instead, and we can’t guarantee success with that method.
This recipe originally appeared here on Nov 11, 2010, and has since been extensively updated with new photos, expanded instructions, and expert tips to provide the best possible experience for our readers.
