Sizzling Skillet Steak Fajitas: Your Ultimate Recipe for Homemade Tex-Mex Perfection
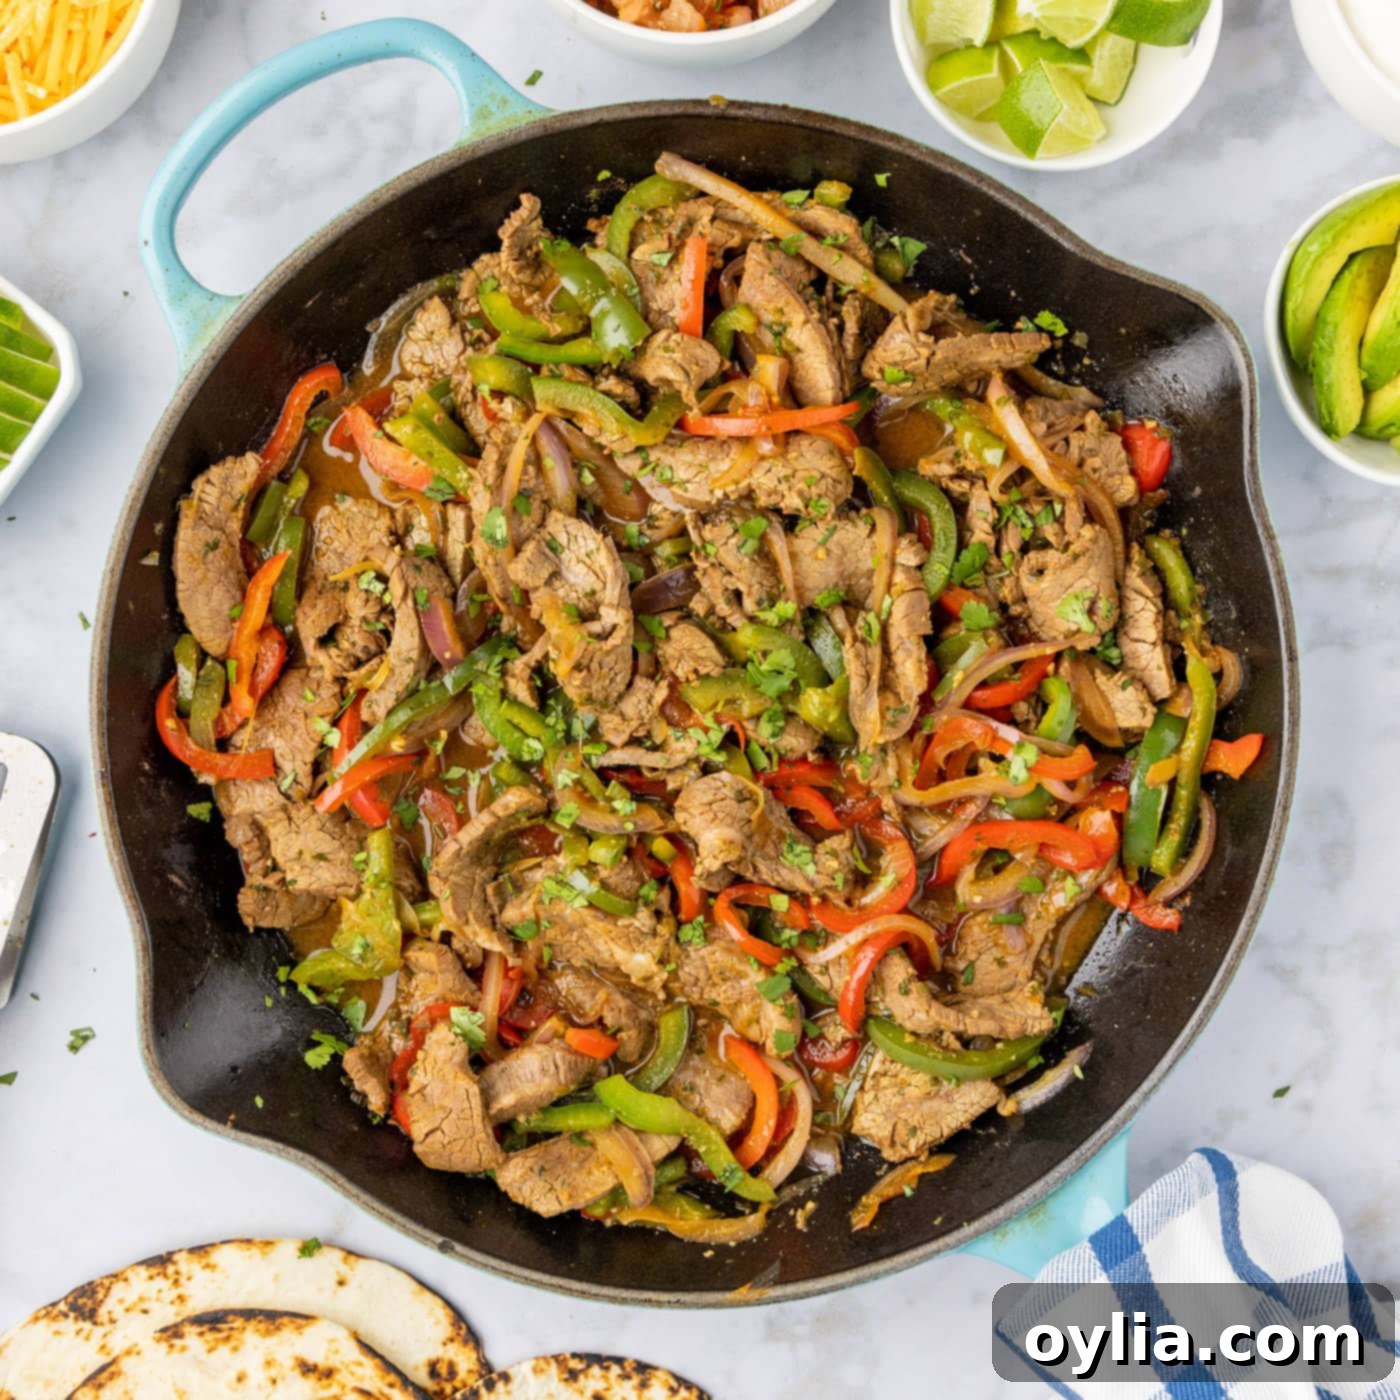
Prepare to tantalize your taste buds with these incredibly juicy and flavor-packed steak fajitas, a beloved Tex-Mex classic that’s surprisingly easy to make at home. Starting with perfectly marinated steak strips and vibrant, tender-crisp bell peppers and red onions, this recipe brings the exciting restaurant experience straight to your kitchen. Get ready for a dish that’s not just a meal, but a fiesta for your senses, served hot off the sizzling skillet and ready to be wrapped in a warm, inviting tortilla.
Why This Steak Fajita Recipe Is a Must-Try
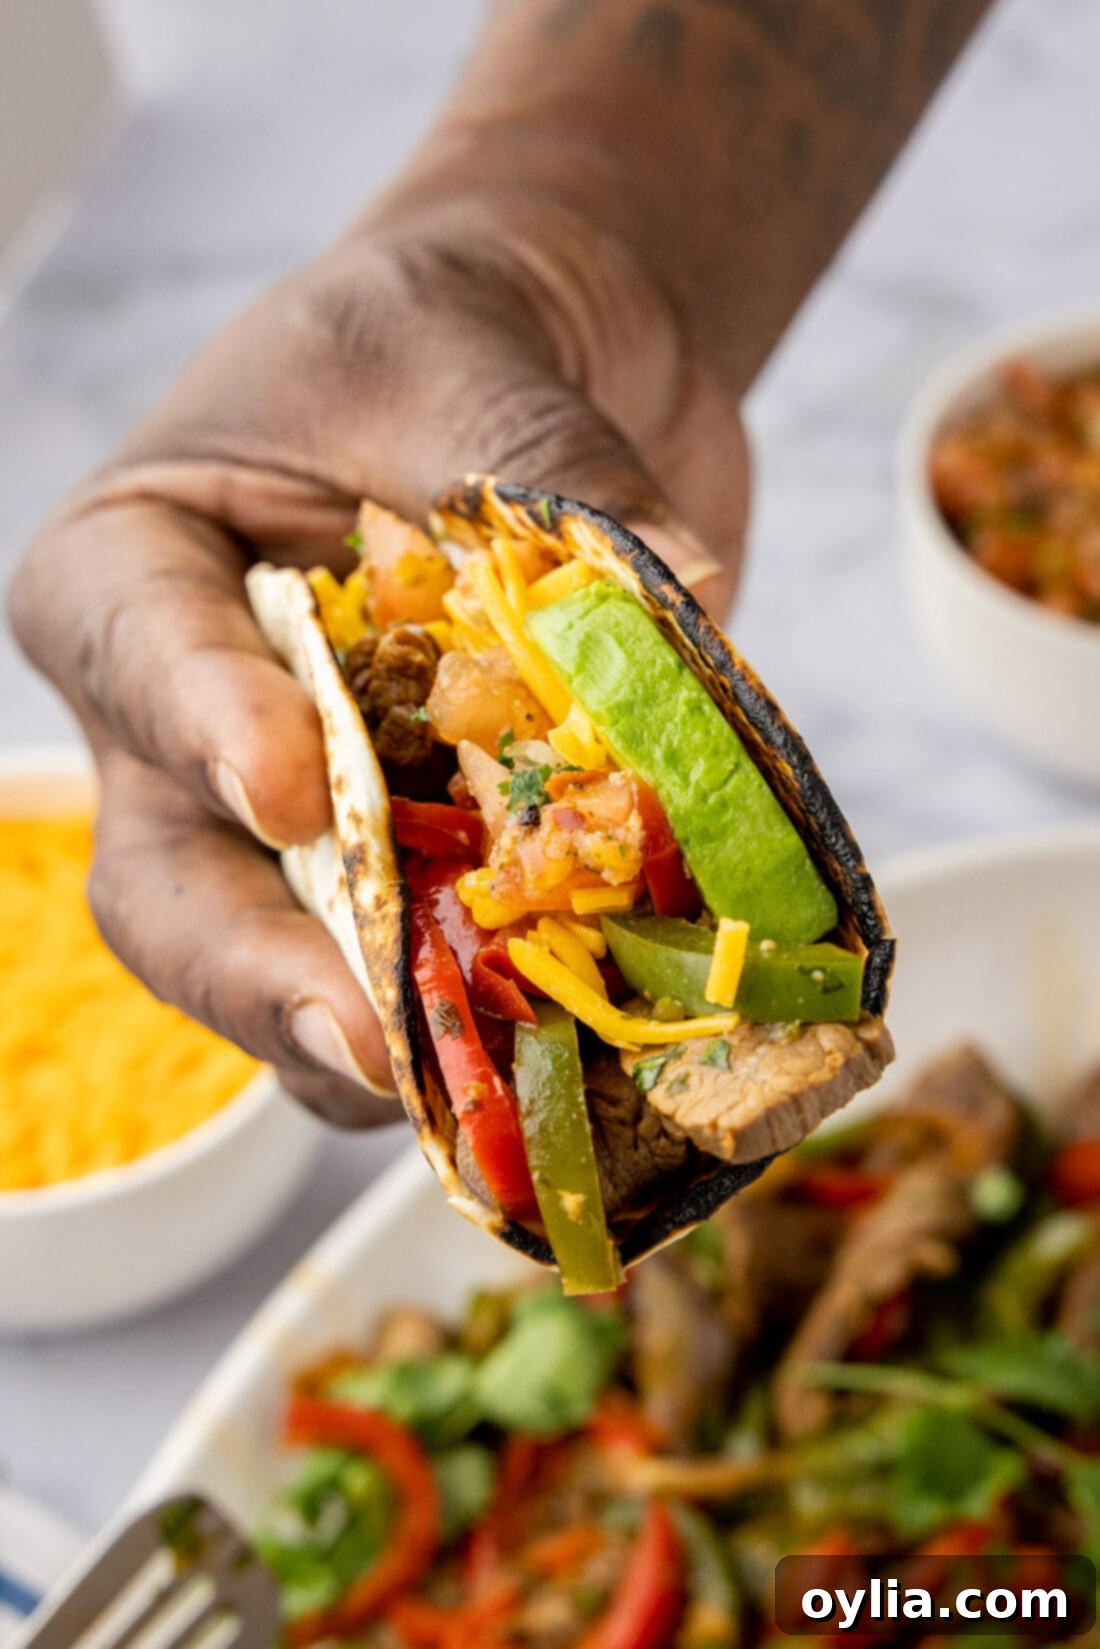
Steak fajitas are a quintessential Tex-Mex delight, traditionally served taco-style with thinly sliced, succulent steak strips and a medley of colorful, tender-crisp vegetables, all nestled within a soft corn or flour tortilla. This recipe stands out because it focuses on building layers of flavor and ensuring every component is cooked to perfection. Our secret lies in a potent, flavor-packed fajita marinade that deeply tenderizes the beef while infusing it with an incredible aromatic punch. This crucial step guarantees that your steak will be melt-in-your-mouth tender and bursting with taste.
Beyond the marinade, the cooking method is designed for efficiency and maximum flavor. We’ll quickly sear the vibrant bell peppers and onions in a hot skillet until they’re perfectly tender-crisp, then add the marinated beef, cooking it just until it reaches peak tenderness. The result is a harmonious blend of textures and spices that makes each bite unforgettable. Whether it’s chicken, shrimp, or steak, fajitas never fail to grab attention at any Mexican restaurant, especially when presented in a dramatic, steamy, sizzling cast iron skillet. This homemade version perfectly captures that excitement and delivers a taste that truly lives up to the show-stopping presentation.
Essential Ingredients for Perfect Steak Fajitas
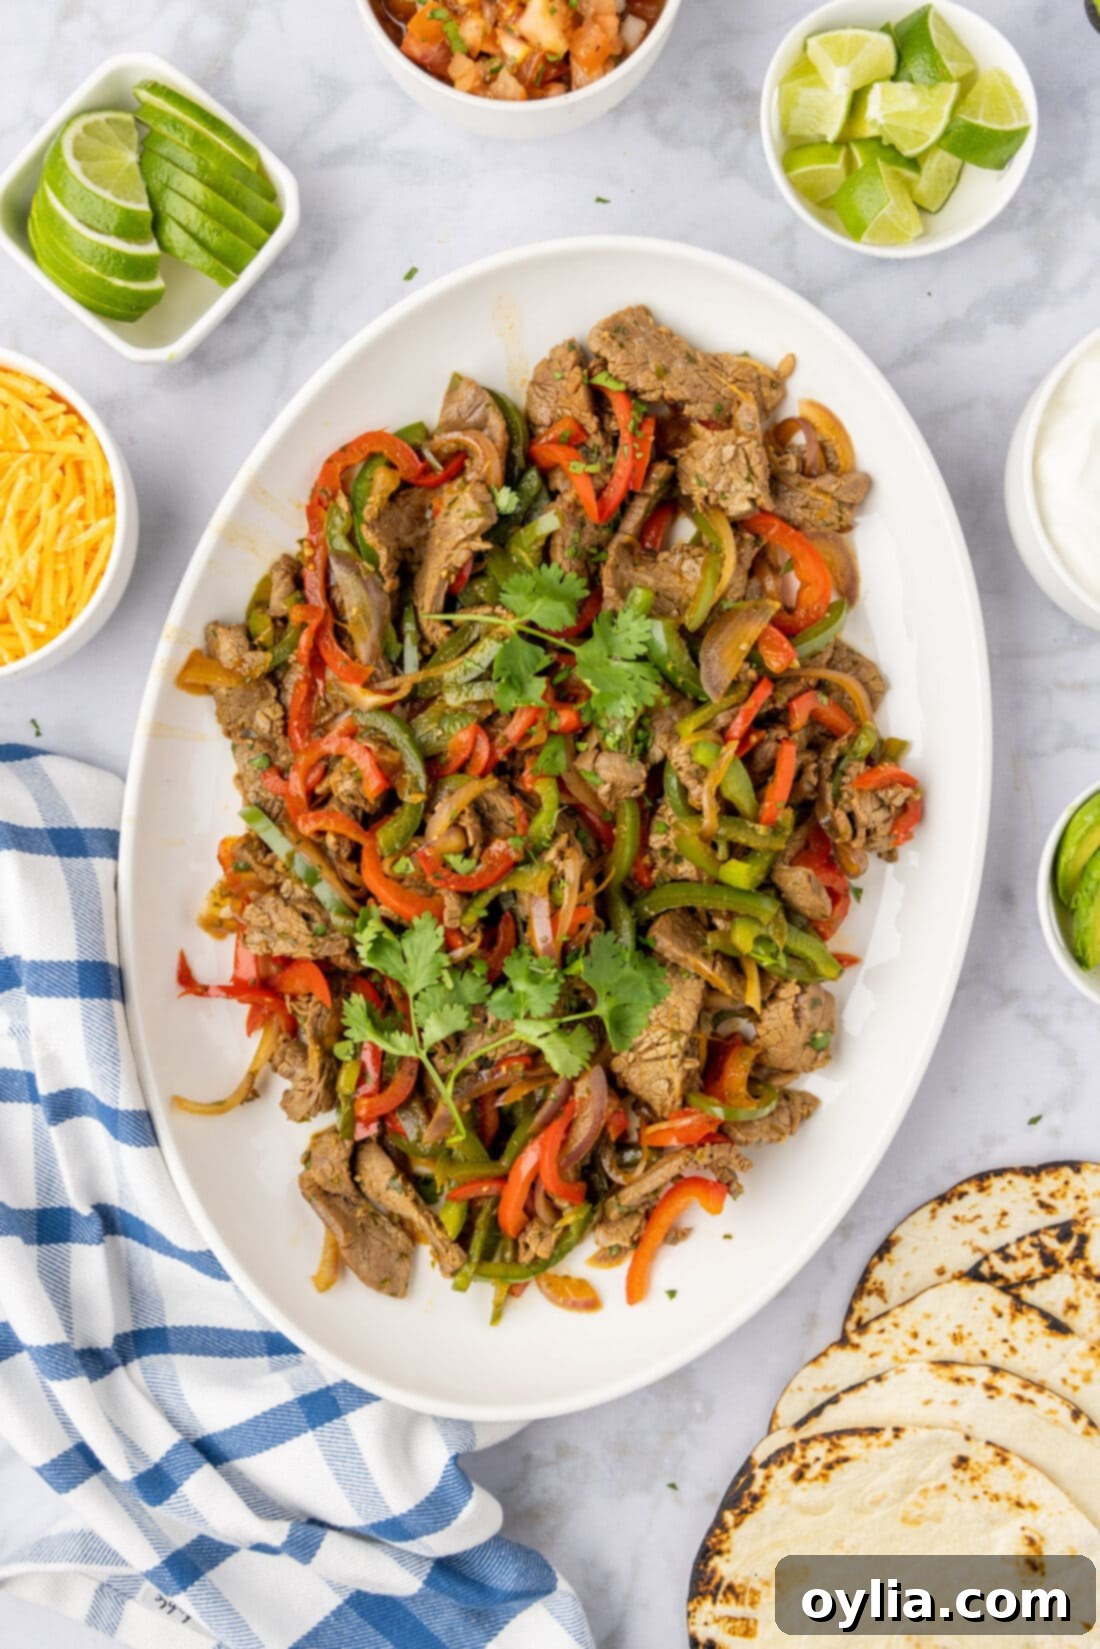
Crafting delicious steak fajitas begins with selecting the right ingredients. Below is a comprehensive list of everything you’ll need. For precise measurements and step-by-step instructions, be sure to check the printable recipe card at the end of this post.
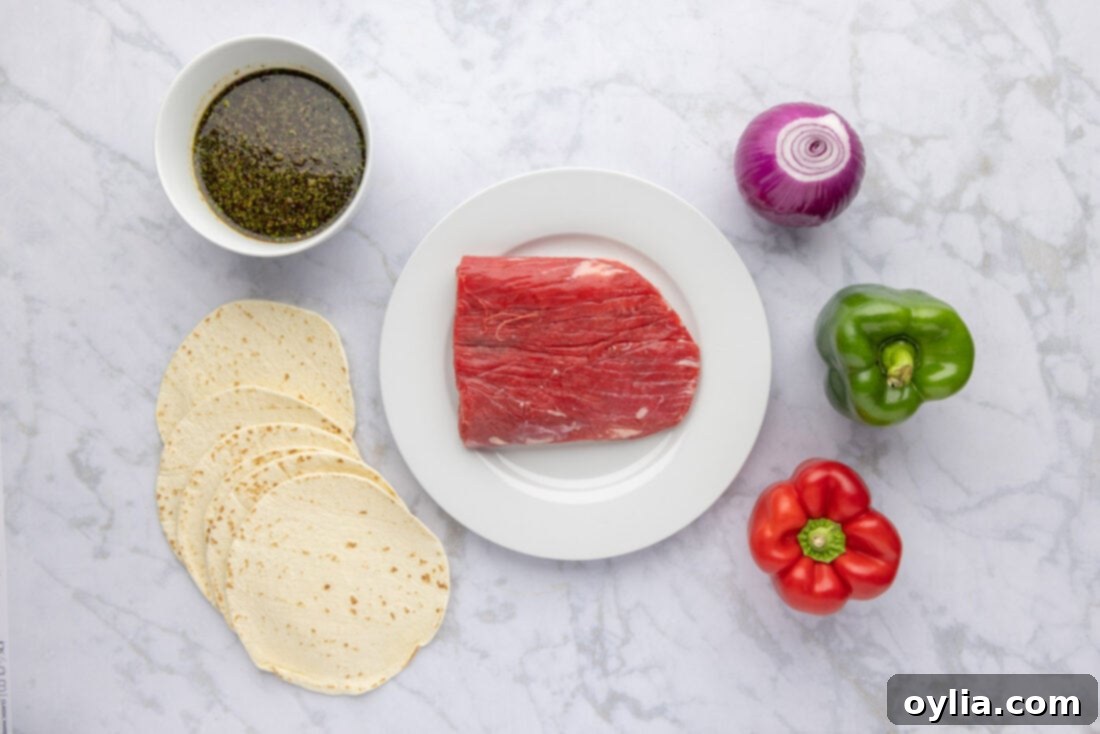
Ingredient Breakdown & Smart Substitutions
Understanding each ingredient’s role is key to mastering this recipe. Here’s a closer look at what makes these fajitas so special, along with helpful substitution tips:
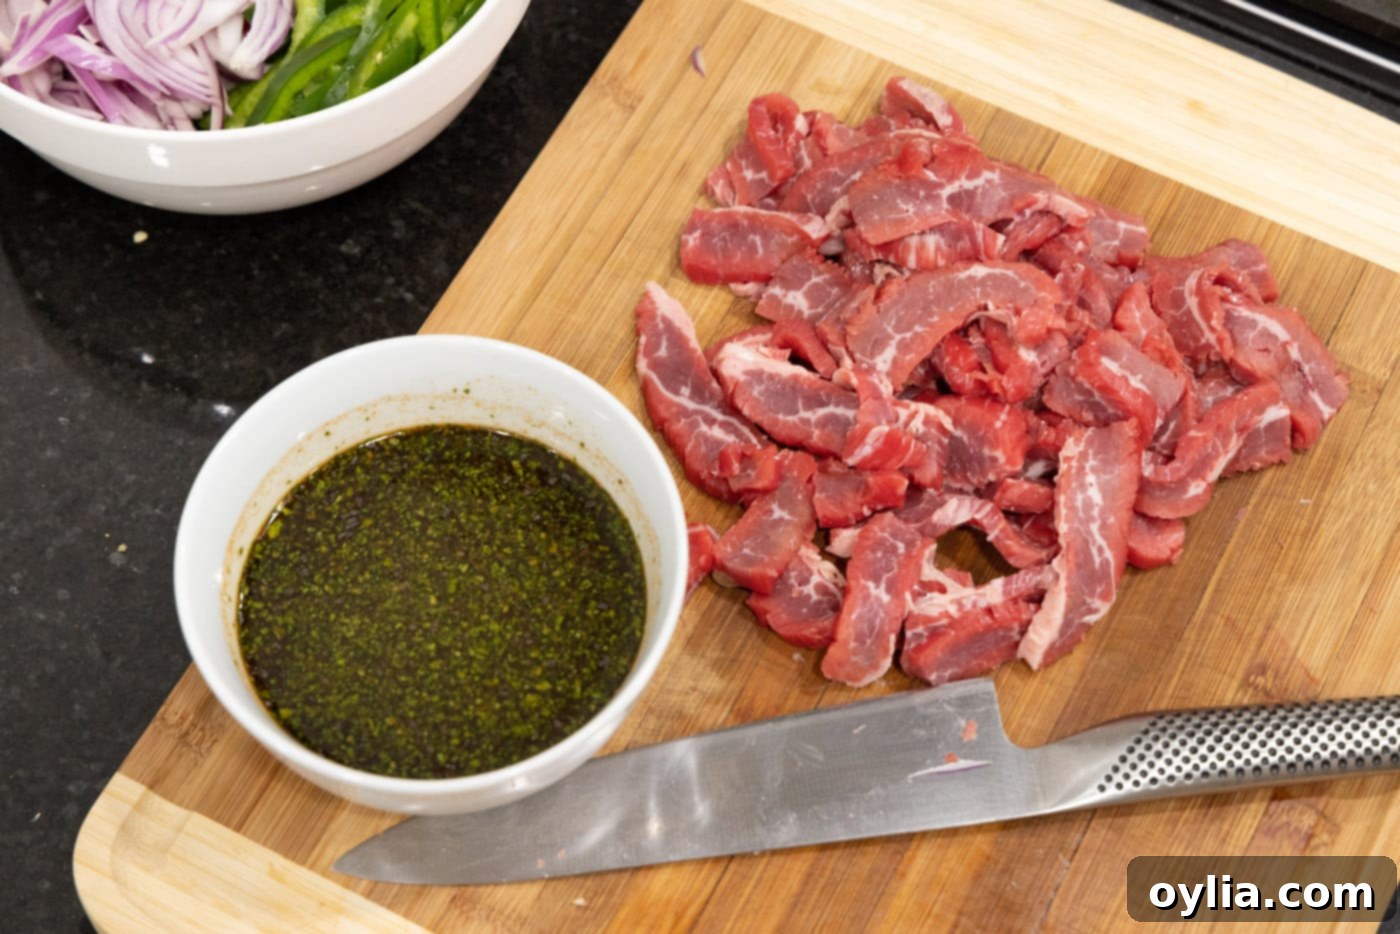
BEEF: For the most tender and flavorful steak fajitas, we highly recommend using flank steak. It’s important to slice the flank steak thinly against the grain. Slicing against the grain means cutting perpendicularly to the muscle fibers that run through the meat. This technique breaks up those tough fibers, resulting in a much more tender and easier-to-chew bite. If flank steak isn’t available, skirt steak is another excellent choice, though it tends to be a bit tougher and may require slightly less cooking time to avoid becoming overly fibrous. Both cuts are lean and exceptionally good at absorbing marinades, which is crucial for maximizing flavor and tenderness.
MARINADE: The marinade is the heart of this steak fajita recipe, playing a dual role in both tenderizing the beef and infusing it with an incredible depth of flavor. Our homemade fajita marinade is a vibrant blend designed to deliver that authentic Tex-Mex taste. It typically consists of key ingredients such as savory soy sauce (or tamari for a gluten-free option), pungent garlic, fresh cilantro, a kick of jalapeño (adjust to your spice preference), earthy cumin, smoky paprika, a hint of liquid smoke for extra depth, garlic powder, and bright, tangy lime juice. This versatile marinade isn’t just for steak fajitas; it can also elevate the flavor of pork or chicken, making it a valuable addition to your culinary arsenal.
VEGETABLES: The classic fajita combination calls for vibrant red and green bell peppers, which add both color and a lovely sweetness, alongside thinly sliced red onion for a touch of pungent flavor and texture. Feel free to experiment with other bell pepper colors like yellow or orange. For an extra layer of flavor and a slight char, consider adding a few slices of poblano peppers or even thinly sliced mushrooms for an earthier note.
OLIVE OIL: Used for searing the vegetables and beef, olive oil provides a good cooking medium and a subtle flavor. Any high-heat cooking oil, such as avocado oil or canola oil, would work as a substitute.
TORTILLAS: While the recipe specifies corn tortillas, which offer an authentic taste and texture, you can absolutely use flour tortillas if you prefer. Opt for “taco size” tortillas, which are perfectly portioned for individual fajitas. Warming them correctly, especially over an open flame, significantly enhances their flavor and flexibility.
Step-by-Step: Crafting Your Delicious Steak Fajitas
These detailed step-by-step photos and instructions are here to guide you visually through the process of making this mouthwatering recipe. For a convenient, printable version complete with all measurements and instructions, simply Jump to Recipe at the bottom of this page.
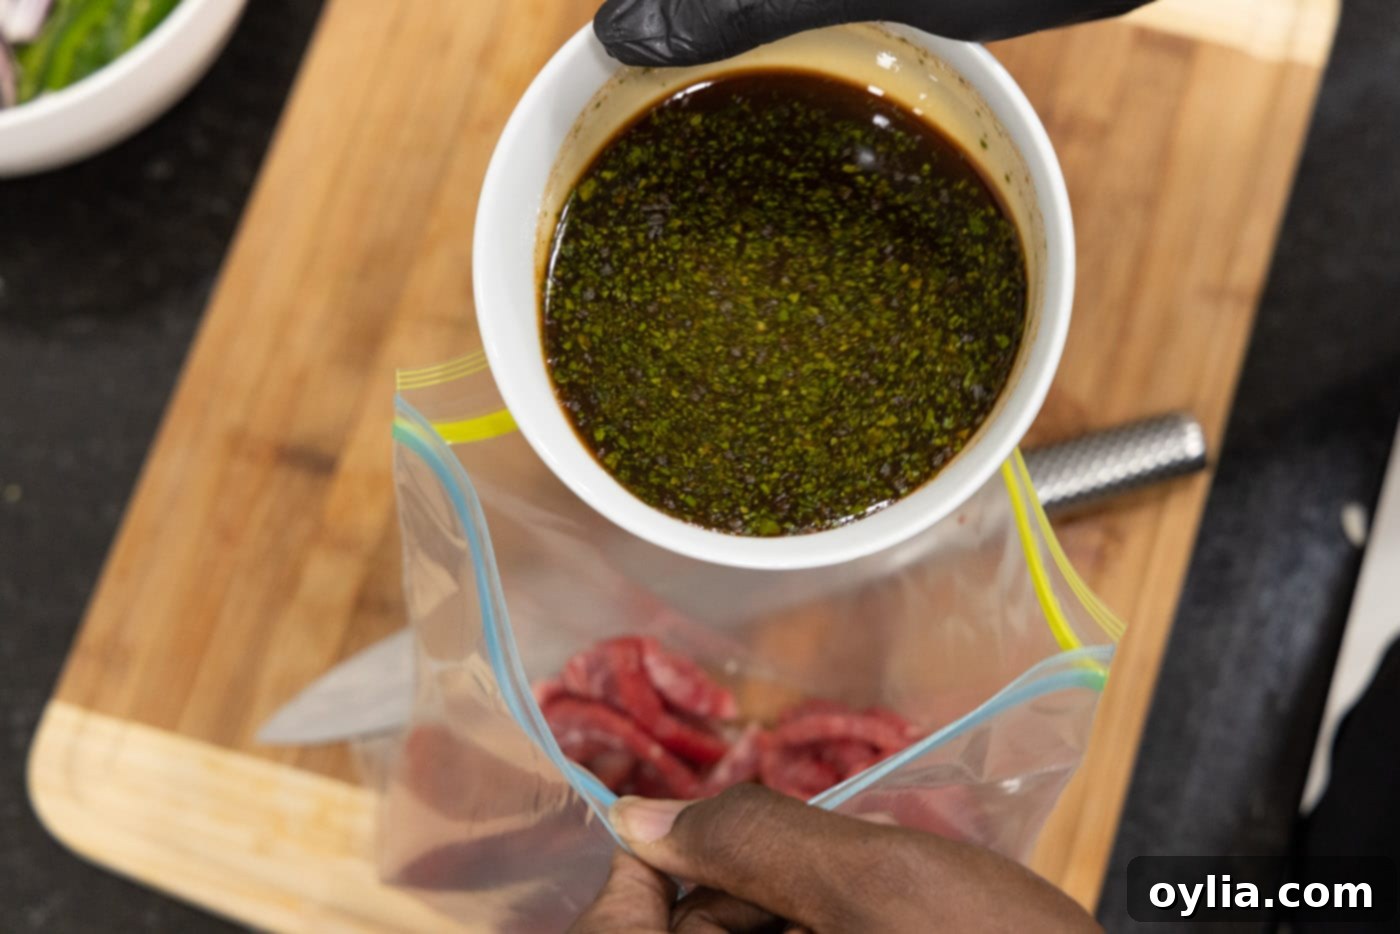
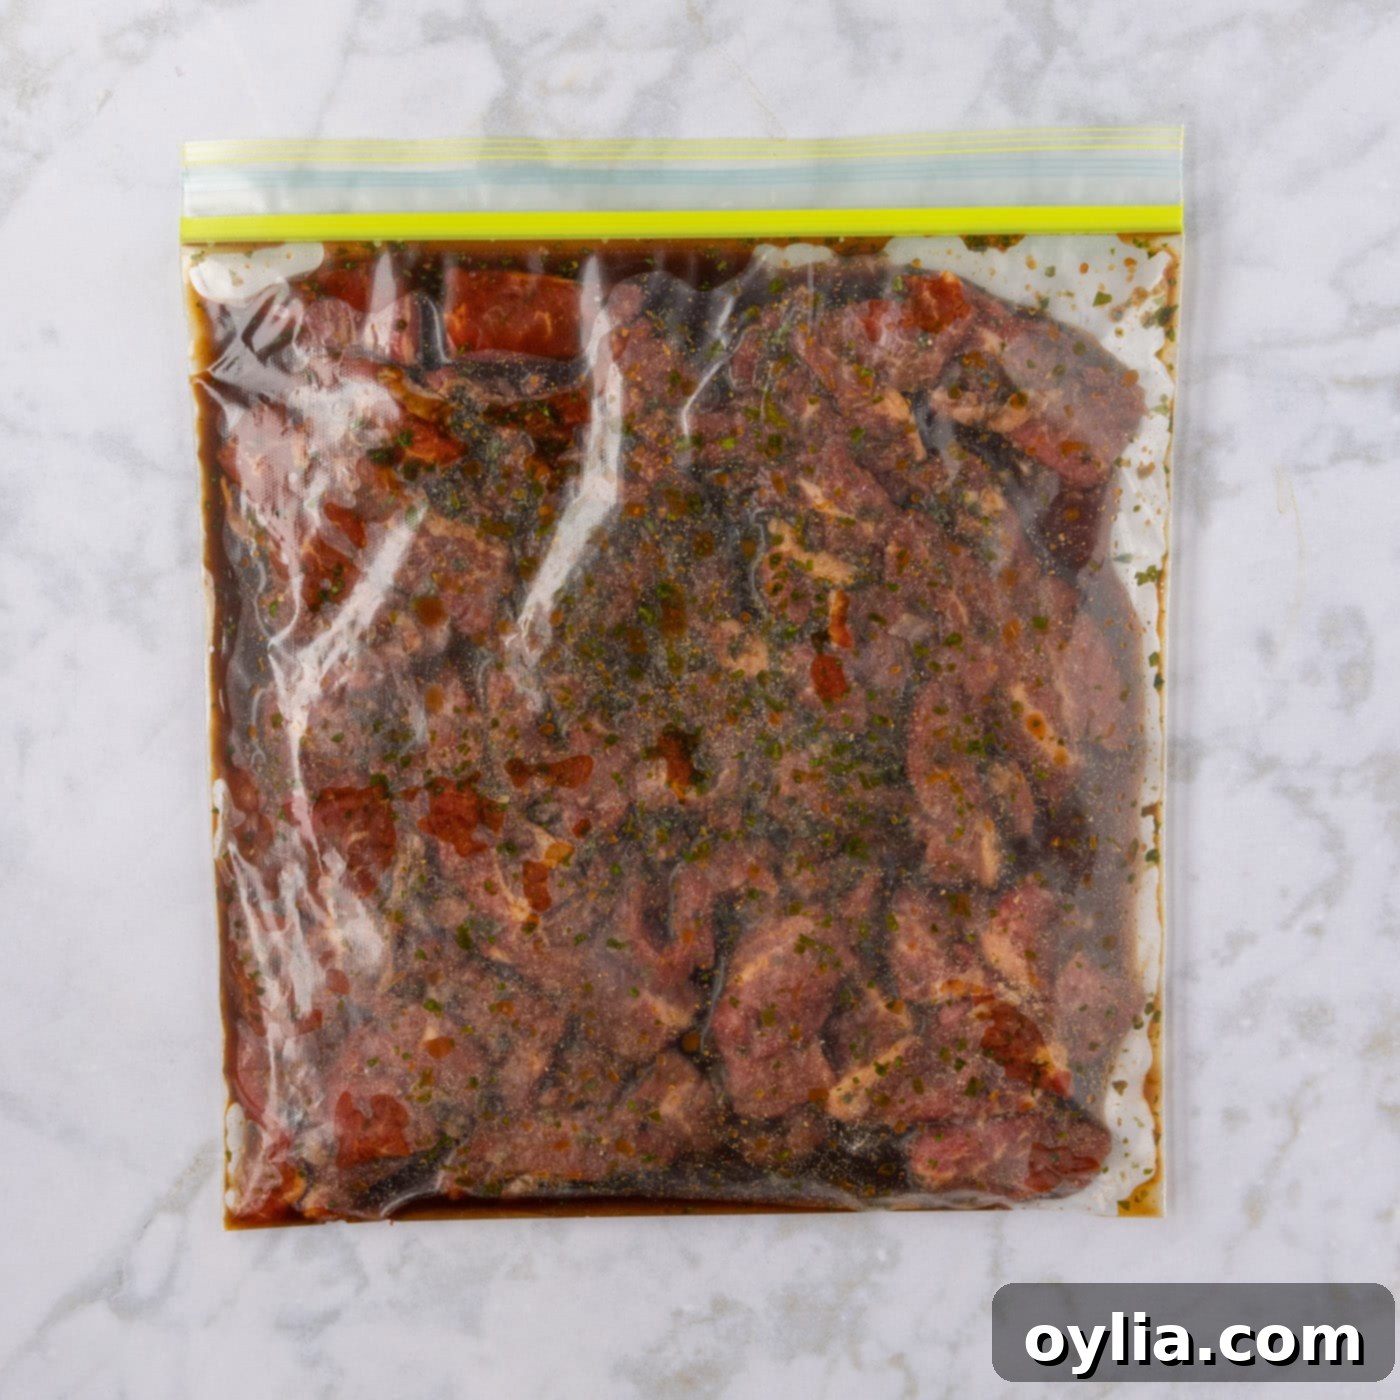
- Begin by preparing your flank steak. Slice it thinly against the grain into uniform strips. This is crucial for tenderness. Place the sliced beef into a gallon-sized plastic bag and pour in your prepared fajita marinade. Seal the bag, ensuring the steak is fully coated, and allow it to marinate at room temperature for one hour. This allows the flavors to penetrate and tenderize the meat.


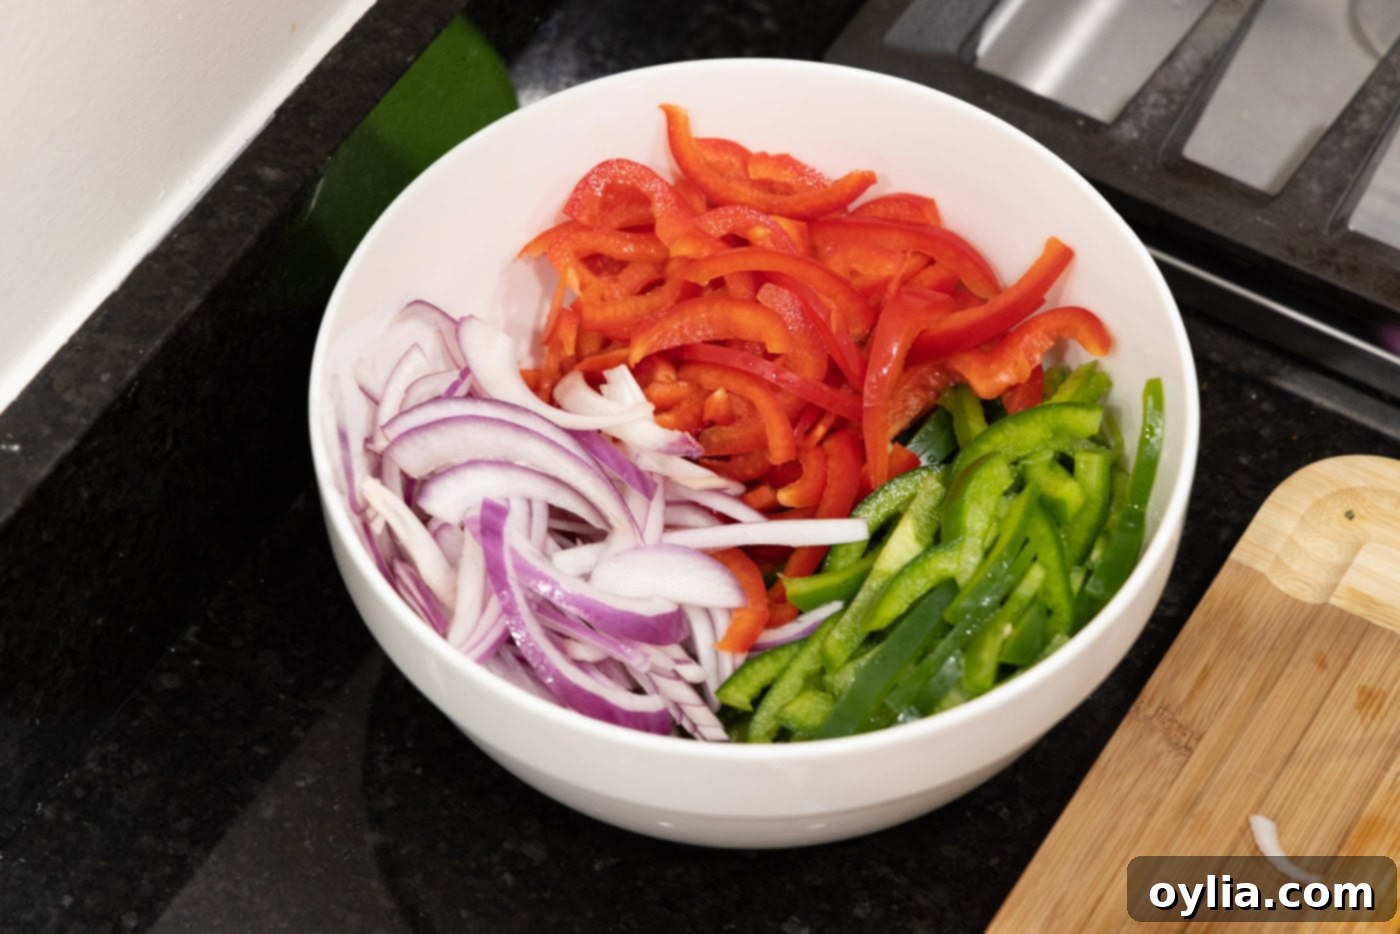
- While the steak marinates, prepare your vegetables. Cut the bell peppers (red and green) and the red onion into thin, uniform strips. This ensures even cooking and a consistent texture in your fajitas.

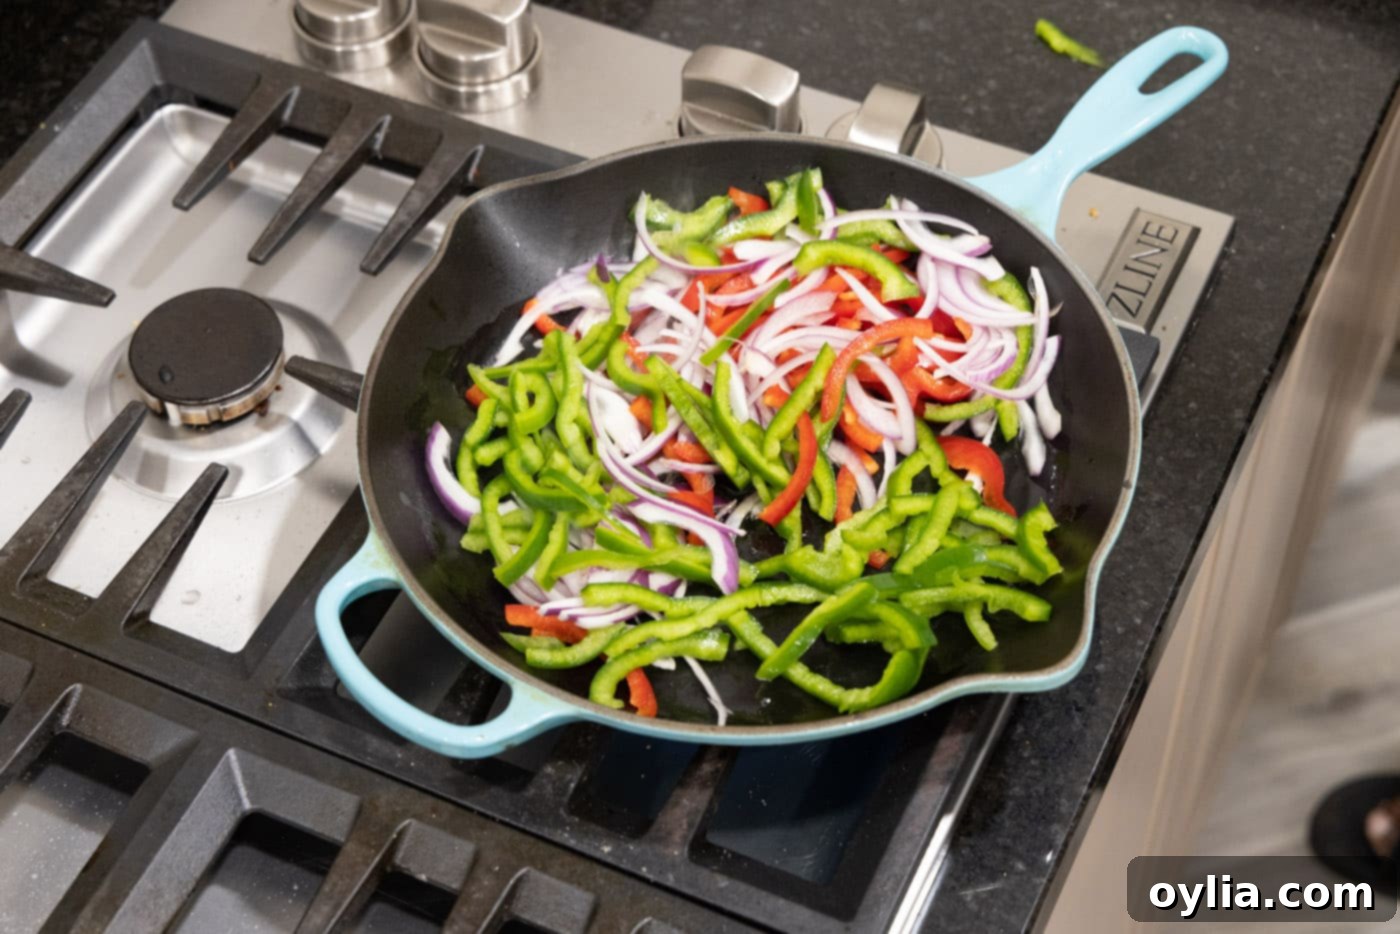
- Heat olive oil in a large cast iron skillet over medium-high heat. Wait until the oil is shimmering, indicating it’s hot enough to sear the vegetables effectively.
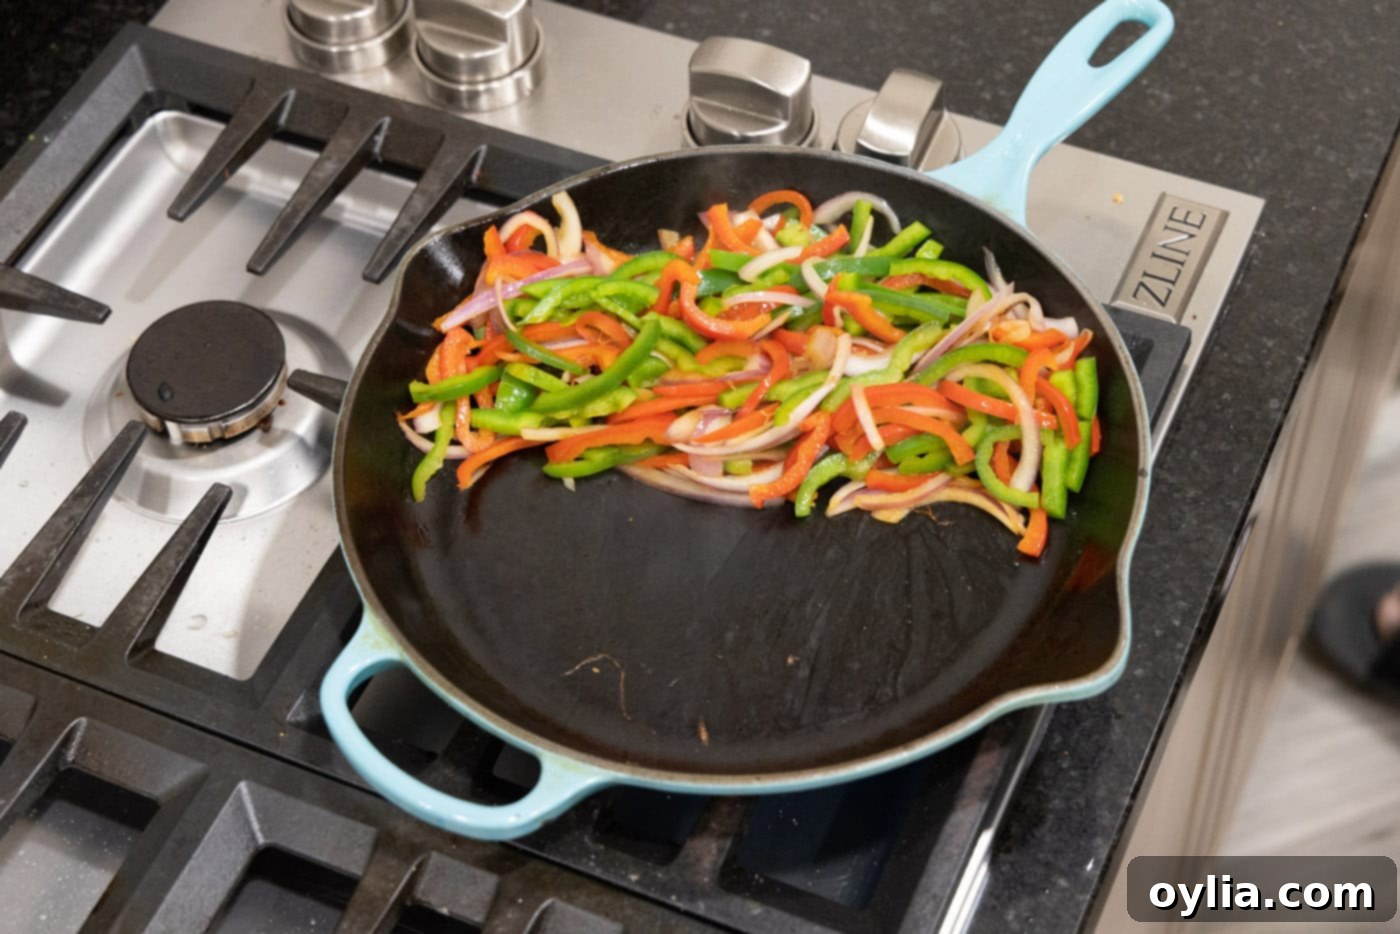
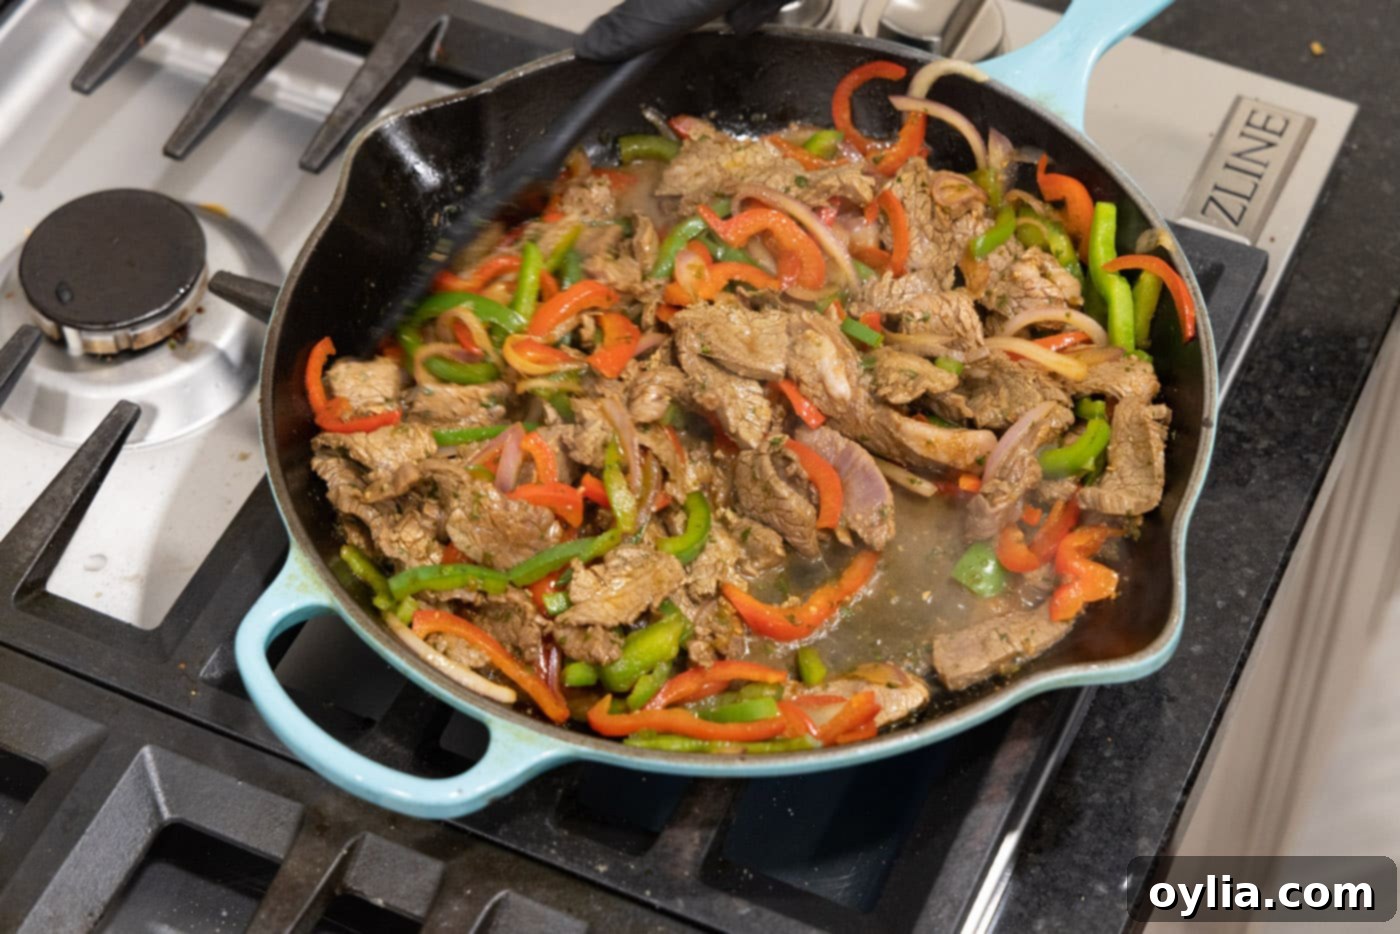
- Add the bell pepper and onion strips to the hot skillet. Cook, stirring occasionally, until they become tender-crisp. This should take approximately 2-3 minutes. You want them cooked through but still retaining a slight bite and vibrant color.

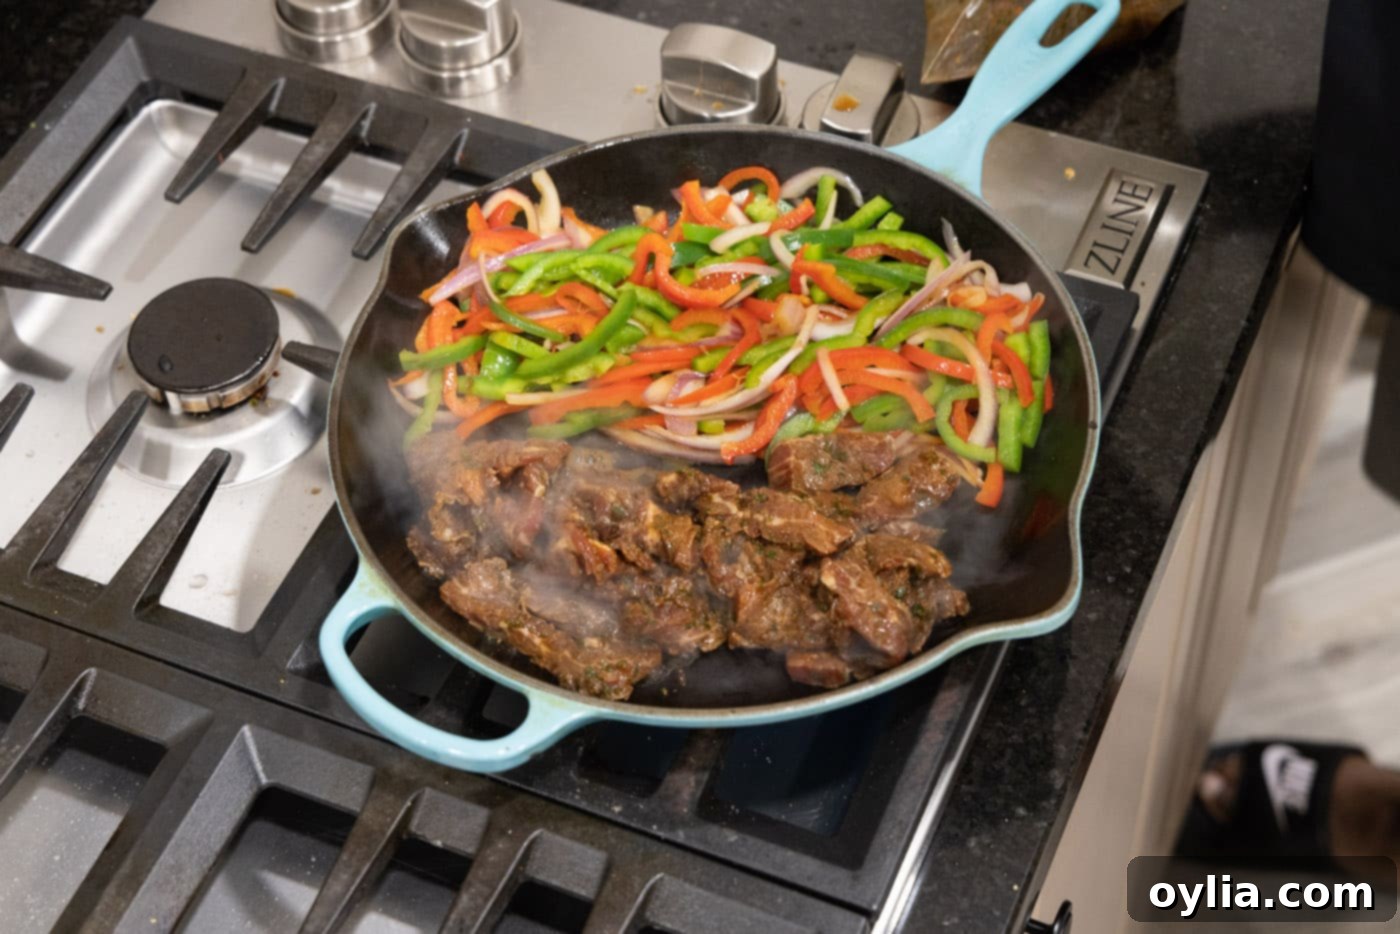
- Once the vegetables are cooked, move them to one side of the pan. Using tongs or a gloved hand, carefully remove the beef strips from the marinade and add them to the empty side of the pan. Cook the beef, stirring occasionally, for 1-2 minutes until it starts to brown and cook through. Discard any leftover marinade.

TIP: We love our fajita meat juicy, so we add the steak directly from the marinade. If you prefer less pan juices or a drier sear, you can drain the marinated meat first and gently pat it dry with paper towels before adding it to the skillet.
- Now, stir the cooked vegetables and beef together in the skillet, allowing them to meld their flavors. Continue cooking for an additional 2-3 minutes, just until the beef is perfectly tender and fully cooked. Turn off the heat and set the pan aside, keeping the filling warm.


- CAUTION: The next step involves an open flame. If you’re uncomfortable with this, or prefer a simpler method, you can also heat the tortillas in a dry skillet until warm and pliable. However, heating them over a flame provides those desirable char marks and a subtle smoky flavor that truly elevates the experience.
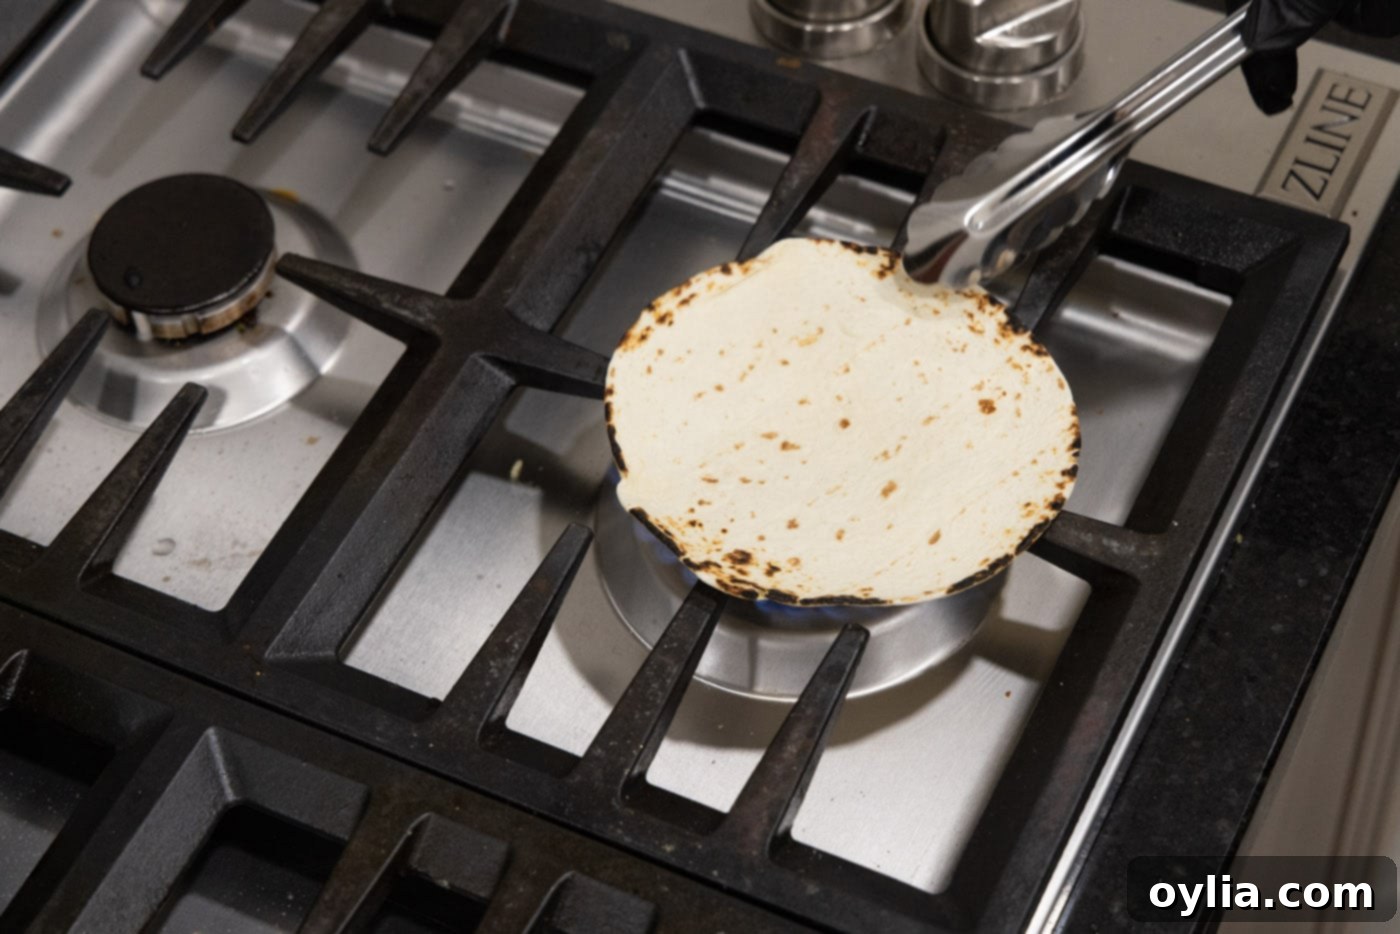
- Using tongs, carefully toast your corn or flour tortillas directly over an open flame on your stove burner. Keep a close eye on them and turn them frequently. Each side typically only needs about 5-10 seconds on the burner to warm through and get those lovely char spots without burning.

Frequently Asked Questions & Expert Tips for Fajita Success
Flank steak is arguably the most popular and highly recommended choice for beef fajitas due to its lean nature and ability to become incredibly tender when sliced against the grain and marinated. Skirt steak is another fantastic option, offering a rich beefy flavor. While it can be a bit tougher than flank steak, proper marination and quick cooking prevent it from becoming overly fibrous. Both cuts respond exceptionally well to marinades, which are key for tenderizing the meat and enhancing its flavor profile. For the best results, always slice these cuts thinly against the grain.
To maintain optimal freshness and prevent sogginess, it’s best to store the cooked beef and vegetable filling separately from the tortillas. Place the cooled fajita filling in an airtight container and refrigerate it for up to 3-4 days. Store any leftover tortillas separately in a zip-top bag at room temperature or in the refrigerator.
To reheat the fajita filling, gently warm the beef and veggies in a skillet over medium to low heat, stirring occasionally, until they are thoroughly heated through. This usually takes only a few minutes. Alternatively, you can spread the filling on a baking sheet and reheat it in a 250°F (120°C) oven for about 10 minutes. The key is to reheat slowly and at a lower temperature to avoid overcooking the beef, which can cause it to become tough and chewy. Reheat tortillas separately in a dry skillet or over an open flame for a few seconds per side until warm and pliable.
Absolutely! The cooked beef and vegetable filling freezes very well. Once cooled completely, place the filling in a sealed freezer bag or an airtight freezer-safe container. It can be stored in the freezer for up to 3 months. When you’re ready to enjoy it, thaw the filling in the refrigerator overnight, then reheat on the stovetop as described above. We recommend freezing the filling only, not the tortillas, as tortillas tend to get a rubbery texture after freezing and thawing.
For the best flavor and tenderness, marinating the steak for at least 1 hour at room temperature or up to 4 hours in the refrigerator is ideal. You can even marinate it overnight (8-12 hours) in the fridge for deeper flavor, but avoid marinating for much longer than 12 hours as the acid in some marinades can start to break down the meat too much, leading to a mushy texture.
A crucial tip for authentic fajitas is to use a very hot skillet, preferably a cast iron skillet. Ensure the olive oil is shimmering before adding the vegetables. Cook them in batches if necessary to avoid overcrowding the pan, which can steam them instead of searing. For the beef, once added to the hot pan, resist the urge to stir it immediately. Let it sit for a minute or two to develop a good sear before tossing. This high-heat, quick-cooking method is what gives fajitas their signature smoky, slightly charred flavor and tender-crisp texture.
Creative Serving Suggestions for Your Fajitas
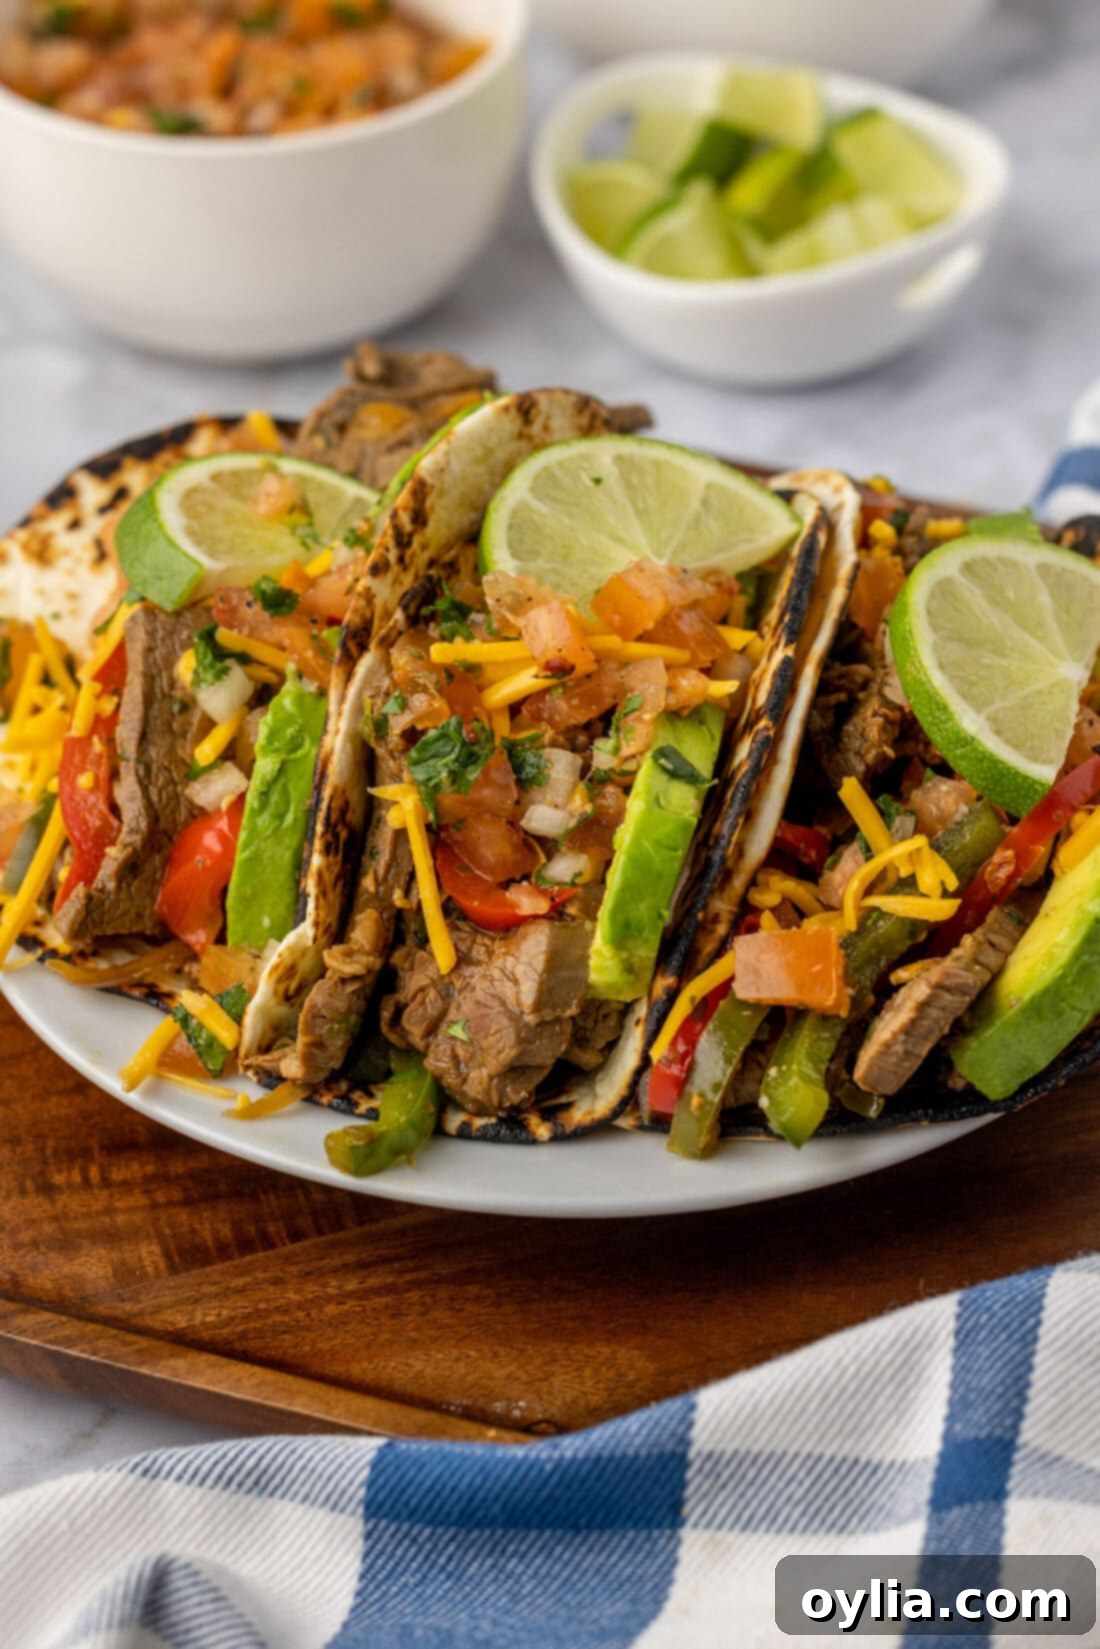
The beauty of steak fajitas lies in their versatility and the array of delicious toppings and sides you can pair them with. Serve your hot, sizzling steak fajitas with classic toppings like a generous dollop of cooling sour cream, fresh salsa fresca, zesty salsa verde, a sprinkle of shredded cheese, creamy guacamole, or simply sliced avocados with fresh lime wedges for squeezing over the top. The bright citrus burst from lime is essential!
To complete your Tex-Mex feast, pair your fajitas with traditional side dishes. A hearty side of classic Spanish rice or rich refried beans makes for a satisfying meal. For those looking for lighter options, skip the tortillas entirely and wrap the flavorful sliced beef and veggies into crisp lettuce leaves for a low-carb alternative. Alternatively, create a vibrant fajita bowl by tossing the ingredients with a base of rice, quinoa, or even cauliflower rice. Don’t forget to offer a variety of hot sauces for those who like an extra kick!
Discover More Delicious Tex-Mex Recipes
If you loved these steak fajitas, you’re sure to enjoy these other fantastic Tex-Mex inspired dishes. Expand your culinary repertoire with more flavorful recipes from our kitchen:
- Carne Asada
- Shrimp Fajitas
- Chimichangas
- Chicken Fajita Salad
- Chicken Fajitas
I absolutely love to bake and cook, and it brings me so much joy to share my kitchen adventures and delicious recipes with all of you! Remembering to come back each day for new ideas can be tough, which is why I offer a convenient newsletter every time a new recipe posts. Simply subscribe here and start receiving your free daily recipes directly to your inbox!

Steak Fajitas
IMPORTANT – There are often Frequently Asked Questions within the blog post that you may find helpful. Simply scroll back up to read them!
Print It
Pin It
Rate It
Save ItSaved!
Ingredients
- 1 pound flank steak
- 1 ½ cups homemade fajita marinade
- 1 large red bell pepper cut into strips
- 1 large green bell pepper cut into strips
- ½ large red onion cut into strips
- 2 Tablespoons olive oil
- 6 corn tortillas or flour, taco size
Things You’ll Need
-
Large cast iron skillet
-
Vinyl gloves
Before You Begin
- Cut the flank steak thinly against the grain. Slicing against the grain means to cut against (perpendicular) the fibers that run through the meat. This will help tenderize and make it easier to chew.
- Flank steak is among the most popular choice of beef for fajitas. You can also use skirt steak, though skirt steak is a bit tougher than flank so you may want to cook it for less time to avoid overly fibrous beef strips. Both cuts are lean and work really well with marinades which help tenderize the meat.
- Store the leftover beef and veggies separate from the tortillas (so they don’t get soggy), in an air-tight container kept in the refrigerator for 3-4 days.
- To reheat, warm the veggies and beef in a skillet over medium to low heat until warmed through, it should only take a few minutes. Alternatively reheat in a 250F oven for around 10 minutes. You don’t want to end up overcooking the beef by reheating it at too high of temperatures which will cause it to be tough and chewy.
- You can freeze the leftover filling, separate from the tortillas, for up to 3 months. Place the cooled beef and veggies in a sealed freezer bag or airtight container. Thaw in the refrigerator overnight and reheat on the stovetop.
Instructions
-
Cut flank steak against the grain into thin strips. Place meat into a gallon sized plastic bag and pour in the marinade. Seal the bag and allow to marinate at room temperature for one hour.
-
Cut bell peppers and onion into thin strips.
-
Heat olive oil in a cast iron skillet over medium-high heat until shimmering.
-
Add bell pepper and onion strips and cook, stirring occasionally, until tender crisp, about 2-3 minutes.
-
Move all the vegetables to one side of the pan. Using tongs or your gloved hand, remove beef from marinade and add it to the empty side of the pan. Cook, stirring occasionally for 1-2 minutes. Discard leftover marinade.
TIP – We like our meat to be juicy, so we add the meat to the pan right out of the marinade. If you prefer less pan juices, drain the marinated meat first and gently pat dry with paper towels.
-
Stir vegetables and beef together, cooking for an additional 2-3 minutes. Turn off heat and set pan aside.
-
CAUTION: the next step requires an open flame. If you prefer, you can also heat the tortillas in a dry skillet but the flame gives you those nice char marks.
Toast tortillas over open flame on your stove, turning with tongs. Do not leave the tortillas alone and they will need to be turned fairly quickly.
-
Each side only needs about 5-10 seconds on the burner.
Nutrition
The recipes on this blog are tested with a conventional gas oven and gas stovetop. It’s important to note that some ovens, especially as they age, can cook and bake inconsistently. Using an inexpensive oven thermometer can assure you that your oven is truly heating to the proper temperature. If you use a toaster oven or countertop oven, please keep in mind that they may not distribute heat the same as a conventional full sized oven and you may need to adjust your cooking/baking times. In the case of recipes made with a pressure cooker, air fryer, slow cooker, or other appliance, a link to the appliances we use is listed within each respective recipe. For baking recipes where measurements are given by weight, please note that results may not be the same if cups are used instead, and we can’t guarantee success with that method.
