Easy & Irresistible Hot Cocoa Rice Krispie Treats: Your Ultimate No-Bake Delight
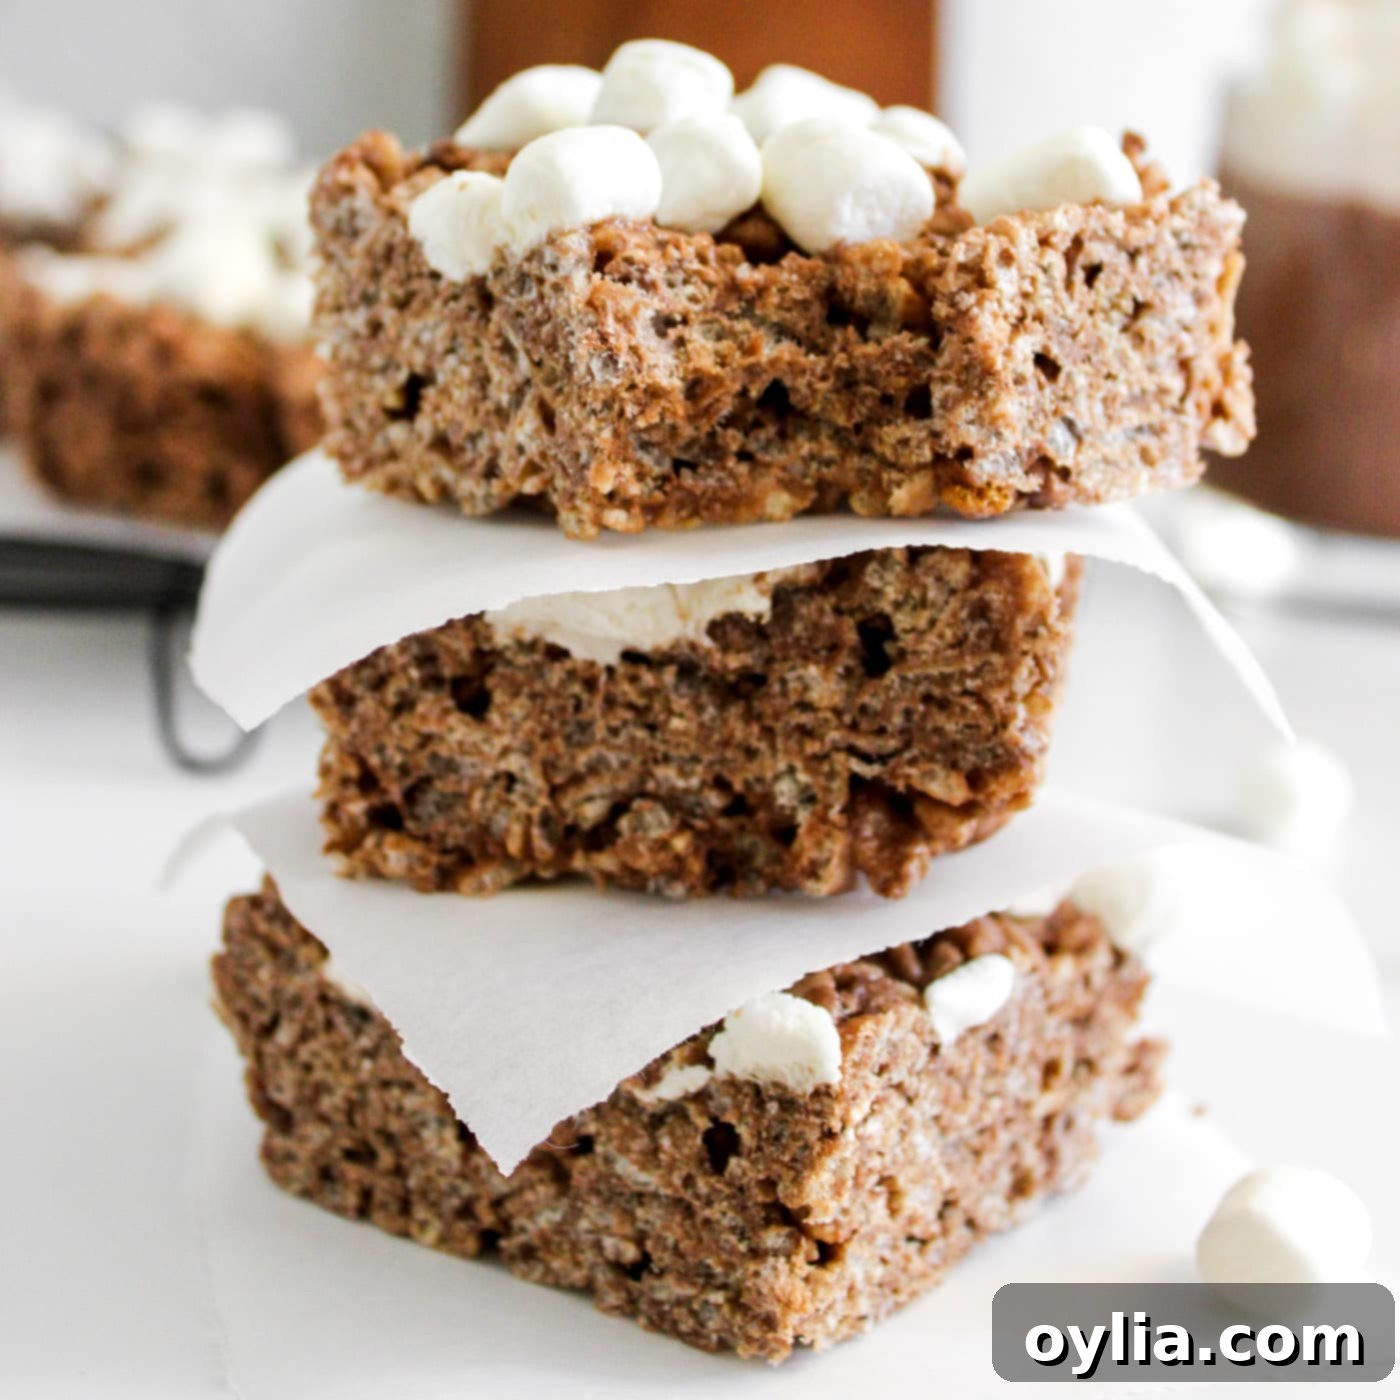
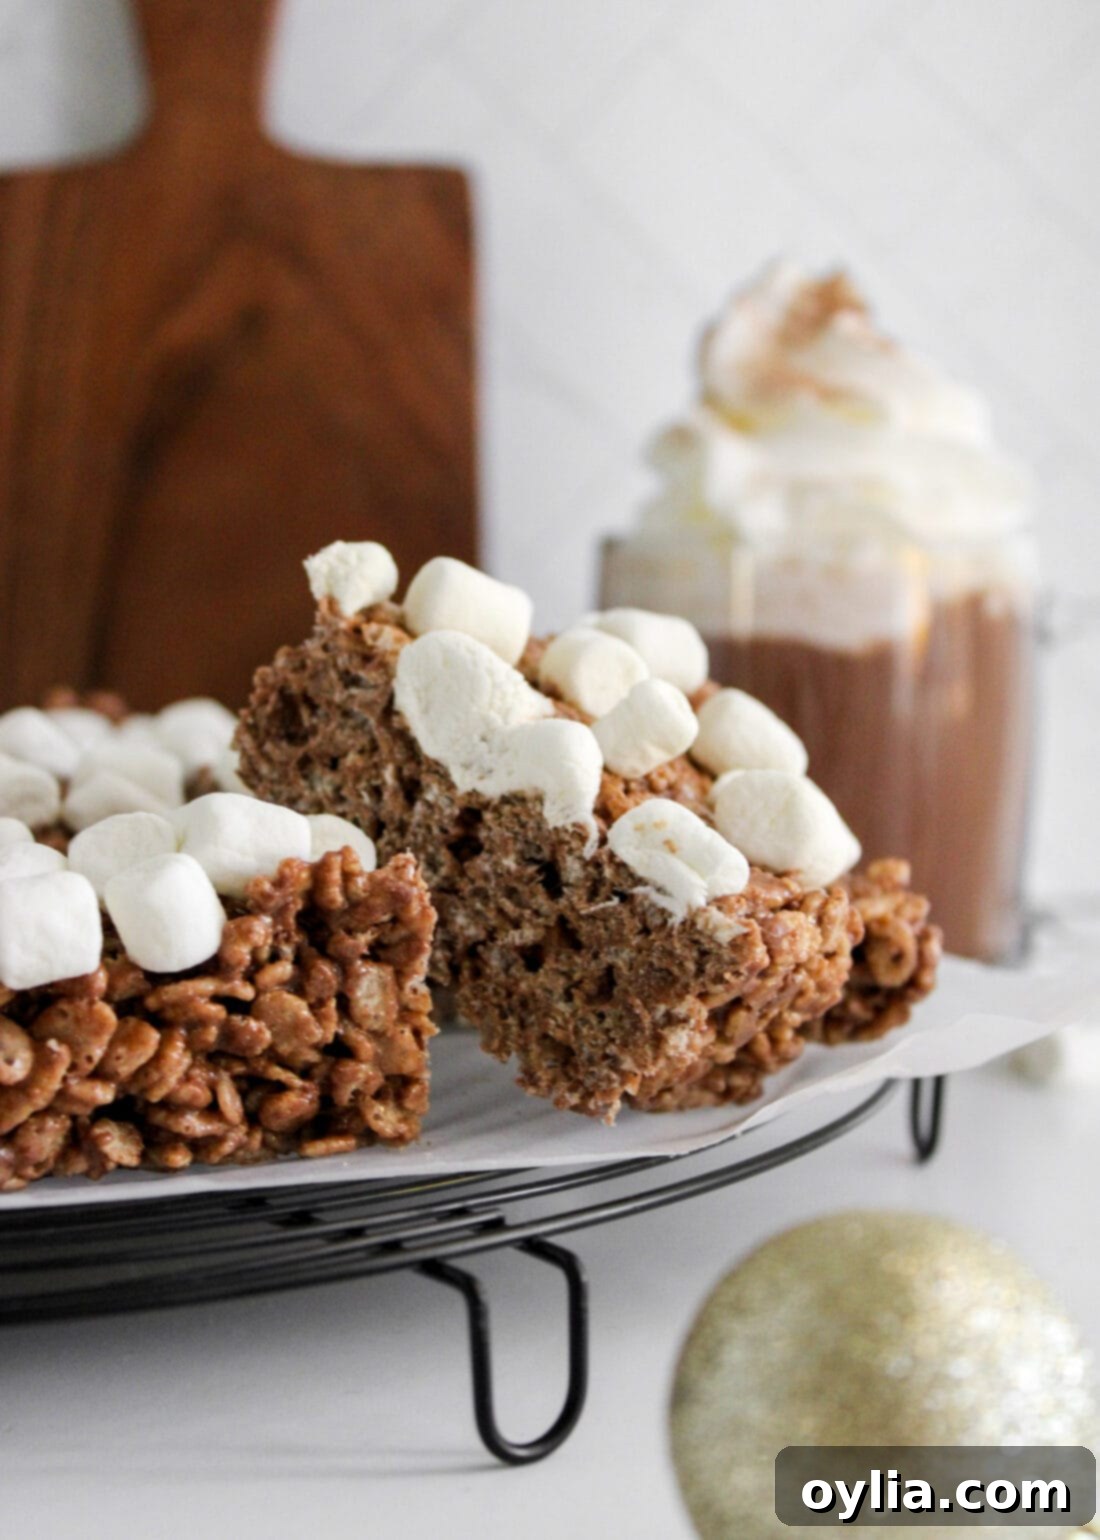
These delightful hot cocoa rice krispie treats masterfully combine the satisfying crunch of cereal with the irresistible chewiness of marshmallows, all elevated by a secret weapon: hot chocolate mix. Imagine your favorite cozy winter drink transformed into a bite-sized, no-bake dessert! These treats offer a comforting blend of chocolate and marshmallow flavor, making them a perfect pick-me-up on a chilly day or a delightful addition to any sweet spread. They are incredibly simple to prepare, requiring minimal ingredients and time, yet deliver maximum flavor and enjoyment. Whether you’re a seasoned baker or a kitchen novice, these hot cocoa rice krispie treats are a foolproof recipe guaranteed to bring smiles.

Why This Recipe Works: Simple, Quick, and Utterly Delicious
This recipe truly stands out for its simplicity, speed, and the sheer joy it brings. In a mere 10 minutes, you can whip up a batch of these incredibly chewy, soft, and richly flavored hot cocoa rice krispie treats. The magic lies in their minimal ingredient list: just four pantry staples – a good quality hot chocolate mix, fluffy mini marshmallows, rich butter, and classic crispy rice cereal. This makes them an ideal last-minute dessert or a fun activity when you’re short on time but craving something sweet and satisfying.
The addition of hot chocolate mix isn’t just for flavor; it infuses the treats with that warm, nostalgic essence of a comforting mug of cocoa, making them unique compared to traditional cereal bars. This subtle yet impactful twist elevates a classic treat into something truly special, perfect for cooler months, holiday gatherings, or simply whenever you crave a taste of cozy comfort. Furthermore, these marshmallow cereal bars are incredibly versatile when it comes to decoration. Feel free to unleash your creativity!
You can follow our lead and add a luxurious drizzle of melted chocolate, reminiscent of our festive Christmas tree rice krispie treats. Or, consider scattering extra mini marshmallows and a handful of chocolate chips on top for an extra layer of sweetness and texture. They are equally delicious enjoyed plain, allowing the pure chocolate-marshmallow goodness to shine through. This recipe is also fantastic for involving little helpers in the kitchen. Kids absolutely adore the hands-on fun of pressing the mixture into the pan and decorating their culinary creations. It’s a wonderful way to create delicious memories together!
Ingredients You Will Need to Make Them
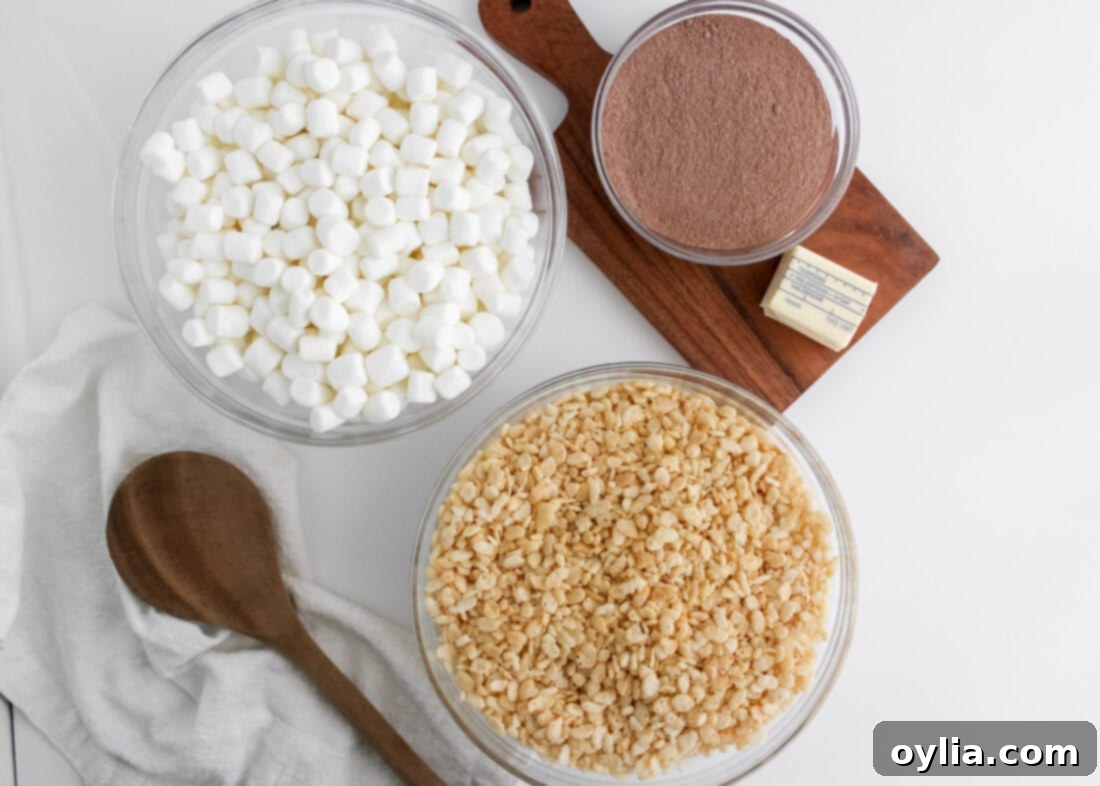
To create these delightful hot cocoa rice krispie treats, you’ll need a handful of readily available ingredients. While the full, precise measurements and step-by-step instructions are provided in the printable recipe card at the bottom of this post, here’s a quick overview of what you’ll gather for this simple yet sensational dessert. The beauty of this recipe lies in its minimal requirements, proving that you don’t need a lengthy grocery list to craft something truly special and delicious. Each ingredient plays a crucial role in achieving that perfect balance of crispy, chewy, and chocolatey goodness.
Ingredient Info and Substitution Suggestions
Let’s delve a little deeper into the key ingredients that make these hot cocoa rice krispie treats so spectacular, along with some helpful substitution tips:
HOT COCOA MIX: This is the star of our show, infusing every bite with that comforting hot chocolate flavor. The wonderful news is that you can use any brand of hot cocoa mix you prefer! Whether it’s a gourmet brand like Godiva or Ghiradelli, a beloved classic like Swiss Miss or Starbucks, or even a homemade blend you adore, they will all contribute to a fantastic result. Each brand might offer a slightly different nuance in sweetness and chocolate depth, so feel free to experiment to find your favorite.
If you find yourself without a hot cocoa mix, don’t fret! You can substitute it with an equal amount of unsweetened cocoa powder. However, keep in mind that unsweetened cocoa powder will make the treats less sweet, so you might consider adding an extra tablespoon or two of sugar to the melted marshmallow mixture to compensate, depending on your sweetness preference. For an extra festive touch, consider using a peppermint hot cocoa mix during the holiday season!
MARSHMALLOWS: Mini marshmallows are typically recommended for this recipe due to their quick melting time and ease of distribution. They create that perfectly gooey binder for your treats. If mini marshmallows aren’t available, you can absolutely use regular-sized marshmallows. Simply measure out 10 ounces (which is roughly equivalent to about 40 large marshmallows). They will take a little longer to melt completely. To expedite the melting process, a clever trick is to quarter or halve the regular marshmallows before adding them to the saucepan. This increases their surface area, allowing them to melt more evenly and quickly. Remember to save a small handful of mini marshmallows for sprinkling on top at the end, adding a lovely visual appeal and extra pockets of melt-in-your-mouth sweetness.
BUTTER: We use butter to create the base for melting our marshmallows, adding a rich, creamy flavor. Unsalted butter is generally preferred in baking to control the overall saltiness, but salted butter can be used if that’s what you have on hand; just be aware it might add a subtle salty note. Melting it over low heat is key to prevent scorching, which can impart an undesirable nutty flavor.
RICE KRISPIES CEREAL: The namesake ingredient provides the delightful crispy crunch. Ensure your cereal is fresh for the best texture. Stale cereal can lead to soggy, less appealing treats. While Kellogg’s Rice Krispies are classic, you could experiment with other puffed rice cereals if you wish, though the texture and flavor might vary slightly. For best results, stick to the original!
How to Make Hot Cocoa Rice Krispie Treats
Crafting these hot cocoa rice krispie treats is a delightfully simple process, perfect for cooks of all skill levels. The steps are straightforward, ensuring a delicious outcome every time. Below, you’ll find step-by-step photos and detailed instructions to guide you through each stage, helping you visualize exactly how to bring this recipe to life. For a convenient, printable version complete with all measurements and full instructions, simply Jump to Recipe at the bottom of this post.
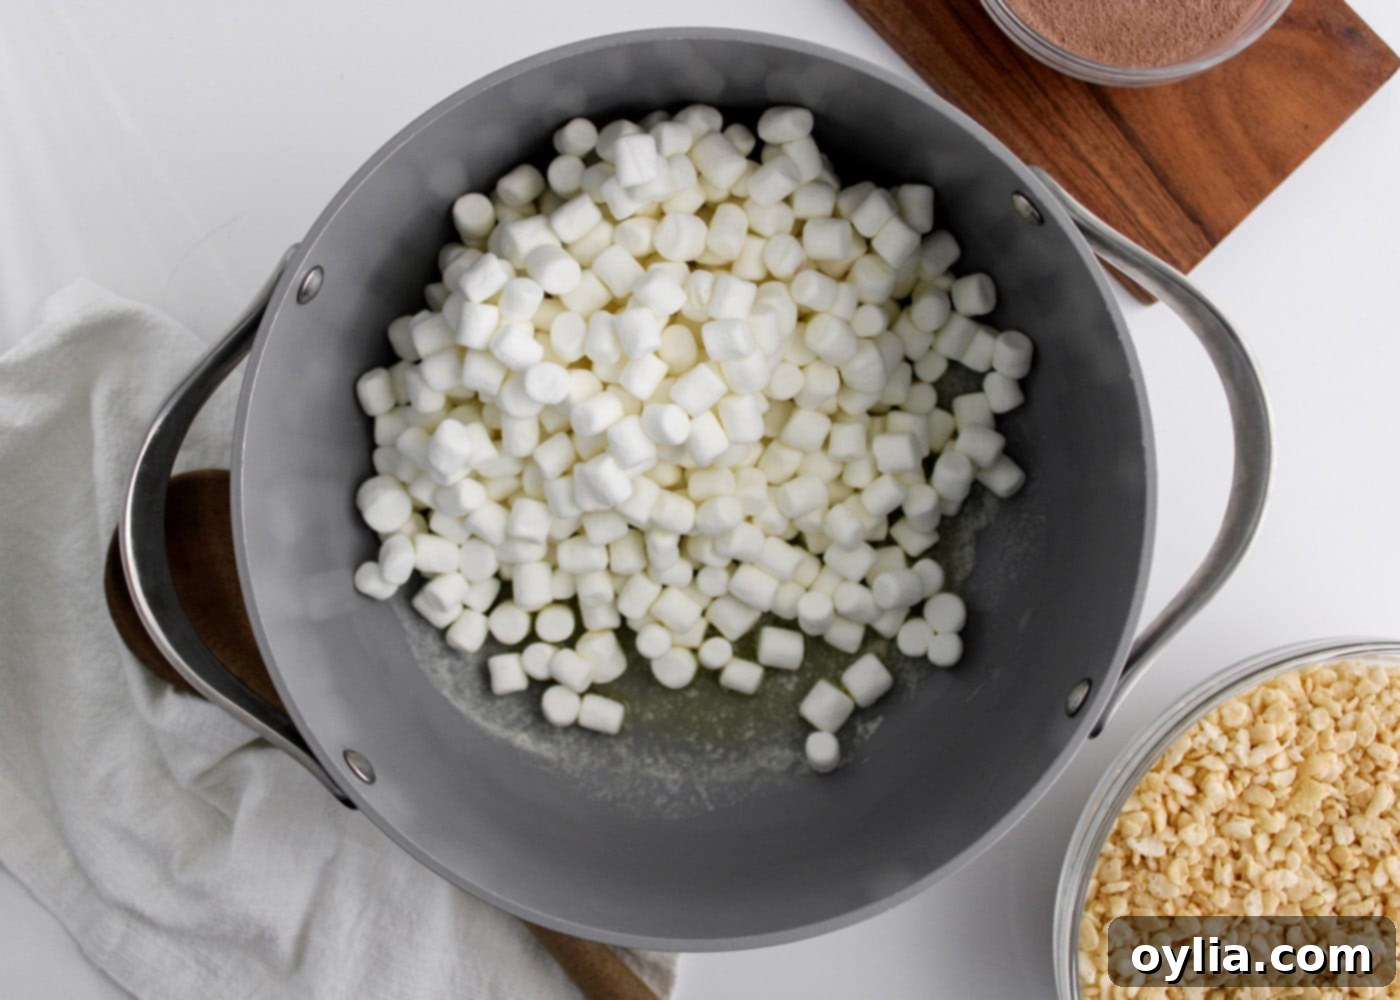
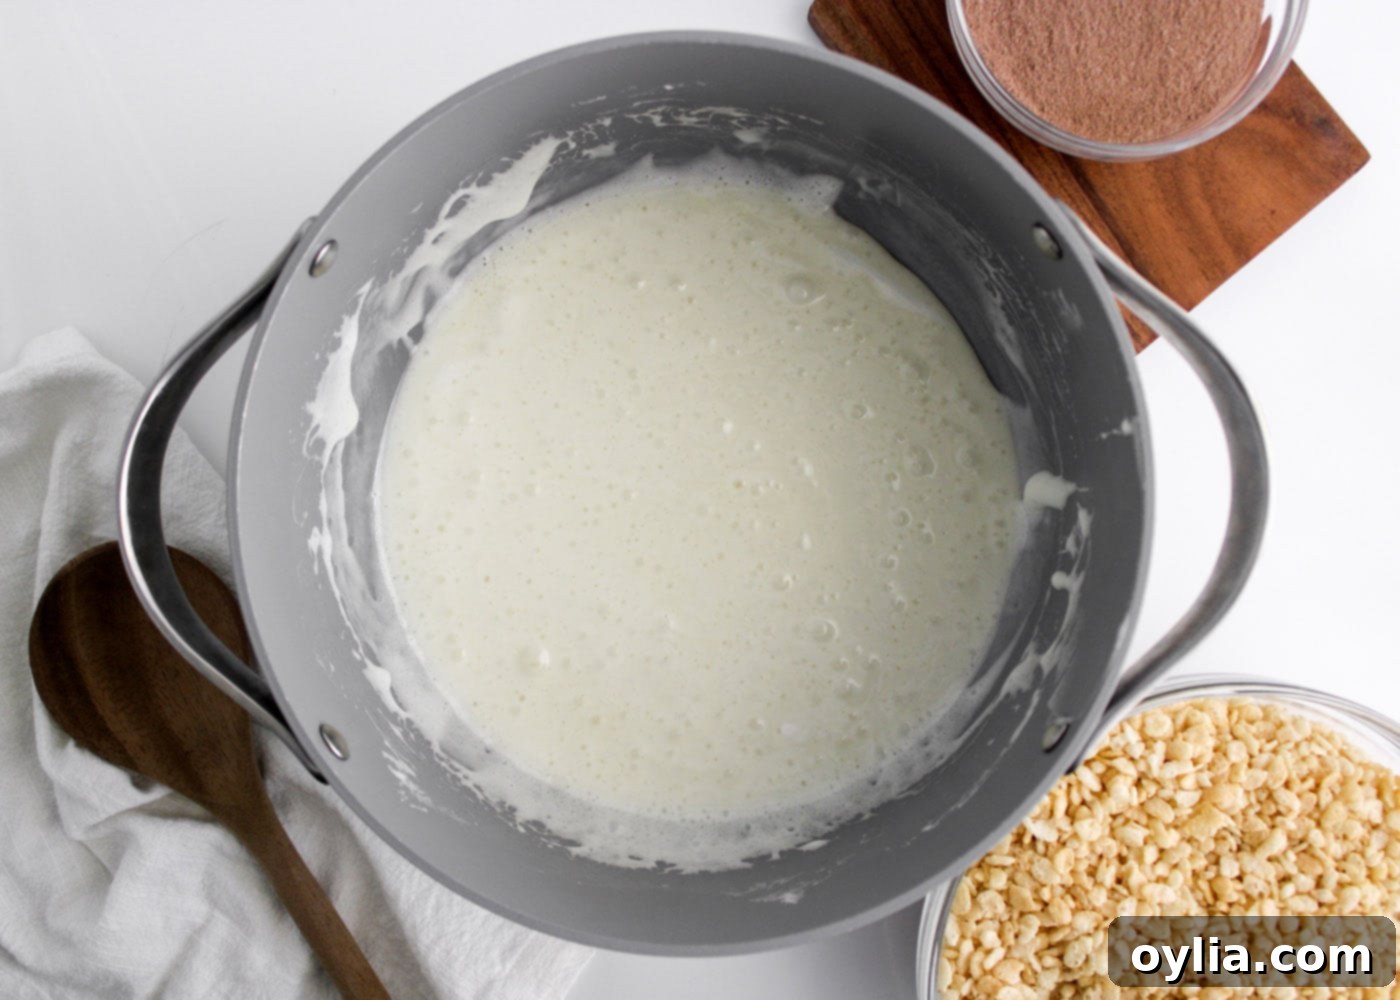
- In a large saucepan, begin by melting the butter over low heat. The key here is *low heat* to prevent the butter from browning too quickly and to ensure a gentle melt. Once the butter is mostly melted, add the mini marshmallows. Remember to reserve a small handful of mini marshmallows for a delightful topping later. Continue stirring the mixture consistently over low heat until entirely melted. This constant stirring is vital to prevent the marshmallows from sticking to the bottom of the pan and burning, ensuring a smooth, gooey, and evenly melted marshmallow base.


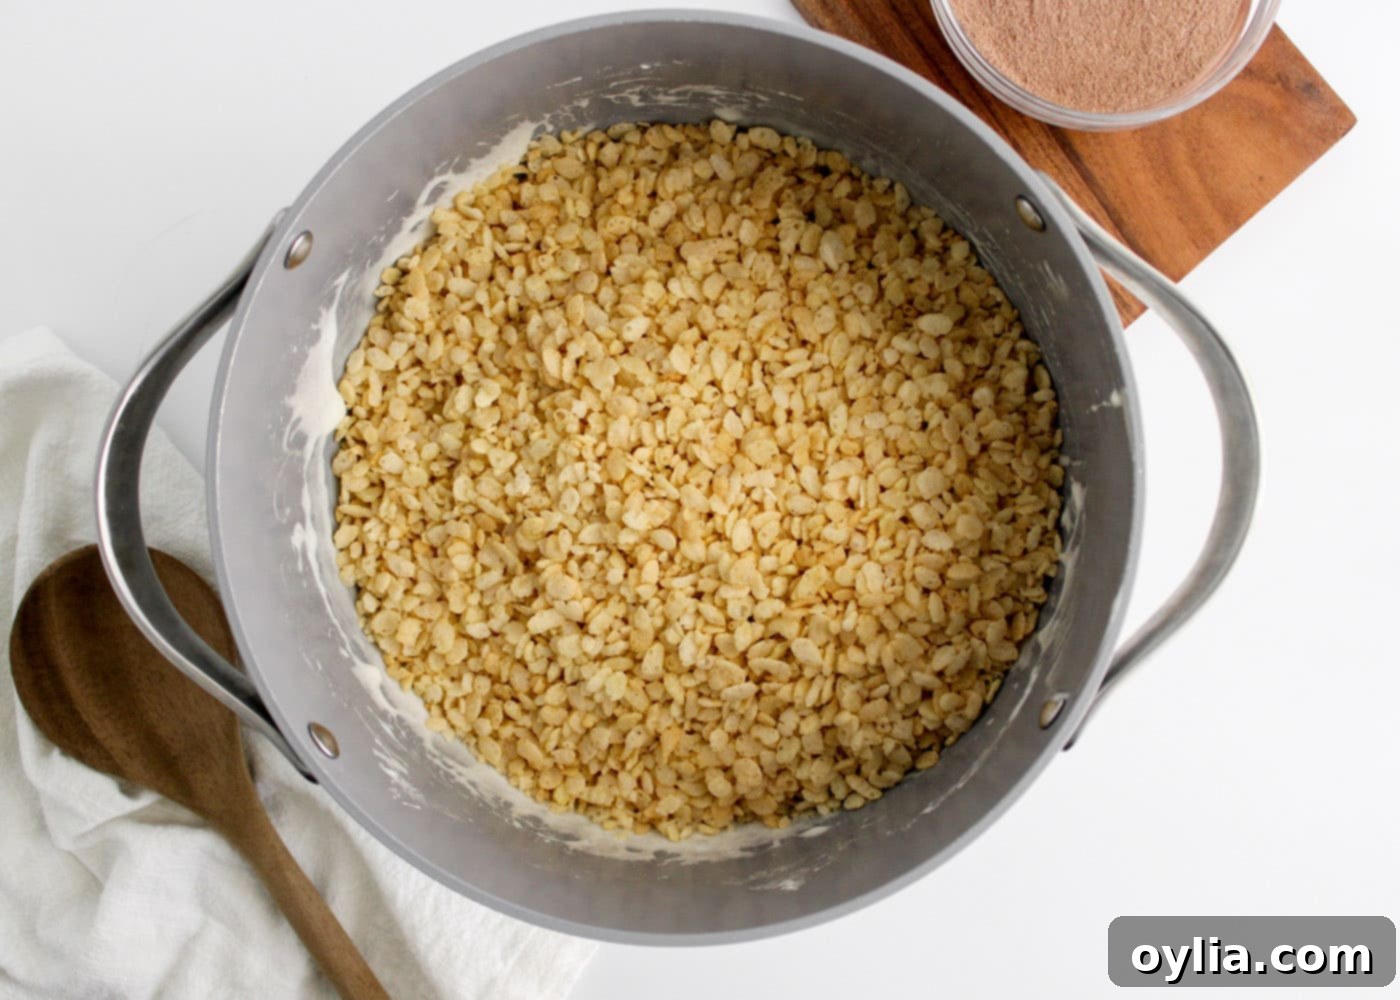
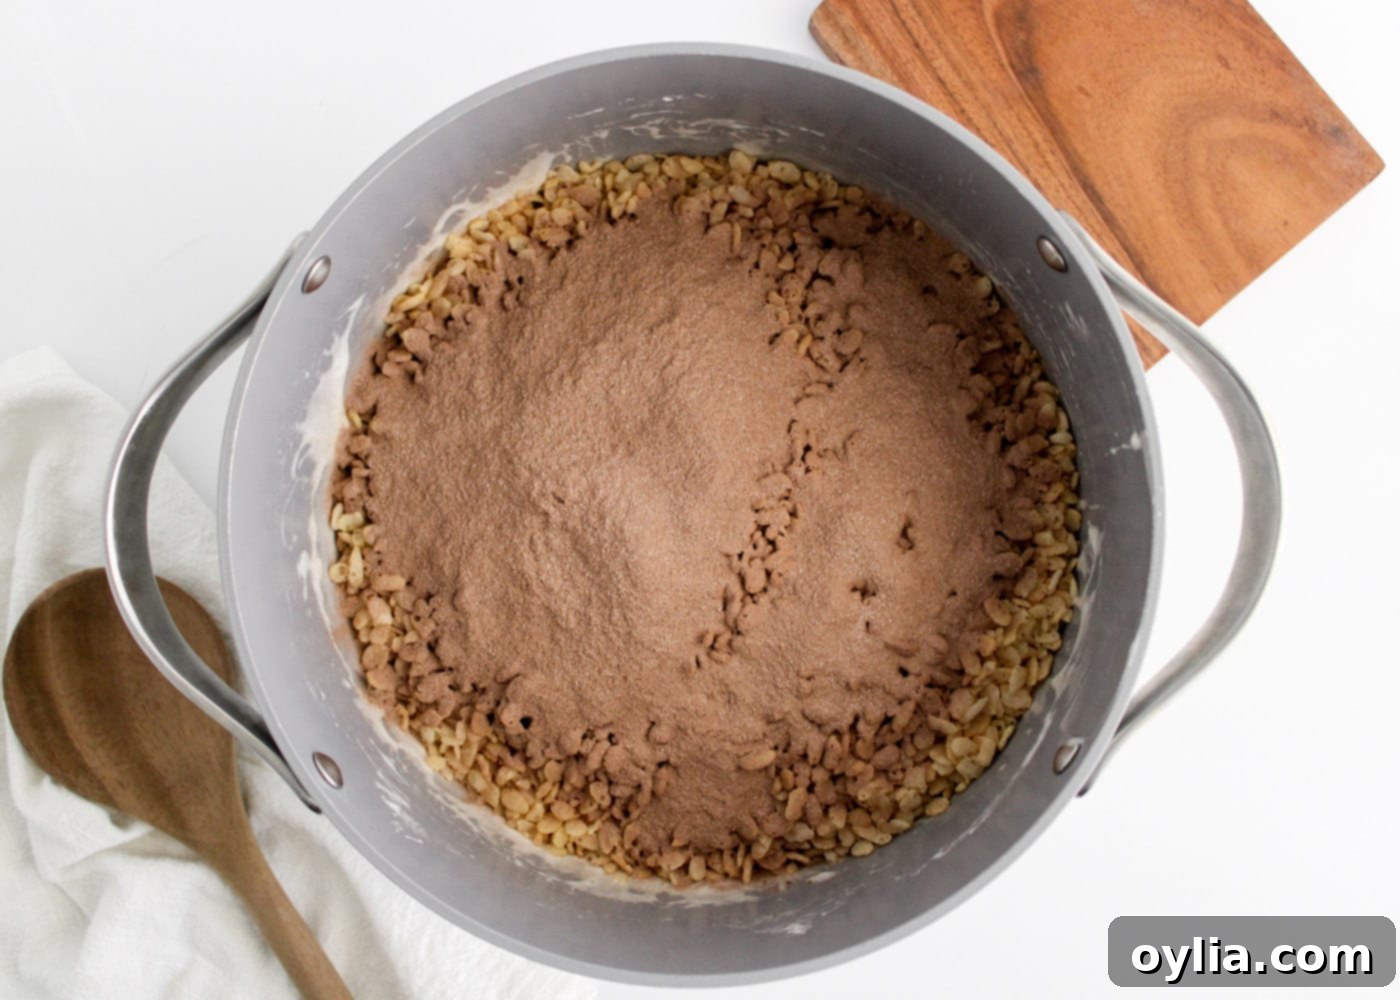
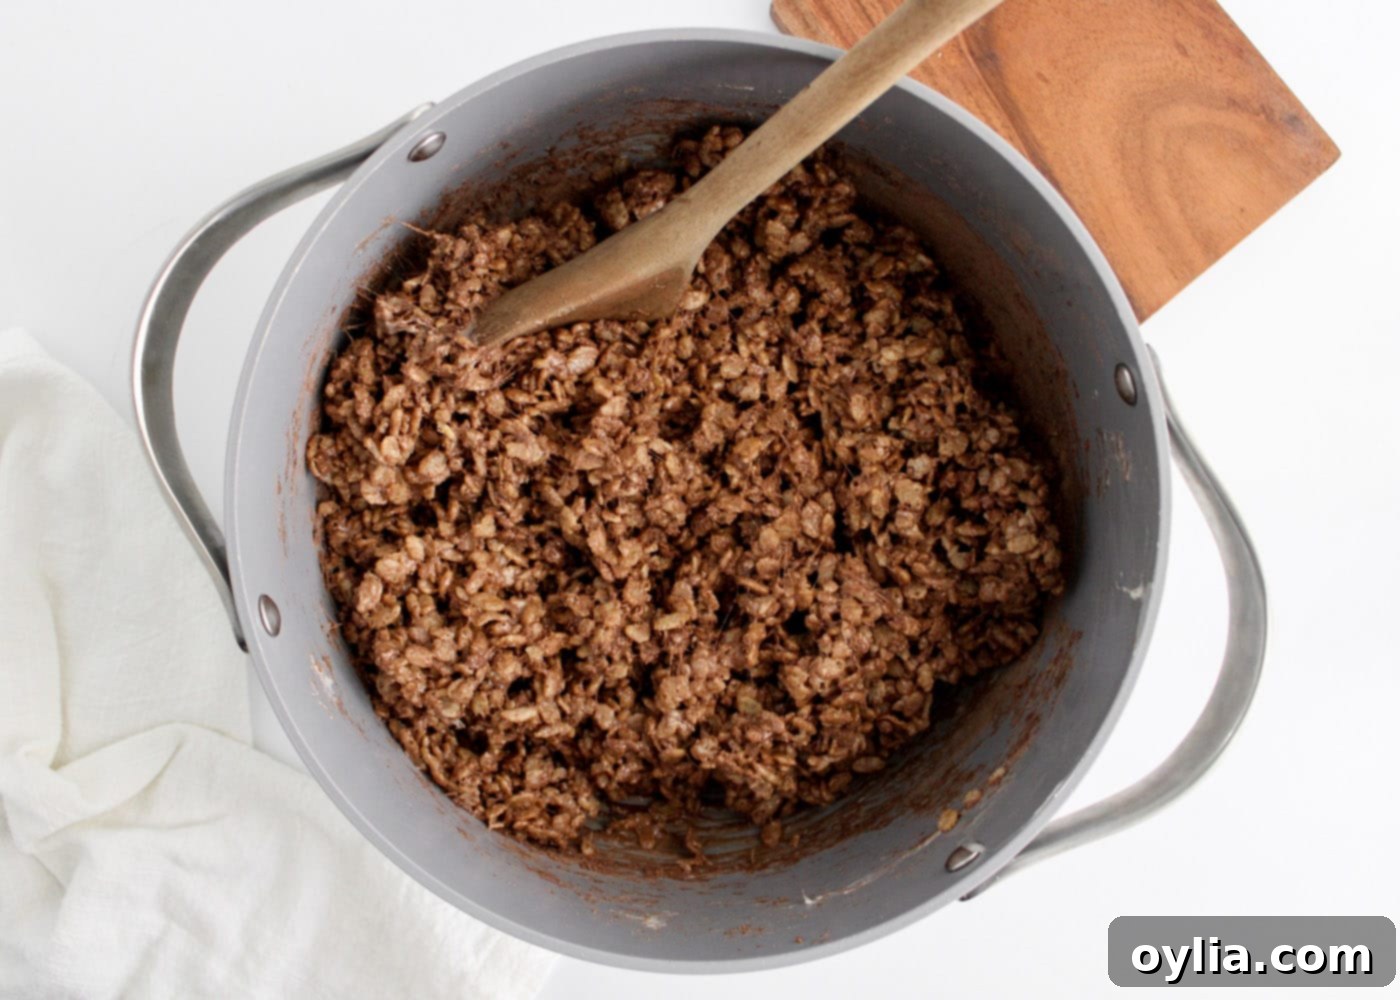
- As soon as the marshmallows are entirely melted and combined with the butter, immediately remove the saucepan from the heat. Promptly add in the crispy rice krispies cereal and the hot chocolate mix. Working quickly but thoroughly, stir everything together until the cereal is evenly coated with the rich, chocolatey marshmallow mixture. Make sure every grain of cereal gets a delicious coating, as this ensures uniform flavor and texture throughout your treats.


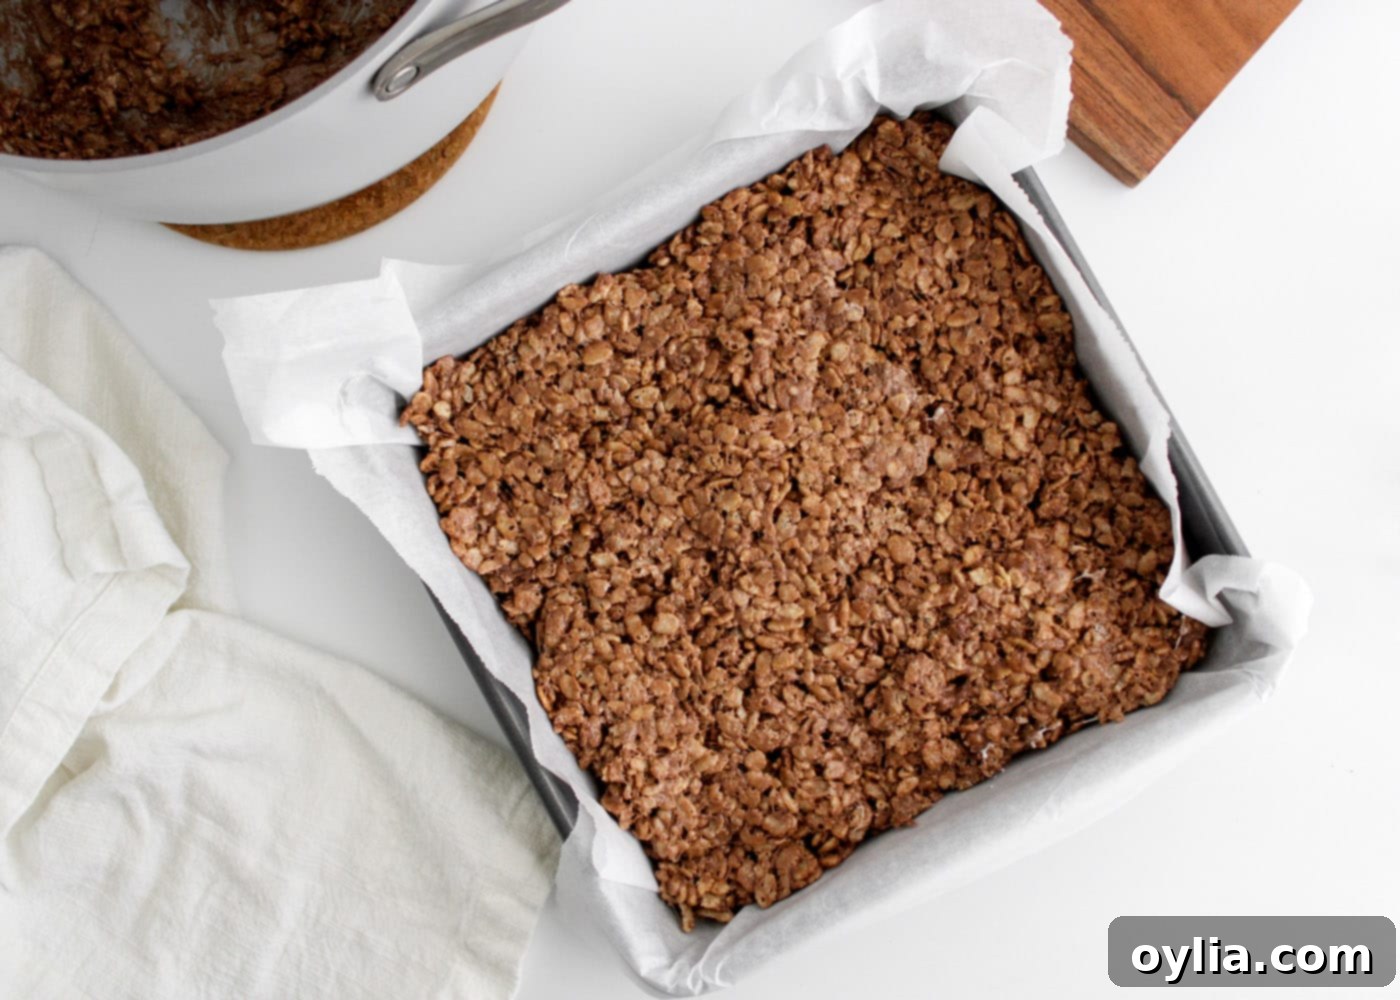
- Prepare an 8×8 baking dish by lining it with parchment paper. This step is incredibly important for easy removal and clean-up later. Once lined, carefully transfer the warm, sticky mixture into the prepared dish. Now for an
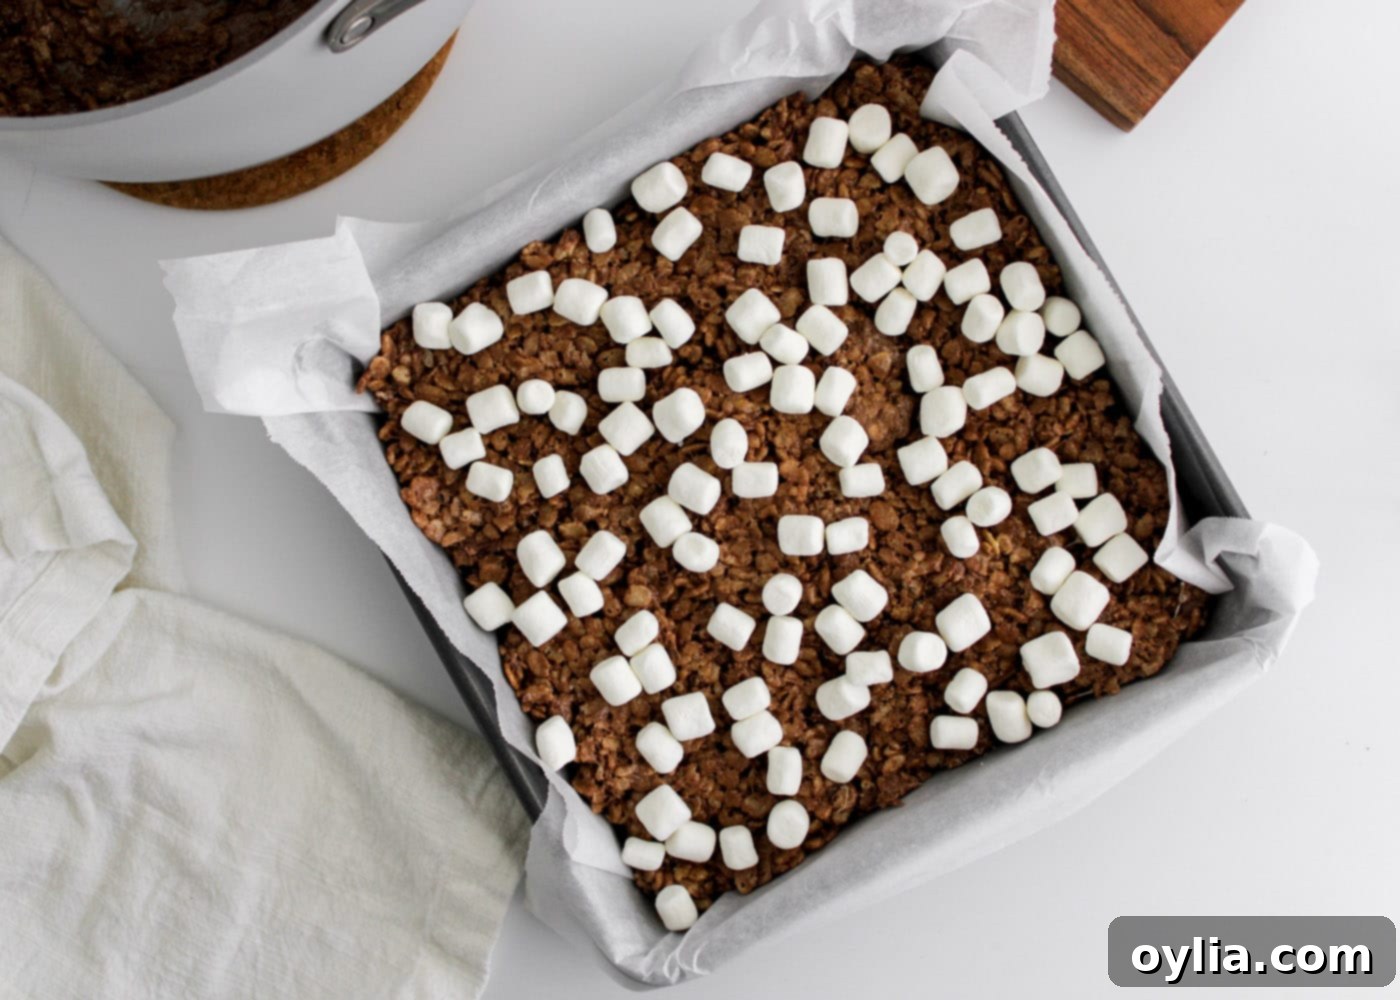
EXPERT TIP – if you press the cereal mixture into the pan too hard, you’ll compress the cereal too much, resulting in tough, dense bars instead of the delightfully soft and chewy texture you’re aiming for. Only press them enough to create an even layer in the pan. Finally, take that reserved handful of mini marshmallows and sprinkle them generously over the top of the warm mixture. This adds a beautiful visual element and extra pockets of marshmallowy goodness that will slightly soften into the warm treats. Allow to cool for at least 5 minutes, or until set, before slicing and serving.


Frequently Asked Questions & Expert Tips
Store your hot chocolate rice krispie treats in an air-tight container kept at room temperature for 3-5 days. Be sure to seal them so they don’t harden and become stale. For optimal freshness and chewiness, try to consume them within 2-3 days.
The main culprits for hard rice krispie treats are overcooking the marshmallows or pressing the mixture too firmly into the pan. Always melt marshmallows over low heat, stirring constantly, and remove them from heat as soon as they are smooth and melted. When pressing into the pan, use a light touch to keep them airy and chewy.
While Rice Krispies are traditional, you can certainly experiment! Puffed wheat, Cheerios, or even crushed cornflakes could work, though the texture and final flavor profile will differ. The hot cocoa flavor pairs well with most mild, unflavored cereals.
Absolutely! These treats are perfect for making a day or two in advance. Store them as recommended in an airtight container at room temperature. For the freshest experience, slice them just before serving.
Yes, you can! For longer storage, wrap individual treats tightly in plastic wrap, then place them in a freezer-safe bag or container. They can be frozen for up to 6 weeks. Thaw them at room temperature for about 30 minutes before enjoying.
This usually happens if there isn’t quite enough cereal in proportion to the marshmallow mixture or if the marshmallows weren’t fully melted. Ensure you’re using the correct proportions. If they are slightly too sticky after cooling, try dusting your hands lightly with powdered sugar or using buttered parchment paper when handling and pressing them.
Crumbly treats often result from not enough melted marshmallow mixture to bind the cereal properly, or if the mixture cooled too much before being pressed into the pan. Ensure marshmallows are fully melted and that you work quickly once the cereal is added to the warm marshmallow base. Warming the bowl or pan slightly can also help maintain warmth while mixing.
Serving Suggestions & Creative Twists
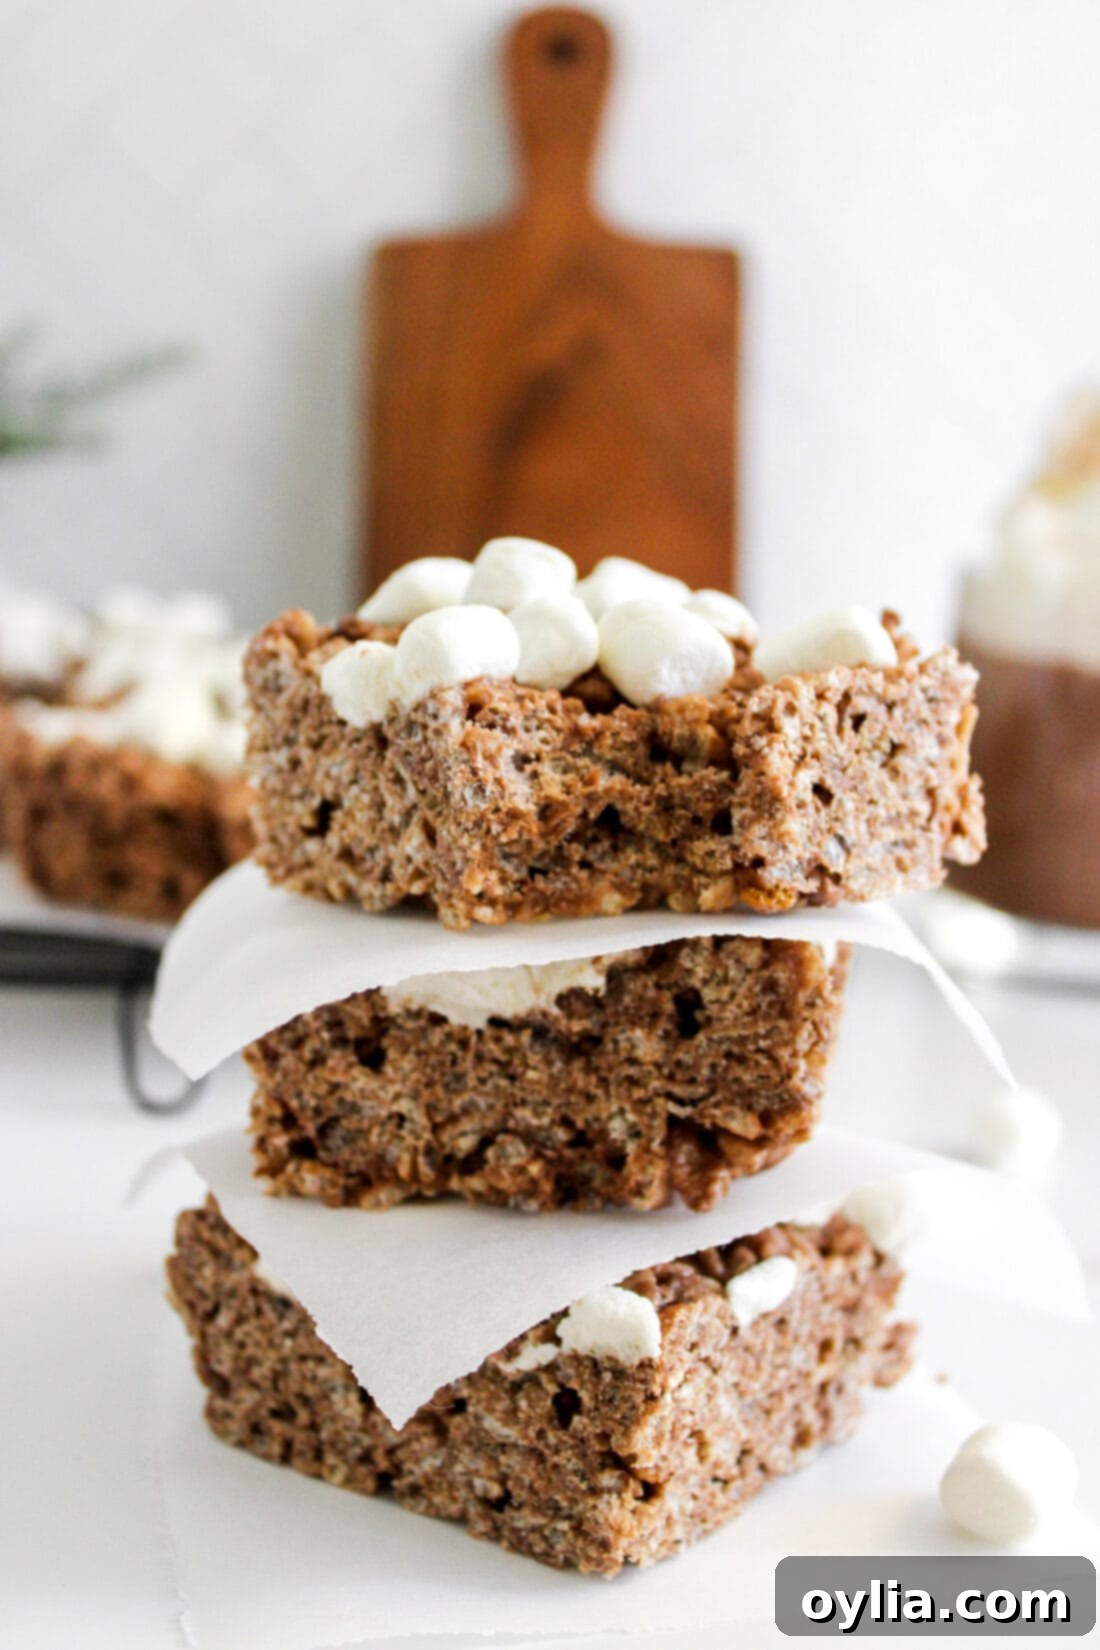
These hot cocoa rice krispie treats are fantastic on their own, but they also lend themselves beautifully to various serving enhancements and creative presentations. As suggested in the recipe, a sprinkle of extra mini marshmallows on top is a classic and delightful touch. But don’t stop there!
Delightful Toppings: Consider adding a handful of mini chocolate chips, colorful M&M’s, or finely chopped chocolate (milk, dark, or white) to the top while the treats are still warm, allowing them to slightly melt and adhere. For a truly decadent experience, drizzle them with melted white chocolate or a luscious caramel sauce. Sprinkles in festive colors can make them perfect for any holiday or celebration. You could even crush some chocolate sandwich cookies (like Oreos) and sprinkle them over the top for an ‘cookies and cream’ hot cocoa vibe.
Seasonal Twists: During the winter holidays, infuse a festive spirit by mixing in some crushed candy canes or a touch of peppermint extract to the marshmallow mixture for a delightful peppermint hot chocolate flavor profile. A dash of cinnamon or a hint of chili powder (for a Mexican hot chocolate flair) can also enhance the “hot cocoa” feel, adding warmth and complexity.
Gift-Giving: These treats are not only a delicious dessert but also make wonderful, thoughtful gifts. Their homemade charm is irresistible. Wrap individual treats or small batches in clear cellophane baggies, tie them with a pretty ribbon, and present them to neighbors, family, and friends. They are always a welcome gesture for holiday baskets, teacher gifts, or simply as a token of appreciation.
The Full Experience: For the ultimate cozy treat, serve your hot cocoa rice krispie bars alongside a steaming mug of hot chocolate. This amplifies the flavor and creates a truly immersive, comforting experience, perfect for a quiet evening or a lively gathering. They’re also an excellent addition to dessert platters, school lunchboxes, or simply enjoyed as a spontaneous sweet craving around the house. No matter how you serve them, these treats are sure to be a hit!
More Related Recipes You’ll Love
- Hot Cocoa Cookies
- Crockpot Hot Chocolate
- Marbled Mocha Hot Cocoa Bombs
- Christmas Tree Rice Krispie Treats
- Rice Krispie Treat Gingerbread Men
- Peanut Butter Rice Krispie Treats
I love to bake and cook and share my kitchen experience with all of you! Remembering to come back each day can be tough, that’s why I offer a convenient newsletter every time a new recipe posts. Simply subscribe and start receiving your free daily recipes!
Hot Cocoa Rice Krispie Treats
IMPORTANT – There are often Frequently Asked Questions within the blog post that you may find helpful. Simply scroll back up to read them!
Print It
Pin It
Rate It
Save ItSaved!
Ingredients
- 3 Tablespoons butter
- 10 ounces mini marshmallows
- 1 cup hot chocolate mix
- 6 cups rice Krispie cereal
Things You’ll Need
-
8×8 baking pan
-
Large saucepan
Before You Begin
- A quick tip when it comes to making Rice Krispie treats – if you press the cereal mixture into the pan too hard, you’ll end up with tough, dense bars. Press them enough to even them out in the pan, that’s all you need!
- You can use regular sized marshmallows, they will just take longer to melt. Try quartering the regular sized marshmallows to help them melt quicker.
- If you don’t have hot chocolate mix on hand you can substitute it with the same amount of unsweetened cocoa powder.
- Store your hot chocolate rice krispie treats in an air-tight container kept at room temperature for 3-5 days. Be sure to seal them so they don’t harden and become stale.
Instructions
-
In a large saucepan, melt butter on low heat. Add marshmallows (except for a handful), stirring continually on low heat until entirely melted.
-
Remove from heat, add in rice krispies cereal and hot chocolate mix until well combined.
-
Line an 8×8 baking dish with parchment paper and press mixture into the dish while still warm. Sprinkle with the rest of the mini marshmallows and allow to cool for 5 minutes.
Nutrition
The recipes on this blog are tested with a conventional gas oven and gas stovetop. It’s important to note that some ovens, especially as they age, can cook and bake inconsistently. Using an inexpensive oven thermometer can assure you that your oven is truly heating to the proper temperature. If you use a toaster oven or countertop oven, please keep in mind that they may not distribute heat the same as a conventional full sized oven and you may need to adjust your cooking/baking times. In the case of recipes made with a pressure cooker, air fryer, slow cooker, or other appliance, a link to the appliances we use is listed within each respective recipe. For baking recipes where measurements are given by weight, please note that results may not be the same if cups are used instead, and we can’t guarantee success with that method.
