Ultimate Creamy Cheeseburger Dip Recipe: Your Go-To Party Appetizer
Imagine all the delicious flavors of a classic cheeseburger, transformed into a warm, gooey, and incredibly satisfying dip. This creamy cheeseburger dip is not just a snack; it’s a culinary experience loaded with seasoned ground beef, a rich blend of cheeses, and all your favorite burger fixings. Perfect for game day, potlucks, or any gathering, this easy-to-make appetizer will become an instant crowd-pleaser. Get ready to impress your guests and watch this delightful dip disappear!
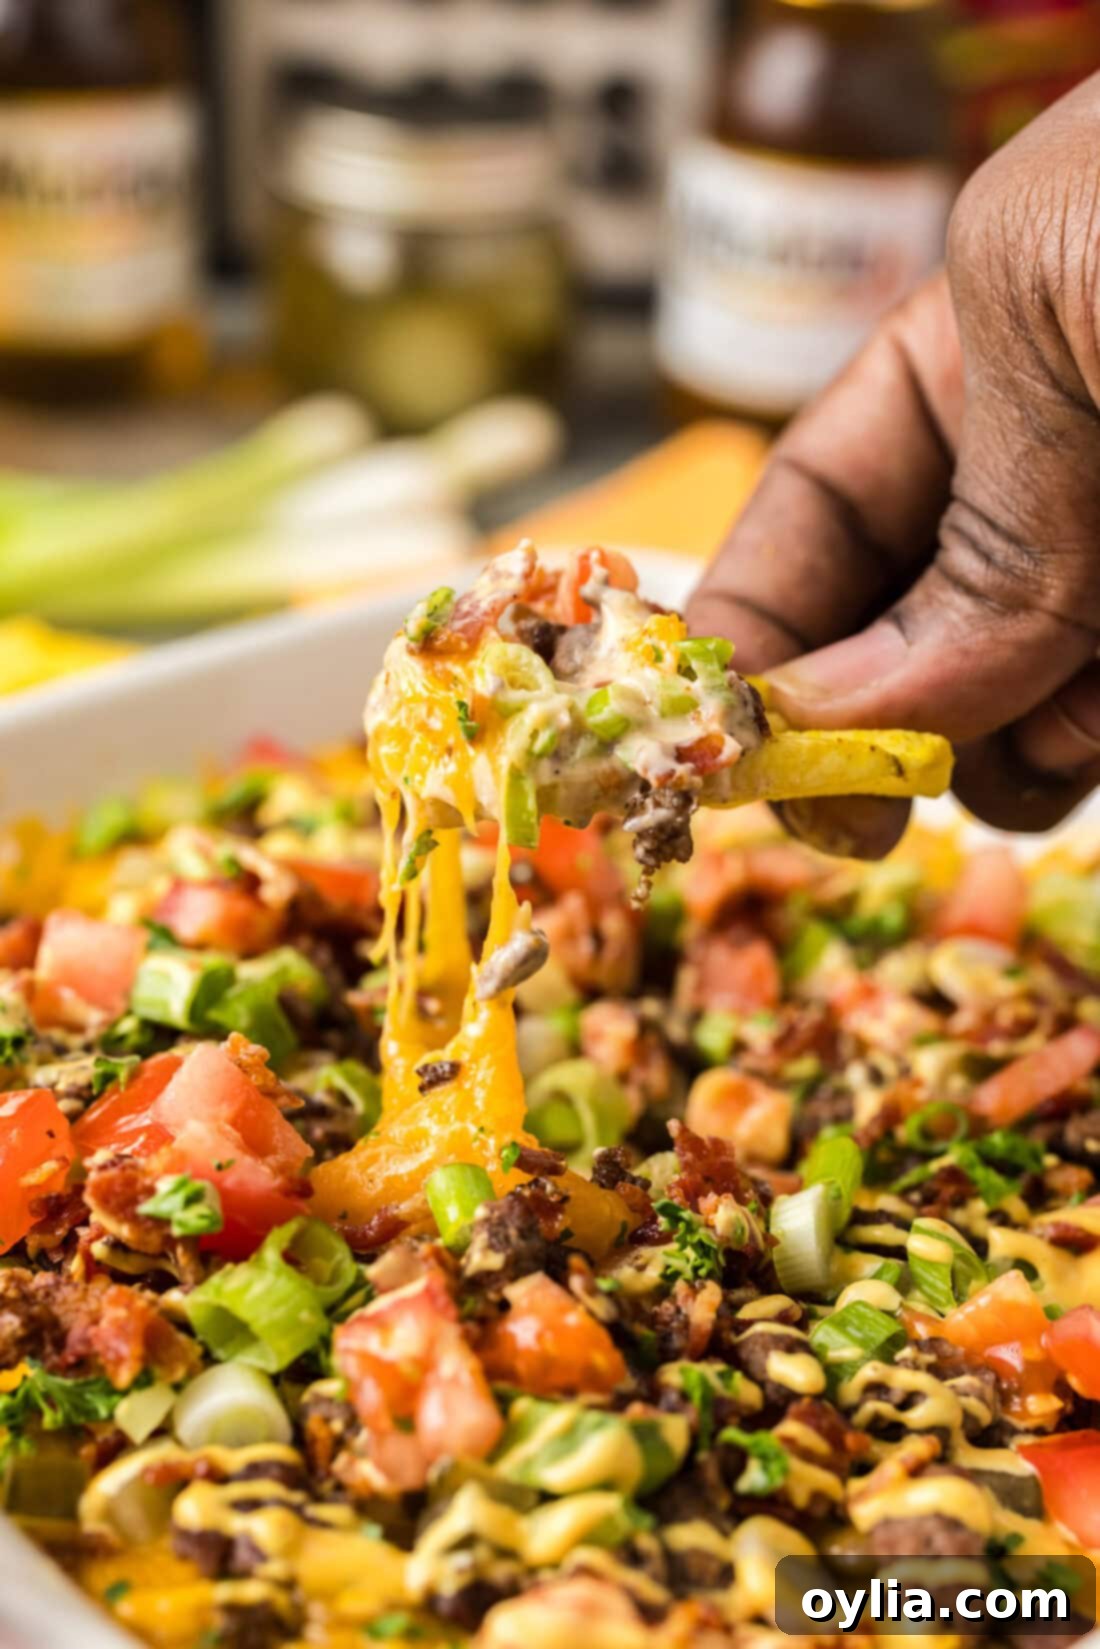
Why This Cheeseburger Dip Recipe is a Must-Try
A cheeseburger, reimagined as a hot and cheesy dip? It might sound unconventional, but trust us, it’s a stroke of genius! We love taking beloved comfort foods and transforming them into shareable, dippable delights. Just like our popular Philly cheesesteak dip or zesty jalapeno popper dip, this cheeseburger dip takes familiar flavors to a whole new level, making it incredibly appealing and addictively delicious.
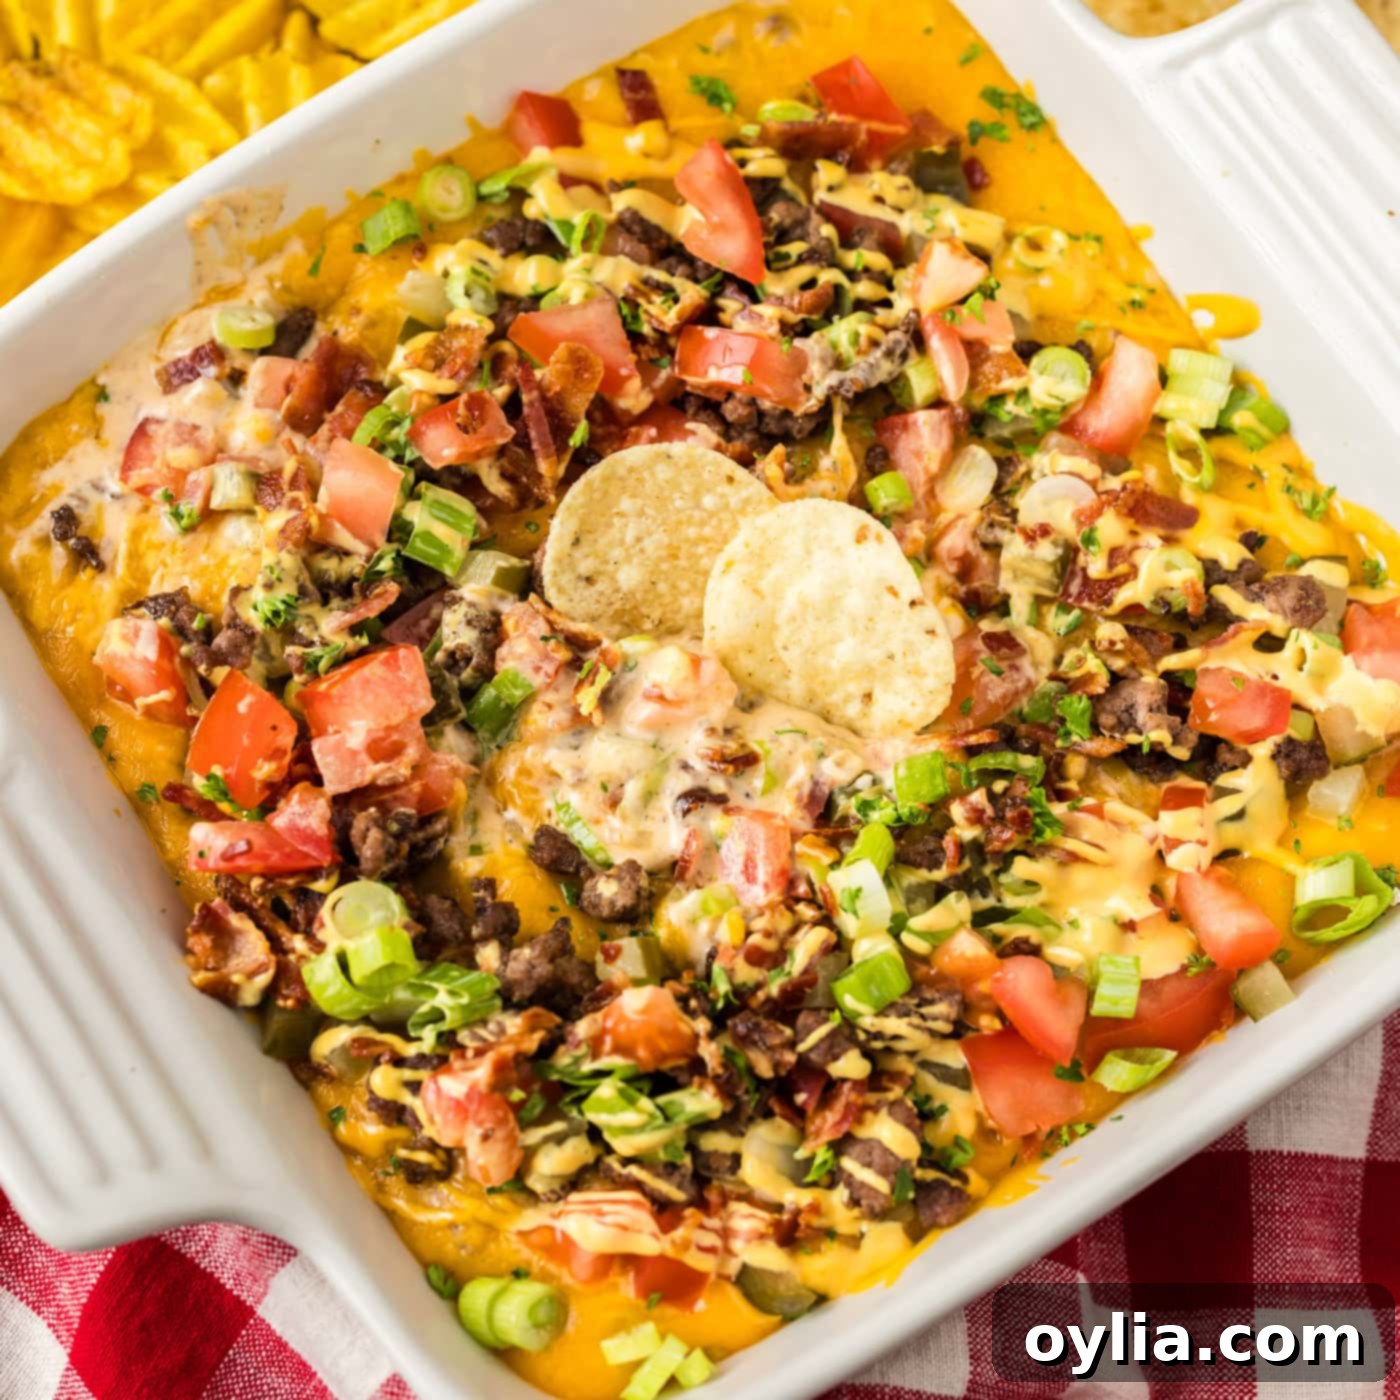
This recipe consistently exceeds expectations, delivering a harmonious blend of textures and tastes that perfectly mimics the experience of biting into a juicy cheeseburger. It combines a luscious base of cream cheese and cheddar with savory ground beef, all layered into a baking dish and crowned with a medley of classic burger toppings like tangy pickles, fresh tomatoes, crispy bacon, and a drizzle of homemade burger sauce. The best part? This incredible party dip comes together in as little as 30 minutes, making it the ultimate hassle-free appetizer for any occasion. Whether it’s a lively game day get-together, a casual weekend snack, or a festive holiday party, this seriously good and seriously easy cheeseburger dip is guaranteed to be a hit. Let’s dive into how you can create this amazing dish!
Essential Ingredients for Your Cheeseburger Dip
Crafting this mouthwatering cheeseburger dip requires a few simple, readily available ingredients that come together to create a symphony of flavors. Below is a concise overview of what you’ll need. For precise measurements and step-by-step instructions, please refer to the printable recipe card at the end of this post.
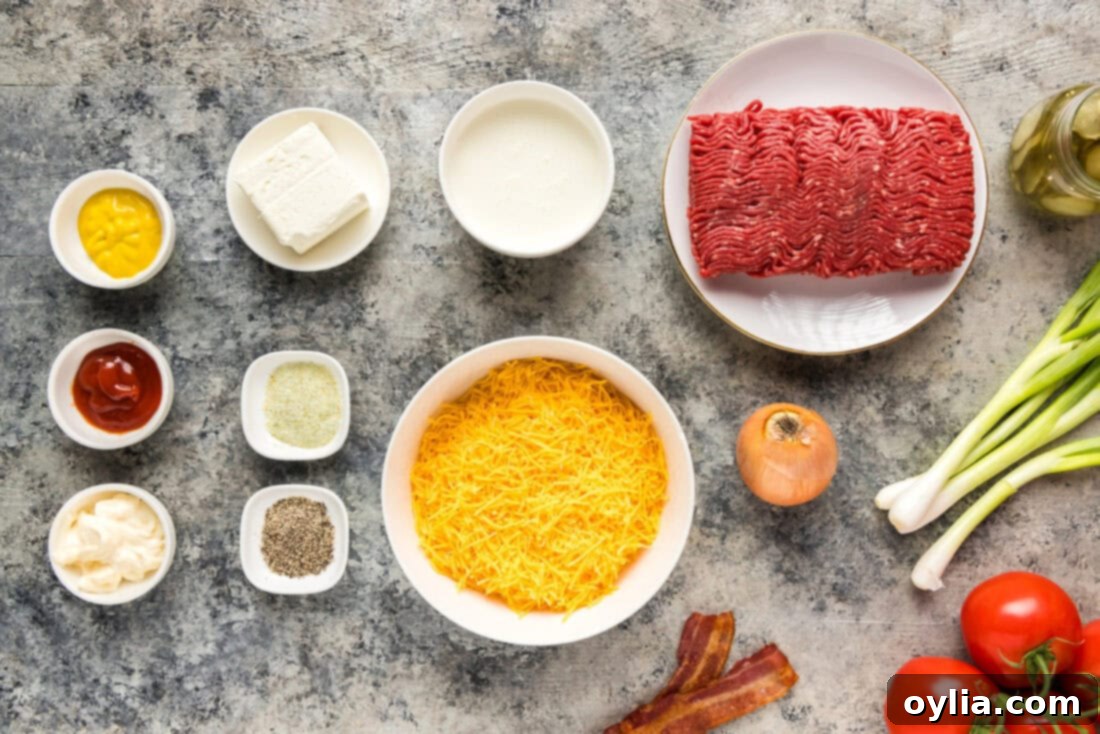
Ingredient Spotlight & Smart Substitutions
Understanding each component and its role can elevate your cheeseburger dip from good to absolutely amazing. Here are some detailed notes and helpful substitution suggestions to ensure your dip is perfect every time:
BEEF: We recommend using lean ground beef for this recipe. Leaner cuts minimize the amount of excess fat that needs to be drained after cooking, preventing a greasy dip. However, feel free to use your preferred fat percentage, just be diligent about thoroughly draining any rendered fat. This step is crucial to prevent the fat from separating and creating an unappealing texture when mixed with the creamy cheese sauce. For a lighter option or a different flavor profile, ground turkey or even ground chicken can be excellent substitutes, just ensure they are well-seasoned.
CREAM CHEESE: For the best texture and consistency, opt for brick-style cream cheese. This type of cream cheese is denser and creates a thicker, richer base for your dip compared to whipped or spreadable varieties. Ensure it’s softened at room temperature before adding it to the skillet; this will help it melt smoothly and blend seamlessly into the sauce, preventing lumps.
HEAVY CREAM: Heavy cream is key to achieving that luscious, velvety texture that makes this dip so decadent. If you’re looking to reduce fat or calories, you can substitute heavy cream with half and half or whole milk. It’s important to note that using lower fat milk options, such as 2% or skim milk, is not recommended. These alternatives may not provide enough fat content to create a thick, stable emulsion with the cheese, potentially resulting in a thinner, less creamy dip. The higher fat content of heavy cream (or whole milk/half and half) is essential for that perfect rich mouthfeel.
CHEESE: We use shredded cheddar cheese for its classic flavor and excellent melting properties. You can easily experiment with other types of cheese or a blend to customize your dip. Monterey Jack, Colby Jack, or a Mexican blend would all work wonderfully, adding their own distinct character to the dip. Freshly shredded cheese always melts better than pre-shredded varieties, which often contain anti-caking agents.
ONIONS: Chopped yellow or white onions are sautéed until softened and lightly browned, adding a crucial layer of savory depth and slight sweetness to the dip. Don’t skip this step, as it contributes significantly to the overall burger flavor profile.
Step-by-Step Guide: How to Make Cheeseburger Dip
Follow these detailed step-by-step photos and instructions to visualize the process of making this incredible cheeseburger dip. For a printable version of this recipe, complete with exact measurements and full instructions, you can Jump to Recipe at the bottom of the page.
- Preheat Oven: Begin by preheating your oven to 350°F (175°C). This ensures your dip bakes evenly and the cheese melts perfectly at the end.
- Heat Olive Oil: In a large skillet, heat 1 tablespoon of olive oil over medium-high heat until it shimmers. This indicates the oil is ready for browning the beef.
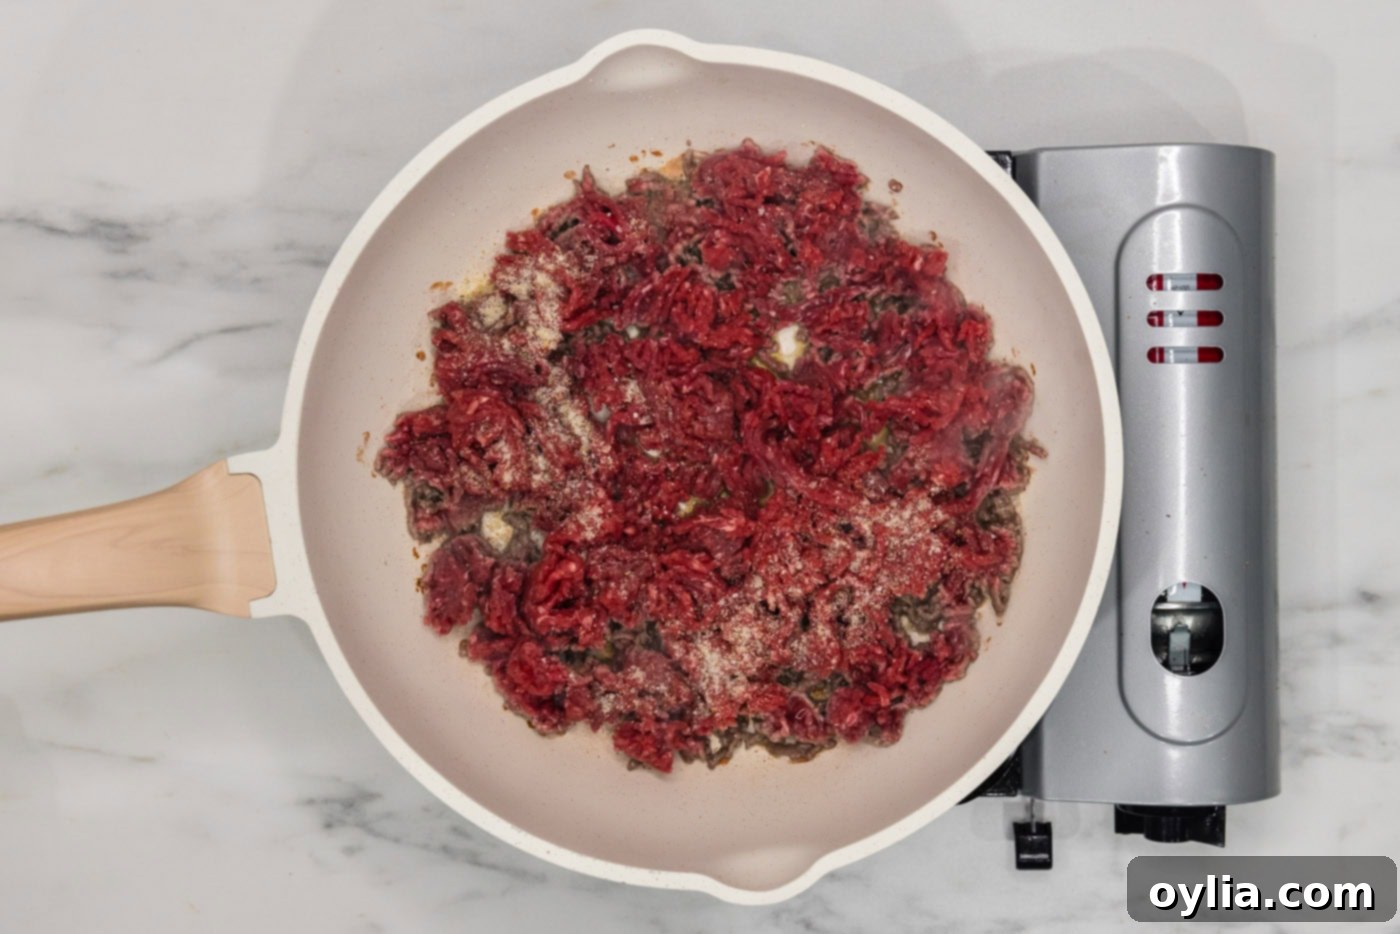
- Brown Ground Beef: Add 1 pound of lean ground beef to the hot skillet. Season generously with 1 teaspoon of garlic salt and ½ teaspoon of black pepper. Break up the meat with a spoon and brown it, stirring frequently, until no pink remains. Once fully cooked, drain any excess fat or oil thoroughly. This prevents your dip from becoming greasy.

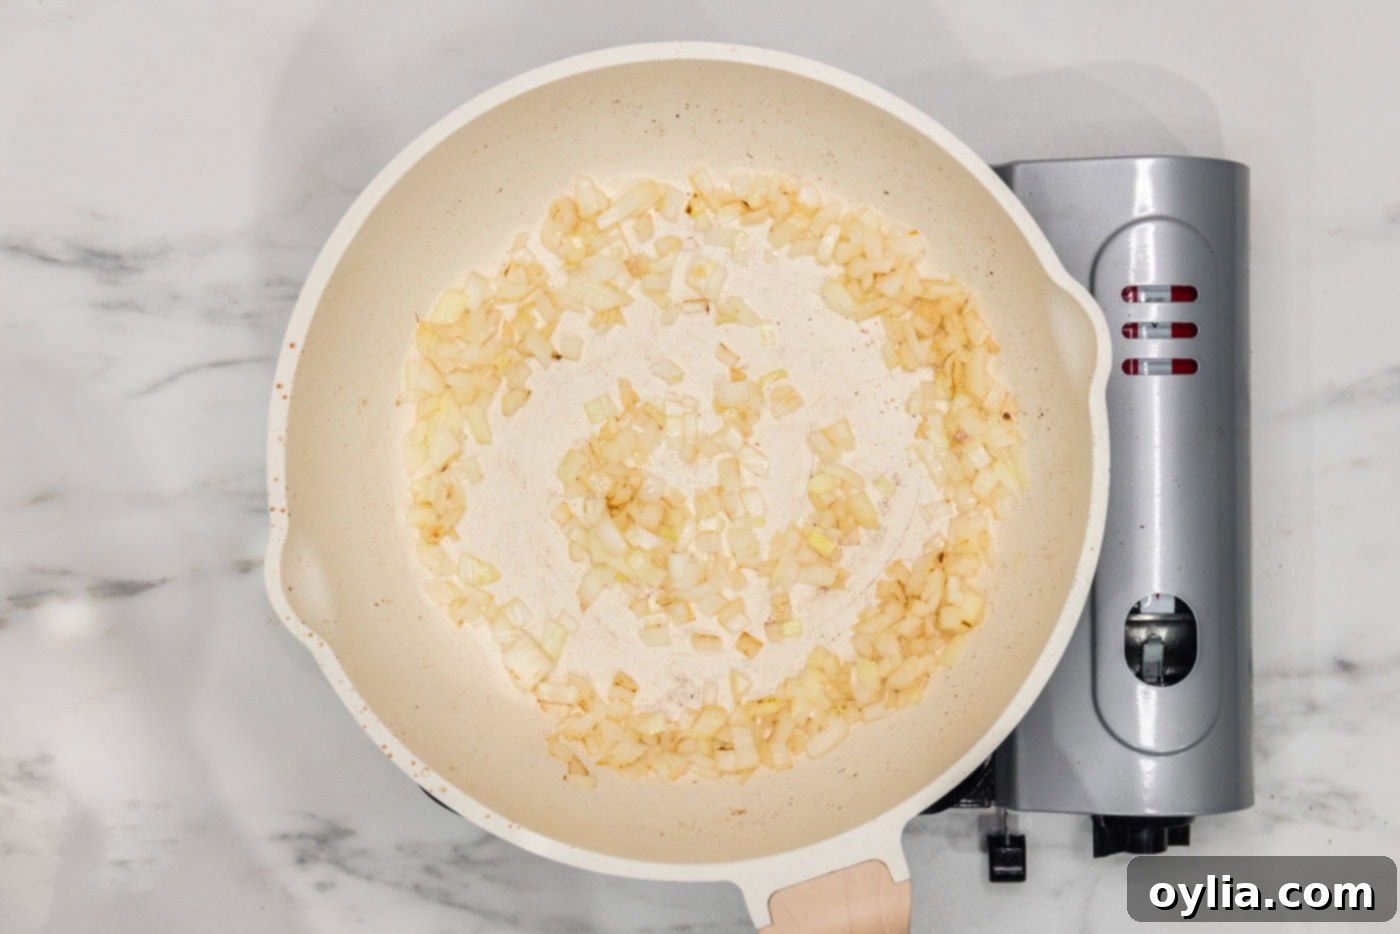
- Sauté Onions: Remove the browned beef from the skillet. To the now dry skillet (no need to clean it thoroughly, the leftover bits add flavor), add 1 cup of chopped onions. Cook the onions over medium-high heat, stirring occasionally, until they are softened, translucent, and lightly browned, about 5-7 minutes. This caramelization adds a sweet, savory depth. Once cooked, remove the onions from the pan and set aside with the beef.

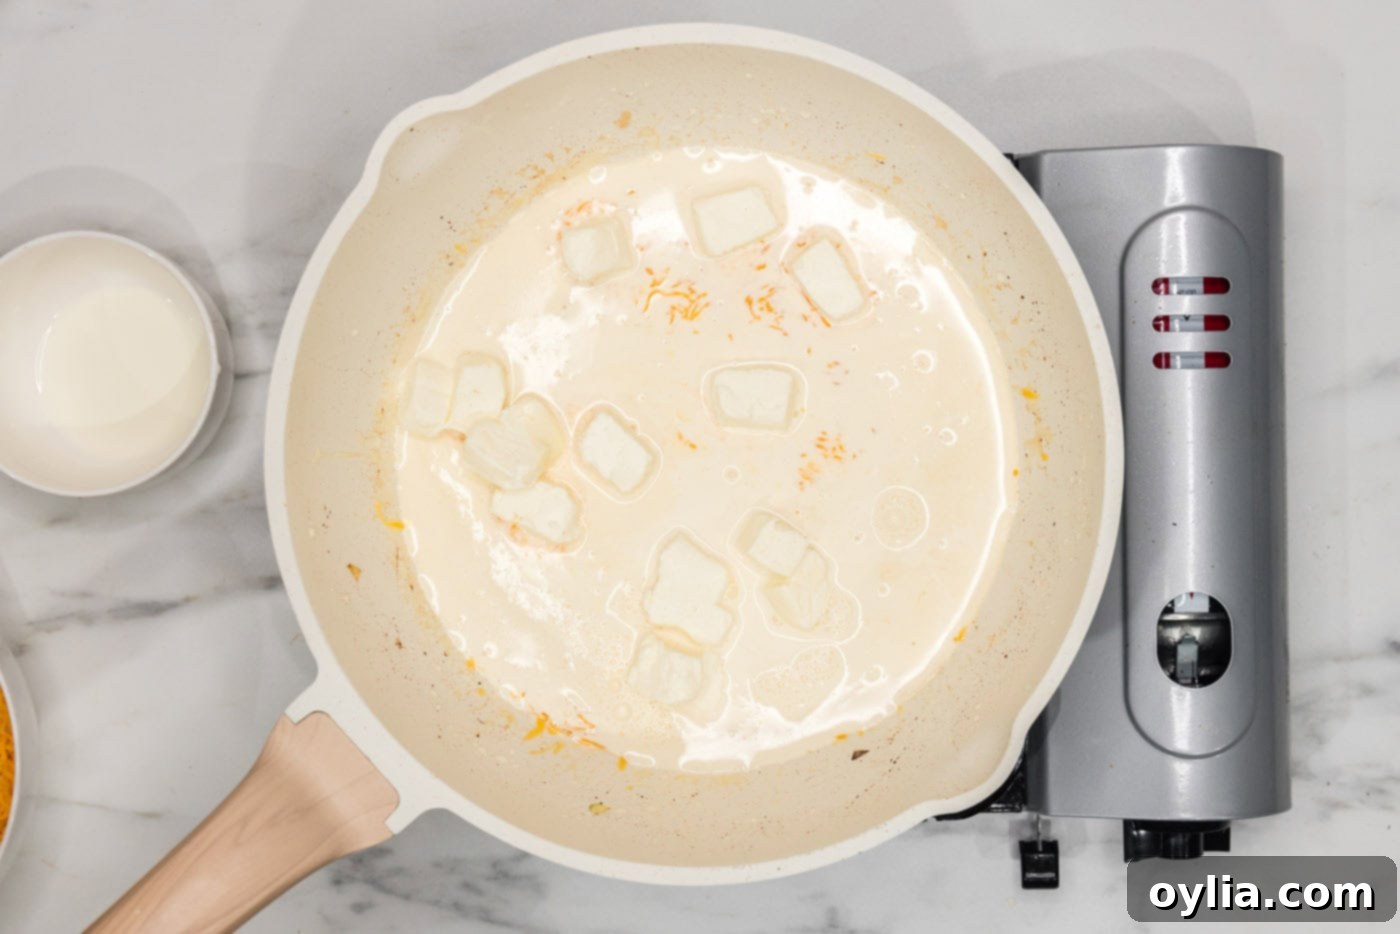
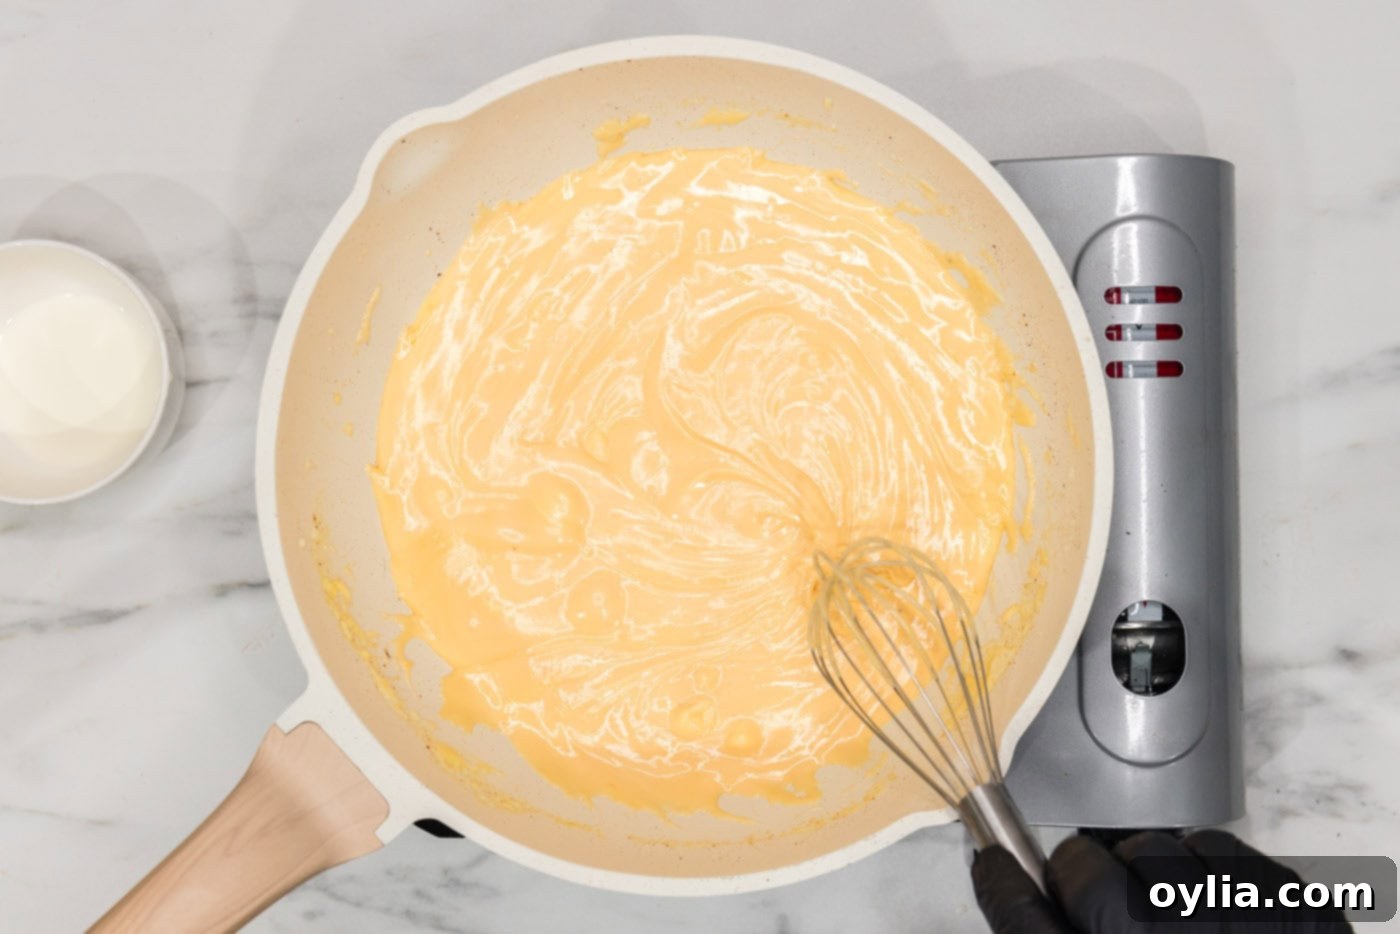
- Prepare Cheese Sauce: In the empty skillet, combine half of the heavy cream (½ cup), half of the shredded cheddar cheese (4 ounces), and 4 ounces of brick-style cream cheese (softened). Whisk constantly over medium-high heat. Continue whisking until all the cheeses are completely melted and the mixture is smooth and creamy. This forms the rich base of your dip.


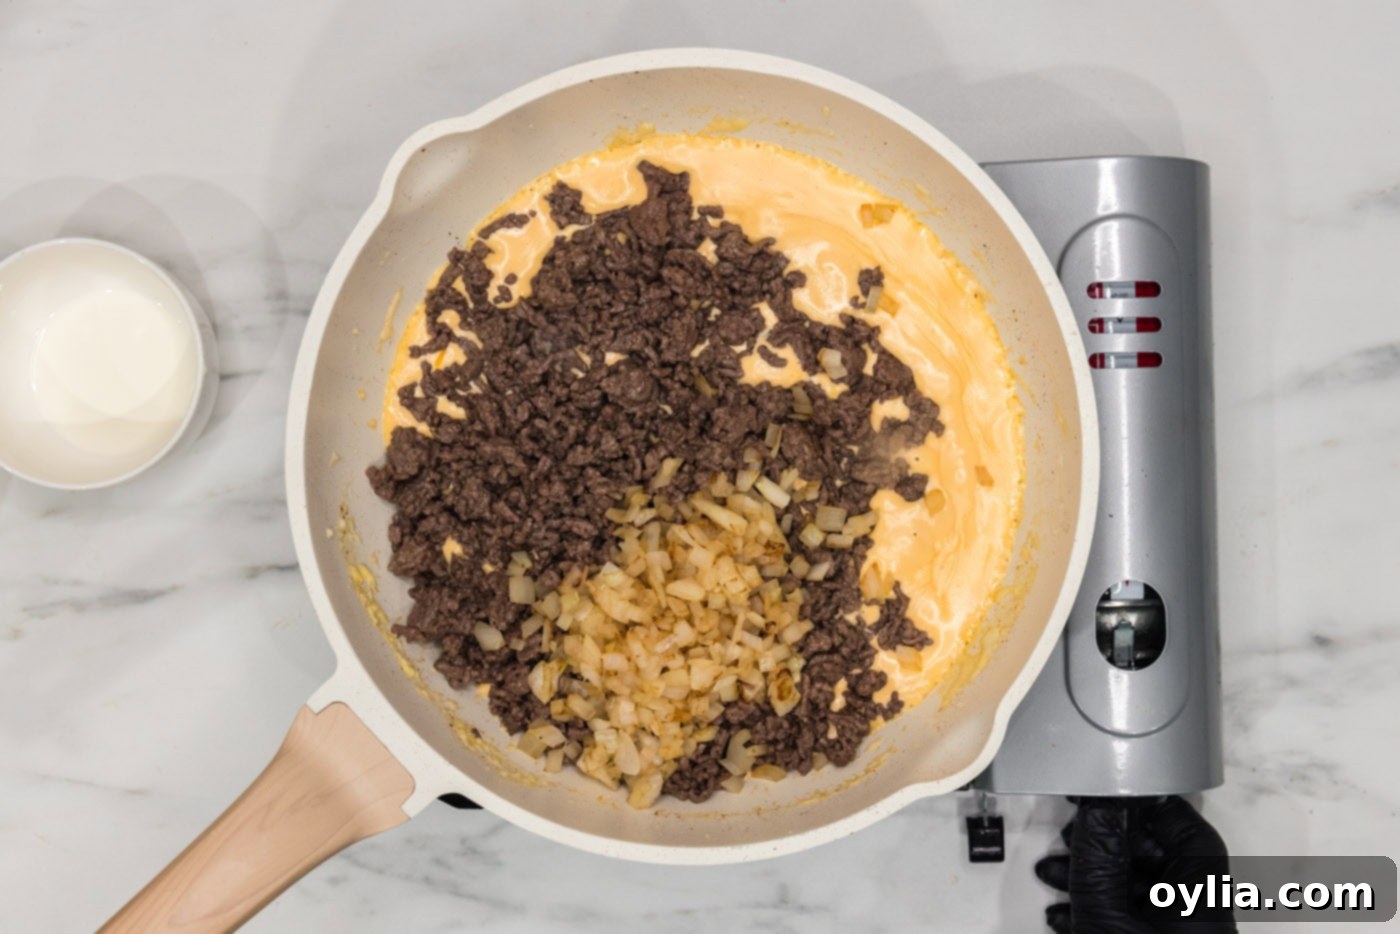
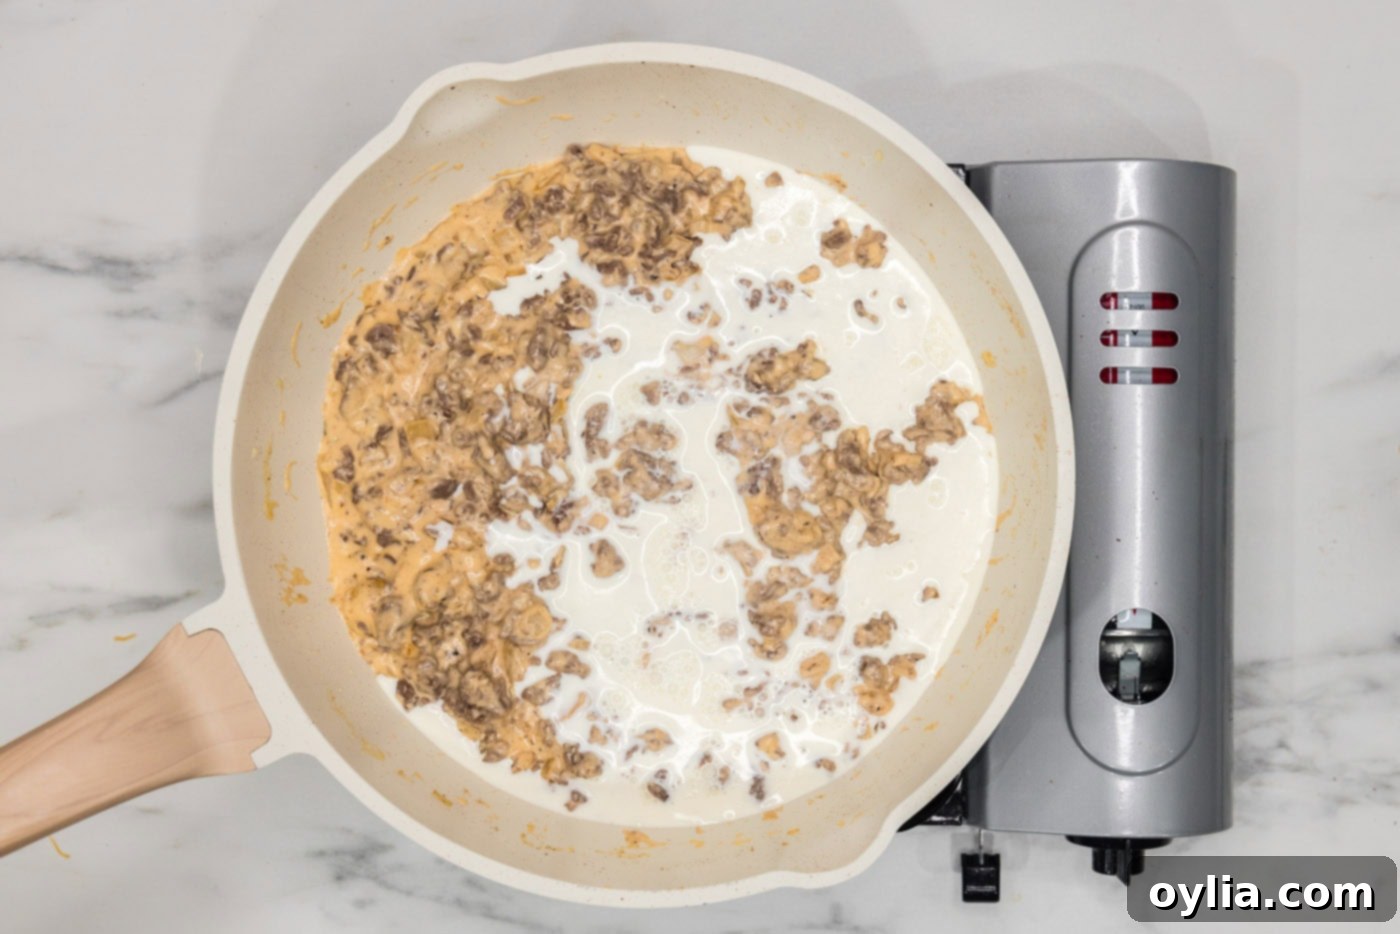
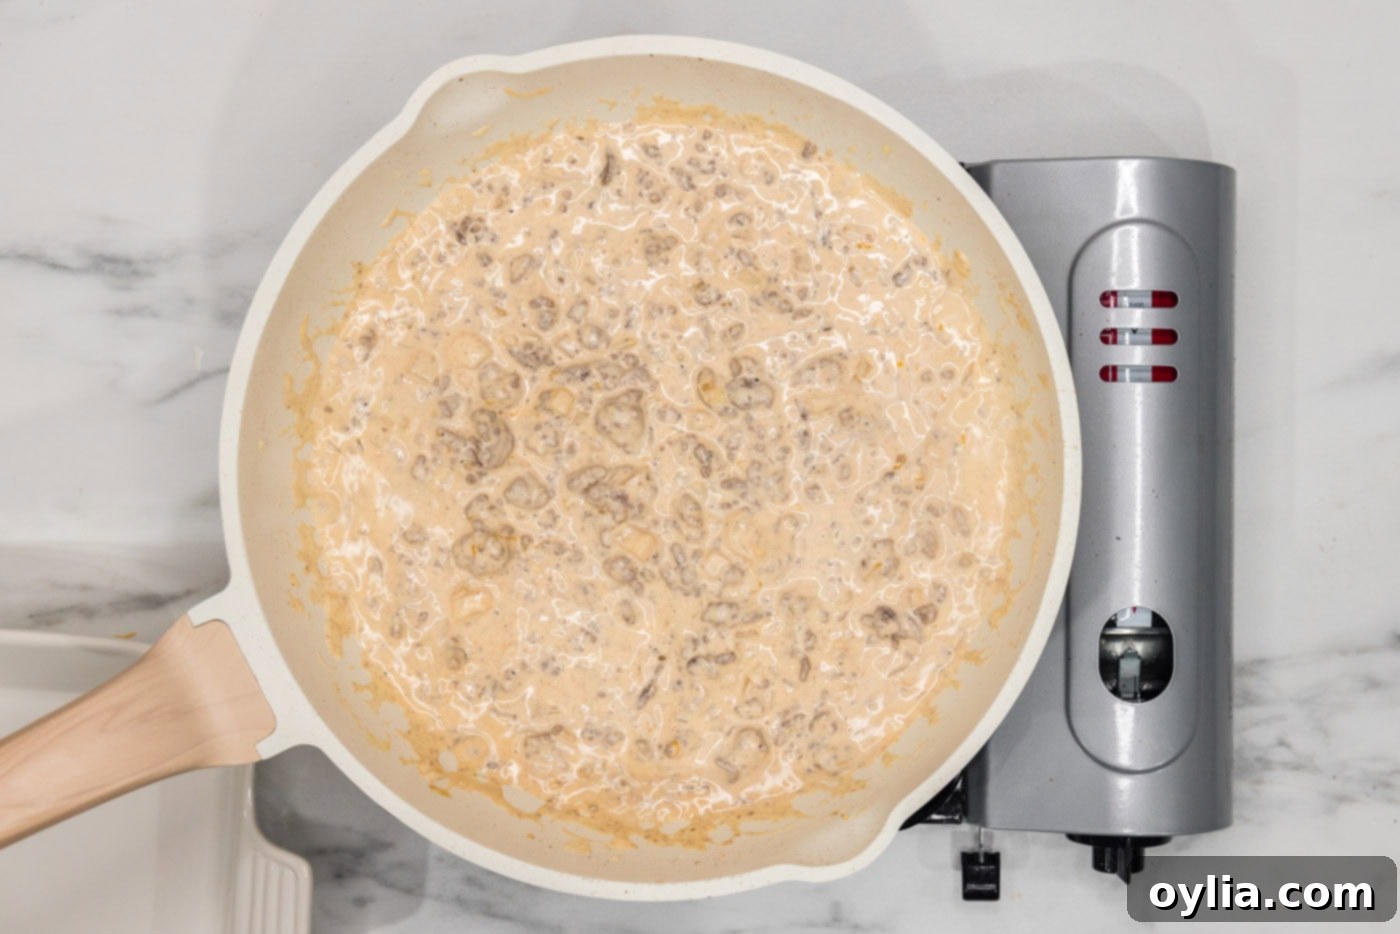
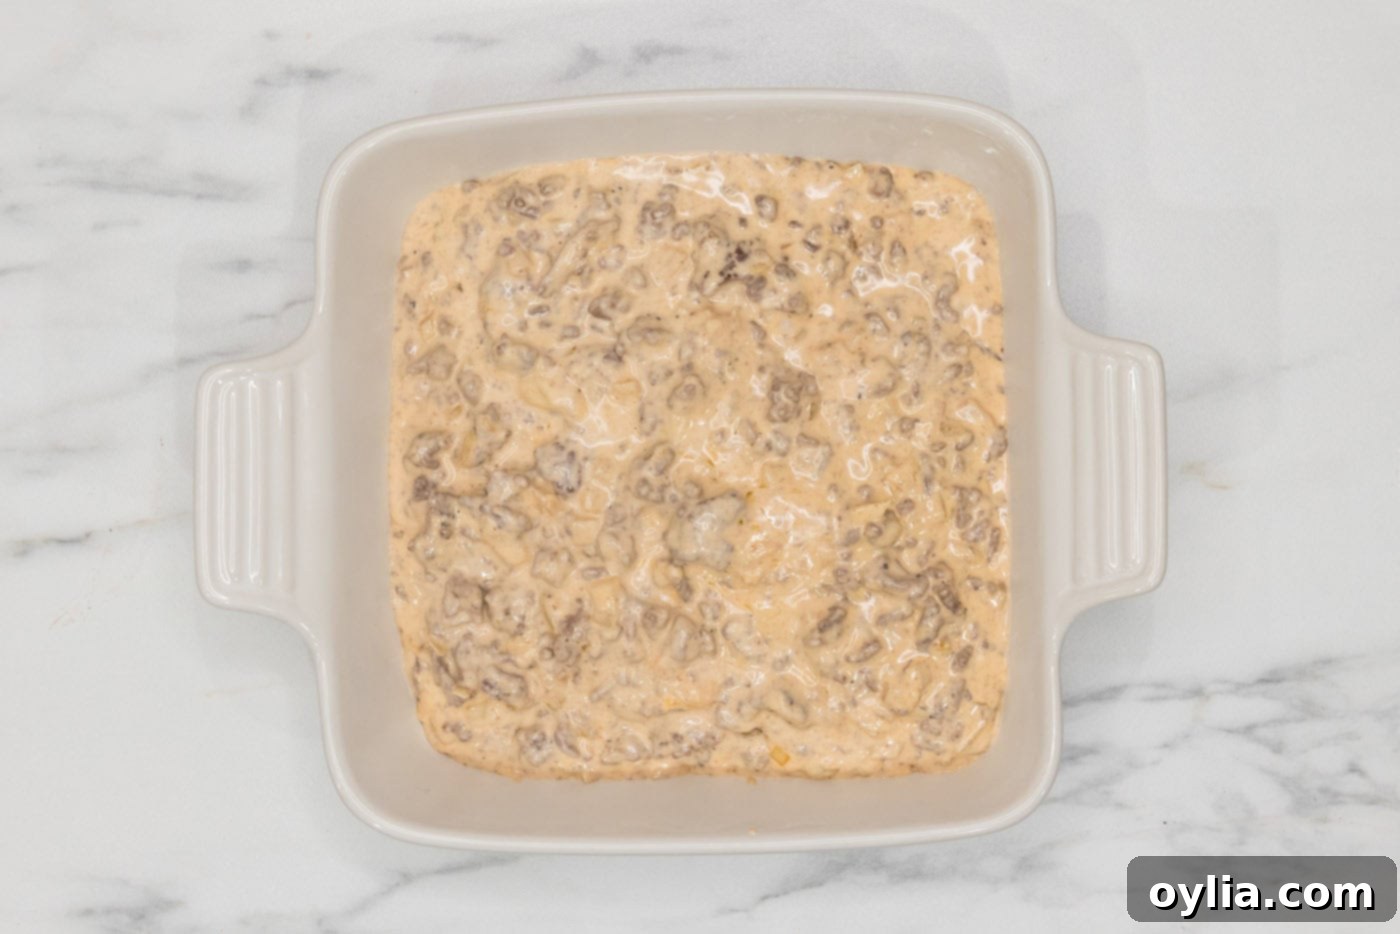
- Combine Ingredients: Return the browned ground beef and sautéed onions to the cheese sauce in the skillet. Pour in the remaining half cup of heavy cream. Stir everything together well, ensuring the beef and onions are fully incorporated into the creamy cheese mixture. Continue stirring until the mixture is cohesive and slightly loosened to an ideal dip consistency.


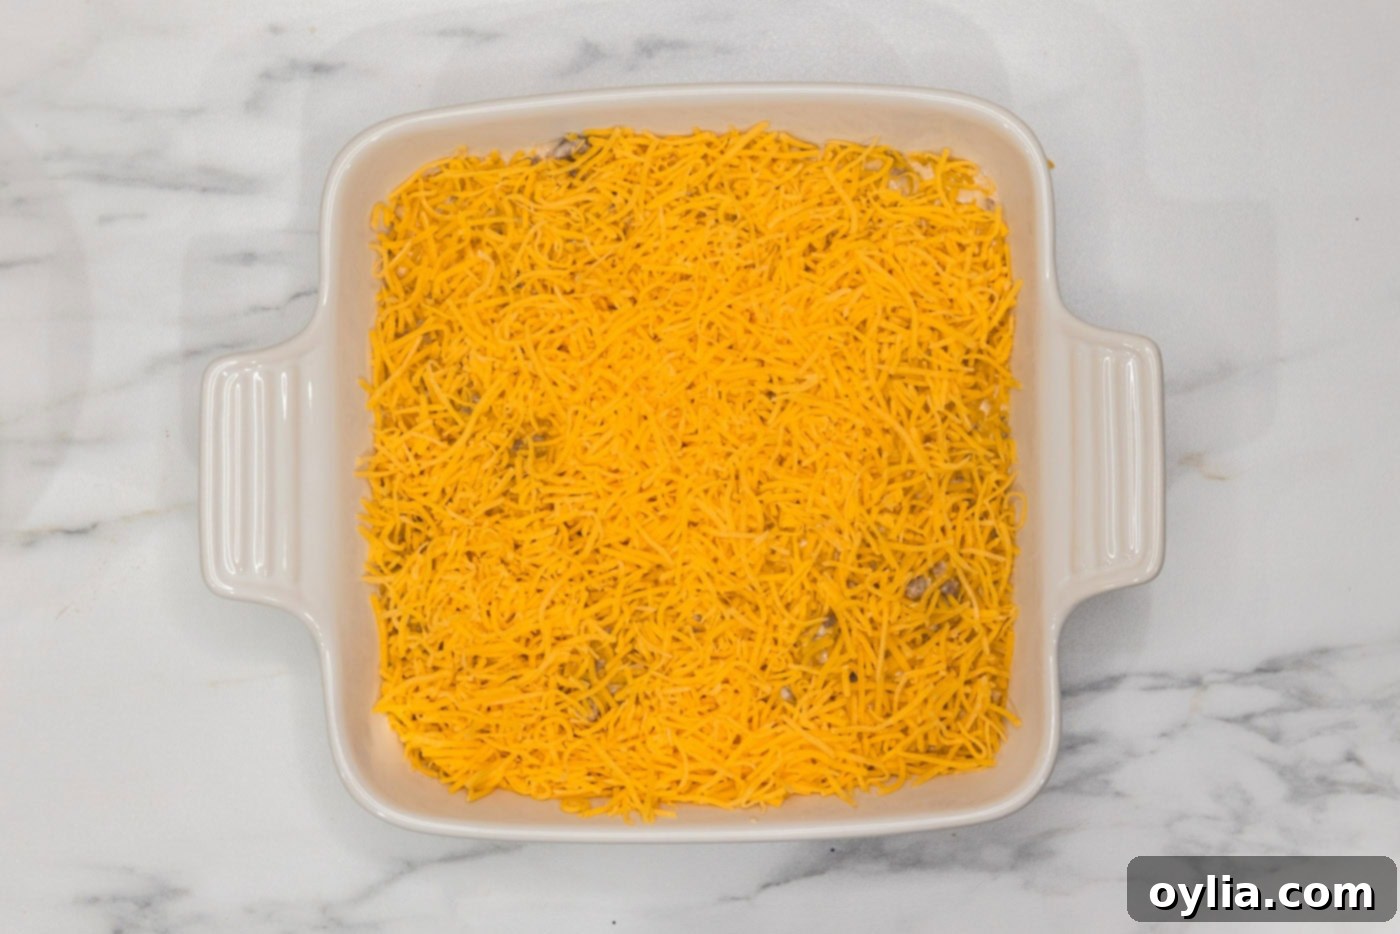
- Bake the Dip: Carefully transfer the cheeseburger dip mixture from the skillet into an 8×8 square baking dish. Spread it evenly. Top the entire surface with the remaining 4 ounces of shredded cheddar cheese. This will create a beautiful, golden, bubbly cheese crust when baked.


- Finish Baking: Bake the dip in the preheated oven for 8-10 minutes, or until the top layer of cheese is completely melted, bubbly, and lightly golden brown.
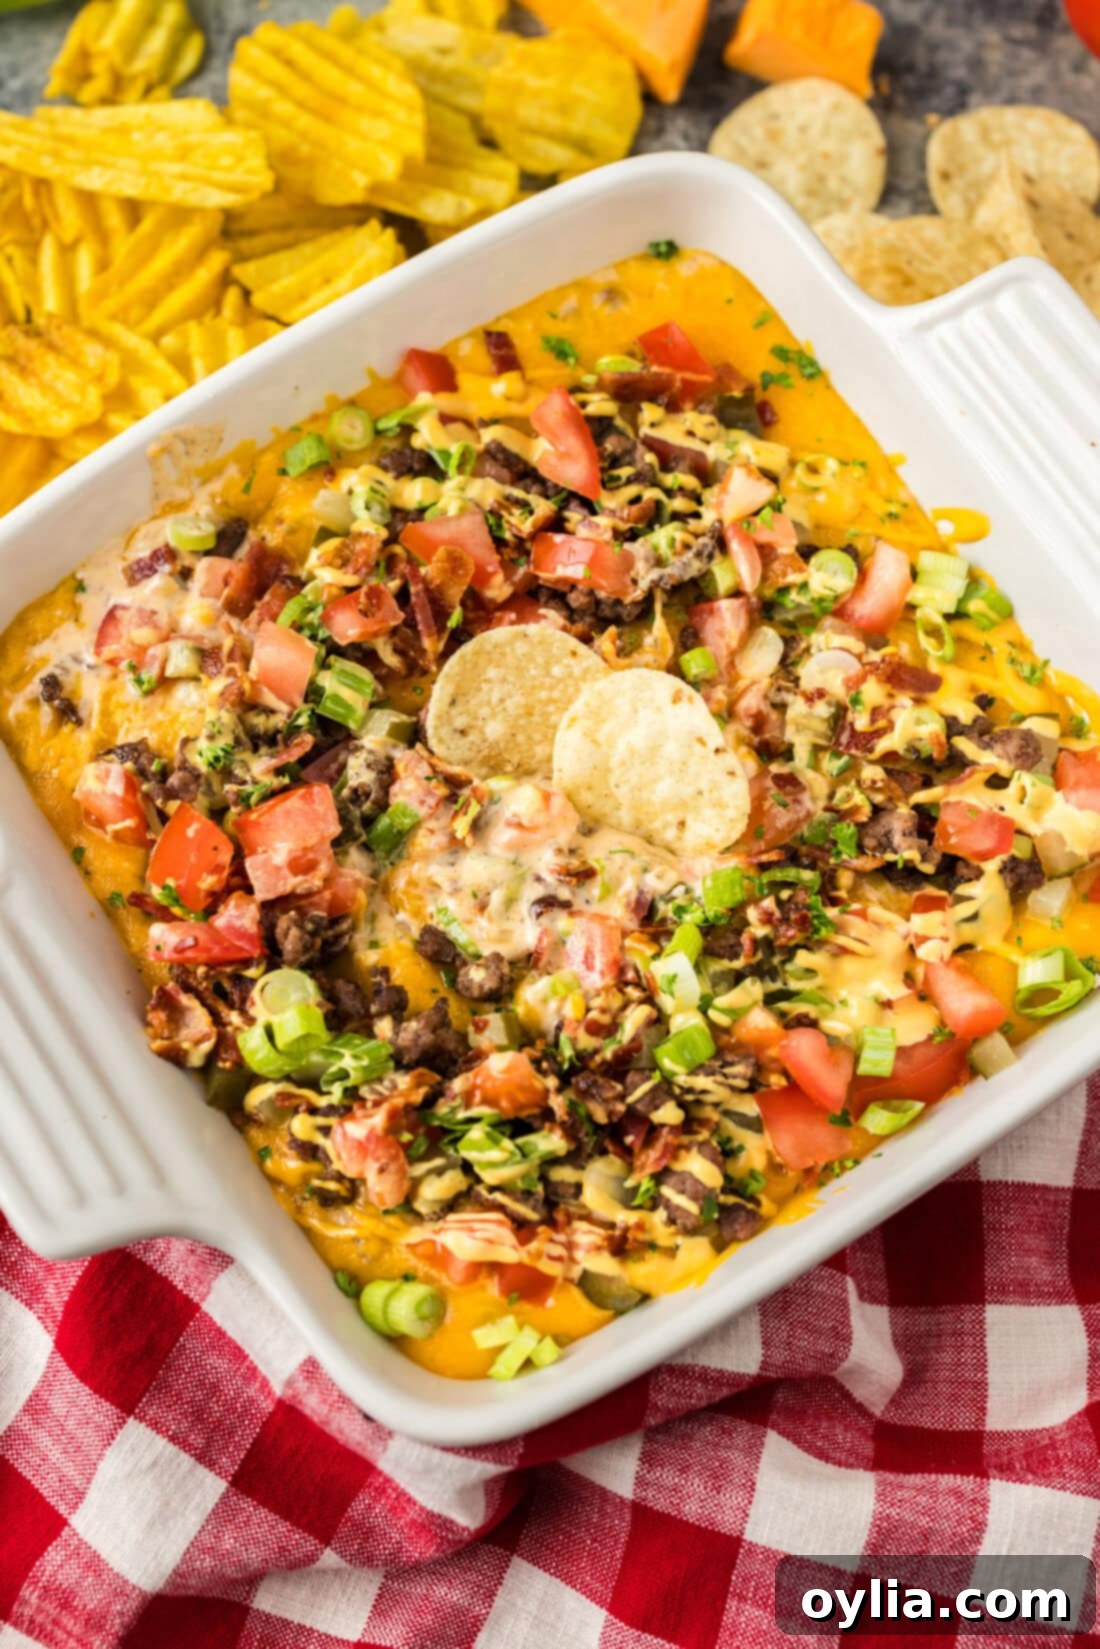
- Garnish: Once out of the oven, elevate your dip by garnishing it with fresh toppings. This is where the ‘burger’ elements really shine! Consider chopped green onions for a fresh bite, dill pickle slices for tang, diced tomatoes for color and juiciness, and crispy cooked bacon bits for an extra layer of savory flavor.
- Drizzle with Burger Sauce: For the ultimate cheeseburger experience, prepare a simple burger sauce by stirring together 3 tablespoons of mayonnaise, 1 tablespoon of ketchup, and 1 tablespoon of mustard. Drizzle this homemade sauce generously over the garnished dip just before serving. This sauce ties all the burger flavors together beautifully.
Frequently Asked Questions & Expert Tips for Perfect Cheeseburger Dip
Once your delicious cheeseburger dip has cooled completely, transfer any leftovers into an airtight container. Store it in the refrigerator for up to 3 days. To reheat, gently warm the dip in a skillet over medium-low heat, stirring occasionally to ensure even heating and prevent sticking. If the dip appears too thick or dry after reheating, you can stir in a small splash of heavy cream or milk to restore its creamy consistency. Microwaving is also an option, but stir frequently.
Absolutely! This dip is an excellent candidate for make-ahead preparation, perfect for reducing stress on party day. You can prepare the dip up to the point of transferring the ground beef and cream cheese mixture into the baking dish. Allow the mixture to cool completely before covering the dish tightly with plastic wrap or foil and refrigerating it for up to a day in advance. When you’re ready to bake and serve, remove the dish from the refrigerator and let it sit on the counter while your oven preheats to 350°F (175°C). Give the dip a good stir before adding the remaining shredded cheddar cheese on top. Since it will be going into the oven cold, you may need to bake it for a bit longer, closer to 15-20 minutes, or until it’s heated through, bubbly, and the cheese on top is melted and golden. Keep an eye on it to prevent over-browning.
The versatility of cheeseburger dip means it pairs well with a wide variety of dippers! Classic choices include sturdy tortilla chips, crispy potato chips, Ritz crackers, or even slices of toasted baguette. For a healthier option, consider celery sticks, carrot sticks, bell pepper strips, or cucumber slices. Some adventurous eaters even enjoy it with french fries or quartered burger buns for a truly authentic experience.
If you like a kick, there are several ways to add heat to your cheeseburger dip. You can incorporate a pinch of red pepper flakes when cooking the ground beef, or add a dash of your favorite hot sauce (like Tabasco or Sriracha) to the cheese sauce. Diced jalapeños (fresh or pickled) can also be mixed into the dip or sprinkled on top as a garnish for a vibrant, spicy crunch.
A greasy dip usually indicates that the ground beef wasn’t adequately drained after cooking. Lean ground beef is recommended to minimize fat, but regardless of the fat content, it’s crucial to drain off as much rendered fat as possible before combining the beef with the cheese sauce. You can also pat the cooked beef dry with paper towels for extra assurance.
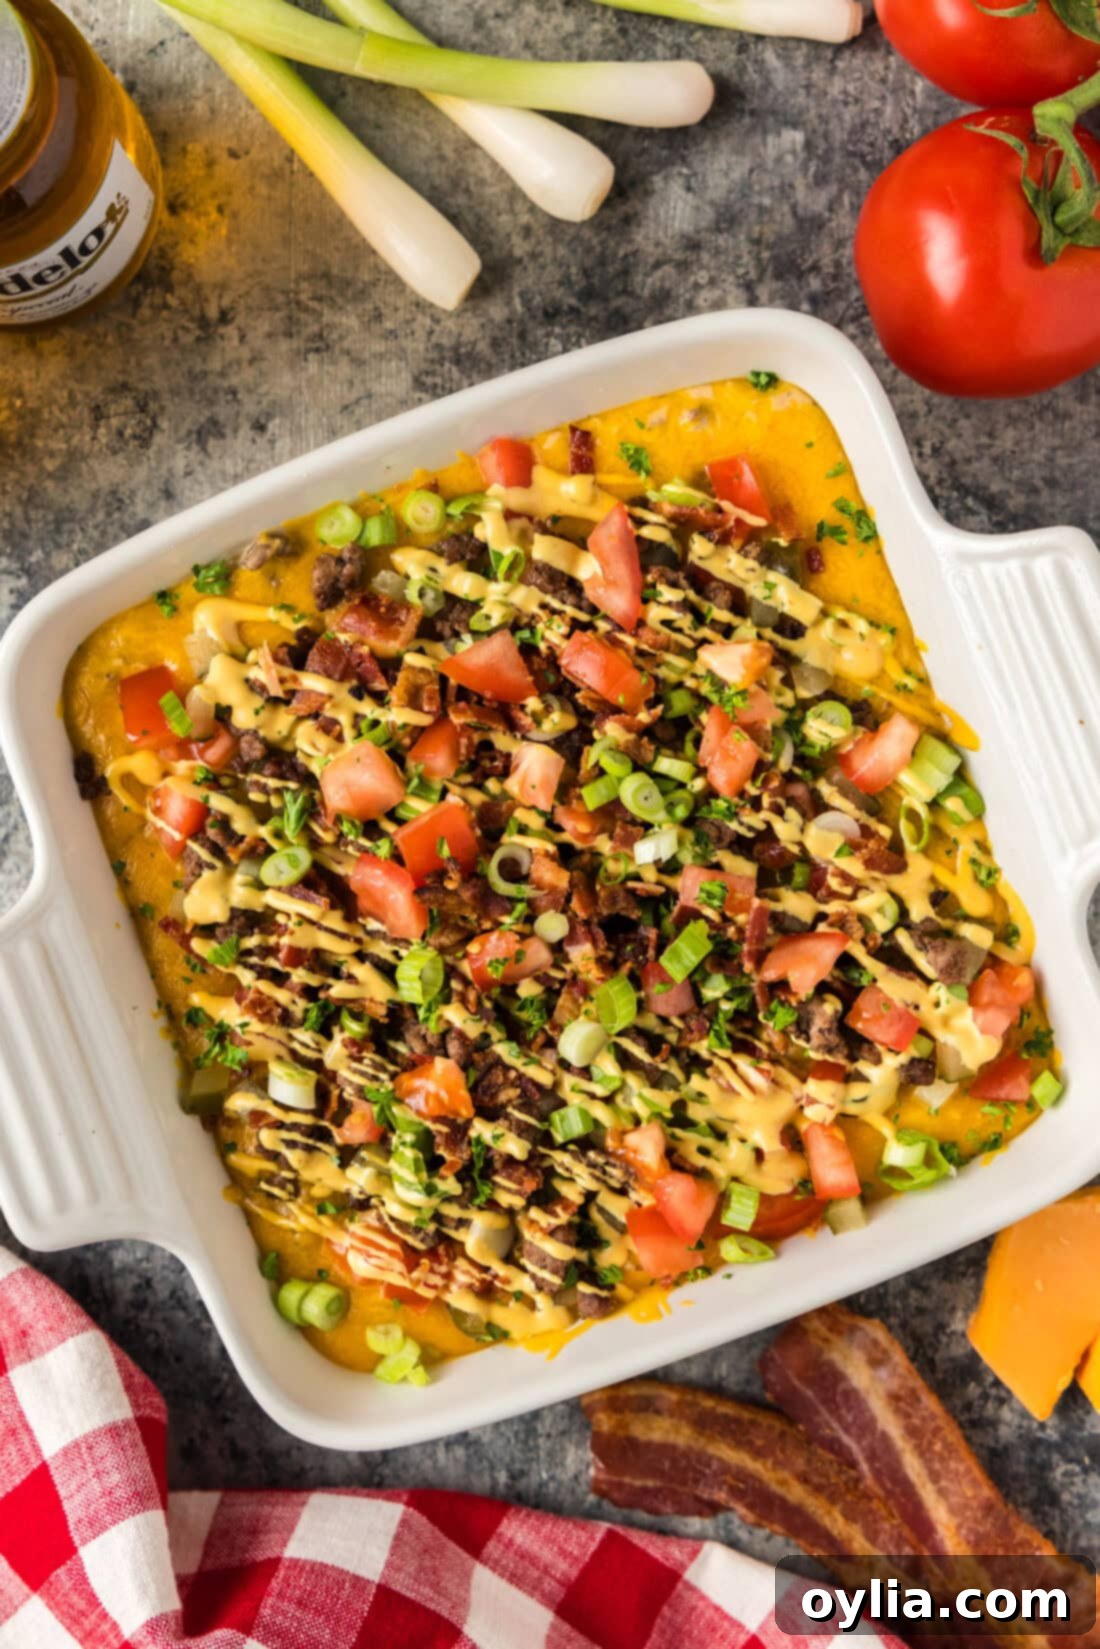
Creative Serving Suggestions for Your Cheeseburger Dip
Serving this cheeseburger dip is where you can truly let your creativity shine! The key is to offer a variety of textures and flavors that complement the rich, savory base. We love to crown our dip with the classic burger toppings: tangy dill pickle slices, thinly sliced green onions for a fresh, sharp bite, diced fresh tomatoes for a burst of juiciness and color, and plenty of crispy, chopped cooked bacon bits. Don’t forget that irresistible burger sauce – a simple mix of mayonnaise, ketchup, and mustard, drizzled artfully over the top, which perfectly encapsulates the classic burger flavor.
When it comes to dippers, the possibilities are endless. Crunchy tortilla chips, sturdy pita chips, or classic potato chips are always excellent choices. For a delightful twist, consider quartering soft burger buns and lightly toasting them for a fun, bread-based dipper. Veggie sticks like crisp celery, vibrant carrot sticks, or refreshing cucumber slices offer a lighter, healthier alternative and a satisfying crunch. French fries, sweet potato fries, or even tater tots also make fantastic, indulgent dippers that really lean into the fast-food theme. Arrange your dip and dippers on a large platter for an impressive presentation that invites everyone to dig in. Enjoy this ultimate party appetizer!
Explore More Delicious Party Dip Recipes
If you’ve fallen in love with the ease and crowd-pleasing nature of this cheeseburger dip, you’ll be thrilled to discover more of our favorite hot dip recipes. These are perfect for any gathering, offering a variety of flavors to satisfy every palate:
- Pizza Dip: All the flavors of your favorite pizza in a warm, bubbly dip.
- Reuben Dip: A savory dip inspired by the classic deli sandwich.
- Beer Cheese Dip: Rich, creamy, and undeniably delicious, perfect for pretzels.
- Crockpot Cheese Dip: An incredibly easy, set-it-and-forget-it cheesy dip.
I find immense joy in baking and cooking, and it’s a pleasure to share my kitchen adventures and tested recipes with all of you! To make sure you never miss out on a new culinary creation, I offer a convenient newsletter that delivers fresh recipes straight to your inbox every time a new one posts. Simply subscribe today and start receiving your free daily recipes, bringing a little bit of inspiration to your kitchen every day!

Cheeseburger Dip
IMPORTANT – There are often Frequently Asked Questions within the blog post that you may find helpful. Simply scroll back up to read them!
Print It
Pin It
Rate It
Save ItSaved!
Ingredients
- 1 Tablespoon olive oil
- 1 pound lean ground beef
- 1 teaspoon garlic salt
- ½ teaspoon black pepper
- 1 cup chopped onions
- 1 cup heavy whipping cream divided
- 8 ounces shredded cheddar cheese divided
- 4 ounces cream cheese
Optional Garnish
- 3 Tablespoons mayonnaise
- 1 Tablespoon ketchup
- 1 Tablespoon mustard
- chopped pickles, tomatoes, green onions, and cooked bacon
Tools You’ll Need
-
Large skillet
-
Whisk
-
8×8 baking dish
Pro-Tips & Important Notes
- Always use brick-style cream cheese for the best, creamiest texture in this dip. Softened cream cheese blends much more smoothly.
- While heavy cream yields the richest results, you can substitute with half and half or whole milk if you are monitoring fat and calories. Avoid 2% or lower milk, as the dip may become too thin and lose its desired creaminess due to insufficient fat content.
- Ensure you thoroughly drain the ground beef after browning to prevent the dip from becoming oily.
Instructions
-
Preheat oven to 350 F (175 C). Prepare your baking dish while the oven heats.
-
Heat olive oil in a large skillet over medium-high heat until it begins to shimmer.
-
Brown the lean ground beef in the heated oil, seasoning it with garlic salt and pepper. Stir frequently, breaking up the meat, until no pink remains. Drain any excess fat or oil thoroughly before setting the beef aside.
-
In the same skillet (no need to clean), add the chopped onions. Sauté over medium-high heat, stirring occasionally, until the onions are soft and lightly caramelized. Remove them from the pan and combine with the browned beef.
-
To the empty skillet, add half of the heavy cream, half of the shredded cheddar cheese, and the softened cream cheese. Whisk constantly over medium-high heat until all the cheeses are completely melted and the mixture is smooth and creamy.
-
Stir the cooked ground beef and onions into the cheese sauce. Pour in the remaining heavy cream and mix well to combine all ingredients and achieve a looser, dip-like consistency.
-
Transfer the entire mixture into an 8×8 square baking dish. Sprinkle the remaining shredded cheddar cheese evenly over the top.
-
Bake in the preheated oven for 8-10 minutes, or until the cheese on top is fully melted, bubbly, and slightly golden.
-
For an authentic cheeseburger experience, garnish the top of the hot dip with your favorite burger toppings: chopped green onions, dill pickles, diced tomatoes, and crispy cooked bacon.
-
In a small bowl, stir together the mayonnaise, ketchup, and mustard to create a simple burger sauce. Drizzle this sauce generously over the garnished dip just before serving.
Additional Expert Tips & FAQs
- Please note: The nutrition facts listed below do not include the optional garnishes. Adding garnishes like bacon, pickles, and burger sauce will slightly increase the nutritional values.
- Store any cooled leftovers in an airtight container in the refrigerator for up to 3 days. Reheat gently in a skillet over low-medium heat, stirring frequently. Add a splash of heavy cream if needed to regain creaminess.
- Make-ahead tip: Prepare the dip mixture (beef, onions, cheese sauce) and store it in the baking dish, covered, in the refrigerator for up to 24 hours. Add the final layer of cheese and bake when ready to serve, allowing for slightly longer baking time from cold.
Nutrition
The recipes on this blog are meticulously tested with a conventional gas oven and gas stovetop to ensure optimal results. It’s important to acknowledge that ovens, particularly older models, can sometimes heat and bake inconsistently. We highly recommend using an inexpensive oven thermometer to verify that your oven truly reaches and maintains the proper temperature. If you use a toaster oven or countertop oven, please be aware that heat distribution might differ from a full-sized conventional oven, potentially requiring adjustments to your cooking or baking times. For recipes prepared with specialty appliances like pressure cookers, air fryers, or slow cookers, a link to the specific models we utilize is provided within each respective recipe. In the case of baking recipes where measurements are specified by weight, please note that using cup measurements instead may lead to variations in results, and we cannot guarantee success with alternative measuring methods.
