Best Ever Crispy Honey Garlic Chicken Recipe (Easy & Sticky Thighs)
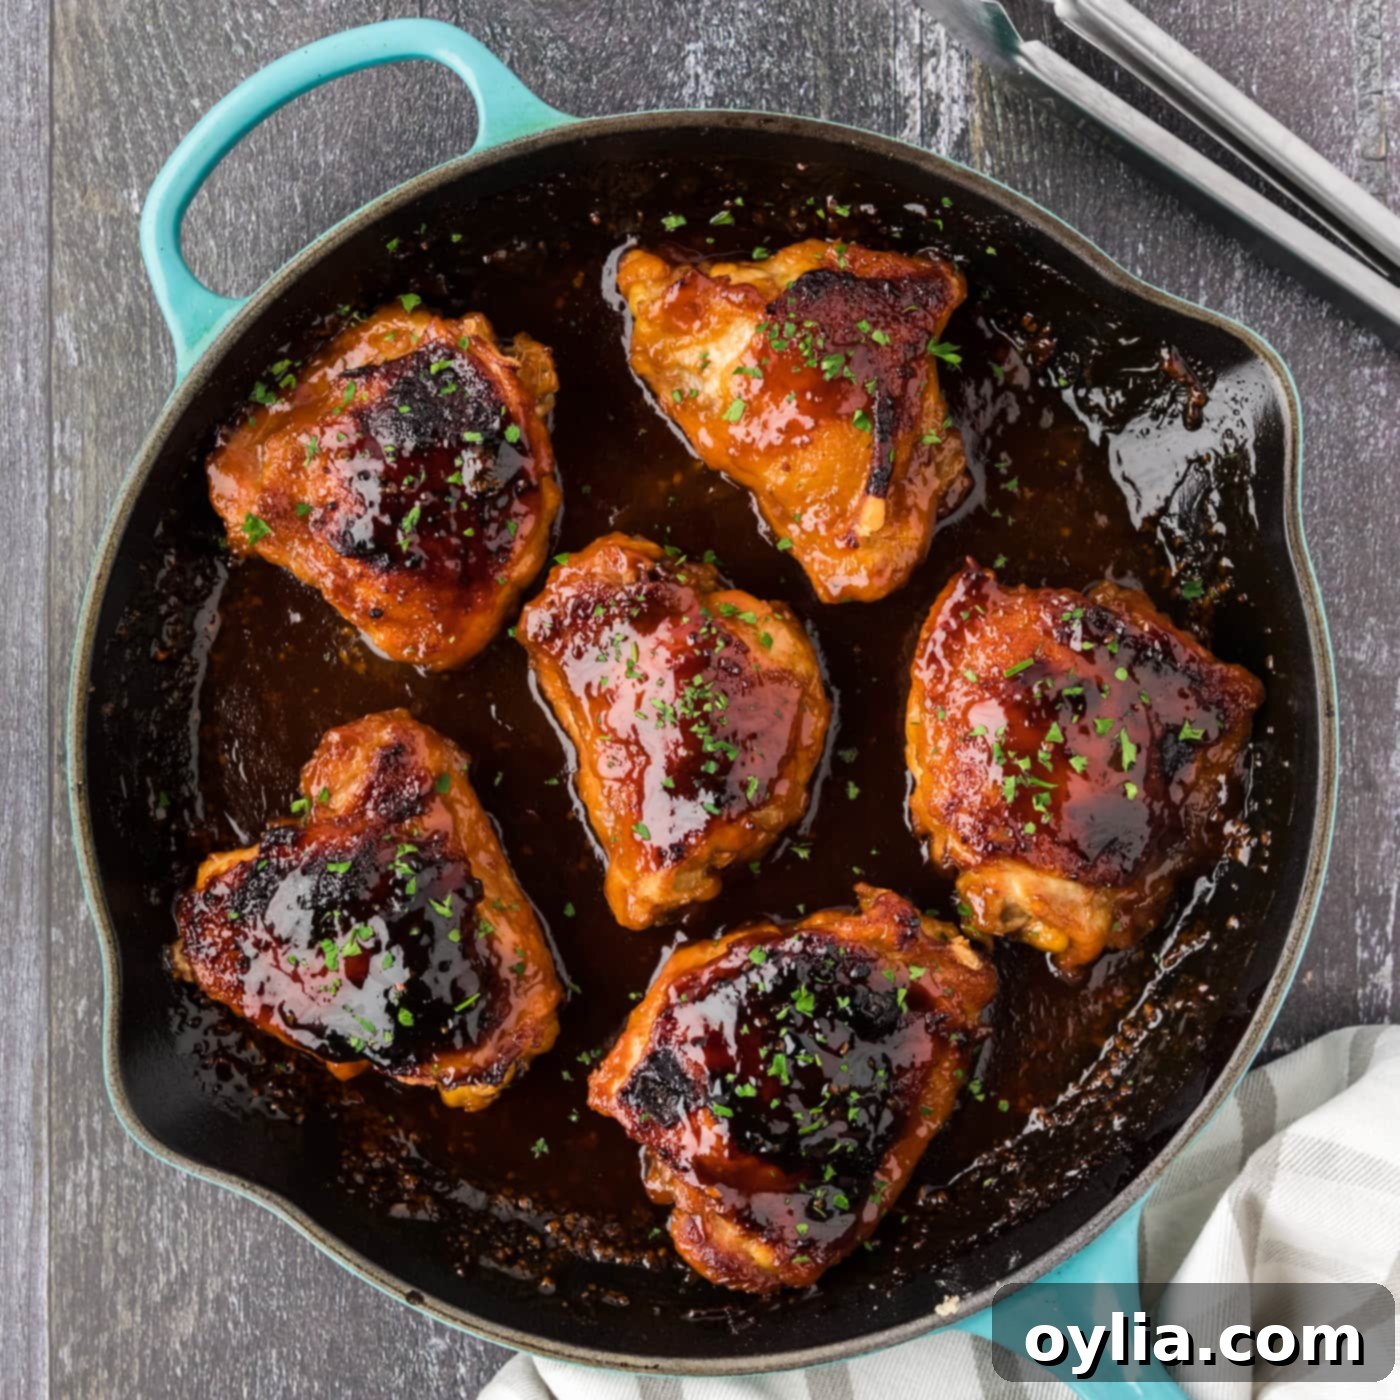
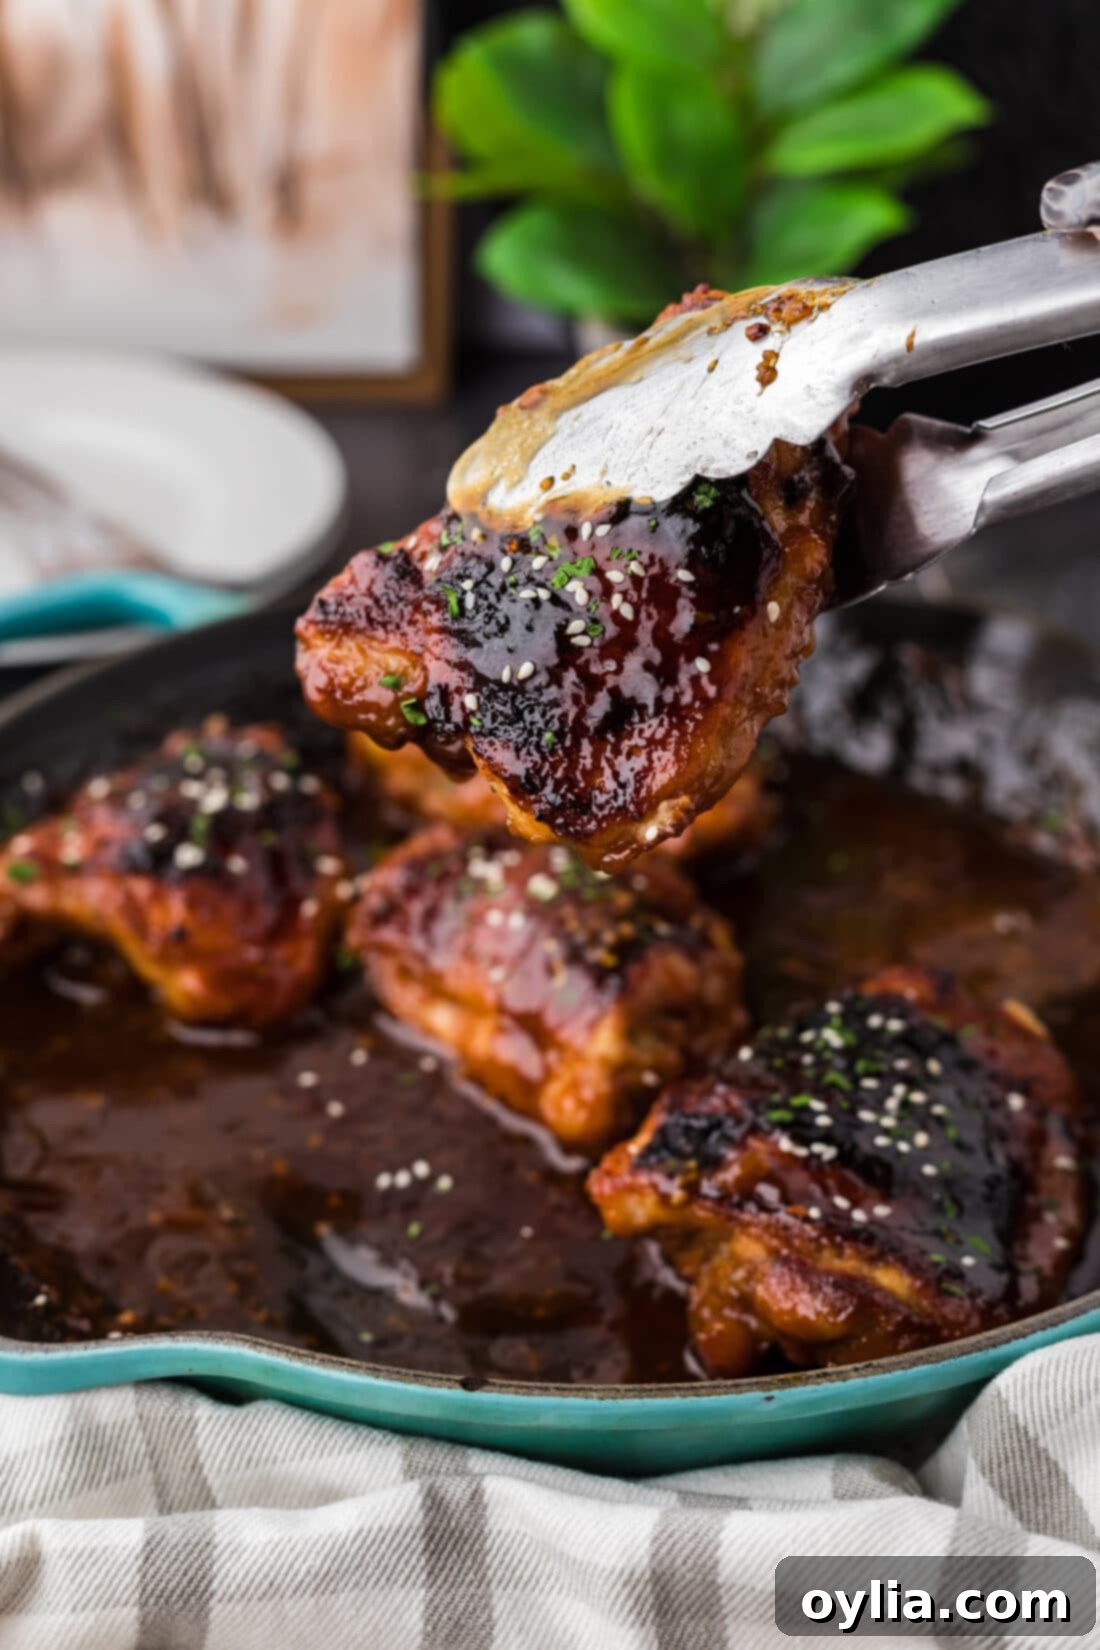
Prepare for a culinary revelation with this incredible honey garlic chicken recipe! It transforms ordinary chicken thighs into a masterpiece of crispy, golden perfection, generously coated in an utterly irresistible sticky, sweet, and savory glaze. This easy, Asian-inspired dish isn’t just a meal; it’s a staple you’ll find yourself craving and adding to your regular dinner rotation time and time again. Forget takeout – your new favorite homemade chicken is just a few steps away, promising big flavors with surprisingly simple preparation.
Why This Honey Garlic Chicken Recipe Is a Must-Try
If you’ve never experienced the pure delight of homemade honey garlic chicken, you are truly in for a treat. This recipe isn’t just good; it’s spectacular, elevating humble chicken thighs with a sticky, sweet, and savory sauce that you didn’t even realize was missing from your life. The magic lies in the perfect balance of flavors and textures, creating a dish that is both comforting and exciting.
- Irresistible Flavor Profile: Our homemade honey garlic sauce is the star of the show. It strikes a harmonious balance between the rich sweetness of honey, the savory depth of soy sauce, and the pungent kick of fresh garlic. A touch of white wine vinegar adds a subtle tang, cutting through the richness and brightening every bite. This complex flavor profile is incredibly addictive and versatile.
- Perfect Texture Contrast: We start by pan-frying the chicken thighs to achieve a wonderfully crispy, golden-brown skin. This initial sear locks in the juices, ensuring a tender and succulent interior. The chicken is then baked with the sauce, allowing it to become beautifully caramelized and sticky, creating an incredible textural contrast that makes each bite a joy.
- Effortless Elegance: While the results are restaurant-worthy, the cooking process is surprisingly straightforward. A quick dredge in flour, a pan-sear, a simmering sauce, and a final bake in the oven – that’s all it takes. It’s an ideal recipe for busy weeknights when you want something special without spending hours in the kitchen.
- Incredible Versatility: Once you taste this homemade honey garlic sauce, you’ll want to put it on everything! It’s fantastic not only for chicken thighs but also for glazing meatballs, giving an amazing boost to crispy chicken wings, or even adding a sweet and savory coating to sautéed shrimp. This recipe is a true crowd-pleaser and easily adapts to various occasions, from a cozy family dinner to a casual gathering with friends.
Essential Ingredients You’ll Need
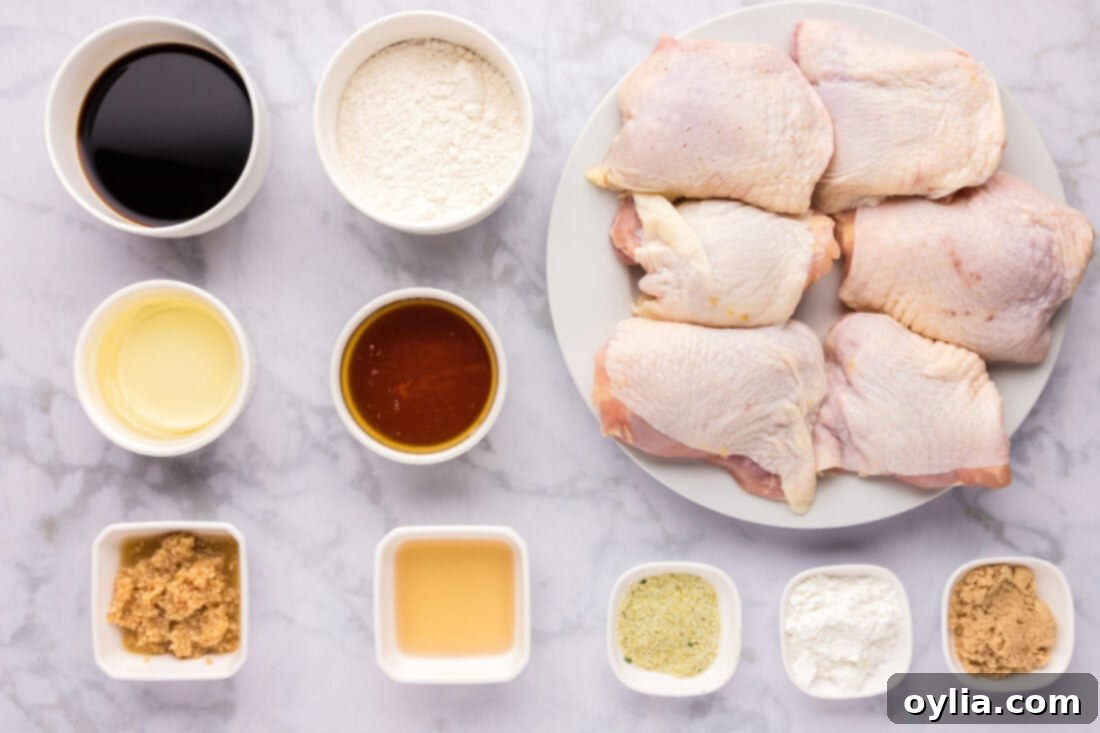
Gathering your ingredients is the first step to creating this delectable honey garlic chicken. This recipe calls for simple, accessible items that, when combined, create a truly extraordinary meal. You’ll find a complete list of measurements and detailed instructions in the printable recipe card at the end of this post.
Ingredient Spotlight & Substitution Suggestions
Let’s dive deeper into the key ingredients and how they contribute to the final dish, along with some helpful substitution ideas.
- CHICKEN: We highly recommend using skin-on, bone-in chicken thighs for this recipe. The skin becomes wonderfully crispy when pan-fried, adding a fantastic textural element, and the bone helps keep the meat incredibly juicy and flavorful. Be sure to trim off any large, excess skin flaps as they can produce too much fat and won’t be eaten anyway.
- Substitution: While thighs are preferred, you can absolutely use boneless, skinless chicken thighs for a quicker cook time. If using chicken breasts or tenderloins, note that they cook faster and can dry out more easily. Cut them into 1-inch pieces for a stir-fry style dish, or cook whole, ensuring you monitor the internal temperature carefully to avoid overcooking. Always cook chicken to an internal temperature of 165°F (74°C).
- ALL-PURPOSE FLOUR: A light dusting of flour is essential for creating that desired crispy crust when the chicken hits the hot oil. It also helps the sauce adhere beautifully.
- Substitution: For a gluten-free option, you can use a gluten-free all-purpose flour blend or cornstarch for dredging.
- VEGETABLE OIL: Used for pan-frying the chicken to a golden crisp. Any neutral, high-smoke-point oil like canola or grapeseed oil will work well.
- THE HONEY GARLIC SAUCE INGREDIENTS:
- SOY SAUCE: Provides the fundamental savory, umami base. We recommend a good quality low-sodium soy sauce to control the overall saltiness of the dish.
- Substitution: Tamari for a gluten-free option, or coconut aminos for a soy-free alternative.
- WHITE WINE VINEGAR: Adds a crucial tangy counterpoint to the sweetness of the honey and brown sugar, balancing the flavors.
- Substitution: Rice vinegar or apple cider vinegar can be used in a pinch, though the flavor profile will shift slightly.
- MINCED GARLIC: This is “honey garlic” chicken for a reason! Freshly minced garlic is non-negotiable for the best flavor. We’re talking 3 tablespoons for a truly robust garlic punch.
- Tip: While pre-minced garlic can be convenient, fresh garlic offers superior flavor. Don’t skimp here!
- BROWN SUGAR: Enhances the sweetness and adds a rich, molasses-like depth that complements the honey beautifully, contributing to that desirable sticky glaze.
- HONEY: The other half of the name! Provides natural sweetness and is key to the sauce’s signature sticky texture and glossy finish. Any type of honey will work, from clover to wildflower.
- GARLIC SALT: Boosts both the garlic flavor and adds seasoning to the sauce.
- Substitution: If you only have garlic powder and salt, use 1/2 tablespoon garlic powder and 1/2 tablespoon regular salt, adjusting to taste.
- CORNSTARCH & WATER (for slurry): This dynamic duo is essential for thickening the sauce to that perfect glossy, clingy consistency. A slurry ensures a smooth, lump-free sauce.
- SOY SAUCE: Provides the fundamental savory, umami base. We recommend a good quality low-sodium soy sauce to control the overall saltiness of the dish.
How to Make Honey Garlic Chicken: Step-by-Step Guide
These step-by-step photos and instructions are here to help you visualize how to make this recipe. You can Jump to Recipe to get the printable version of this recipe, complete with precise measurements and concise instructions at the bottom of this post.
- Prepare the Oven and Chicken: Preheat your oven to a steady 375°F (190°C). While the oven heats, take your chicken thighs and carefully trim off any significant excess flaps of skin. This prevents excessive fat rendering and ensures a cleaner, crispier result.
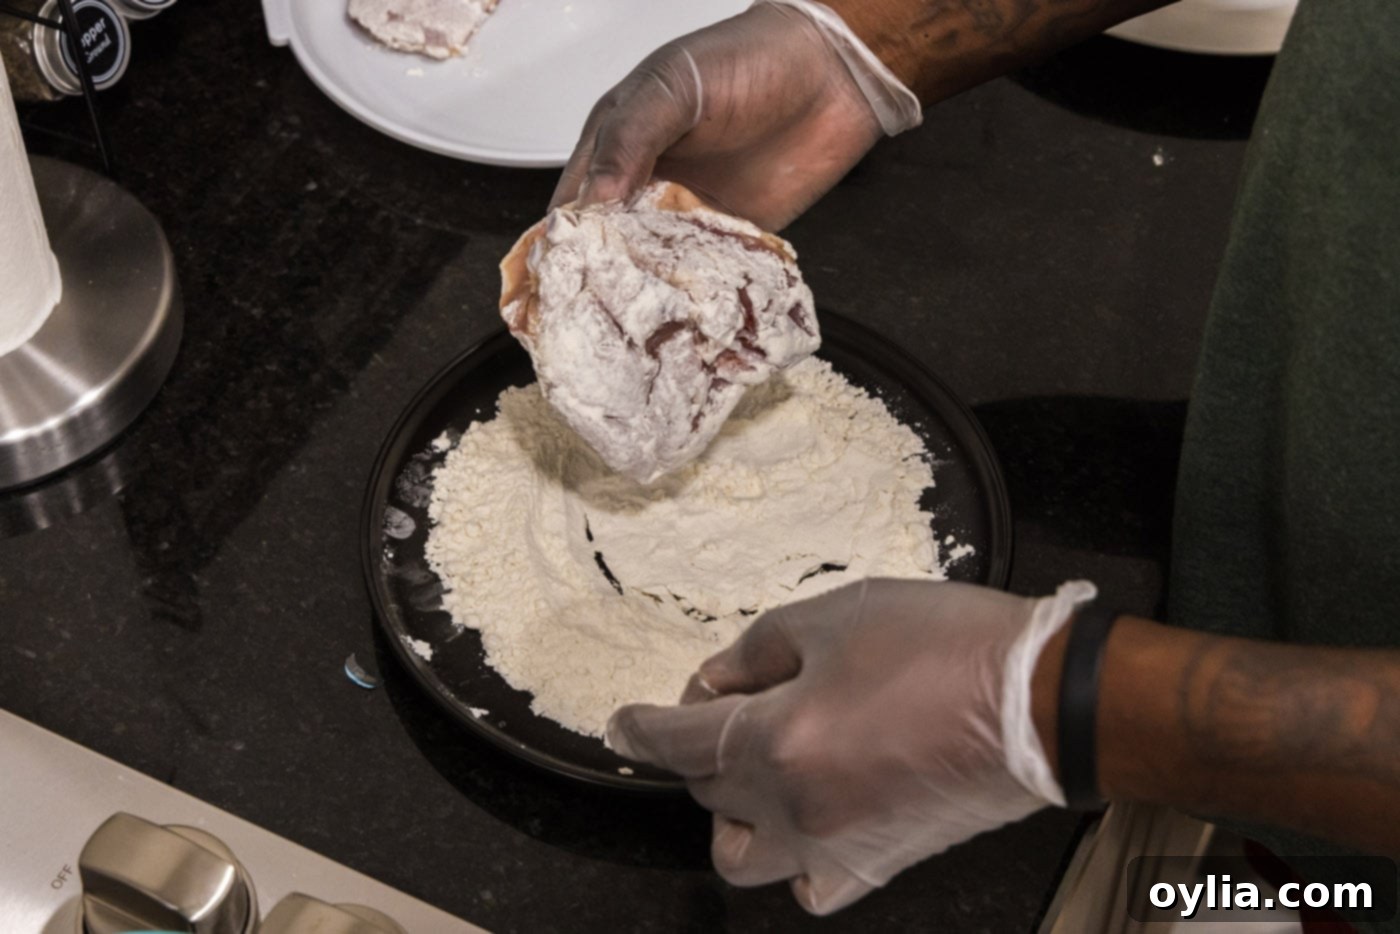
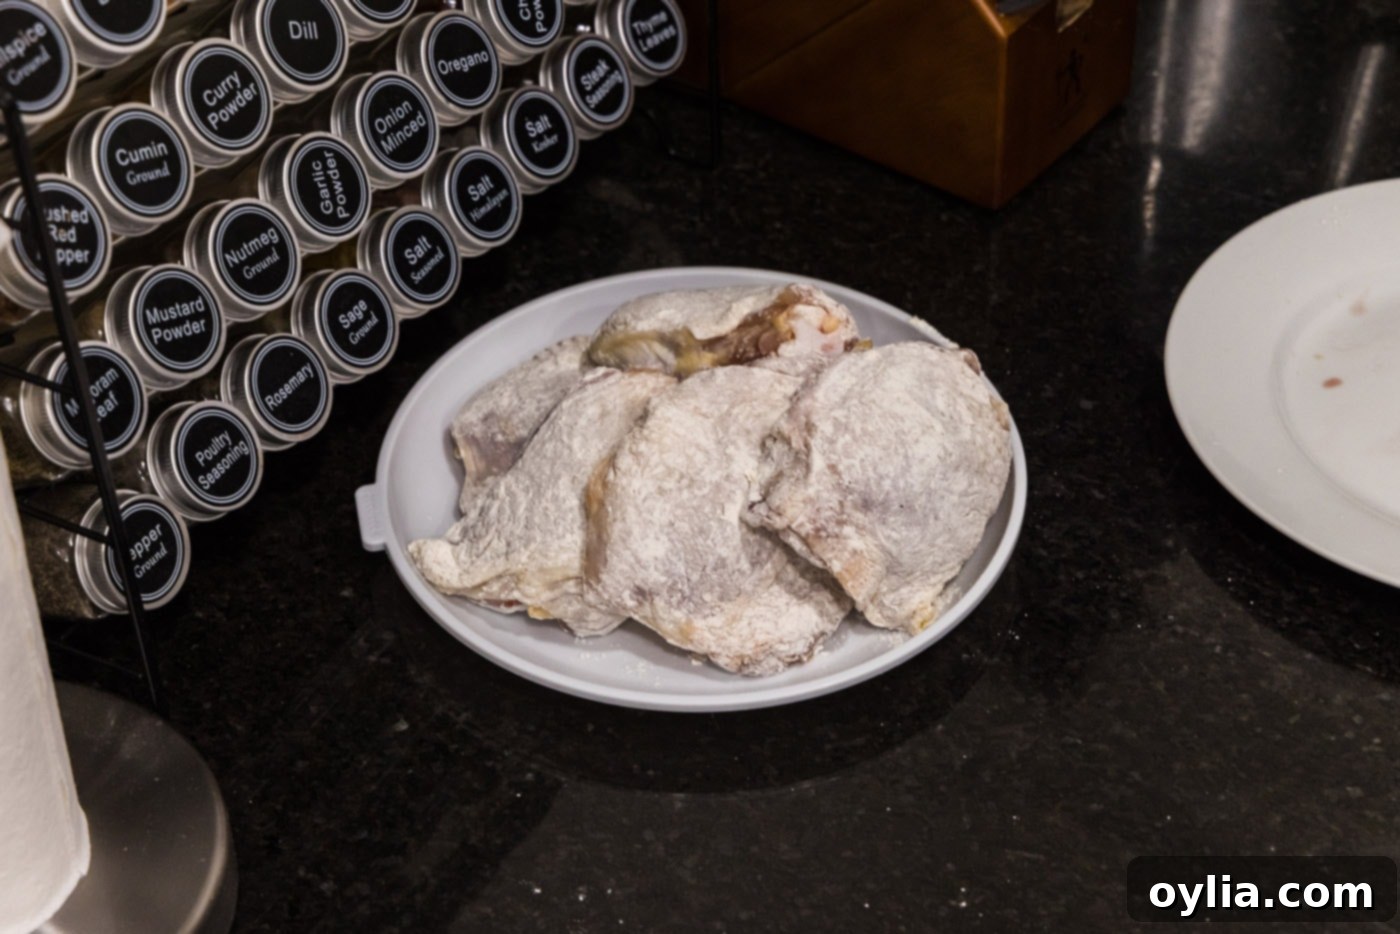
- Dredge the Chicken: Spread your all-purpose flour evenly on a plate. Take each chicken thigh and dredge it thoroughly in the flour, ensuring it’s coated on all sides. Gently shake off any excess flour. This thin coating is crucial for developing a beautiful, crispy skin when seared.


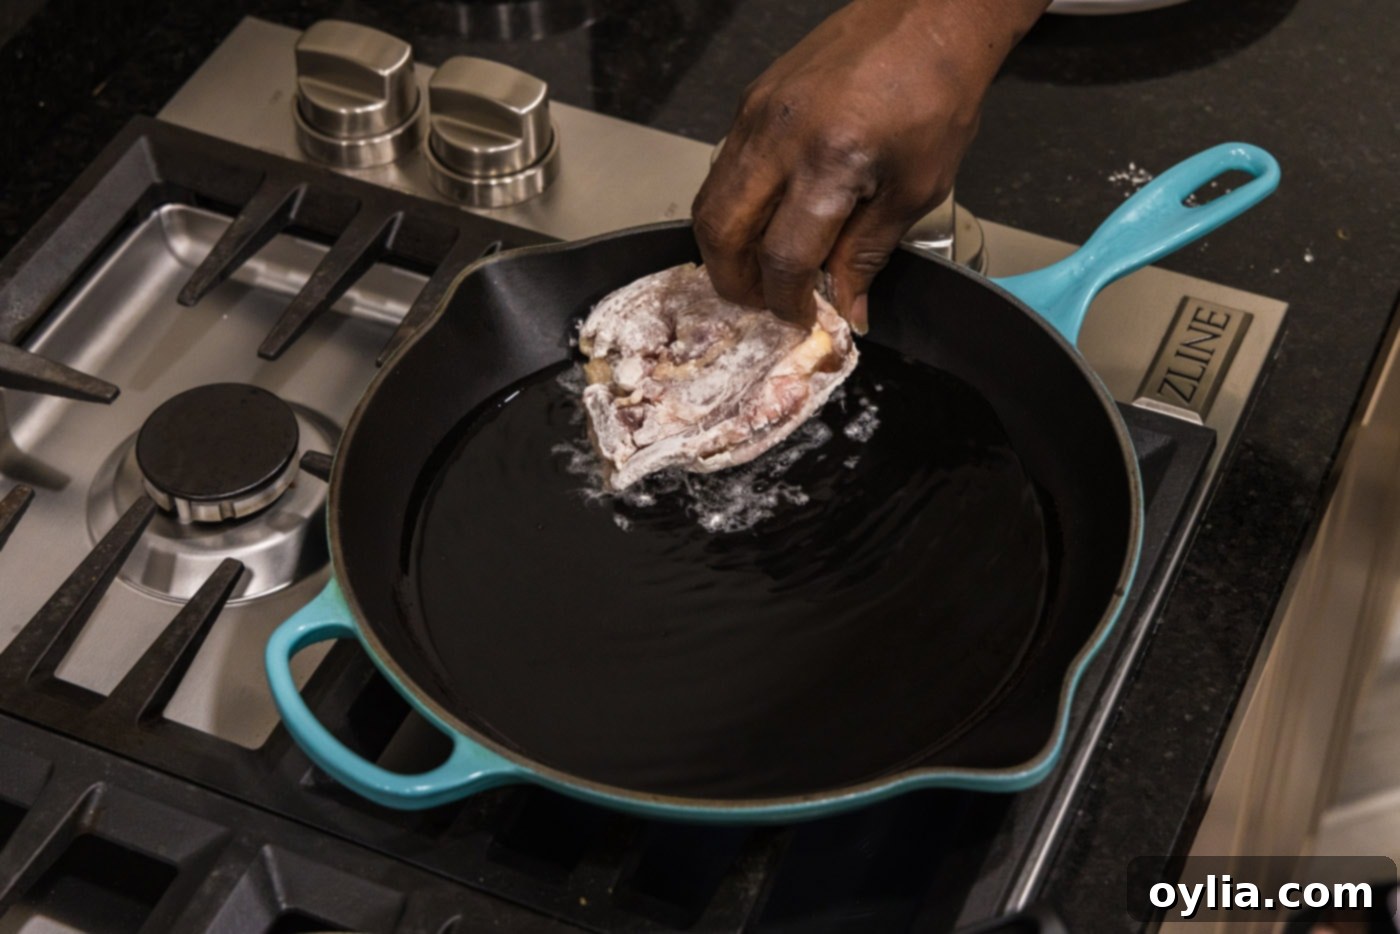
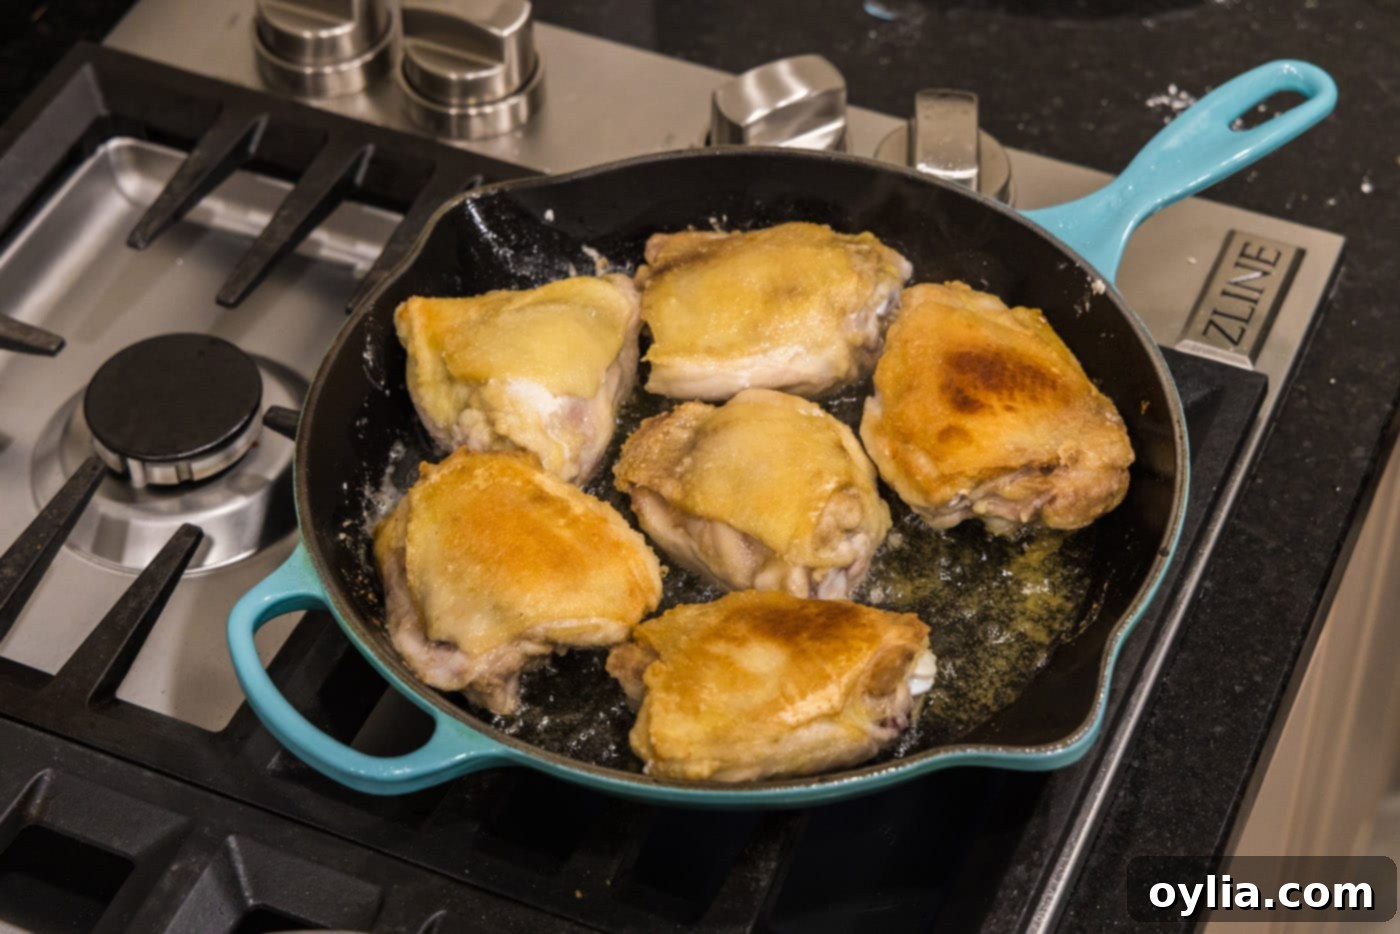
- Sear for Crispy Perfection: Heat the vegetable oil in a large heavy-bottomed skillet (cast iron or oven-safe stainless steel works best) over medium-high heat. Wait until the oil is shimmering but not smoking. Carefully place the dredged chicken thighs, skin side down, into the hot oil. Cook for 4-5 minutes, undisturbed, allowing the skin to crisp up and turn a rich golden brown. This initial sear is key to flavor and texture.

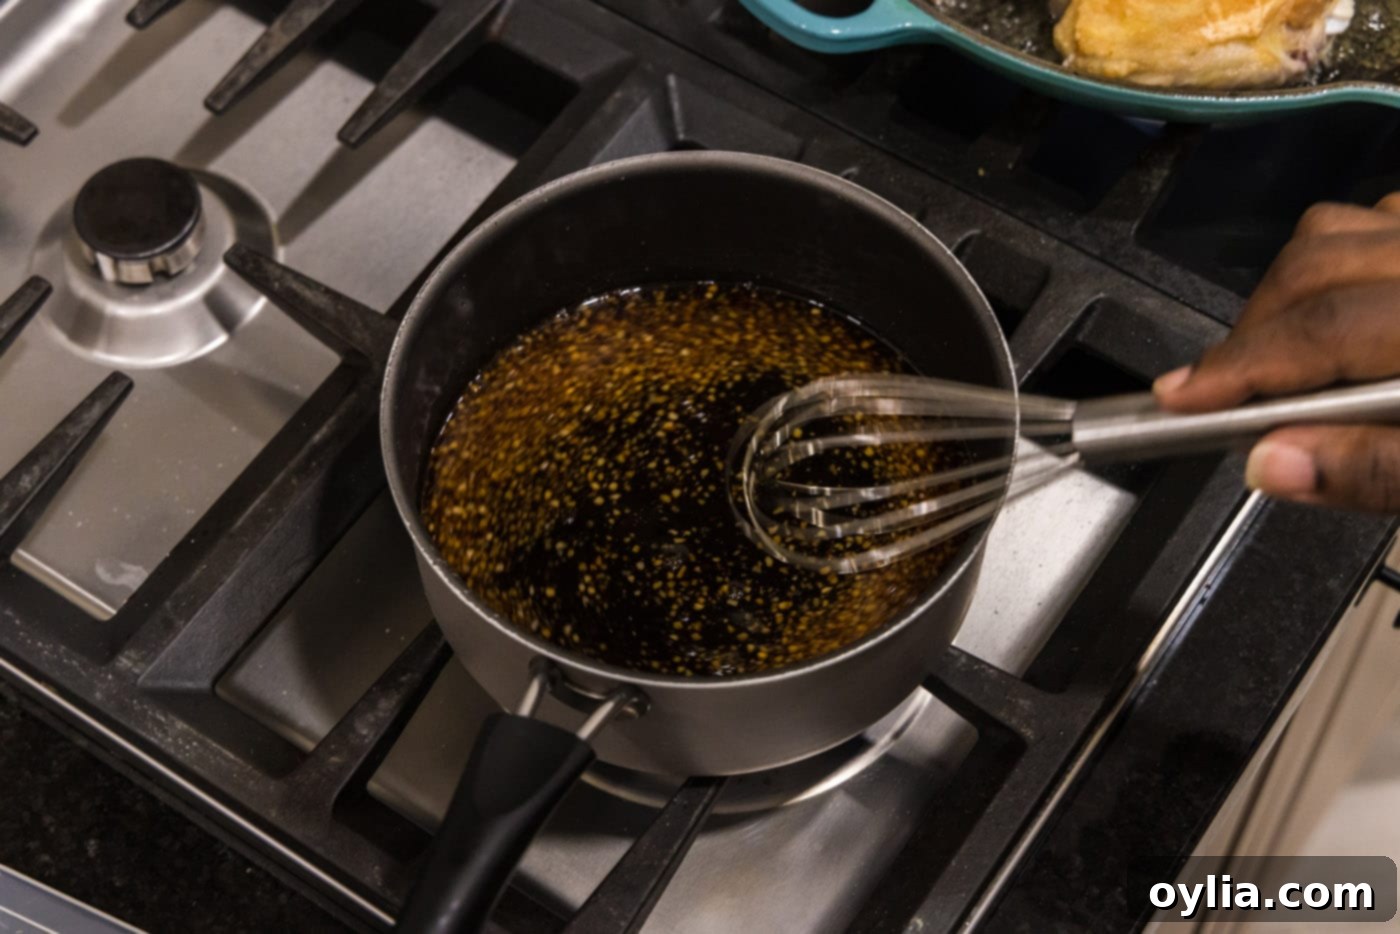
- Prepare the Honey Garlic Sauce: While the chicken is searing, whisk together all the sauce ingredients (soy sauce, white wine vinegar, minced garlic, brown sugar, honey, garlic salt) in a separate saucepan. Place the saucepan over medium heat and whisk occasionally until the mixture is heated through and the sugar has dissolved.

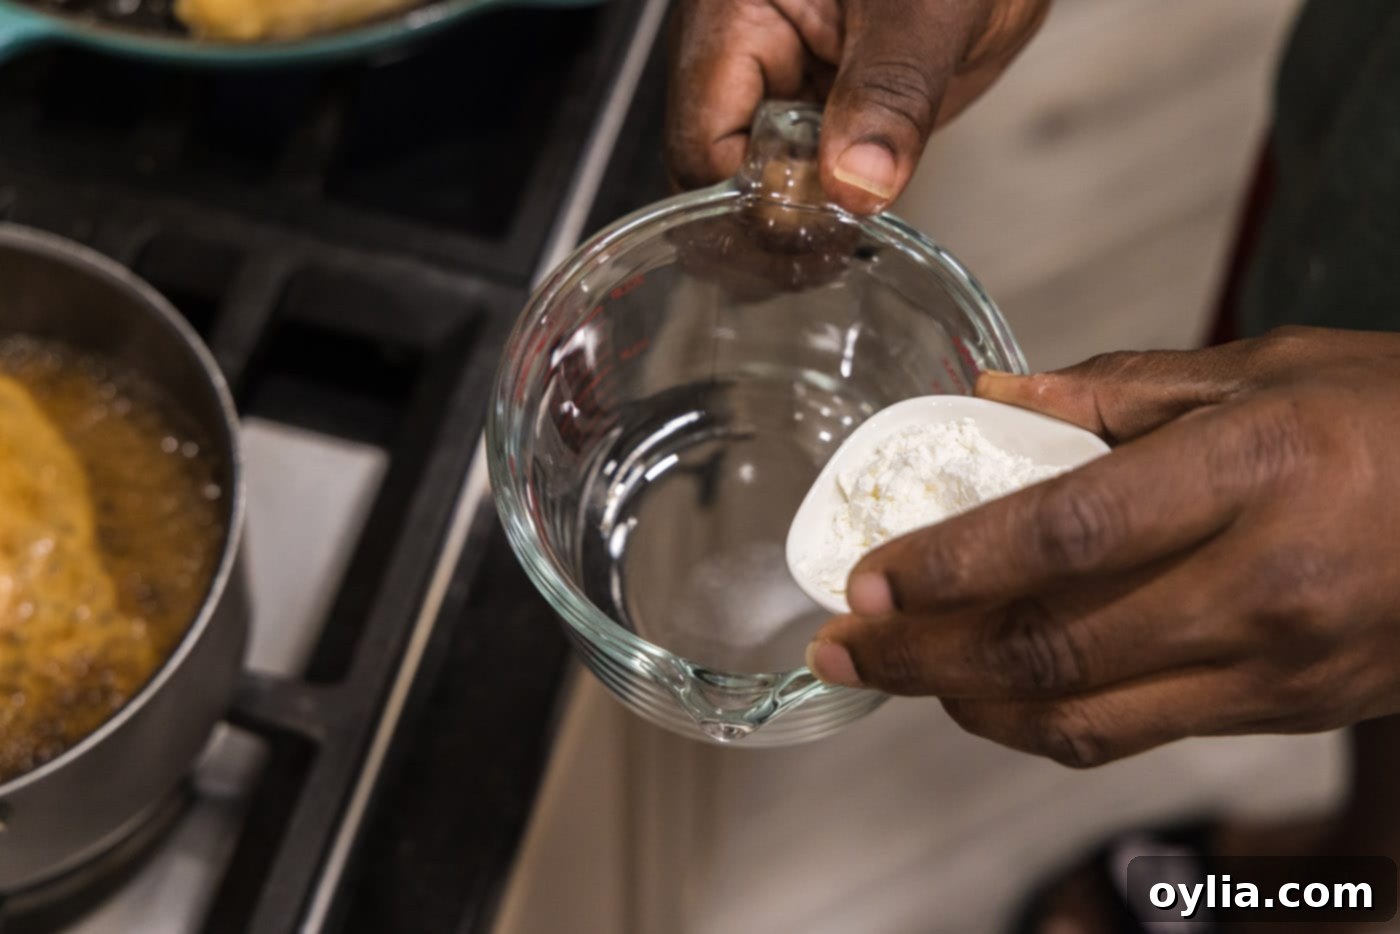
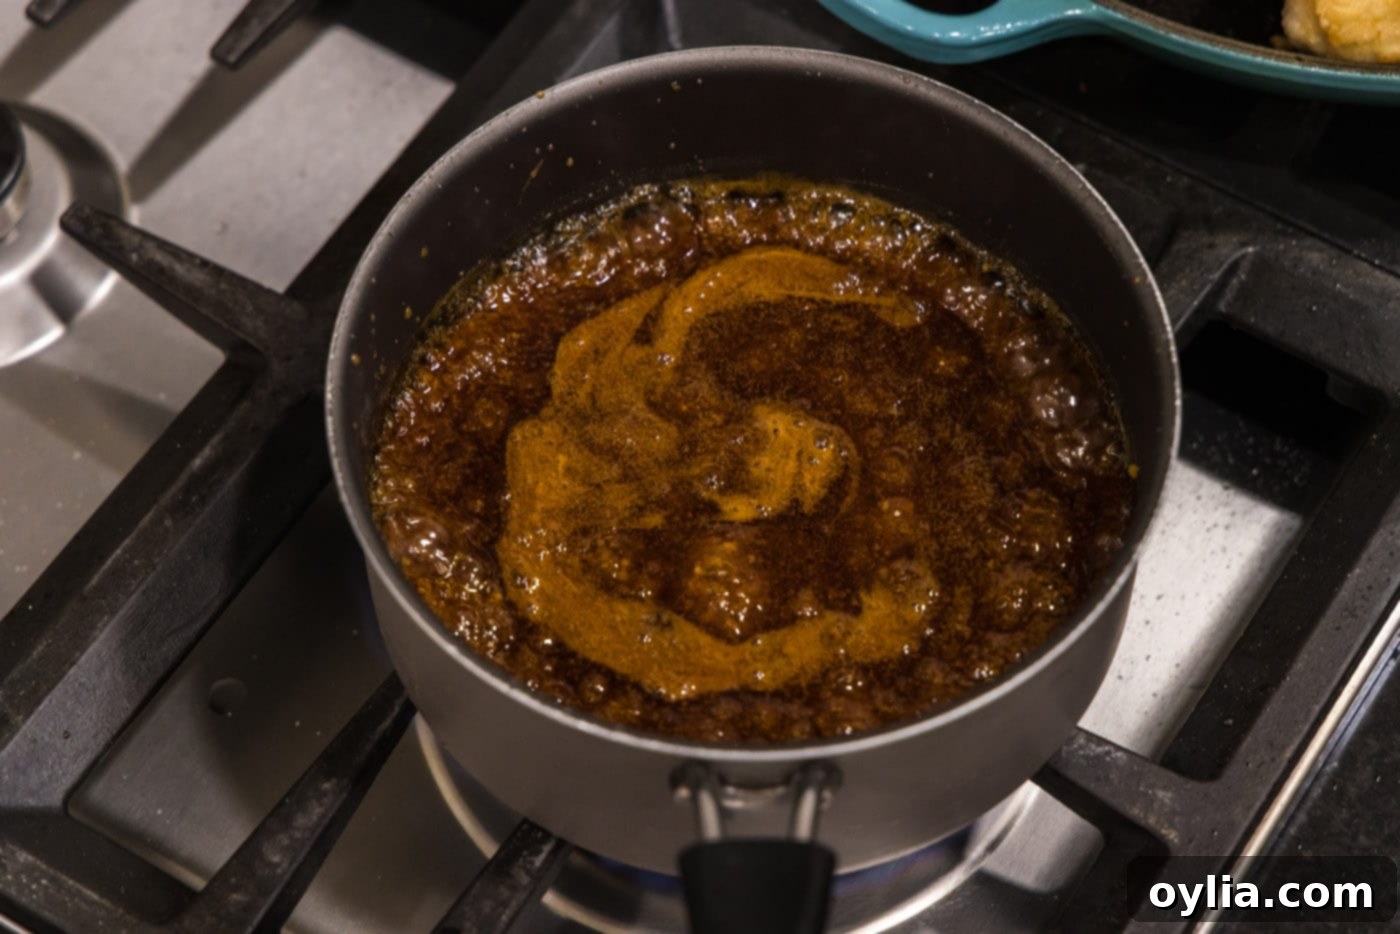
- Thicken the Sauce: In a small bowl, create a cornstarch slurry by whisking the cornstarch with water until smooth. Add this slurry to the simmering sauce in the saucepan. Continue to whisk until the sauce thickens slightly and becomes glossy. This will only take a minute or two. Once thickened, remove the sauce from the heat. It should be a beautiful, translucent glaze.


- Flip and Finish Searing: Turn the chicken thighs over in the skillet and cook for an additional 3 minutes on the non-skin side to get a nice brown on all sides.

- Drain and Return to Skillet: Remove the partially cooked chicken from the skillet and carefully drain any excess oil or rendered fat from the pan. This step prevents the finished dish from being greasy. Return the chicken back to the skillet.
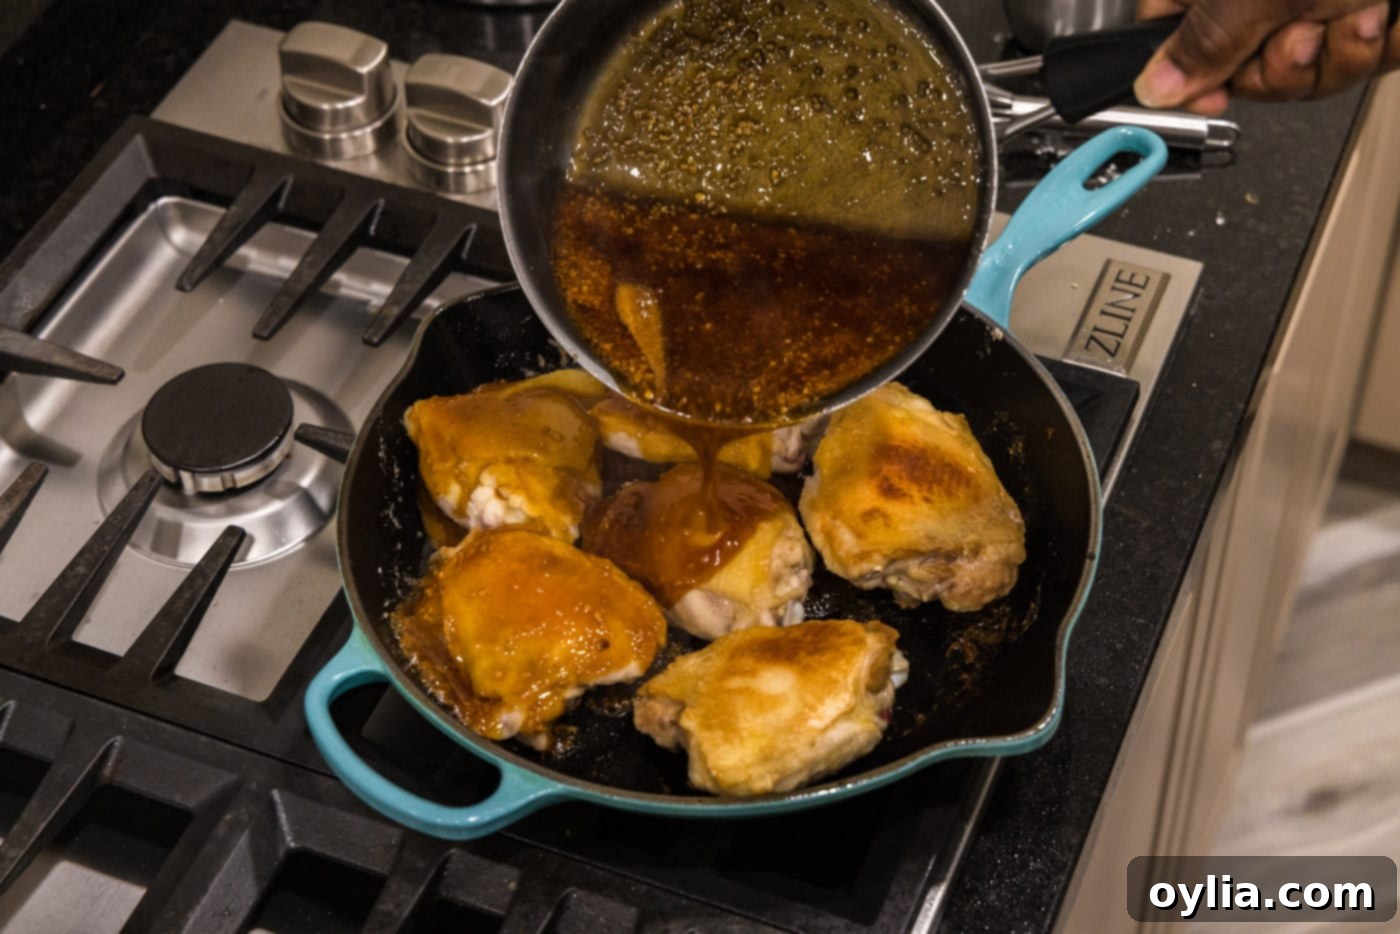
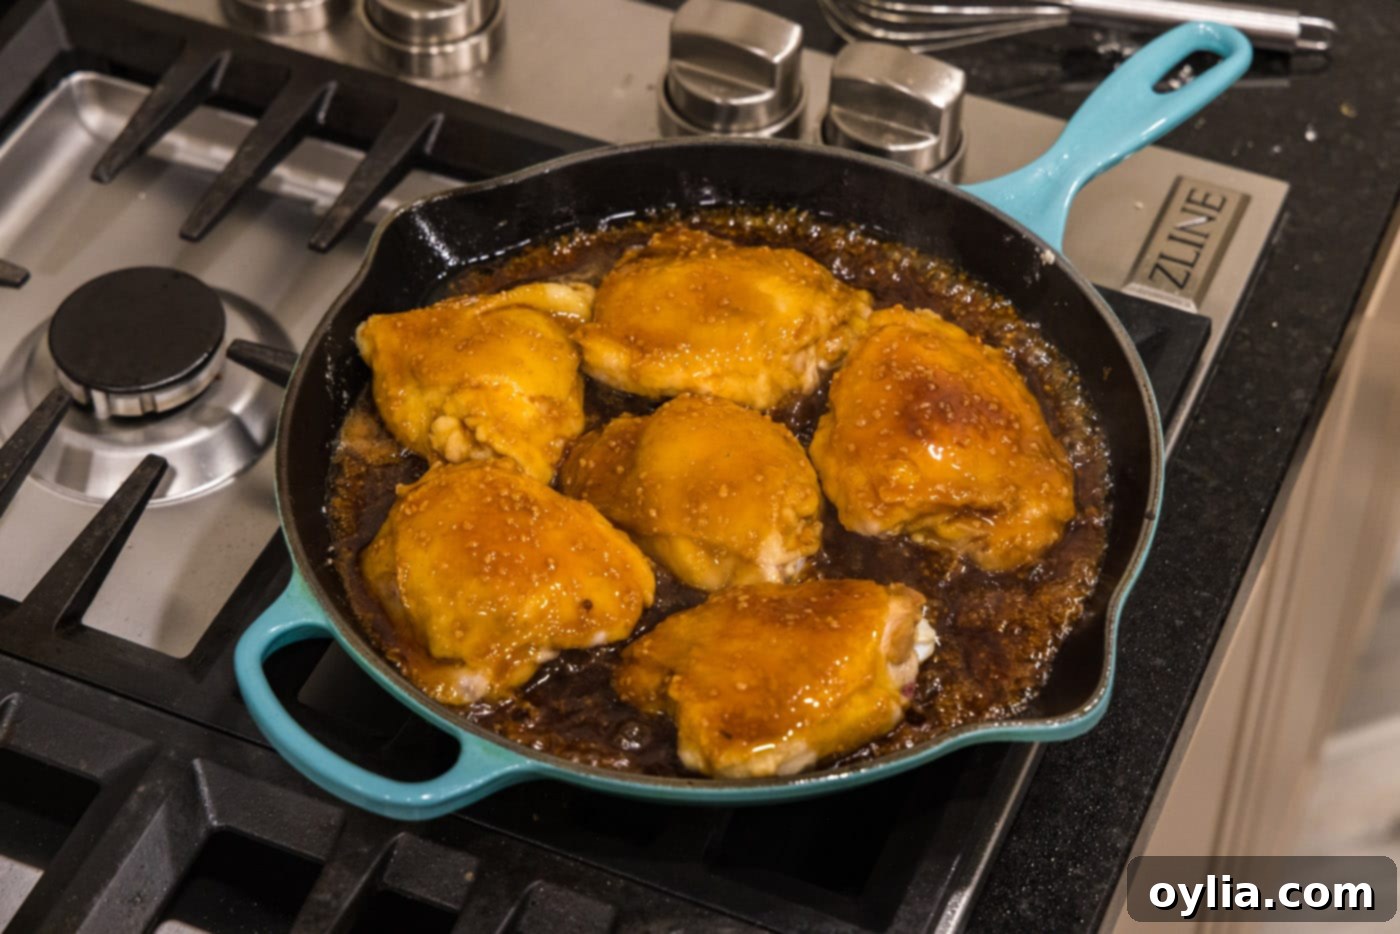
- Glaze and Bake: Pour the prepared, thickened honey garlic sauce generously over the chicken thighs in the skillet, ensuring each piece is well coated.


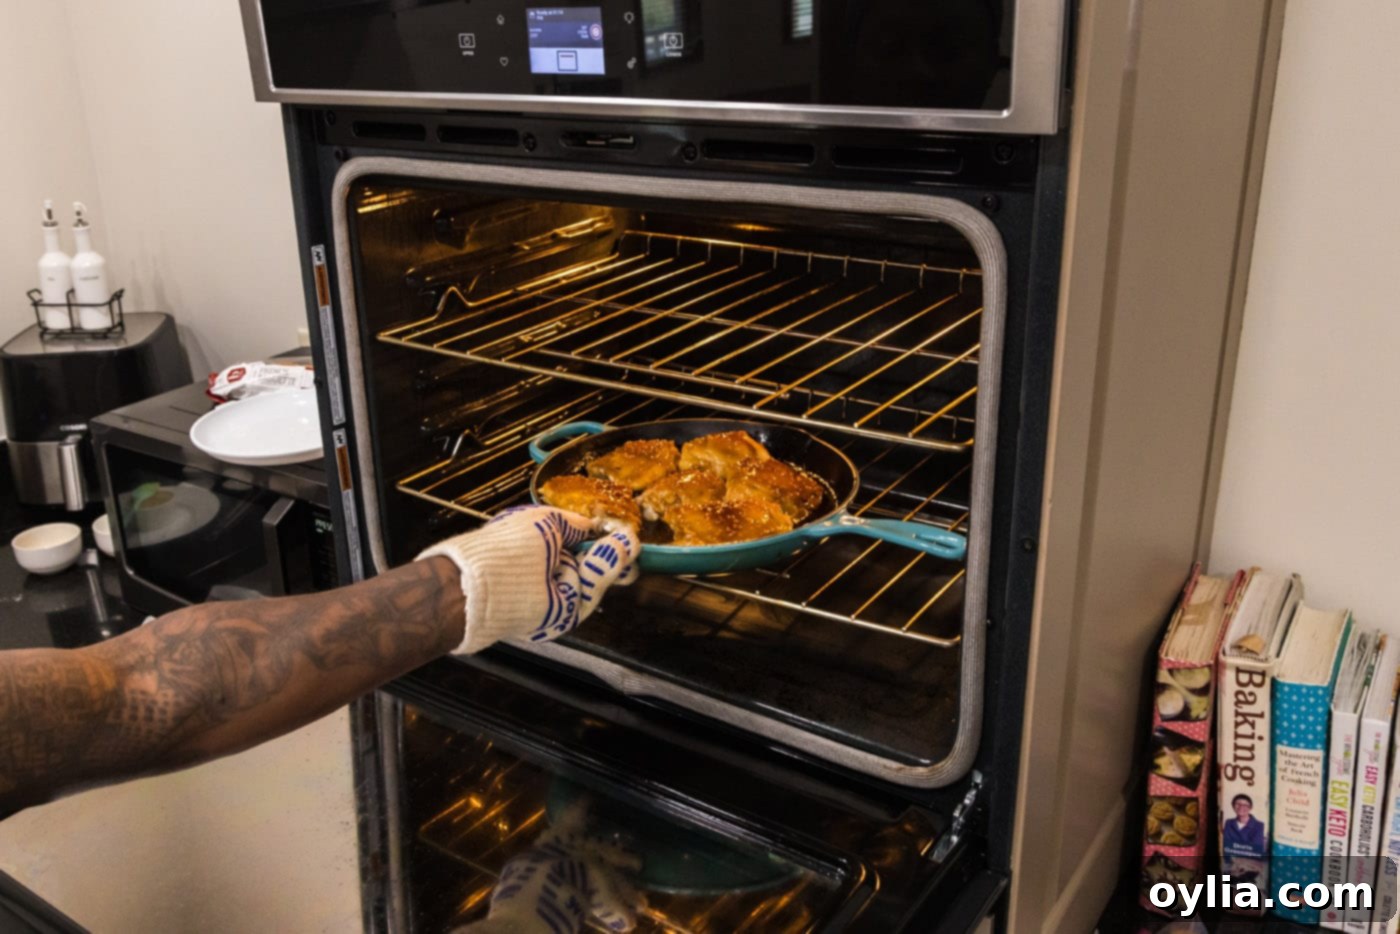
- Final Bake: Place the skillet, uncovered, into your preheated oven. Bake for approximately 35 minutes. During this time, the chicken will finish cooking through, and the sauce will further caramelize into that irresistible sticky glaze. The aromas filling your kitchen will be incredible!

Frequently Asked Questions & Expert Tips
Allow any leftover honey garlic chicken to cool completely before transferring it to an airtight container. Store it in the refrigerator for up to 3-4 days. This chicken is fantastic for meal prep!
Absolutely! The honey garlic sauce can be made a day or two ahead of time. Simply combine all sauce ingredients (except the cornstarch slurry) and store in an airtight container in the refrigerator. When ready to use, gently reheat and then whisk in the cornstarch slurry to thicken.
To reheat, place the chicken in an oven-safe dish and warm in a preheated oven at 300°F (150°C) for about 15-20 minutes, or until heated through. This helps maintain the crispy skin. You can also microwave, but the skin won’t be as crispy.
A large, heavy-bottomed, oven-safe skillet is ideal. Cast iron or stainless steel skillets are excellent choices as they retain heat well, which is perfect for searing, and can go directly into the oven for the final bake. This minimizes cleanup and maximizes flavor.
Serving Suggestions for Honey Garlic Chicken
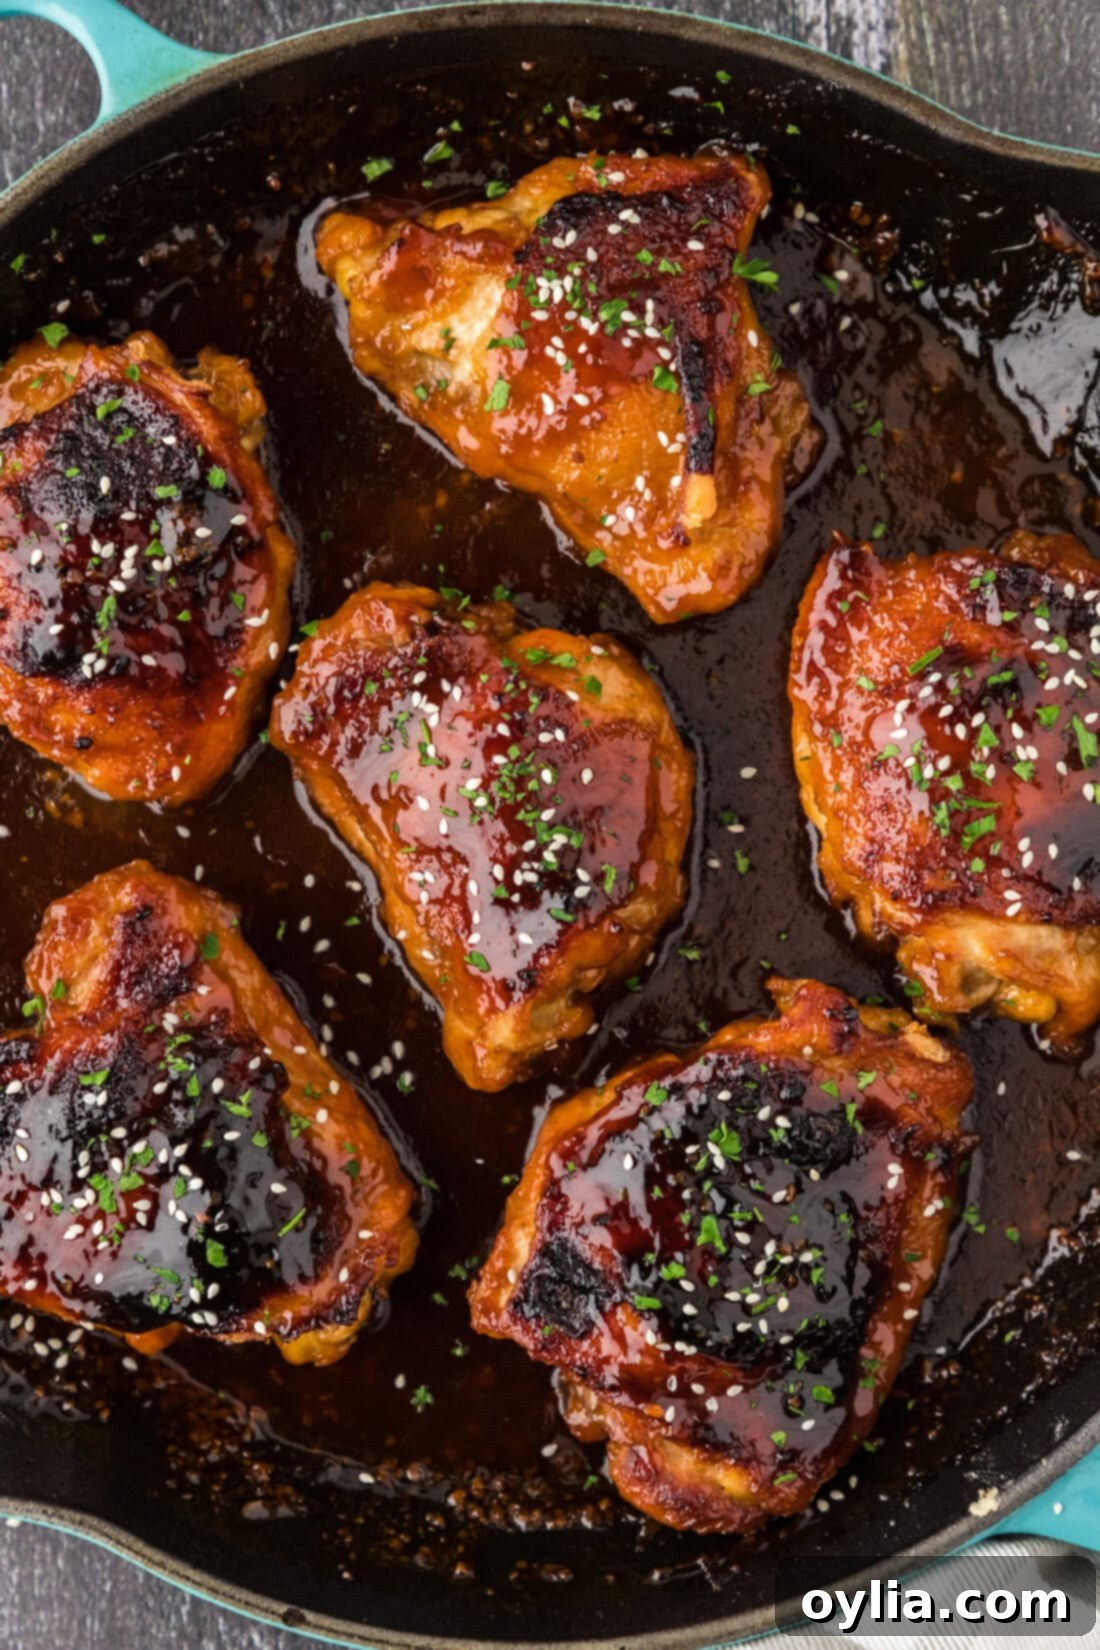
This versatile honey garlic chicken pairs wonderfully with a variety of sides, making it easy to create a complete and satisfying meal. Here are some of our favorite serving suggestions:
- Classic Rice: Serve warm with a side of fluffy white rice, brown rice, or even a flavorful fried rice to soak up every drop of that amazing sticky sauce.
- Noodle Dishes: For a heartier meal, accompany your chicken with some tasty chow mein or simple stir-fried noodles.
- Fresh Vegetables: Balance the richness with light and healthy steamed vegetables like broccoli, green beans, or asparagus. Roasted vegetables such as carrots or bell peppers also make a delightful complement.
- Simple Salad: A crisp green salad with a light vinaigrette can offer a refreshing contrast.
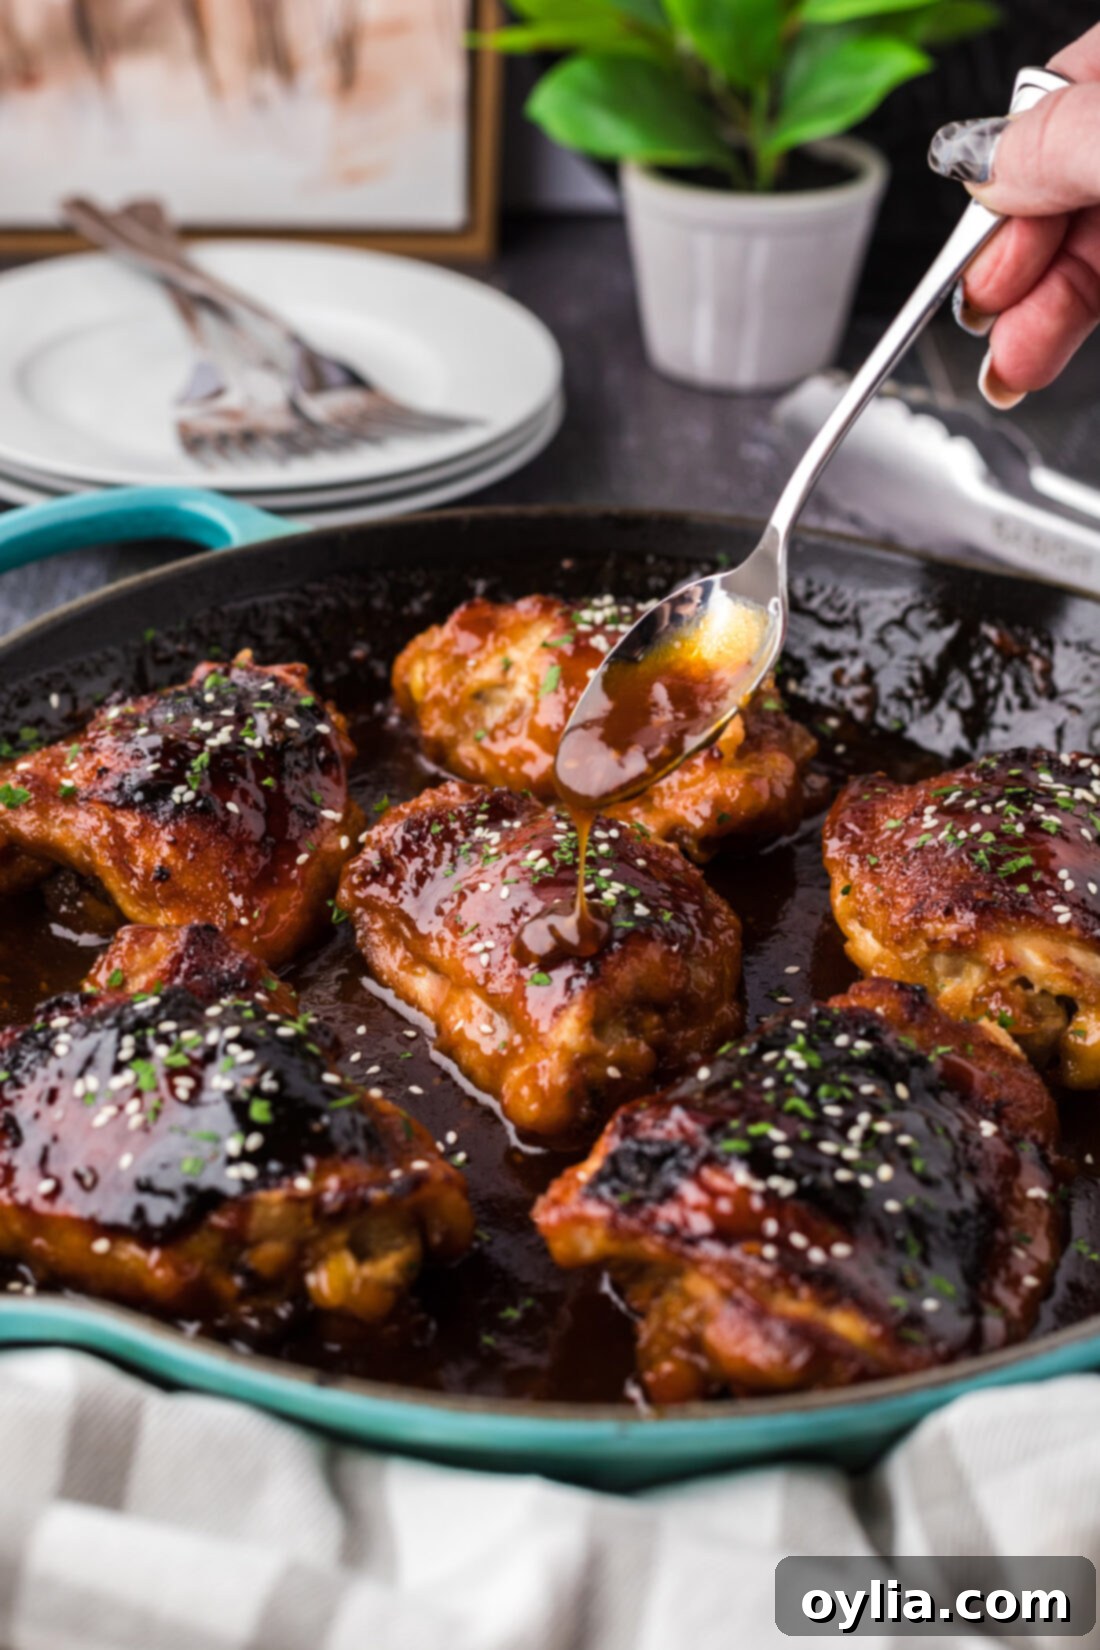
- Garnish for Extra Flair: Finish your honey garlic chicken with a sprinkle of chopped fresh parsley, toasted sesame seeds, or thinly sliced green onions for an extra pop of color and freshness.
More Irresistible Asian-Inspired Chicken Recipes You’ll Love
If you loved this Honey Garlic Chicken, we’re confident you’ll enjoy these other fantastic Asian-inspired chicken dishes from our kitchen:
- Hunan Chicken
- Orange Chicken
- General Tso Chicken
- Korean Fried Chicken
- Honey Garlic Chicken Wings
I love to bake and cook and share my kitchen experience with all of you! Remembering to come back each day can be tough, that’s why I offer a convenient newsletter every time a new recipe posts. Simply subscribe and start receiving your free daily recipes!
Honey Garlic Chicken
IMPORTANT – There are often Frequently Asked Questions within the blog post that you may find helpful. Simply scroll back up to read them!
Print It
Pin It
Rate It
Save ItSaved!
Ingredients
- 3 pounds skin-on bone-in chicken thighs
- ⅓ cup all purpose flour
- ½ cup vegetable oil
Sauce Ingredients
- ⅓ cup soy sauce
- 2 Tablespoons white wine vinegar
- 3 Tablespoons minced garlic
- 1 Tablespoon brown sugar
- ½ cup honey
- 1 Tablespoon garlic salt
- 1 ½ Tablespoons cornstarch
- 3 Tablespoons water
Things You’ll Need
-
Large heavy bottomed skillet
-
Saucepan
-
Whisk
Before You Begin & Pro Tips
- Timing is Everything: You can prepare the sauce before you even start cooking the chicken if you find that easier for your workflow. However, we often make the sauce while the chicken is browning in the skillet to save time and streamline the process.
- Trim for Crispiness: We highly recommend trimming off any excess flaps of skin from the chicken thighs. These extra bits can produce a lot of unnecessary fat during cooking and won’t get as crispy as the main skin, affecting the overall texture.
- Chicken Choices: While this recipe is optimized for skin-on, bone-in chicken thighs for maximum flavor and juiciness, you can certainly substitute with chicken breasts or tenderloins if preferred. Just remember to adjust your cooking time as these cuts cook much faster. Always ensure chicken reaches an internal temperature of 165°F (74°C) for food safety.
- Storing Leftovers: Any leftover honey garlic chicken should be stored in an airtight container in the refrigerator. It will keep well for 3-4 days, making it an excellent option for meal prepping throughout the week.
- Don’t Overcrowd the Pan: When searing the chicken, work in batches if necessary to ensure there’s enough space between each piece. Overcrowding the skillet will steam the chicken instead of searing it, preventing that coveted crispy skin.
- Taste and Adjust: Feel free to taste the honey garlic sauce before adding the cornstarch slurry and adjust seasonings. If you prefer it sweeter, add more honey or brown sugar. For more tang, a splash of extra white wine vinegar works wonders.
Instructions
-
Preheat oven to 375 F.
-
Trim off any excess flaps of skin from the thighs.
-
Place flour on a plate and dredge the chicken thighs.
-
In a large heavy bottomed skillet heat the vegetable oil over medium-high heat until shimmering.
-
Place chicken thighs, skin side down, into the hot oil. Cook for 4-5 minutes, enough to crisp and brown the skin.
-
Meanwhile, combine all sauce ingredients, except for the cornstarch and water, in a saucepan over medium heat. Whisk occasionally, cook until heated through.
-
Make a slurry from the cornstarch and water and add it to the sauce ingredients. Whisk it in, allow to thicken slightly then turn off the heat.
-
Turn thighs over and cook an additional 3 minutes.
-
Remove chicken from the skillet and drain the oil from the pan. Put chicken back into the skillet.
-
Pour the sauce over the chicken in the skillet.
-
Place skillet in the oven uncovered and bake for 35 minutes.
Nutrition
The recipes on this blog are tested with a conventional gas oven and gas stovetop. It’s important to note that some ovens, especially as they age, can cook and bake inconsistently. Using an inexpensive oven thermometer can assure you that your oven is truly heating to the proper temperature. If you use a toaster oven or countertop oven, please keep in mind that they may not distribute heat the same as a conventional full sized oven and you may need to adjust your cooking/baking times. In the case of recipes made with a pressure cooker, air fryer, slow cooker, or other appliance, a link to the appliances we use is listed within each respective recipe. For baking recipes where measurements are given by weight, please note that results may not be the same if cups are used instead, and we can’t guarantee success with that method.
