Irresistible Andes Mint Fudge: A Layered Chocolate Mint Delight for Any Occasion
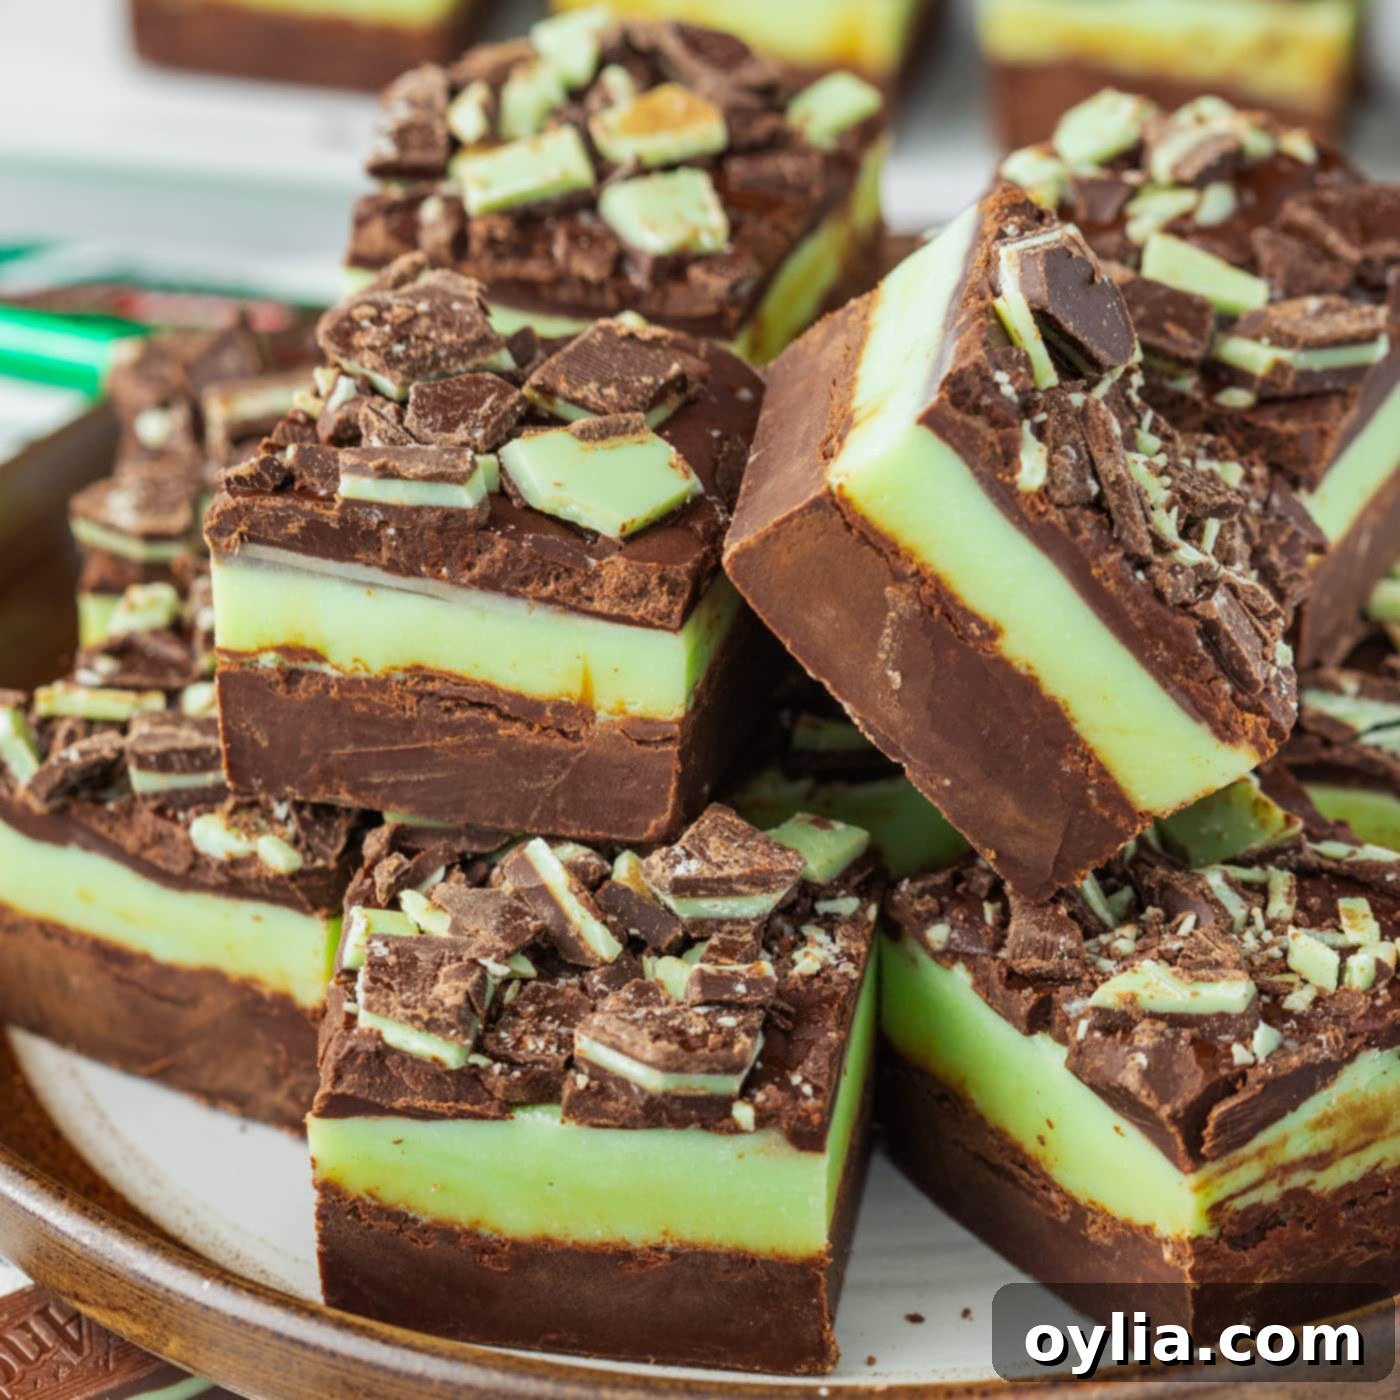
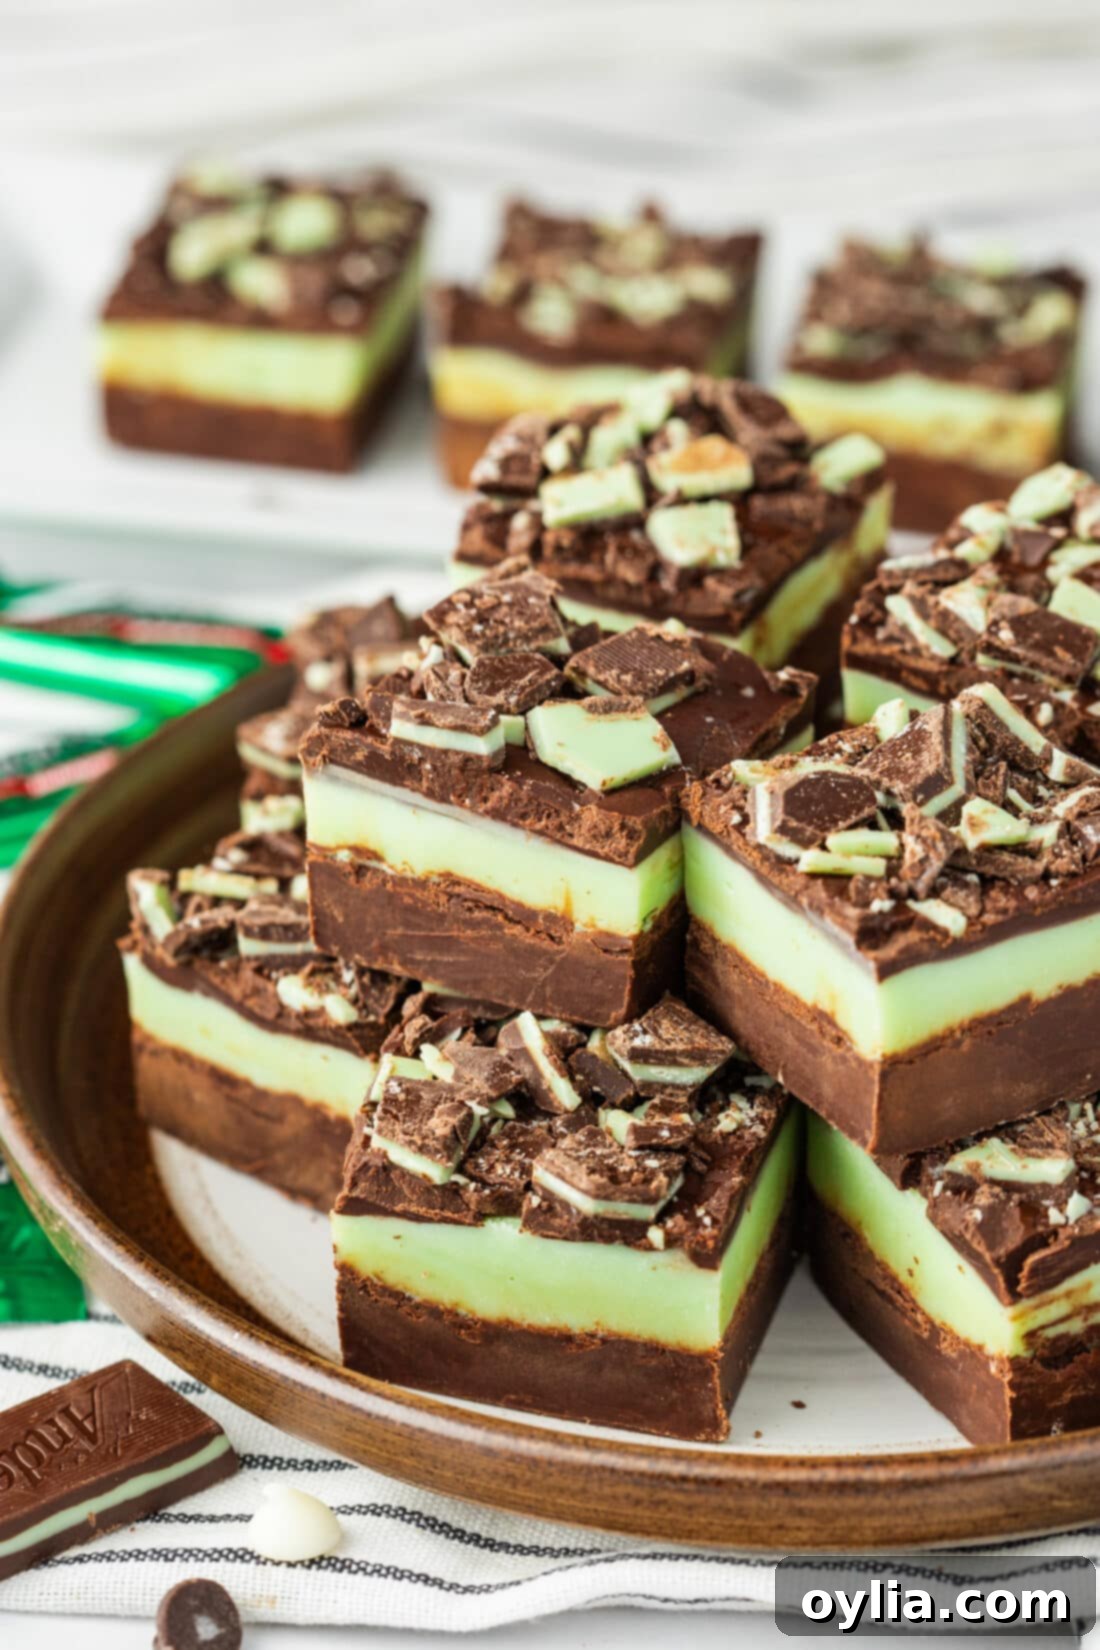
Prepare for a truly irresistible treat that will leave a trail of blissful, chocolate-mint decadence with every single bite. This Andes Mint Fudge is more than just a dessert; it’s a show-stopping confection crafted with distinct layers of rich chocolate fudge, a vibrant, creamy mint center, and a delightful sprinkle of chopped Andes mint candies on top. Whether you’re a long-time fan of the classic chocolate-mint combination or simply looking for an easy yet impressive recipe, this homemade fudge promises to be a delightful experience for both your palate and your eyes.
Why This Andes Mint Fudge Recipe Is a Must-Try
This recipe isn’t just another fudge recipe; it’s a celebration of convenience, flavor, and visual appeal. This decadent Andes Mint Fudge effortlessly marries the luxurious, melt-in-your-mouth texture of traditional homemade fudge with the cool, invigorating essence of chocolate mints. Imagine your favorite Andes mint candy, but supersized and transformed into a creamy, layered confection that truly melts in your mouth – that’s precisely what you’ll get.
What makes this particular recipe stand out? Firstly, its incredible simplicity. You’ll only need a handful of common ingredients – just 7 in total! This means less time spent shopping and more time enjoying. Secondly, the preparation process is surprisingly straightforward, relying mostly on the microwave, making it accessible even for novice bakers. The most challenging part, honestly, is mustering the patience to wait for the fudge to properly set in the refrigerator before you can dig in!
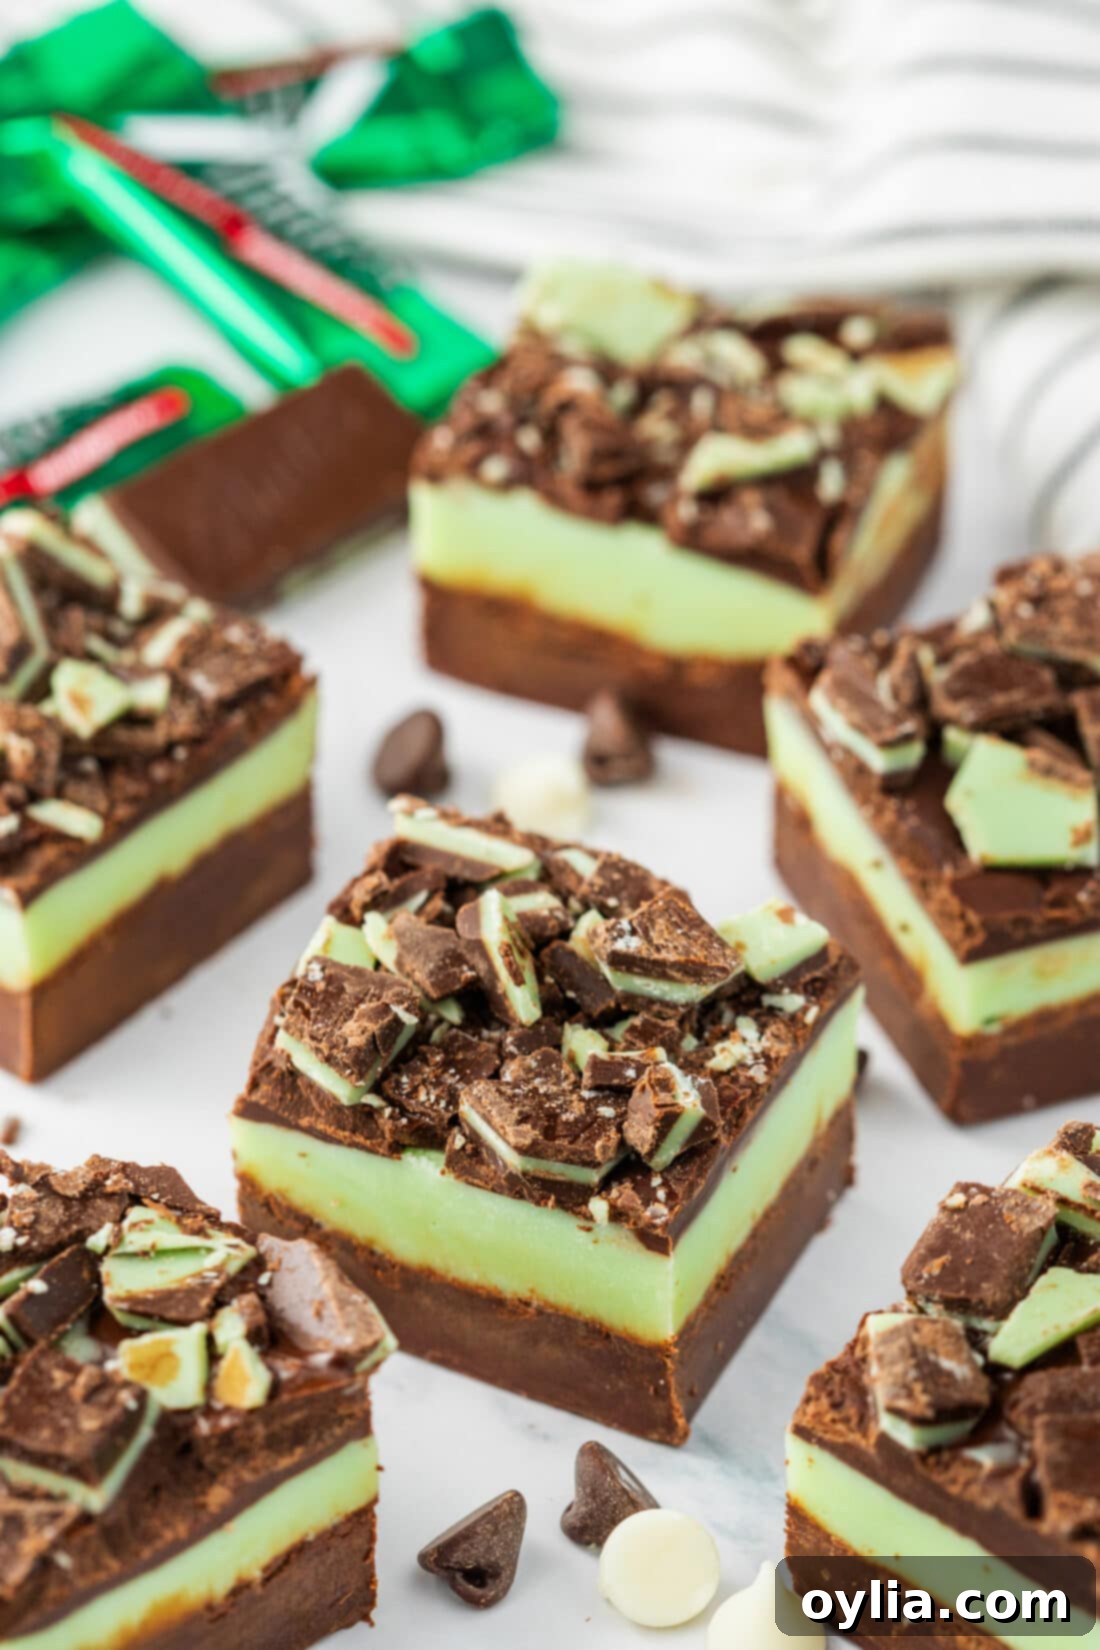
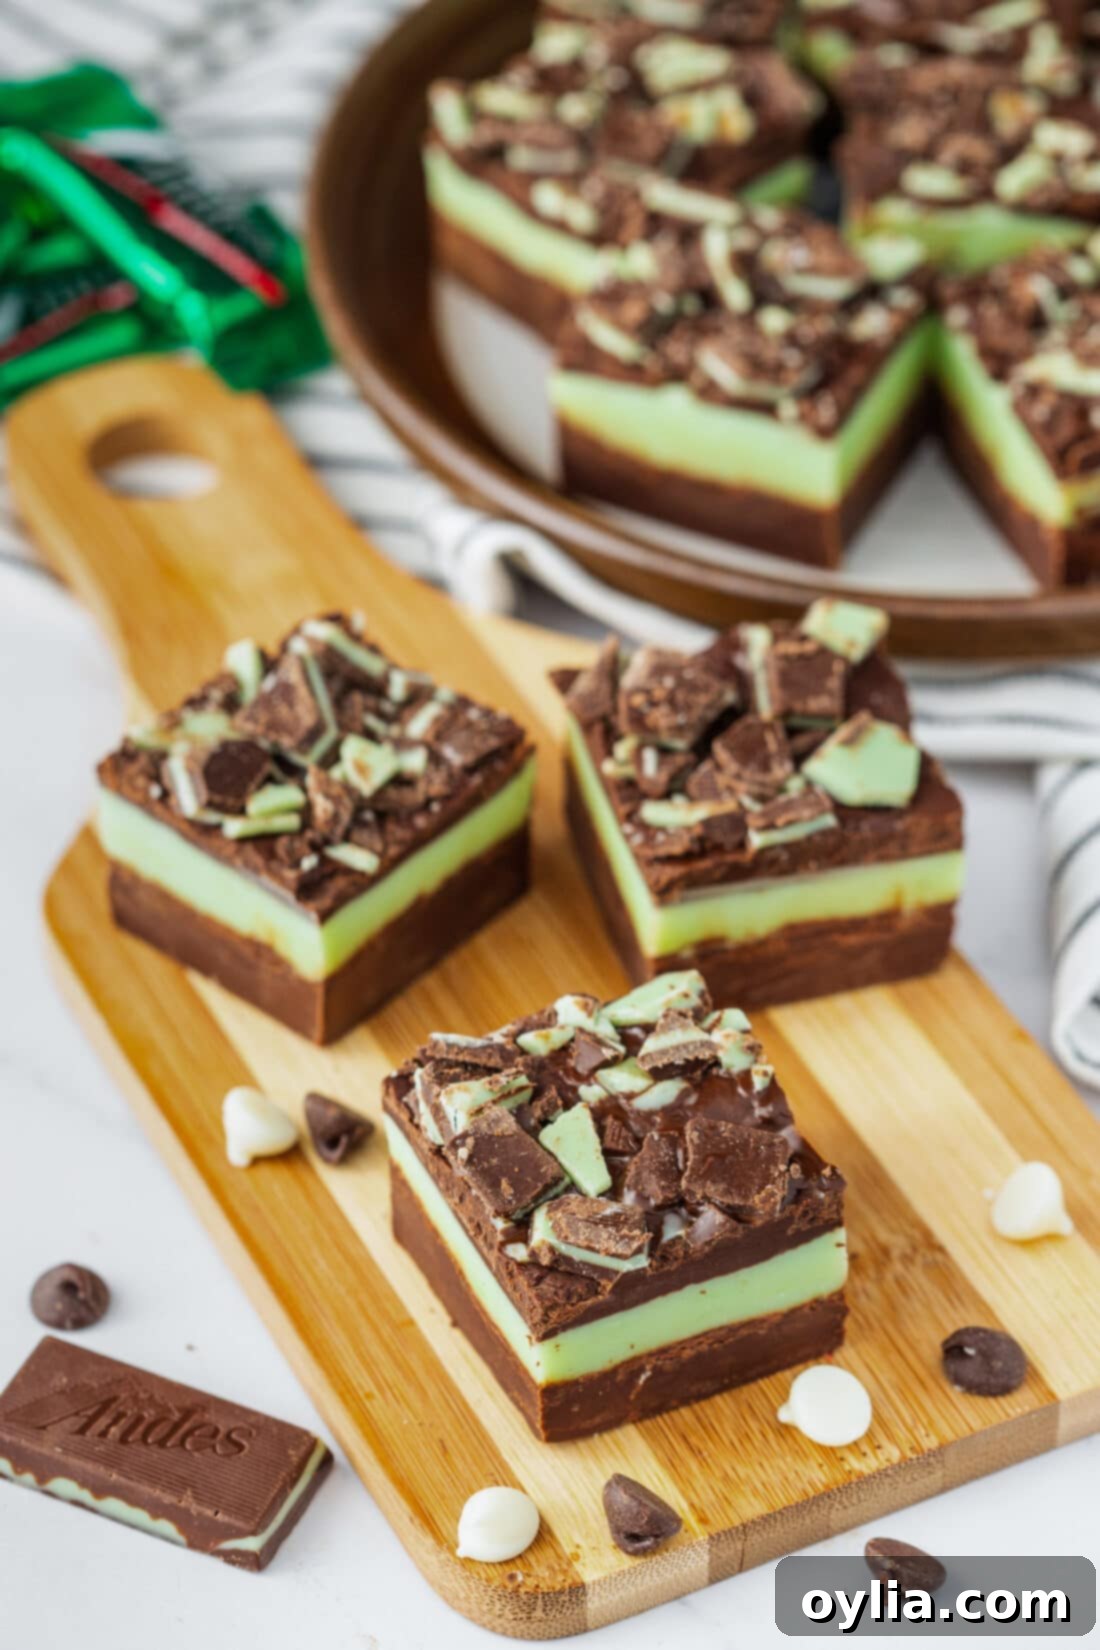
Beyond its ease, this Andes Mint Fudge is a true crowd-pleaser. The distinct three layers – a dark chocolate base, a vibrant green minty middle, and a top layer sprinkled with chopped Andes mints – make it a visually stunning dessert, perfect for holiday platters, potlucks, or as a thoughtful homemade gift. It’s also incredibly versatile; easily adaptable for various occasions by simply tweaking the garnishes. This recipe delivers a gourmet-quality treat without any complicated techniques, making it a reliable winner every time.
Key Ingredients for Andes Mint Fudge
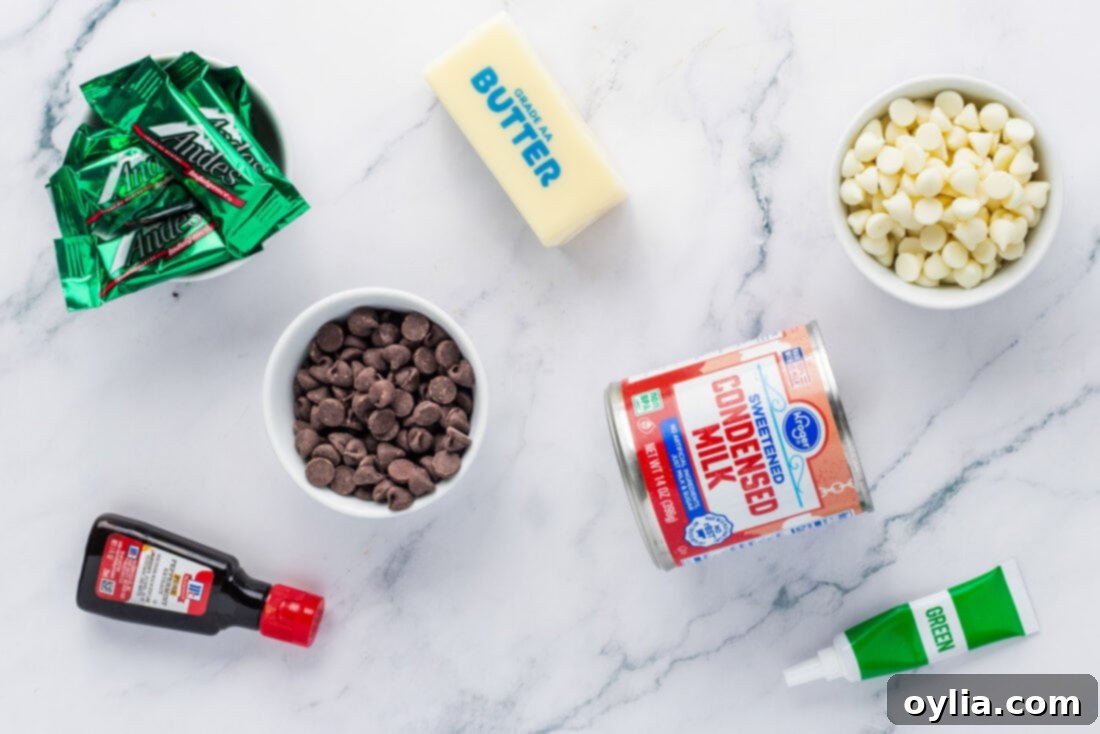
Crafting this delightful Andes Mint Fudge requires just a few simple ingredients, easily found at any grocery store. For precise measurements, detailed instructions, and a printable version of this recipe, please refer to the recipe card located at the end of this post. Gathering all your ingredients before you begin (mise en place) will ensure a smooth and enjoyable cooking process.
Ingredient Spotlight & Smart Substitutions
Understanding the role of each ingredient and knowing potential substitutions can elevate your fudge-making game. Here’s a closer look:
FUDGE LAYERS – Chocolate and Mint Base: Both the rich bottom layer and the top chocolate drizzle are built on a simple foundation of semi-sweet chocolate chips, sweetened condensed milk, and unsalted butter. For the mint layer, white chocolate chips form the base.
- Semi-Sweet Chocolate Chips: Opt for good quality chocolate chips as they make a noticeable difference in flavor and texture. Brands like Ghirardelli or Guittard offer excellent melting properties and a rich chocolate taste. For a darker, more intense chocolate flavor, you could use dark chocolate chips (60-70% cocoa) in place of semi-sweet for the bottom layer.
- White Chocolate Baking Chips: These are crucial for the vibrant mint layer. White chocolate chips tend to be more forgiving than white chocolate bars when melting, as they contain stabilizers. Always be extra cautious when microwaving white chocolate, as it can scorch and seize much faster than dark or milk chocolate. Microwave in very short intervals (15-20 seconds), stirring thoroughly after each, until smooth.
- Sweetened Condensed Milk: This is a non-negotiable ingredient for this easy fudge recipe! Do NOT confuse it with evaporated milk. Sweetened condensed milk is thick, very sweet, and provides the essential creamy texture and structure for the fudge. Evaporated milk, on the other hand, is unsweetened and much thinner; using it will result in a runny, un-set fudge with an entirely different and disappointing flavor and texture. Always double-check your can!
- Unsalted Butter: Using unsalted butter allows you to control the overall saltiness of your fudge. It contributes to the rich, smooth consistency. Ensure your butter is at room temperature for easier melting and incorporation with the chocolate and condensed milk.
MINT FLAVOR & COLOR – For the Middle Layer:
- Peppermint Extract: This gives the fudge its signature cool, refreshing mint flavor. Peppermint extract is typically stronger and more focused than general “mint extract.” You can adjust the amount to your preference; start with 1 teaspoon and add more in small increments if you desire a stronger mint presence. If you prefer a milder, sweeter mint, you could experiment with a good quality mint extract, but be aware the flavor profile will differ slightly.
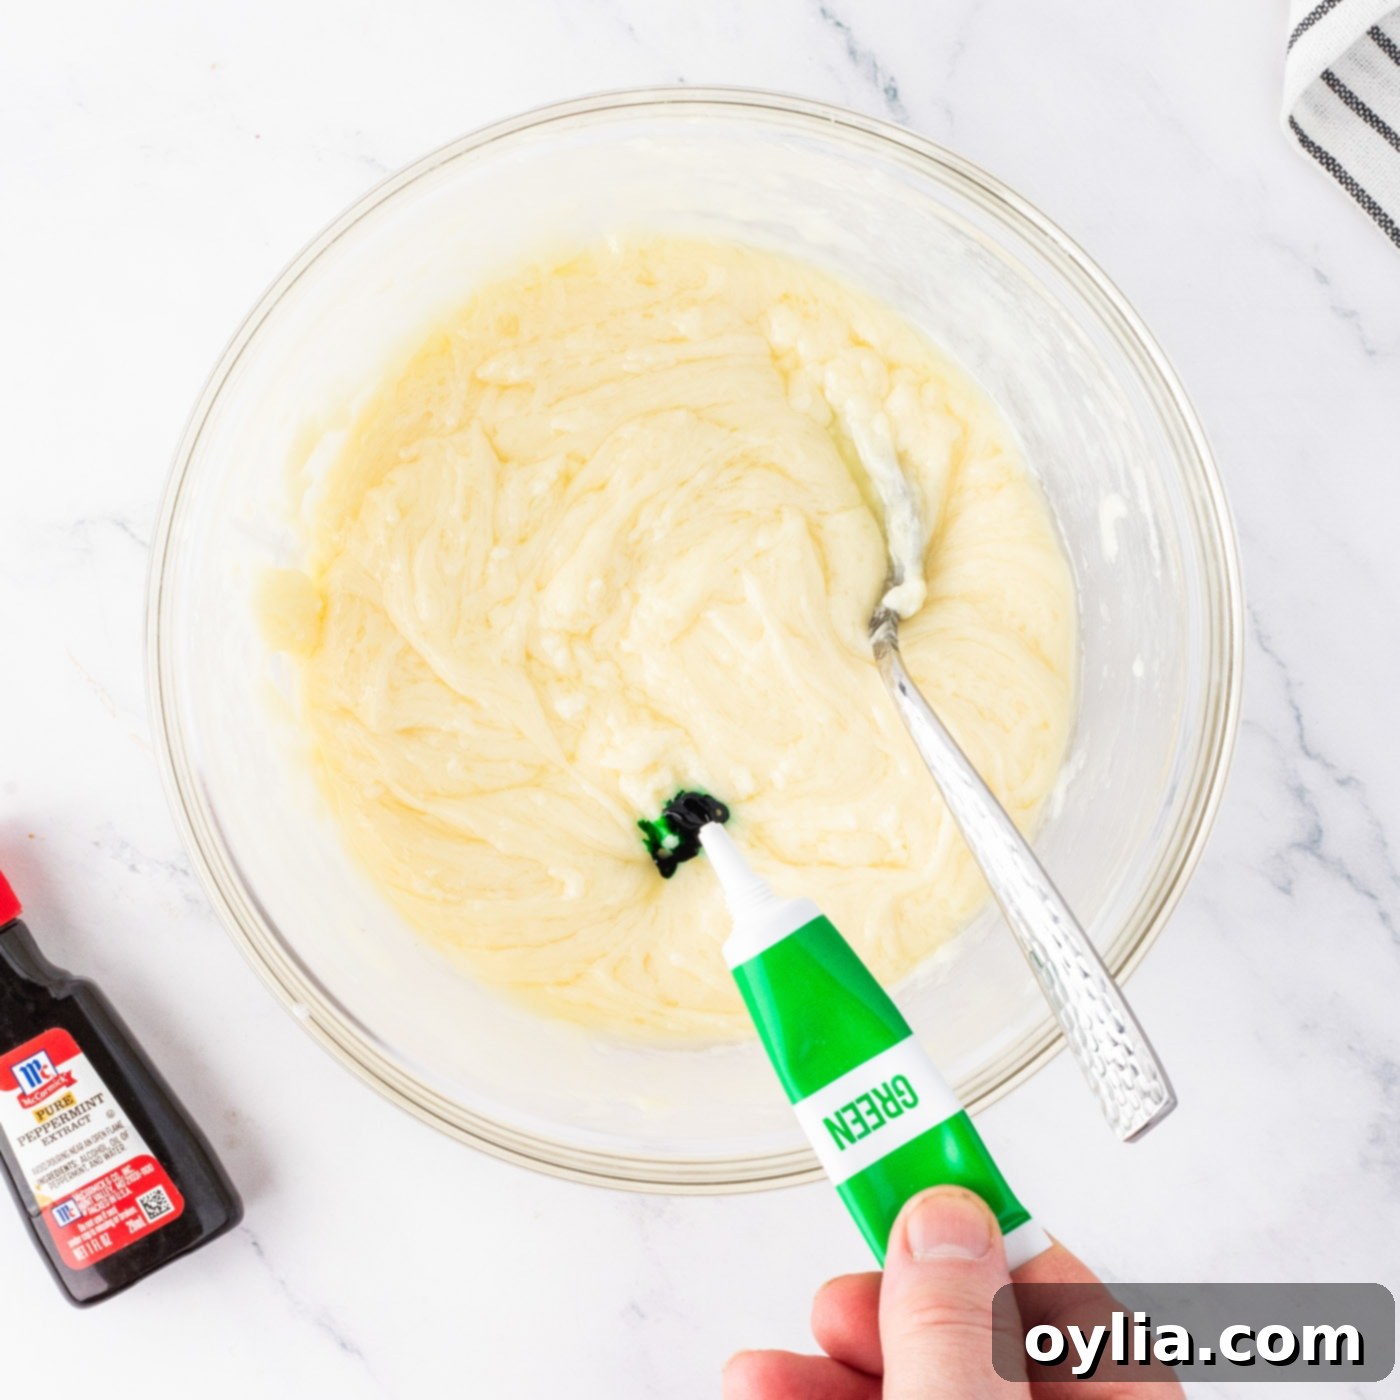
- Green Food Coloring: This is entirely optional but highly recommended to achieve the classic vibrant green associated with Andes mints. Gel food coloring works best for a vivid color without adding excess liquid that could alter the fudge’s consistency. Start with a few drops, stir, and add more until you reach your desired shade.
TOPPING – The Signature Finish:
- Andes Mints (Chopped): These are key for both garnish and an extra burst of minty chocolate flavor. Chop them finely or coarsely, depending on your preference for texture. They add a beautiful visual appeal and reinforce the Andes mint theme.
Step-by-Step: How to Make Andes Mint Fudge
These step-by-step photos and instructions are designed to help you visualize each stage of this recipe. For a complete printable version, including all measurements and instructions, you can Jump to Recipe at the bottom of this post.
- Prepare an 8×8 square pan (or a similar size) by lining it with parchment paper. Allow the parchment paper to overhang on the sides; this creates convenient “handles” to easily lift the set fudge out of the pan later. Alternatively, you can use sprayed aluminum foil.
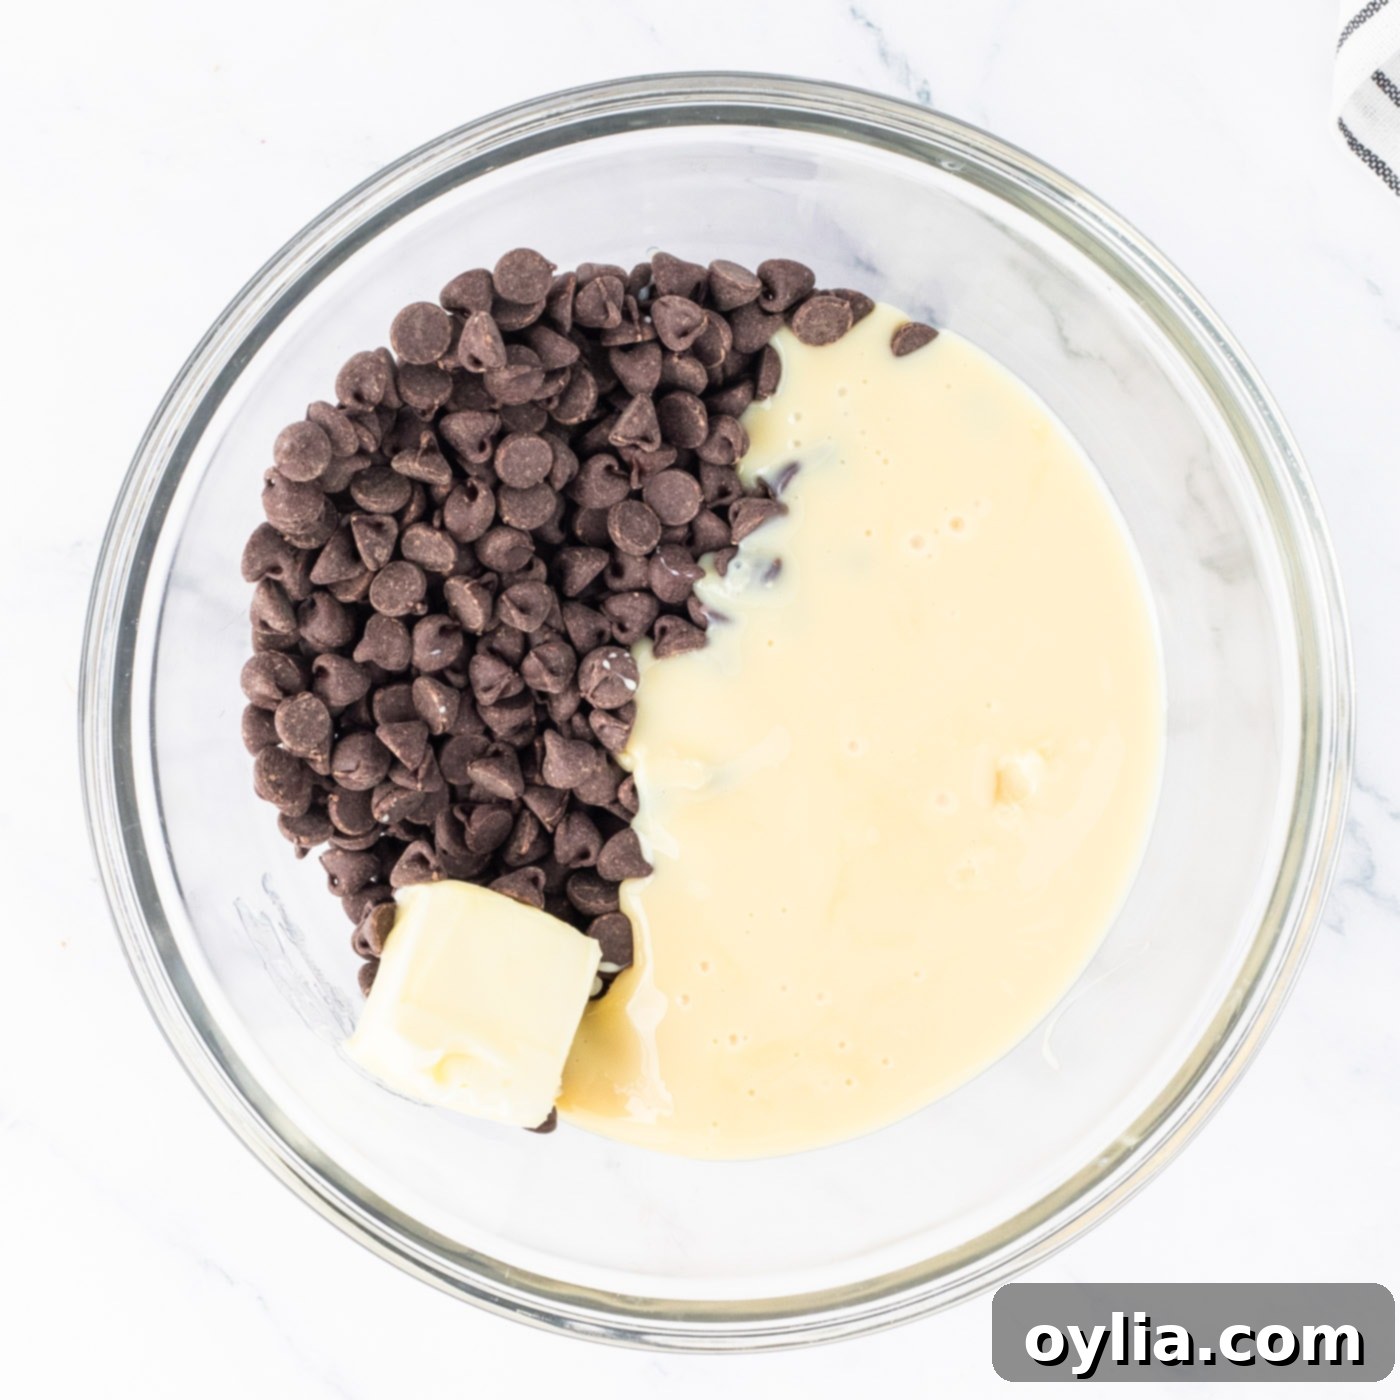
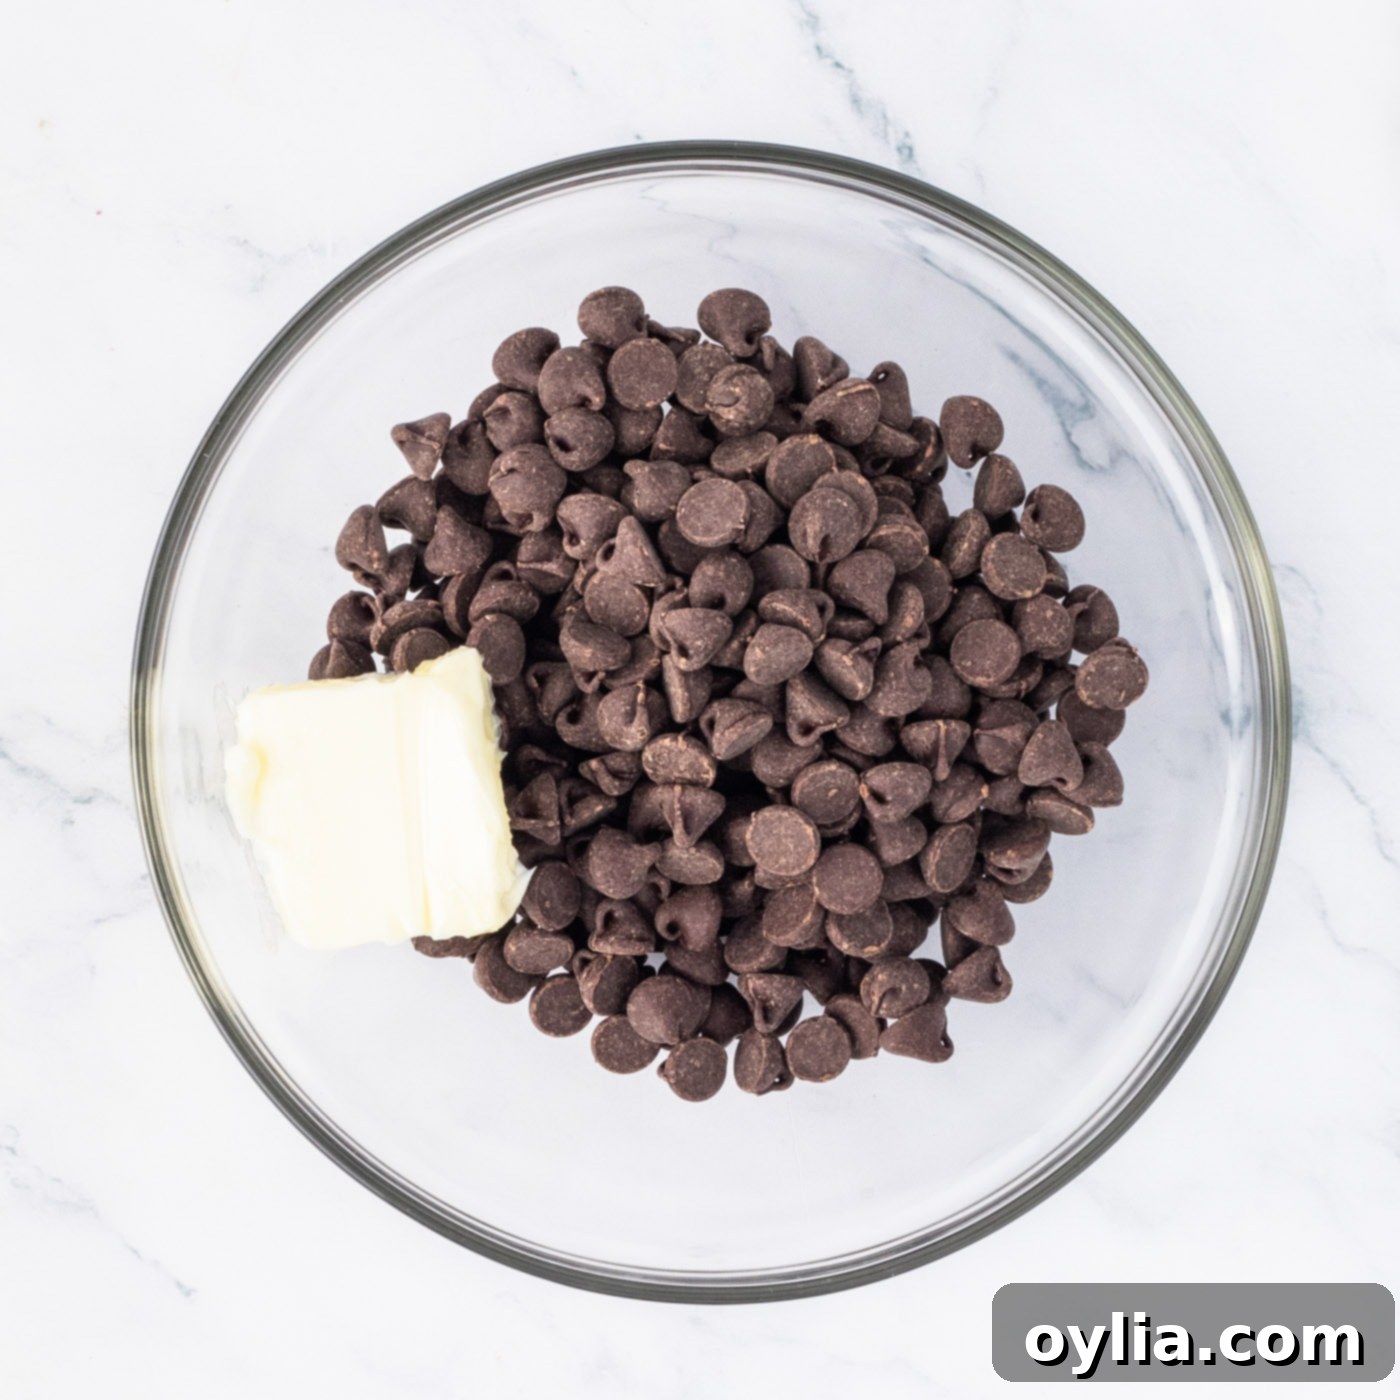
- For the first chocolate layer, combine 1 1/2 cups of semi-sweet chocolate chips, half of the sweetened condensed milk (approximately 7 ounces), and 2 tablespoons of unsalted butter in a microwave-safe bowl. Heat in short, 20-second bursts, stirring thoroughly after each interval, until the mixture is completely melted and smooth. This typically takes less than 2 minutes. Be careful not to overcook, as chocolate can seize or scorch if overheated.

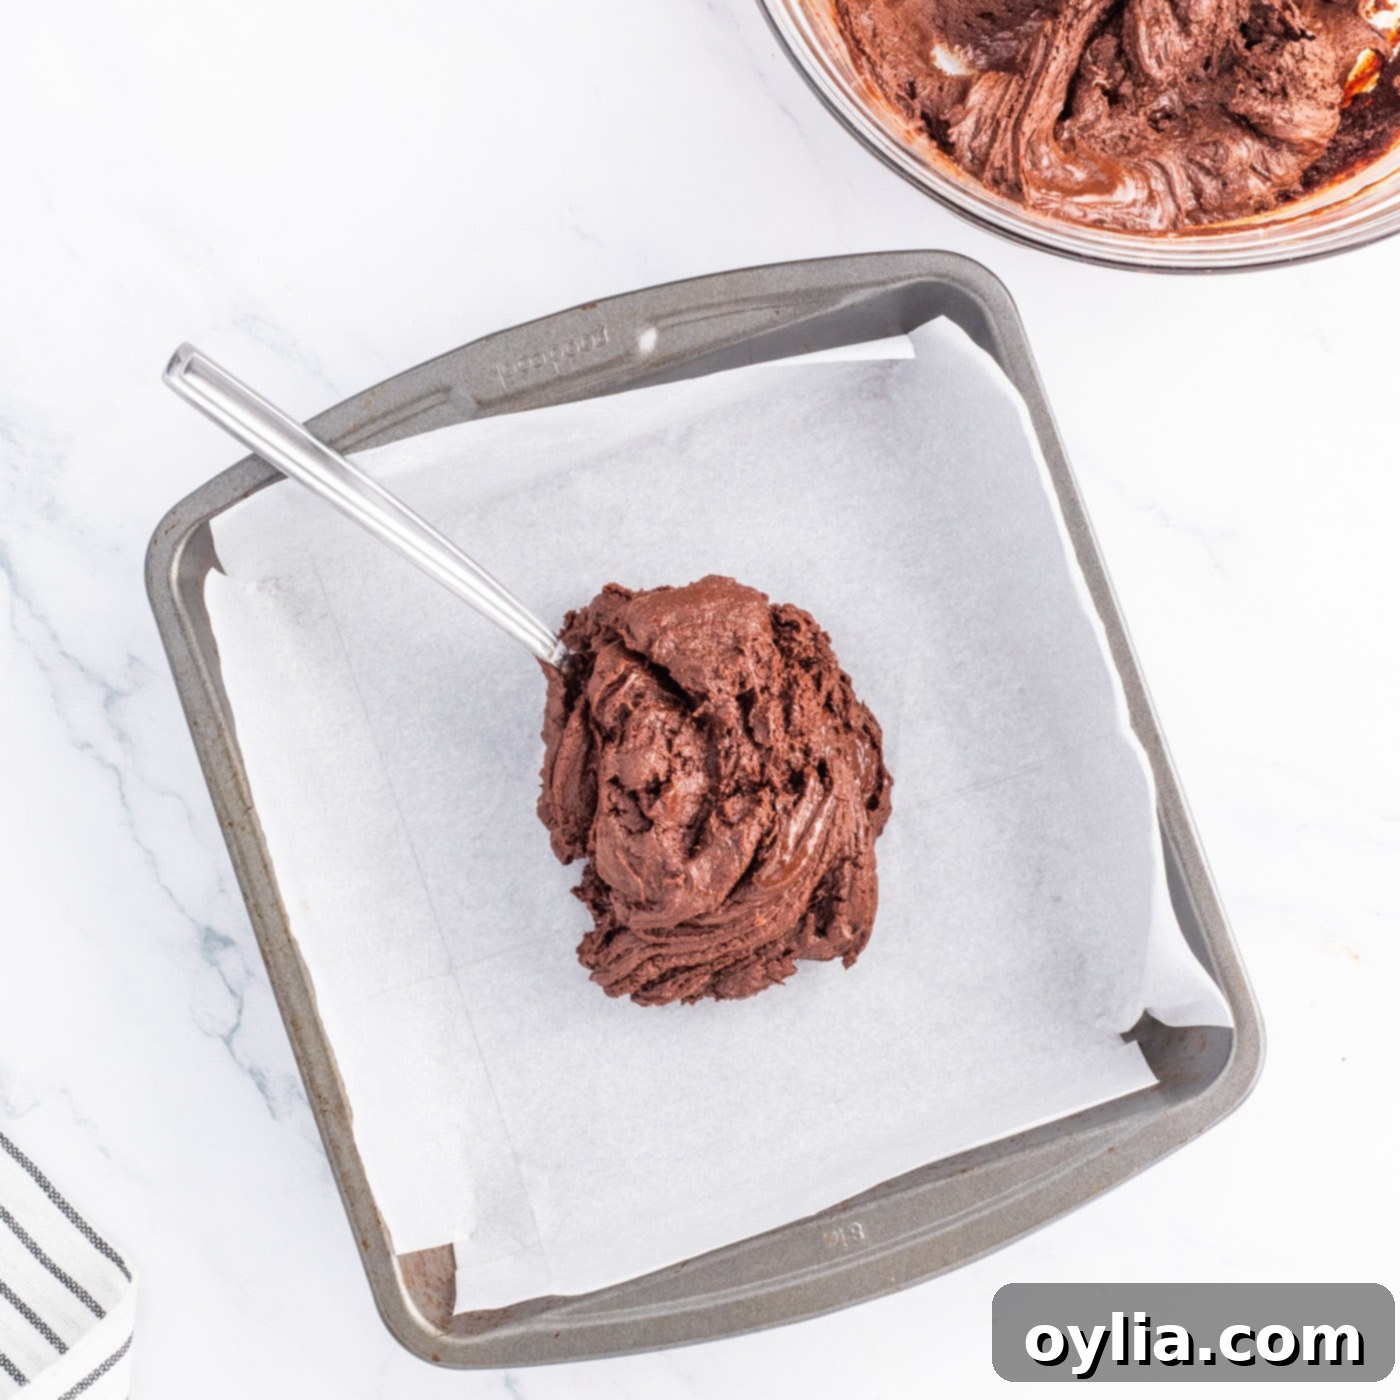
- Once smooth, pour the melted chocolate mixture evenly into the prepared pan. Use a spoon or an offset spatula to spread it into a uniform layer. Place the pan in the freezer for just a few minutes (about 5-10 minutes) to allow this layer to set quickly.

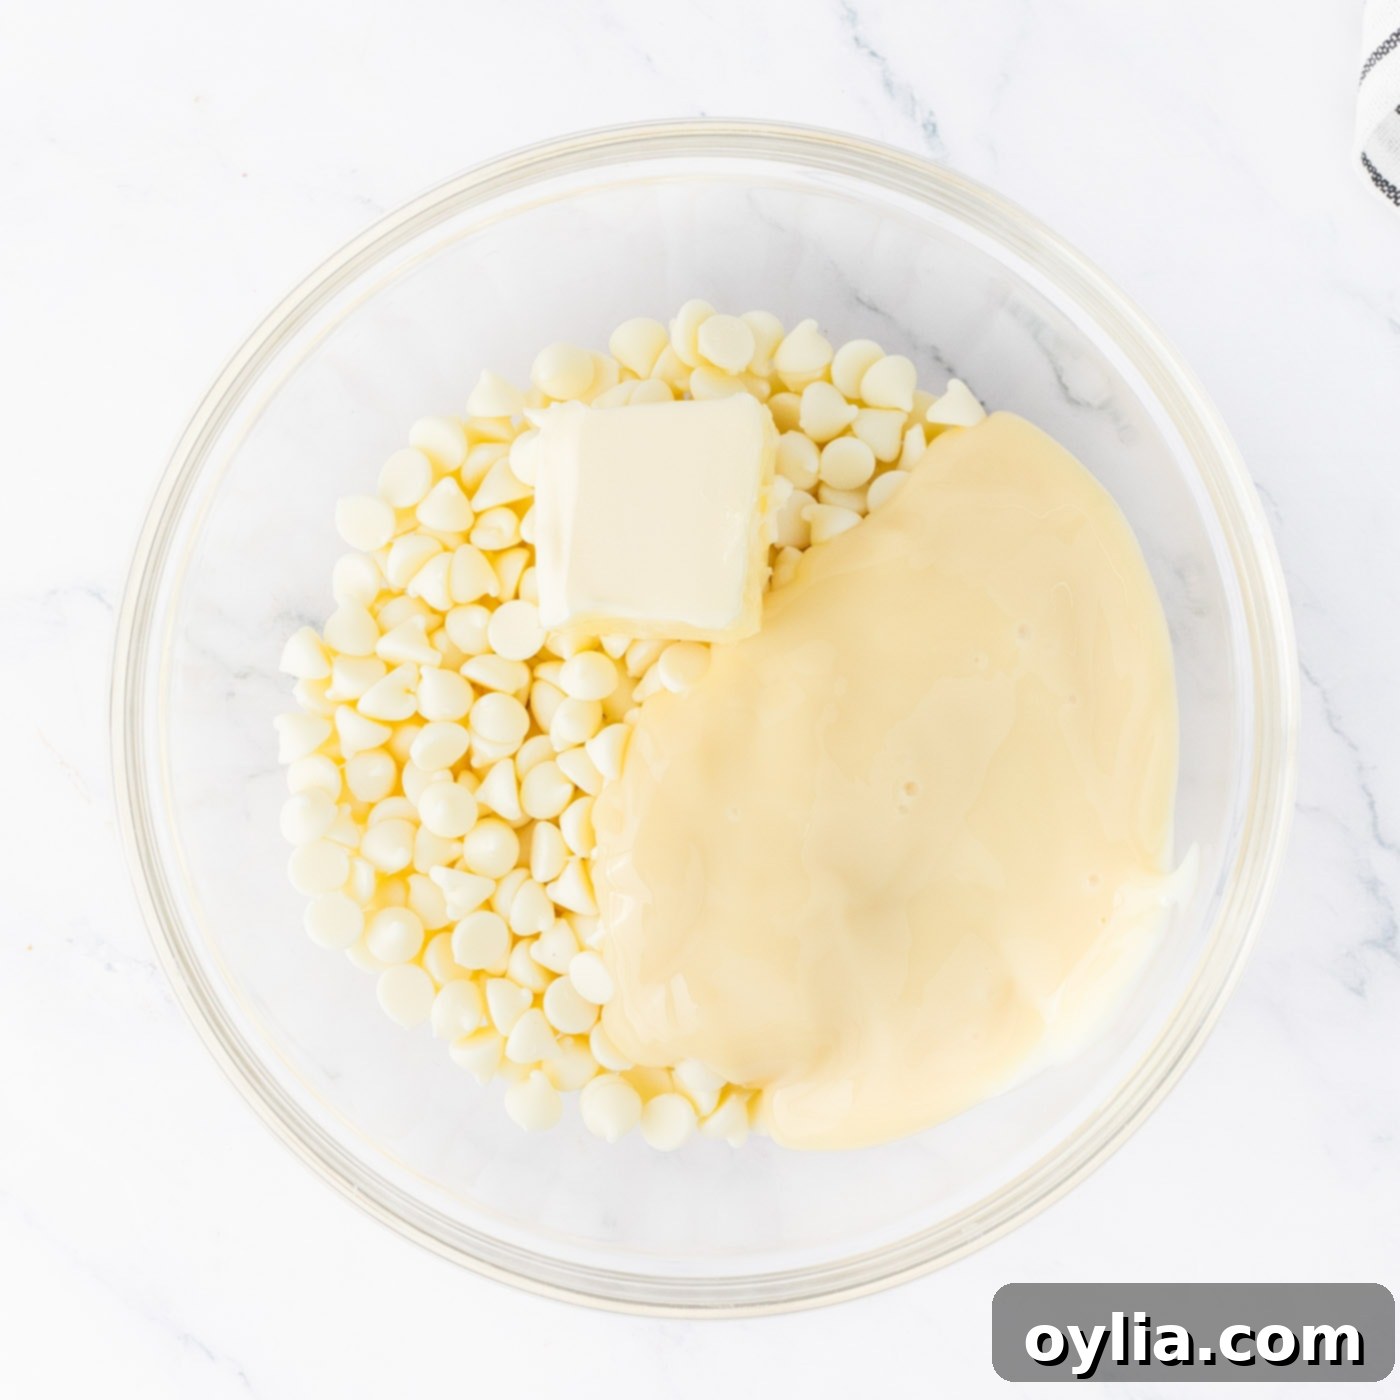
- Next, prepare the mint layer. In a separate microwave-safe bowl, combine the white chocolate baking chips, the remaining half of the sweetened condensed milk, and 2 tablespoons of unsalted butter. Microwave in 20-second bursts, stirring diligently after each, until fully melted and smooth. White chocolate is more prone to seizing, so be extra careful not to overheat. This should also take less than 2 minutes.

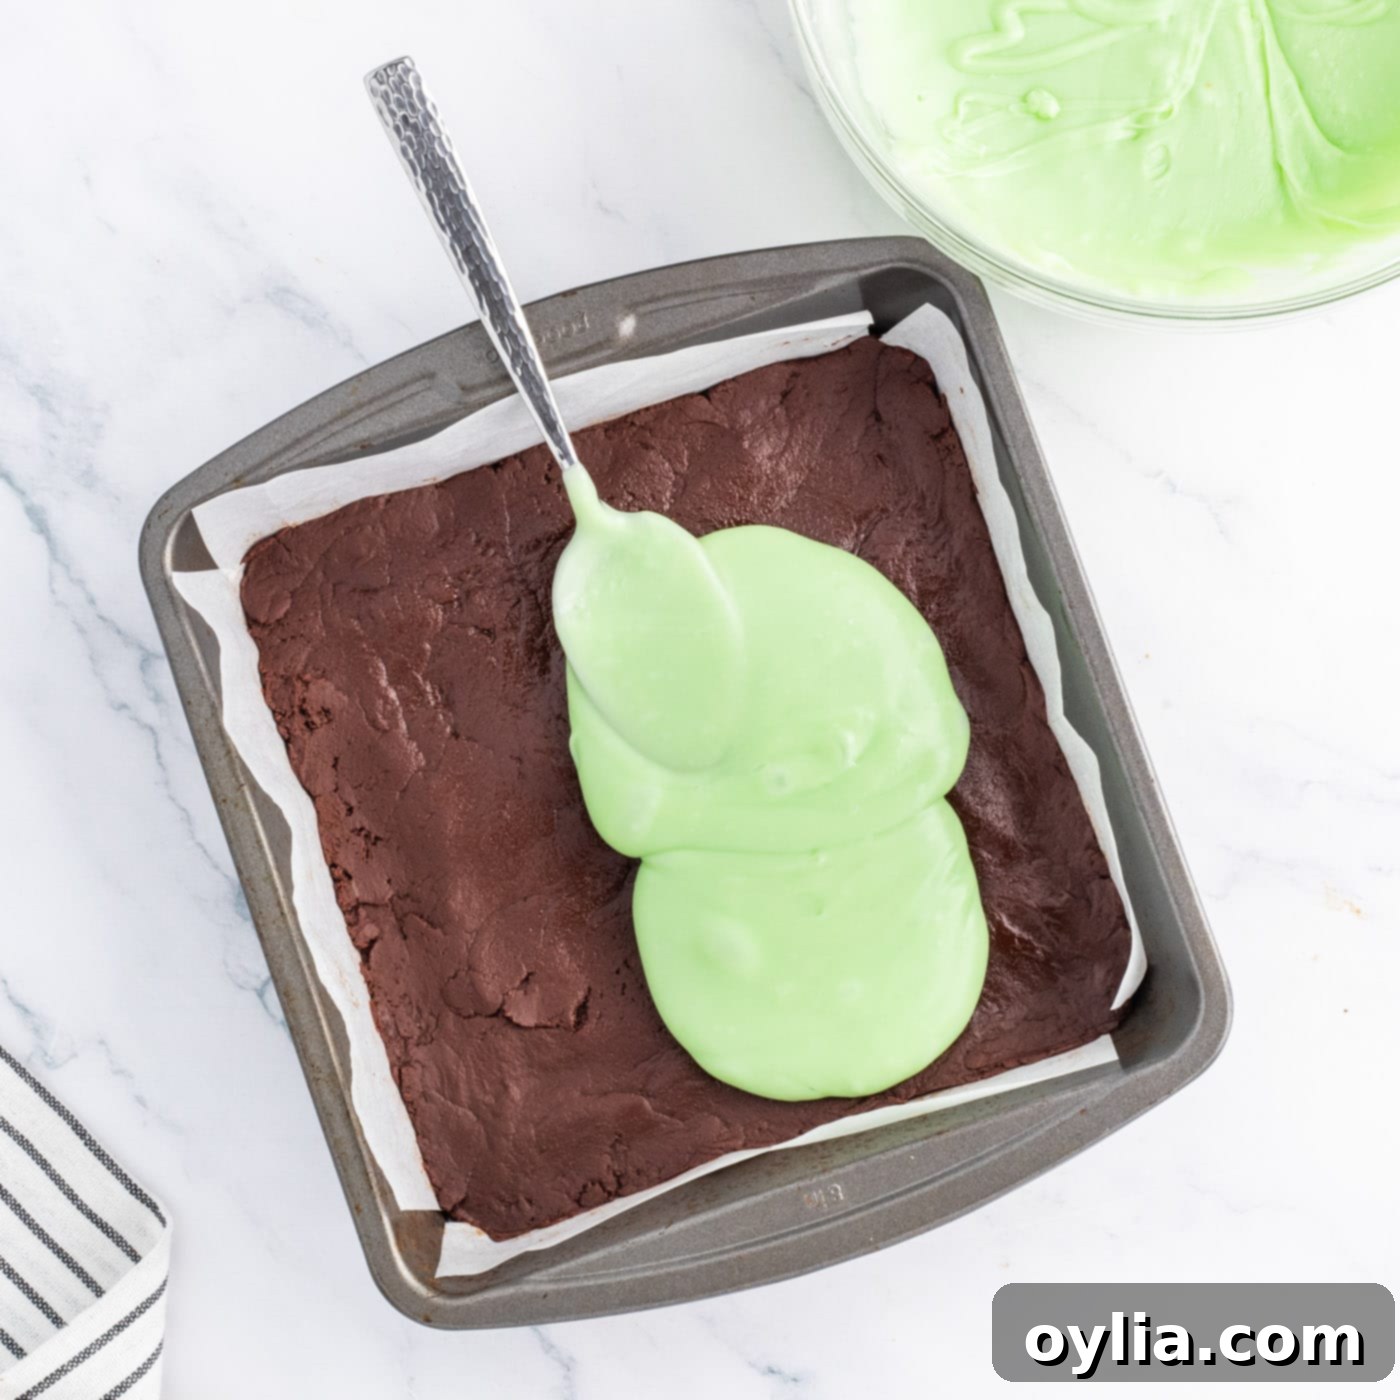
- Once the white chocolate mixture is smoothly melted, stir in the peppermint extract and green food coloring. Continue stirring until the color is uniform and vibrant, and the mixture is perfectly smooth. Carefully pour this green mint fudge over the set chocolate layer in the pan, spreading it evenly. Return the pan to the freezer for a few minutes to set this layer.


- To create the final chocolate topping, melt the remaining 1 cup of semi-sweet chocolate chips with the last 1 tablespoon of butter in a microwave-safe bowl. Use the same method as before: 20-second bursts, stirring in between, until the mixture is perfectly melted and smooth.

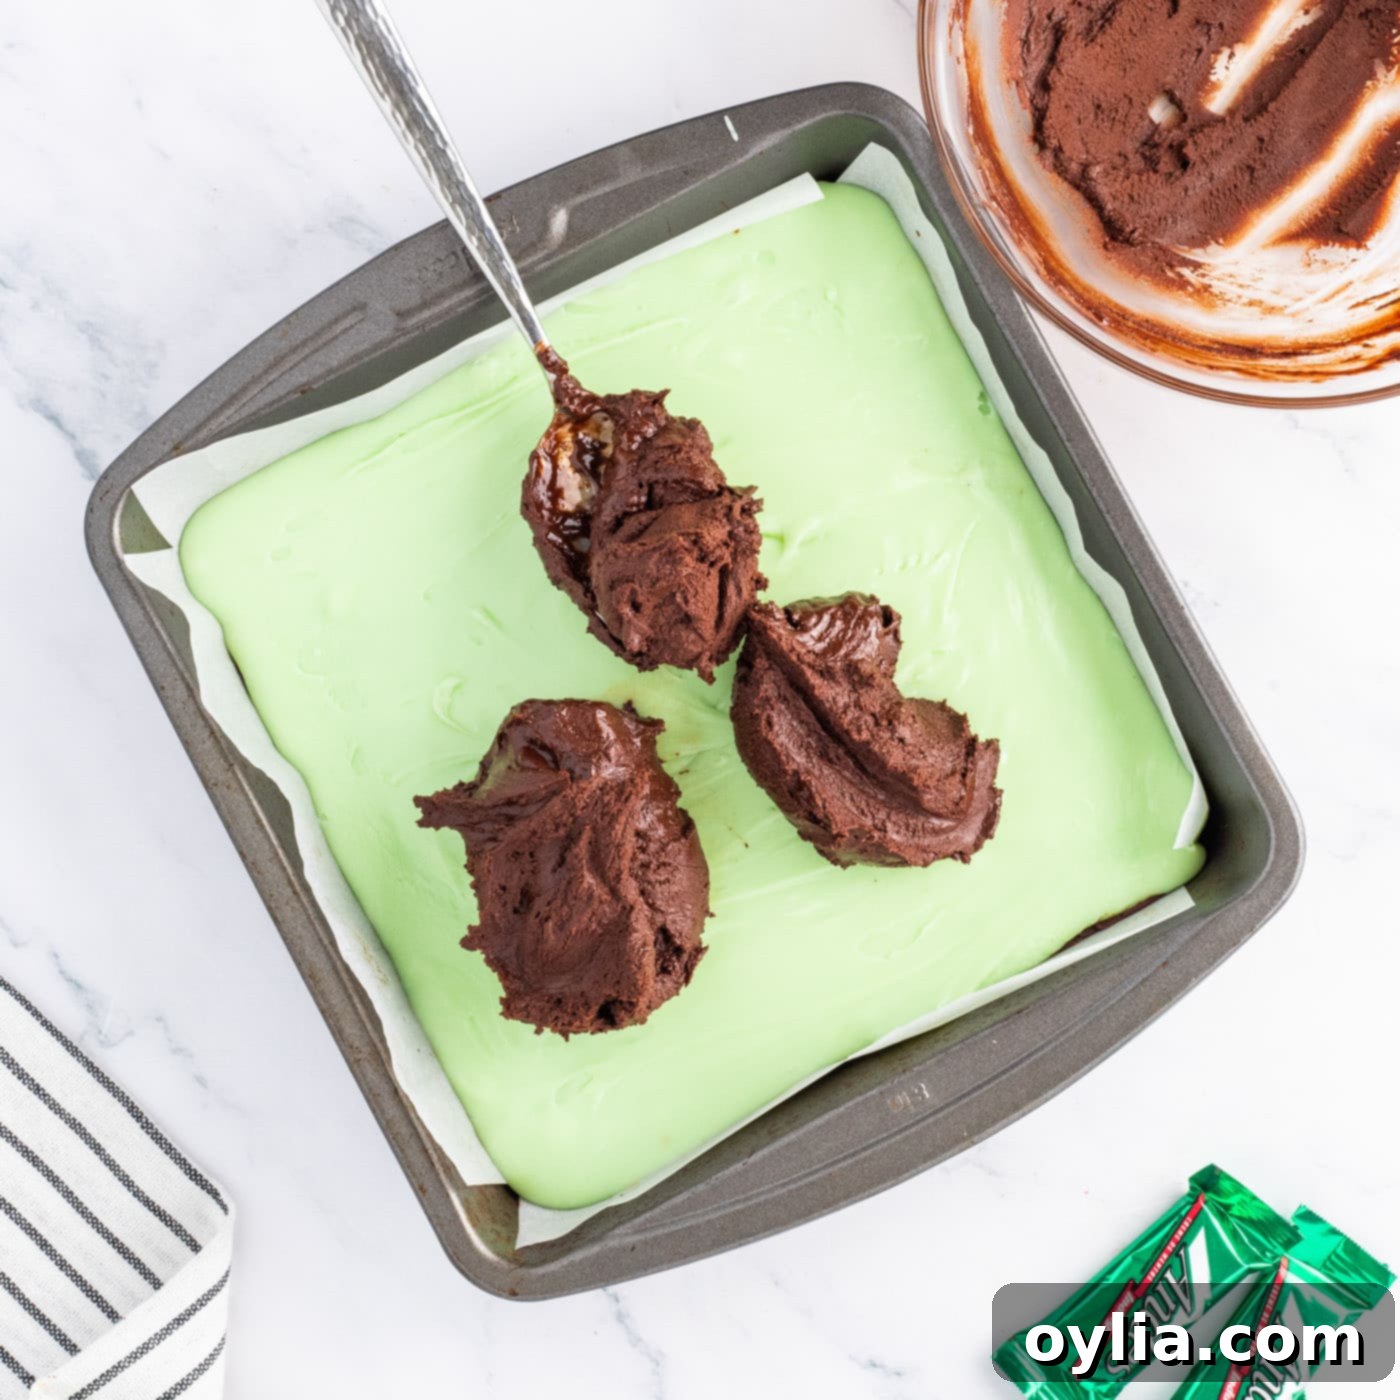
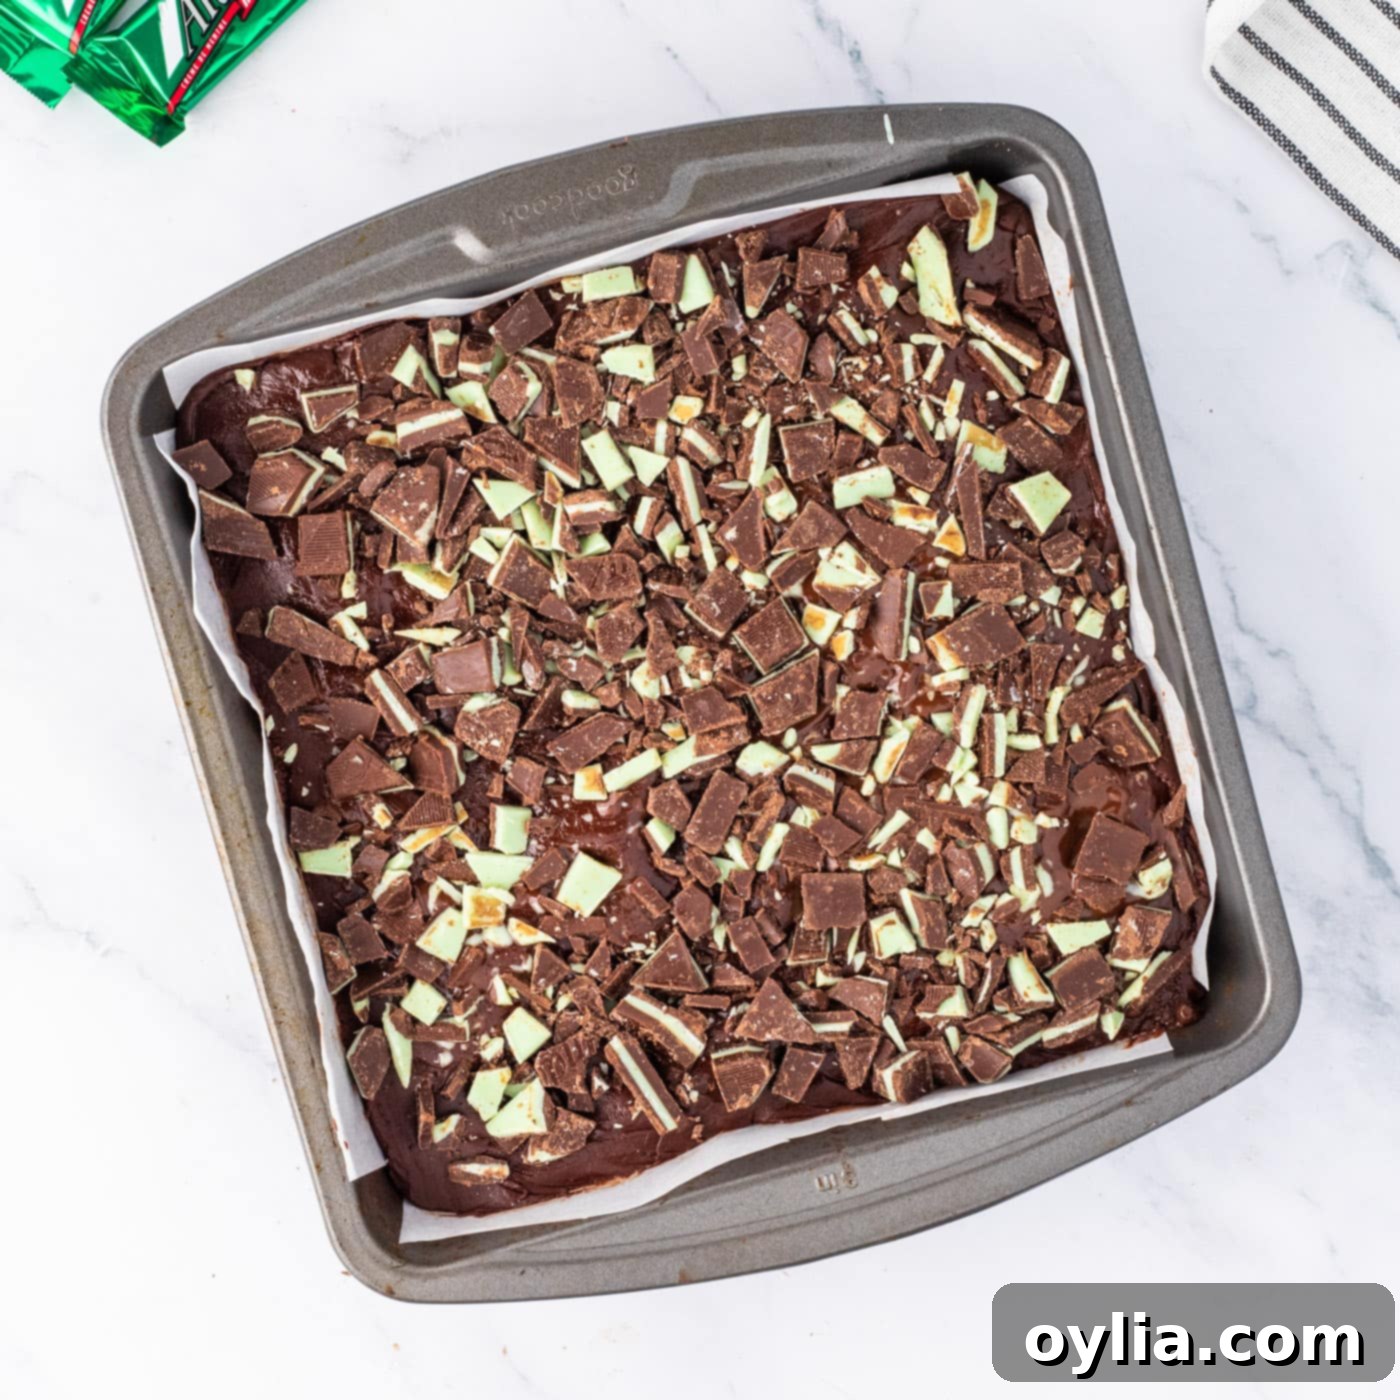
- Quickly spread this final melted chocolate layer over the now-chilled mint fudge layer. While the chocolate topping is still soft and wet, generously sprinkle the chopped Andes mint candies over the entire surface. This ensures they adhere nicely as the chocolate sets.


- Cover the fudge with plastic wrap, pressing it gently onto the surface to prevent a skin from forming, and chill in the refrigerator for at least 2 hours, or until completely firm. This setting time is crucial for perfectly sliceable fudge.
- Once thoroughly chilled, carefully lift the fudge from the baking dish using the parchment paper overhang. Place the fudge slab on a clean cutting board. For clean, sharp cuts, use a large, sharp knife warmed under hot water and wiped dry between each slice. Cut the fudge into your desired square or rectangular sizes. Serve at room temperature for the best creamy texture. Enjoy this delightful chocolate-mint creation!
Frequently Asked Questions & Expert Tips for Perfect Fudge
To maintain its best creamy texture and flavor, store your Andes Mint Fudge in an airtight container at cool room temperature for up to 2 weeks. While it can be refrigerated, chilling tends to make the fudge firmer. If you prefer a softer, melt-in-your-mouth texture, serving it at room temperature is ideal after a brief chill period to firm it up for cutting.
Absolutely! This fudge freezes beautifully, making it an excellent make-ahead treat. To freeze, wrap the entire block or individual pieces tightly in plastic wrap, then place them in a freezer-safe bag or an airtight container. It can be stored in the freezer for up to 2 months. When you’re ready to enjoy, simply thaw the fudge at room temperature until it reaches your desired consistency.
For perfectly neat slices, here’s a pro tip: use a large, sharp knife that you’ve warmed under hot running water. Wipe the knife completely dry between each cut. The warm blade will glide through the fudge layers without dragging or sticking, creating beautiful, defined pieces. Repeat the warming and wiping for every few cuts.
Chocolate seizing (becoming thick and crumbly) usually happens when it’s overheated or comes into contact with even a tiny bit of water. To prevent this, always melt chocolate in short bursts in the microwave (20 seconds max), stirring vigorously between each. Ensure your bowls and spatulas are completely dry. If your chocolate does seize, sometimes you can rescue it by stirring in a tablespoon or two of hot vegetable oil or melted butter until smooth, but it may slightly affect the final texture.
Yes, definitely! This recipe is a fantastic base for customization. You could use dark chocolate chips for a richer chocolate base or add a layer of chopped nuts (like walnuts or pecans) to the bottom chocolate layer for added crunch. For a festive Christmas twist, swap out the Andes mints on top for crushed candy canes or peppermint crunch mints. You can also experiment with different food coloring colors for other holidays – red for Valentine’s Day, for example, or leave it white for a classic look.
Serving & Gifting Ideas for Andes Mint Fudge
Andes Mint Fudge is a versatile delight that shines on many occasions. Its striking appearance and irresistible flavor make it perfect for holiday gatherings, especially around St. Patrick’s Day (thanks to its classic green layer) or Christmas. Beyond holidays, it’s an ideal sweet treat for birthdays, potlucks, bake sales, or simply to satisfy an everyday chocolate-mint craving.
For an extra touch of elegance, consider drizzling the top with additional melted chocolate (dark or white) before the final chill, or even a contrasting color. You can also experiment with different garnishes like mini chocolate chips, extra mint chocolate chips, or for Christmas, crushed peppermint candy canes for a festive crunch. Serve the fudge at room temperature to achieve its wonderfully creamy, melt-in-your-mouth texture.
This fudge also makes a fantastic edible gift. Once cut into squares, arrange them in decorative cellophane baggies and tie them with a festive ribbon. You can also pack them in small gift boxes lined with parchment paper. These homemade treats are always appreciated and convey a thoughtful touch, perfect for teachers, neighbors, friends, or family.
Discover More Minty Delights
If you love the refreshing combination of chocolate and mint, you’ll adore these other recipes:
- Chocolate Mint Brownies
- Chocolate Mint Cookies
- Mint Chocolate Lasagna
- Mint Chocolate Dream Bars
I love to bake and cook and share my kitchen experience with all of you! Remembering to come back each day can be tough, that’s why I offer a convenient newsletter every time a new recipe posts. Simply subscribe and start receiving your free daily recipes!
Andes Mint Fudge
IMPORTANT – There are often Frequently Asked Questions within the blog post that you may find helpful. Simply scroll back up to read them!
Print It
Pin It
Rate It
Save It
Saved!
Ingredients
- 2 ½ cups semi-sweet chocolate chips divided
- 14 ounces sweetened condensed milk 1 can, divided
- 5 Tablespoons unsalted butter at room temperature, divided
- 1 teaspoon peppermint extract or mint extract
- 1 ½ cups white chocolate baking chips
- 6 drops green food color
- 18 Andes mints chopped for garnish
Things You’ll Need
-
8×8 baking pan
-
Mixing bowls
-
Rubber spatula
Before You Begin
- Choose good quality chocolate chips when making fudge. Higher quality chocolate melts smoother and tastes better.
- Be very careful not to scorch the chocolate when heating in the microwave. This is especially true for white chocolate chips, which are more delicate. Use short intervals and stir well.
- You do not have to use food coloring if you prefer not to, but that’s how you’ll achieve the classic green color associated with Andes mints. If you do decide to use food coloring, start by incorporating a few drops at a time and work up to your desired color. Gel food coloring often provides a more vibrant hue with less liquid.
- Do not confuse sweetened condensed milk with evaporated milk. This is crucial! You will end up with an entirely different texture and flavor if you use evaporated milk, as it lacks the sugar and thickness necessary for fudge to set correctly.
Instructions
-
Prepare an 8×8 square pan, or similar size, by lining it with parchment paper (or sprayed aluminum foil).
-
Combine 1 1/2 cups semi-sweet chocolate chips, half of the sweetened condensed milk, and 2 tablespoons butter in a microwave-safe bowl. Microwave in 20-second bursts, stirring each time, until melted. It should take less than 2 minutes. Do not overcook.
-
Stir to ensure all the chocolate mixture is melted and smooth, and pour into the prepared pan, and smooth with a spoon. Place in the freezer for a few minutes to set.
-
Combine white baking chips, the remaining half of the sweetened condensed milk, and 2 tablespoons butter in a microwave-safe bowl. Microwave in 20-second bursts, stirring each time, until melted. It should take less than 2 minutes. Do not overcook.
-
Stir to ensure all the white chocolate mixture is melted, then add peppermint extract and green food coloring. Stir until smooth, and pour over the chocolate layer, and smooth. Place in the freezer for a few minutes to set.
-
Melt the remaining 1 cup of semi-sweet chocolate chips with 1 tablespoon of butter in the microwave by heating in 20-second bursts and stirring, and repeating until completely melted and smooth.
-
Spread over refrigerated layers. Sprinkle chopped Andes mints candies over the top.
-
Cover the fudge with plastic wrap and chill in the fridge for 2 hours.
-
Lift the fudge from the baking dish by pulling up the parchment paper. Place on a cutting board and cut into squares of desired size. Serve at room temperature. Enjoy!
Expert Tips & FAQs
- Store the fudge in an air-tight container kept at room temperature for up to 2 weeks for the best texture.
- Freezing – For longer storage, place the fudge in a freezer bag or air-tight container and freeze for up to 2 months. Thaw at room temperature.
- For clean cuts, use a warm, sharp knife, wiping it clean between each slice.
- Always use sweetened condensed milk, not evaporated milk, for proper setting and flavor.
- Experiment with dark chocolate chips for a richer chocolate flavor in the base layer.
Nutrition
The recipes on this blog are tested with a conventional gas oven and gas stovetop. It’s important to note that some ovens, especially as they age, can cook and bake inconsistently. Using an inexpensive oven thermometer can assure you that your oven is truly heating to the proper temperature. If you use a toaster oven or countertop oven, please keep in mind that they may not distribute heat the same as a conventional full sized oven and you may need to adjust your cooking/baking times. In the case of recipes made with a pressure cooker, air fryer, slow cooker, or other appliance, a link to the appliances we use is listed within each respective recipe. For baking recipes where measurements are given by weight, please note that results may not be the same if cups are used instead, and we can’t guarantee success with that method.
