Irresistible Mexican Cookie Rings: Buttery, Chewy & Perfect for Any Celebration
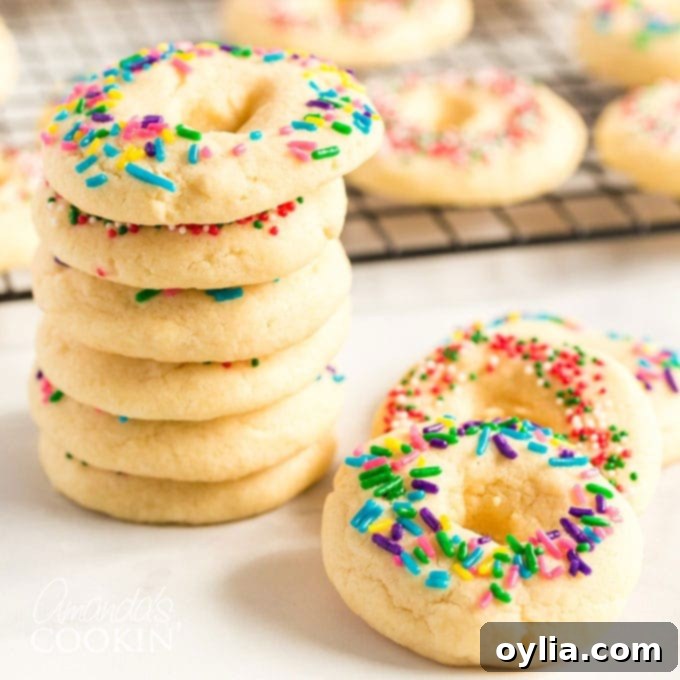
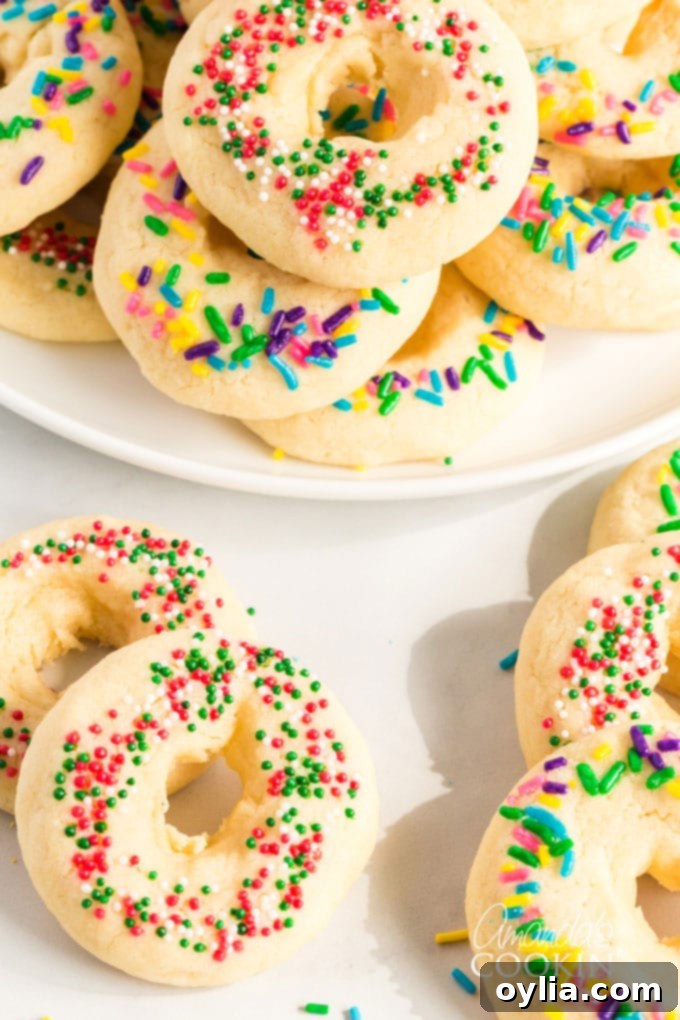
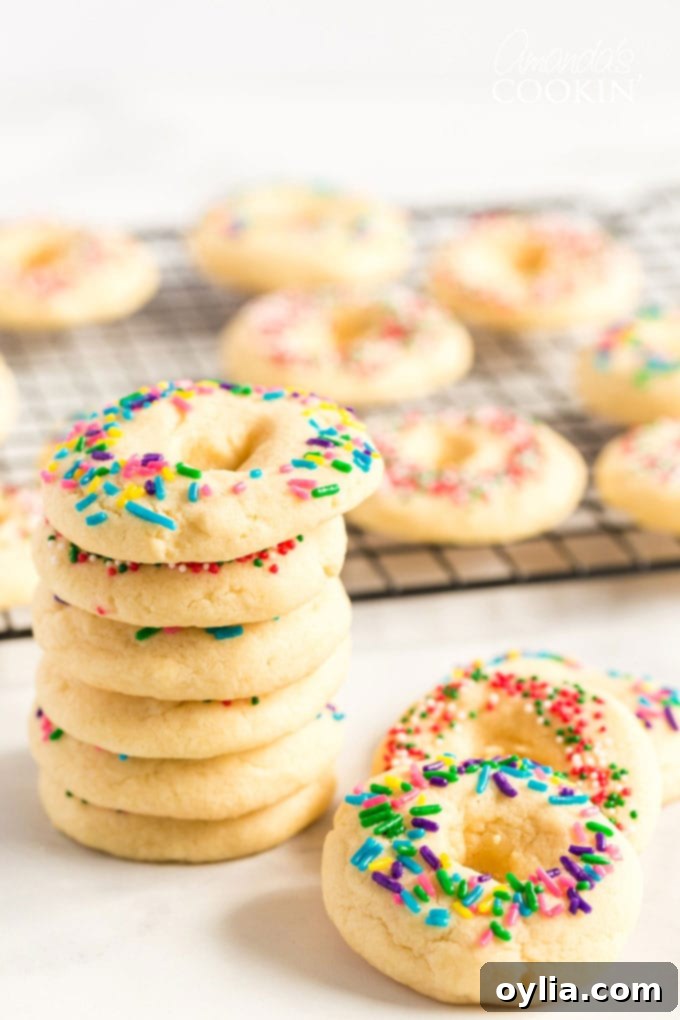
Prepare to fall in love with these delightful Mexican Cookie Rings! These are not just any sugar cookies; they are a buttery, melt-in-your-mouth treat with a perfectly chewy texture and a charming ring shape, often adorned with colorful sprinkles. Their beautiful presentation and irresistible taste make them ideal for a wide array of occasions, from festive Cinco de Mayo celebrations and joyous birthday parties to simply satisfying a craving for a truly exceptional homemade cookie.
While many might consider classic chocolate chip cookies the ultimate comfort food, these unique Mexican sugar cookies truly stand out and have earned a top spot on my personal favorites list. Their distinct buttery flavor and tender chewiness are simply unparalleled, inviting you to bake a batch and discover your new go-to cookie!
The Sweet Story Behind These Mexican Cookie Rings
My journey with these fantastic Mexican Cookie Rings began back in 2008, sparked by an unexpected request from my teenage son. He came home from school one day, armed with a handful of Mexican cookie recipes, asking if I could bake one for a “Fiesta” his class was planning before Christmas break. Of course, I couldn’t resist! As fate would have it, a snow day unexpectedly canceled school that day. While the other kids missed out on the fiesta treats, my family certainly didn’t – we joyfully devoured every single one of those delicious, freshly baked cookies ourselves!
That day marked the beginning of a cherished baking tradition in our home. These Mexican sugar cookies quickly became a staple, beloved for their simple charm and incredible flavor. They embody the warmth of homemade baking and the joy of shared moments, making them much more than just a recipe; they’re a part of our family’s sweet history.
Crafting the Perfect Mexican Cookie Rings: A Recipe Overview
The original recipe my son handed me years ago was a printout from All Recipes. Over time, I’ve perfected it, taking notes on common challenges others faced. Many commented on sticky dough, but I’ve rarely encountered that issue. The secret, as I always say, lies in precision – baking is a science! Especially when it comes to butter temperature, small details make a big difference in achieving that ideal, workable dough and consistently delicious results.
These Mexican Cookie Rings, also affectionately known as Mexican sugar cookies, are celebrated for their simplicity and the unique joy they bring. They’re a fantastic choice for home bakers looking for a reliable and impressive cookie that’s both fun to make and delightful to eat. Let’s delve into the ingredients and essential tips that will ensure your cookies turn out perfectly every time.
Essential Ingredients for Your Mexican Sugar Cookies
In this section, I provide detailed tips and recommendations for the ingredients used in our Mexican Cookie Rings recipe. Understanding the role of each component and potential substitutions will help you achieve the best possible results. You will find the full list of ingredients with precise measurements in the printable recipe card at the end of this post.
- All-Purpose Flour: I’ve extensively tested this recipe using only all-purpose flour. Its balanced protein content is key to achieving the soft yet chewy texture we’re aiming for. While other flours might technically work, please be aware that using different types of flour (like cake flour or whole wheat flour) will significantly alter the final texture and density of your cookies. For consistent success, stick to all-purpose.
- Baking Powder & Salt: These are your leavening and flavor agents. Baking powder provides the slight lift and tender crumb, while a touch of regular table salt balances the sweetness and enhances all the other flavors in the cookie. Don’t skip or skimp on either!
- Unsalted Butter: When baking, I always opt for unsalted butter. This gives me complete control over the salt content of the recipe. Margarine is not recommended for this recipe as it has a different fat composition and water content, which can compromise the cookie’s texture and flavor. If you only have salted butter on hand, it can be used, but you might want to slightly reduce the added salt (by about ¼ teaspoon) to avoid overly salty cookies. The butter should be “softened,” which means it’s been out of the fridge for about 20 minutes, yielding slightly to a gentle press but not melted or greasy. This precise consistency is crucial for proper creaming.
- Granulated White Sugar: This recipe calls for standard granulated white sugar. It provides both sweetness and helps create that crisp edge and chewy center. Avoid using brown sugar, which adds too much moisture and a different flavor profile, or powdered sugar, which can make the cookies too delicate.
- Egg Yolks: You will only need the yolks from your large eggs for this recipe. Egg yolks contribute richness, tenderness, and a beautiful golden color to the cookies, without the drying effect that egg whites can sometimes have in certain sugar cookie recipes. Don’t let those whites go to waste – save them for a batch of light and airy homemade angel food cake or a fluffy meringue!
- Vanilla Extract: For the best flavor, I always use pure vanilla extract. Imitation vanilla has a distinctly different, often artificial, taste that won’t give your cookies the same depth of flavor. A good quality pure vanilla elevates these simple cookies to something truly special.
- Multicolored Sprinkles (Jimmies or Nonpareils): These are entirely optional but highly recommended for their festive appeal! They add a playful pop of color and a subtle crunch. Feel free to use classic jimmies, tiny nonpareils, or even a mix. Since these cookies are perfectly sweet on their own, you can certainly skip the decorations if you’re making them just for a simple treat at home.
Helpful Kitchen Tools for Baking Mexican Cookie Rings
Having the right tools can make all the difference in your baking experience and results. Here are some kitchen essentials that will make baking these Mexican Cookie Rings a breeze:
- Insulated Baking Sheets: These are fantastic for preventing cookie bottoms from browning too quickly, ensuring an even bake and a perfectly soft texture throughout.
- Wooden Skewer or Wooden Spoon with a Round Handle End: Essential for creating the signature ring shape. A skewer makes a neat, small hole, while the handle of a wooden spoon offers a slightly larger opening, which is often preferable as the cookies expand.
- Parchment Paper or Silicone Baking Mat: Non-stick surfaces are crucial for easy removal of cookies and consistent baking. They also make cleanup a breeze.
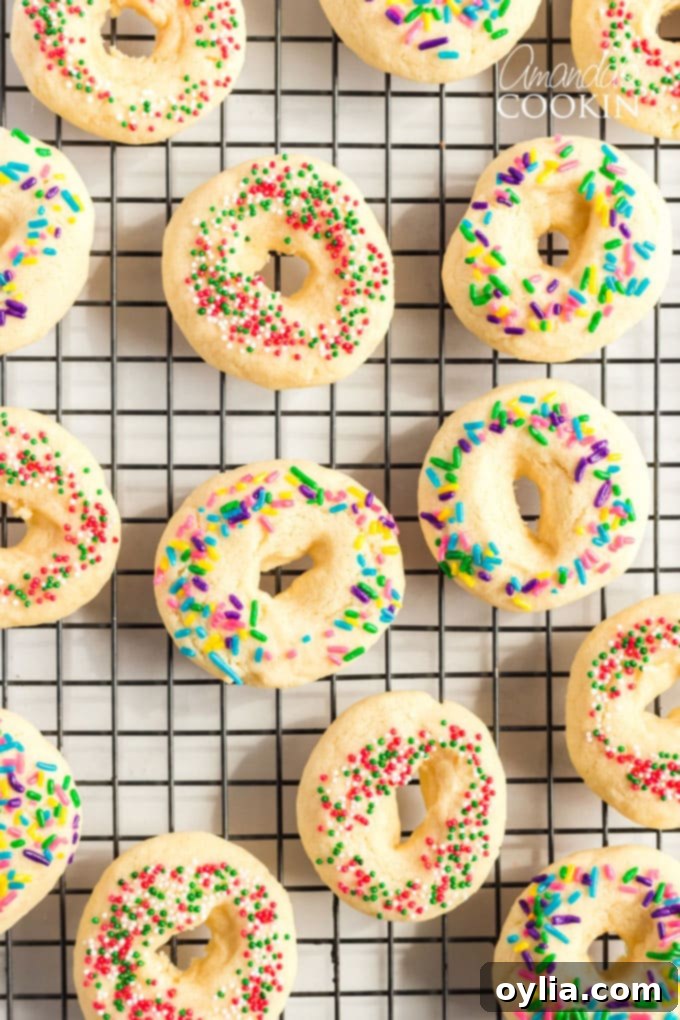
- Wire Cooling Rack: Allows air to circulate around the cookies, cooling them evenly and preventing them from becoming soggy on the bottom.
- Sprinkles: To decorate! You can use various types like jimmies or nonpareils to add a festive touch.
Expert Baker’s Notes for Perfect Mexican Cookies
Achieving bakery-quality Mexican Cookie Rings is all about paying attention to a few key details. These notes will help you troubleshoot common issues and ensure your cookies are a resounding success:
- Cookie Expansion: These Mexican Cookie Rings will expand quite a bit during baking. The comparison photo below clearly illustrates the change from unbaked dough to baked cookie. It’s critical to leave ample space between each cookie on your baking sheet to prevent them from merging into one giant cookie. Generally, aim for at least 2 inches between each dough ball.
- Butter Consistency is Key: The most crucial tip for a non-sticky dough is proper butter consistency. Remove your unsalted butter from the fridge and let it sit at room temperature for approximately 20 minutes. To test for readiness, gently press your finger into the butter. It should yield slightly and leave a small indentation, indicating it’s perfectly softened. If your finger sinks deeply or goes right through the butter, it’s too soft (borderline melted), which will result in a sticky, unmanageable dough. If this happens, refrigerate it for 10-15 minutes to firm it up slightly before proceeding.
- Yield: This recipe typically yields between 25 to 30 cookies. The exact number will depend on how precisely you measure your tablespoon portions. A scant tablespoon (slightly less than a full, rounded tablespoon) will give you closer to 30-31 cookies, while a generous tablespoon will result in fewer, larger cookies.
- Maintain the Hole: As noted in the instructions, ensure the hole you create in the center of each cookie is large enough before baking. These cookies expand significantly, and if the hole is too small, it will close up entirely during baking. You’ll end up with solid round cookies rather than rings – delicious, but not the intended charming ring shape. They might even resemble thumbprint cookies if the center flattens too much. Aim for a hole that seems a bit larger than necessary, as the dough will fill in.
- Don’t Overbake: Mexican sugar cookies are best when they are soft and chewy. Overbaking them will make them hard and dry. Keep a close eye on them during the last few minutes of baking. They should be just lightly golden brown around the edges.
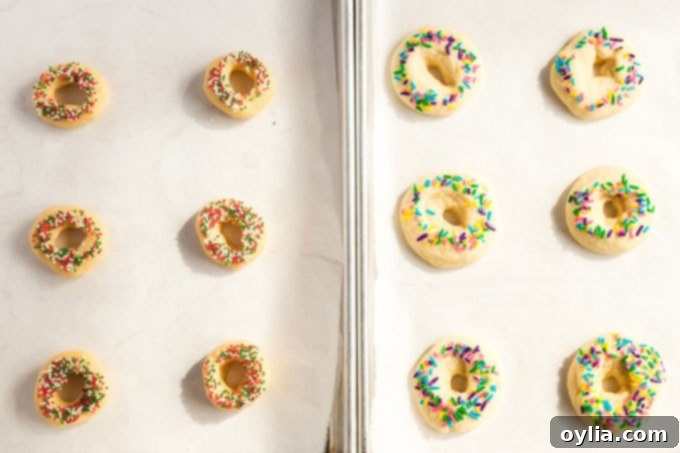
Step-by-Step: How to Make Mexican Cookie Rings
Making these gorgeous Mexican Cookie Rings is a straightforward process, but following each step carefully will ensure your success. Remember the precision of baking as a science!
- Prepare Your Baking Environment: Begin by preheating your oven to 375 degrees F (190 degrees C). While the oven heats, line your insulated baking sheets with parchment paper or a silicone baking mat. This prevents sticking and ensures even baking.
- Combine Dry Ingredients: In a medium bowl, sift together the all-purpose flour, baking powder, and salt. Sifting helps to aerate the flour and remove any lumps, contributing to a lighter, more tender cookie. Set aside.
- Cream Wet Ingredients: In a separate, larger mixing bowl, cream together the softened unsalted butter and granulated white sugar until the mixture is light, fluffy, and pale in color. This process incorporates air, which is essential for the cookie’s texture. Next, beat in the egg yolks one at a time, followed by the pure vanilla extract, mixing until everything is well combined and smooth.
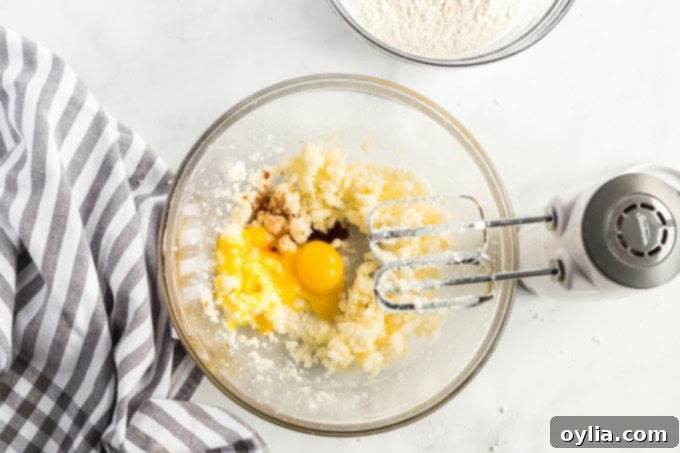
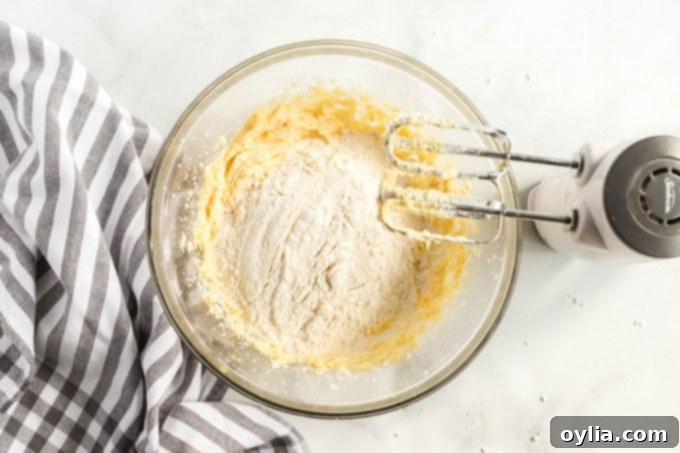
- Incorporate Dry into Wet: Gradually add the sifted dry ingredients to the wet mixture, mixing on low speed until just combined. Be careful not to overmix the dough, as this can develop the gluten too much, leading to tough cookies. Mix only until no streaks of flour remain.
- Chill if Necessary: My dough typically isn’t sticky, but if yours feels difficult to handle, don’t hesitate to refrigerate it for about 1 hour. Chilling the dough helps to firm up the butter, making it much easier to roll and shape.
- Shape the Rings: Take about one tablespoon of dough and roll it into a 1-inch ball between your palms. Place it on your prepared baking sheet. Using a wooden skewer or the rounded end of a wooden spoon, gently push it all the way through the center of each dough ball. Carefully shape the dough around the skewer/spoon to form a ring. Remember to make the hole generously sized, as these cookies will expand, and a small hole will close up during baking.
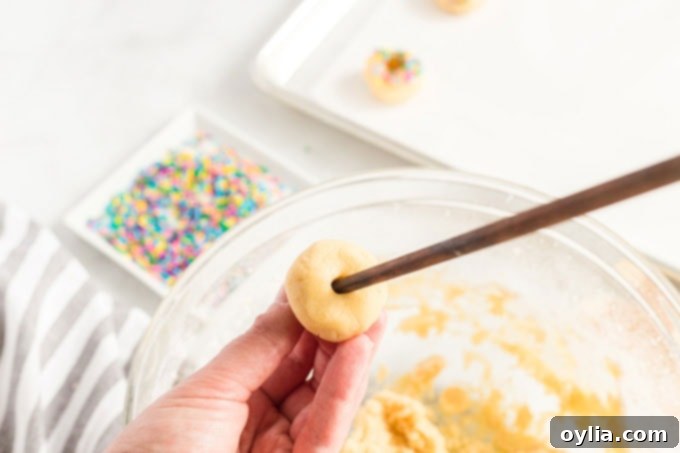
- Decorate and Bake: If using, gently dip the top of each cookie ring into your multicolored sprinkles. Arrange the decorated cookie rings onto your prepared baking sheets, ensuring adequate space between each.
- Bake to Perfection: Bake in the preheated oven at 375 degrees F (190 degrees C) for 10 to 12 minutes, or until the edges are just lightly golden brown. DO NOT OVERBAKE! For my oven, 8 minutes was the sweet spot for that perfect chewy texture. Overbaked cookies will be dry and crumbly.
- Cool: Once baked, carefully remove the cookies from the hot baking sheets and transfer them to wire cooling racks to cool completely. This prevents them from continuing to cook on the hot pan and ensures they crisp up slightly on the exterior while remaining chewy inside.
Enjoy these charming and delicious Mexican Cookie Rings! They are truly a treat for the eyes and the palate.
Serving and Storage Suggestions
These buttery Mexican Cookie Rings are fantastic on their own, but they also pair wonderfully with a variety of beverages. For an authentic Mexican experience, serve them alongside a warm cup of Champurrado (thick Mexican hot chocolate). The rich, spiced chocolate perfectly complements the sweet, buttery cookies. They’re also delicious with a simple glass of milk, coffee, or tea.
To keep your Mexican sugar cookies fresh, store them in an airtight container at room temperature for up to 5-7 days. If you want to prepare them in advance, the unbaked cookie dough can be refrigerated for up to 3 days or frozen for up to 3 months. If freezing dough, thaw it in the refrigerator overnight before shaping and baking. Baked cookies can also be frozen for up to 1 month; simply thaw at room temperature before serving.
More Irresistible Cookie Recipes to Love!
If you’ve fallen in love with these Mexican Cookie Rings, you’ll surely enjoy exploring more cookie creations from my kitchen. Here are some other beloved recipes that are perfect for any occasion:
- Snickerdoodles: A classic favorite with a tangy cinnamon-sugar coating.
- Soft and Chewy Peanut Butter Cookies: Rich, nutty, and perfectly chewy.
- Grandma’s All-Occasion Sugar Cookies: A timeless recipe for classic, cut-out sugar cookies.
- Italian Anisette Cookies: Delicate, cake-like cookies with a distinct anise flavor and a sweet glaze.
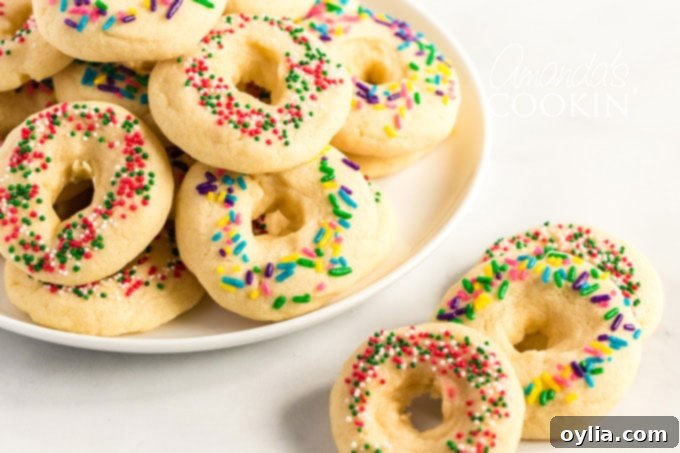

Mexican Cookies
IMPORTANT – There are often Frequently Asked Questions within the blog post that you may find helpful. Simply scroll back up to read them!
Print It
Rate It
Save ItSaved!
Ingredients
- 1 ½ cups all-purpose flour
- ½ teaspoon baking powder
- ½ teaspoon salt
- ½ cup unsalted butter not margarine, softened for 20 minutes at room temperature
- ⅔ cup white sugar
- 3 large egg yolks
- 1 ½ teaspoon vanilla extract
- 5 tablespoons multicolored sprinkles jimmies (optional)
Before You Begin
- These Mexican Cookie Rings do bake up quite a bit. Make sure you leave enough room between cookies on the cookie sheet.
- Be careful with the butter. Take it out of the fridge and let it sit on the counter for about 20 minutes. Press your finger into the butter. It should yield slightly and leave a small dent. That’s the correct texture. If your finger creates a larger indent or goes through the butter, your dough will be sticky and difficult to work with.
- This dough makes 25-30 cookies, depending on your interpretation of a tablespoon. A scant tablespoon will yield about 30-31 cookies.
- As noted in the instructions below, be sure the hole in the cookie is big enough. These cookies expand and if the hole is too small, it will close up.
Instructions
-
Preheat oven to 375 degrees F (190 degrees C). Line insulated baking sheet with parchment paper.
-
Sift together flour, baking powder and salt.
-
Cream together the butter and sugar. Add the egg yolks and vanilla, beating until light and fluffy. Mix in the dry ingredients. If your dough is sticky, refrigerate it for 1 hour to make it easier to work with.
-
Shape into 1 inch balls (about 1 tablespoon each). Push a skewer or the end of a wooden spoon all the way through center of each ball and shape dough into a ring. Make sure the whole is big enough as these cookies double in size and the hole will close up while baking. Dip top of each ring in sprinkles. Place cookies onto the prepare baking sheets.
-
Bake at 375 degrees F (190 degrees C) for 10 to 12 minutes or until light golden brown. DON’T OVER BAKE. 8 minutes was perfect for mine. Remove from the baking sheets and let cool on racks.
Nutrition
The recipes on this blog are tested with a conventional gas oven and gas stovetop. It’s important to note that some ovens, especially as they age, can cook and bake inconsistently. Using an inexpensive oven thermometer can assure you that your oven is truly heating to the proper temperature. If you use a toaster oven or countertop oven, please keep in mind that they may not distribute heat the same as a conventional full sized oven and you may need to adjust your cooking/baking times. In the case of recipes made with a pressure cooker, air fryer, slow cooker, or other appliance, a link to the appliances we use is listed within each respective recipe. For baking recipes where measurements are given by weight, please note that results may not be the same if cups are used instead, and we can’t guarantee success with that method.
This post originally appeared here on Dec 23, 2008, and has been updated with new tips and details for an even better baking experience.
