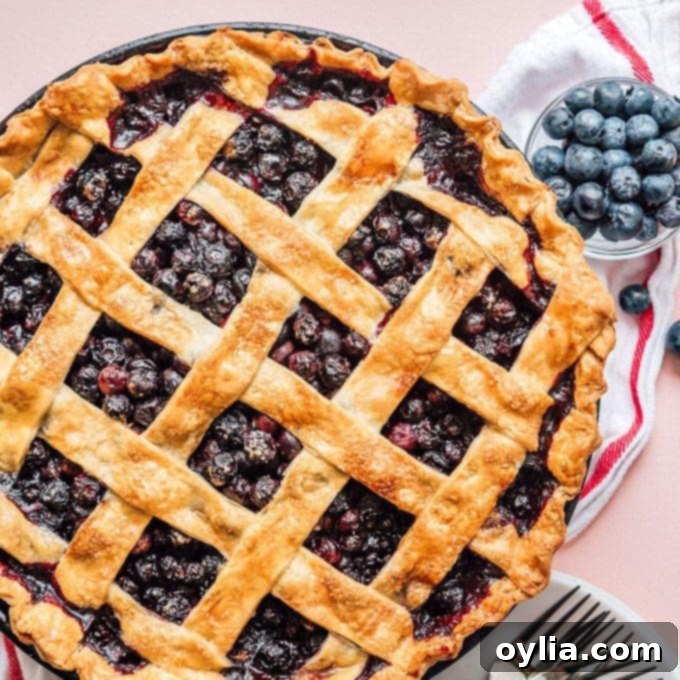
Master the Art of Homemade Blueberry Pie: Your Guide to a Flaky Crust and Luscious Berry Filling
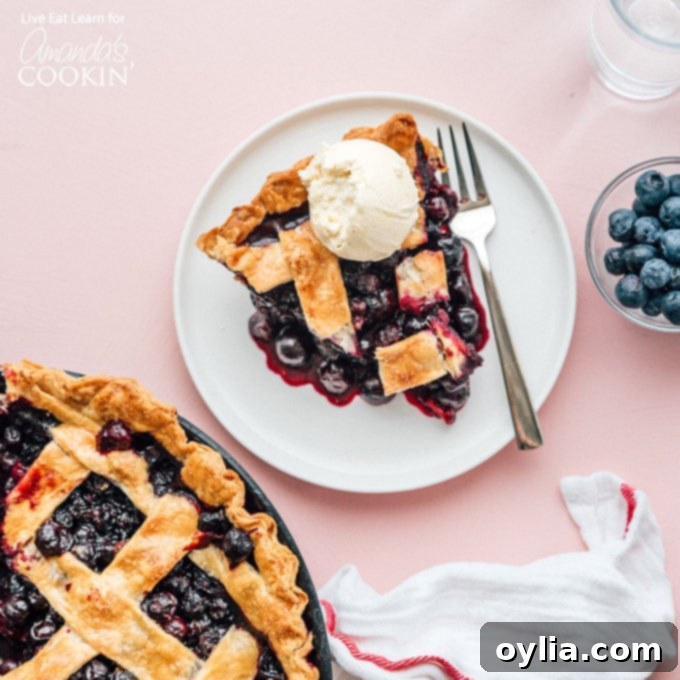
There’s something truly magical about a classic homemade blueberry pie. The vibrant burst of sweet, juicy blueberries enveloped in a perfectly flaky, golden crust, topped with a beautiful, intricate lattice. It’s a timeless dessert that evokes feelings of comfort, warmth, and nostalgia. This recipe isn’t just about baking a pie; it’s about creating an unforgettable experience, culminating in a slice of pure bliss, especially when served warm with a generous scoop of creamy vanilla ice cream. Prepare to embark on a delightful baking journey that will transform fresh blueberries into a dessert that’s truly out of this world.
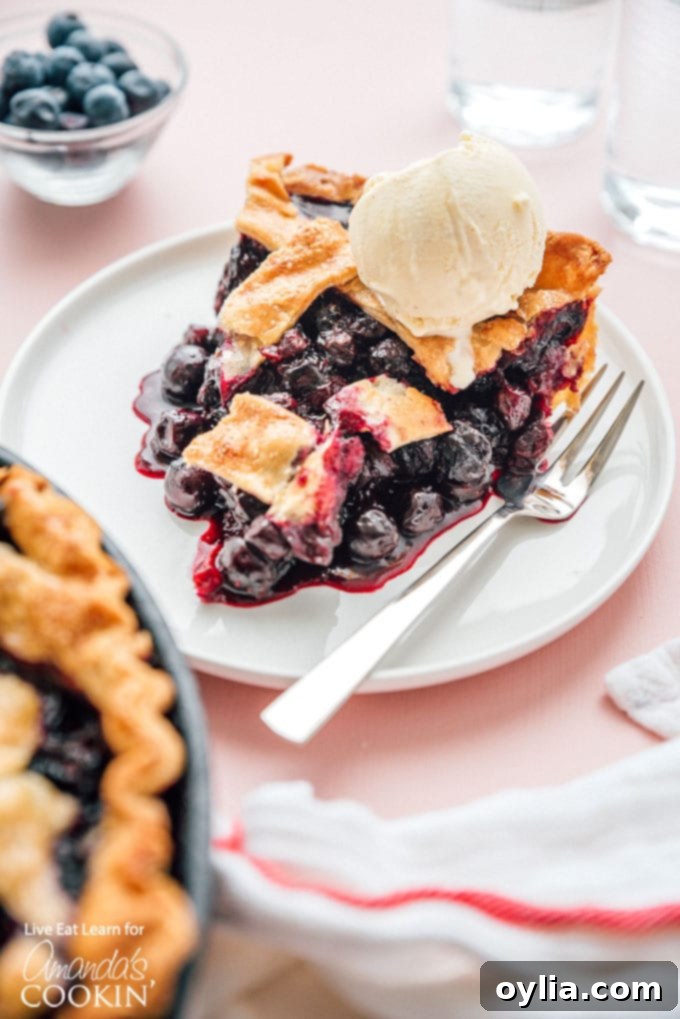
Why This Blueberry Pie Recipe is a Must-Try
This classic Blueberry Pie isn’t just another dessert; it’s a cherished family favorite, and you’ll be amazed at how straightforward it is to create. The beauty of this recipe lies in its simplicity and the incredible transformation of humble ingredients into something extraordinary. If you find yourself with an abundance of fresh, ripe blueberries, this pie is your ultimate solution.
The magic truly happens as the fresh berries bake down into a thick, sweet, and slightly tart filling that’s wonderfully gooey and bursting with natural flavor. The addition of a hint of lemon zest brightens the berries, while a touch of cinnamon adds a subtle warmth that perfectly complements the fruit. What sets this recipe apart is the commitment to a truly flaky, buttery crust – both on the bottom and with a stunning lattice top. This combination creates a texture and flavor profile that is utterly addictive and guarantees a show-stopping dessert for any occasion.
RELATED: Perfecting your pie crust is key to any great pie! You might also like this recipe – How to Make Pie Crust
Your Full Recipe Details: Ingredients & Instructions
For all precise measurements, a complete list of ingredients, and detailed, step-by-step instructions, please refer to the printable recipe card conveniently located at the end of this post. This comprehensive guide will ensure your baking success!
Don’t be intimidated by its elegant appearance; crafting this classic homemade Blueberry Pie is surprisingly achievable. Even if you’re new to pie making, our clear instructions will guide you through each stage, from preparing the flaky dough to weaving the perfect lattice topping. The process is broken down into simple, manageable steps, making this a rewarding baking project for anyone.
Crafting the Perfect Flaky Pie Dough from Scratch
The foundation of any great pie is a truly exceptional crust. Our recipe ensures a tender, buttery, and flaky dough that will beautifully complement your blueberry filling. Here’s how to create it:
- Begin by combining your all-purpose flour and salt in a large bowl. Next, using either a pastry cutter or two forks, meticulously cut the very cold, unsalted butter into the dry ingredients. The key here is to work quickly, incorporating the butter until the mixture resembles coarse crumbs with some pea-sized pieces remaining. These small pockets of butter are what create the wonderful flakiness in the finished crust.
- Once you’ve achieved the desired crumbly texture, gradually drizzle in ice-cold water, one tablespoon at a time. Mix gently after each addition, just until the dough barely comes together and can be formed into a loose, shaggy ball. Avoid overworking the dough, as this can develop the gluten too much, resulting in a tough crust.
- Divide the dough into two equal portions. Gently pat each portion into a flattened disk shape. Wrap each disk tightly in plastic wrap and refrigerate them for at least one hour, or preferably longer. This chilling period is crucial: it allows the gluten to relax, preventing shrinkage during baking, and solidifies the butter, which is essential for that signature flaky texture.
Preparing the Luscious Blueberry Pie Filling
With your pie dough chilling, it’s time to prepare the star of the show: the rich and flavorful blueberry filling. This simple combination of ingredients transforms into a thick, sweet, and perfectly balanced berry center.
- In a large mixing bowl, gently combine the fresh blueberries with cornstarch, granulated sugar, vibrant lemon zest, a touch of warm cinnamon, and a pinch of salt. The cornstarch acts as a thickener, ensuring your pie filling isn’t watery, while the lemon zest brightens the flavor of the blueberries and the cinnamon adds depth. Toss everything together until the blueberries are evenly coated. Set this aside as you prepare your crust for assembly.
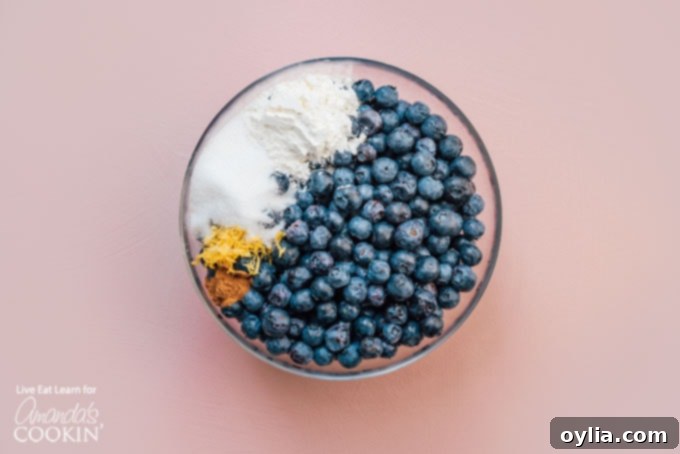
Assembling and Baking Your Beautiful Blueberry Pie
Now for the exciting part: bringing all the elements together and creating that stunning visual appeal that makes homemade pie so special. The lattice crust, while looking impressive, is surprisingly simple to achieve.
- Once your pie dough has sufficiently chilled, it’s time to preheat your oven to 400 degrees F (200 degrees C). On a lightly floured surface, take one of your chilled dough disks and roll it out into a large circle, ensuring it’s about ½ inch larger than your chosen pie pan (we recommend a 9-inch pan). Carefully transfer this rolled-out dough into your pie pan, gently pressing it into the bottom and sides without stretching. Leave a ½-inch overhang around the edges.
- Next, retrieve the second disk of pie dough from the refrigerator. Roll it out into an equally large circle. Using a sharp knife or a pastry wheel, cut this dough into 1-inch thick strips. These strips will form your decorative lattice top.
- Pour your prepared blueberry pie filling into the pie dish, spreading it evenly across the bottom crust. Now, let’s create that beautiful woven lattice crust on top! Start by laying about half of your dough strips parallel to each other across the filling, typically running horizontally. Leave about ½ to 1 inch of space between each strip.
- Fold back every other horizontal strip about halfway. Take one of your remaining dough strips and lay it vertically over the unfolded horizontal strips, as close to the fold as possible.
- Unfold the horizontal strips you just folded back over the vertical strip. Now, fold back the *other* set of horizontal strips (the ones that were previously underneath). Lay another vertical strip next to the first one, then unfold the horizontal strips over it. Continue this “fold, place, unfold” pattern, alternating which horizontal strips you fold back, to create a classic woven lattice design. Trim any excess dough from the edges and crimp the bottom and top crusts together to seal. For a golden finish and a touch of sweetness, you can brush the lattice with a whisked egg wash and sprinkle it lightly with a bit of sugar.
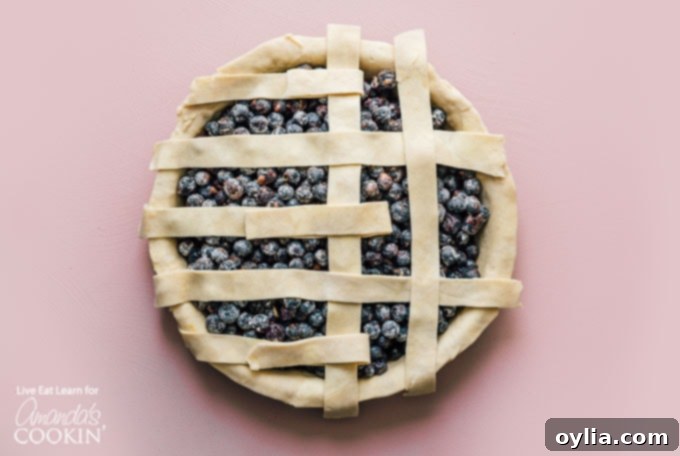
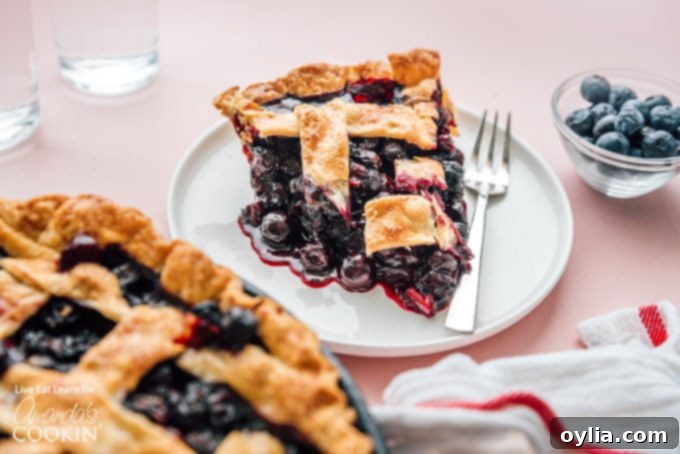
- Place the assembled pie on a baking sheet (to catch any potential drips) and transfer it to your preheated oven. Bake at 400 degrees F (200 degrees C) for 20 minutes, then reduce the oven temperature to 350 degrees F (175 degrees C) and continue baking for another 35-45 minutes, or until the crust is beautifully golden brown and the blueberry filling is visibly bubbling at the edges. If you notice the crust browning too quickly, loosely cover the edges with aluminum foil. Once baked, remove the pie from the oven and allow it to cool completely on a wire rack for several hours. This crucial cooling time allows the filling to set and thicken, ensuring perfect slices.
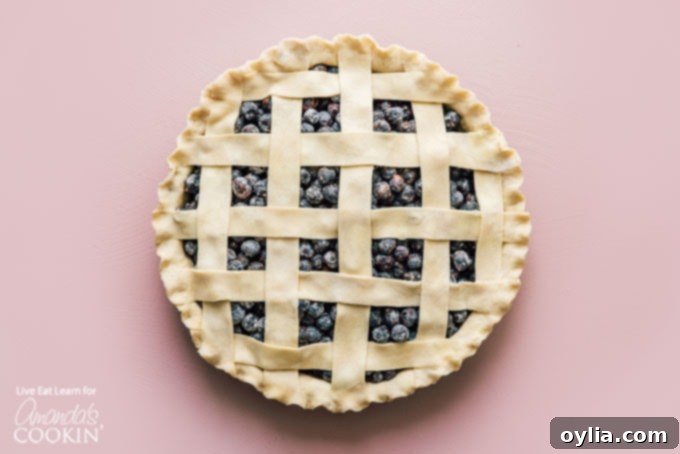
Expert Tips & Frequently Asked Questions
To ensure your homemade blueberry pie is nothing short of perfect, here are some helpful tips and answers to common questions:
If you don’t have a pastry cutter, you can absolutely use two butter knives in a scissor-like motion to cut the cold butter into the dry ingredients. Alternatively, you can use your fingertips, but work very quickly to prevent the butter from warming up too much. A food processor can also be used for a quick method, pulsing until the mixture resembles coarse crumbs.
Yes, you can certainly use frozen blueberries for this pie! The key is **not to thaw them** before mixing with the other filling ingredients. Add them directly to the cornstarch and sugar mixture while still frozen. Also, do not prepare the blueberry filling until you are ready to pour it into the pie crust and bake, as frozen berries will release liquid quickly once mixed.
Absolutely! For a quicker option, you can use store-bought refrigerated pie dough (either in tubes or sheets). Just follow the instructions on the package for rolling and handling. While homemade crust offers an unparalleled flavor and texture, pre-made crust still allows you to enjoy a delicious, fresh-baked blueberry pie with less effort.
Several factors help prevent a soggy bottom. First, ensure your butter is very cold when making the dough. Second, chilling the dough thoroughly before rolling helps maintain its structure. Third, the initial high oven temperature (400°F) helps to “shock” the bottom crust and set it quickly before the filling releases too much liquid. Lastly, allow the pie to cool completely before slicing – this allows the filling to properly thicken and prevents it from seeping into the crust.
Blueberry pie can be stored at room temperature, loosely covered, for up to 2 days. For longer storage, or if your kitchen is particularly warm, refrigerate the pie, covered, for up to 4-5 days. To freeze, wrap cooled slices or the entire pie tightly in plastic wrap, then aluminum foil. It can be frozen for up to 3 months. Thaw in the refrigerator overnight and reheat gently in the oven if desired.
Once your masterpiece is out of the oven, the hardest part of making this recipe is undoubtedly the wait! Allowing the pie to cool completely is crucial for the filling to set perfectly, but the aroma will test your patience. Trust us, it’s worth every moment. Enjoy every sweet, tart, and flaky bite!
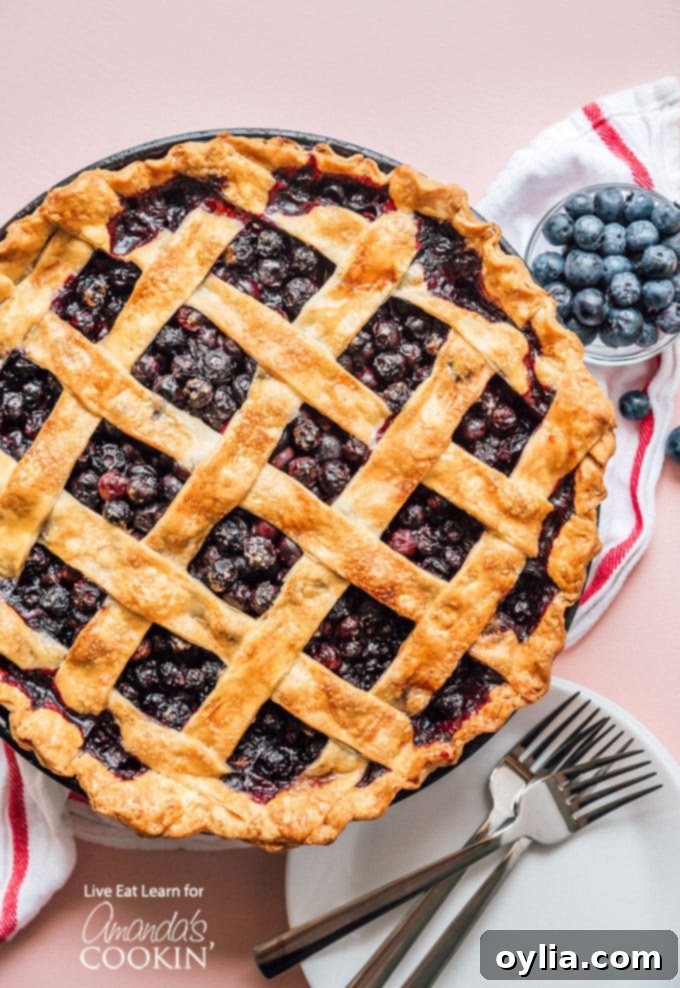
Explore More Delicious Pie Recipes
If you’ve fallen in love with pie making, or simply want to expand your dessert repertoire, we have a variety of other fantastic pie recipes for you to try. From creamy to fruity, there’s a pie for every palate and occasion:
- Banana Cream Pie: A silky, sweet classic.
- No Bake Peanut Butter Pie: Quick, easy, and incredibly rich.
- Key Lime Pie: A zesty, refreshing tropical treat.
- Strawberry Pie: Celebrate summer with fresh strawberries.
- French Silk Pie: Indulgent and luxurious chocolatey goodness.
- Peach Pie: Warm, comforting, and full of juicy peaches.
- Apple Pie: The quintessential American dessert.
- Deep Dish Peach Pie: Extra filling for serious peach lovers.
- Southern Buttermilk Pie: A surprisingly simple, custardy delight.
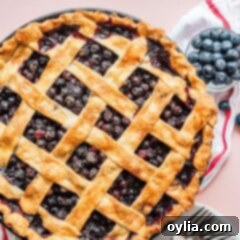
Classic Homemade Blueberry Pie
IMPORTANT – There are often Frequently Asked Questions within the blog post that you may find helpful. Simply scroll back up to read them!
Print It
Rate It
Save ItSaved!
Ingredients
Crust
- 2 ½ cups all-purpose flour
- ½ tsp salt
- 1 cup unsalted butter chilled, cut into small cubes
- 6 to 8 Tbsp ice water
- 1 egg whisked (for egg wash)
Filling
- 6 cups fresh blueberries (or frozen, not thawed)
- ¼ cup cornstarch
- ¾ cup granulated sugar (adjust to taste based on berry sweetness)
- 1 tsp lemon zest
- ½ tsp cinnamon
- ¼ tsp salt
Things You’ll Need
-
Pastry cutter
-
9-inch Pie plate
-
Pie server
-
Large mixing bowls
-
Rolling pin
Before You Begin
Instructions
-
In a large bowl, combine all-purpose flour and salt. Cut the very cold unsalted butter into the flour using a pastry cutter or two forks, until the mixture has a crumbly texture with some pea-sized pieces of butter remaining.
-
Slowly drizzle in ice water, one tablespoon at a time, mixing gently until the dough just comes together into a loose ball. Avoid overworking. Divide the dough into two equal balls, flatten each into a disk shape, wrap tightly in plastic wrap, and refrigerate for at least one hour (or up to 2 days) to firm up.
-
In a separate large bowl, gently mix together the blueberries (fresh or frozen, not thawed), cornstarch, sugar, lemon zest, cinnamon, and salt until the berries are well coated. Set aside.
-
Preheat your oven to 400 degrees F (200 degrees C). Remove one of the chilled pie crust disks from the fridge. On a lightly floured surface, roll it out into a large circle, about 1/2 inch to 1 inch larger than your 9-inch pie pan. Carefully transfer the rolled crust into the pie pan, gently pressing it into place and leaving a 1/2-inch overhang around all sides.
-
Spoon the prepared blueberry filling evenly into the bottom pie crust.
-
Remove the second pie crust disk from the fridge and roll it out into an equally large circle. Using a sharp knife or pastry wheel, cut the dough into 1-inch wide strips for your lattice topping.
-
Create your woven lattice pie crust on top of the filling. Lay half of the dough strips horizontally across the pie. Fold back every other horizontal strip about halfway. Place a vertical strip over the unfolded horizontal strips, close to the fold. Unfold the horizontal strips. Now, fold back the other set of horizontal strips (the ones that were previously underneath). Place another vertical strip, and unfold the horizontal strips. Repeat this process to weave the dough strips into a lattice pattern. Trim any excess dough from the edges and crimp the edges of the bottom and top crusts together to seal.
-
Brush the lattice dough with the whisked egg for a beautiful golden shine, optionally sprinkling with a bit of granulated sugar for extra sweetness and sparkle.
-
Place the pie on a baking sheet (to catch any drips) and transfer to the preheated oven. Bake for 20 minutes at 400 degrees F (200 degrees C), then reduce the temperature to 350 degrees F (175 degrees C) and continue baking for another 35-45 minutes, or until the crust is golden brown and the blueberry filling is bubbling vigorously at the edges. If the crust begins to brown too quickly, loosely cover the edges with aluminum foil.
-
Remove the pie from the oven and allow it to cool completely on a wire rack for at least 3-4 hours before serving. This crucial step allows the blueberry filling to properly set and thicken, ensuring clean, beautiful slices.
Nutrition Information (Estimated Per Serving)
The recipes on this blog are tested with a conventional gas oven and gas stovetop. It’s important to note that some ovens, especially as they age, can cook and bake inconsistently. Using an inexpensive oven thermometer can assure you that your oven is truly heating to the proper temperature. If you use a toaster oven or countertop oven, please keep in mind that they may not distribute heat the same as a conventional full sized oven and you may need to adjust your cooking/baking times. In the case of recipes made with a pressure cooker, air fryer, slow cooker, or other appliance, a link to the appliances we use is listed within each respective recipe. For baking recipes where measurements are given by weight, please note that results may not be the same if cups are used instead, and we can’t guarantee success with that method.
Please note:
– I’ve updated the `
