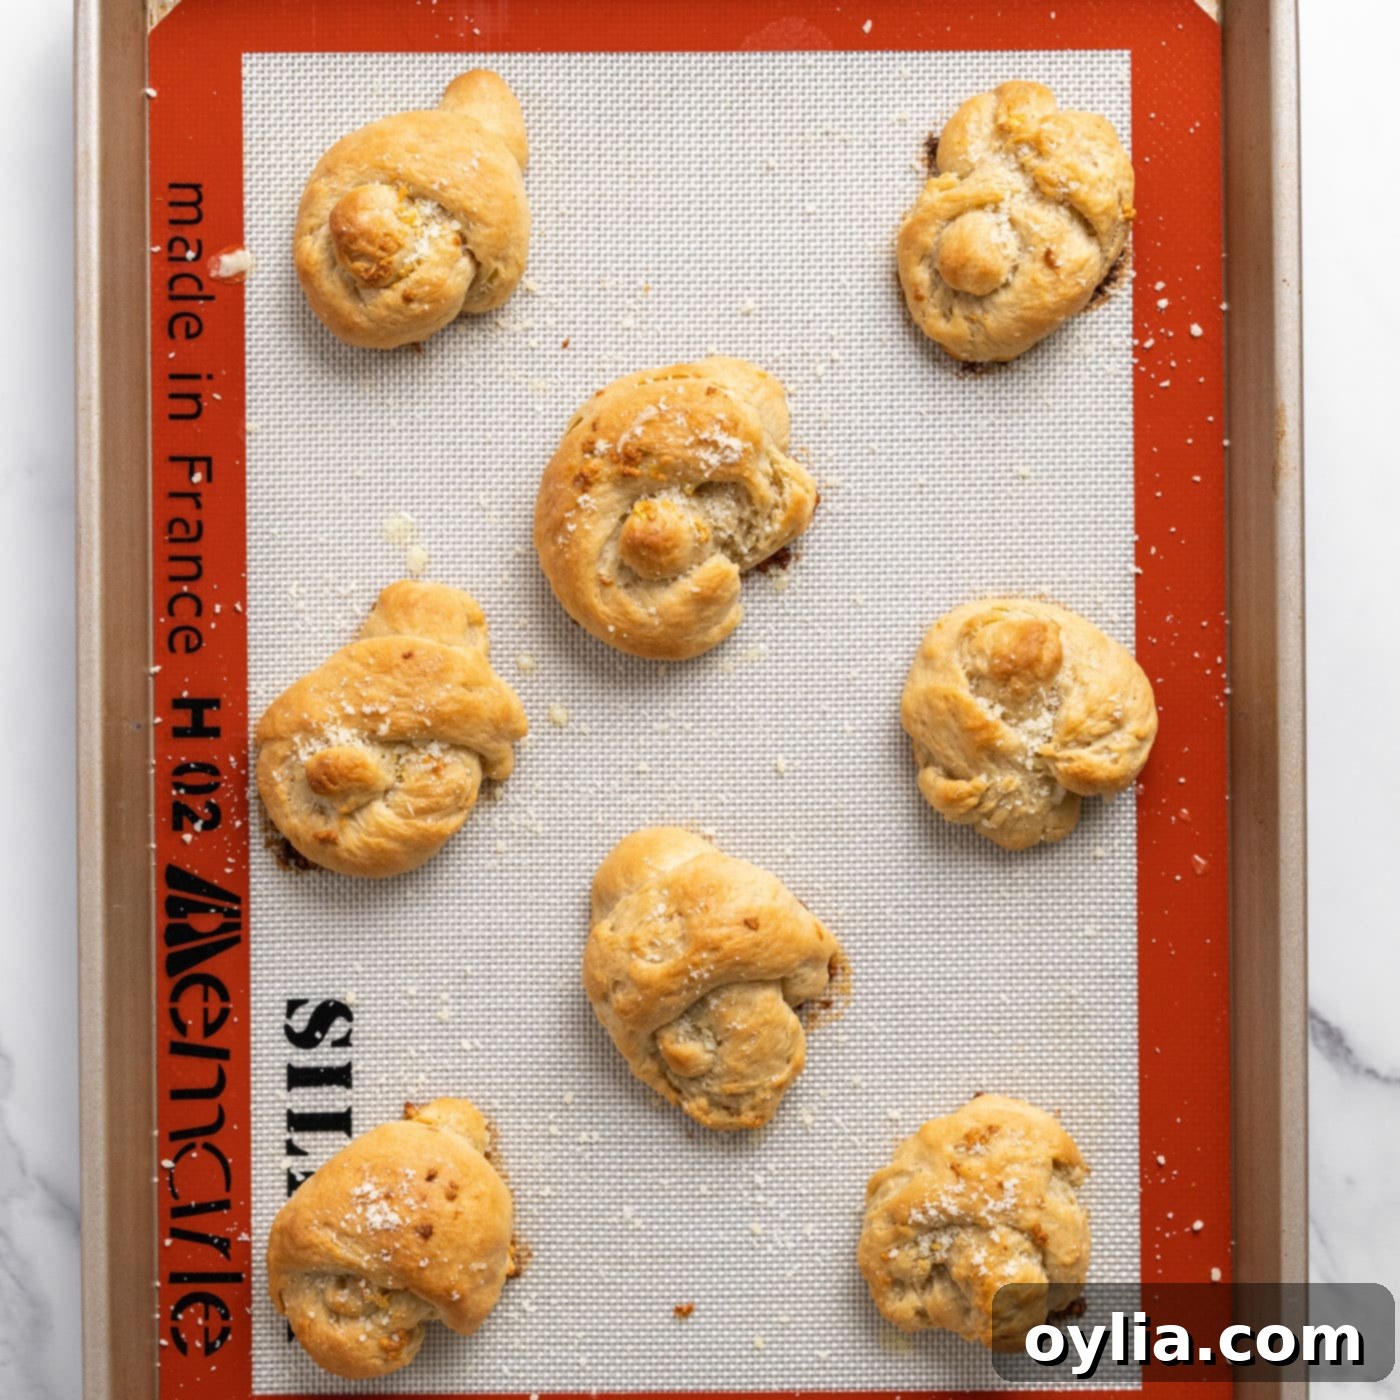
Homemade Garlic Knots: Soft, Buttery, and Irresistibly Garlicky
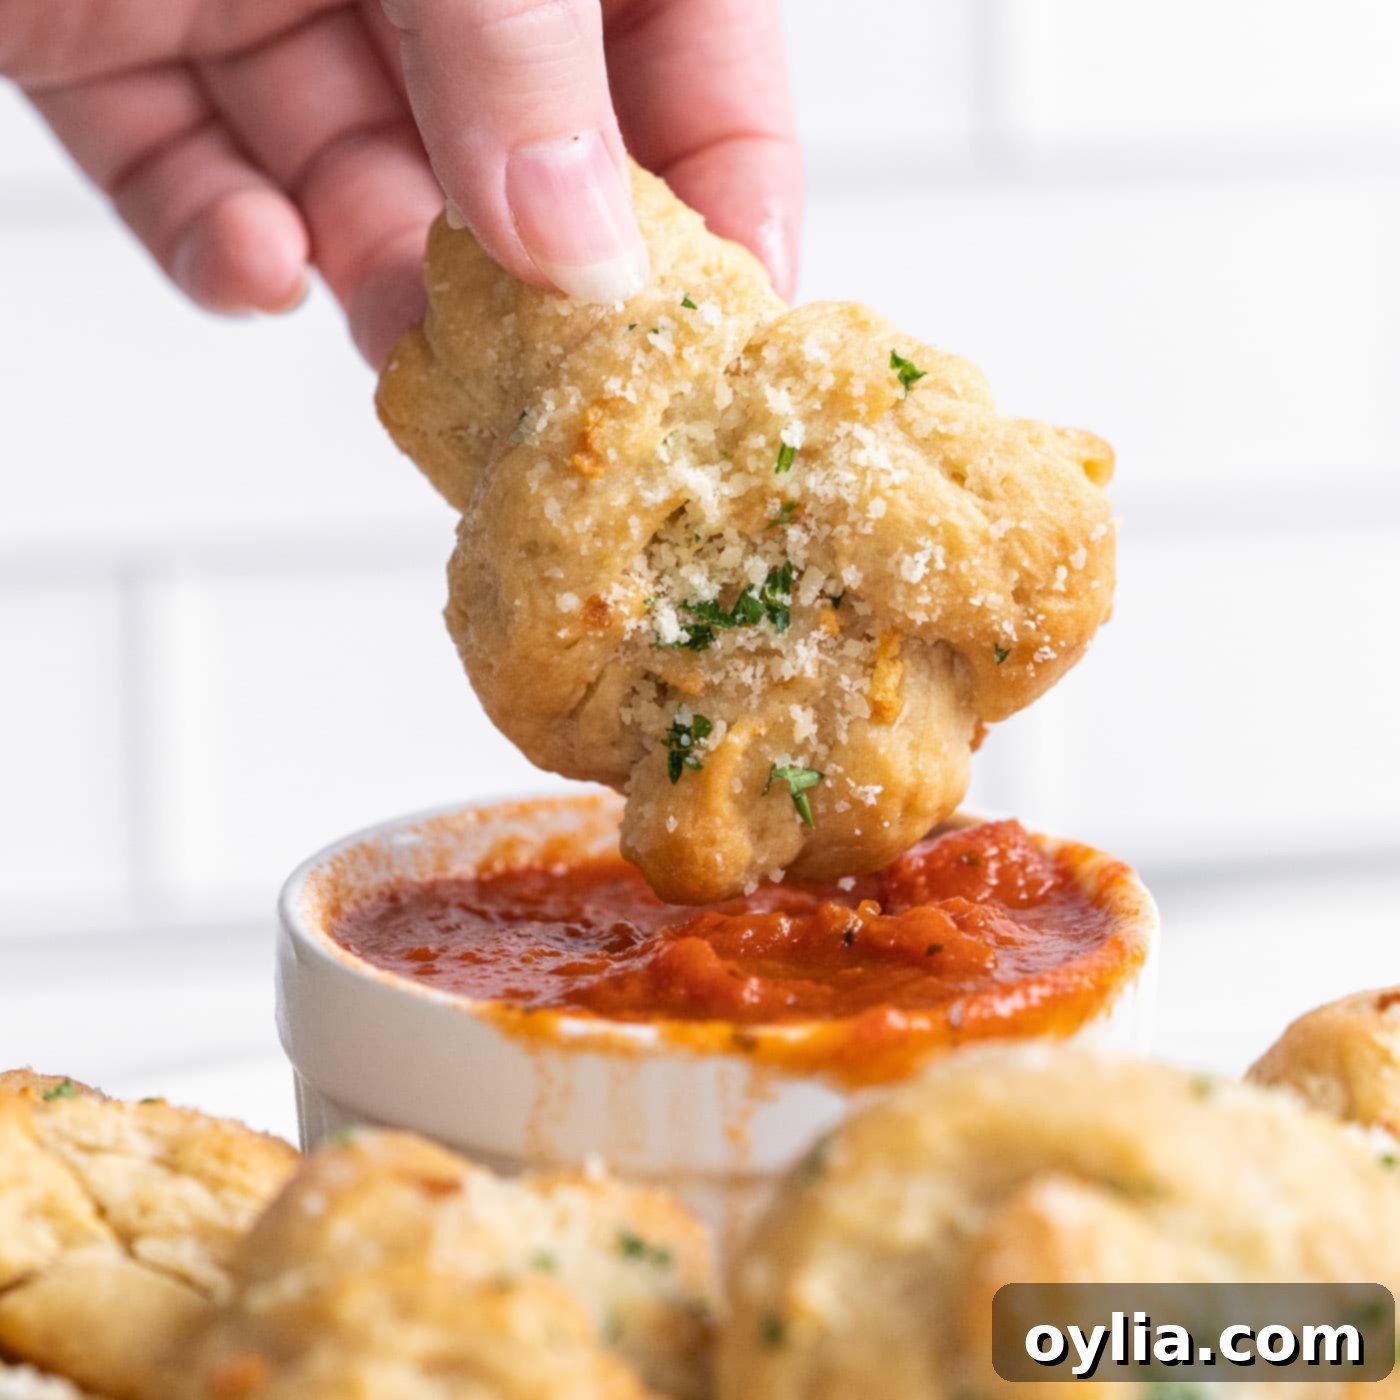
There’s nothing quite like the aroma of freshly baked bread filling your kitchen, especially when that bread is infused with rich garlic and melted butter. These **soft, fluffy garlic knots** are a true testament to comfort food, delivering a burst of savory flavor with every bite. Crafted from a simple, from-scratch dough, each knot is lovingly brushed with an abundant amount of melted garlic butter, baked until beautifully golden brown, and then finished with a generous sprinkle of Parmesan cheese. Perfect as an appetizer, a side dish, or simply a delicious snack, these homemade garlic knots are guaranteed to become a family favorite.
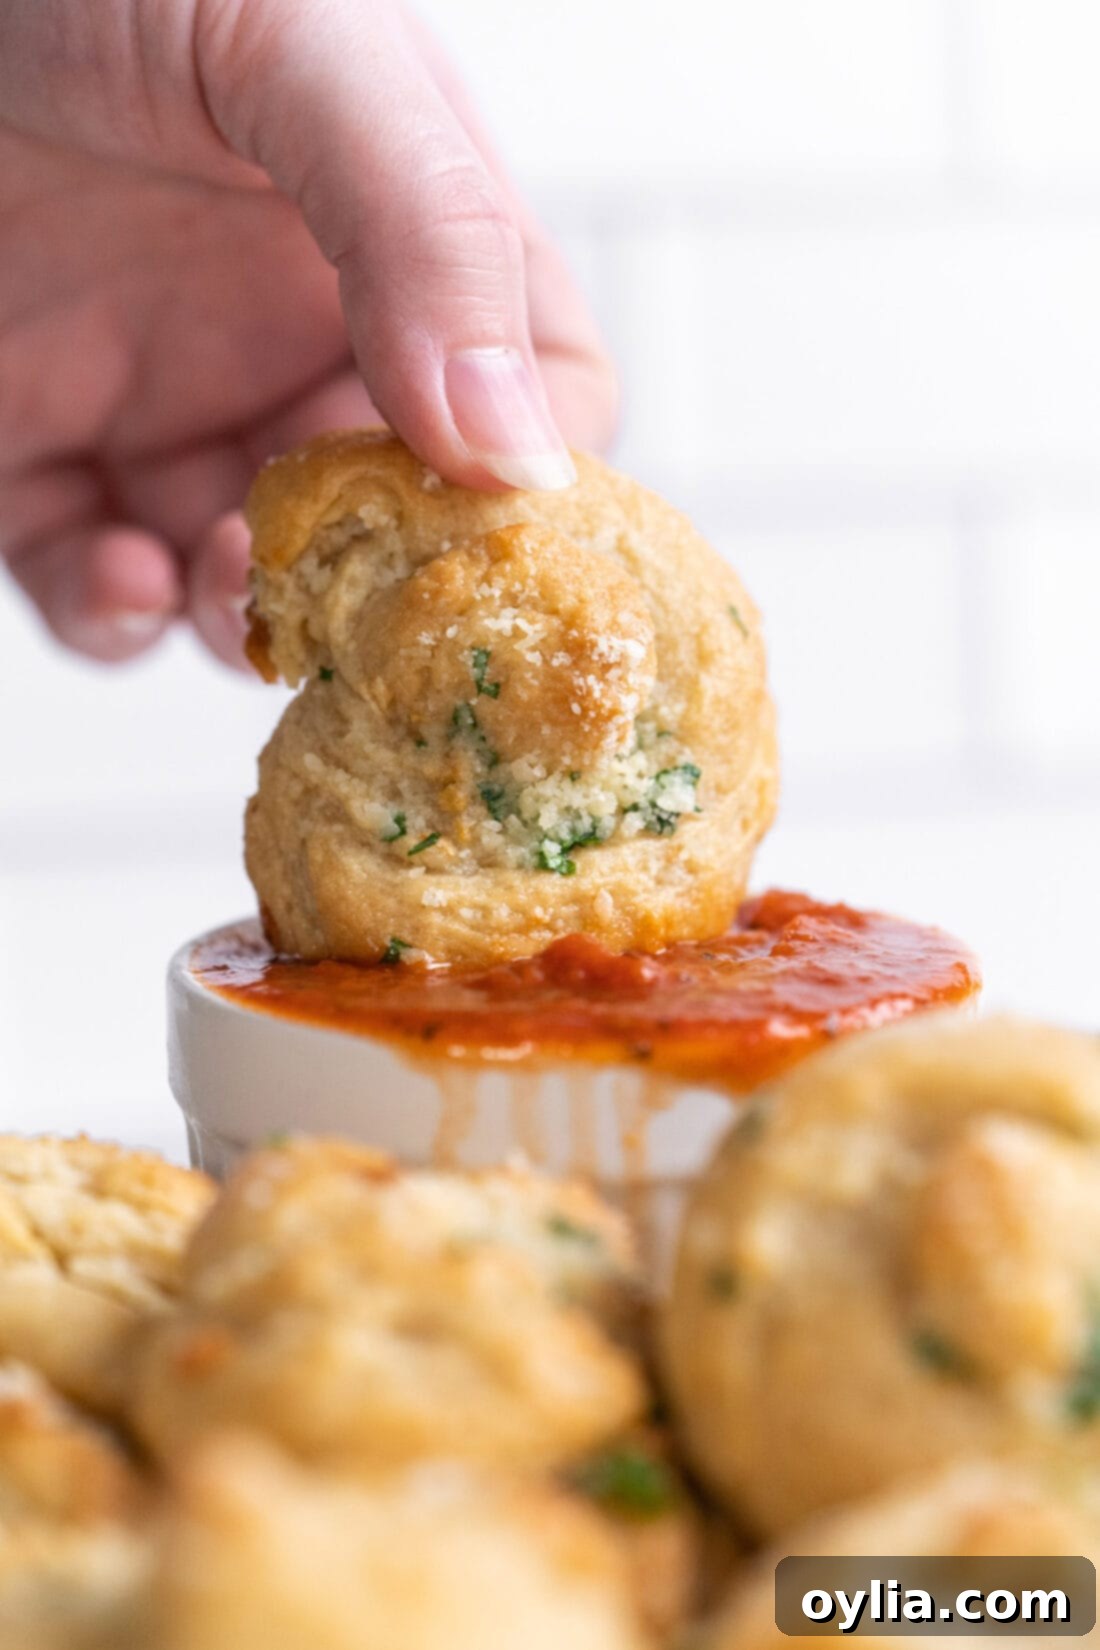
Why This Recipe Is a Must-Try
These soft, buttery, garlic-infused bread knots aren’t just a treat; they’re incredibly rewarding to make and even more delightful to eat. What makes this recipe truly stand out is its simplicity and efficiency. You only need about **30 minutes for the dough to rise**, which means you can enjoy these warm delights sooner than you think. Best of all, you can prepare these garlic knots with just your hands – no fancy stand mixer or special equipment is strictly required (though a mixer can certainly make the kneading process easier if you prefer). The result is an abundance of exceptionally fluffy, aromatic garlic rolls that are perfect for sharing, or for keeping all to yourself!
If you’re a devout cheese enthusiast, you’ll be thrilled to know we also have a fantastic recipe for Gooey Garlic Cheese Rolls. It’s essentially this same beloved recipe, but with the added decadence of melty cheese stuffed right inside. Pure bliss!
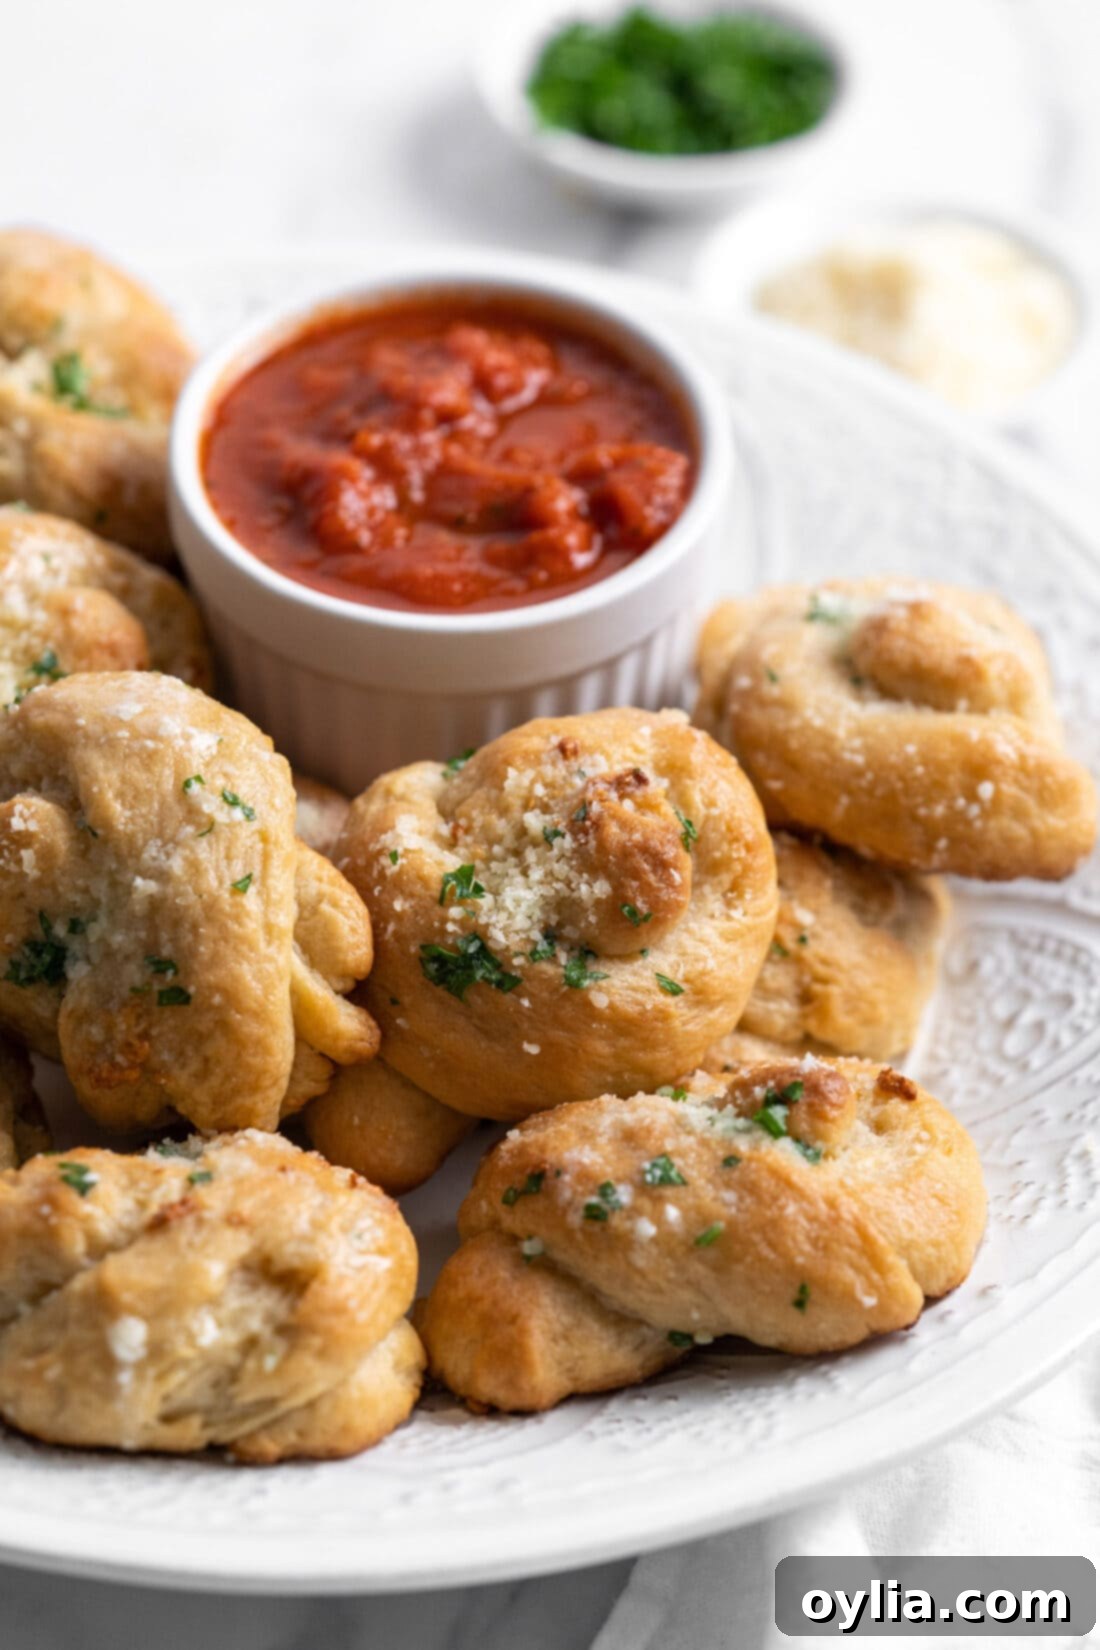
Key Ingredients for Perfect Garlic Knots
Before you begin, gather all your ingredients. You’ll find a complete list of measurements, ingredients, and detailed instructions in the printable recipe card located at the end of this post. Having everything prepped and ready will make the baking process smooth and enjoyable!
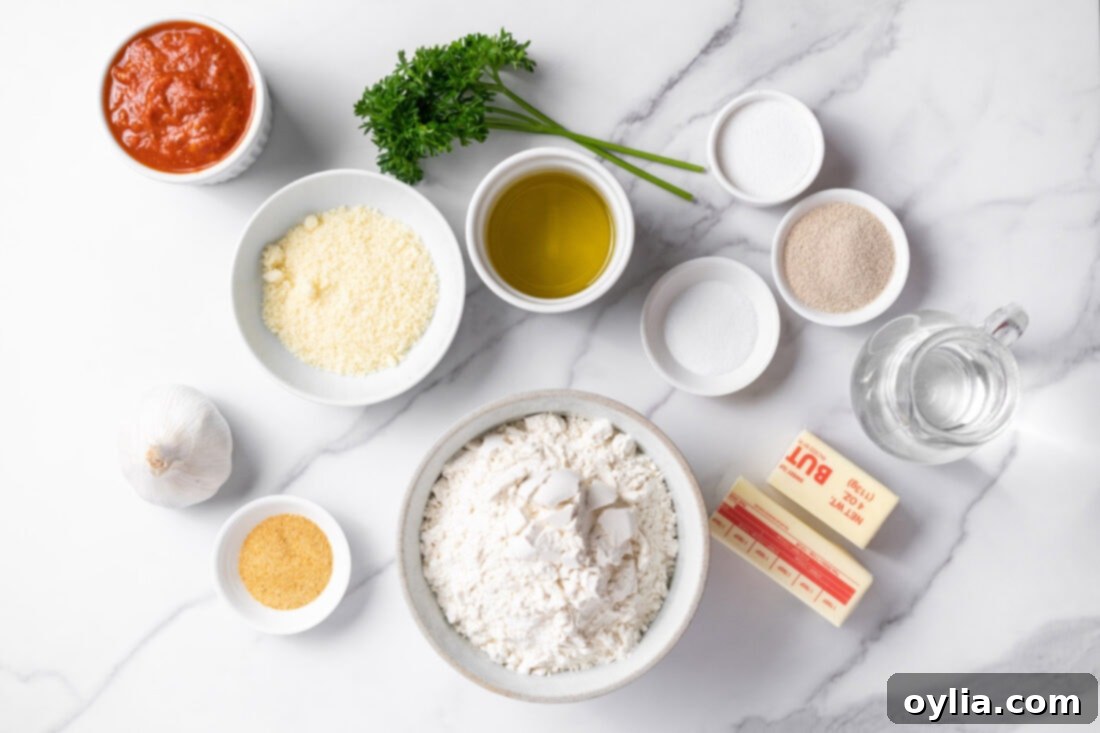
Ingredient Info and Smart Substitutions
Understanding your ingredients and knowing when and how to make substitutions can elevate your baking experience. Here’s a closer look at what you’ll need for these incredible garlic knots:
- DOUGH Essentials: This recipe calls for standard **all-purpose flour**, which yields a wonderfully light and airy texture. If you’re keen on experimenting with whole wheat flour for added fiber, we recommend a half-and-half approach: use half all-purpose flour and half whole wheat flour. Substituting entirely with whole wheat flour can result in a denser roll, which might not give you the desired fluffy garlic knot. For the fat, **olive oil** not only provides a lovely flavor to baked goods but also contributes to the dough’s softness. Should you not have olive oil on hand, **vegetable oil** or **canola oil** are excellent neutral-flavored alternatives.
- Activating the Yeast: The **warm water** in this recipe is crucial for activating the **instant yeast**. Aim for water temperature between 105-115°F (40-46°C). Water that’s too hot can kill the yeast, while water that’s too cold might not activate it sufficiently, leading to a dough that doesn’t rise. The **granulated sugar** acts as food for the yeast, helping it to become active and produce that beautiful rise.
- Flavorful Additions: **Garlic powder** is incorporated directly into the dough for a subtle, consistent garlic essence throughout. **Salt** is vital for flavor balance and to control yeast activity.
- GARLIC BUTTER Perfection: The rich, aromatic garlic butter is arguably the star of these knots. We use **melted salted butter** for convenience and flavor. However, if you’re using unsalted butter, simply add a pinch more salt to your garlic butter mixture. For the garlic itself, fresh crushed garlic provides an intense, vibrant flavor. If you prefer a **less intense garlic flavor** or don’t have fresh garlic, you can easily **omit the fresh garlic and add 1 teaspoon of garlic powder instead** to the melted butter. This offers a mellower, more even garlic distribution.
- Toppings and Dipping: **Finely grated Parmesan cheese** adds a salty, umami finish that complements the garlic butter perfectly. Freshly **minced parsley** provides a touch of freshness and a vibrant pop of color. And of course, a warm bowl of **marinara sauce** is the classic accompaniment for dipping.
Step-by-Step Guide: Crafting Your Own Garlic Knots
These step-by-step photos and instructions are here to help you visualize how to make this recipe. You can Jump to Recipe to get the printable version of this recipe, complete with measurements and instructions at the bottom.
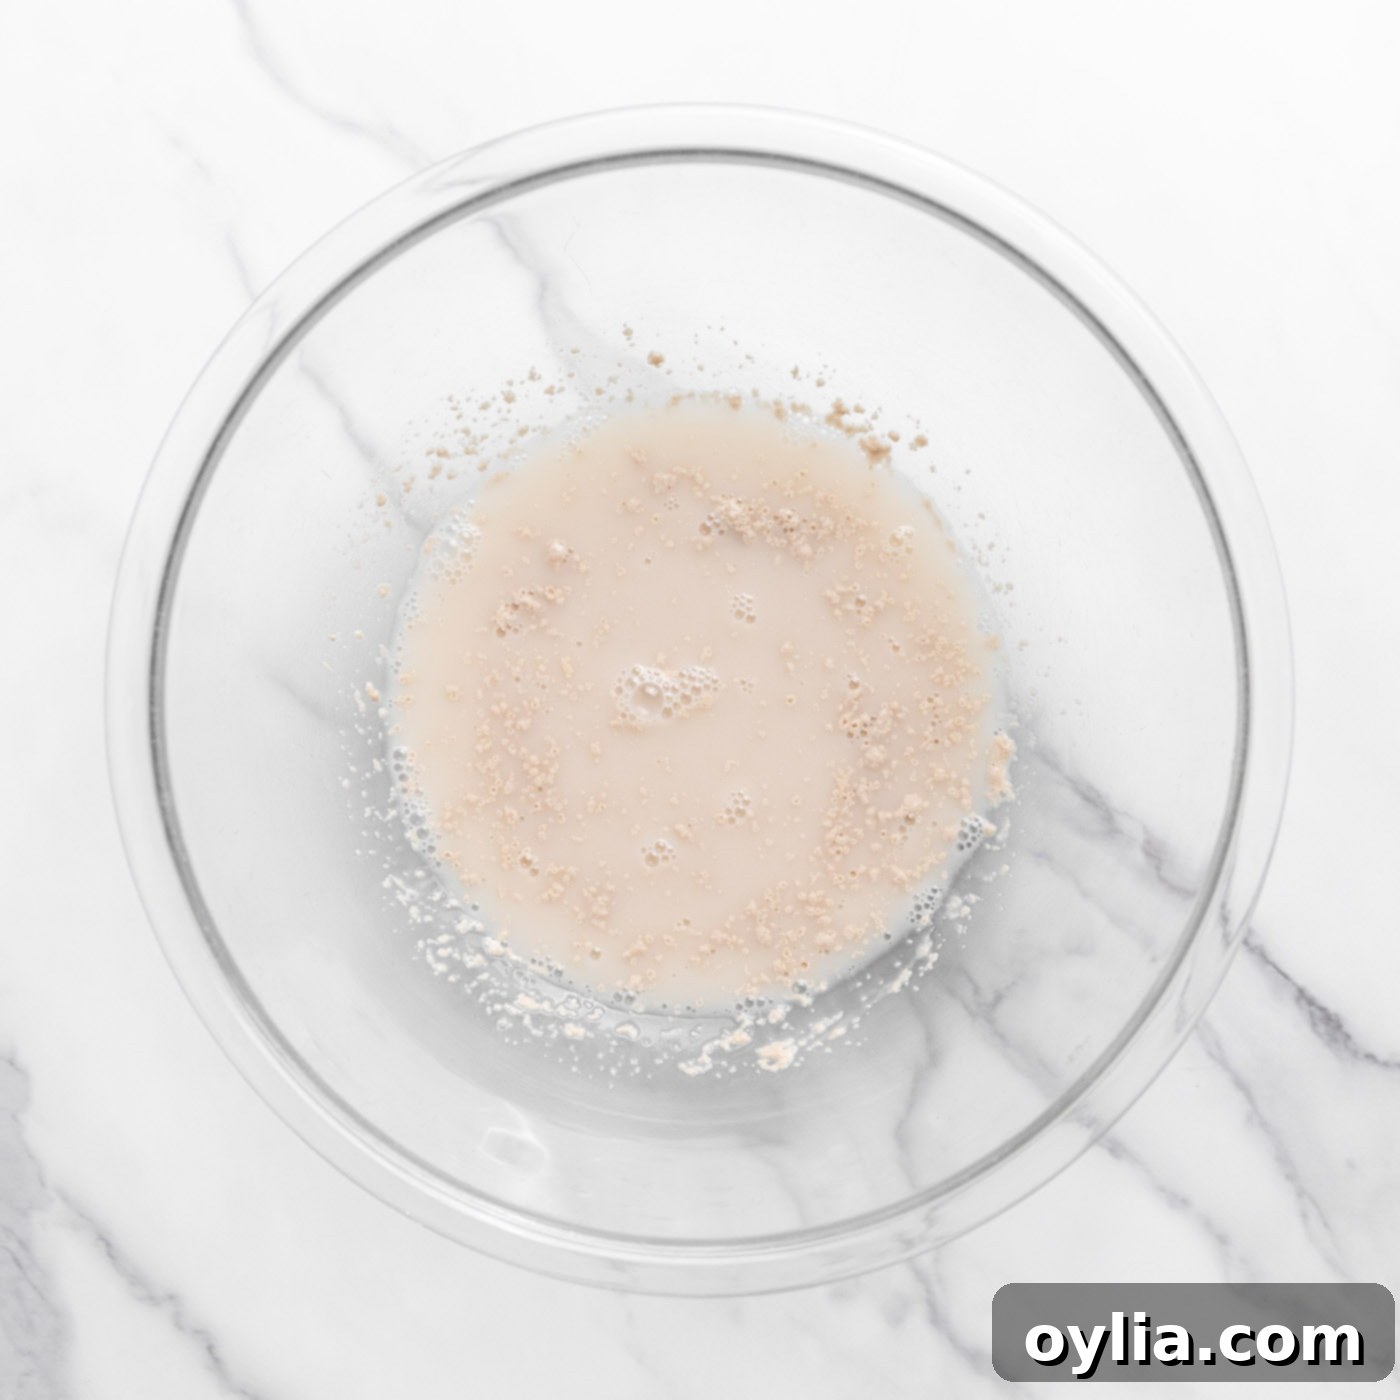
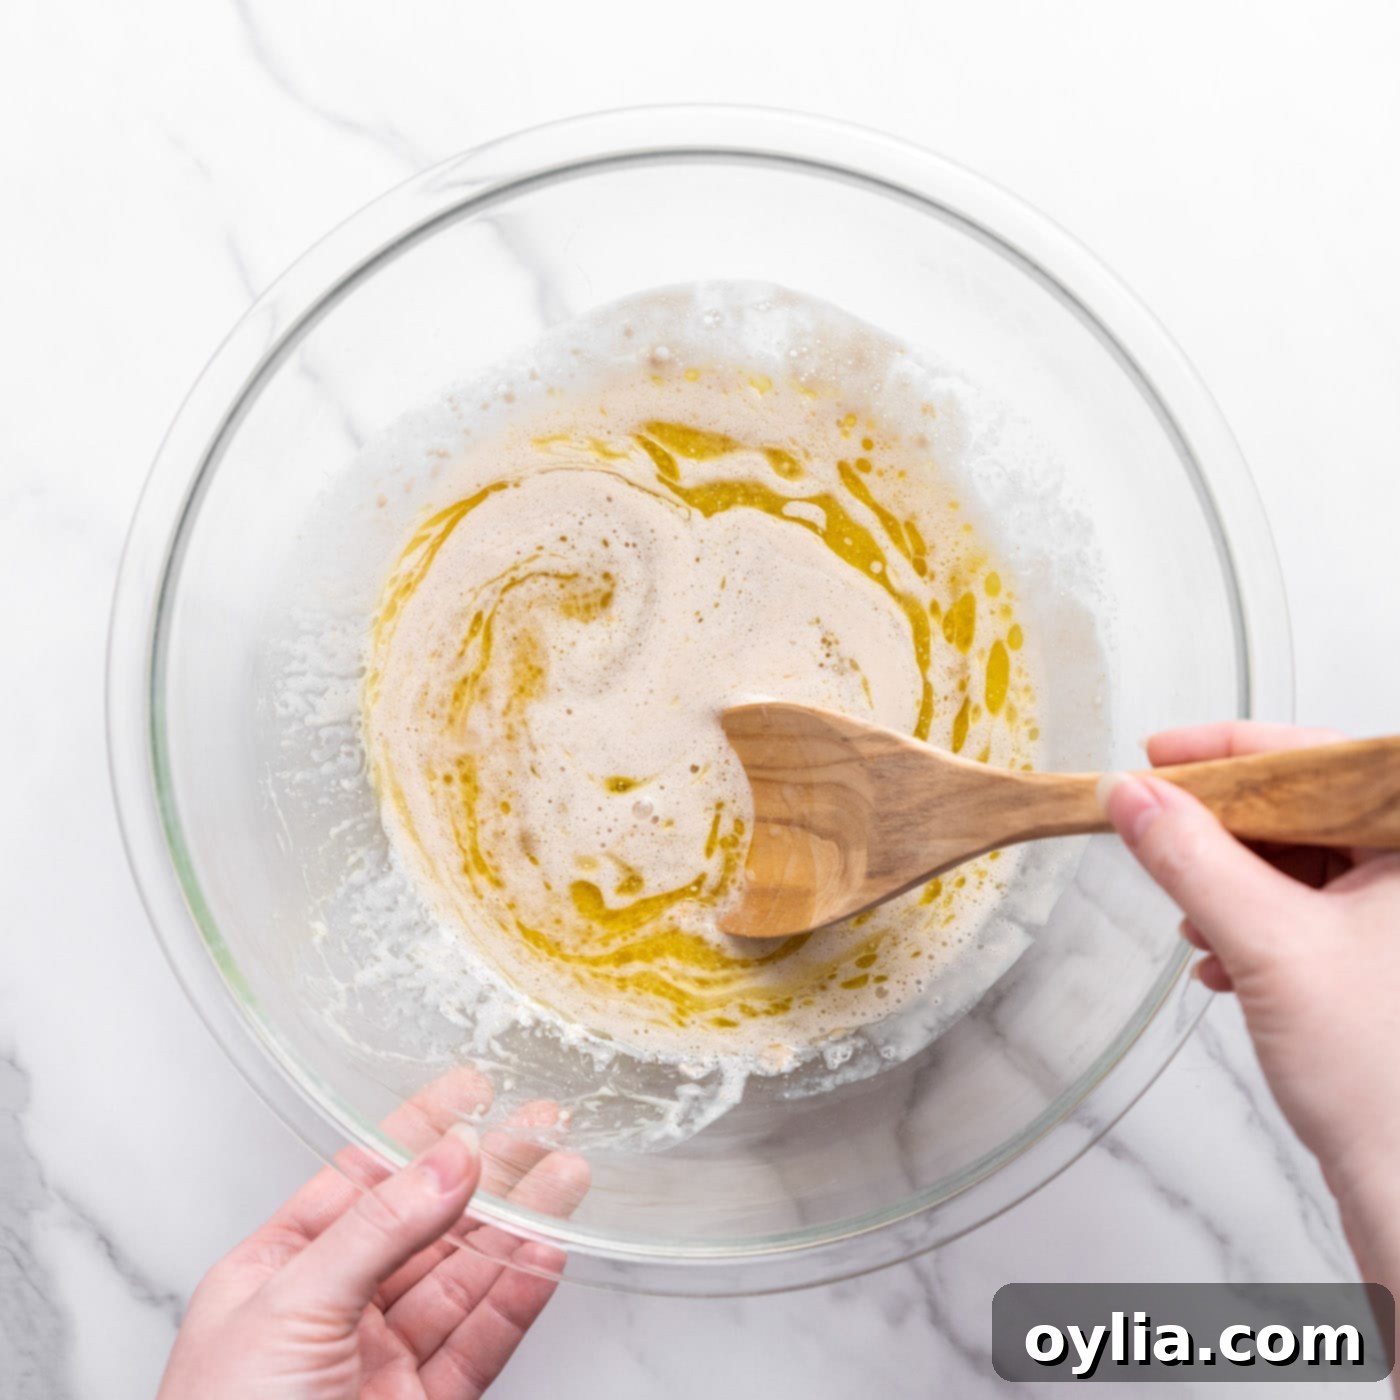
- Activate the Yeast: Begin by adding the warm water (ensure it’s between 105-115°F or 40-46°C) to a large bowl. Sprinkle the instant yeast evenly over the surface of the water. Let it sit undisturbed for a few minutes until it becomes visibly foamy. This foam indicates that your yeast is active and ready to work! Once foamy, stir in the granulated sugar, garlic powder, ¼ cup of melted butter, olive oil, and salt until well combined. This forms the flavorful liquid base for your dough.


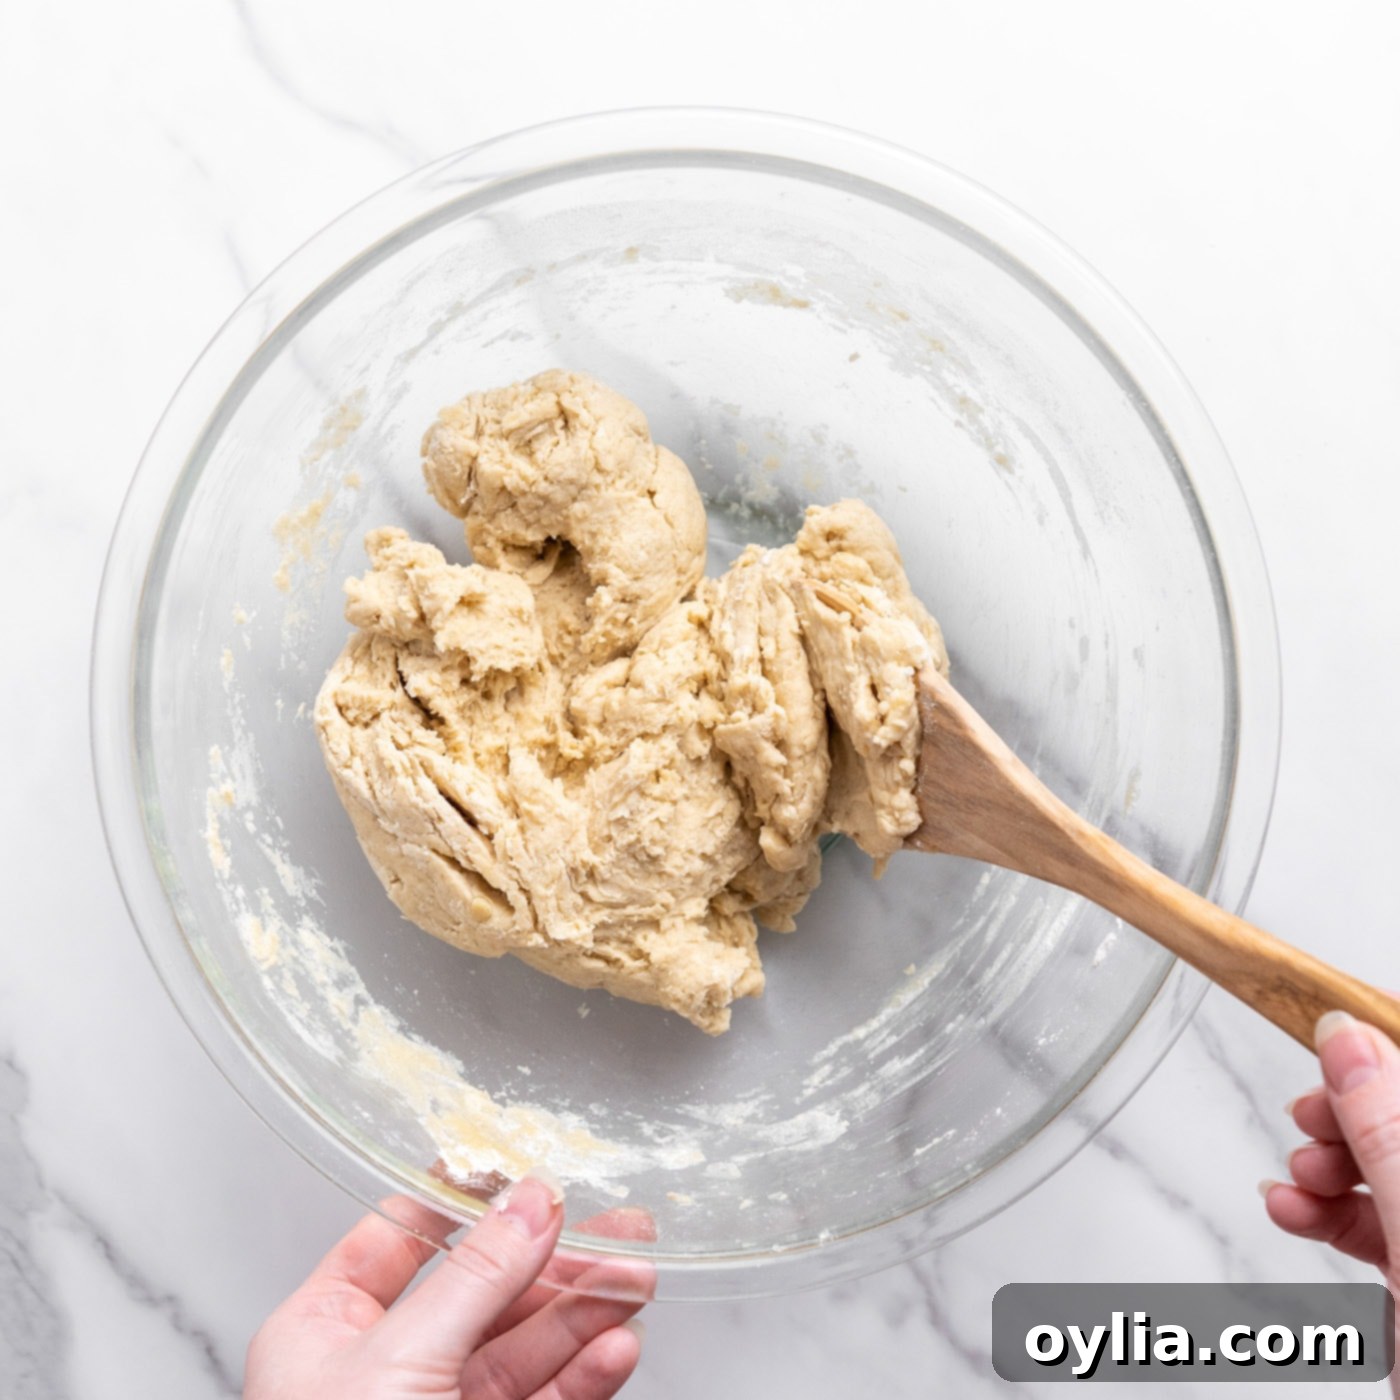
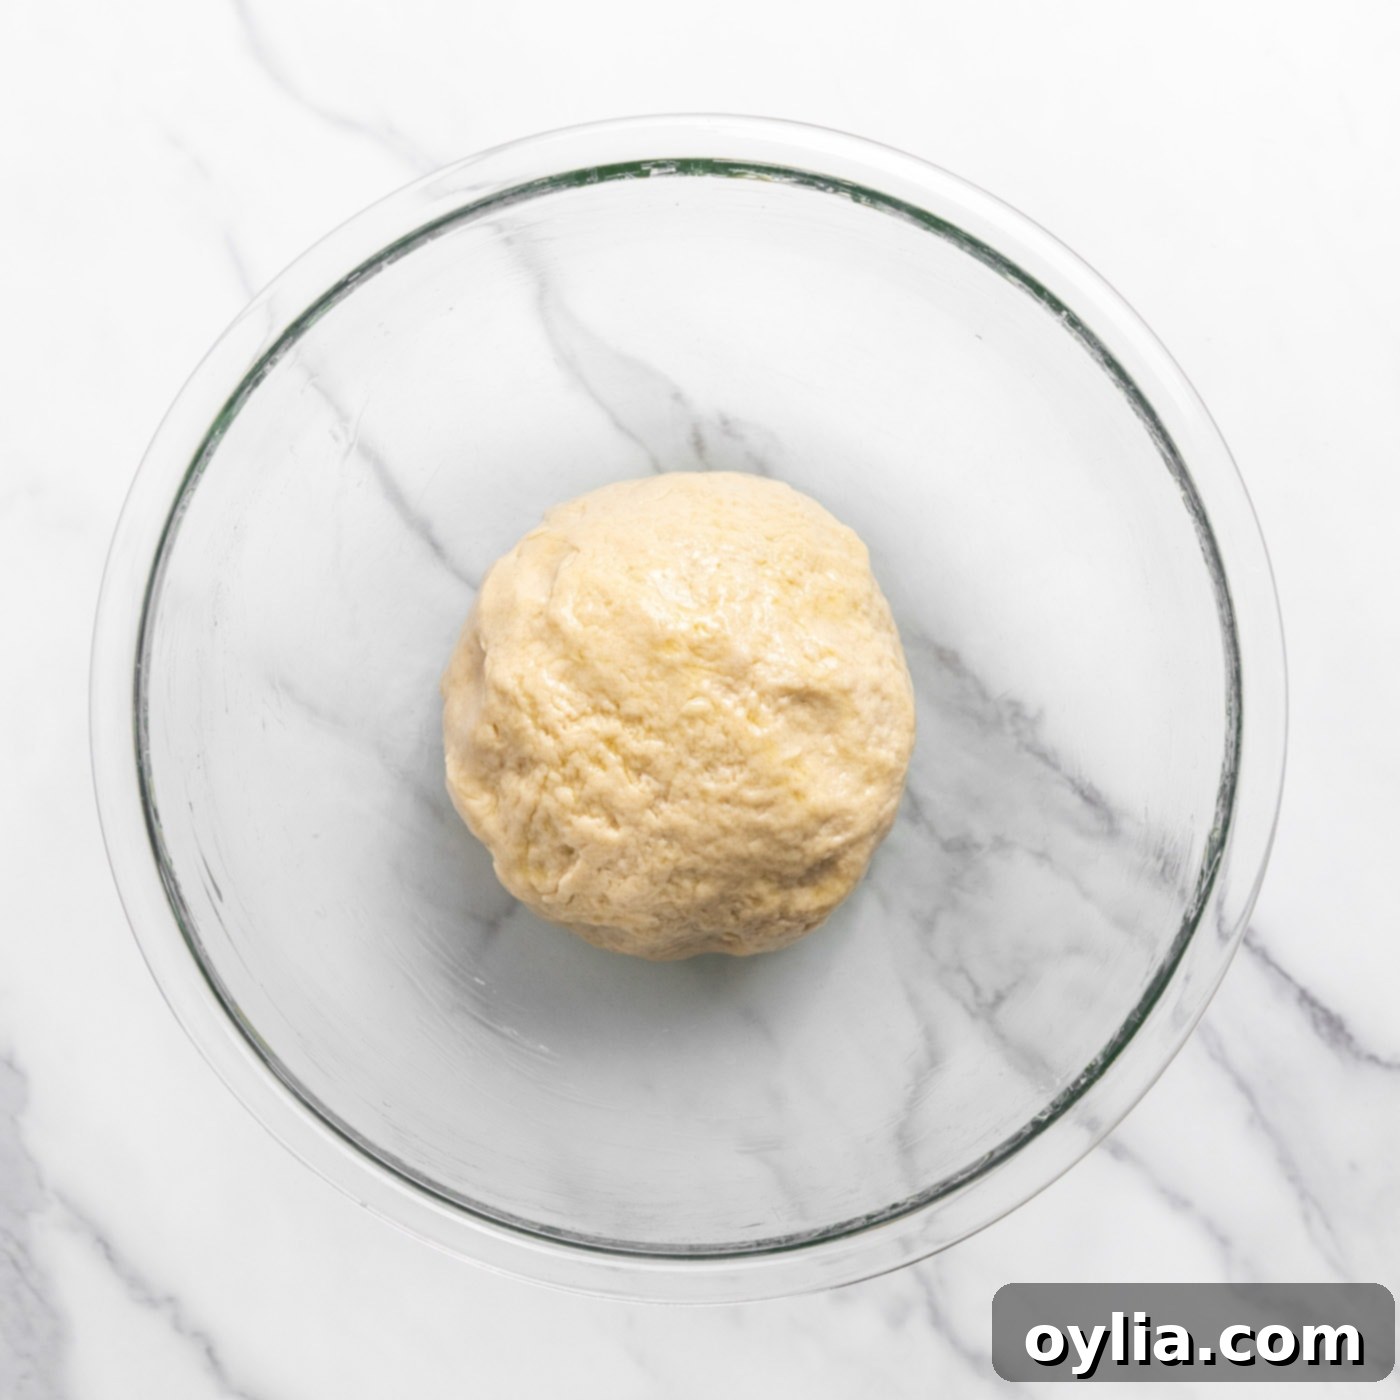
- Form the Dough: Gradually mix in the all-purpose flour. You can do this by hand, using a sturdy wooden spoon or your clean hands, or with a stand mixer fitted with a dough hook. Once the flour is incorporated, knead the dough for approximately 10 minutes. The dough should become smooth, elastic, and less sticky. After kneading, shape the dough into a cohesive ball. Lightly oil a large, clean bowl with 1 tablespoon of olive oil, place the dough ball inside, and turn it once to coat it completely. Cover the bowl with a clean kitchen towel or plastic wrap.


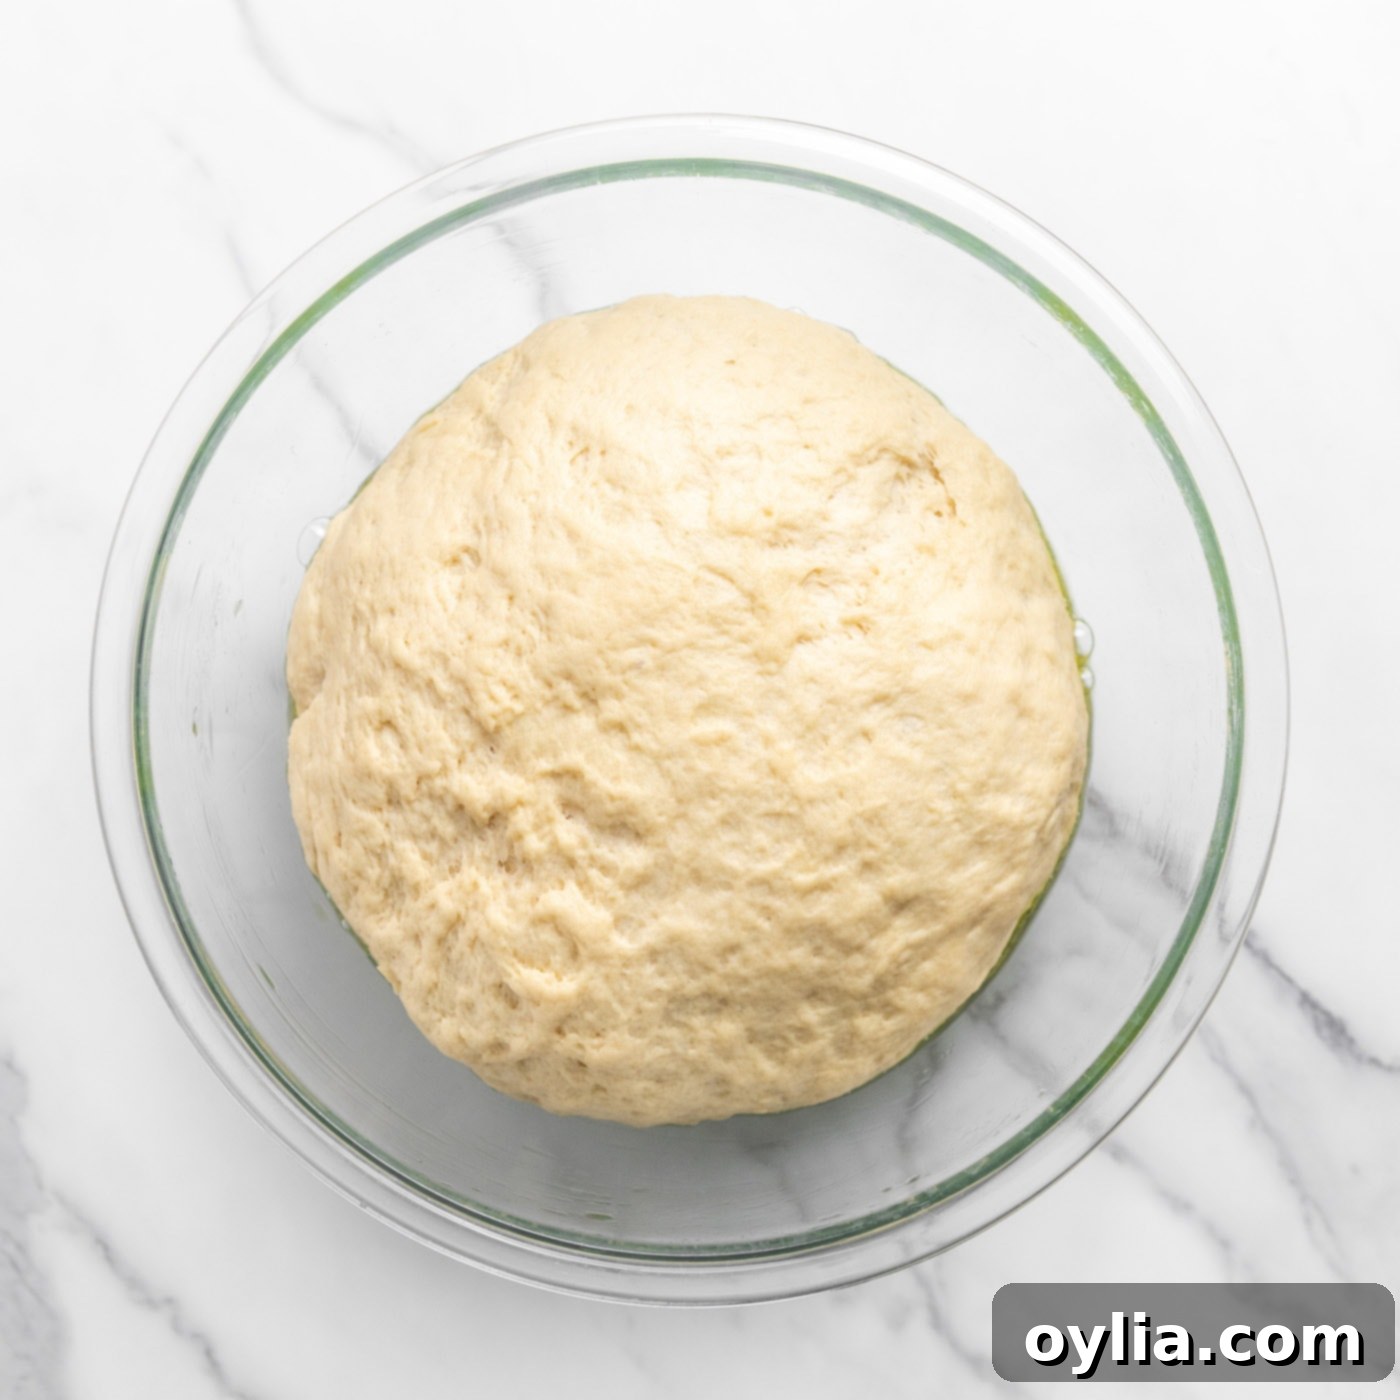
- First Rise: Let the dough rise at room temperature until it has doubled in size. This typically takes about 30 minutes, but it can vary depending on your kitchen’s temperature and humidity. A warm spot will expedite the process. The dough should feel light and airy when gently poked.

- Preheat and Prepare: While the dough rises, preheat your oven to 375°F (190°C). Line two large baking trays with silpat baking mats or parchment paper; this prevents sticking and ensures even baking. Once the dough has risen, gently turn it out onto a clean, lightly floured work surface.
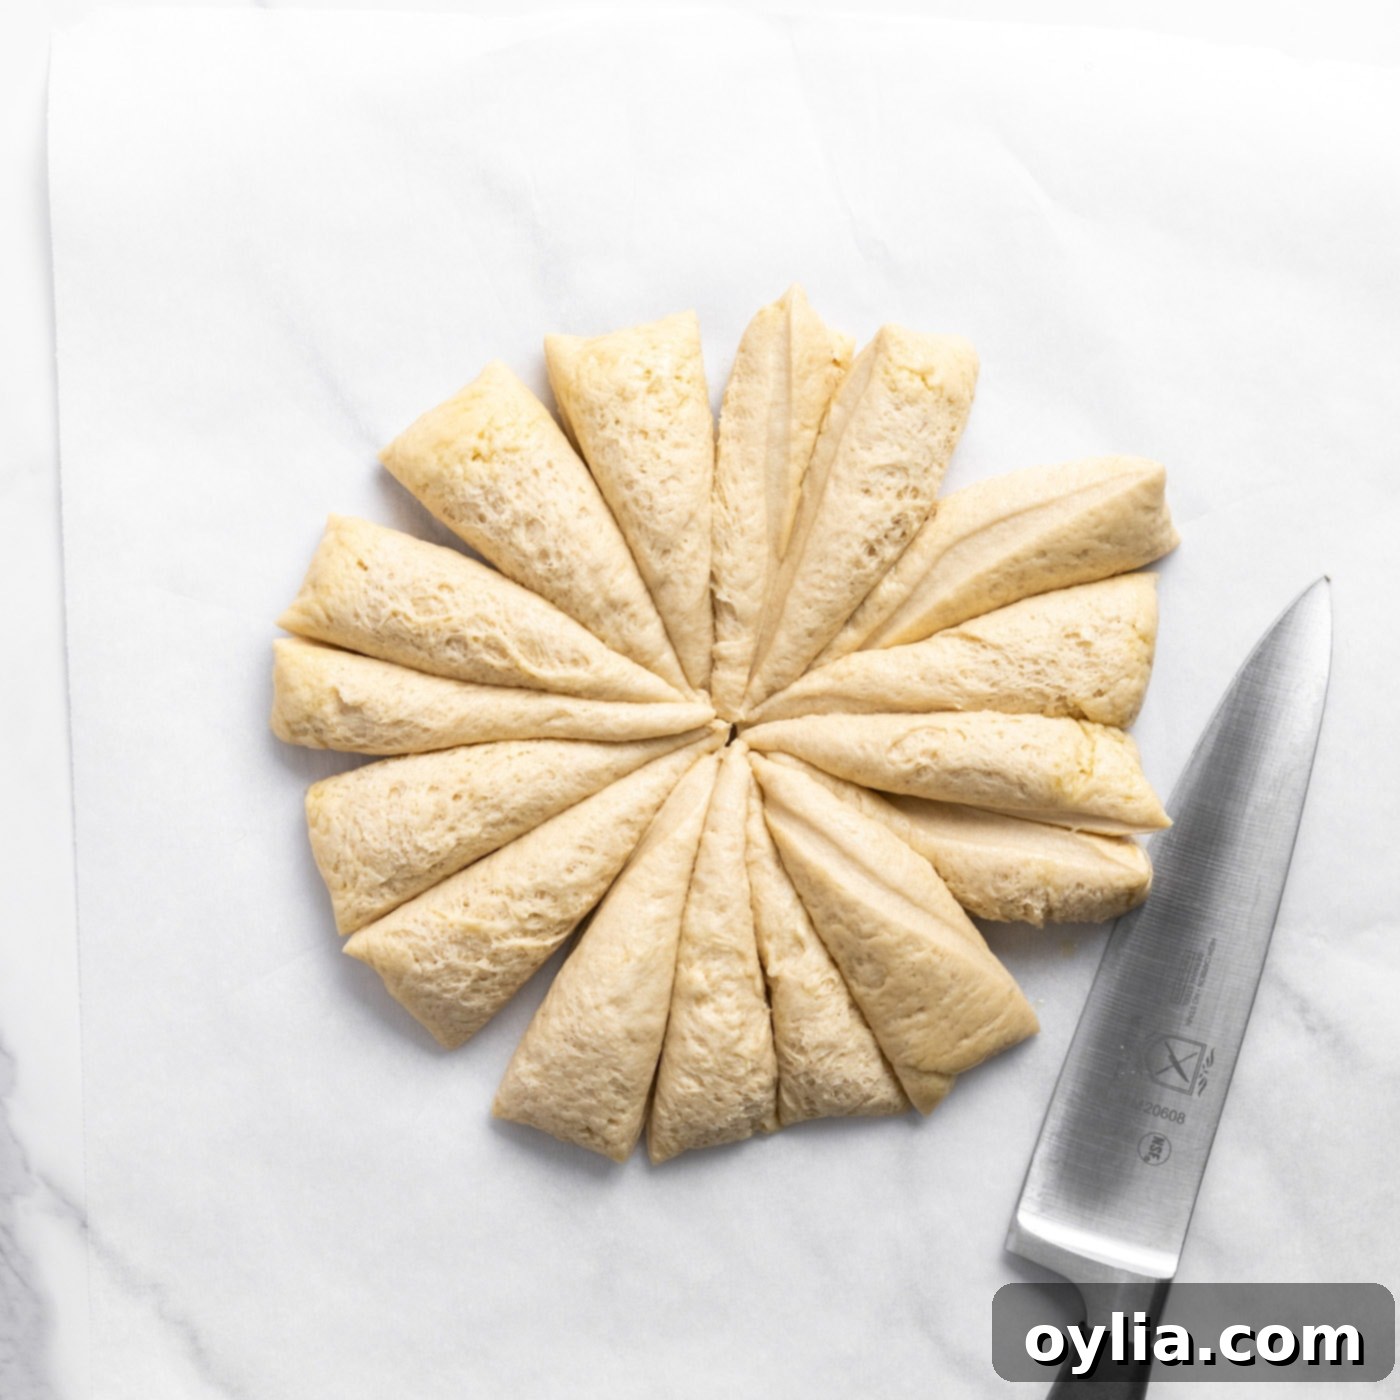
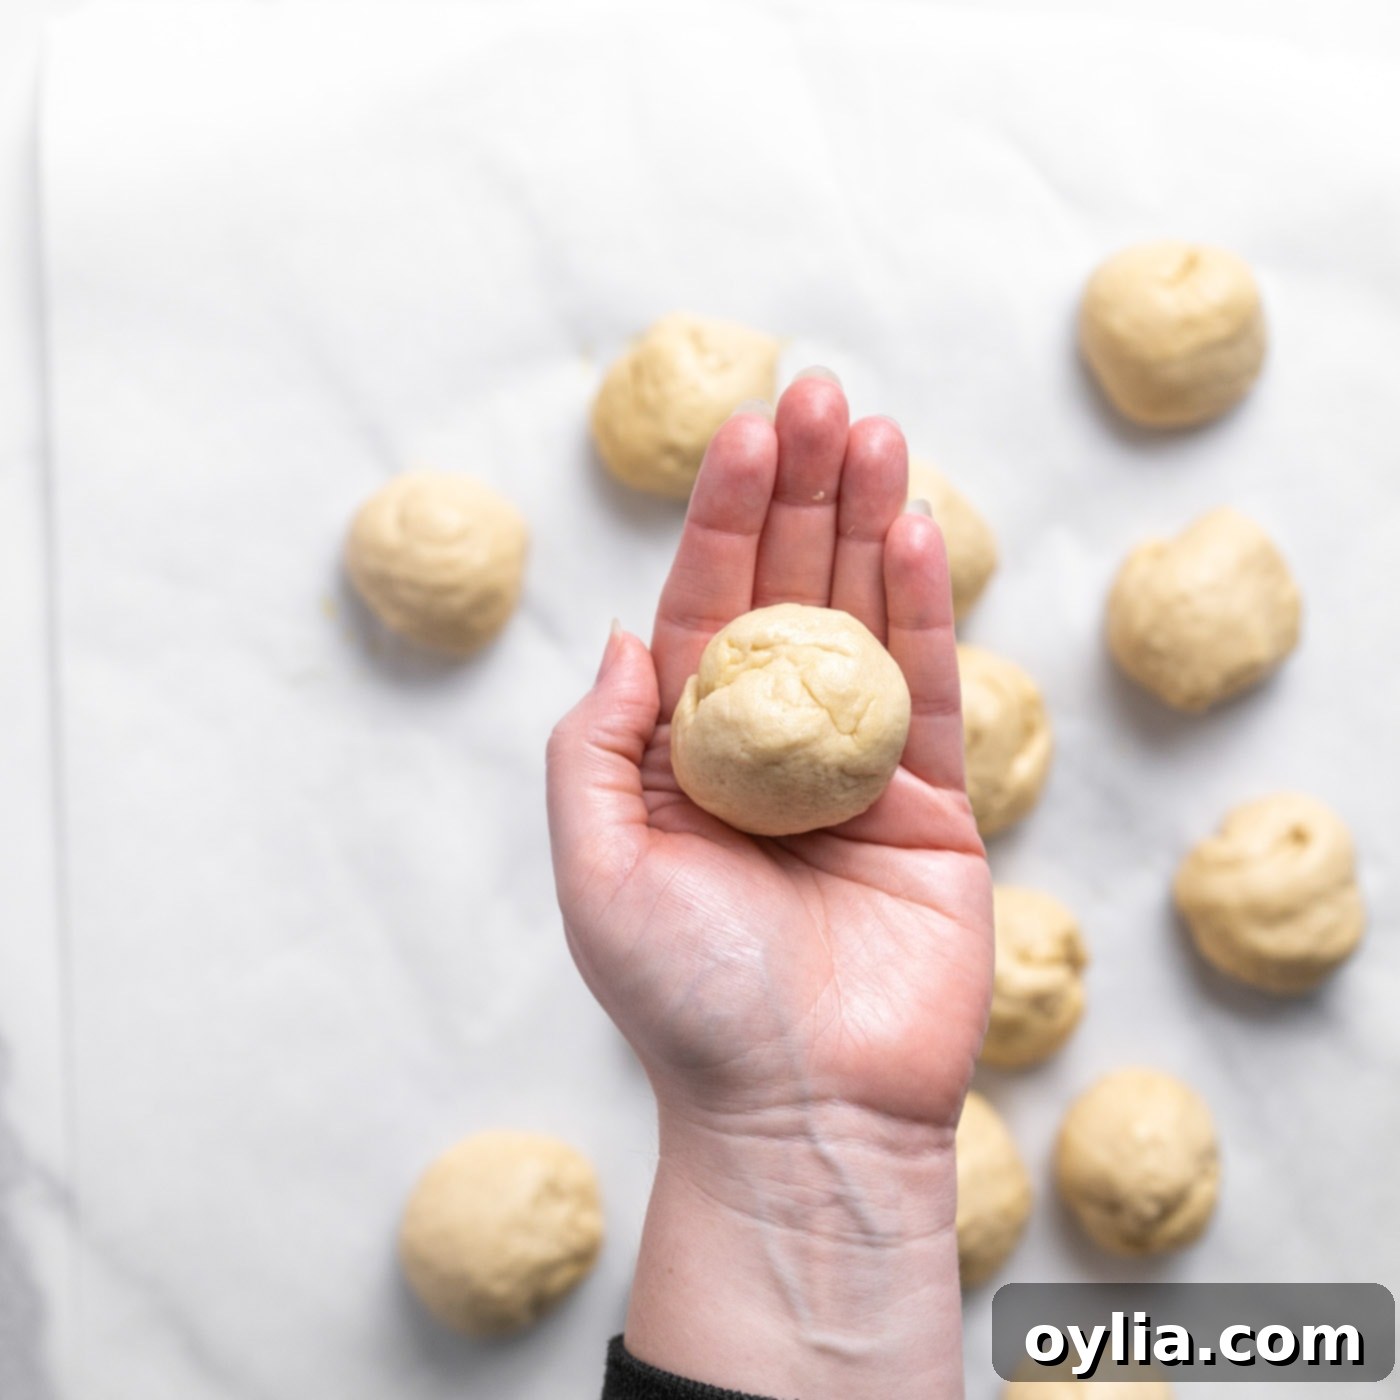
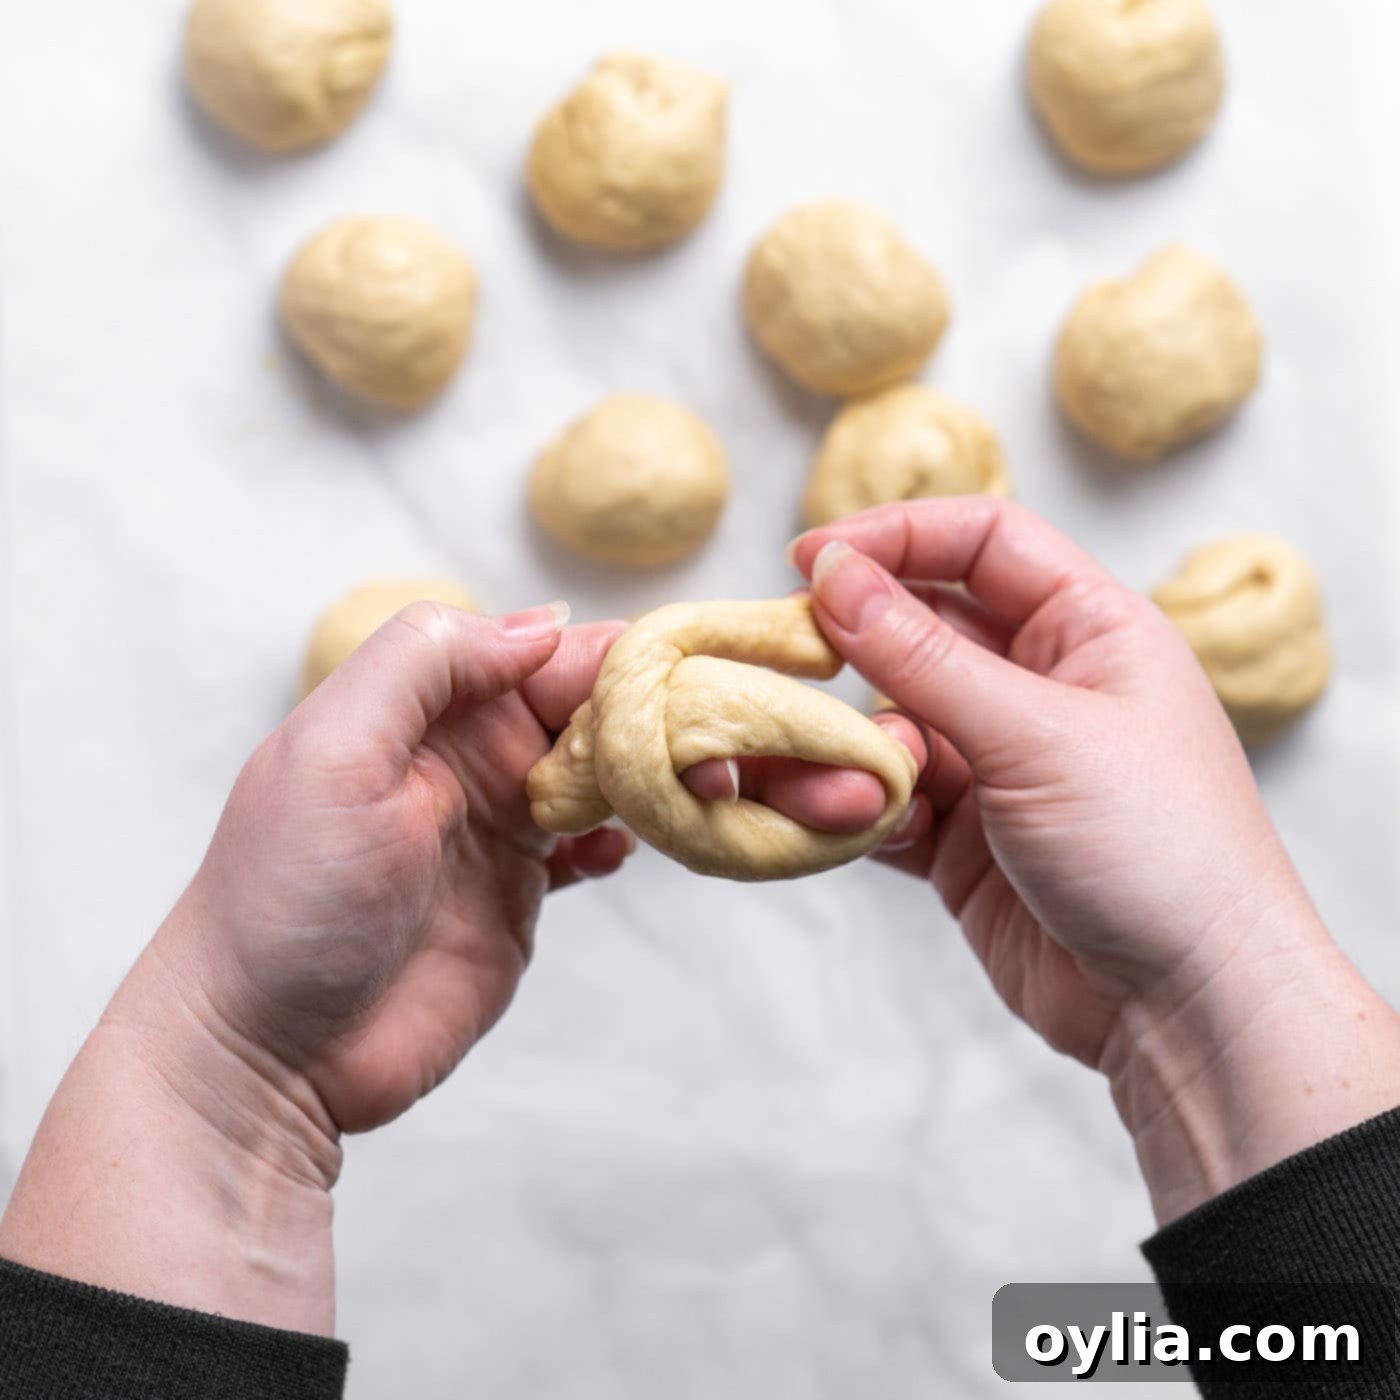
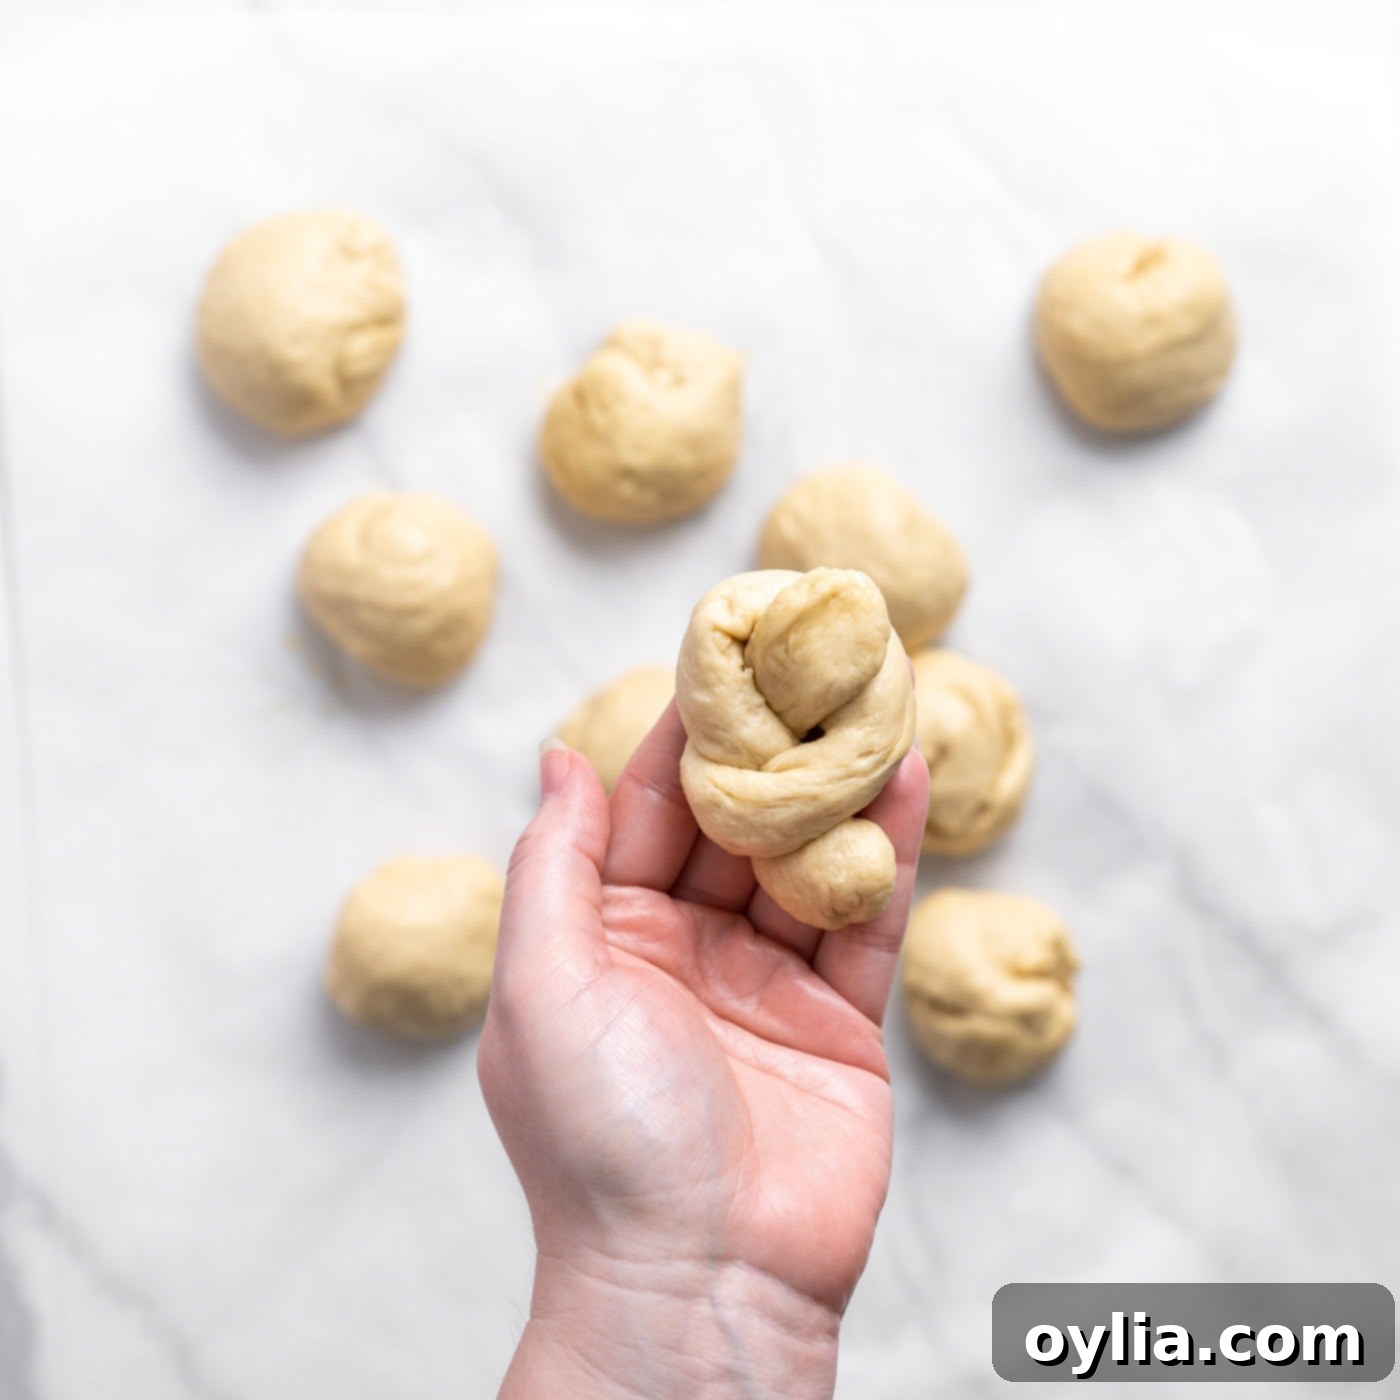
- Shape the Knots: Divide the dough into 16 equal pieces. For best results, use a kitchen scale to ensure even sizing, which promotes uniform baking. Roll each piece into a smooth ball. Next, take each dough ball and roll it into a rope, approximately 8 inches long. Gently tie each dough rope into a knot. Don’t worry if they aren’t perfect; homemade charm is part of the appeal! Arrange 8 dough knots evenly spaced on each prepared baking tray.


- Tie the Knots: Roll each ball of dough into a rope about 8 inches long. It should be thin enough to easily tie but still substantial. Carefully tie each dough rope into a simple knot, ensuring both ends are tucked slightly underneath or on top to keep the shape during baking.


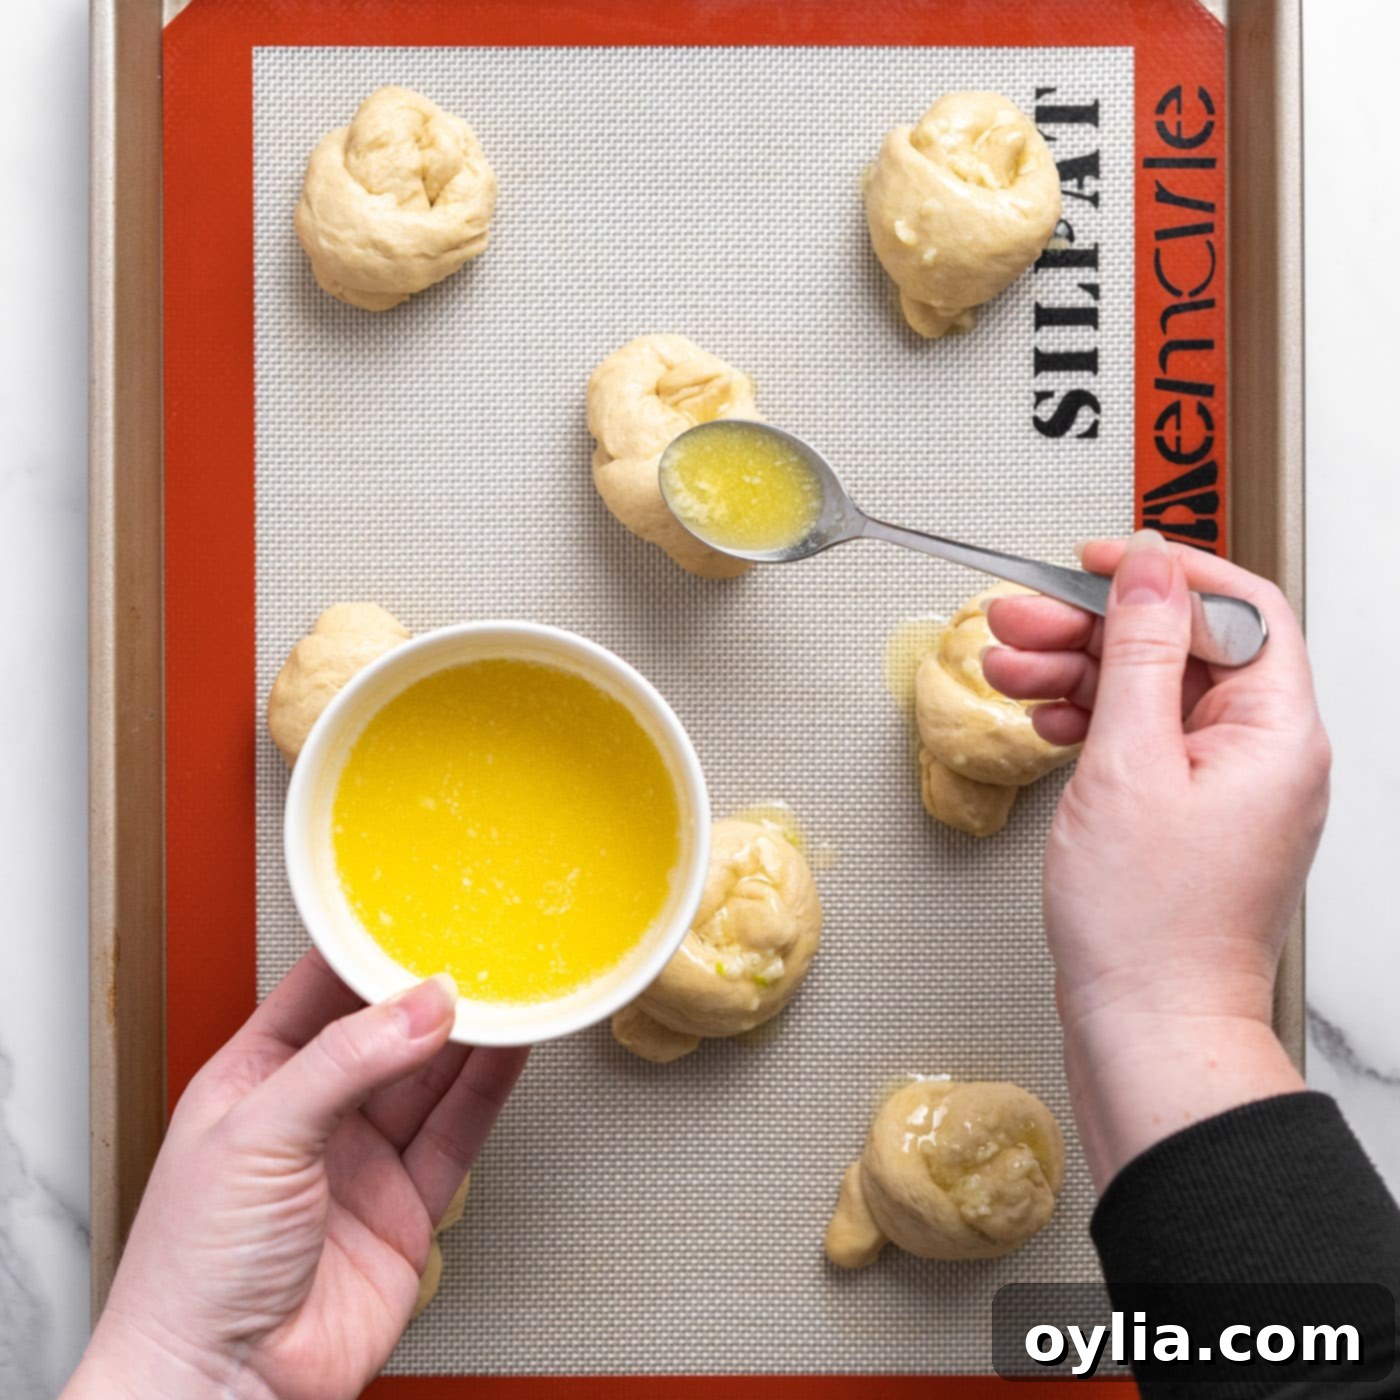
- Butter Brush (Initial): In a small bowl, thoroughly stir together the 6 tablespoons of melted salted butter and the crushed garlic. This creates your fragrant garlic butter. Spoon a generous amount of this garlic butter over the tops of the unbaked garlic knots on both trays. Be sure to reserve about a quarter of the butter mixture for a final brush after baking. This initial coat will infuse flavor and help create that beautiful golden crust.

- Bake to Golden Perfection: Place the baking trays in the preheated oven. Bake the garlic knots for approximately 20 to 25 minutes, or until they turn a beautiful golden brown color and are cooked through. To ensure even baking, rotate the trays once halfway through the baking time.
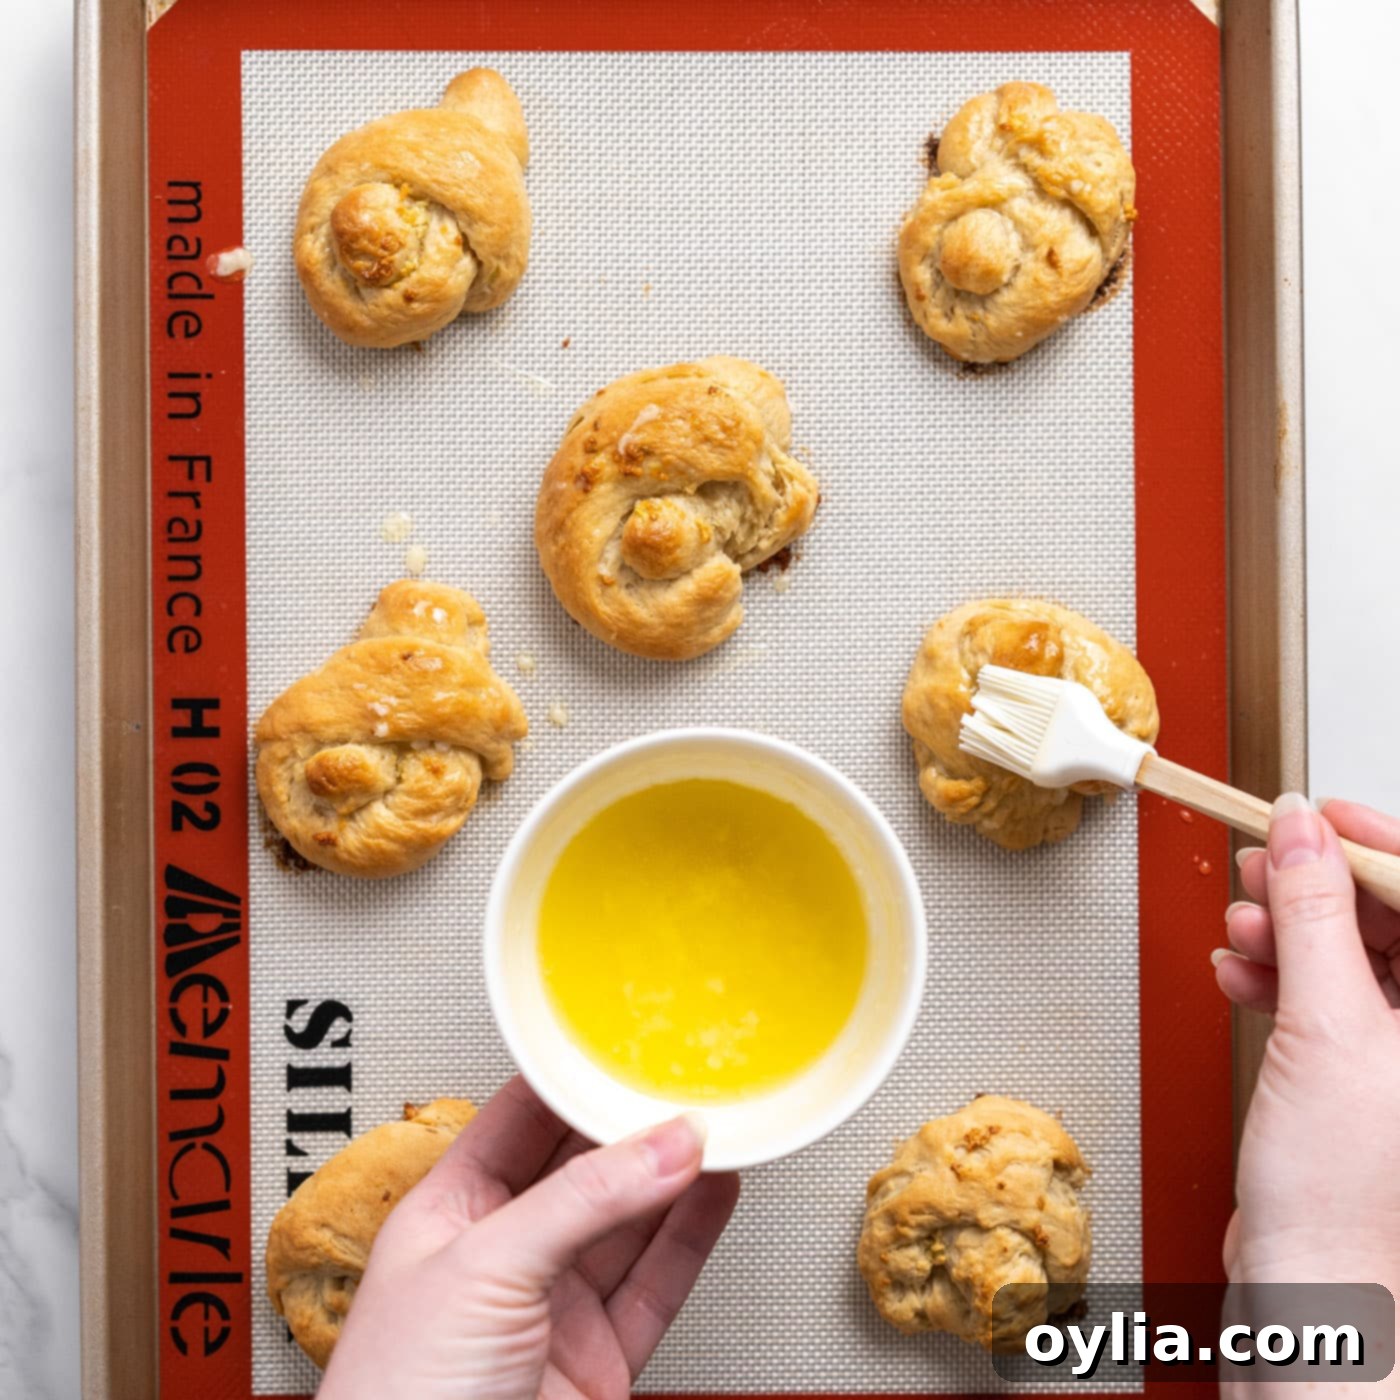
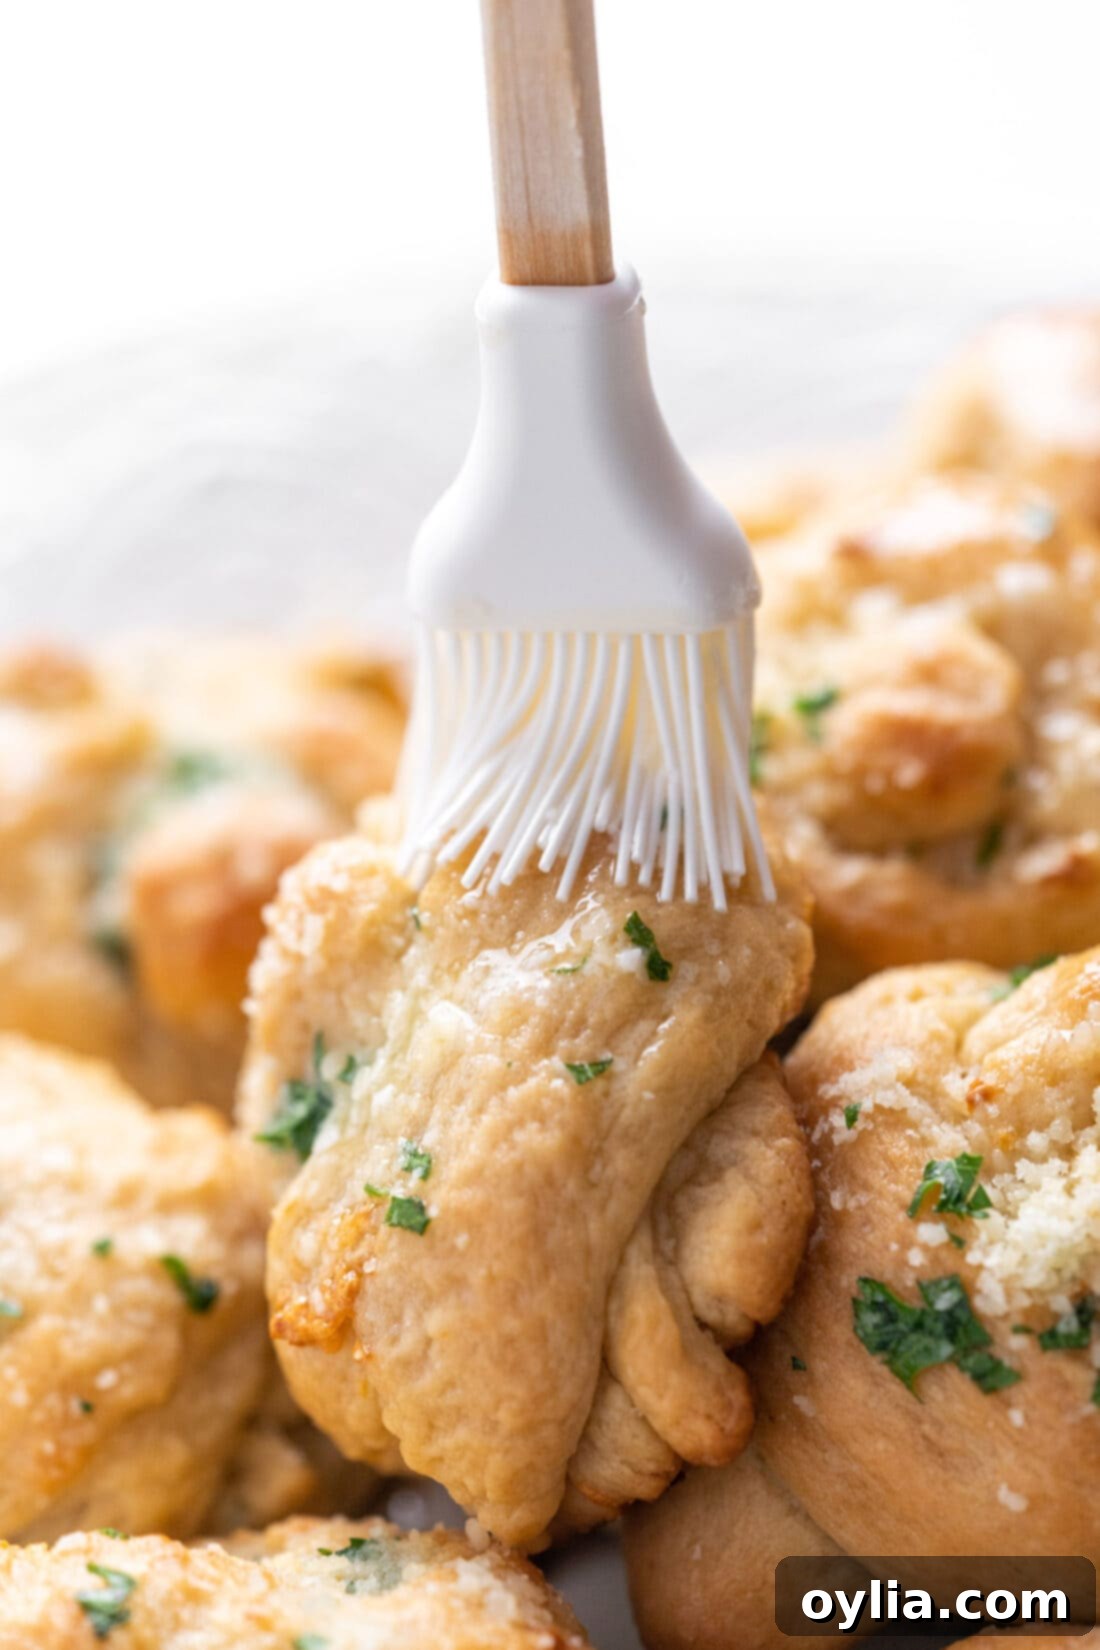
- Final Touches: Once baked, remove the garlic knots from the oven. Immediately brush the remaining reserved garlic butter over the warm knots. This second application maximizes their buttery garlic flavor and adds a beautiful sheen. Finally, generously sprinkle on the Parmesan cheese and the minced fresh parsley for a fresh, savory finish.


- Serve and Enjoy: Serve your magnificent garlic knots warm, ideally alongside a bowl of your favorite marinara sauce for dipping.
Frequently Asked Questions & Expert Tips
Yes, you absolutely can! Bread flour has a higher protein content than all-purpose flour, which means it develops more gluten. This can result in an even chewier and slightly more structured garlic knot. Simply substitute equal amounts of bread flour as you would all-purpose flour in the recipe.
Yes, active dry yeast can be used, but you’ll need to “proof” it first. To do this, dissolve the active dry yeast in the warm water (105-115°F) along with a pinch of sugar. Let it sit for 5-10 minutes until it becomes foamy. If it doesn’t foam, your yeast may be old or inactive, and you should start with new yeast. Once proofed, proceed with the recipe as directed, incorporating the other wet ingredients.
For optimal freshness, store leftover garlic knots in a large ziptop bag or an airtight container at room temperature. They will remain soft and delicious for 3-4 days. To reheat, a quick 5-10 minutes in a 350°F (175°C) oven or a few seconds in the microwave will bring them back to life. Reheating in the oven will help restore a slightly crispy exterior.
Absolutely! Freezing the unbaked dough is a fantastic way to prepare ahead. After you’ve shaped the dough into knots (before the first rise), place them on a parchment-lined baking sheet and flash freeze until solid. Once frozen, transfer the dough knots to a large ziptop freezer bag or an airtight container. They can be frozen for up to 3 months. When you’re ready to bake, transfer the frozen knots to a baking sheet and allow them to come to room temperature and rise (about 1-2 hours) before brushing with garlic butter and baking as usual.
Yes, you can prepare the dough and shape the knots a day or two in advance. After shaping, arrange them on a baking sheet, cover tightly with plastic wrap, and refrigerate. About 1-2 hours before baking, remove them from the refrigerator and let them come to room temperature to allow for a final rise. Remember not to add the garlic butter until just before they go into the oven.
If your dough isn’t rising, the most common culprits are inactive yeast or incorrect water temperature. Ensure your yeast is fresh (check the expiration date). For water, it should feel warm to the touch, like a baby’s bath – between 105-115°F (40-46°C). Too hot will kill the yeast; too cold won’t activate it. Your kitchen might also be too cold; try placing the covered bowl in a slightly warmer spot, like a slightly warmed (but turned off!) oven, or near a sunny window.
Absolutely! For extra cheesy garlic knots, bake them for the initial 20 minutes. Then, sprinkle about 1/4 cup of shredded mozzarella or a blend of Italian cheeses over the tops of the knots. Return them to the oven for the remaining 5 minutes (or until the cheese is melted and bubbly and the knots are golden). This creates a gooey, cheesy layer that’s utterly delicious.
A crucial step for a fluffy interior is adequate kneading, which develops the gluten. For a crispy exterior, ensure your oven is preheated to the correct temperature, and don’t overcrowd the baking sheets, allowing hot air to circulate. Baking on parchment paper or silicone mats helps promote even browning. The final brush of garlic butter after baking contributes significantly to the savory crust.
Serving Suggestions for Your Garlic Knots
These versatile garlic knots are more than just a side dish; they can elevate almost any meal! Their rich, savory flavor makes them an ideal companion to a wide array of dishes. Serve them piping hot alongside your favorite Italian main courses like homemade pizza, hearty pasta dishes, or a comforting bowl of soup. They also pair wonderfully with robust stews, such as hamburger stew, or even a simple grilled chicken or steak dinner. For an ultimate indulgence, enjoy them warm straight from the oven with an extra slather of garlic butter and a sprinkle of Parmesan. And of course, don’t forget the classic choice: dunking them into a rich marinara sauce. The combination is simply irresistible!
More Irresistible Bread and Roll Recipes
- Homemade Biscuits
- Parmesan Garlic Rolls
- Homemade Hawaiian Rolls
- Homemade Pull Apart Dinner Rolls
- Air Fryer Garlic Parmesan Twists
I love to bake and cook and share my kitchen experience with all of you! Remembering to come back each day can be tough, that’s why I offer a convenient newsletter every time a new recipe posts. Simply subscribe and start receiving your free daily recipes!

Garlic Knots
IMPORTANT – There are often Frequently Asked Questions within the blog post that you may find helpful. Simply scroll back up to read them!
Print It
Pin It
Rate It
Save ItSaved!
Ingredients
Dough
- 1 cup warm water
- 2 Tbsp instant yeast
- 2 Tbsp granulated sugar
- 2 tsp garlic powder
- ¼ cup unsalted butter melted
- ¼ cup olive oil
- 2 tsp salt
- 3 cups all-purpose flour
Garlic Butter
- 6 Tbsp salted butter melted
- 2 cloves garlic crushed
Other
- 1 Tbsp olive oil for the bowl
- 2 Tbsp finely grated parmesan cheese for garnish
- 1 Tbsp parsley minced, optional as garnish
- ¾ cup marinara optional, for dipping
Things You’ll Need
-
Insulated baking sheets
-
Mixing bowls
Before You Begin
- For a less intense garlic flavor in the garlic butter, omit the fresh garlic and add 1 teaspoon garlic powder instead.
- To make cheesy garlic knots, when these have cooked for 20 minutes, sprinkle a little shredded mozzarella cheese on top of each and return them to the oven to finish cooking until golden and bubbly.
- If you don’t have fresh parsley to sprinkle on top, you can use dried Italian herb seasoning or dried parsley instead.
- You can substitute the all-purpose flour in equal amounts with bread flour for a slightly chewier texture.
- Ensure your warm water is between 105-115°F (40-46°C) to properly activate the yeast.
Instructions
-
Add the warm water to a large bowl and sprinkle the yeast on top. Let it sit a few minutes until foamy, indicating the yeast is active. Stir in the sugar, garlic powder, ¼ cup melted butter, olive oil, and salt until well combined.
-
Gradually mix in the all-purpose flour by hand or using a stand mixer fitted with a dough hook. Knead for 10 minutes until the dough is smooth and elastic. Shape the dough into a ball, place it into a large bowl oiled with 1 tablespoon olive oil, turning once to coat, and cover with a clean kitchen towel.
-
Allow the dough to rise at room temperature until it has doubled in size, which typically takes about 30 minutes.
-
Preheat your oven to 375°F (190°C). Line 2 large baking trays with silpat baking mats or parchment paper. Turn the risen dough out onto a clean work surface. Divide the dough into 16 equal pieces and roll each piece into a smooth ball. Then, roll each ball into a rope about 8 inches long, and tie each dough rope into a knot.
-
Carefully arrange 8 dough knots on each prepared baking tray, ensuring they are evenly spaced.
-
In a small bowl, stir together the 6 tablespoons of melted salted butter and the crushed garlic until combined. Spoon this fragrant garlic butter generously over the tops of the unbaked garlic knots, reserving about ¼ of the mixture for a final brush.
-
Bake the garlic knots until they are beautifully golden brown, approximately 20 to 25 minutes. Remember to rotate the trays once halfway through the baking time for even cooking.
-
Once out of the oven, immediately brush the remaining reserved garlic butter over the warm knots. Then, generously sprinkle on the finely grated Parmesan cheese and the minced parsley for an irresistible finish.
-
Serve your homemade garlic knots warm, ideally alongside marinara sauce for dipping, and enjoy every buttery, garlicky bite!
Nutrition
The recipes on this blog are tested with a conventional gas oven and gas stovetop. It’s important to note that some ovens, especially as they age, can cook and bake inconsistently. Using an inexpensive oven thermometer can assure you that your oven is truly heating to the proper temperature. If you use a toaster oven or countertop oven, please keep in mind that they may not distribute heat the same as a conventional full sized oven and you may need to adjust your cooking/baking times. In the case of recipes made with a pressure cooker, air fryer, slow cooker, or other appliance, a link to the appliances we use is listed within each respective recipe. For baking recipes where measurements are given by weight, please note that results may not be the same if cups are used instead, and we can’t guarantee success with that method.
