Buzz-Worthy Baking: Create Adorable DIY Bee Cupcake Toppers for Any Occasion
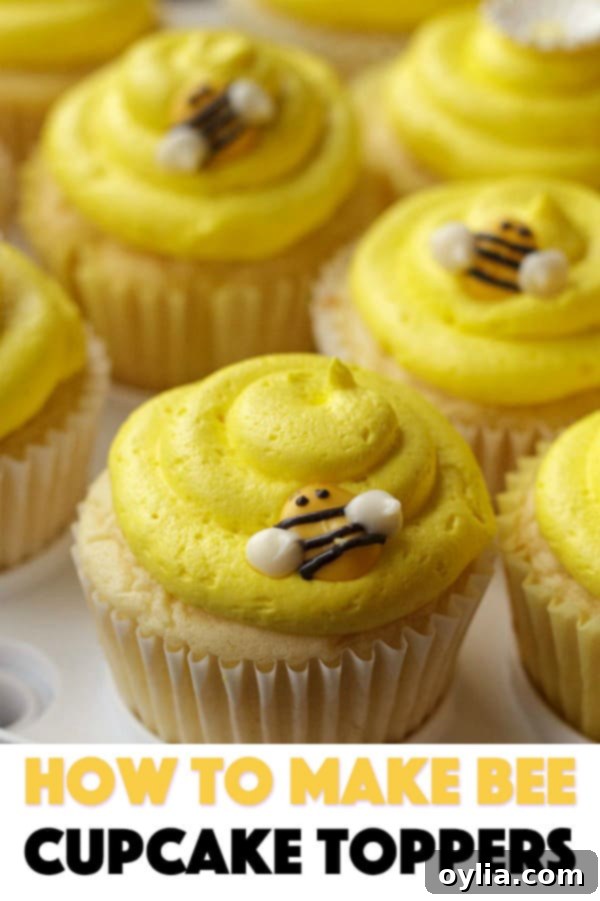
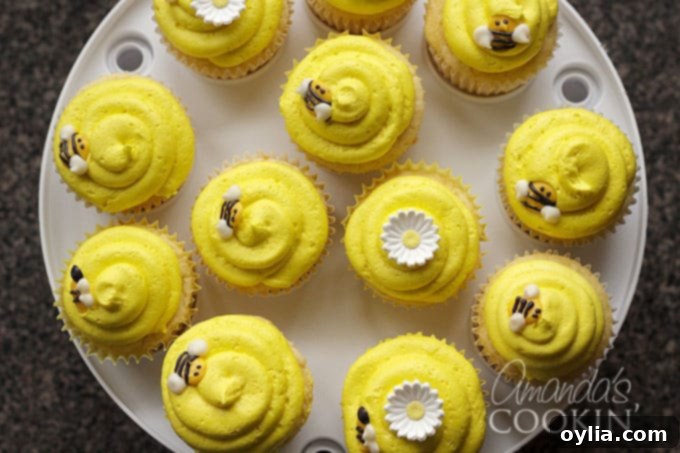
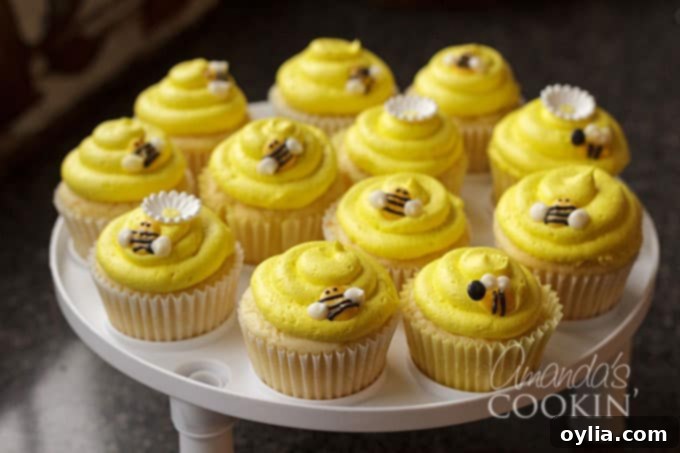
There’s something truly special about personalized touches, especially when celebrating momentous occasions like a bridal shower. Recently, my daughter, Kristen, embraced this spirit by helping to host a delightful bridal shower for her dear friend, Lynette. Lynette, known for her deep affection for all things bees – from charming keepsakes to decorative items – inspired the perfect theme for the celebration. Kristen immediately knew that the dessert table needed a touch of that sweet, buzzing charm: beautiful yellow frosted cupcakes adorned with enchanting, homemade bee cupcake toppers.
The Quest for Perfection: Crafting Homemade Bee Cupcake Toppers
Weeks before the much-anticipated shower, Kristen had spotted some irresistibly cute edible bee cupcake toppers at local craft stores like JoAnns and even at Walmart. With her own oven being a bit unreliable – a common challenge for many home bakers – the plan was set: she would come to my house the day before the shower to bake the cupcakes and finalize the decorations. The excitement was building, and everything seemed perfectly organized.
However, as often happens in the world of event planning, a small crisis emerged. I received a frantic phone call from Kristen. After visiting four different stores, she was unable to find those charming cupcake toppers anywhere! The disappointment and frustration in her voice were palpable. It’s easy to feel disheartened when a key decorative element for a themed party vanishes. But in moments like these, creativity shines brightest. I reassured her immediately; “Don’t worry,” I said, “we can make them ourselves!” The beauty of homemade decorations is not just in their uniqueness, but also in the fun and satisfaction derived from creating them, especially when store-bought options are elusive. This unexpected turn allowed us to add an even more personal and heartfelt touch to Lynette’s special day.
Crafting Your Own Buzz-Worthy Bee Cupcake Toppers
Fortunately, my pantry was stocked with yellow and white candy melts from a previous crafting session, saving Kristen an extra trip. All she needed to pick up was a bag of black candy melts. While professional piping bags and cake decorating tips offer precision, don’t let their absence deter you. You can easily achieve fantastic results using simple plastic zipper-top bags. In fact, for the finer details like the black bee stripes and eyes, I often opt for a plastic bag with a tiny corner snipped off – it provides excellent control and makes cleanup a breeze. This project proves that you don’t need a professional setup to create truly memorable and adorable edible decorations.
Essential Supplies for Your Bee Cupcake Toppers:
Gathering your materials beforehand ensures a smooth and enjoyable crafting experience. Here’s what you’ll need to create your charming bee toppers:
- Waxed paper: Essential for a non-stick surface, allowing your candy melts to set perfectly and lift off easily.
- Cutting board: Provides a stable, portable surface for creating and moving your toppers.
- Piping bags and coupler: For more intricate designs and controlled piping, especially for the bee bodies and wings.
- Wilton #1A tip (for icing): Perfect for creating smooth, round swirls of frosting on your cupcakes.
- Wilton #7 tip (for bodies and wings): Ideal for piping the main shapes of your bee bodies and the delicate wings.
- 2 gallon-sized plastic zip top bags (for stripes, eyes, etc): A fantastic alternative to piping bags for small, detailed work, offering great control with a snipped corner.
- Scissors: For snipping the corners of your plastic bags.
- Candy melts: These are the heart of your bee toppers! You’ll need:
- Yellow candy melts for the bee bodies.
- White candy melts for the delicate wings.
- Black candy melts for the stripes, eyes, and heads.
Your Step-by-Step Guide to Creating Charming Bee Cupcake Toppers:
Before we dive into the creation process, let me offer a gentle disclaimer: I am by no means a professional cake decorator. That truly is an art form, one for which I have the utmost respect. The precision, creativity, and talent that flows through a cake decorator’s fingers are absolutely astounding! Our bee toppers were “winged” in a bit of an emergency situation, but I honestly believe they turned out great. Kristen was thrilled with them, and everyone at the shower absolutely adored these sweet little bees. In my book, that’s a definite win! Don’t let perfection be the enemy of good, especially when it comes to adding a personal touch.
1. Prepare Your Working Surface:
- Select a large cutting board. This allows you ample space to arrange your bee toppers and move them around as needed without disturbing them.
- Cover the cutting board completely with a sheet of waxed paper. This crucial step ensures that your candy melts won’t stick and can be easily lifted once they’ve set.
2. Create the Vibrant Bee Bodies:
- Attach the Wilton #7 tip to a piping bag using a coupler. This tip is ideal for creating the right size and shape for your bee bodies.
- Fill the piping bag with a handful of yellow candy melts. Secure the open end of the bag tightly; a rubber band or a plastic clip works perfectly to prevent any leakage.
- Gently melt the candy melts. Place the bag in the microwave and heat it on full power in 30-second intervals. After each interval, remove the bag and massage it to distribute the heat and prevent scorching. Continue until the candy is completely smooth and melted to a consistent, pipable texture.
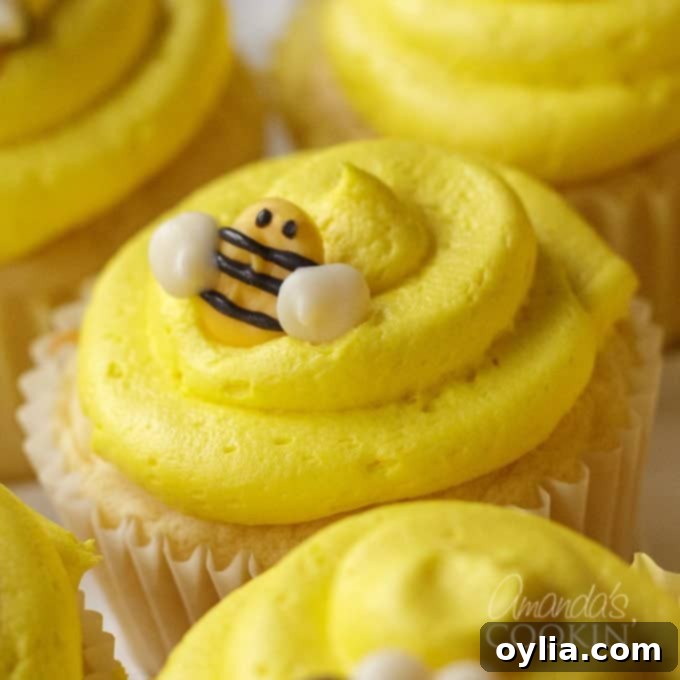
- Begin piping! On your waxed paper, pipe small circles or ovals. These will form the main bodies of your bees. You can make a variety of shapes to give your bees personality – some plump and round, others a bit more elongated.
3. Adding the Distinctive Stripes, Eyes, and Heads:
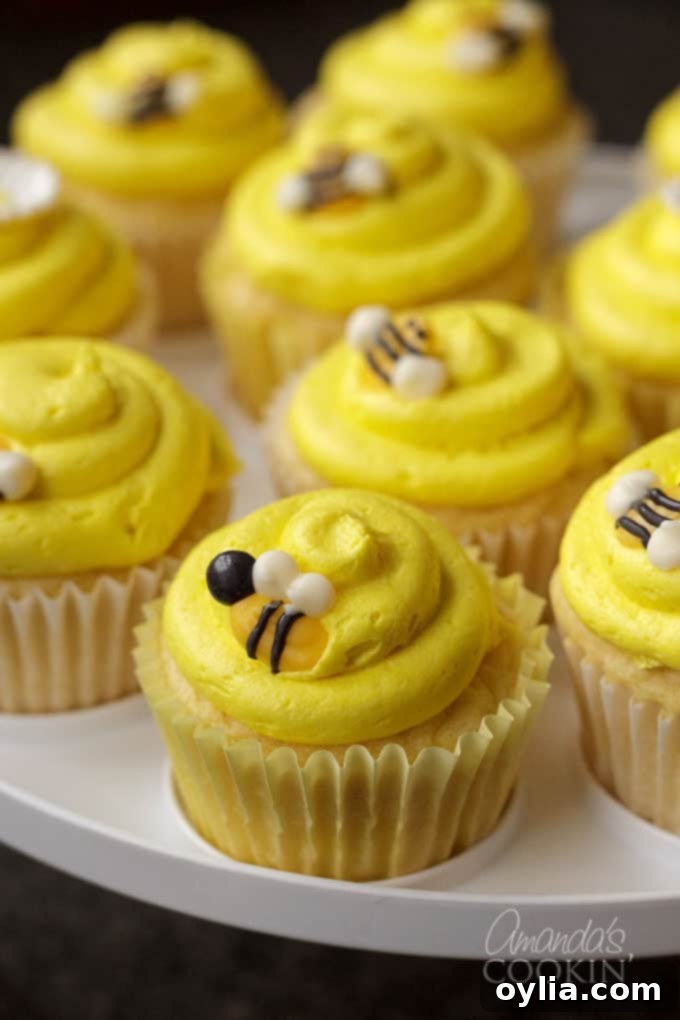
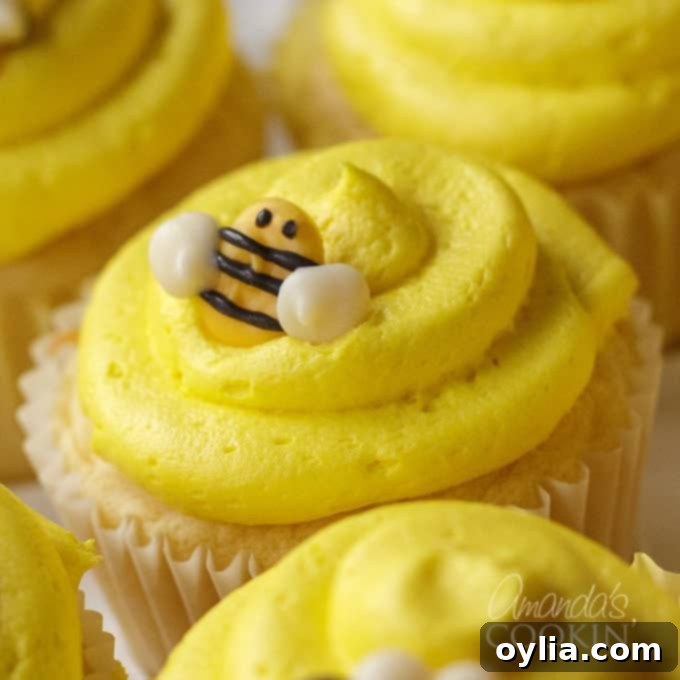
We created two delightful bee styles: some ovals represented a side-view bee with a charming round black head, while the round bees offered an overhead view, complete with two tiny, inquisitive eyes. This variety adds a playful touch to your collection.
- Place a handful of black candy melts into a gallon-sized zip-top bag. Do not zip the bag shut yet, as you’ll need to microwave it.
- Melt the black candy. Place the bag with candy melts into the microwave and heat on full power in 30-second intervals. Remember to massage the bag between heating sessions until the candy is completely smooth and melted.
- Once melted, use scissors to snip a tiny corner off the bag. The smaller the snip, the finer your lines will be.
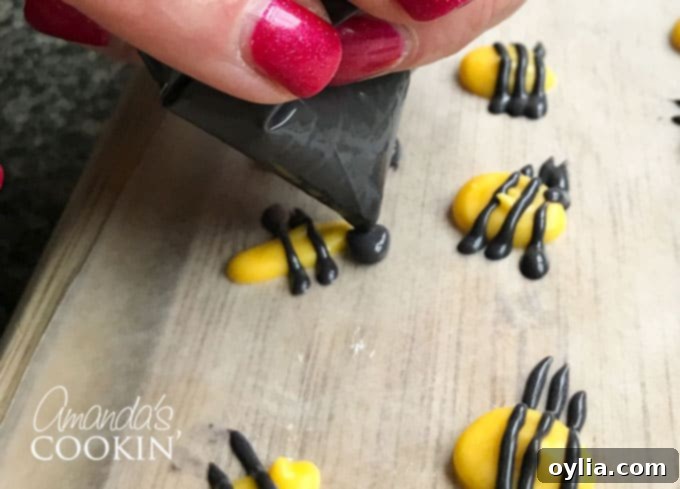
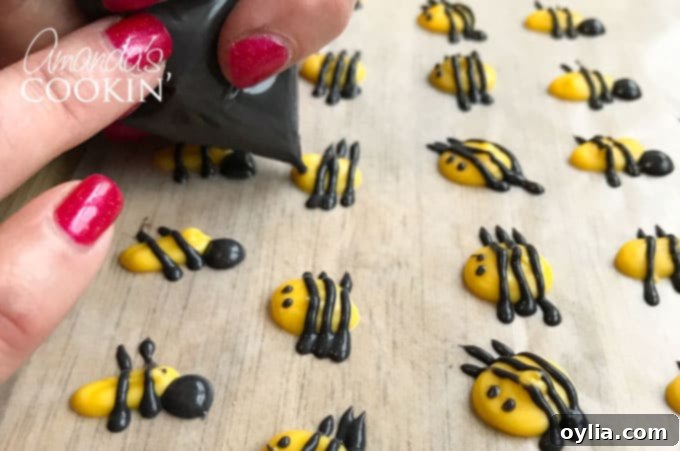
- Carefully pipe stripes across the yellow bee bodies. For the side-view ovals, aim for a few even stripes. For the round, overhead bees, you might want slightly curved stripes.
- For the round, overhead bees, add two small dots for eyes on one end of the body.
- For the oval, side-view bees, enlarge the snipped hole slightly and pipe a small circle at one end of the oval body to form the head. Ensure it slightly overlaps the body so they stick together when set.
- Allow the melted candy to set partially. Once firm enough, gently break off any excess black stripes that extend past the edges of the yellow bodies for a clean finish.
*Note on melting candy in plastic bags: I personally experienced no issues using a plastic zip-top bag in the microwave for melting candy melts. However, if you have concerns or prefer an alternative, you can always melt the candy melts in a glass bowl in the microwave or over a double boiler, then transfer the melted candy to the plastic bag afterward using a rubber spatula. Safety first!
4. Give Your Bees Their Delicate Wings:
- Prepare a clean piping bag with the Wilton #7 tip and coupler.
- Add a handful of white candy melts to this piping bag. Close the open end securely with a rubber band or plastic clip.
- Melt the white candy melts using the same microwave method: 30-second intervals, massaging between each, until completely smooth and liquid.
- For the oval (side-view) bees, pipe two small, slightly overlapping circles on their backs, making sure they intersect with the black head (if already added) to ensure everything adheres together. These will form a set of wings that appear to flutter.
- For the round (overhead-view) bees, pipe a single small circle on each side of the body. This creates the impression of two wings spread out.
- Patience is key! Allow all the melted candy to set completely before attempting to lift your beautiful bee toppers from the waxed paper. This usually takes about 15-30 minutes, depending on the ambient temperature.
Hint: If you’re making a larger batch (say, more than 10 bees), by the time you’ve piped the wings on the last bee, your first ones should already be dry and ready to handle. This allows for an efficient assembly line!
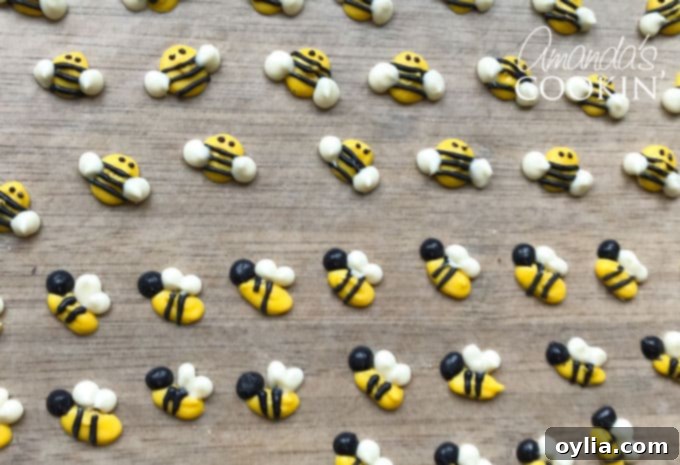
These designs were partly inspired by delightful creations like these. The beauty of DIY is that you can always take inspiration and add your own unique flair!
Pairing Your Bees: Delicious Cupcakes and Buttercream Icing
Now that your adorable bee toppers are ready, it’s time to prepare their delicious home! You can choose any of your favorite cake and cupcake recipes. A trusty box cake mix works wonderfully and saves time, especially when you’re focusing on decorations. However, for those who love baking from scratch, my go-to white cake recipe has consistently delivered light, fluffy, and perfectly moist cupcakes that are always a hit.
Recipe for Sunny Yellow Buttercream Frosting:
This buttercream is not only delicious but also perfectly complements the bee theme with its vibrant yellow hue. Its smooth texture makes it ideal for piping.
- 1 cup unsalted butter, softened to room temperature
- 3 cups powdered sugar, sifted (sifting is key for a lump-free frosting!)
- 2-3 tablespoons heavy whipping cream (start with 2, add more if needed)
- 1 teaspoon pure vanilla extract
- Yellow gel food coloring (gel coloring provides vibrant color without thinning the frosting)
- In a stand mixer fitted with a paddle attachment, beat the softened butter on medium speed until it’s light and creamy, about 2-3 minutes. This incorporates air, making the frosting fluffy.
- With the mixer on low speed, gradually add the sifted powdered sugar, one cup at a time. Once all sugar is added, slowly increase the speed until the mixture starts to come together and resembles coarse crumbs.
- At this stage, add 2 tablespoons of heavy whipping cream and the pure vanilla extract.
- Increase the mixer speed to medium-high and beat for 1 minute. The frosting will start to become smooth. Then, add 1/4 teaspoon of the yellow gel food coloring.
- Continue mixing, observing the intensity of the yellow. If you desire a brighter, more vivid yellow, add a tiny bit more gel food coloring, mixing well after each addition until your desired shade is achieved.
- Scrape down the sides and bottom of the bowl to ensure everything is thoroughly combined. Beat the frosting for one more minute on medium-high speed until it is perfectly homogenous, smooth, and fluffy.
- Only add the third tablespoon of heavy whipping cream if the frosting feels too stiff or dry to pipe. You want a consistency that holds its shape but is easy to work with.
Icing Your Cupcakes to Perfection:
With your delectable buttercream ready, it’s time to transform your plain cupcakes into a vibrant canvas for your bee toppers.
- Scoop the prepared yellow buttercream frosting into a piping bag. Ensure the bag has been fitted with a coupler and the Wilton #1A tip. This tip creates a beautiful, classic swirl.
- Starting from the outer edge of each cooled cupcake, pipe a continuous tube of icing in a circular motion.
- Work your way inwards, gradually decreasing the size of the circles until you reach the center of the cupcake, creating a lovely, mounded swirl.
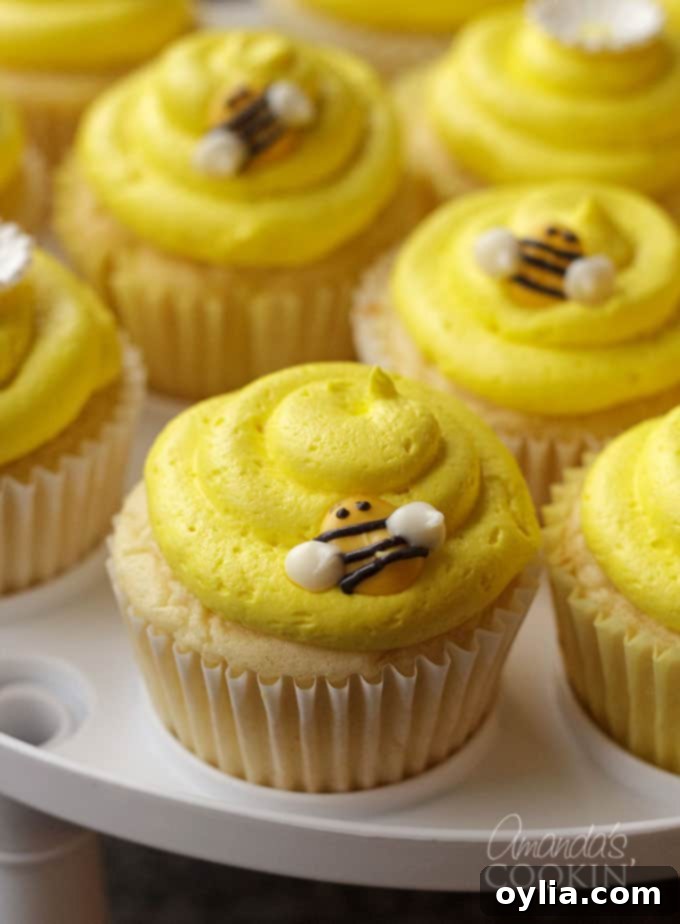
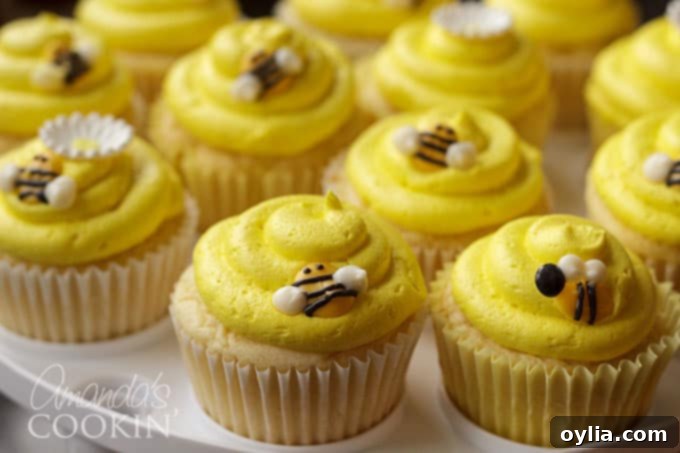
- Finally, the moment of truth! Gently place your homemade bee cupcake toppers onto the soft buttercream. Arrange them artfully, perhaps a few bees on each cupcake, to bring your bee-themed treats to life!
A huge thank you goes out to my dear friend Meaghan from The Decorated Cookie. She was an invaluable resource, patiently answering my many questions via text message and offering fantastic advice throughout this project! Her expertise truly made a difference. Be sure to check out her equally adorable Bee Chocolate Pops for more sweet inspiration!
These homemade bee cupcake toppers not only saved the day but also added an unforgettable, personal touch to Lynette’s bridal shower. They prove that with a little creativity and a few simple ingredients, you can turn a potential challenge into a delightful success. So, the next time you’re planning a party or simply want to add a unique flourish to your baked goods, consider crafting your own edible decorations. It’s a rewarding experience that guests are sure to appreciate!
If you enjoy creating cute and themed food, you’ll love exploring other festive ideas! Be sure to check out my delightful heart-shaped cupcakes, which are absolutely perfect for Valentine’s Day or any occasion celebrating love. And for a dose of Easter charm, don’t miss my adorable Bunny Butt Cupcakes!
