The Ultimate Slow Roasted Sticky Chicken Recipe: Crispy Skin, Juicy Meat & Perfect Vegetables
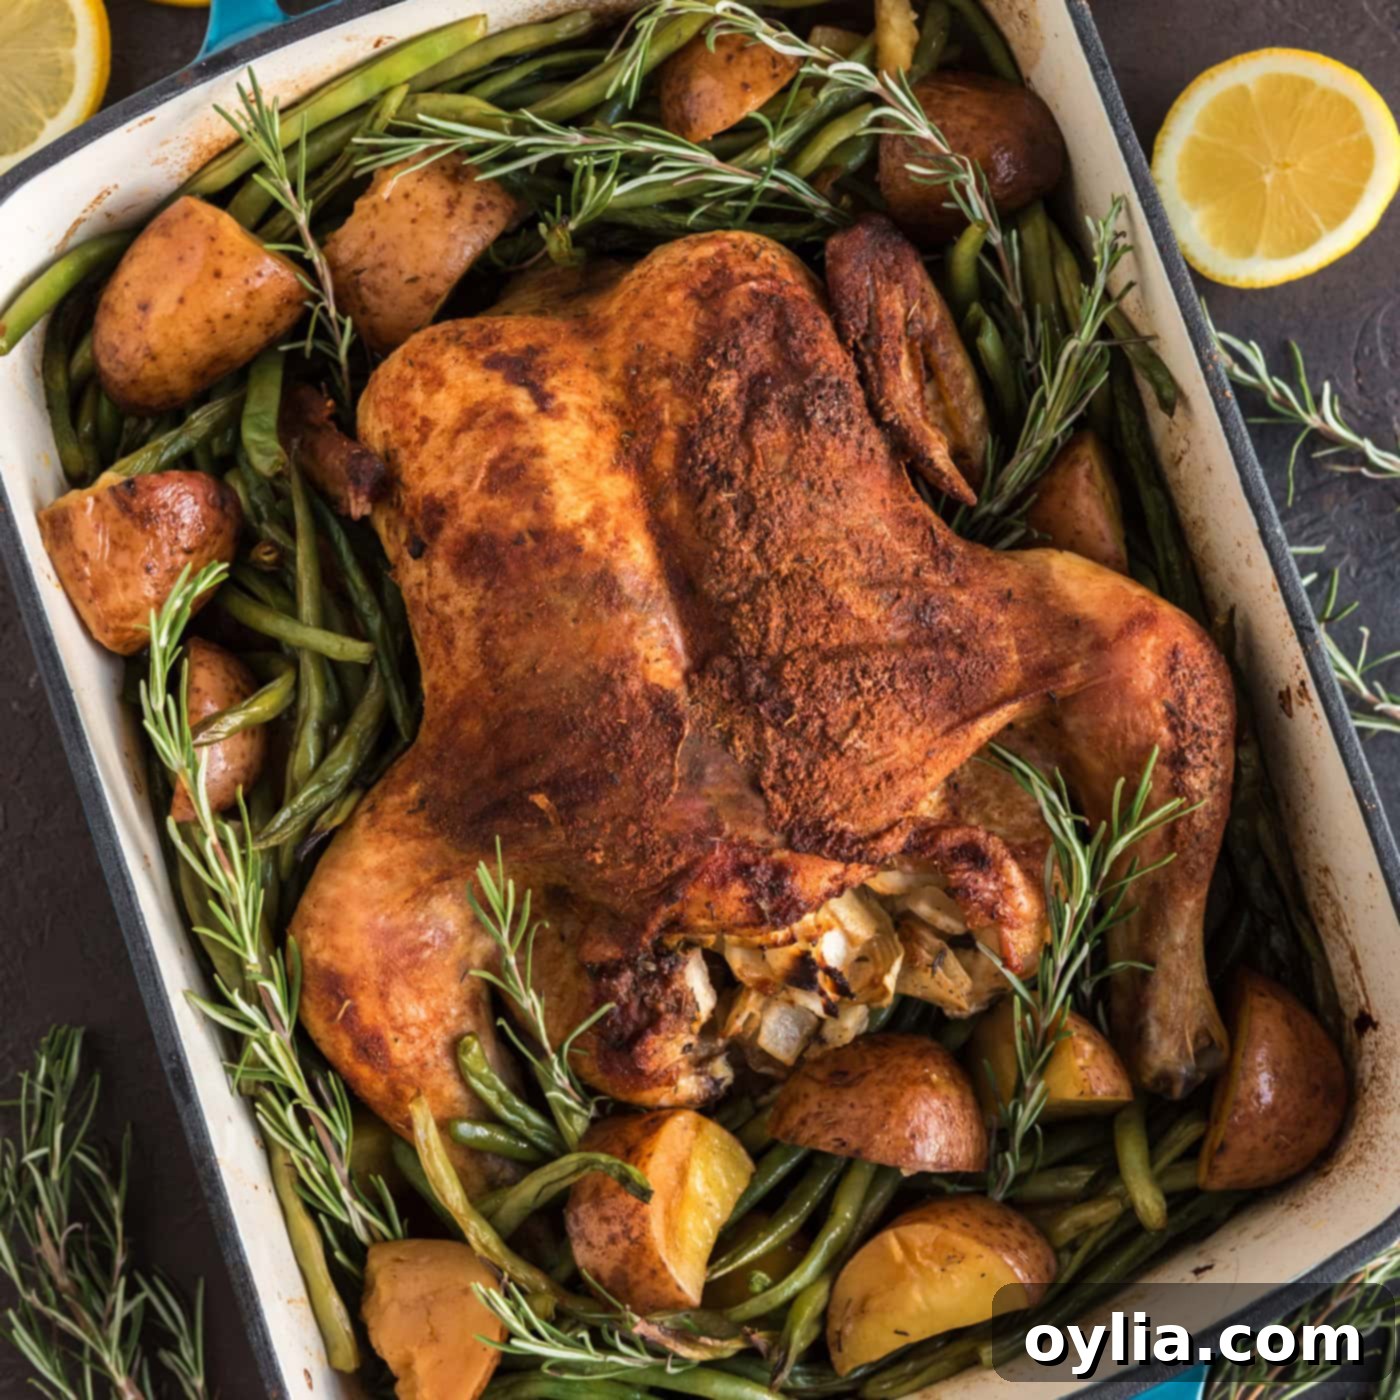
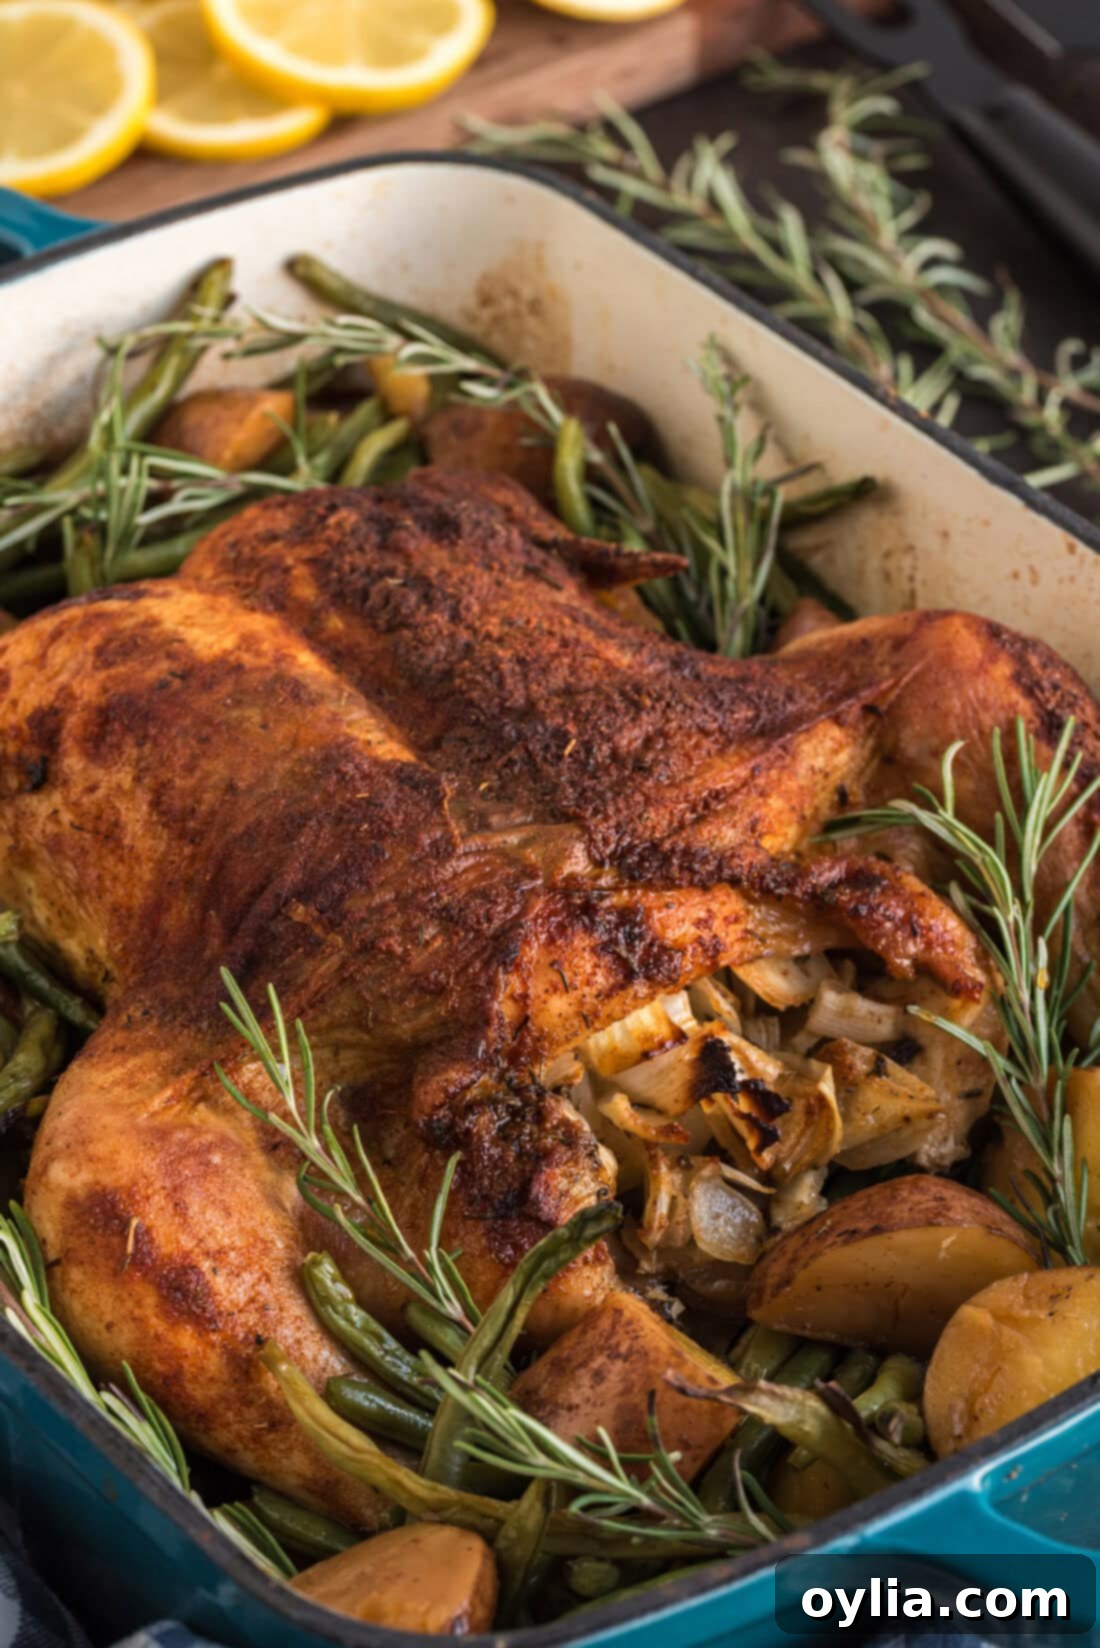
Prepare for a culinary revelation with this slow roasted sticky chicken recipe, undeniably the finest method for cooking a whole chicken in your oven. Imagine golden, shatteringly crispy skin, giving way to an interior of unbelievably juicy and tender meat, perfectly complemented by a medley of flavorful vegetables baked alongside. This isn’t just a meal; it’s a guarantee of a perfectly cooked, show-stopping roasted chicken every single time. The magic lies in the slow roasting process, allowing flavors to deepen and textures to transform into something truly extraordinary.
Why This Slow Roasted Sticky Chicken Recipe is a Must-Try
This slow roasted sticky chicken is the epitome of a comforting “Sunday Supper” or a special weeknight meal. While it does require periodic basting, keeping you home for a few hours, the minimal effort involved is handsomely rewarded with an insanely flavorful and succulent oven-roasted chicken. This recipe has been a beloved staple in my household since its debut in 2013, a testament to its consistent results and deliciousness. It’s been thoroughly tested, perfected, and proven to deliver an incredible meal using surprisingly minimal ingredients.
Beyond its incredible taste, this is also my absolute favorite method for roasting a whole chicken due to its incredible value. When whole chickens are on sale, often for under a dollar a pound, this becomes an extremely budget-conscious meal that feeds the whole family generously. Plus, the versatility of leftovers is unparalleled! Be sure to save any extra meat for easy weeknight meals like sandwiches, enchiladas, or hearty soups. Don’t forget to simmer the carcass with some onion and celery tops to create rich, homemade chicken stock, ensuring zero waste and maximizing flavor.
The slow roasting technique at a lower temperature allows the chicken to cook gently, ensuring the meat remains incredibly moist while the skin slowly renders and crisps to a beautiful golden brown. The “sticky” element comes from the delicious spice rub and the basting liquid, which caramelize onto the skin, creating an irresistible glaze. This method yields a deeply flavorful bird that truly stands apart from other roasting techniques.
Essential Ingredients for Your Sticky Roasted Chicken
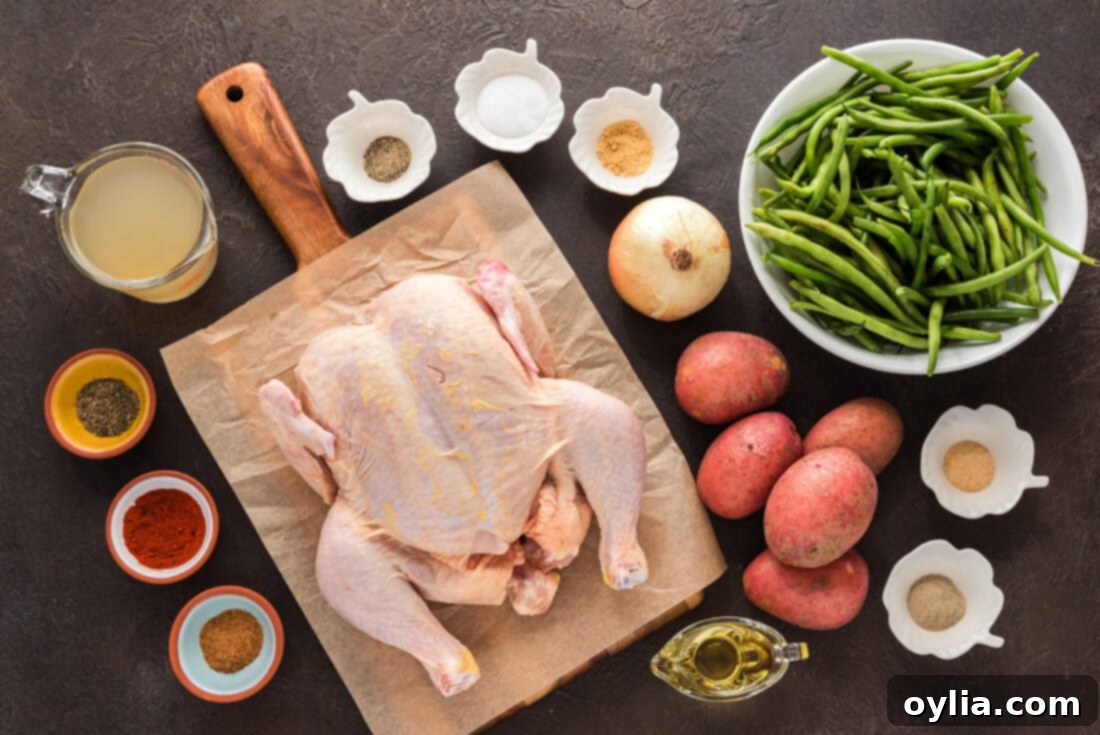
Gathering your ingredients is the first step towards this delightful meal. You’ll find a complete list of measurements, ingredients, and detailed instructions in the printable recipe card located at the end of this comprehensive guide. Here’s a closer look at what you’ll need to make this unforgettable whole roasted chicken with vegetables.
Ingredient Breakdown and Clever Substitutions
- CHICKEN – For best results, this recipe specifies a 4-pound whole chicken that has been fully thawed. Thawing is crucial; if your chicken is still frozen or partially frozen, the flavorful spice rub won’t adhere properly, and the skin won’t crisp up as beautifully. Before applying the rub, ensure the chicken is thoroughly patted dry with paper towels to promote maximum crispiness.
- RUB – Our signature rub consists of a simple yet powerful blend: salt, paprika, cayenne pepper, onion powder, dried thyme, white pepper, garlic powder, and black pepper. This combination ensures a well-rounded flavor profile with a touch of warmth and spice that permeates the skin and subtly flavors the meat.
- Paprika: Contributes to the beautiful golden color and a mild, sweet peppery flavor.
- Cayenne Pepper: Adds a gentle kick, which can be adjusted to your preference. Feel free to reduce or omit if you prefer no heat, or increase for more spice.
- Onion & Garlic Powder: Offer concentrated aromatic flavors that distribute evenly.
- Dried Thyme: Provides an earthy, herbaceous note that complements chicken wonderfully.
- White Pepper: Offers a slightly different, more subtle peppery flavor than black pepper, without the visible flecks, though black pepper is also included for depth.
While our blend is fantastic, you can certainly substitute with a premade chicken rub or your own favorite combination of spices and seasonings. Consider adding other herbs like rosemary or sage for a different aromatic twist.
- VEGETABLES – We use coarsely chopped onion to stuff the cavity, adding moisture and aromatic flavor to the chicken from the inside out. Quartered red potatoes are added directly to the roasting pan, absorbing the delicious chicken drippings. Fresh green beans are pre-cooked slightly and then added for the final roasting phase.
- Potatoes: Red potatoes or Yukon Gold potatoes work wonderfully here as they hold their shape and become incredibly tender and flavorful. Cut them into similar-sized quarters for even cooking.
- Green Beans: Fresh is best for flavor and texture. Ensure they are trimmed. For a heartier vegetable, you could also add carrots, parsnips, or even Brussels sprouts.
- LIQUIDS – A drizzle of olive oil helps the potatoes crisp up, and chicken broth is essential for basting, adding moisture and creating that signature “sticky” glaze.
How to Make the Best Slow Roasted Sticky Chicken
These step-by-step photos and instructions are here to help you visualize how to make this delicious recipe. For a convenient printable version, complete with precise measurements and instructions, simply Jump to Recipe at the bottom of this post.
- Preheat Oven: Begin by preheating your oven to 300 F (150 C). This lower temperature is key to the “slow roasted” method, ensuring a gentle cook that keeps the chicken juicy.
- Prepare the Chicken: Carefully remove any giblets from the chicken cavity. Clean the cavity thoroughly and, most importantly, pat the entire chicken dry, both inside and out, with paper towels. This crucial step removes excess moisture, which is essential for achieving that coveted crispy chicken skin.
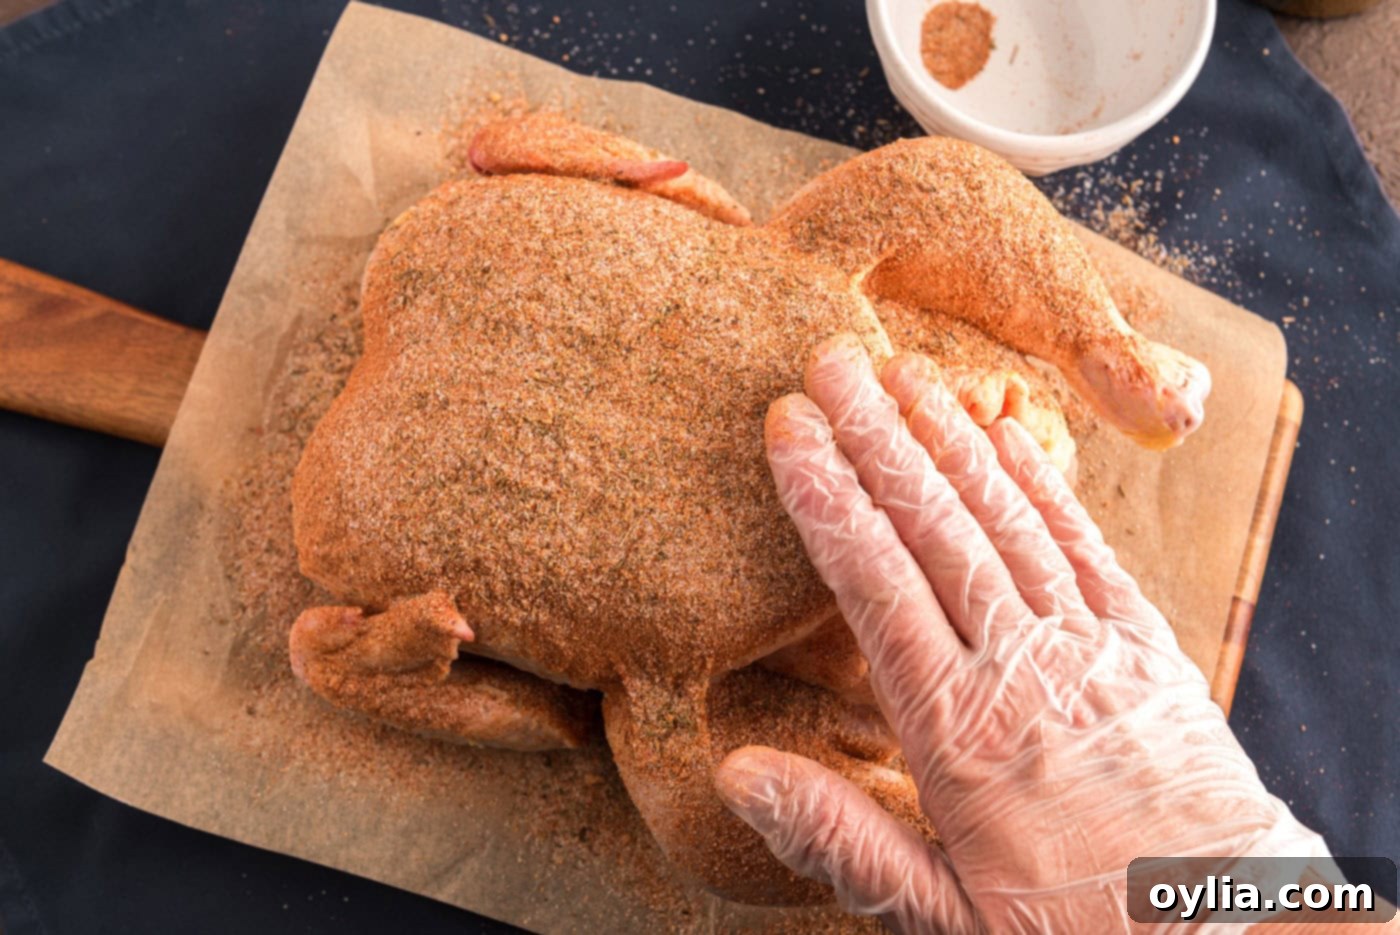
- Apply the Spice Rub: In a small bowl, combine all the dry rub ingredients (salt, paprika, cayenne pepper, onion powder, dried thyme, white pepper, garlic powder, and black pepper). Mix well. Generously spread this flavorful spice mixture all over the chicken, making sure to work some of it under the breast skin. Massaging the rub directly onto the meat under the skin ensures deeper flavor penetration and helps keep the breast moist.

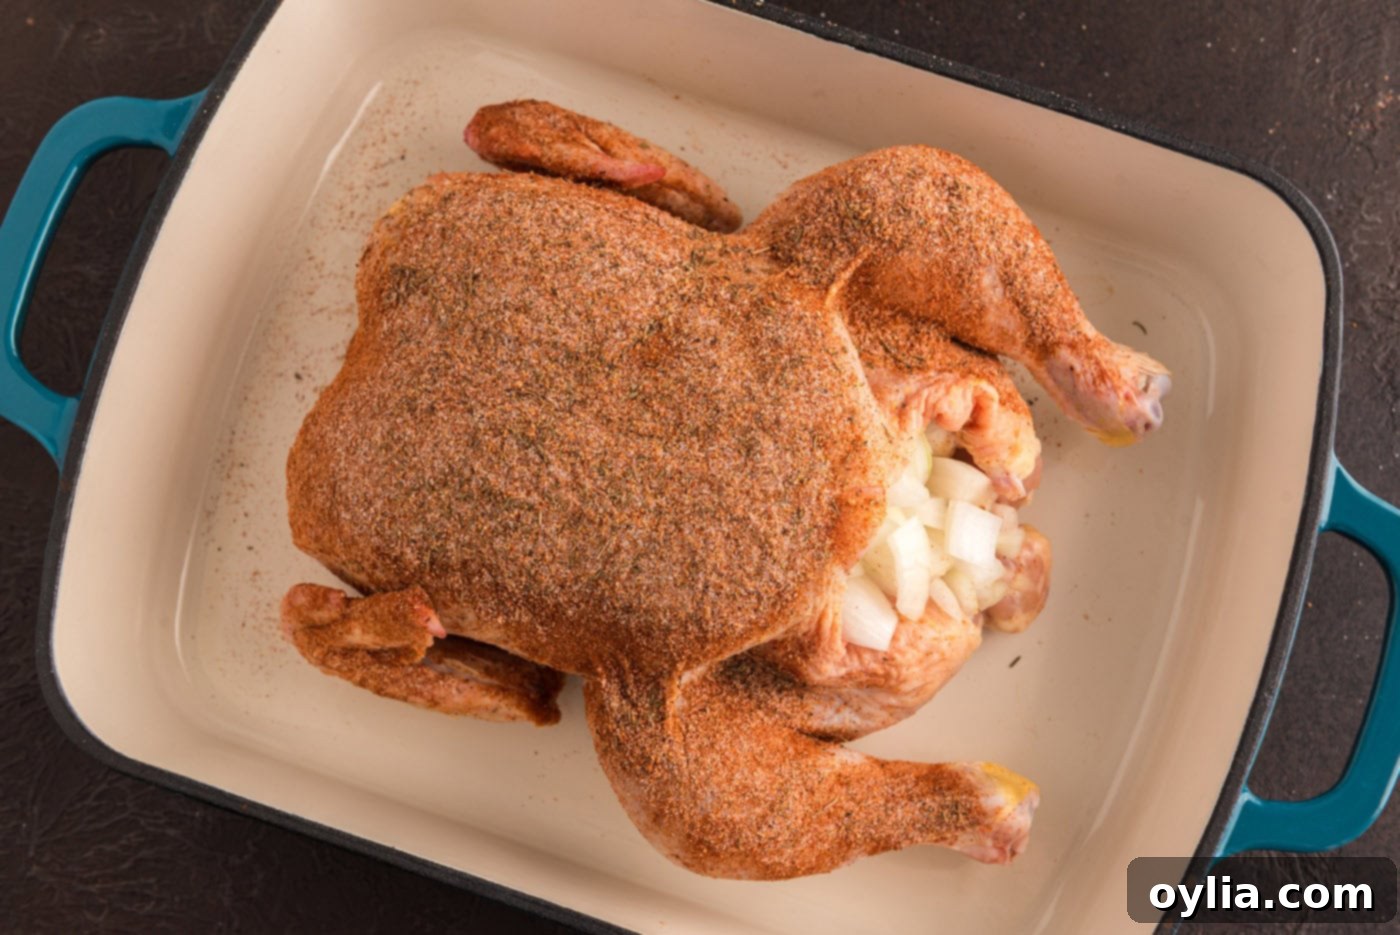
Ensuring every part of the chicken is covered in our aromatic spice rub. - Initial Roast: Stuff the chicken cavity with the coarsely chopped onions. Place the seasoned chicken into a sturdy roasting pan. Bake the chicken for one hour, undisturbed. This initial bake allows the skin to start rendering and the spices to meld, setting the stage for deep flavor.

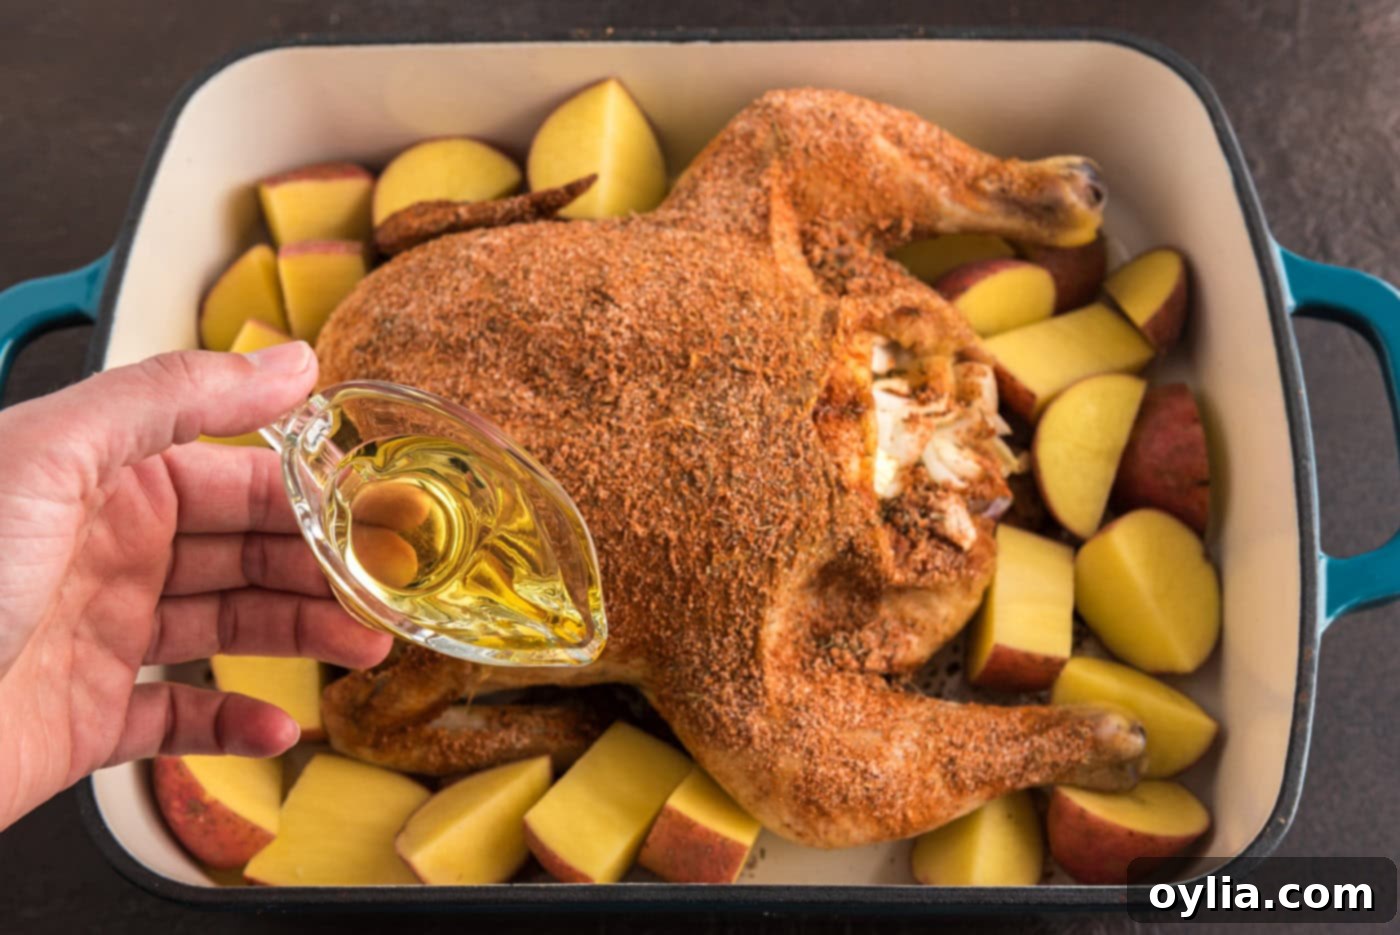
Our seasoned chicken, stuffed with onions, nestled in the roasting pan for its initial bake. - Add Potatoes: After one hour, remove the pan from the oven. Add the quartered red potatoes to the roasting pan, scattering them evenly around the chicken. Drizzle the potatoes with a little olive oil to help them brown beautifully. Return the pan to the oven and bake for another 40 minutes.

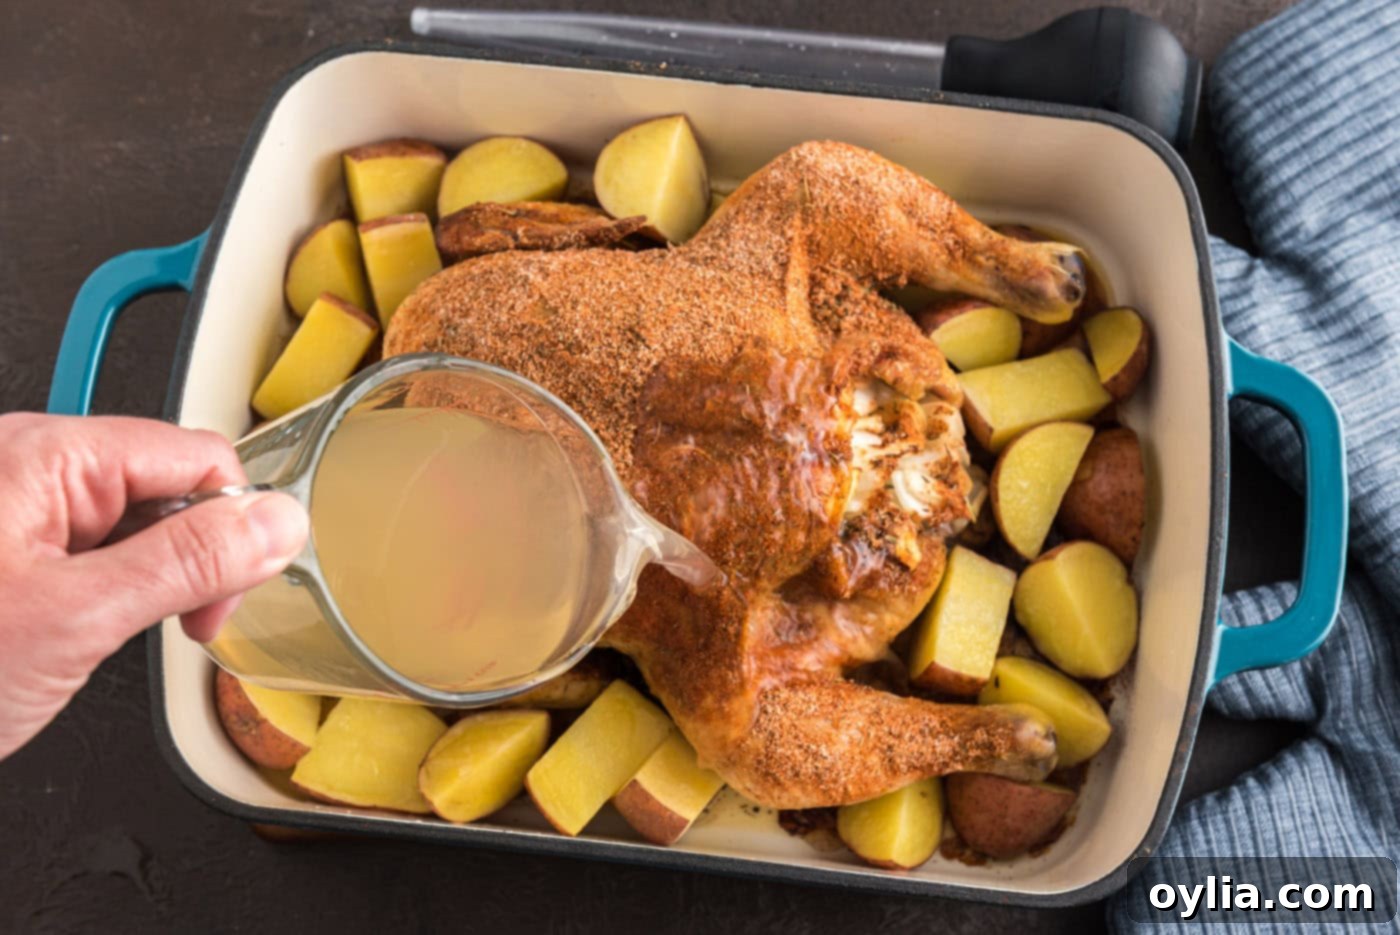
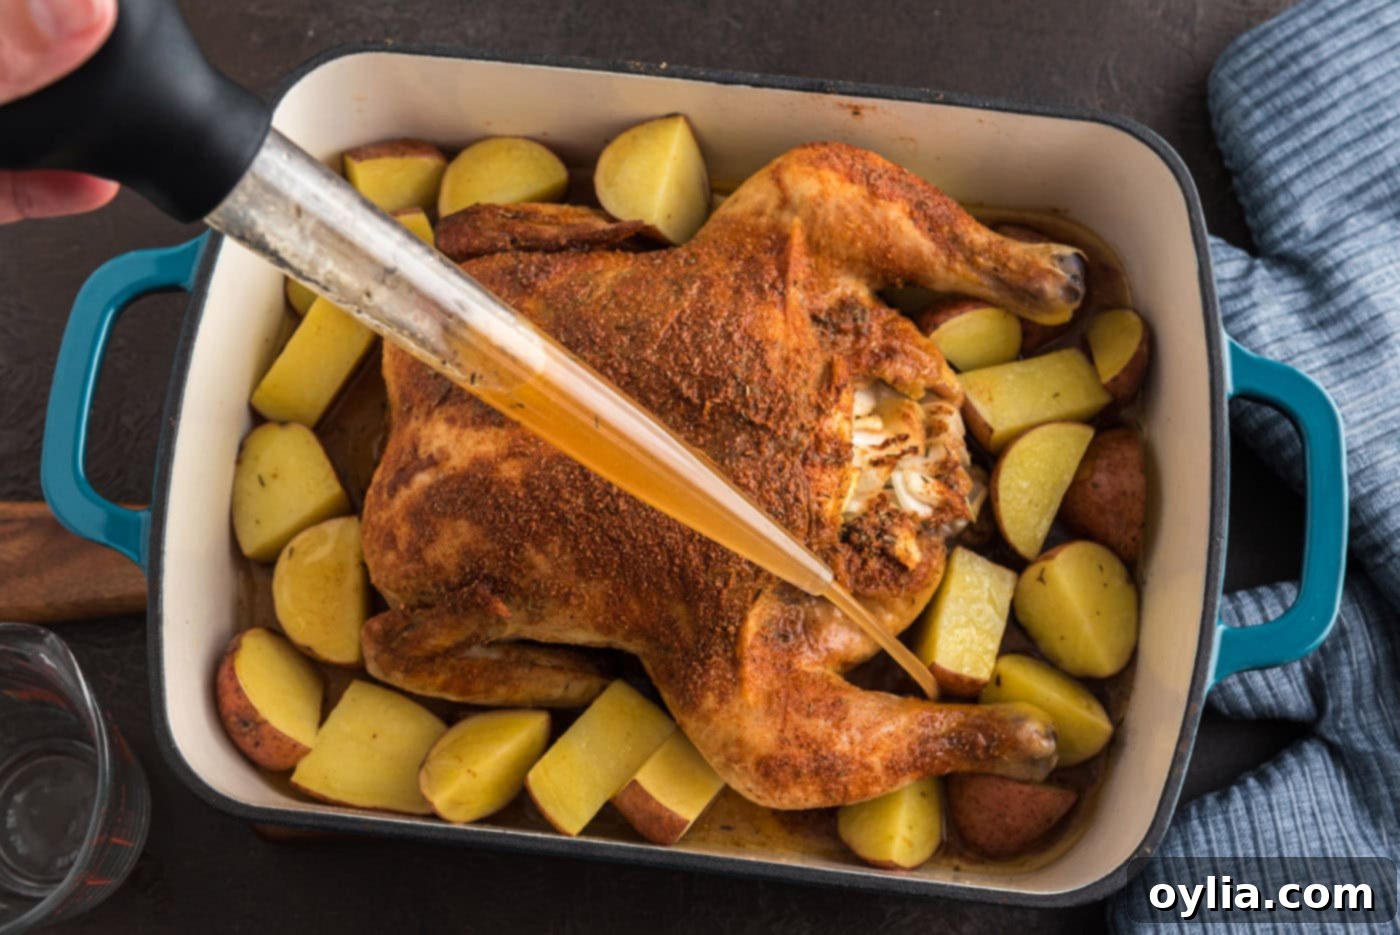
Potatoes added to the pan, ready to roast alongside the chicken and soak up delicious juices. - Baste with Broth: After 40 minutes, remove the pan again. Carefully add the chicken broth to the pan. Using a baster, thoroughly baste the chicken and the potatoes, coating them with the flavorful pan juices and broth. This step infuses moisture and helps develop that irresistible sticky glaze. Continue baking for another 30 minutes.

Adding chicken broth to the roasting pan, forming the base for our sticky glaze. 
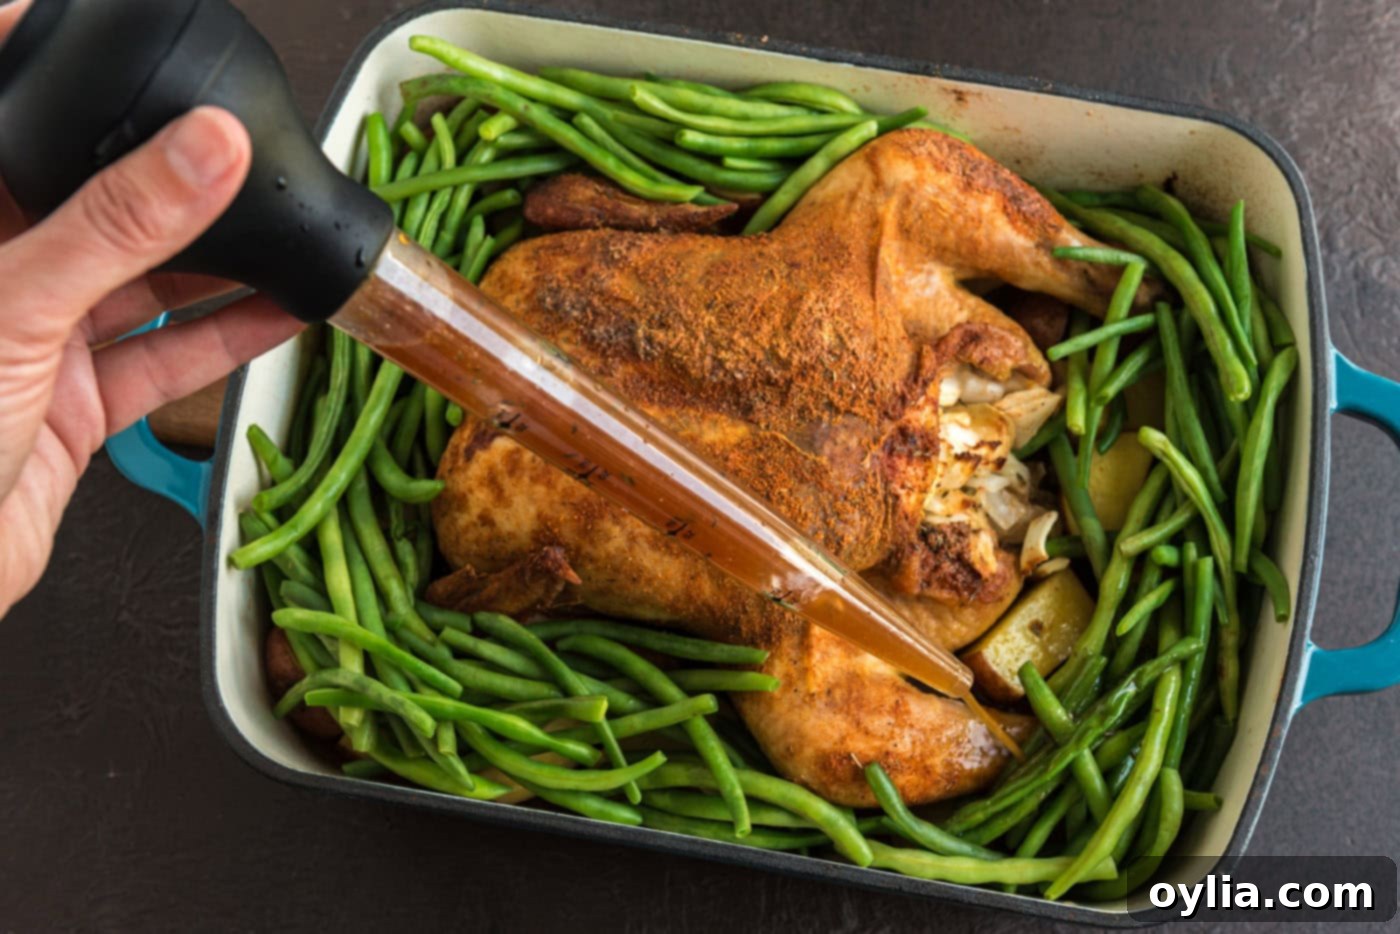
Thoroughly basting the chicken and potatoes to keep them moist and build flavor. - Add Green Beans: While the chicken continues to roast, prepare your fresh green beans by snipping off the ends. Place them in a microwave-safe bowl with 2 tablespoons of water and microwave on high for 5 minutes. This par-cooks them slightly, ensuring they finish tender-crisp. Drain the green beans and add them to the roasting pan with the potatoes. Baste the chicken and all the vegetables once more. Bake for another 30 minutes.

All vegetables are now in the pan, receiving a final basting before the chicken is done. - Final Browning: To achieve maximum crispiness on the skin and perfectly browned, slightly caramelized edges on your potatoes and green beans, increase the oven temperature to 375 F (190 C) and bake for an additional 20 minutes. This higher heat at the end gives that beautiful golden finish.

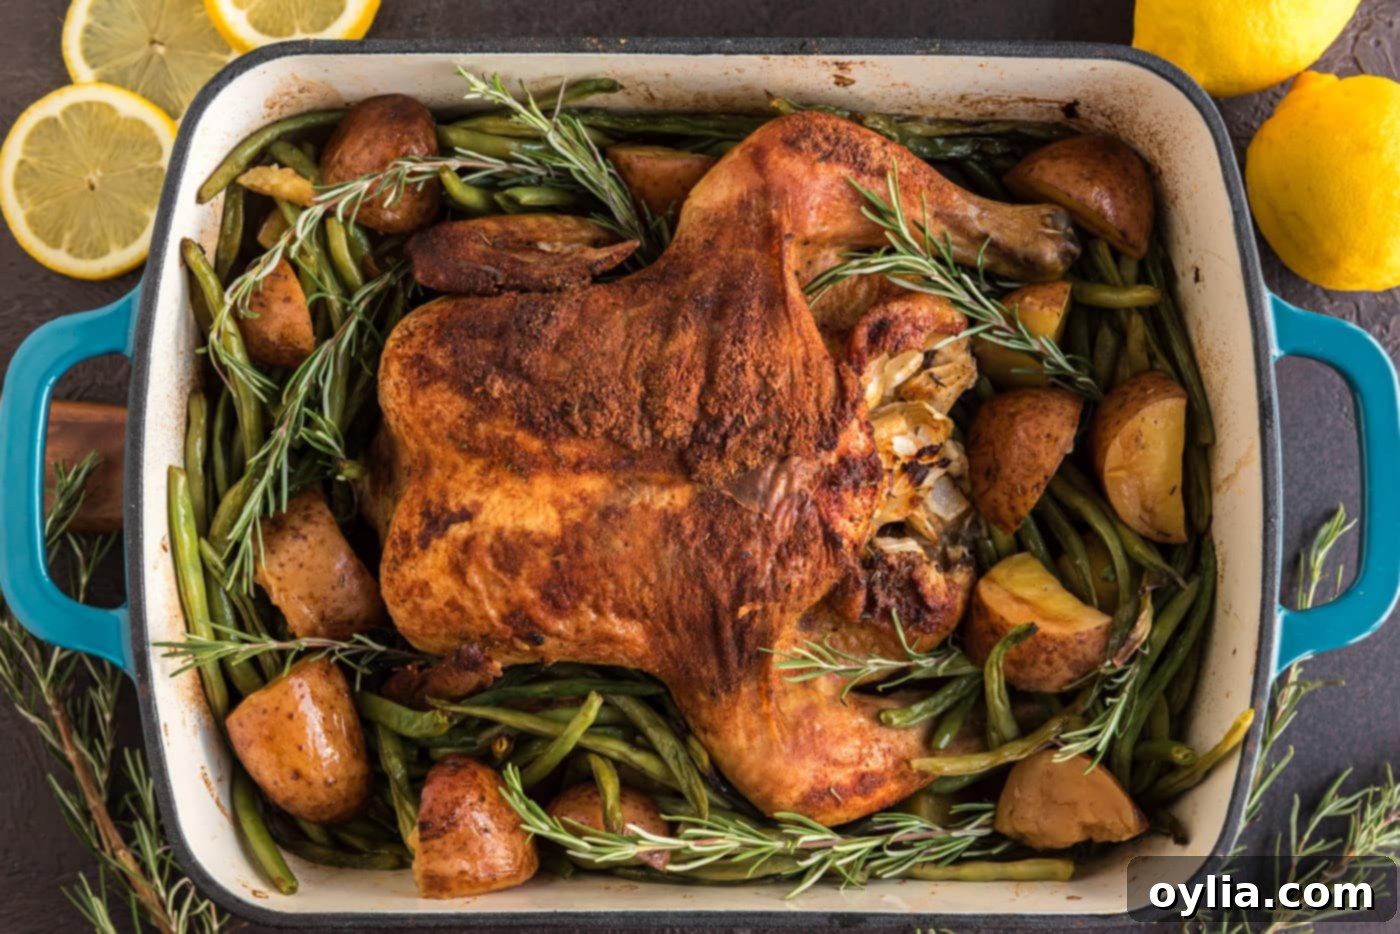
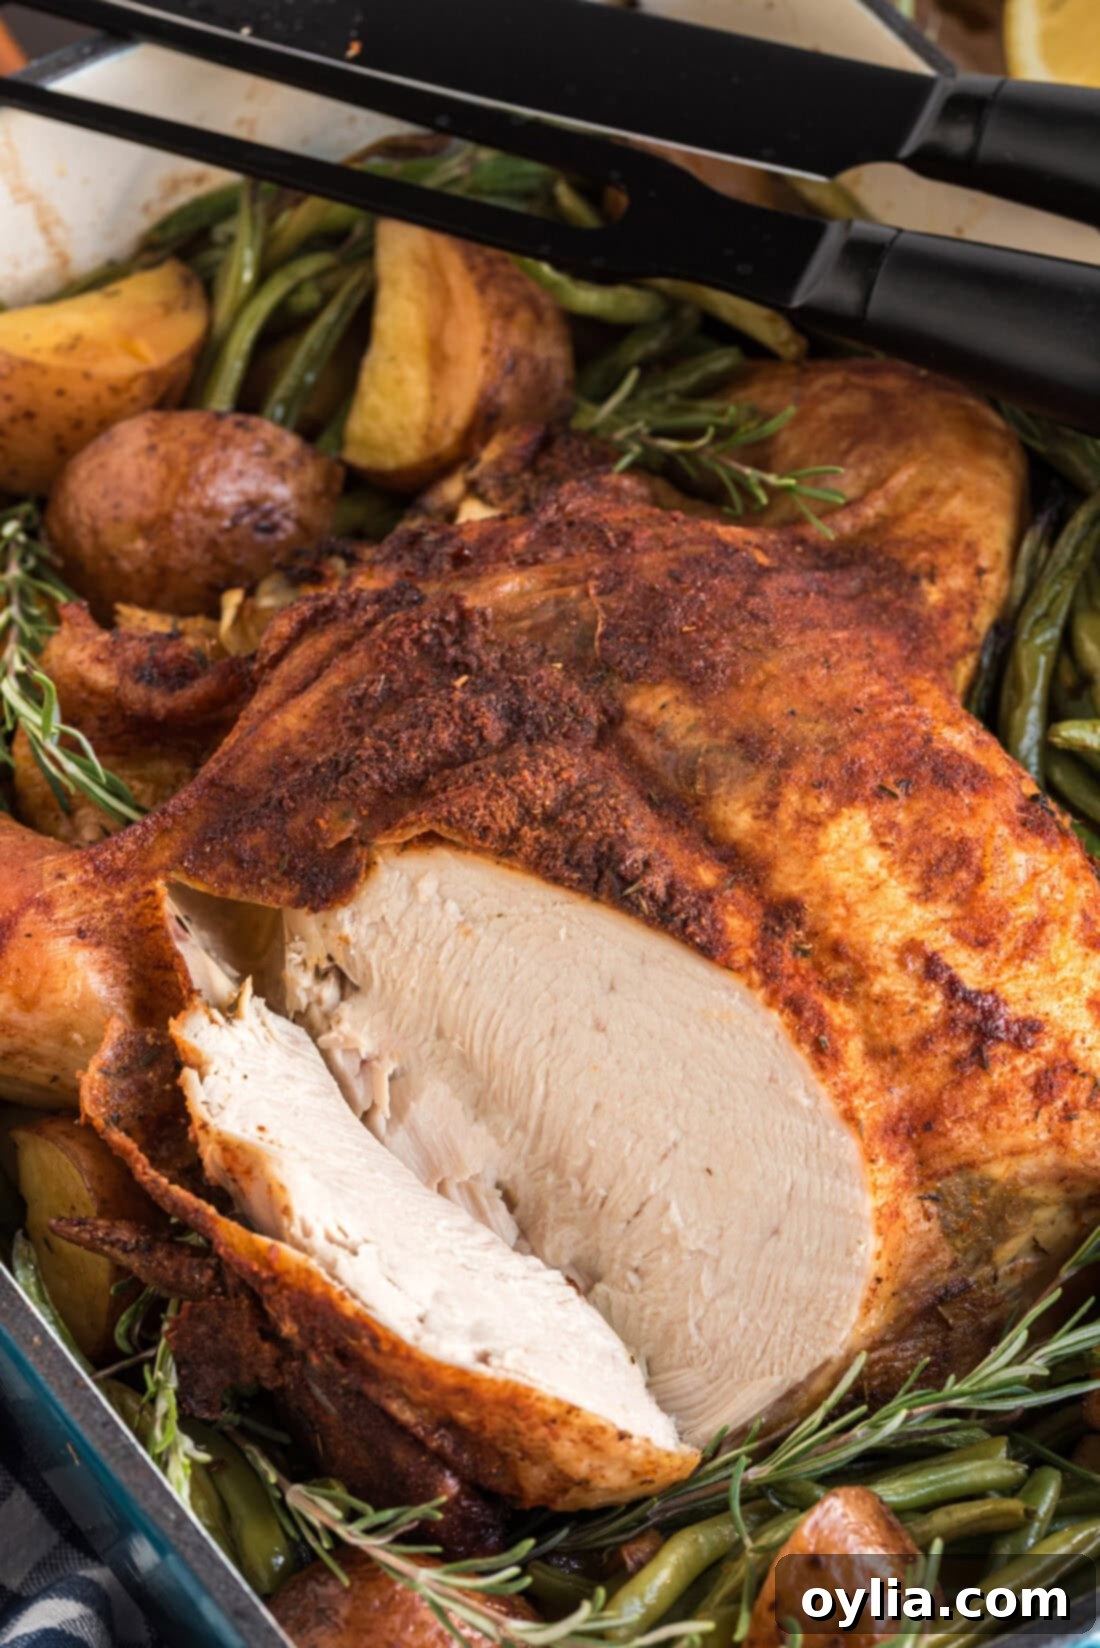
The final product: a perfectly slow roasted sticky chicken with vibrant, caramelized vegetables. - Rest Before Carving: Once the chicken is cooked through (the internal temperature should reach 165 F / 74 C in the thickest part of the thigh without touching bone), remove the pan from the oven. Tent the chicken loosely with aluminum foil and let it rest for 5-7 minutes before carving. This resting period is crucial as it allows the juices to redistribute throughout the meat, ensuring every slice is incredibly juicy and flavorful.
Frequently Asked Questions & Expert Tips for Perfection
Once cooled to room temperature, store any leftover slow roasted chicken in an airtight container. It will keep beautifully in the refrigerator for 4-5 days. For longer storage, consider freezing carved chicken meat in freezer-safe bags or containers for up to 3 months.
The best method to reheat roasted chicken and maintain its moisture is to place the pieces in a shallow baking dish. Add a small amount of chicken stock or water (about 1/4 to 1/2 cup) to the bottom of the dish. Tent the baking dish loosely with aluminum foil; this traps moisture and creates a steamy environment. Warm the chicken in a 350F (175 C) oven for 15-20 minutes, or until it’s heated through, checking occasionally to ensure it doesn’t dry out. The foil is key to keeping it juicy.
While this slow roasted sticky chicken recipe truly shines when baked in the oven for that crispy skin and deep flavor, I do have a separate crockpot sticky chicken recipe if a slow cooker is more convenient for you. It’s important to note that the textures will differ; the crockpot version yields incredibly tender, fall-off-the-bone chicken, but the skin will not crisp up in the same way it does during oven roasting. Both are delicious, but for the signature crispy skin, the oven is the way to go!
The most reliable way to ensure your whole roasted chicken is done is to use a meat thermometer. Insert it into the thickest part of the thigh, avoiding the bone. The internal temperature should register 165°F (74°C). The juices should also run clear when you pierce the meat. For food safety, always check the temperature!
Absolutely! This one-pan chicken dinner is highly adaptable. Carrots, parsnips, sweet potatoes, or even chunks of bell pepper or zucchini can be added alongside the potatoes. Just ensure harder vegetables are cut into similar-sized pieces to the potatoes so they cook evenly. Add them at the same time as the potatoes for optimal tenderness.
Delectable Serving Suggestions for Your Roasted Chicken
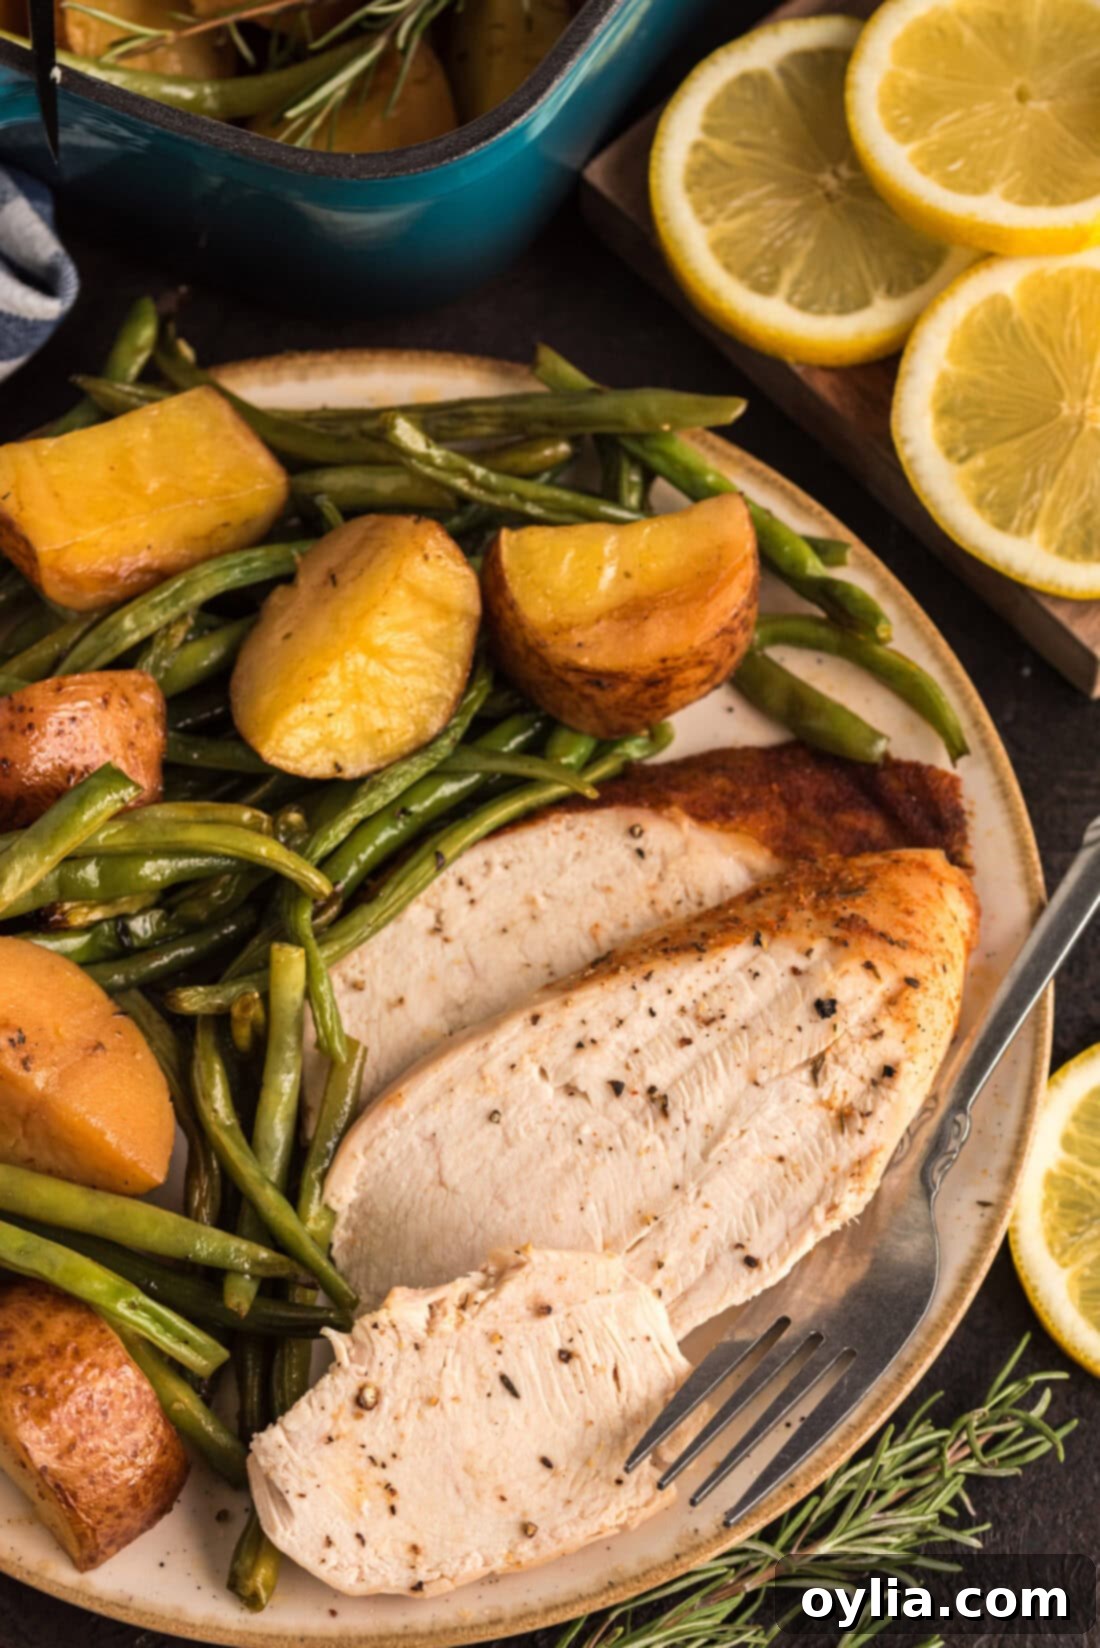
This slow roasted sticky chicken recipe is a fantastic all-in-one meal when prepared with the potatoes and green beans directly in the roasting pan. The vegetables soak up all the delicious pan drippings, becoming incredibly flavorful. However, if you prefer, you can certainly omit the veggies from the pan and serve this magnificent chicken with a variety of other delightful sides.
Consider pairing it with creamy mashed potatoes, fluffy rice, or even quinoa to soak up every last drop of the savory pan juices. A crisp green dinner salad with a light vinaigrette makes for a refreshing contrast, or a basket of warm, crusty dinner rolls is perfect for dipping. For a heartier side, roasted asparagus, glazed carrots, or creamed spinach would also be excellent choices. No matter how you serve it, this juicy roasted chicken promises to be the star of your meal. Enjoy every bite!
More Incredible Roast Recipes to Explore
If you loved this slow roasted chicken, you’ll be thrilled to discover more of our tried-and-true roasting recipes designed to bring comfort and flavor to your table. Expand your culinary repertoire with these family favorites:
- Perfect Roast Duck: An elegant alternative to chicken, offering rich flavor and crispy skin.
- Classic Roasted Turkey: Ideal for holidays or a grand family feast, with tips for a perfectly moist bird.
- Simple Roasted Chicken: A straightforward, delicious recipe for everyday enjoyment.
- The Best Sirloin Pork Roast: A savory and tender pork dish that’s surprisingly easy to make.
I’m passionate about baking and cooking, and I love sharing my kitchen adventures and perfected recipes with all of you! Remembering to come back each day for new ideas can be tough, which is why I offer a convenient newsletter delivered straight to your inbox every time a new recipe posts. Simply subscribe to start receiving your free daily recipes and never miss a delicious update!
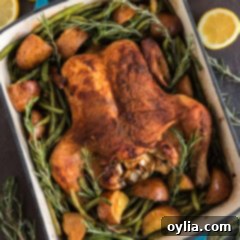
Slow Roasted Sticky Chicken with Vegetables
IMPORTANT – There are often Frequently Asked Questions within the blog post that you may find helpful. Simply scroll back up to read them!
Print It
Pin It
Rate It
Save ItSaved!
Ingredients
- 4 pound whole chicken
- 1 cup coarsely chopped onion
- 5-6 medium red potatoes quartered
- 2 handfuls fresh green beans
- Olive oil
- 1 cup chicken broth
Spice Rub
- 4 teaspoons salt
- 2 teaspoons paprika
- 1 teaspoon cayenne pepper
- 1 teaspoon onion powder
- 1 teaspoon dried thyme
- 1 teaspoon white pepper
- ½ teaspoon garlic powder
- ½ teaspoon black pepper
Equipment You’ll Need
-
Roasting Pan
-
Baster
-
Meat Thermometer (highly recommended)
Before You Begin: Key Tips for Success
- This recipe is designed for a 4-pound whole chicken. Ensure your chicken is completely thawed before you start. A frozen or partially frozen chicken will prevent the seasoning rub from adhering properly and will hinder the skin from becoming perfectly crispy.
- Always pat your chicken thoroughly dry with paper towels. This removes surface moisture, which is the secret to achieving truly crispy skin.
- Allowing the chicken to come to room temperature for about 30-60 minutes before roasting can help it cook more evenly.
Instructions
-
Preheat your oven to 300 F (150 C).
-
Remove any giblets from the chicken cavity; clean the cavity well and pat the entire chicken dry with paper towels. This step is essential for crispy skin.
-
In a small bowl, combine all the spice rub ingredients. Generously spread this spice mixture all over the chicken, making sure to rub it under the breast skin for maximum flavor and moisture.
-
Stuff the cavity of the chicken with the coarsely chopped onions. Place the chicken into a roasting pan. Bake the chicken for one hour, undisturbed.
-
Remove the pan from the oven. Add the quartered red potatoes, scattering them around the chicken. Drizzle the potatoes with olive oil. Return to the oven and bake for another 40 minutes.
-
Add the chicken broth to the roasting pan. Using a baster, thoroughly baste the chicken and potatoes. Bake for an additional 30 minutes.
-
While the chicken bakes, prepare the fresh green beans by snipping their ends. Place them in a microwave-safe bowl with 2 tablespoons of water and microwave on high for 5 minutes. Drain the green beans and add them to the roasting pan with the potatoes. Baste the chicken and all the vegetables again. Bake for another 30 minutes.
-
To achieve a beautiful golden-brown color and crisp edges on the potatoes and green beans, turn the oven temperature up to 375 F (190 C) and bake for an additional 20 minutes.
-
Once cooked (internal temperature of 165 F / 74 C), remove the pan from the oven. Tent the chicken loosely with foil and let it rest for 5-7 minutes before carving. This ensures the meat remains wonderfully juicy.
Expert Tips & FAQs for Success
- Store cooled leftovers in an airtight container in the refrigerator for 4-5 days.
- The best way to reheat roasted chicken is in a shallow baking dish with a bit of chicken broth or water, tented with aluminum foil, in a 350F oven until heated through, to retain moisture.
- Don’t skip patting the chicken dry; it’s the secret to truly crispy skin!
- A meat thermometer is your best friend for perfectly cooked, safe chicken.
Nutrition Information (per serving)
The recipes on this blog are tested with a conventional gas oven and gas stovetop. It’s important to note that some ovens, especially as they age, can cook and bake inconsistently. Using an inexpensive oven thermometer can assure you that your oven is truly heating to the proper temperature. If you use a toaster oven or countertop oven, please keep in mind that they may not distribute heat the same as a conventional full sized oven and you may need to adjust your cooking/baking times. In the case of recipes made with a pressure cooker, air fryer, slow cooker, or other appliance, a link to the appliances we use is listed within each respective recipe. For baking recipes where measurements are given by weight, please note that results may not be the same if cups are used instead, and we can’t guarantee success with that method.
This post originally appeared here on Aug 19, 2013, and has since been extensively updated with new photos, enhanced instructions, expert tips, and additional information to ensure the best possible cooking experience.
