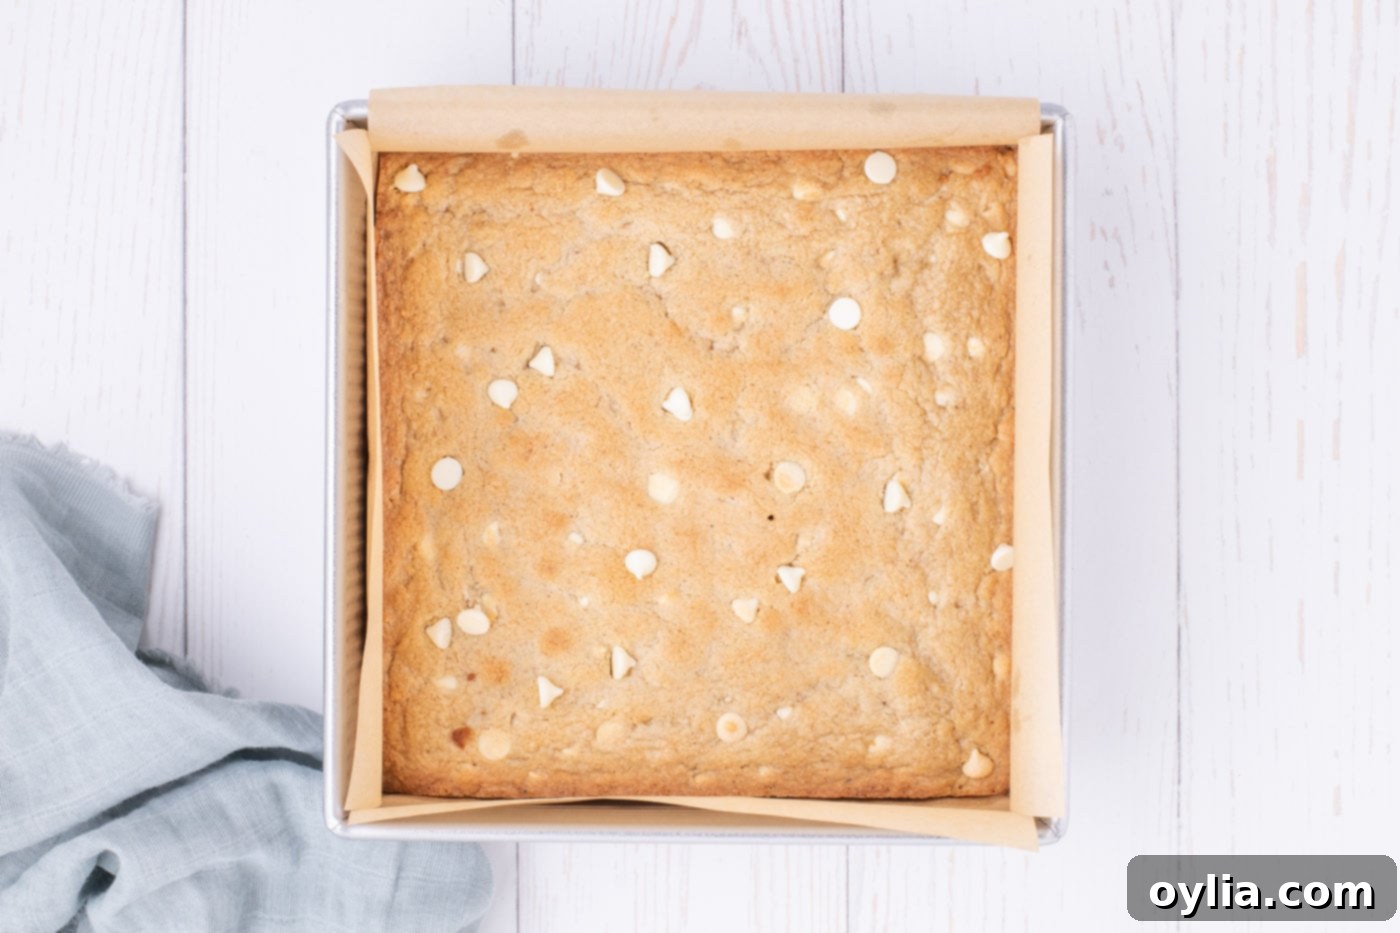
The Best Brown Butter Blondies Recipe: Chewy, Rich, and Perfectly Soft
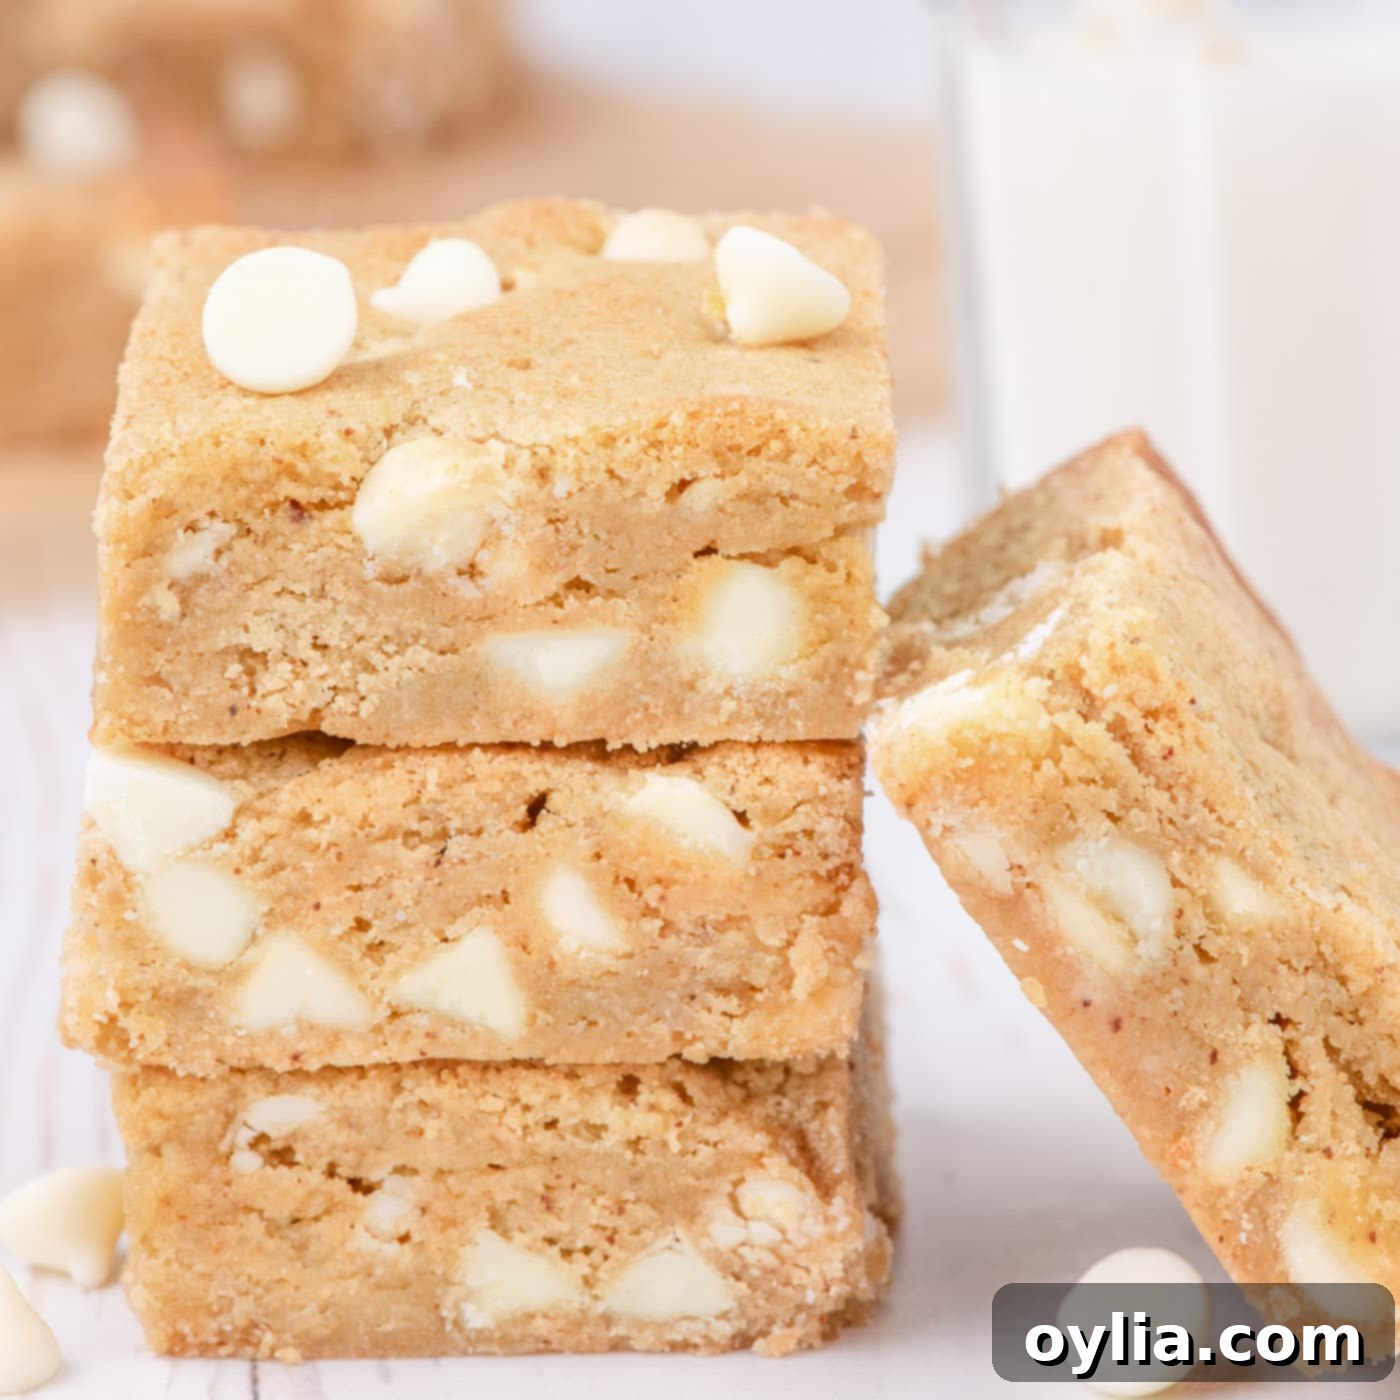
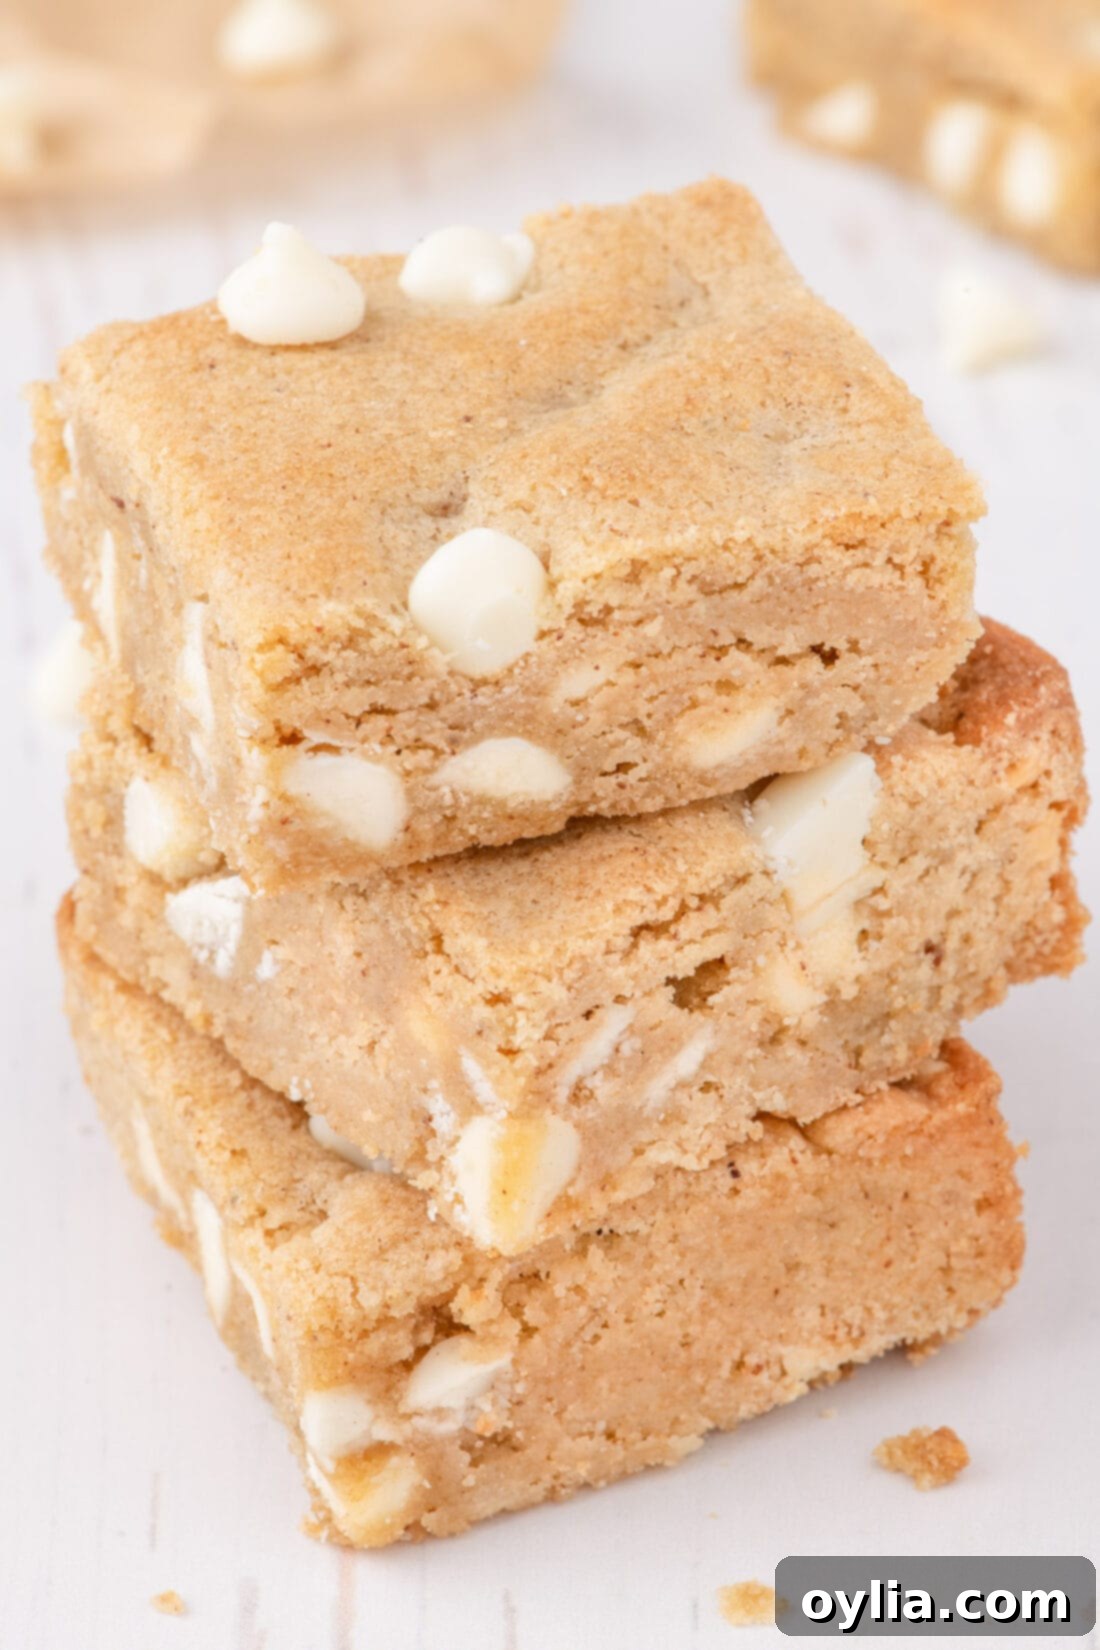
Prepare yourself for a truly irresistible treat: homemade blondies that are perfectly chewy, supremely rich, and incredibly soft. This recipe elevates the classic blondie to new heights by starting with a luscious browned butter batter, then studding it with sweet white chocolate chips. Forget dry, cakey blondies – these are everything you dream of in a dessert bar and more. Each bite delivers a delightful blend of buttery, caramel-like flavors with a hint of nutty depth, making them an instant favorite for any occasion or just a cozy night in.
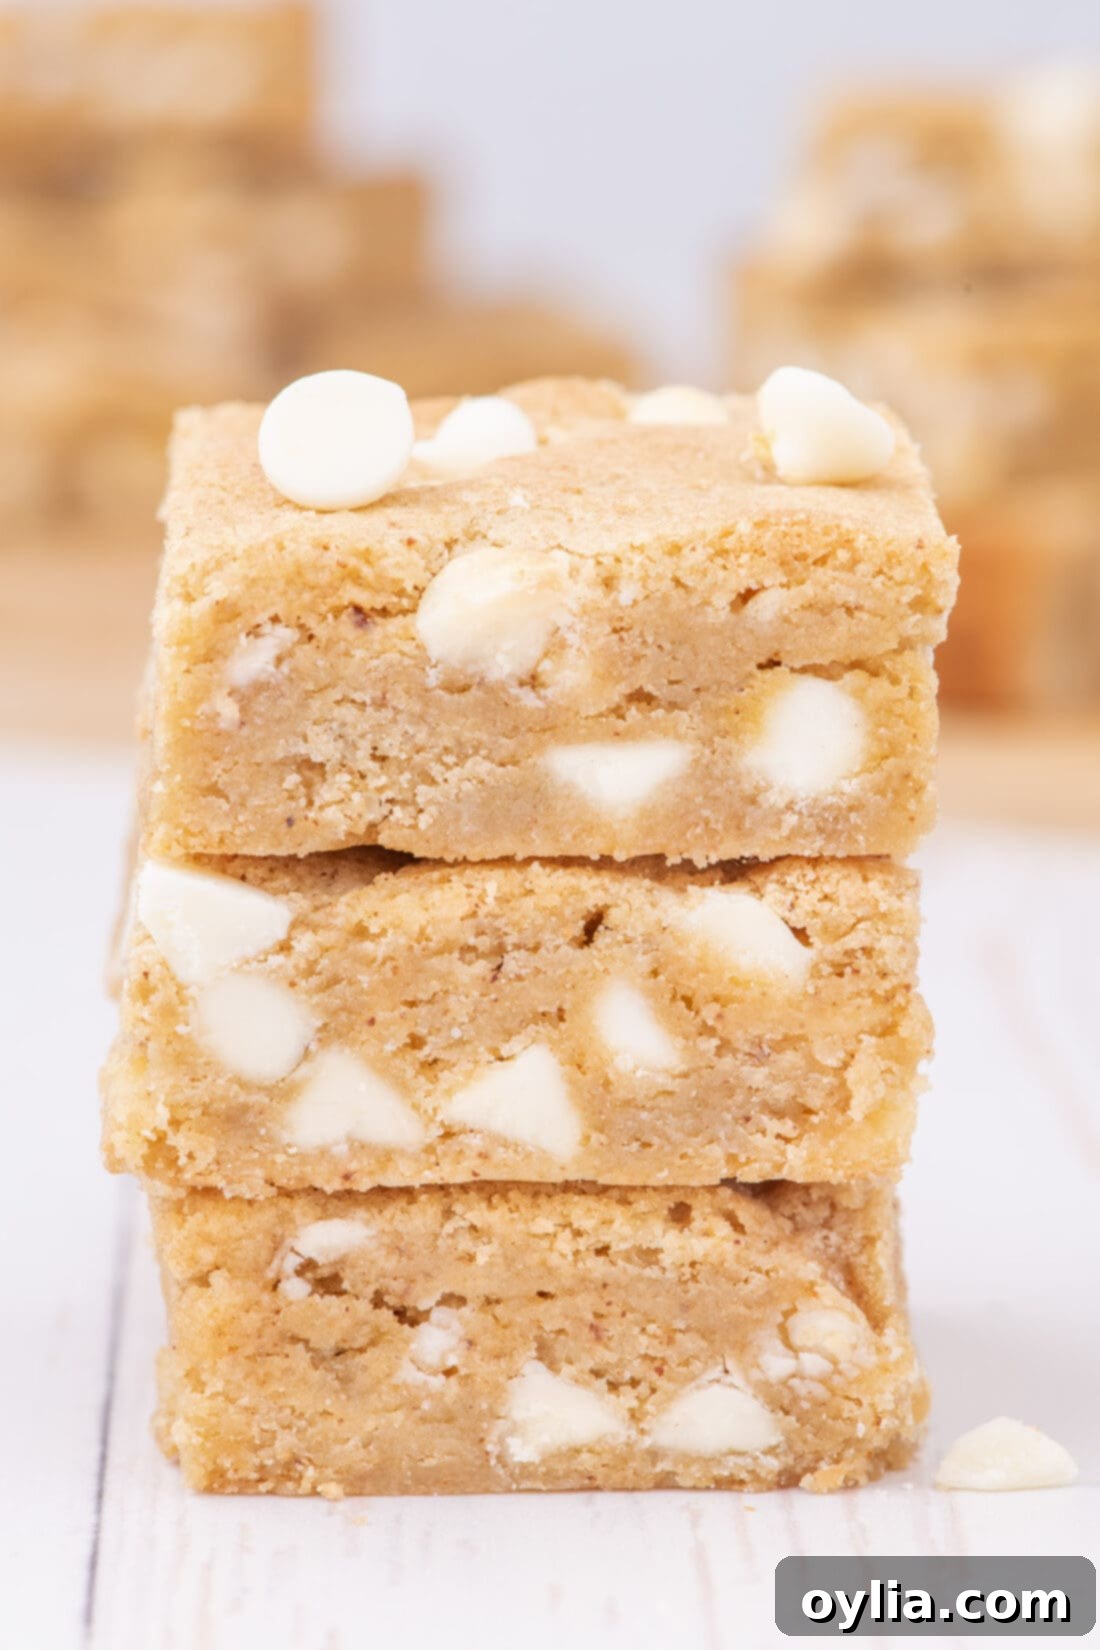
Why These Brown Butter Blondies Are a Must-Try
This blondie recipe isn’t just good; it’s truly exceptional. It delivers all the desirable chewy texture and deep richness you’d expect from a classic fudge brownie, but without the cocoa, allowing the pure, buttery flavor to shine. What sets these blondies apart is the secret weapon: browned butter. This simple step transforms ordinary butter into a golden elixir, infusing the batter with a profound, nutty, and almost caramel-like aroma that’s simply addictive.
The inclusion of dark brown sugar further amplifies this caramel complexity, creating a depth of flavor that can’t be achieved with granulated sugar alone. It also contributes significantly to that wonderfully moist and chewy texture. A subtle hint of almond extract is added to complement the browned butter’s nuttiness, elevating the overall taste profile and making these rich, buttery bars undeniably habit-forming. You’ll be amazed at how quickly these come together – in approximately 35 minutes of active prep and bake time, you can have a batch ready for potlucks, birthday parties, or simply as a comforting dessert to satisfy your sweet tooth.
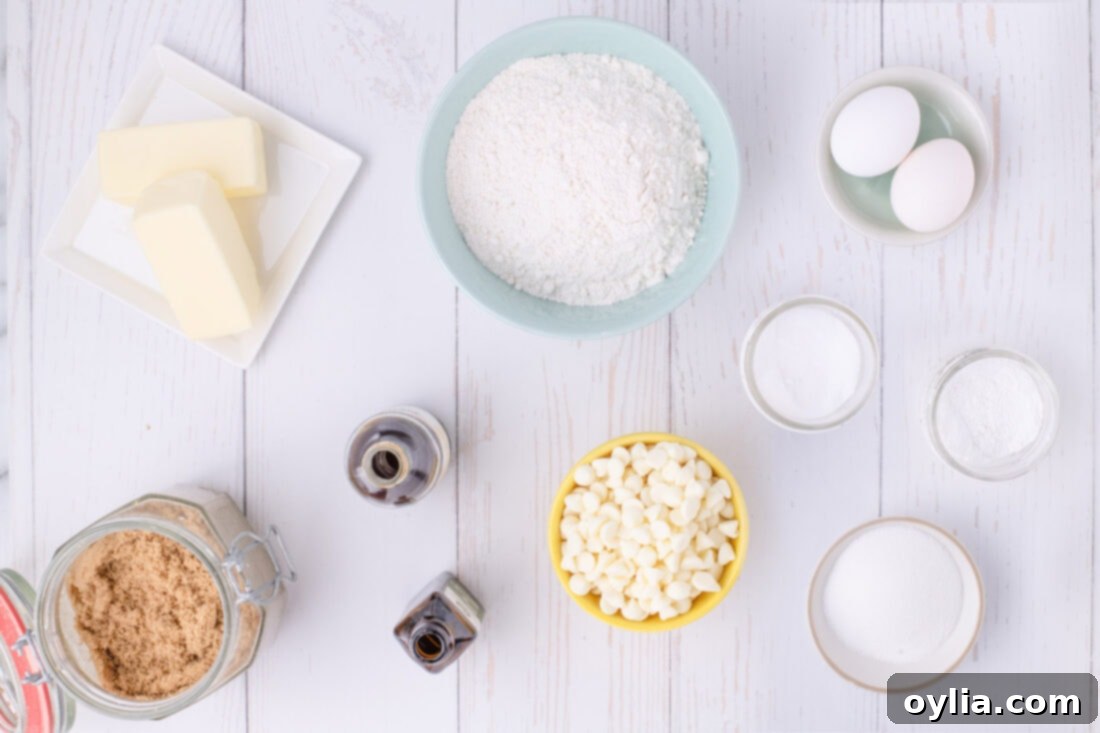
Essential Ingredients for Perfect Blondies
Crafting the best blondies starts with gathering quality ingredients. While the list is straightforward, understanding the role of each component and measuring them precisely is key to achieving that signature chewy, moist texture and deep, rich flavor. Find a detailed list of all measurements and instructions in the printable recipe card at the very end of this post.
Ingredient Breakdown & Smart Substitutions
Understanding your ingredients is the first step to baking success. Here’s a deeper look at the core components of these delicious blondies and how to get the best results:
BUTTER – Browning the butter is more than just a step; it’s a flavor revelation. This process, where milk solids toast and caramelize, creates a profound, rich, nutty, and distinctly caramelized taste that permeates every bite of your blondies. It adds a layer of sophistication and depth that plain melted butter simply cannot match. While it takes an extra few minutes, this crucial step is highly recommended for an unparalleled blondie experience. It’s a quick and easy way to amplify the butter flavor in baked goods, resulting in a more complex and satisfying treat.
FLOUR – Accurate flour measurement is paramount to achieving the perfect blondie texture. Instead of simply scooping your measuring cup into the flour bag, which can compact it and lead to an excess, use the “spoon and level” method. Gently spoon the flour into your measuring cup until it overflows, then use the back of a knife or a straight edge to level it off. This prevents an overly dense or cake-like blondie. For the most precise results, especially in baking, a kitchen scale is always recommended to weigh your flour (1 cup all-purpose flour typically equals 4.25 ounces or 120 grams).
BROWN SUGAR – We opt for dark brown sugar in this recipe for its higher molasses content. This gives the blondies a richer, deeper caramel-like flavor and contributes significantly to their wonderfully chewy and moist texture. While you can substitute with light brown sugar, be aware that the intensity and deep caramelized flavor won’t be as pronounced. Just like flour, proper measurement of brown sugar is essential. Pack it lightly into your measuring cup; too tightly packed will result in a denser, harder, and potentially crunchy blondie. Again, a kitchen scale is ideal for accuracy (1 cup lightly packed dark brown sugar is approximately 6 ounces or 170 grams).
GRANULATED SUGAR – A small amount of granulated sugar is included to help achieve that classic crinkly top on your blondies, while still allowing the brown sugar to dominate the flavor profile for chewiness and depth.
EGGS – Large eggs act as a binder and add richness, contributing to the overall structure and tenderness of the blondies. Ensure they are at room temperature for better incorporation into the batter.
ADDITIONS – The hint of almond extract in this recipe beautifully complements the nutty notes from the browned butter, creating a cohesive and well-rounded flavor profile. If you’re not a fan of almond, or simply don’t have it on hand, you can easily substitute it with an equal amount of extra vanilla extract. For the chocolate component, white chocolate chips are a classic choice for blondies, adding a sweet, creamy contrast. However, feel free to get creative! You can easily substitute them with semi-sweet chocolate chips (as we do in our chocolate chip blondies), milk chocolate chips, butterscotch chips, or even peanut butter chips. A combination of a few different types can also be delightful! For an extra textural element and even more nutty flavor, consider adding 1/2 cup of chopped walnuts or pecans to the batter along with your chocolate chips.
Step-by-Step: Crafting Your Delicious Blondies
These step-by-step photos and instructions are here to help you visualize how to make this recipe. You can Jump to Recipe to get the printable version of this recipe, complete with measurements and instructions at the bottom.
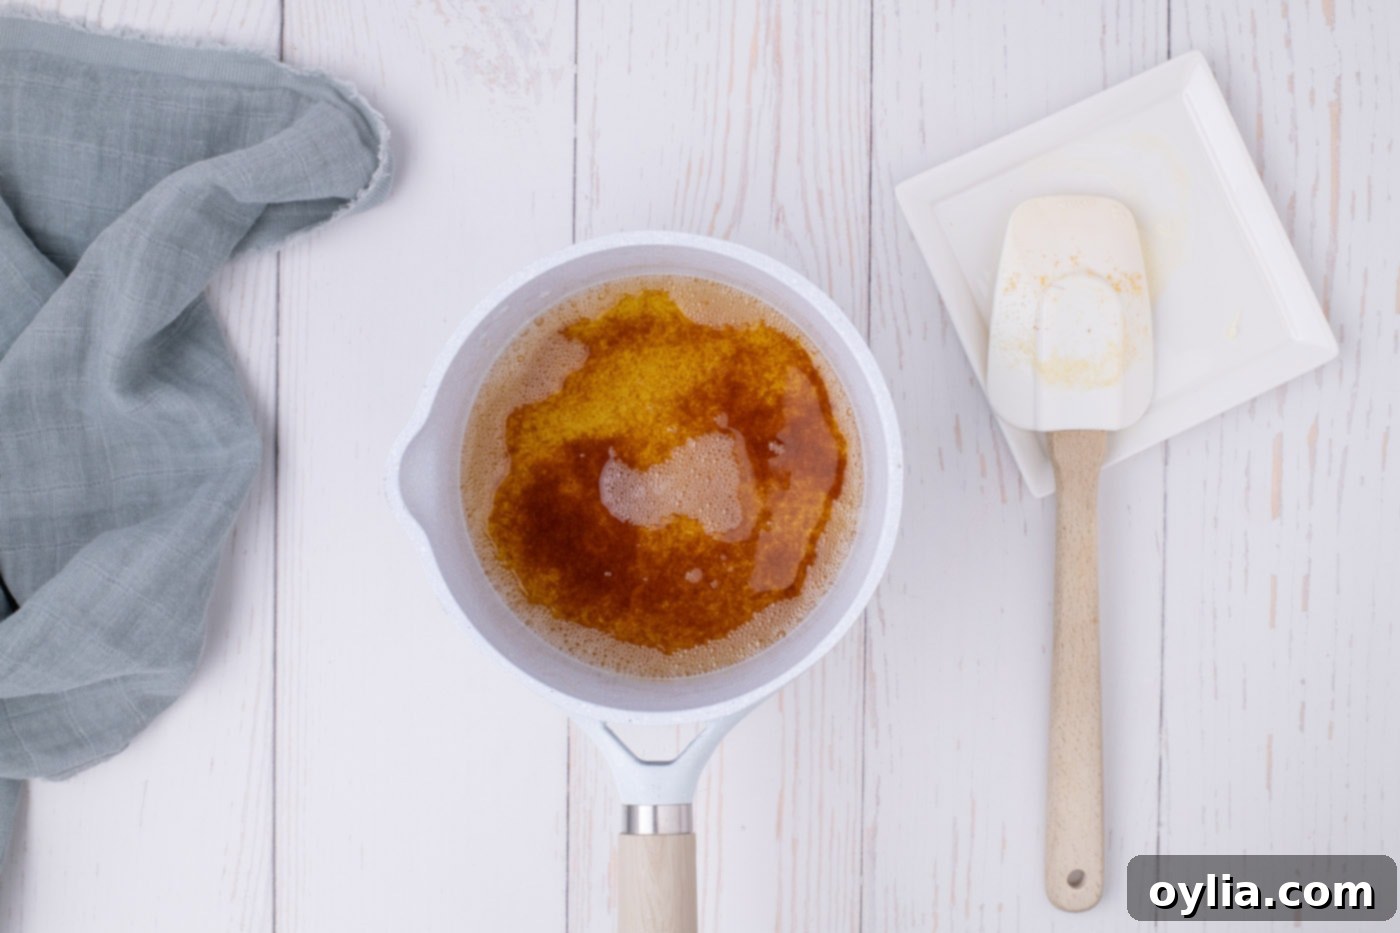
- To truly unlock the deep, nutty flavor that sets these blondies apart, begin by browning the butter. Place both sticks of unsalted butter in a medium-sized saucepan. Melt the butter over medium heat, stirring occasionally. Once it begins to foam and bubble, continue stirring constantly for approximately 3 minutes. You’ll notice the butter solids at the bottom of the pan start to turn a golden brown, and a fragrant, nutty aroma will fill your kitchen. Reduce the heat to low and continue stirring until distinct brown specks appear at the bottom. Immediately remove the saucepan from the heat source and pour the browned butter into a heatproof bowl to stop the cooking process. Allow the butter to cool to room temperature before incorporating it into your batter. This step is crucial for the flavor. (Expert Tip: To speed up cooling, place the bowl in the freezer for about 5-10 minutes, stirring occasionally, until it’s no longer hot but still liquid.)

- Preheat your oven to 350°F (175°C). Prepare a metal square 9-inch baking pan by lining it with two sheets of parchment paper. Arrange the parchment so it covers all four sides of the pan and leaves enough overhang on the edges. This overhang acts as “handles” to easily lift the cooled blondies out of the pan, making cutting a breeze. Set the prepared pan aside.
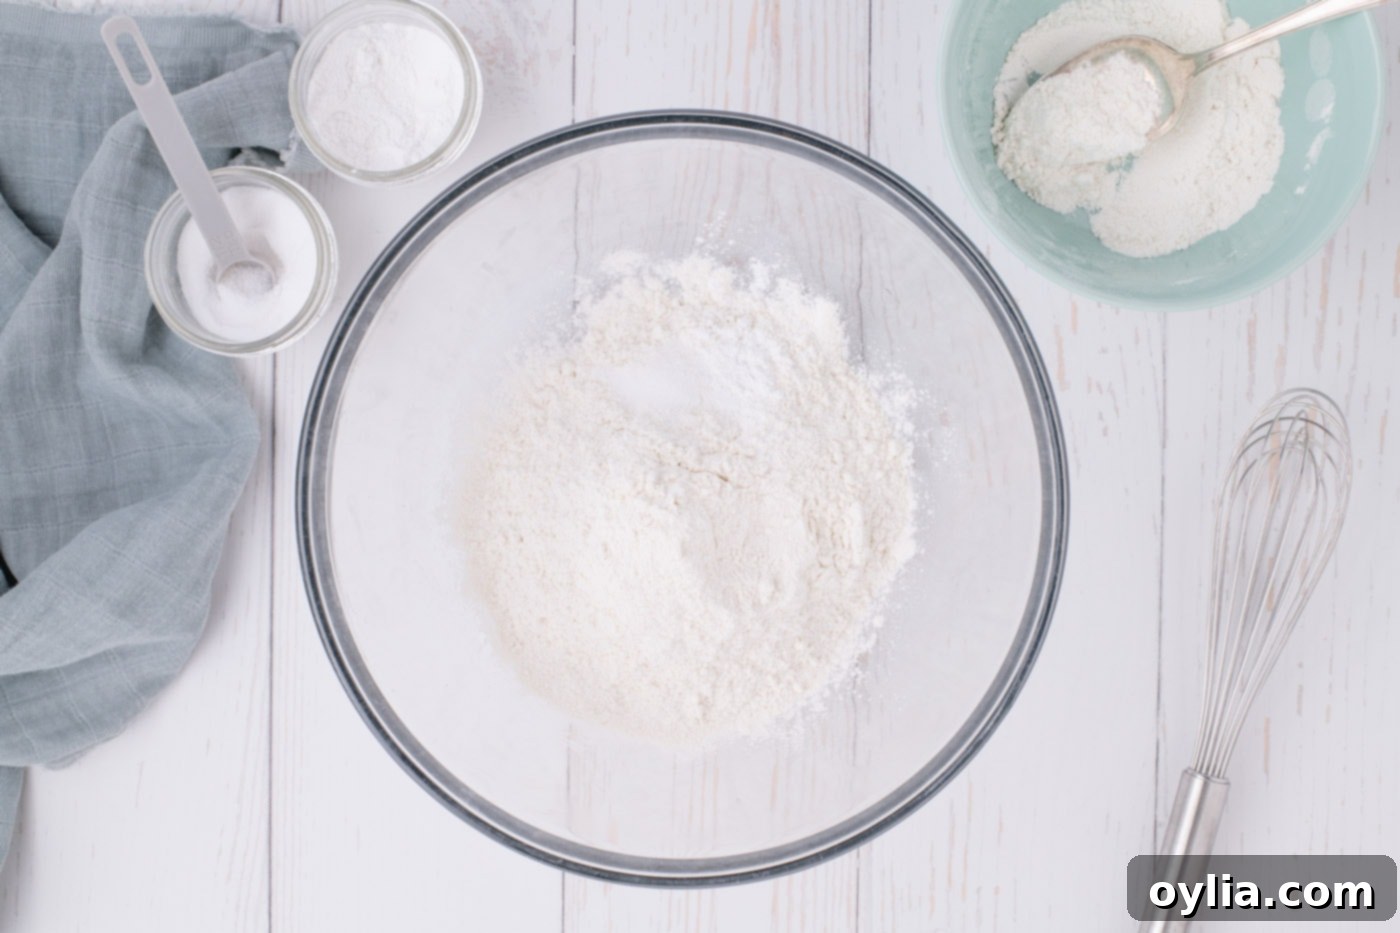
- In a separate medium-sized bowl, whisk together the all-purpose flour, baking powder, and salt. Make sure these dry ingredients are thoroughly combined to ensure even leavening throughout your blondies. Set this mixture aside.

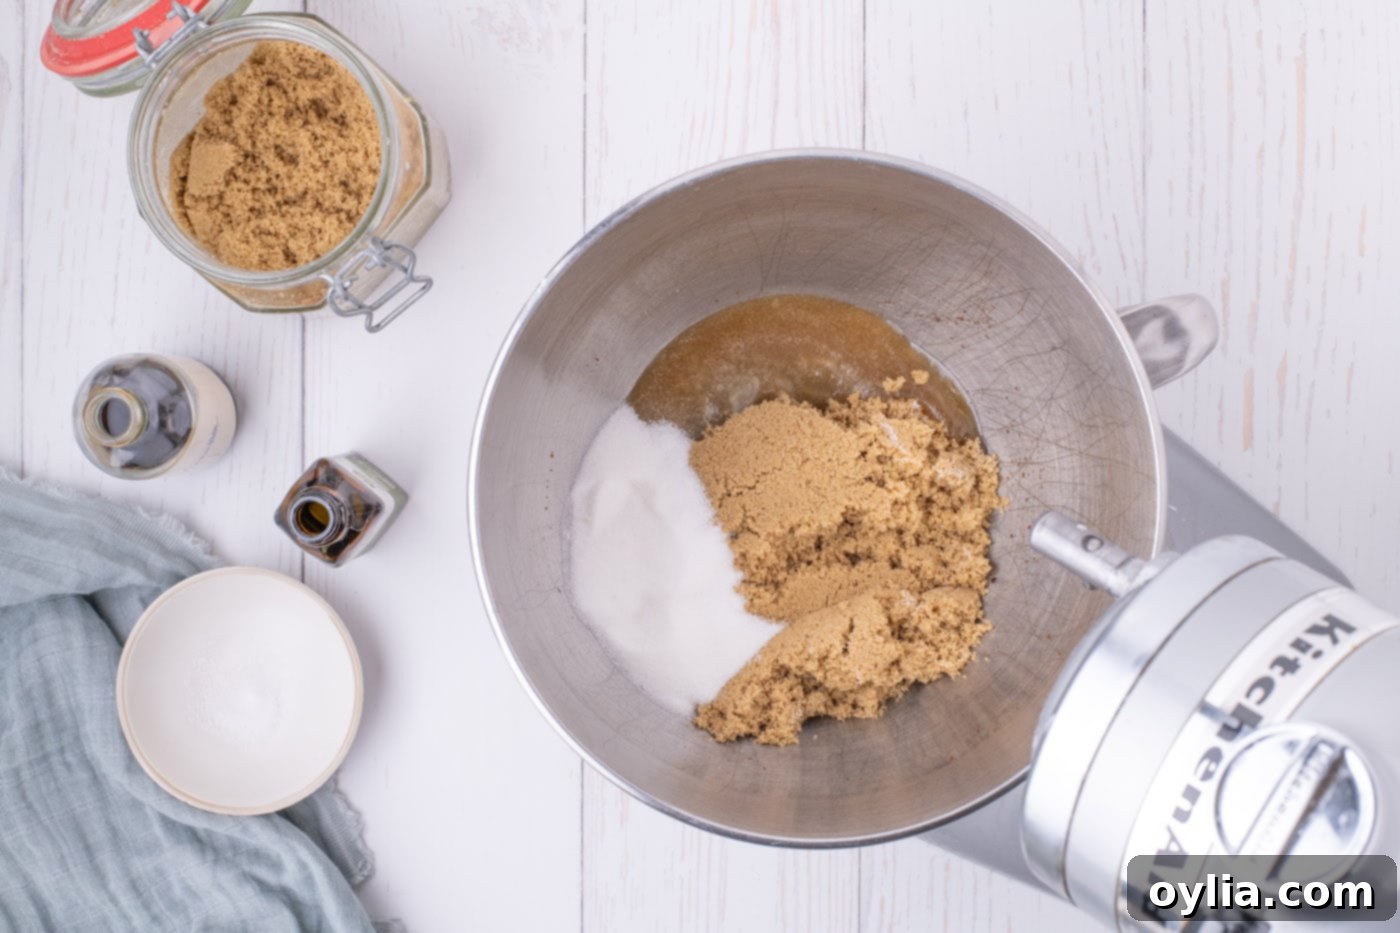
- In the bowl of a stand mixer fitted with the paddle attachment (or using a hand mixer), combine the cooled browned butter with both the dark brown sugar and granulated sugar. Beat these ingredients together for 2 full minutes on medium speed. This creaming process incorporates air, creating a light and fluffy mixture that will contribute to the blondies’ desirable texture and help dissolve the sugars, resulting in a smooth batter.

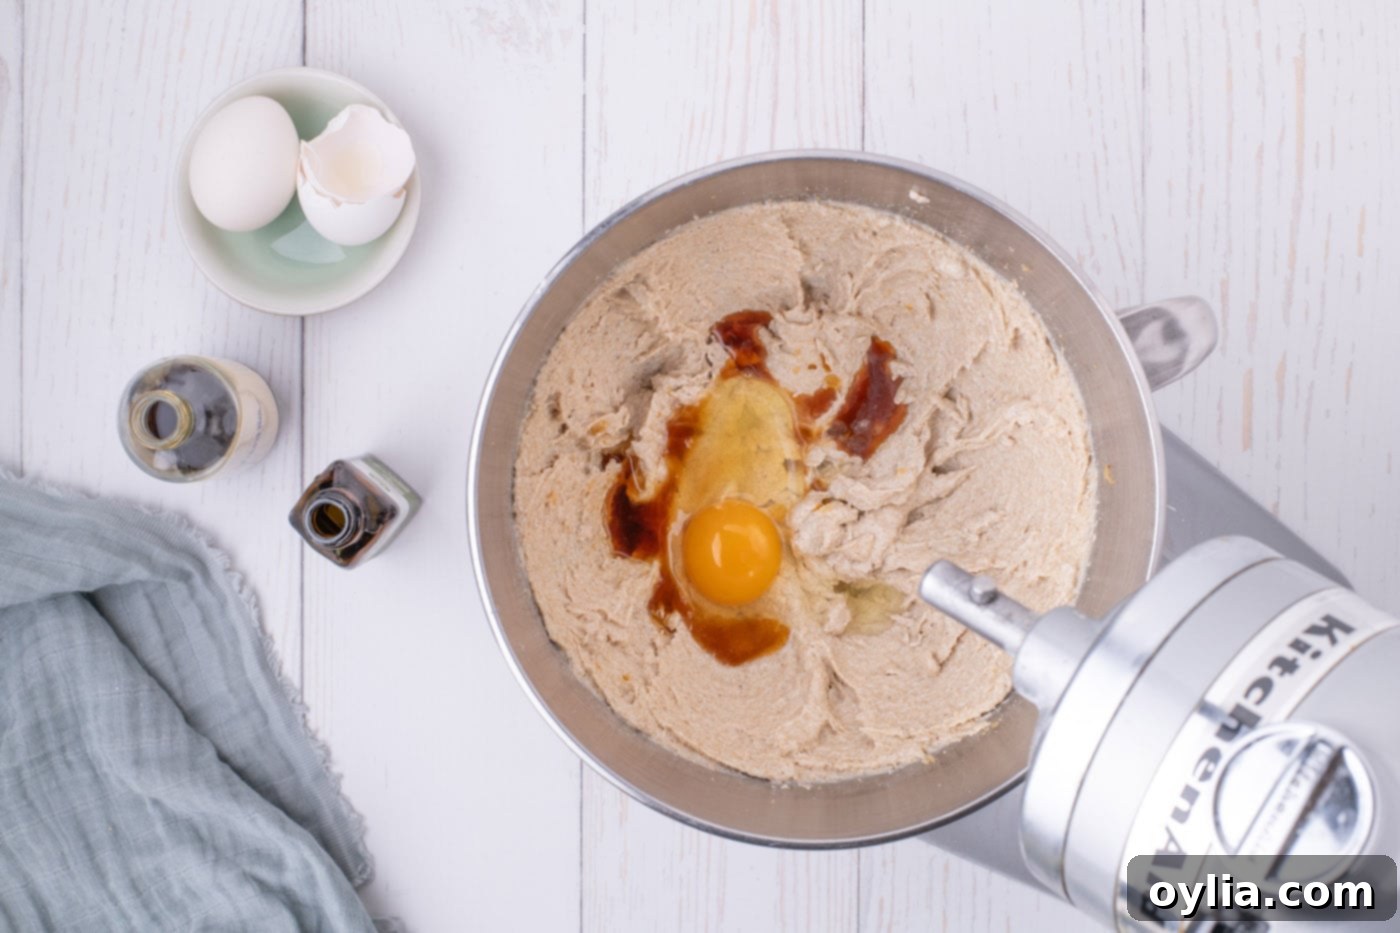
- Next, add the large eggs one at a time to the butter and sugar mixture. Beat well after each addition, ensuring it’s fully incorporated before adding the next egg. Continue to beat the mixture for an additional 2 minutes after all eggs are added to achieve maximum volume and a light, airy base for your blondies. Don’t forget to scrape down the sides of the bowl with a spatula as needed to ensure everything is evenly mixed. Finally, stir in the pure vanilla extract and almond extract until they are just incorporated into the batter.

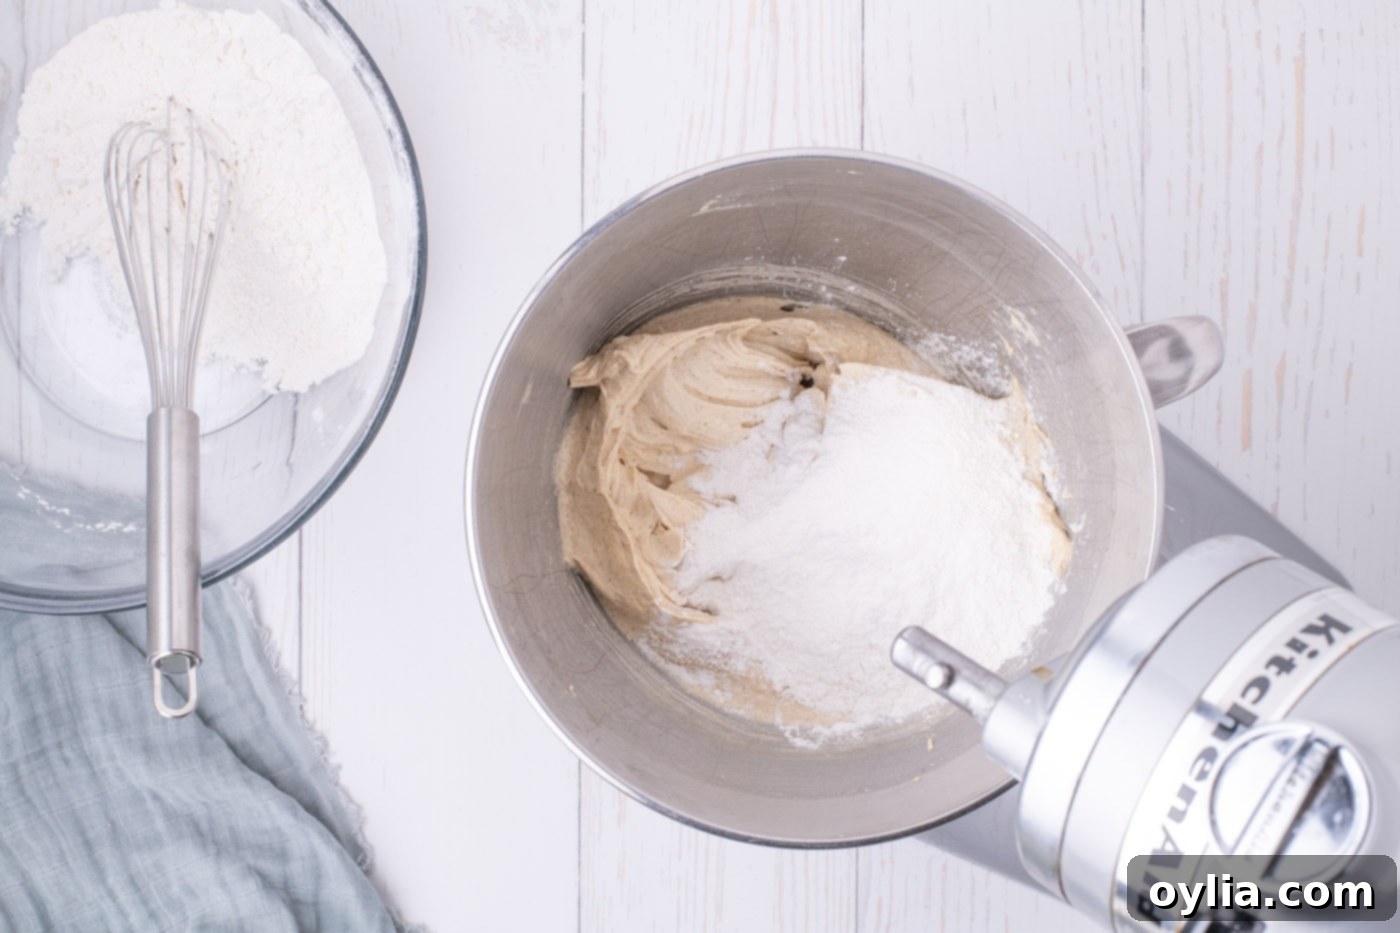
- With the wet ingredients beautifully combined, it’s time to add the dry. Slowly incorporate the flour mixture (that you prepared earlier) into the butter and sugar mixture. Add it gradually, a little at a time, and stir on the lowest speed of your mixer until *just* combined. Overmixing the flour can develop the gluten too much, leading to tough blondies, so stop mixing as soon as no dry streaks of flour remain.

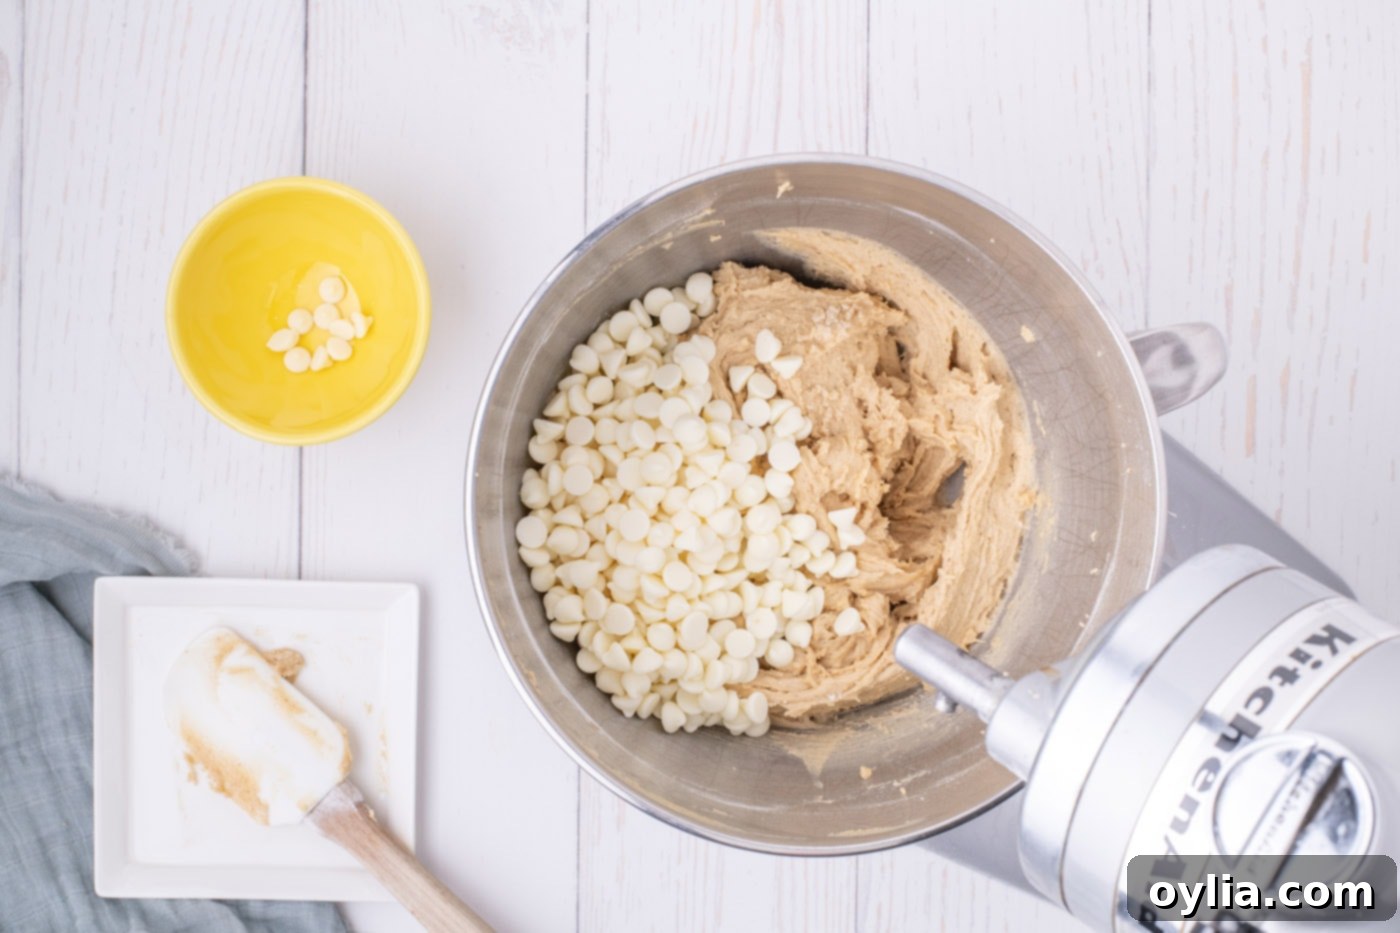
- Finally, it’s time for the delightful mix-ins! Gently stir in the white chocolate chips using a spatula or spoon until they are evenly distributed throughout the batter. Once combined, transfer the rich blondie batter into your previously prepared 9-inch baking pan.

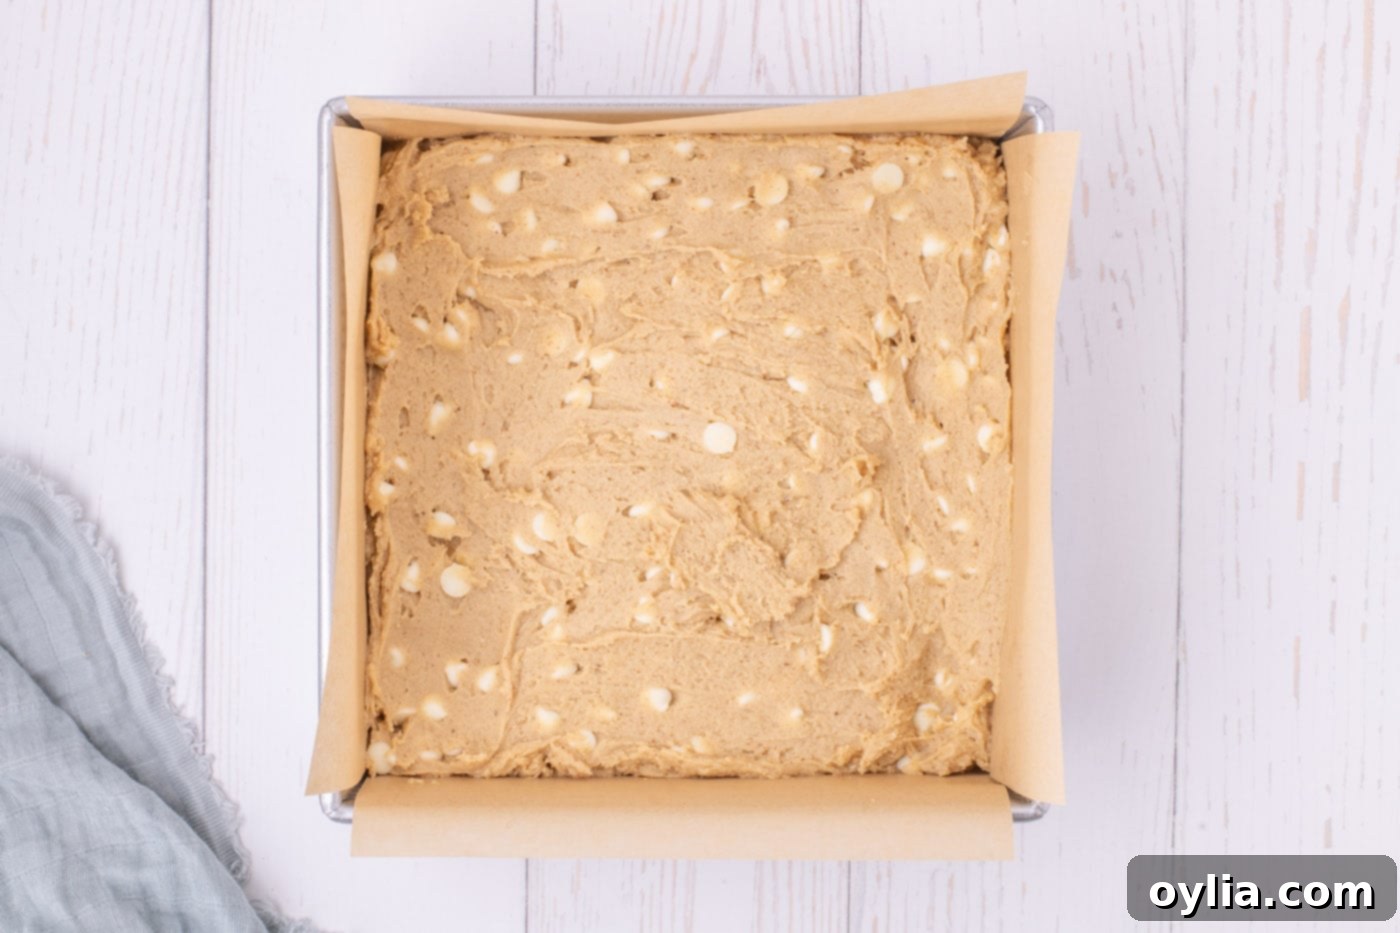
- Using an offset spatula or the back of a spoon, gently press the batter into the baking pan, making sure to spread it evenly and get it into all four corners. This ensures uniform thickness and consistent baking.

- Place the baking pan on the center rack of your preheated oven. Bake for approximately 20-25 minutes. Oven temperatures can vary, so keep an eye on them. Around 15 minutes into the bake time, check the top of the blondies. If it’s beginning to darken too quickly, loosely cover the pan with aluminum foil for the remainder of the baking time to prevent over-browning.
- To determine if your blondies are perfectly baked, perform the toothpick test. Insert a wooden toothpick into the center of the blondies. If it comes out clean with only a few moist crumbs attached (not wet batter), they are done baking. You want the edges to look set and lightly golden, while the center might still appear slightly soft or gooey, which is ideal for a chewy blondie. If the toothpick still has wet batter, continue baking in 3-5 minute intervals, checking frequently.
- Once baked to perfection, remove the blondies from the oven. Resist the urge to cut into them immediately! Allow them to cool completely in the pan on a wire rack. Cooling is crucial for the blondies to set properly and achieve their desired chewy texture. Once fully cooled (this can take at least an hour, or you can speed it up by chilling in the fridge for 30 minutes), use the parchment paper overhang to carefully lift the entire slab of blondies out of the pan. This makes it much easier to cut them into neat squares.

- Finally, cut the cooled blondies into 16 equal-sized squares. Serve and enjoy your perfectly chewy, rich, and buttery brown butter blondies!
Blondie FAQs & Pro Baking Tips
Absolutely! Adding nuts is a fantastic way to enhance texture and flavor. We suggest incorporating 1/2 cup of your favorite chopped nuts, such as walnuts, pecans, or even macadamia nuts, into the batter along with the white chocolate chips. For a more substantial nutty presence, you could use 1 cup of white chocolate chips and 1 cup of nuts, ensuring a balanced distribution of both delightful additions throughout your blondies. Just fold them in gently at the end with the chocolate chips.
There are a few common culprits for dry or cakey blondies. The most frequent reason is inaccurate measurement of ingredients, particularly flour. If flour is too compactly measured (e.g., by scooping directly from the bag), you can end up with too much flour, leading to a dry result. For the best consistency, always use the “spoon and level” method for flour, or even better, use a kitchen scale to weigh your ingredients precisely. Another major factor is overbaking. Blondies should be removed from the oven when the edges are set and lightly golden, but the center still looks slightly soft or even a little gooey. Ovens can vary significantly in temperature, so investing in an oven thermometer is an inexpensive way to ensure your oven is consistently heating to the correct temperature, preventing overbaked, dry blondies.
Yes, absolutely! If you are truly short on time or prefer a simpler approach, you can certainly skip the browning step. Simply use room-temperature (softened) unsalted butter in your stand mixer, beat it with the sugars until light and fluffy, and then continue following the recipe as written. While your blondies will still be rich and delicious, they won’t have the unique, deep, nutty, and complex caramelized flavor that browned butter provides. Browning the butter adds an extra layer of gourmet taste that is highly recommended for the ultimate blondie experience.
Proper storage is key to maintaining the irresistible chewiness and freshness of your blondies. Once your baked blondies have completely cooled, transfer them to an airtight container. Store this container at room temperature, away from direct sunlight or heat, for up to one week. If layering them, place a piece of parchment paper between layers to prevent sticking.
Yes, blondies freeze beautifully, making them perfect for meal prepping desserts or saving for later cravings. To freeze, ensure the blondie squares are fully cooled. Individually wrap each square tightly in plastic wrap, then place the wrapped blondies into a large gallon-sized zip-top freezer bag or an airtight freezer-safe container. They can be frozen for up to 3 months without compromising their texture or flavor. To thaw, simply transfer them to the refrigerator overnight, or let them sit at room temperature for a few hours. If you prefer them warm, you can gently reheat them in the microwave for a few seconds or in a low oven for a few minutes.
Knowing when blondies are done requires a bit of observation. You’ll typically notice the edges beginning to turn golden brown and look set and dry, while the very center might still appear slightly soft or even a little “underbaked” – this is exactly what you want for a perfectly chewy interior. The most reliable method is the toothpick test: insert a wooden toothpick into the center of the blondies. If it comes out clean, with only a few moist crumbs attached (not wet batter), they are done baking. If it comes out with wet batter, continue baking for another 3-5 minutes before re-testing. Remember, slightly underbaked is better than overbaked for that ideal chewy texture!
A light-colored metal baking pan (like aluminum) is generally best for blondies. Darker pans can absorb more heat and may cause the edges to brown too quickly or even burn before the center is cooked through. A 9×9 inch square pan is ideal for the thickness and serving size outlined in this recipe. Always ensure you line your pan with parchment paper for easy removal and clean cuts.
While this recipe hasn’t been specifically tested with gluten-free flour, you might achieve good results by substituting the all-purpose flour with a 1:1 gluten-free baking blend that contains xanthan gum. Be aware that the texture might vary slightly, and you might need to adjust baking times. Always follow the manufacturer’s recommendations for gluten-free flour substitutions.
Delicious Ways to Serve Your Blondies
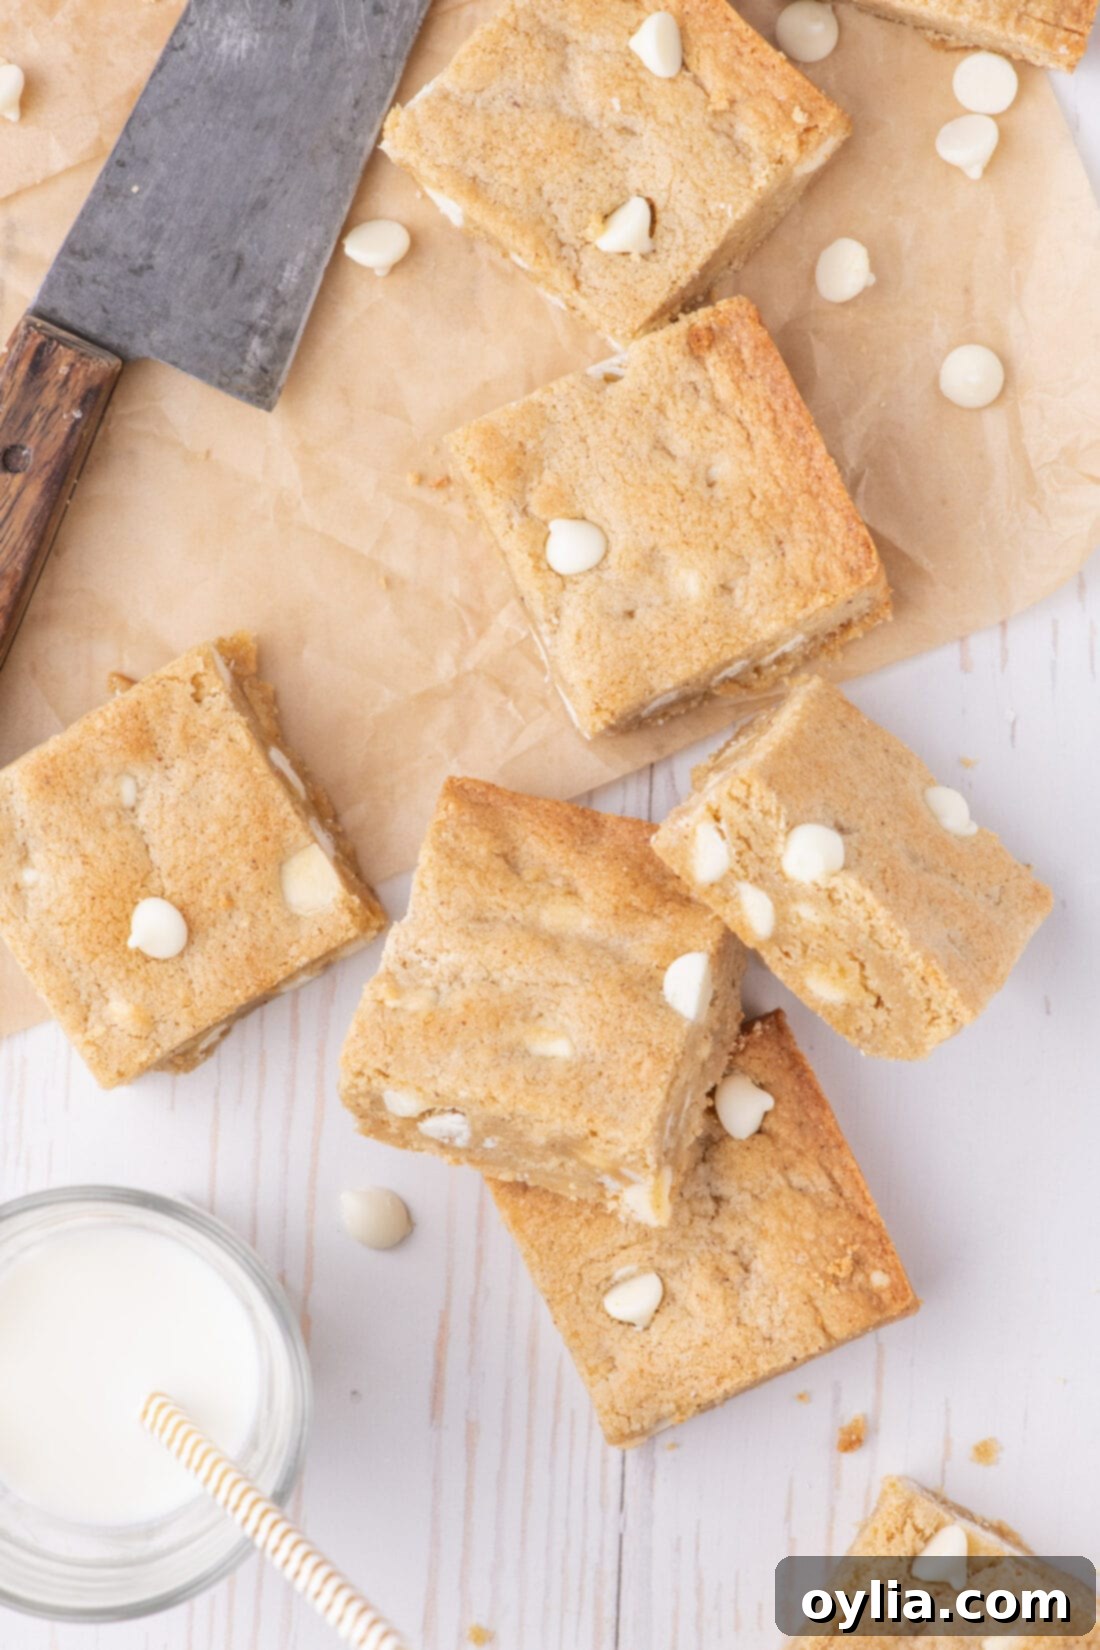
These delectable blondies are incredibly versatile and can be enjoyed in a multitude of ways. For a simple yet satisfying treat, serve them warm or at room temperature alongside a tall, cold glass of milk. The milk perfectly complements their rich, buttery flavor.
Feeling adventurous with your mix-ins? Don’t hesitate to customize! While white chocolate chips are featured in this recipe, you can easily substitute them with an equal amount of butterscotch chips for a different caramel note, semi-sweet chocolate chips for a classic touch, peanut butter chips for a creamy, savory twist, or even a delightful combination of your favorite chips. You can also press a few extra chips on top of the batter before baking for a more visually appealing finish.
For an elevated dessert experience, warm your blondie squares slightly and serve them in a bowl with a generous scoop of vanilla bean ice cream. Drizzle with warm caramel sauce, chocolate syrup, or a sprinkle of sea salt for an extra touch of gourmet indulgence. They also make fantastic additions to dessert platters, bake sales, or as a comforting homemade gift.
Explore More Delicious Bars & Cookie Recipes
If you loved these blondies, you’re in for a treat! Here are more of our favorite recipes for chewy bars, fudgy brownies, and delightful cookies that are sure to satisfy any sweet craving:
- Bright and Zesty Lemon Brownies
- Easy Cake Mix Brownies
- Decadent Millionaire Brownies
- Simple Cake Mix Cookie Bars
- Classic White Chocolate Macadamia Nut Cookies
I love to bake and cook and share my kitchen experience with all of you! Remembering to come back each day can be tough, that’s why I offer a convenient newsletter every time a new recipe posts. Simply subscribe and start receiving your free daily recipes!
Chewy Brown Butter Blondies with White Chocolate Chips
IMPORTANT – There are often Frequently Asked Questions within the blog post that you may find helpful. Simply scroll back up to read them!
Print It
Pin It
Rate It
Save ItSaved!
Ingredients
- 1 cup unsalted butter 2 sticks
- 2 ¼ cups all purpose flour 10 ounces
- 1 teaspoon baking powder
- 1 teaspoon salt
- 1 cup dark brown sugar lightly packed, 6 ounces
- ¼ cup granulated sugar
- 2 large eggs
- 2 teaspoons pure vanilla extract
- ½ teaspoon almond extract
- 1 ½ cups white chocolate chips 8 ounces
Things You’ll Need
-
9×9 baking pan
-
Stand mixer
-
Parchment paper
Before You Begin – Important Tips for Success
- Measure Flour Correctly: Always spoon and level your flour (or weigh it with a kitchen scale) to prevent dense blondies. Do not scoop directly from the bag.
- Sift Baking Powder: Sift baking powder before adding to flour to eliminate clumps and ensure even leavening.
- Lightly Pack Brown Sugar: Ensure brown sugar is lightly packed (or weighed) for the correct texture; overly packed sugar can lead to hard, crunchy blondies.
- Browned Butter vs. Softened: Browning butter is highly recommended for its nutty, rich flavor. If short on time, use softened, room-temperature butter for a still-delicious but less complex taste.
- Add Nuts for Extra Crunch: For added texture, fold in 1/2 cup of chopped nuts (like walnuts or pecans) with the chocolate chips, or use 1 cup each of chips and nuts.
- Almond vs. Vanilla Extract: Almond extract enhances the browned butter, but you can substitute with extra vanilla extract if preferred.
- Customize Your Chips: Feel free to swap white chocolate chips with semi-sweet, butterscotch, peanut butter, or a combination of your favorite chips.
- Don’t Overbake: Blondies are best when slightly underbaked in the center for that perfect chewy texture.
- Cool Completely: Allow blondies to cool fully before cutting for clean slices. Chilling for 30 minutes in the fridge can further aid this.
Instructions
-
Brown the Butter: Place both sticks of unsalted butter in a medium saucepan. Melt over medium heat, stirring. Once it foams and bubbles, continue stirring for 3 minutes until solids turn golden brown and a nutty aroma develops. Reduce heat to low, stir until brown specks appear. Remove from heat and pour into a heatproof bowl to cool to room temperature. (TIP: Speed up cooling by placing in freezer for 5-10 minutes, stirring occasionally.)
-
Prepare Pan: Preheat oven to 350°F (175°C). Line a 9-inch square baking pan with 2 sheets of parchment paper, leaving an overhang on all sides for easy removal. Set aside.
-
Combine Dry Ingredients: In a medium bowl, whisk together flour, baking powder, and salt until well combined. Set aside.
-
Cream Wet Ingredients: In a stand mixer bowl, combine the cooled browned butter with dark brown sugar and granulated sugar. Beat for 2 minutes until light in color and fluffy.
-
Add Eggs & Extracts: Add eggs one at a time, mixing well after each. Beat for an additional 2 minutes for volume, scraping bowl sides. Stir in vanilla and almond extracts until incorporated.
-
Mix in Dry Ingredients: Slowly add the flour mixture (a little at a time) to the butter/sugar mixture on low speed, mixing until just combined and no dry streaks remain. Do not overmix.
-
Add Chocolate Chips: Gently stir in the white chocolate chips with a spatula. Transfer batter to the prepared baking pan.
-
Spread Evenly: Press batter evenly into the pan, ensuring it reaches all corners for uniform thickness.
-
Bake: Place the pan on the center rack and bake for approximately 20-25 minutes. If the top darkens too quickly after 15 minutes, loosely cover with foil for the remaining time.
-
Check for Doneness: Insert a toothpick into the center. It should come out clean with only moist crumbs, not wet batter. If not, continue baking in 3-5 minute intervals.
-
Cool & Cut: Remove from oven and cool completely on a wire rack in the pan. (TIP: For cleaner cuts, allow to sit for an hour or chill in fridge for 30 minutes). Use parchment overhang to lift from pan, then cut into 16 equal squares and serve.
Expert Tips & FAQs for Success
- Storage: Store fully cooled blondies in an airtight container at room temperature for up to 1 week.
- Freezing: Wrap individual cooled blondie squares in plastic wrap, then place in a freezer bag or airtight container. Freeze for up to 3 months. Thaw overnight in the refrigerator or at room temperature for a few hours. Reheat gently in the microwave or oven if desired.
- Don’t Overmix: Mix dry ingredients into wet until just combined to ensure tender, not tough, blondies.
- Use Room Temperature Eggs: Room temperature eggs incorporate better into the batter, leading to a smoother texture.
- Parchment Paper is Your Friend: It ensures easy removal and cleaner cuts once the blondies are cooled.
Nutrition
The recipes on this blog are tested with a conventional gas oven and gas stovetop. It’s important to note that some ovens, especially as they age, can cook and bake inconsistently. Using an inexpensive oven thermometer can assure you that your oven is truly heating to the proper temperature. If you use a toaster oven or countertop oven, please keep in mind that they may not distribute heat the same as a conventional full sized oven and you may need to adjust your cooking/baking times. In the case of recipes made with a pressure cooker, air fryer, slow cooker, or other appliance, a link to the appliances we use is listed within each respective recipe. For baking recipes where measurements are given by weight, please note that results may not be the same if cups are used instead, and we can’t guarantee success with that method.
