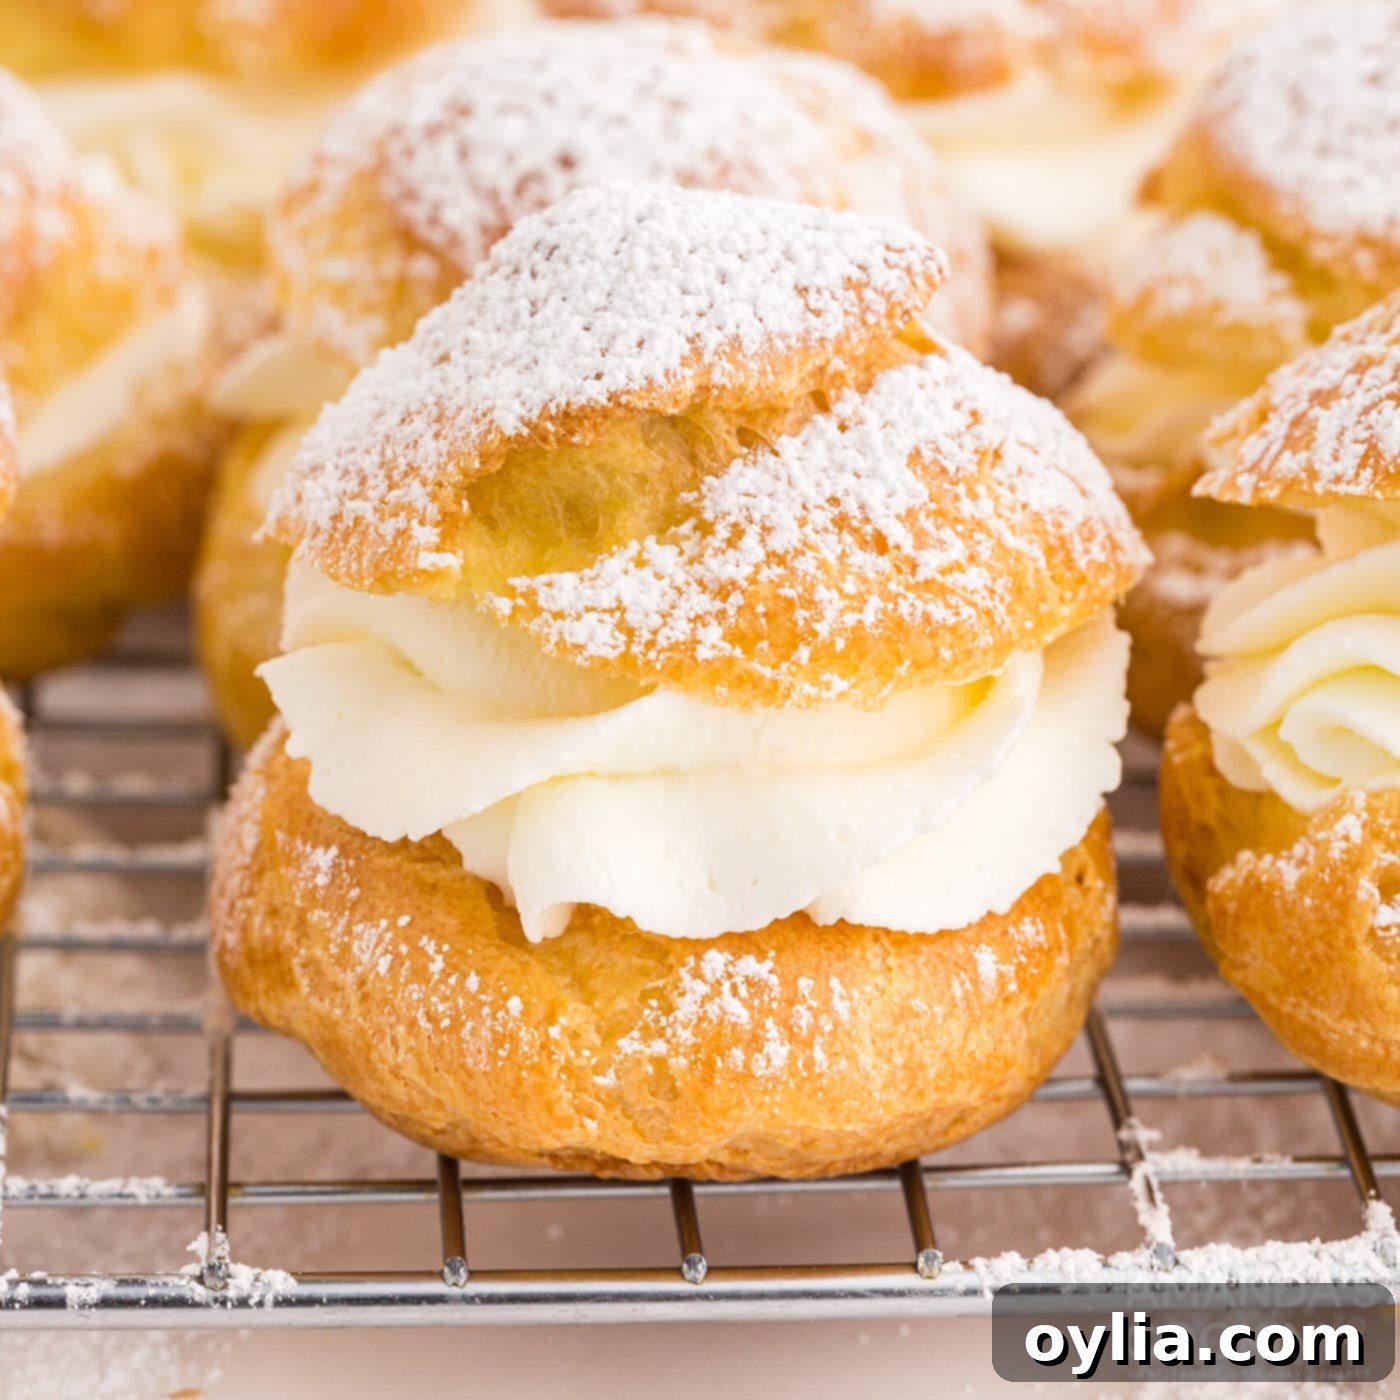
Master the Art of Homemade Cream Puffs: Your Guide to Easy Choux Pastry Perfection
Dive into the delightful world of classic French patisserie with these irresistible homemade cream puffs. Featuring a delicate, airy choux pastry shell, generously filled with a luscious, smooth whipped cream, and finished with a dusting of sweet powdered sugar, these elegant treats are surprisingly simple to master. This comprehensive guide will walk you through every step, demystifying the process of choux pastry to ensure you achieve perfect, light-as-air results every time. Prepare to impress your family and friends with a dessert that looks sophisticated but is a joy to create!
Why This Easy Cream Puff Recipe Guarantees Success
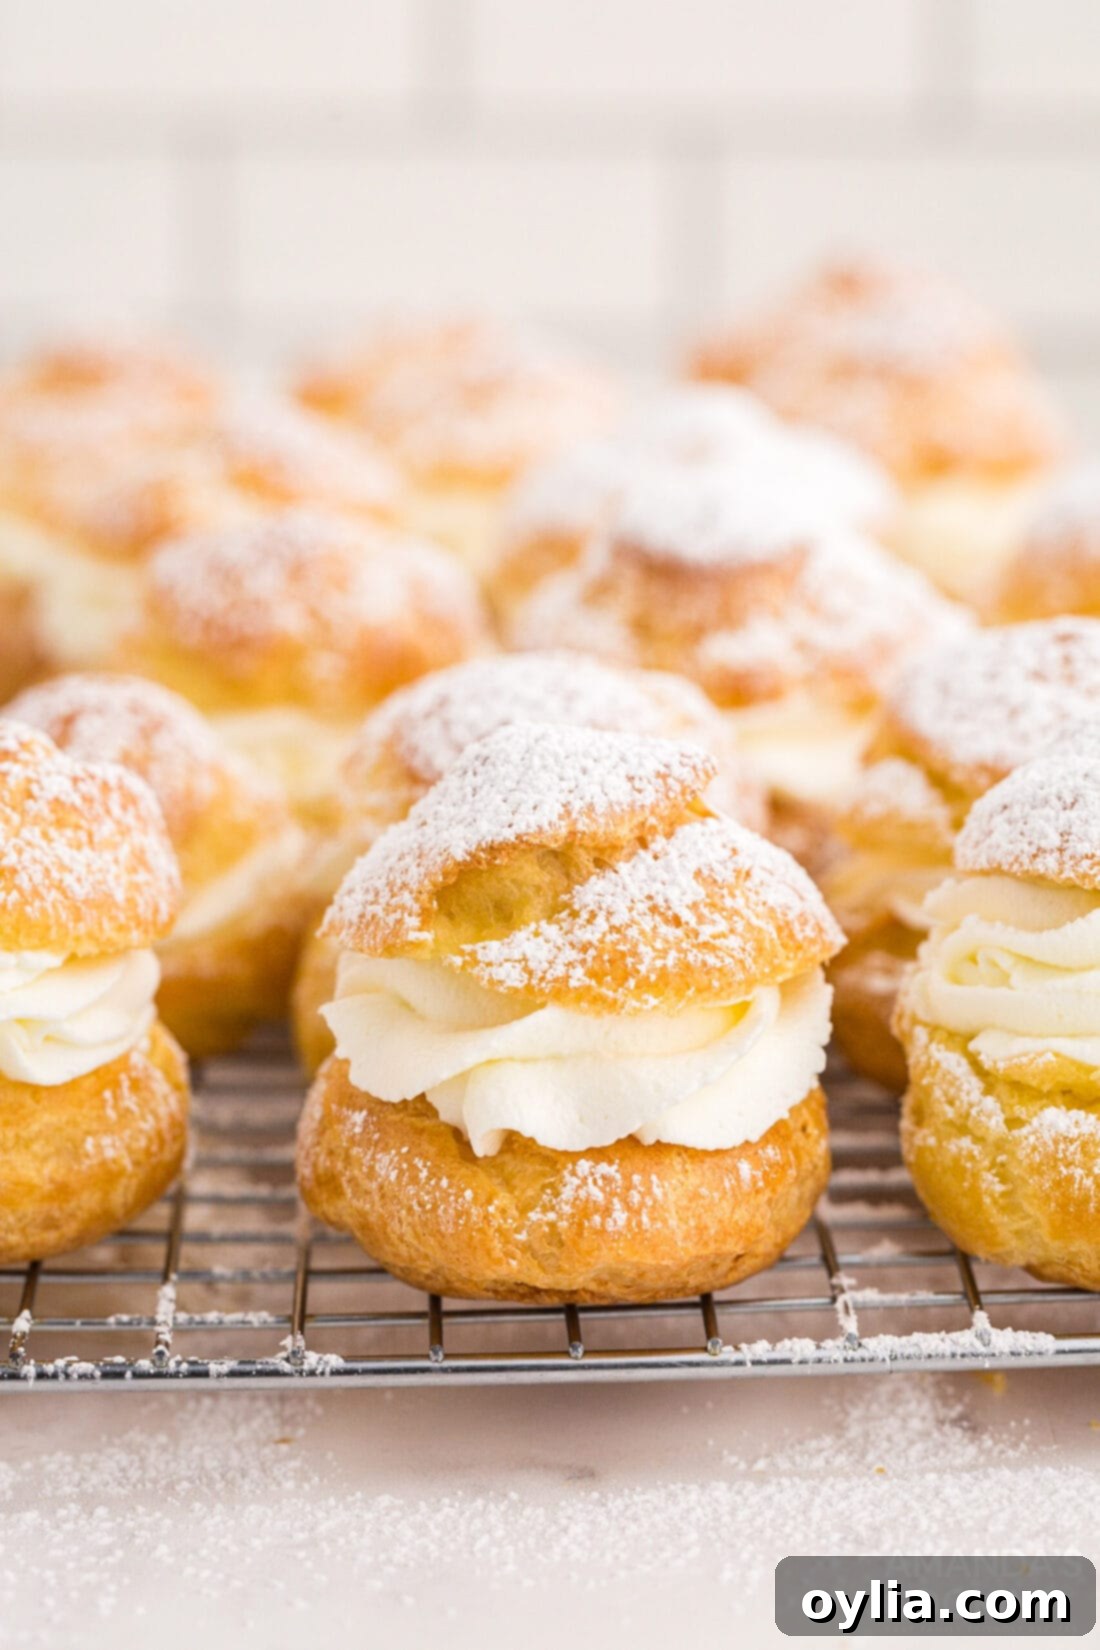
A freshly baked cream puff is an undeniably irresistible sweet treat, celebrated for its delicate, hollow interior and crisp, golden exterior. Typically filled with rich pastry cream or light whipped cream and elegantly dusted with powdered sugar, these delightful bites are a staple in many cultures. Here in Wisconsin, for instance, they’re a legendary highlight, eagerly anticipated by state fairgoers year after year – a testament to their widespread appeal and simple charm. This recipe aims to bring that beloved fairground classic, or a sophisticated French patisserie experience, directly into your home kitchen.
Many home bakers might feel intimidated by making choux pastry (pâte à choux), often perceiving it as a finicky or difficult technique. However, this recipe breaks it down into incredibly simple, foolproof steps. If you’ve previously enjoyed the ease of creating our cream puff chocolate eclair cake or our delightful air fryer churros, you’ll already be familiar with just how forgiving and enjoyable the base dough for these treats can be. Our specific method for this classic French pastry is designed to be straightforward and approachable, making it an excellent project for even novice bakers who are new to the world of choux. We focus on clear instructions and provide helpful tips to ensure your choux pastry rises beautifully, creating those perfect, airy cavities ready to be filled with your favorite creamy delights. This recipe truly works because it simplifies the technique without compromising on the authentic light, airy, and crisp texture of a traditional, perfectly baked cream puff.
Key Ingredients for Perfect Choux Pastry and Cream Puff Filling
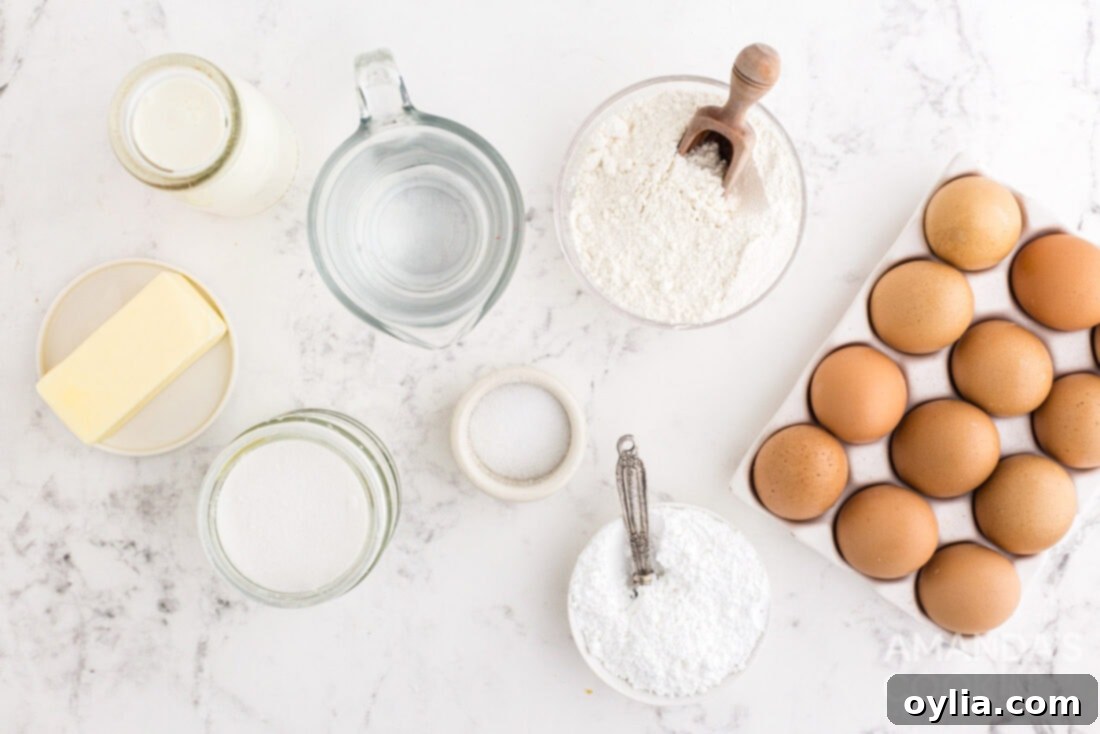
To embark on your cream puff adventure, you’ll need a handful of common pantry staples that, when combined correctly, transform into these magnificent pastries. Before diving into the detailed instructions, ensure you have all your ingredients measured and ready. Precision in baking, especially with choux pastry, is a recipe for success. You’ll find all precise measurements, a complete list of ingredients, and comprehensive instructions in the printable recipe version located at the very end of this post, making your preparation even smoother.
Ingredient Information and Creative Substitution Suggestions
Understanding the role of each ingredient is key to successful baking and allows for thoughtful, creative substitutions when desired. Here’s a closer look at what goes into our perfect cream puffs and how you can experiment:
- Unsalted Butter: We opt for unsalted butter to give us full control over the salt content in the choux pastry. Butter is vital for richness and flavor, and its fat content contributes to the dough’s texture. If you only have salted butter, you can certainly use it, but reduce the added salt in the recipe by about a quarter to half a teaspoon to avoid an overly salty taste. Ensure your butter is fresh for the best flavor.
- Water: This seemingly simple ingredient is fundamentally crucial for creating the steam inside the choux pastry. As the water rapidly turns to steam in the hot oven, it expands dramatically, causing the pastry to puff up and form its signature hollow interior. While some choux recipes may call for milk for a richer flavor, using water ensures a lighter, crisper shell that truly epitomizes a classic cream puff.
- Salt & Granulated Sugar: A precise amount of salt is essential to balance the sweetness of the filling and enhance the overall flavor of the pastry. It brings out the subtle complexities of the other ingredients. Granulated sugar, though used minimally in the choux dough, adds a hint of sweetness and aids in achieving that beautiful golden-brown color on the finished puffs.
- All-Purpose Flour: Standard all-purpose flour works perfectly for choux pastry. The protein content is just right to develop the necessary structure without making the pastry tough. The goal during the initial cooking phase is to cook out the raw flour taste and gelatinize the starch. This process is critical for creating a stable foundation that can trap the steam and puff up. Always avoid using self-rising flour, as the added leavening agents are not suitable for choux pastry’s unique steam-driven rising mechanism.
- Large Eggs: Eggs are arguably the most vital component in choux pastry after the initial flour-water paste (panade). They act as the primary leavening agent (alongside steam) and emulsifier, providing essential structure, richness, and allowing the dough to rise dramatically and develop its characteristic hollow interior. The number of eggs can sometimes vary slightly based on the moisture content of your dough (which can be influenced by humidity or how much you ‘dried out’ the dough). It’s crucial to add them gradually and beat them in thoroughly for the perfect smooth, glossy, and pipeable consistency.
- FILLING – While we’ve chosen a simple, ethereal homemade whipped cream center for its light, delicate, and airy texture, the possibilities for cream puff fillings are truly endless! For a richer, more traditional experience, you can definitely use a classic pastry cream (crème pâtissière) or a luscious diplomat cream (which is pastry cream lightened by folding in whipped cream). Beyond these traditional options, consider flavoring your whipped cream with a touch of vanilla bean paste, almond extract, a hint of citrus zest (lemon or orange), or even a dash of coffee extract. You could also swirl in some fruit compote, a berry jam, or a decadent chocolate ganache for a more indulgent twist. Fresh berries like sliced strawberries, plump raspberries, or juicy blueberries make an excellent addition, layered between your whipped cream and pastry for a burst of freshness, color, and natural sweetness that complements the rich cream beautifully.
- Powdered Sugar: This finely milled sugar is essential for two key components: adding sweetness and stability to your whipped cream, and providing the perfect elegant finish as a light dusting over your assembled cream puffs. You can adjust the amount added to the whipped cream to match your desired sweetness level.
Step-by-Step Guide: How to Make Irresistible Homemade Cream Puffs
These step-by-step photos and detailed instructions are here to guide you visually through the process of making this delightful recipe. Each step is explained to help you understand the ‘why’ behind the ‘how’, ensuring your baking is both successful and enjoyable. For a quick reference or to print, you can Jump to Recipe to access the printable version, complete with all precise measurements and instructions, located at the very bottom of this page.
- Prepare Your Baking Environment: Begin by preheating your oven to a robust 400°F (200°C). This initial high heat is absolutely crucial for creating the powerful burst of steam that will make your cream puffs rise spectacularly and create their signature hollow interior. Line two standard sheet pans with parchment paper. Parchment paper is essential here as it prevents sticking, ensures even heat distribution, and makes for incredibly easy removal of your delicate choux pastry. Proper lining also helps prevent the bottoms from getting too dark. Set these prepared pans aside.
- Combine Wet Ingredients: In a heavy-bottomed saucepan, combine the precisely measured unsalted butter, water, salt, and granulated sugar. Place the saucepan over medium heat. It’s important to use a heavy saucepan as it distributes heat more evenly, which helps prevent scorching and ensures a consistent temperature for the initial dough base. Allow the butter to melt completely, and watch closely until the entire mixture comes to a full, rolling boil. As soon as it reaches this vigorous boil, immediately remove the saucepan from the heat to prevent excessive evaporation.
- Incorporate the Flour (The Pâte à Choux Base): Without delay and while the mixture is still very hot, dump all of the measured all-purpose flour into the saucepan. Stir vigorously and continuously with a sturdy wooden spoon or heat-resistant spatula until the flour is completely incorporated and a cohesive ball of dough forms. This rapid mixing is vital for the starch in the flour to gelatinize, forming what is known as the ‘panade’ – the essential foundation of your choux pastry.
- Dry Out the Dough: Return the saucepan with the dough back to medium heat. Continue to cook and stir the dough for approximately 2 minutes. During this critical stage, you will notice the dough pulling cleanly away from the sides of the pan and forming a smooth, uniform ball. A thin film or crust might even form at the bottom of the pan – this is a good sign! This process is called “drying out” the dough and is absolutely essential for evaporating any excess moisture. Removing this extra moisture helps create a crisp exterior on your cream puffs and prevents them from becoming soggy or collapsing after baking.
- Cool the Dough: Remove the dough from the heat and transfer it to a clean mixing bowl, or simply leave it in the saucepan, allowing it to cool slightly for about 5 minutes. Cooling the dough to a manageable temperature (it should still be warm but not scalding hot) is important because if the eggs are added when the dough is too hot, they will cook and scramble instead of incorporating smoothly and emulsifying into the pastry, ruining the texture.
- Add Eggs Gradually: This is another crucial step. Beat each large egg, one at a time, into the slightly cooled flour mixture. You can use a sturdy wooden spoon for a good arm workout, or for ease and efficiency, a standing mixer fitted with a paddle attachment or a hand mixer works wonderfully. It’s perfectly normal for the dough to appear to separate, look lumpy, or even curdled after each egg addition. Do not panic! Continue mixing diligently, and with consistent beating, the dough will miraculously come back together, becoming smooth, glossy, and pipeable. This gradual addition and thorough mixing ensure proper emulsification, creating a strong, stable dough that will rise beautifully.
- Achieve the Right Consistency: After all four eggs have been thoroughly incorporated, your choux dough should be smooth, glossy, and have a consistency that slowly falls from the spoon in a thick, “V” shape – sometimes affectionately called the “bird’s beak” or “ribbon” stage. This indicates the perfect balance of moisture and structure. Transfer this perfectly textured choux pastry dough into a large piping bag fitted with an open round tip (ideally about 1/2 inch or 1.25 cm in diameter).
- Pipe the Puffs: On your prepared sheet pans (lined with parchment paper), pipe 1 1⁄2-inch rounds of the choux dough. Ensure you space each ball approximately two inches apart, as they will expand significantly during baking. Proper spacing prevents them from merging into one giant puff and allows for optimal heat circulation, promoting even baking and crispness.
- Smooth the Peaks: If your piped dough balls have small, pointed peaks at the top, dip your finger lightly into cold water and gently smooth them down. This simple step prevents the peaks from burning or becoming overly dark during baking and contributes to a more uniform, aesthetically pleasing puff.
- The Crucial Two-Stage Bake: Bake the puffs initially for 10 minutes at the high temperature of 400°F (200°C). This high heat generates a powerful burst of steam inside the dough, causing the puffs to rise quickly and dramatically. Then, and this is critical, without opening the oven door, reduce the oven temperature to 350°F (175°C) and continue baking for another 20-25 minutes. During this second, lower-temperature stage, the pastry dries out and crisps up, setting its structure. To prevent deflation and ensure a perfectly crisp, stable shell, prop open the oven door for an additional 15 minutes after baking, while keeping the cream puffs inside. This gradual cooling allows the steam to escape slowly and prevents the sudden temperature drop that can cause the delicate, puffed structure to collapse.
- Cool Completely: Once baked and slowly cooled in the oven, carefully transfer the golden-brown cream puffs to a wire cooling rack. It is absolutely essential to let them cool completely to room temperature before attempting to fill them. Filling warm puffs will melt the whipped cream or soften the pastry cream, resulting in a soggy, undesirable pastry. Patience is key here!
- Prepare the Whipped Cream Filling: While your choux pastry shells are cooling, you can prepare the fresh, light filling. Using a wire whisk attachment on your standing mixer or a hand mixer, beat the heavy cream on medium-high speed until soft peaks begin to form. The cream should be thick enough to hold its shape but still somewhat soft.
- Sweeten and Stiffen the Cream: Gradually add the powdered sugar to the whipped cream as you continue to beat (adjusting the amount to your desired sweetness level). Continue beating until stiff peaks form. The cream should be firm and hold its shape well. Be very careful not to overbeat the heavy cream, as it can quickly transition from perfect whipped cream to grainy, over-beaten cream, and eventually, if mixed too long, it will turn into butter, losing its desired light and airy texture.
- Slice the Puffs: Once the cream puffs are completely cool and your filling is ready, use a serrated knife (this works best for a clean, even cut) to carefully slice the tops off each puff horizontally, creating a lid and a hollow base ready for filling.
- Fill with Whipped Cream: You can simply spoon generous mounds of the prepared whipped cream into the hollow centers of the cream puff bases. For a more professional and elegant presentation, transfer the whipped cream to a pastry bag fitted with an open star tip (Tip #1M is an excellent choice for creating beautiful swirls) and pipe the whipped cream into the centers.
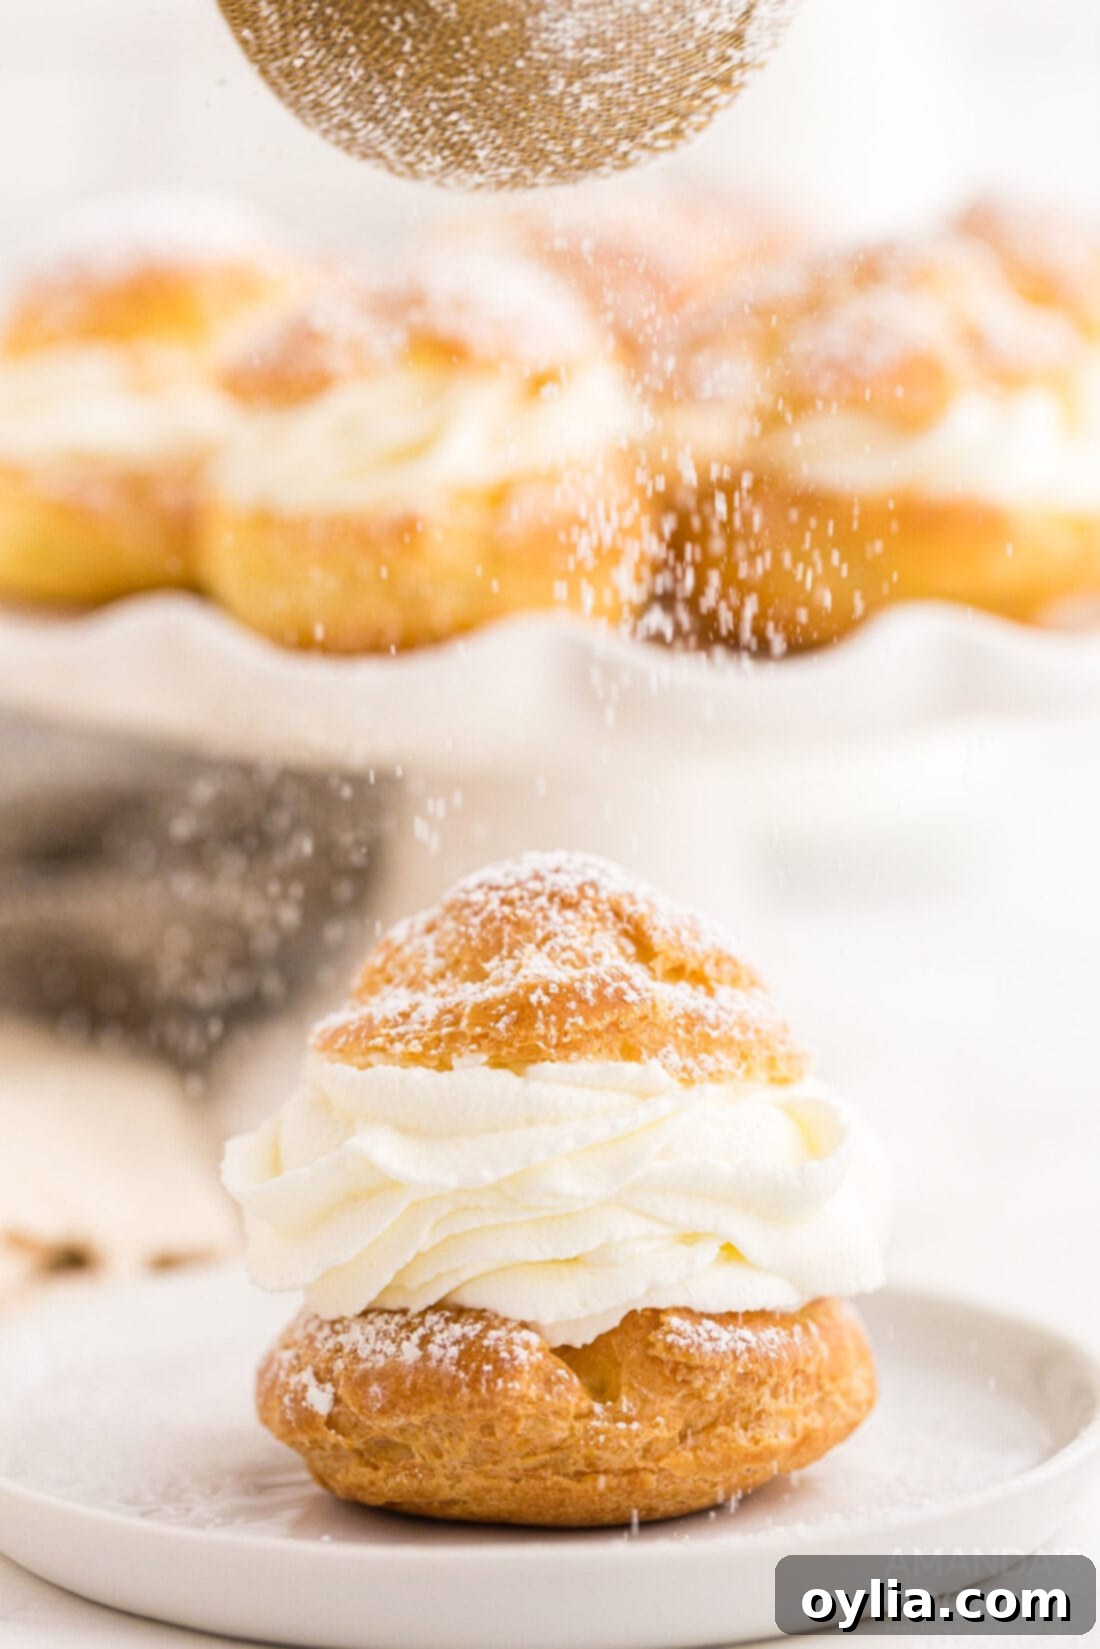
- Assemble and Serve: Gently place the sliced tops of the cream puffs back onto the whipped cream filling, resembling a little hat. For the final flourish and a touch of classic elegance, sprinkle generously with additional powdered sugar just before serving. Enjoy your homemade masterpieces immediately for the best texture and flavor!
Frequently Asked Questions & Expert Tips for Cream Puff Success
Cream puffs filled with fresh whipped cream or pastry cream are truly at their peak when enjoyed fresh, ideally on the day they are made. This ensures the pastry shell remains delightfully crisp. If you happen to have any leftovers, store them in a single layer in an air-tight container in the refrigerator for 2-3 days. Be aware that the pastry shell may soften slightly over time due to the moisture from the filling, but they will still be incredibly delicious. To retain some crispness, you can briefly warm unfilled shells in a hot oven (around 300°F/150°C) for a few minutes before filling.
Absolutely! While filled cream puffs are best served on the day of baking for optimal texture, the unfilled choux pastry shells can be prepared well in advance. You can store these baked, unfilled cream puffs in an air-tight container at room temperature for up to 24 hours, or extend their freshness by keeping them in the refrigerator for up to 3 days. For even longer storage, you can freeze the unfilled shells for up to 1 month. To use, simply thaw them at room temperature (if frozen) and then refresh them in a preheated 350°F (175°C) oven for 5-10 minutes. This quick bake will crisp them up beautifully before you cool and fill them. This make-ahead capability makes cream puffs a perfect dessert for entertaining, as you can do most of the work ahead of time!
Preventing deflation is a common concern for choux pastry bakers, but it’s easily avoidable with the right technique and understanding of choux pastry science. The key lies in ensuring the pastry is thoroughly dried out and its structure is set before it experiences a sudden temperature change. Our dual-temperature baking method (an initial high heat to create steam and puff, followed by lower heat to dry out) combined with the crucial step of propping open the oven door for 15 minutes after baking is paramount. This technique allows the steam to escape slowly and the outer shell to dry and crisp up gradually as the oven cools, which prevents the delicate puffed structure from collapsing. Additionally, always measure your ingredients precisely, especially the flour and eggs, as too much or too little can affect consistency. An oven thermometer is also your best friend; many ovens, especially older ones, can have inaccurate temperature readings. Verifying your oven is truly at the proper temperature prevents the pastry from browning too quickly on the outside while remaining underbaked and weak on the inside, which is a primary cause of deflation.
Choux pastry, also known as pâte à choux in French, is a unique and incredibly versatile light pastry dough used in a wide array of European cuisines. Unlike other pastries that rely on chemical leavening agents like baking powder or yeast, choux pastry leavens almost entirely through steam. It’s made by first cooking flour with butter and water (or sometimes milk) to form a thick, smooth paste called a ‘panade.’ Eggs are then gradually incorporated into this warm paste. The high moisture content of the dough, combined with the high heat of the oven, creates a powerful burst of steam that inflates the pastry, causing it to puff up dramatically and leaving a large hollow cavity inside. This unique characteristic makes it perfect for filling with sweet or savory creams, making it incredibly versatile for dishes like cream puffs, eclairs, profiteroles, and savory gougères (cheese puffs).
Absolutely! Choux pastry is wonderfully versatile and lends itself beautifully to savory applications. To transform this recipe into savory cream puffs, you can simply make a couple of minor adjustments to the dough. You would reduce the granulated sugar in the dough significantly (perhaps to just a pinch or omit it entirely, as it’s mainly for browning in this context) and slightly increase the salt to taste. Once baked, you can fill the savory choux shells with a delightful variety of fillings: think herbed cream cheese, smoked salmon mousse, chicken salad, a cheesy béchamel, or even a mushroom duxelles. They make fantastic and impressive appetizers for parties, holiday gatherings, or an elegant starter course.
Soggy or flat cream puffs are common issues, but they usually point to specific errors in the process. Firstly, insufficient “drying out” of the dough on the stovetop (Step 4) is a primary culprit. If too much moisture remains in the dough, it won’t be able to achieve the desired crispness. Ensure you cook the dough until a thin film forms on the bottom of the pan. Secondly, not baking long enough or not cooling properly in the oven (Step 10) are frequent causes for deflation and sogginess. The pastry needs ample time to dry out and crisp up its internal structure. Removing them from the oven too soon, or allowing a rapid temperature drop, can cause collapse. Lastly, ensuring your oven temperature is accurate and consistent is vital. An oven that’s too cool won’t generate enough steam for a good rise, while one that’s too hot might brown the exterior before the interior is fully cooked and stable, leading to a weak structure. Always let them cool completely on a wire rack to prevent trapped steam from making them soggy from the bottom up.
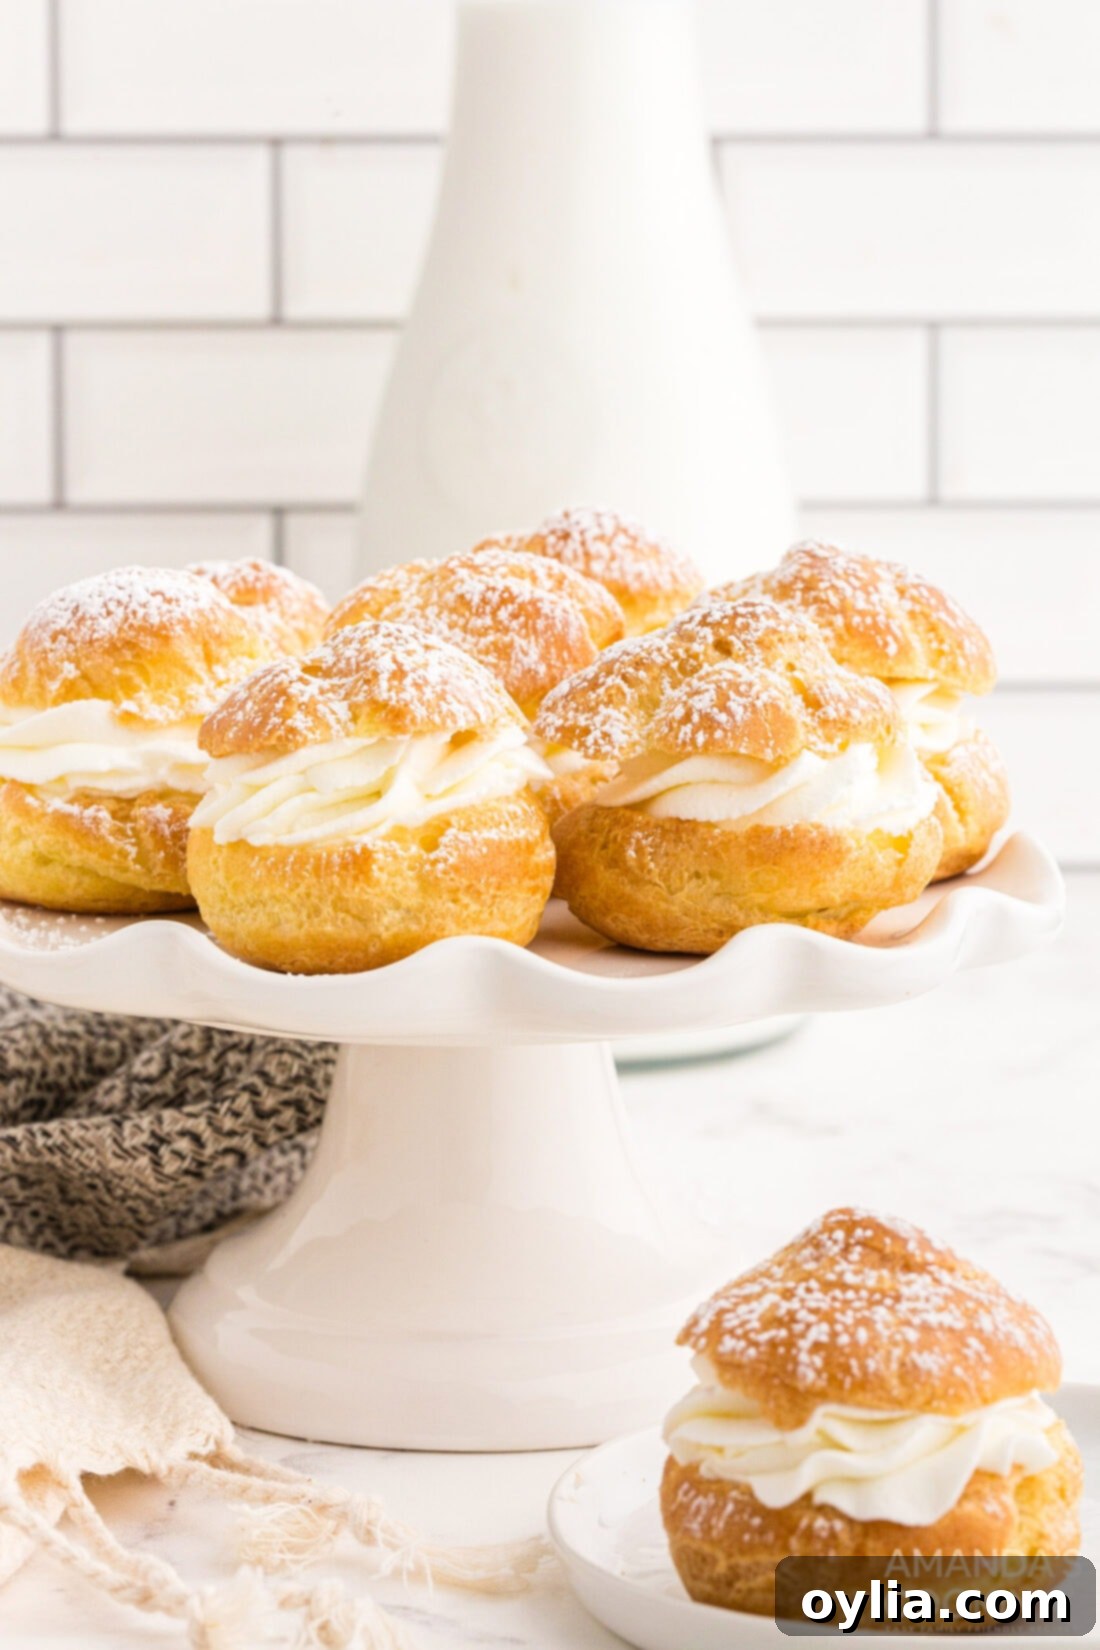
Creative Serving Suggestions for Your Homemade Cream Puffs
Classic cream puffs are undeniably at their best when served fresh on the day they’re made, ensuring the pastry remains delightfully crisp against the creamy filling. While a simple dusting of powdered sugar is traditionally elegant and perfectly sufficient, don’t hesitate to elevate your cream puffs with additional gourmet touches. Consider a decadent drizzle of rich chocolate ganache for a luxurious finish, a vibrant fruit coulis (such as raspberry or strawberry) for a tangy contrast, or even a light caramel sauce. For added texture and a nutty flavor, a delicate sprinkle of finely chopped toasted nuts like almonds or pistachios can be a wonderful addition. A few fresh mint leaves or a single fresh berry can also provide a pop of color and freshness.
These delicate desserts are perfect companions for a leisurely afternoon tea, adding a touch of sophistication to your spread. They also make an impressive and charming finale to any special meal, a celebratory brunch, or as delightful party favors. Their individual portion size and naturally impressive appearance make them ideal for elegant occasions like bridal showers, baby showers, garden parties, or any festive gathering where a refined, yet approachable, sweet treat is desired. For a truly indulgent experience, pair them with a robust cup of coffee, an aromatic espresso, or a sparkling glass of dessert wine.
Beyond the traditional cream puff, this versatile choux pastry recipe can be easily adapted to create other beloved French pastries. Use the same dough to make elegant eclairs by piping the dough into elongated shapes before baking, then filling them with pastry cream and topping with a glossy chocolate glaze. Or, for a delightful and decadent twist, prepare profiteroles by filling the baked choux shells with your favorite ice cream instead of whipped cream or pastry cream. A towering croquembouche of profiteroles drizzled with warm chocolate sauce is an absolute showstopper at any event!
More Delightful Dessert Recipes to Explore
If you loved making these light and airy cream puffs, you’re sure to enjoy these other fantastic dessert recipes from our kitchen. Expand your baking repertoire and discover new favorites that are perfect for any occasion, from simple weeknight treats to impressive party desserts!
- S’mores Bars
- Mini Cheesecakes
- Boston Cream Poke Cake
- Lemon Meringue Pie Bars
- Cream Puff Chocolate Eclair Cake
- Blackberry Scones
I love to bake and cook and share my kitchen experience with all of you! Remembering to come back each day can be tough, that’s why I offer a convenient newsletter every time a new recipe posts. Simply subscribe and start receiving your free daily recipes!
Cream Puffs
IMPORTANT – There are often Frequently Asked Questions within the blog post that you may find helpful. Simply scroll back up to read them!
Print It
Pin It
Rate It
Save It
Saved!
Prevent your screen from going dark
Course:
Desserts
Cuisine:
French
24
cream puffs
1 hour
20 minutes
142
Amanda Davis
Ingredients
-
½
cup
unsalted butter -
1
cup
water -
½
teaspoon
salt -
2
Tablespoons
granulated sugar -
1
cup
all purpose flour -
4
large
eggs
Filling
-
2
cups
heavy whipping cream -
¼
cup
powdered sugar
plus more for dusting
Things You’ll Need
-
Insulated baking sheets -
Electric mixer -
Star piping tip (Wilton 1M)
Before You Begin
- The choux pastry puffs up, leaving a hollow center due to the moisture in the dough. Leaving the oven cracked open after baking allows the outer shell to dry out and crisp without the cream puff collapsing.
- For best results, use fresh, room-temperature large eggs. This helps them incorporate more smoothly and emulsify properly into the dough, leading to a better rise.
- Do not open the oven door during the initial high-heat baking phase (the first 10-15 minutes) as this can cause a sudden drop in temperature, preventing the steam from building and causing the puffs to deflate prematurely.
Instructions
-
Preheat the oven to 400°F (200°C). Line two sheet pans with parchment paper and set aside.
-
In a heavy saucepan, heat butter, water, salt, and sugar over medium heat.1/2 cup unsalted butter,
1 cup water,
1/2 teaspoon salt,
2 Tablespoons granulated sugar -
When butter has melted completely and mixture begins to boil, remove from heat.
-
Immediately dump the flour into the saucepan and stir with a wooden spoon until it is completely incorporated and forms a cohesive ball of dough.1 cup all purpose flour
-
Return the mixture to medium heat and cook while stirring, until the dough pulls away from the sides of the pan and forms a smooth ball (about 2 minutes). A thin film should appear at the bottom of the pan, indicating it’s sufficiently dried out.
-
Remove the dough from the heat and allow to cool for about 5 minutes. This prevents the eggs from scrambling when added.
-
Beat each egg, one at a time, into the flour mixture with a wooden spoon or an electric mixer. The dough will separate initially but will come back together after thorough mixing, becoming smooth and glossy.4 large eggs
-
After all eggs have been incorporated, and the mixture is smooth and glossy (should fall from a spoon in a “V” shape), transfer to a large piping bag fit with an open round tip.
-
Pipe 1 1⁄2” rounds of the dough onto the prepared sheet pans, spacing each ball two inches apart to allow for maximum expansion.
-
Dip your finger into cold water and gently smooth down any small peaks left behind from piping for an even, beautiful bake.
-
Bake the puffs for 10 minutes at 400°F (200°C), then reduce the temperature to 350°F (175°C) and bake for 20-25 minutes more until golden brown and firm. Crucially, prop open the oven door for 15 minutes after baking, keeping the cream puffs inside, to allow them to dry out slowly and prevent collapsing.
-
Transfer cream puffs to a wire cooling rack and cool completely before filling. This is vital to prevent a soggy pastry.
-
Use a wire whisk attachment on your standing mixer or hand mixer to beat heavy cream until soft peaks form.2 cups heavy whipping cream
-
Add the powdered sugar (more or less to taste) and continue beating until stiff peaks form. Be careful not to overbeat, or the cream will turn to butter and lose its light texture.1/4 cup powdered sugar
-
Carefully slice the tops off of the cooled cream puffs. A serrated knife will provide the cleanest, most precise cut.
-
Mound the whipped cream generously into the hollow center of each cream puff. For a more elegant and professional look, use a pastry bag fitted with an open star tip (such as Wilton Tip #1M) to pipe beautiful swirled whipped cream into the centers.
-
Gently place the sliced tops back onto the whipped cream filling, acting as a little hat for your finished dessert. For the final flourish, sprinkle with extra powdered sugar just before serving to add a touch of sweetness and visual appeal.
More Expert Tips for Perfect Cream Puffs
- The unfilled cream puffs can be stored in an airtight container at room temperature for up to 24 hours, in the refrigerator for up to 3 days, or frozen for up to 1 month. However, the flavor and texture are truly best when made and served the same day, especially after filling, as the pastry can soften with time.
- To achieve extra crispness in your shells, you can bake them for a few additional minutes at the lower temperature, making sure they are a deep golden brown and feel very firm to the touch. This extra baking time helps to thoroughly dry out the interior.
- If your choux dough appears too runny after adding the eggs, it might indicate that the eggs were slightly too large, or perhaps too much moisture remained in the dough after the stovetop drying stage. You can try adding a tiny bit more flour (start with half a tablespoon) and mixing thoroughly, but be careful not to overwork the dough, as this can make the puffs tough.
- Conversely, if your dough is too stiff or dense, it might not puff up correctly because it lacks enough moisture for steam generation. This could be due to eggs that were too small or the dough being excessively dried out on the stovetop. The ideal consistency is a smooth, glossy dough that holds a “V” shape when lifted.
- For perfectly round puffs, ensure your piping motion is consistent, applying even pressure as you pipe. Twisting the piping bag slightly when you stop can help create a cleaner release and minimize peaks.
Nutrition Information
Serving:
1
cream puff
|
Calories:
142
cal
|
Carbohydrates:
7
g
|
Protein:
2
g
|
Fat:
12
g
|
Saturated Fat:
7
g
|
Polyunsaturated Fat:
1
g
|
Monounsaturated Fat:
3
g
|
Trans Fat:
1
g
|
Cholesterol:
68
mg
|
Sodium:
69
mg
|
Potassium:
33
mg
|
Fiber:
1
g
|
Sugar:
2
g
|
Vitamin A:
455
IU
|
Vitamin C:
1
mg
|
Calcium:
20
mg
|
Iron:
1
mg
Tried this Recipe? Pin it for Later!
Follow on Pinterest @AmandasCookin or tag #AmandasCookin!
The recipes on this blog are tested with a conventional gas oven and gas stovetop. It’s important to note that some ovens, especially as they age, can cook and bake inconsistently. Using an inexpensive oven thermometer can assure you that your oven is truly heating to the proper temperature. If you use a toaster oven or countertop oven, please keep in mind that they may not distribute heat the same as a conventional full sized oven and you may need to adjust your cooking/baking times. In the case of recipes made with a pressure cooker, air fryer, slow cooker, or other appliance, a link to the appliances we use is listed within each respective recipe. For baking recipes where measurements are given by weight, please note that results may not be the same if cups are used instead, and we can’t guarantee success with that method.
