Easy Sopapilla Cheesecake Bars: A Quick 6-Ingredient Dessert Dream
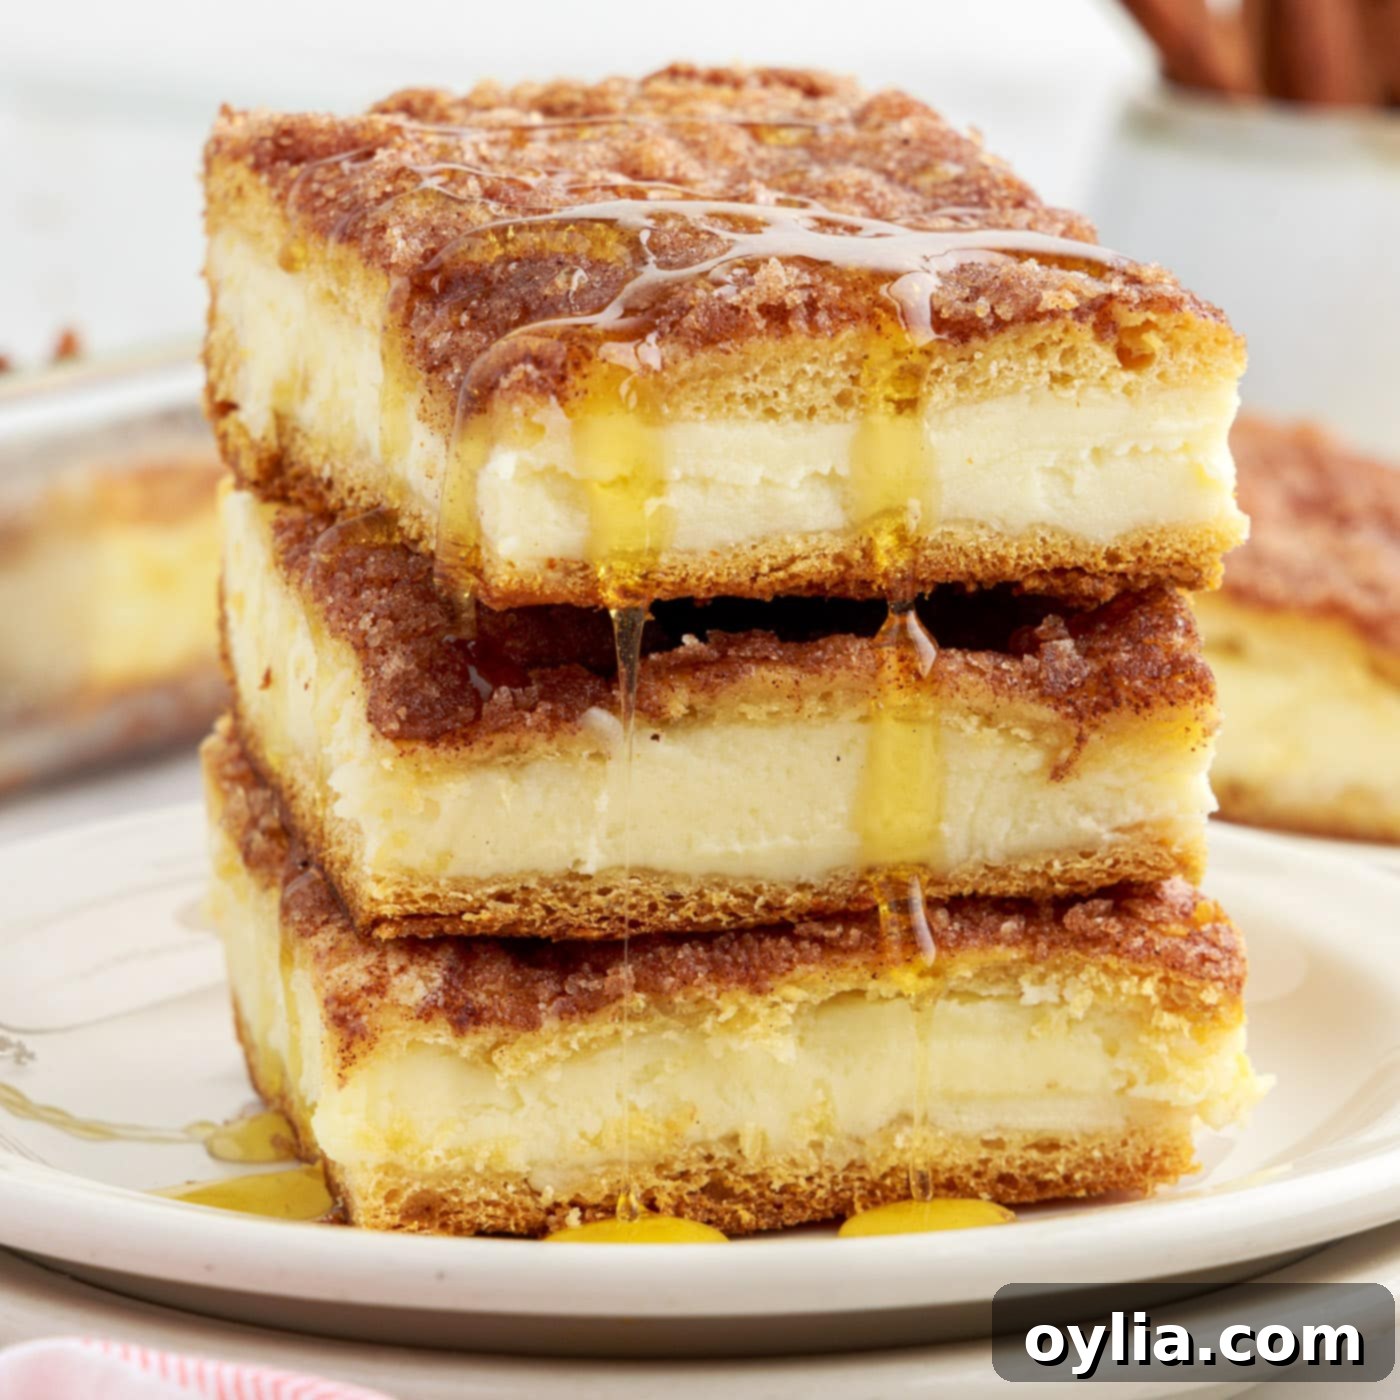
Prepare to fall in love with these incredibly simple and utterly delicious Sopapilla Cheesecake Bars! This delightful dessert combines the best of two worlds: the crispy, honey-drizzled goodness of a traditional sopapilla and the rich, creamy decadence of a classic cheesecake. What makes this recipe truly special is its incredible ease and minimal ingredient list – you only need 6 simple items to create this crowd-pleasing treat.
Each bar features a perfectly flaky crescent roll crust, generously filled with a smooth and creamy cheesecake layer, and crowned with a irresistible sweet cinnamon sugar topping. The best part? You can whip up these sopapilla cheesecake bars in no time, making them an ideal choice for last-minute gatherings, weeknight desserts, or whenever a craving for something sweet strikes. Forget complicated baking; this recipe brings gourmet flavor with effortless preparation.
Why This Sopapilla Cheesecake Bar Recipe is a Must-Try
This recipe for sopapilla cheesecake bars truly shines because of its brilliant shortcut: using pre-made crescent dough. This ingenious hack means you can bypass the traditional, time-consuming process of making and deep-frying homemade sopapilla dough. Instead, you get to enjoy a wonderfully flaky, golden-brown crust with minimal effort, making this dessert accessible to even the most novice bakers.
The layers come together with incredible speed: first, a bottom layer of crescent rolls forms the perfect base. Then, a rich and velvety cream cheese filling, sweetened just right, is spread over it. Another layer of crescent rolls creates a tender, puffy top. The grand finale is a generous coating of buttery cinnamon sugar, which bakes into a crisp, caramelized finish that mimics the beloved flavor and texture of fried sopapillas. This layered approach ensures every bite is a delightful blend of textures and flavors.
While these bars offer a modern twist on a classic, they capture the essence of sopapillas beautifully without the fuss. Imagine the warm, comforting spice of a churro combined with the cool, tangy creaminess of a cheesecake, all wrapped up in a tender, flaky pastry. It’s a truly dreamy combination that delivers maximum flavor with minimum fuss. This recipe is perfect for those who crave a delicious, comforting dessert but are short on time or prefer to avoid deep-frying.
Simple Ingredients for Sopapilla Cheesecake
One of the many reasons to adore this sopapilla cheesecake recipe is its incredibly short and accessible ingredient list. With just six core items, you’ll be well on your way to creating a delectable dessert. You won’t need any fancy, hard-to-find ingredients, which makes this an excellent recipe for impromptu baking sessions or when you want to use what you already have in your pantry and fridge. The beauty lies in the simplicity and how these few ingredients transform into something truly extraordinary.
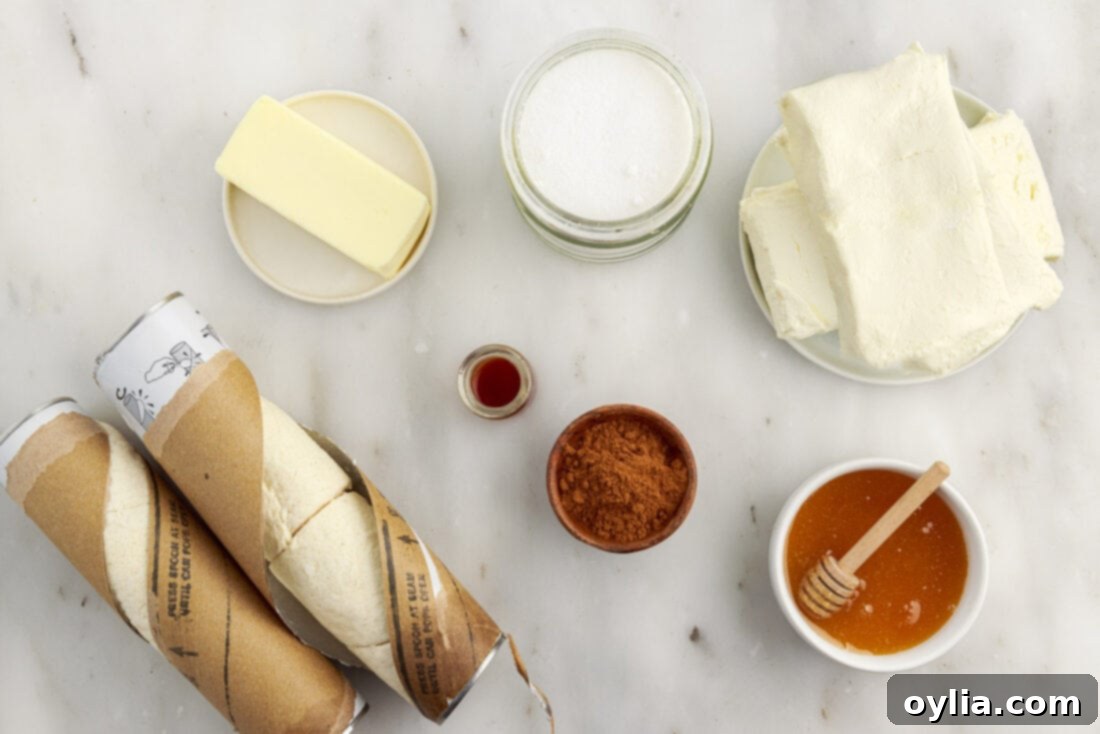
Below you’ll find a visual representation of the key ingredients. For precise measurements and step-by-step instructions, be sure to scroll to the printable recipe card located at the end of this detailed post.
Ingredient Information and Smart Substitutions
To ensure your Sopapilla Cheesecake Bars turn out perfectly every time, it’s helpful to understand the role each ingredient plays and to consider these handy tips and substitution suggestions:
CRESCENT ROLLS – The foundation of our quick sopapilla cheesecake is the versatile crescent roll dough. These typically come in cans, pre-perforated for easy separation into individual crescent rolls. For this recipe, you’ll need to press these perforations together to form a seamless sheet, which serves as both the bottom and top crust. This is an easy task, but if you want to save a few minutes, some grocery stores offer crescent roll “sheets” that are already in a single, unperforated rectangle. If you find these, definitely grab two cans of the sheets to streamline your preparation process even further.
FILLING – The heart of these cheesecake bars is the creamy, dreamy filling. It’s a simple blend of full-fat cream cheese, granulated sugar, and a touch of vanilla extract. For the best texture and richest flavor, ensure your cream cheese is at room temperature before beating it. This will help you achieve a smooth, lump-free filling. While the recipe calls for 24 ounces of cream cheese (three 8-ounce blocks) for a thick, luxurious layer, you have the option to reduce it to 16 ounces (two 8-ounce blocks) if you prefer a thinner filling. If you go this route, remember to also reduce the granulated sugar mixed into the filling to just 1 cup. Be aware that a thinner filling might result in a slightly shorter baking time, so keep an eye on it.
TOPPING – The iconic cinnamon sugar topping is what truly gives these bars their “sopapilla” essence. It’s created by combining melted unsalted butter, the remaining granulated sugar, and ground cinnamon. The butter soaks into the top crescent layer, making it golden and slightly crisp, while the cinnamon sugar adds that signature sweet, spiced flavor. You can absolutely adjust the cinnamon-sugar ratio to suit your personal preference. If you’re a cinnamon enthusiast, feel free to add a bit more; however, be aware that a higher ratio of cinnamon to sugar will result in a darker brown top, which can sometimes appear almost burnt, even if it’s perfectly cooked. Find your perfect balance for both flavor and appearance.
How to Make Sopapilla Cheesecake Bars: A Step-by-Step Guide
These step-by-step photos and instructions are here to help you visualize how to make this recipe successfully. For a printable version of this sopapilla cheesecake recipe, complete with precise measurements and comprehensive instructions, simply Jump to Recipe at the bottom of this post.
- Prepare Your Baking Dish: Begin by preheating your oven to 350°F (175°C). This ensures your oven is at the optimal temperature when you’re ready to bake. Next, generously spray a 9×13-inch glass baking dish with nonstick cooking spray. This crucial step prevents the crescent roll dough from sticking and makes for easy removal of your delicious bars later.
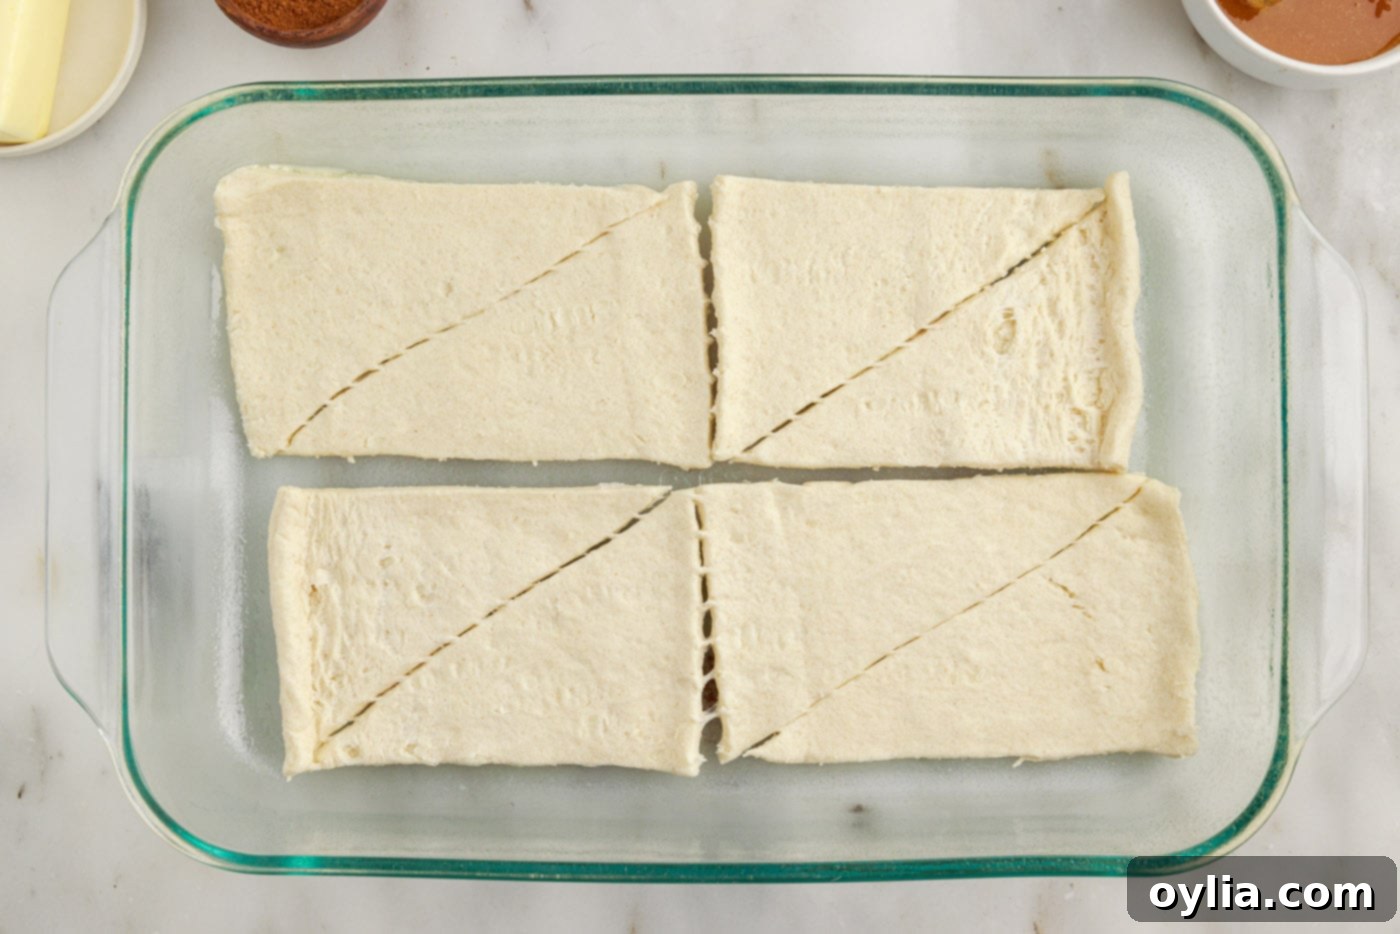
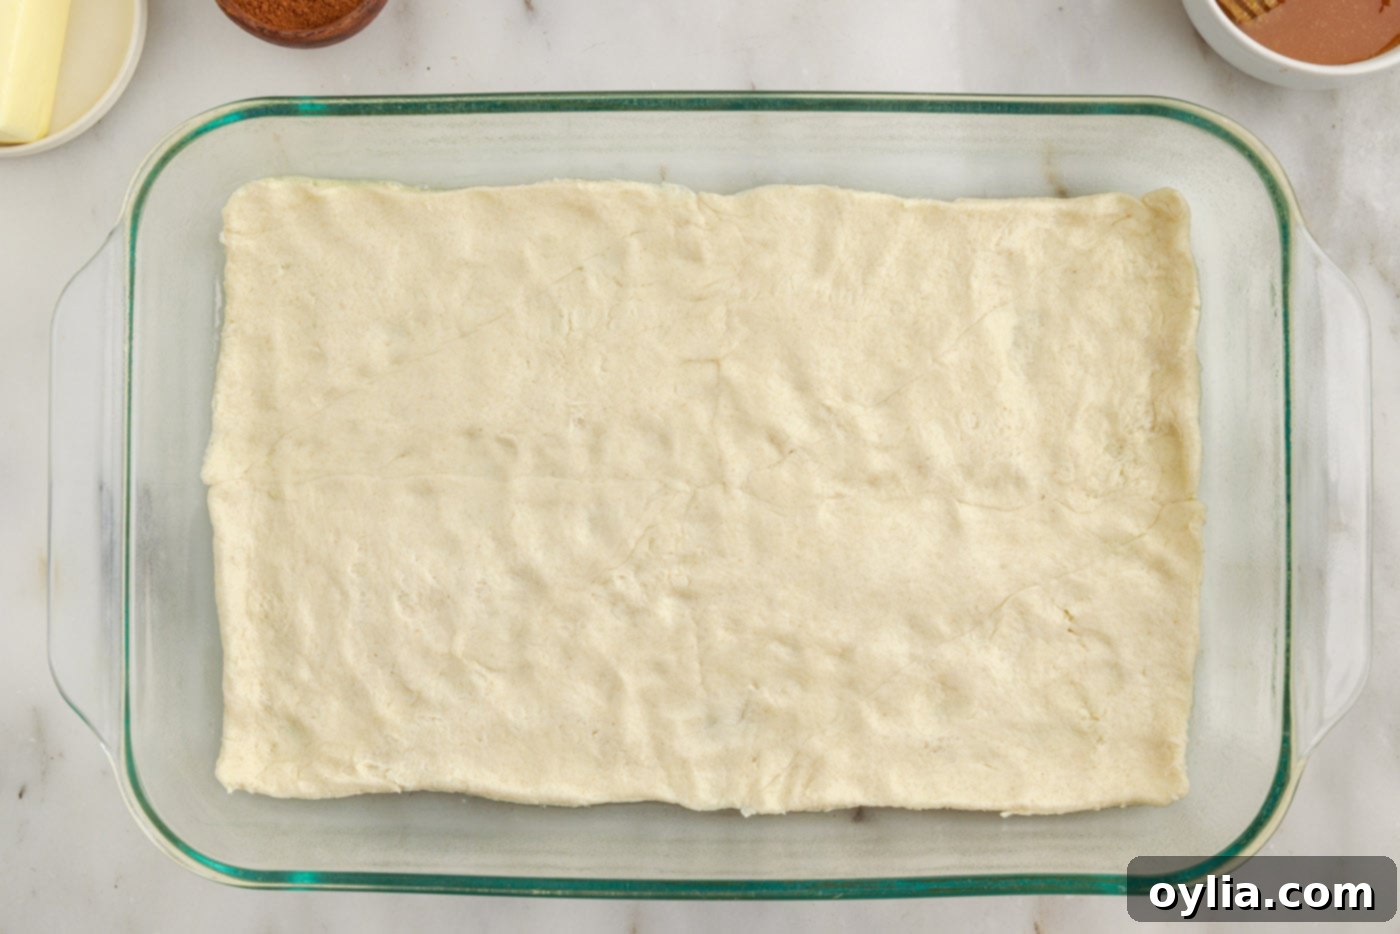
- Lay the Bottom Crust: Carefully open one can of crescent rolls. Unroll the dough and lay it flat into the bottom of your prepared baking dish. If your dough has perforations, firmly press them together with your fingers to create a solid, continuous sheet. Make sure the dough covers the entire bottom of the dish evenly, pushing it gently into the corners and edges to form a uniform base.


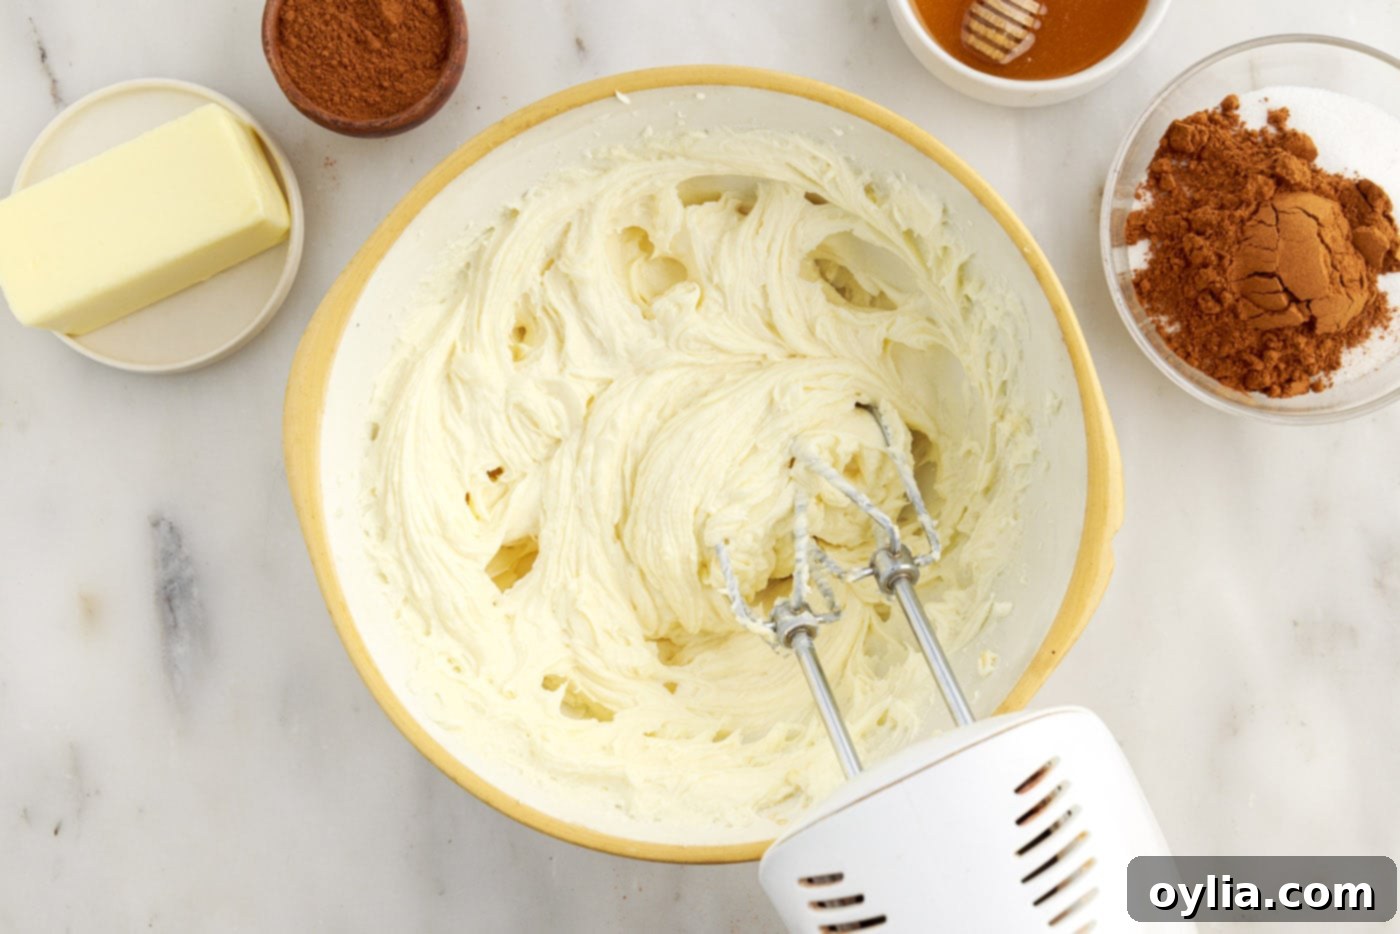
- Prepare the Cheesecake Filling: In a medium mixing bowl, combine the softened cream cheese (at room temperature for best results), 1 1⁄4 cups of granulated sugar, and the vanilla extract. Using a hand mixer, beat the ingredients together until the mixture is completely creamy, smooth, and fluffy. Make sure there are no lumps of cream cheese remaining, as this ensures a perfect texture in your finished bars.

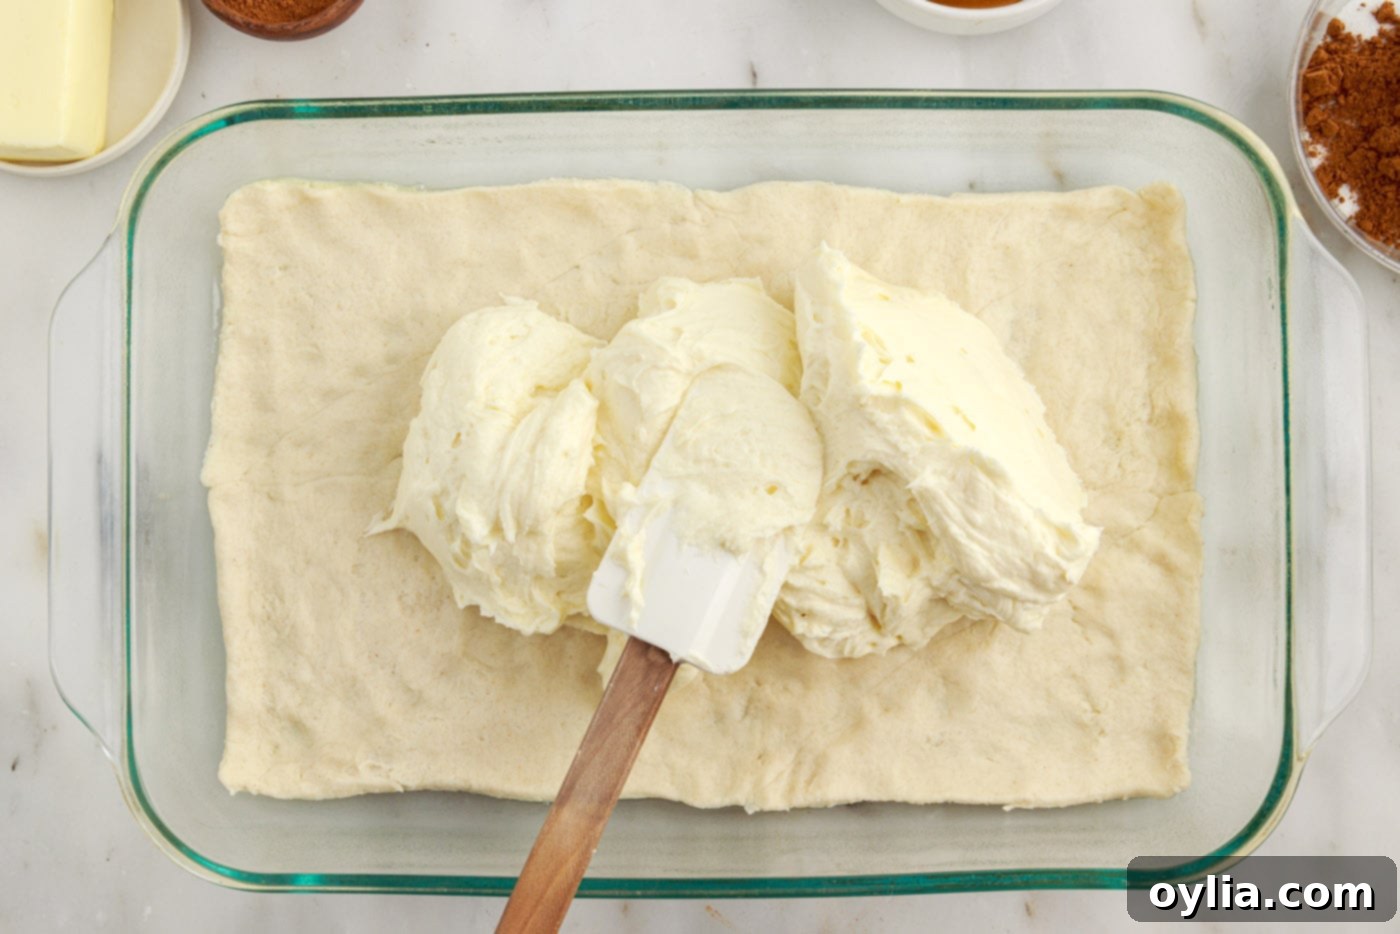
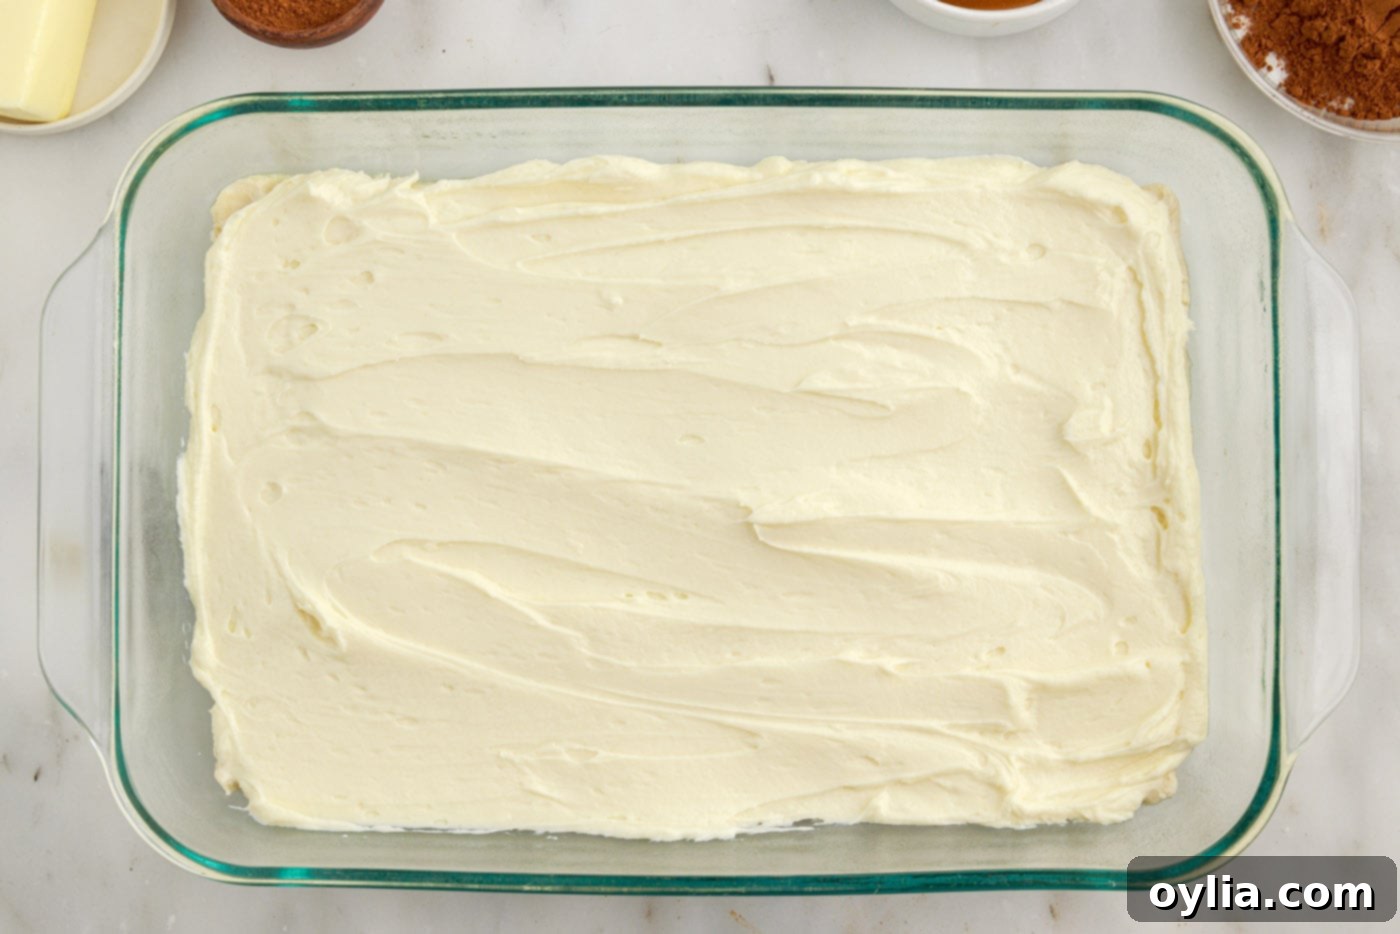
- Add the Cheesecake Layer: Spoon the prepared cream cheese mixture over the crescent roll base in the baking dish. Using an offset spatula or the back of a spoon, carefully spread the filling evenly from edge to edge. A uniform layer is key for balanced flavor in every bite of your sopapilla cheesecake.


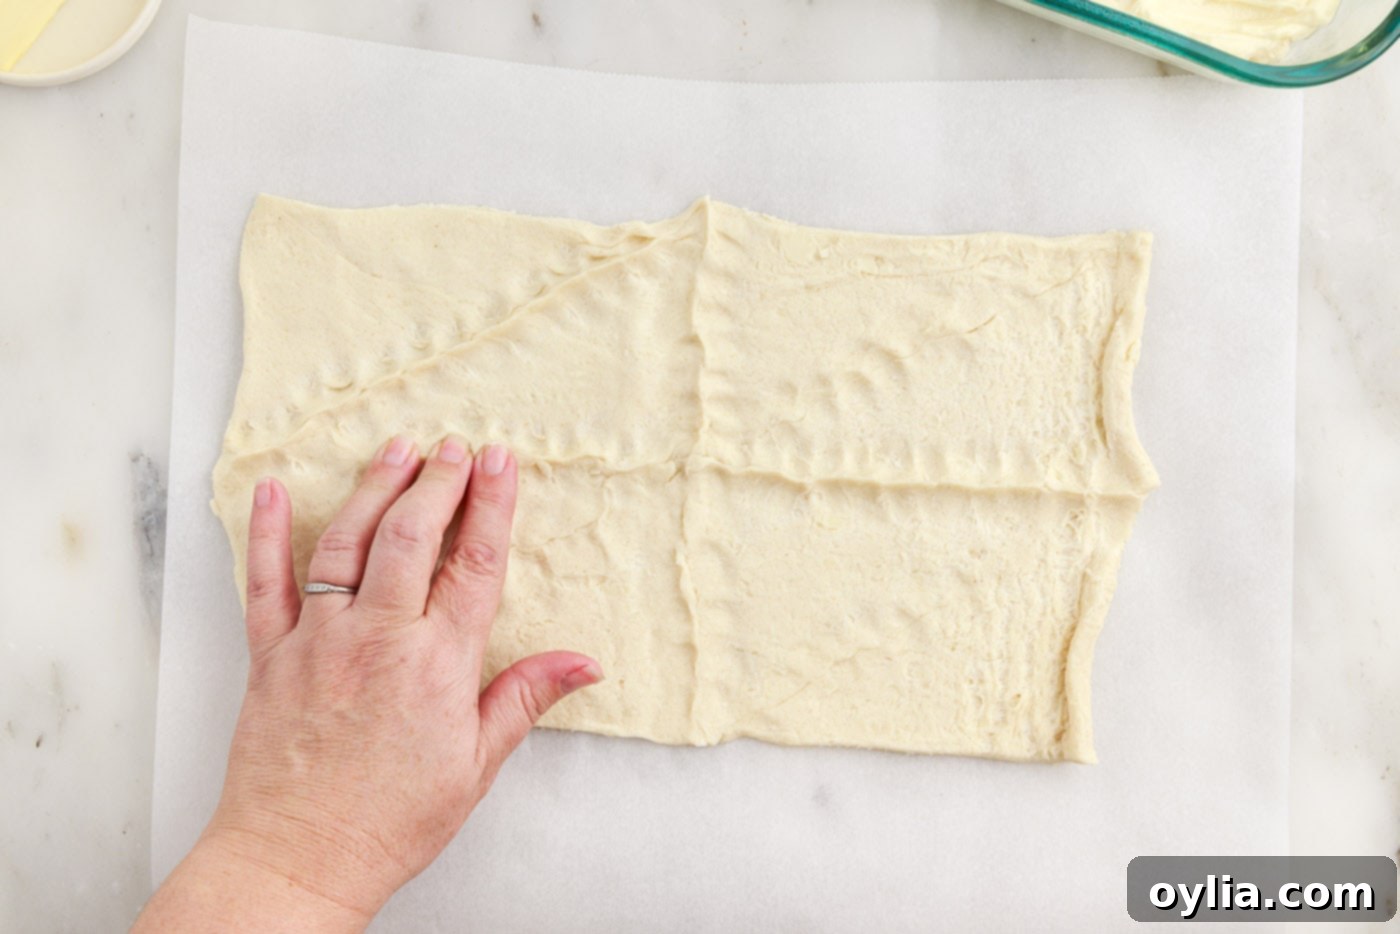
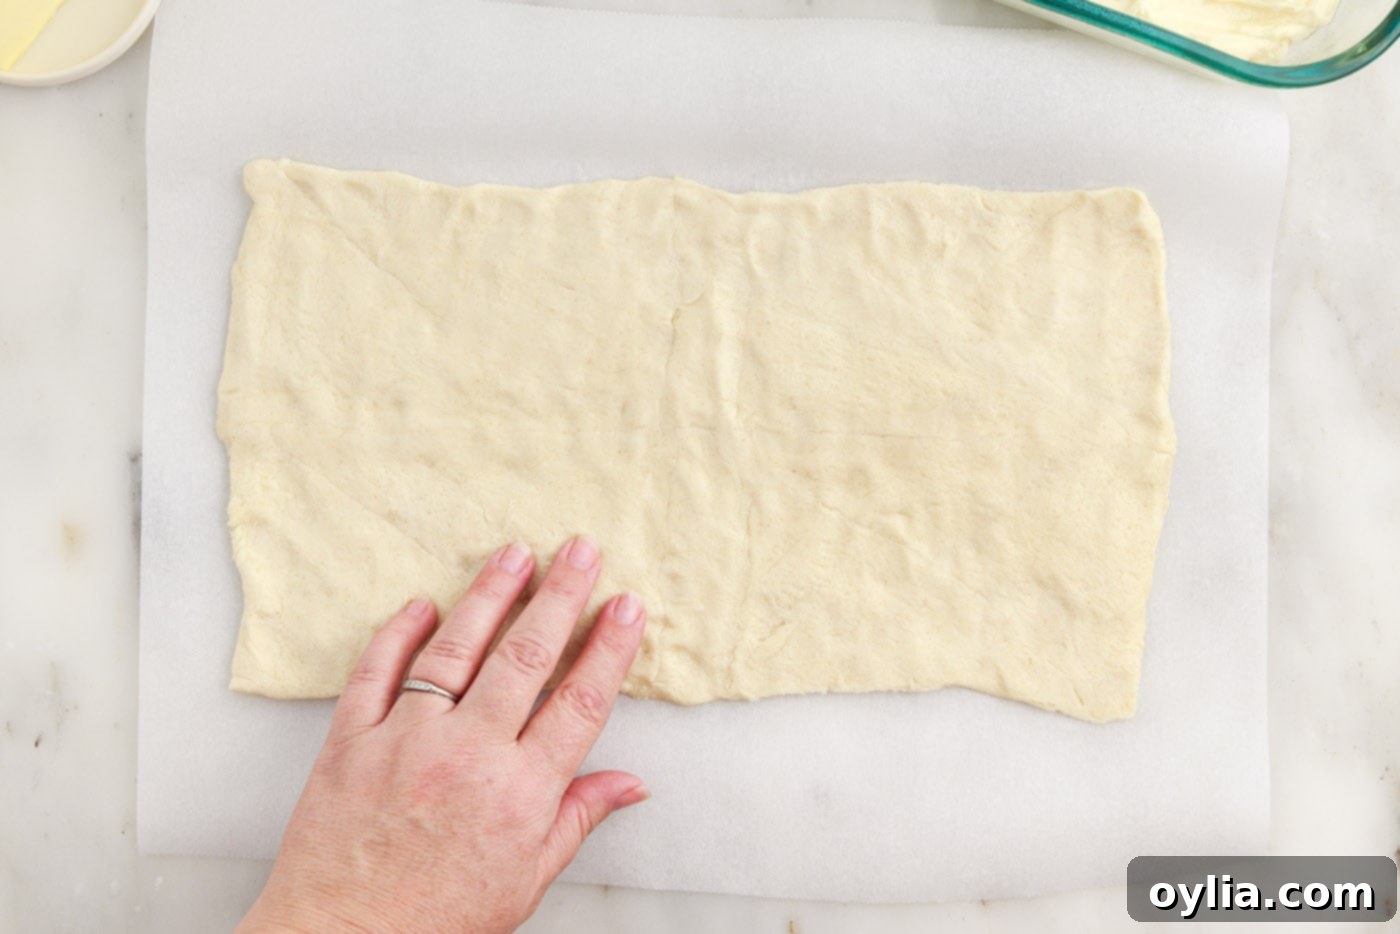
- Prepare the Top Crust: Unroll the second can of crescent rolls onto a sheet of parchment paper. Just as you did with the bottom layer, thoroughly press any perforations together to form a solid, rectangular sheet of dough. Gently pat and stretch the dough until it forms a 9×13-inch rectangle, roughly the size of your baking dish. The parchment paper will be your secret weapon for easy transfer!


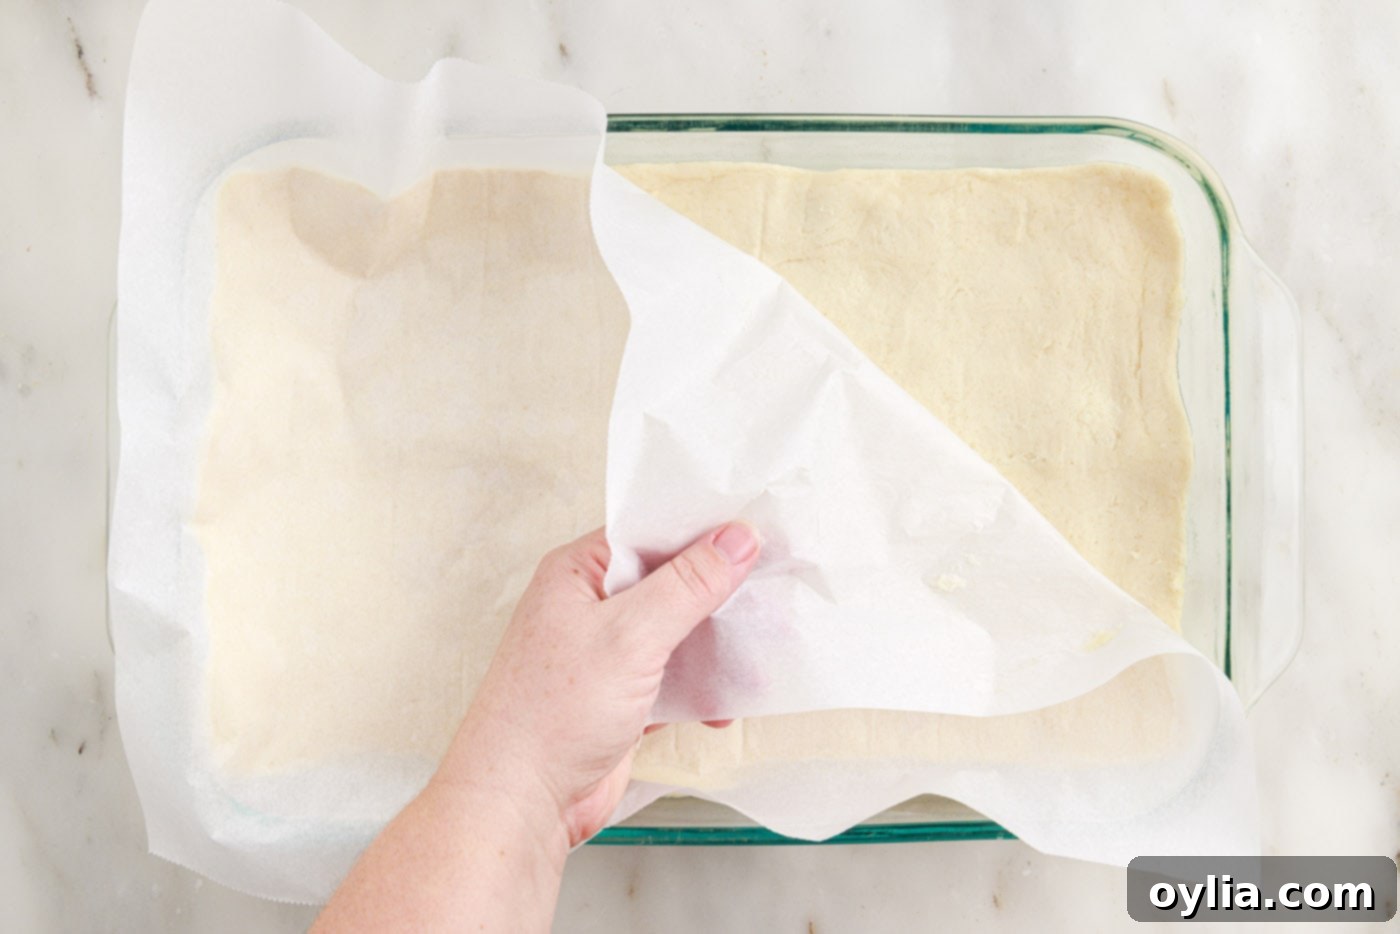
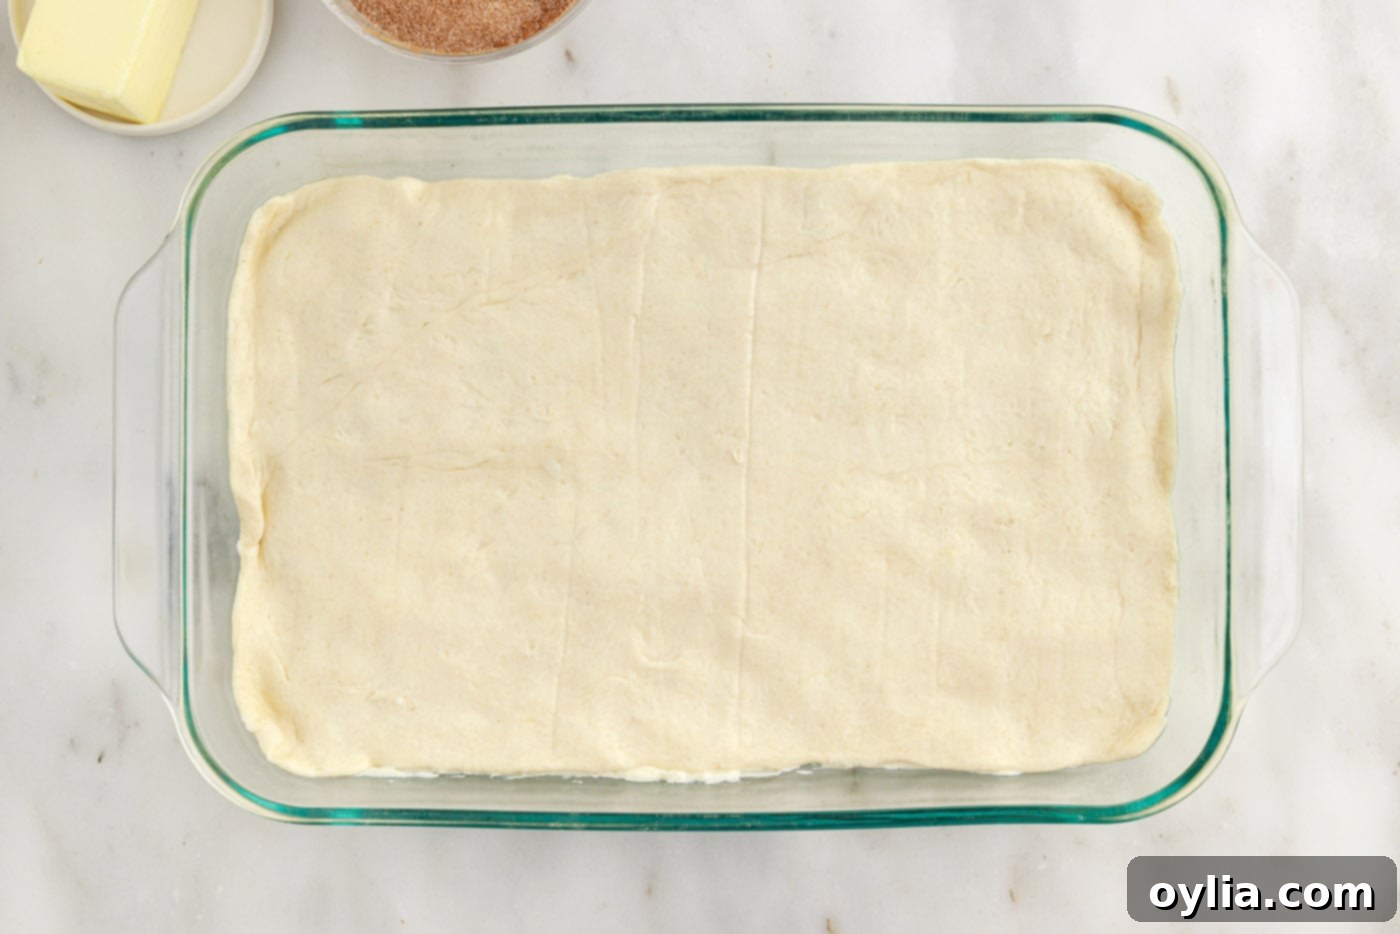
- Place the Top Crust: Carefully lift the parchment paper with the crescent dough and invert it directly over the cream cheese mixture in the baking dish. Gently peel away the parchment paper, leaving the dough perfectly placed. Then, gently tuck and press the dough to meet each edge of the baking dish, sealing the cheesecake filling inside.


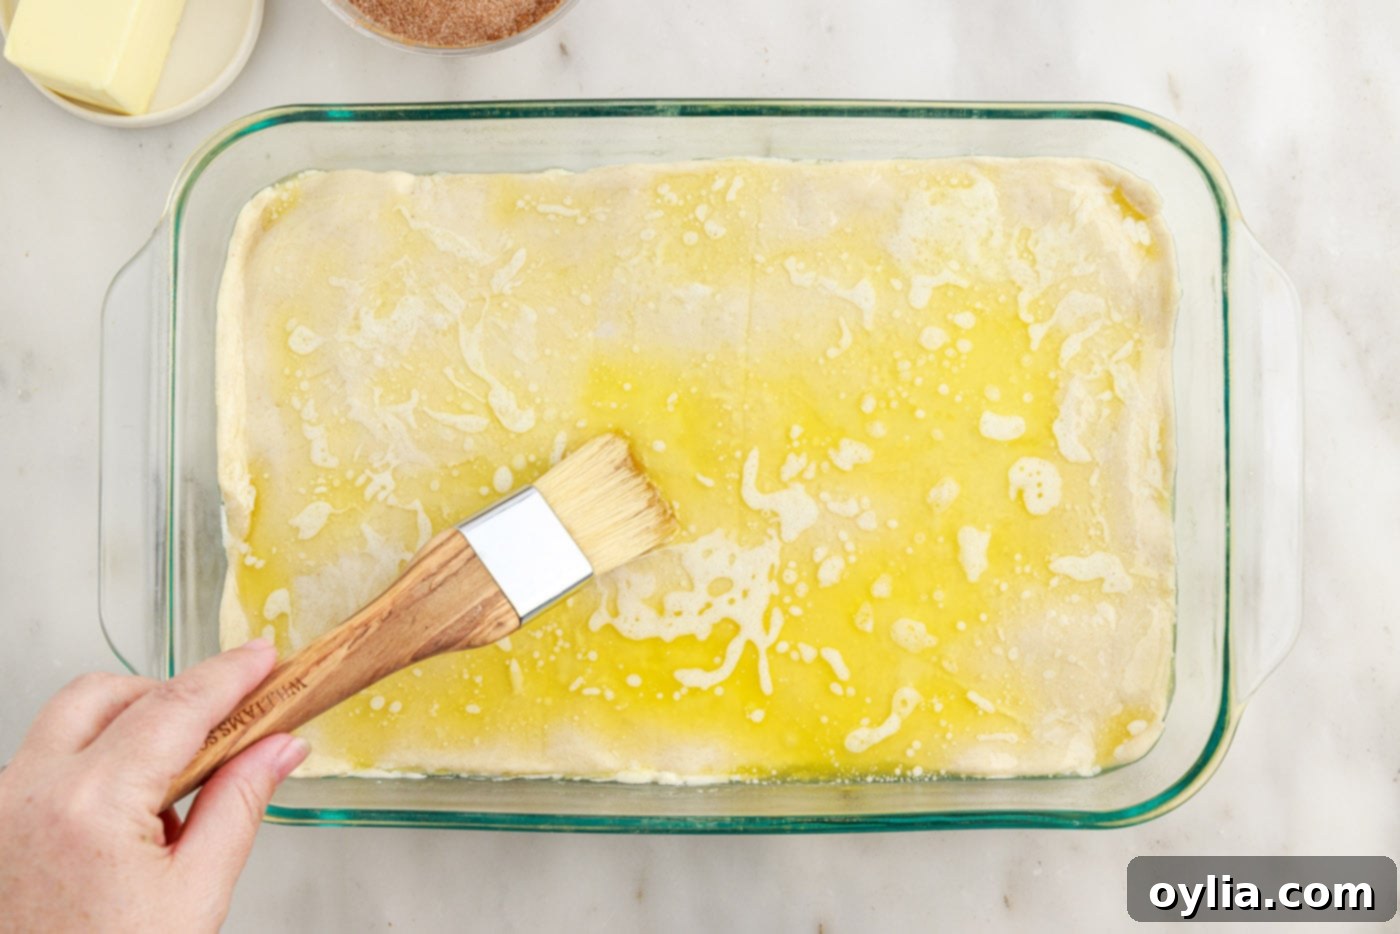
- Butter the Top: Gently pour the melted unsalted butter evenly over the entire surface of the top crescent dough. If needed, use a pastry brush to ensure the butter is spread uniformly, reaching all corners. This butter layer is essential for achieving that beautiful golden-brown, crispy sopapilla-like crust and helps the cinnamon sugar adhere.

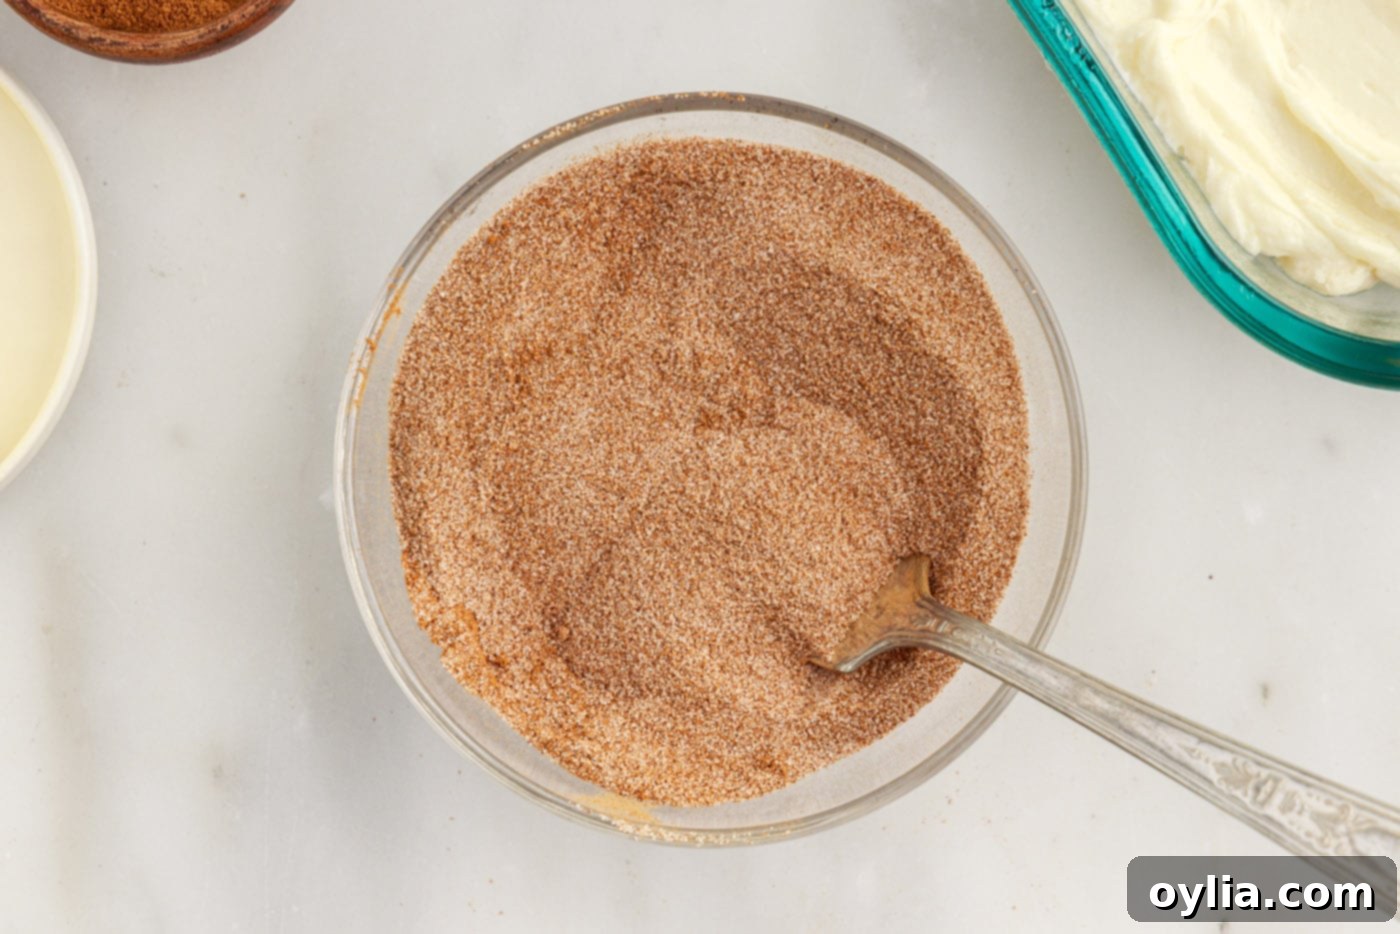
- Create Cinnamon Sugar: In a small bowl, combine the remaining 1⁄2 cup of granulated sugar with the 2 teaspoons of ground cinnamon. Stir well until the sugar and cinnamon are thoroughly mixed. This creates the signature sopapilla topping that adds warmth and sweetness.

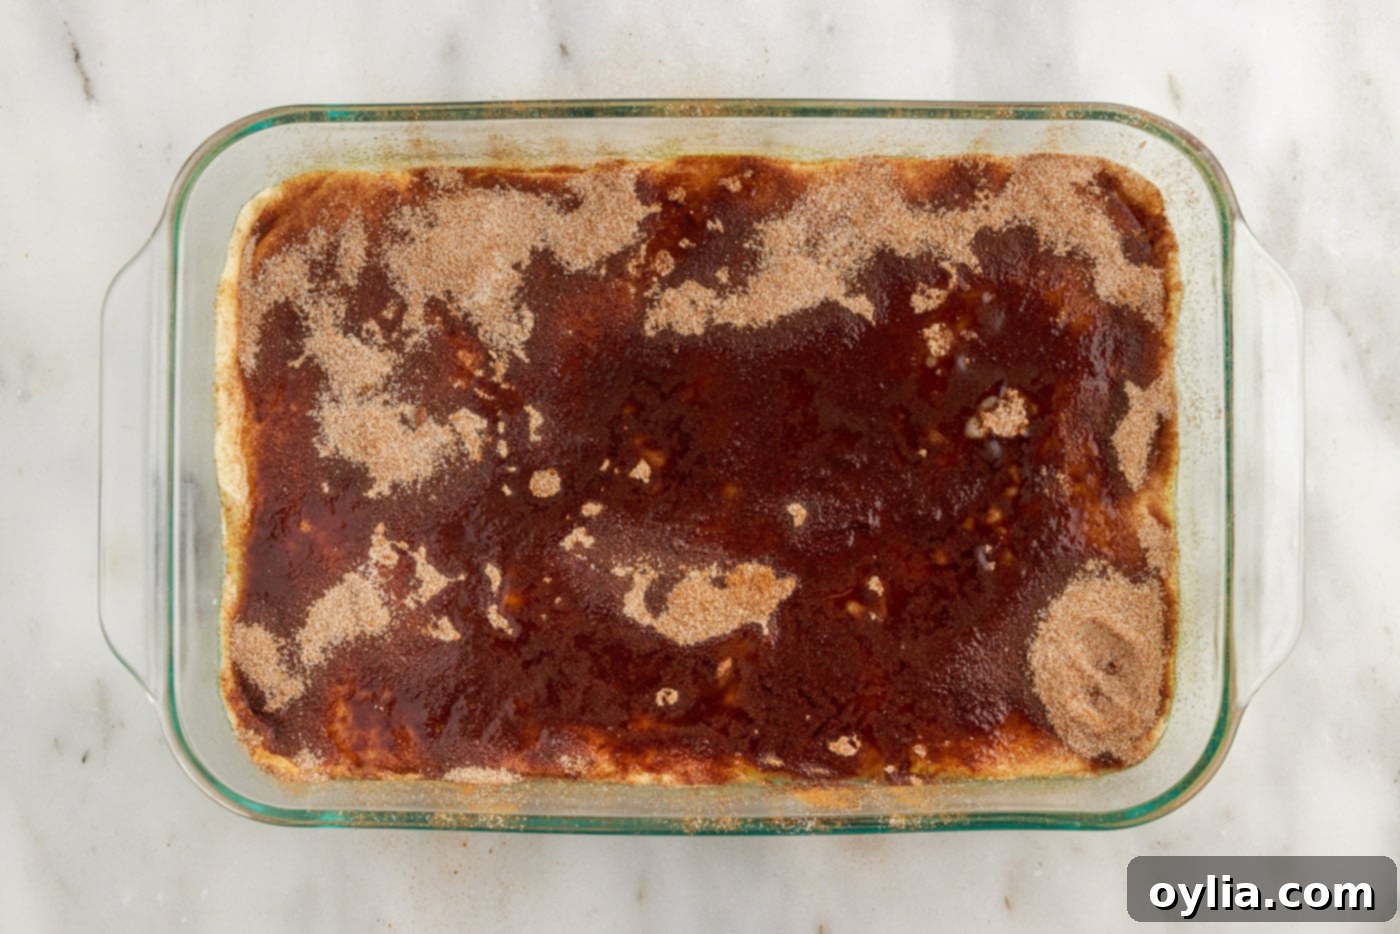
- Sprinkle Cinnamon Sugar: Liberally and evenly sprinkle the prepared cinnamon sugar mixture over the melted butter on the top crescent dough layer. Ensure good coverage to get that classic sopapilla flavor in every bite.

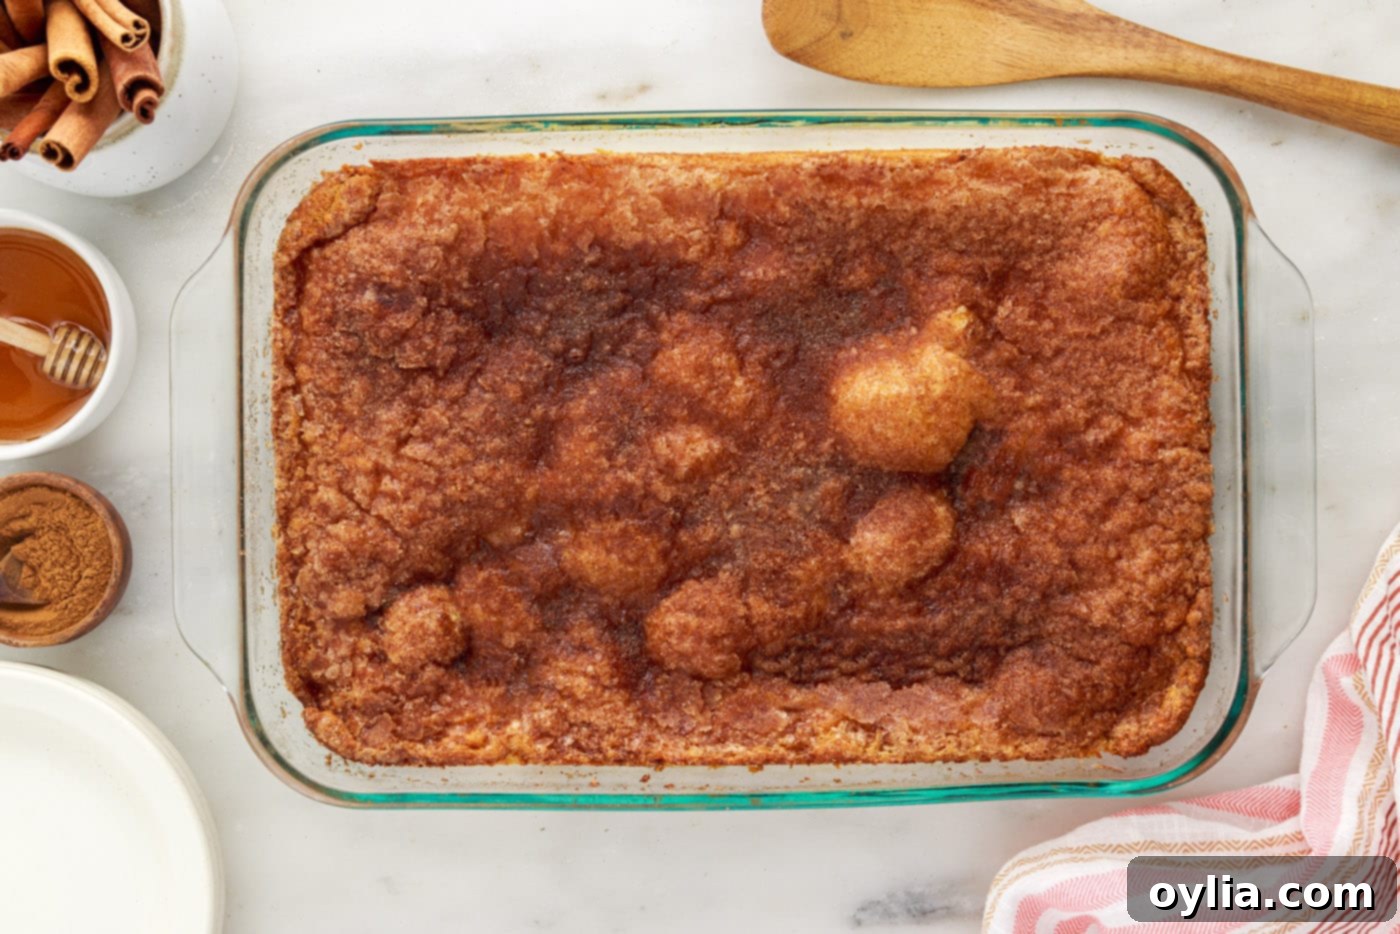
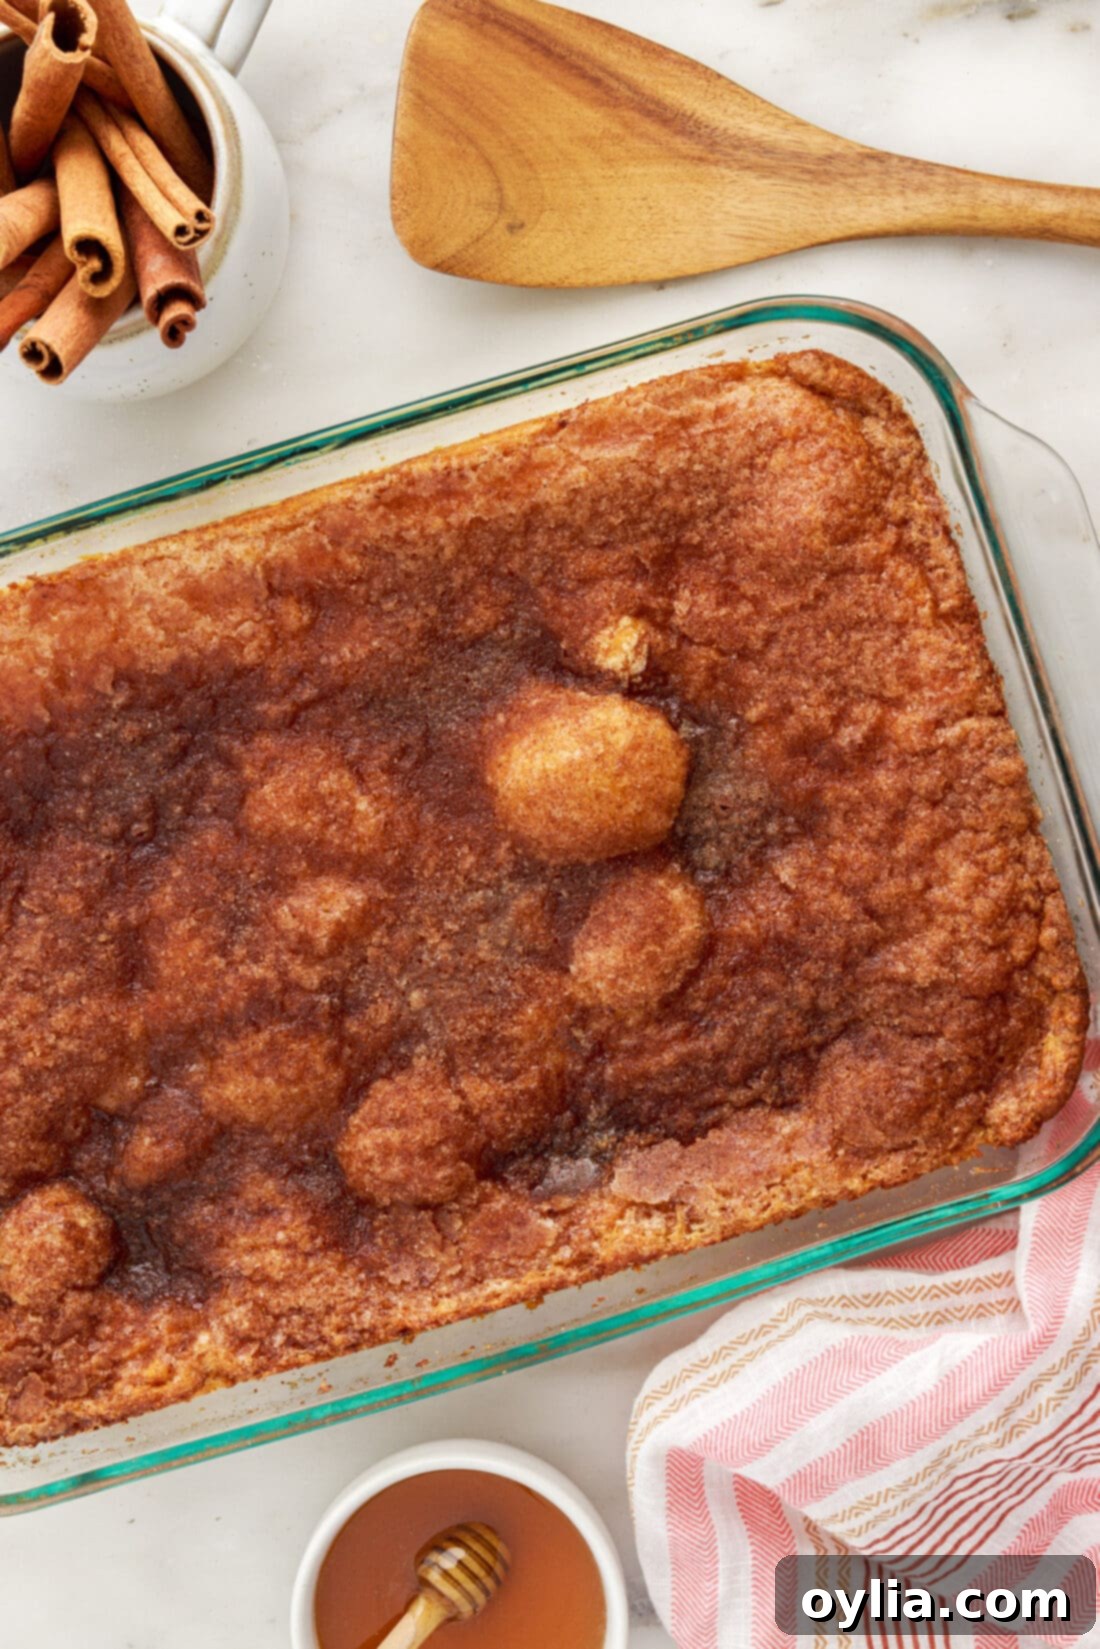
- Bake to Golden Perfection: Place the baking dish in the preheated oven and bake for 35-40 minutes. You’ll know your sopapilla cheesecake is ready when the crescent dough on top is beautifully puffed up and has turned a rich, golden brown color. Don’t be alarmed if some areas appear darker from the cinnamon – this is perfectly normal and adds to the caramelized flavor.

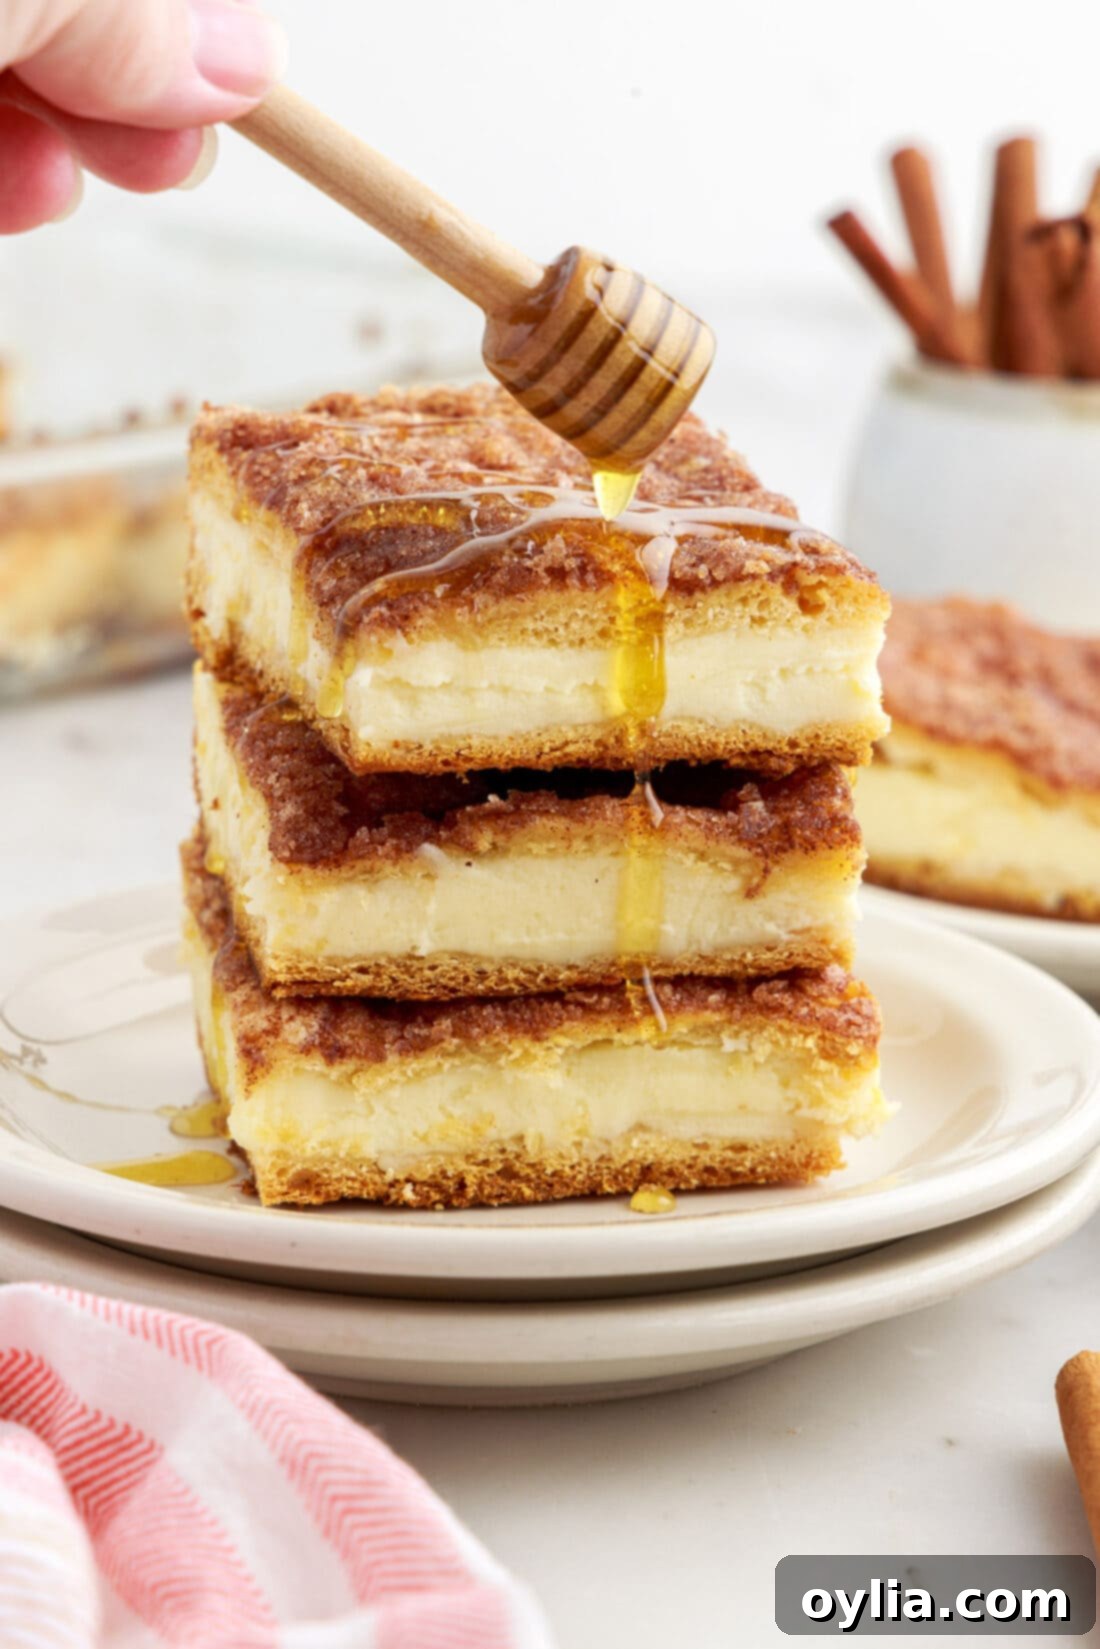
- Cool and Serve: Once baked, remove the cheesecake from the oven and allow it to cool completely. This is a crucial step for achieving neat, clean cuts when slicing into bars. While tempting to dig in immediately, waiting ensures the cheesecake filling sets properly. Once cooled, slice into individual bars. For an extra touch of sweetness and authenticity, serve with a generous drizzle of honey, if desired. Enjoy!
Frequently Asked Questions & Expert Tips for Success
To help you perfect your Sopapilla Cheesecake Bars and answer any potential queries, here are some frequently asked questions and invaluable expert tips:
Proper storage is key to keeping your Sopapilla Cheesecake Bars fresh and delicious. Once cooled, place the bars in an airtight container or cover the baking dish tightly with plastic wrap. Store them in the refrigerator, where they will remain fresh for up to 5 days. For the best flavor and texture, allow them to come to room temperature briefly before serving, or warm them slightly in the microwave.
Absolutely! Sopapilla cheesecake bars freeze beautifully, making them excellent for meal prepping desserts or saving leftovers. To freeze, ensure the bars are completely cooled. Wrap individual bars or portions tightly a few times with plastic wrap, then add an additional layer of aluminum foil. Alternatively, transfer them to a freezer-safe airtight container. They can be frozen for up to 1 month. When you’re ready to enjoy, simply allow them to thaw in the refrigerator overnight, or for approximately 5 hours on the countertop.
Yes, this dessert is perfect for making ahead! You can prepare, bake, and let the entire dish fully cool up to a day in advance. Once cooled, wrap it tightly with plastic wrap or seal it with an airtight lid and store it in the refrigerator. This makes it a fantastic option for parties, potlucks, or holiday gatherings, allowing you to focus on other preparations closer to serving time.
Several factors can affect the puffiness of your crescent dough. Ensure your oven is preheated to the correct temperature; an inexpensive oven thermometer can confirm this. Also, make sure the dough is not over-stretched or too thin, which can inhibit its ability to rise. Most importantly, allow the cheesecake to bake for the full recommended time. The edges typically puff first, but the center needs ample time to cook through and become airy.
While you can technically use light cream cheese, it’s generally not recommended for the best results in cheesecake. Full-fat cream cheese provides a richer flavor and a much creamier, more stable texture. Light versions often contain more water, which can lead to a less firm and less luxurious filling.
While honey is the traditional drizzle, feel free to get creative! A caramel sauce, chocolate syrup, a dollop of whipped cream, or even a sprinkle of chopped toasted nuts (like pecans or walnuts) would be delicious additions to these sopapilla cheesecake bars. A dusting of powdered sugar just before serving can also add a beautiful touch.
Serving Suggestions for Your Sopapilla Cheesecake
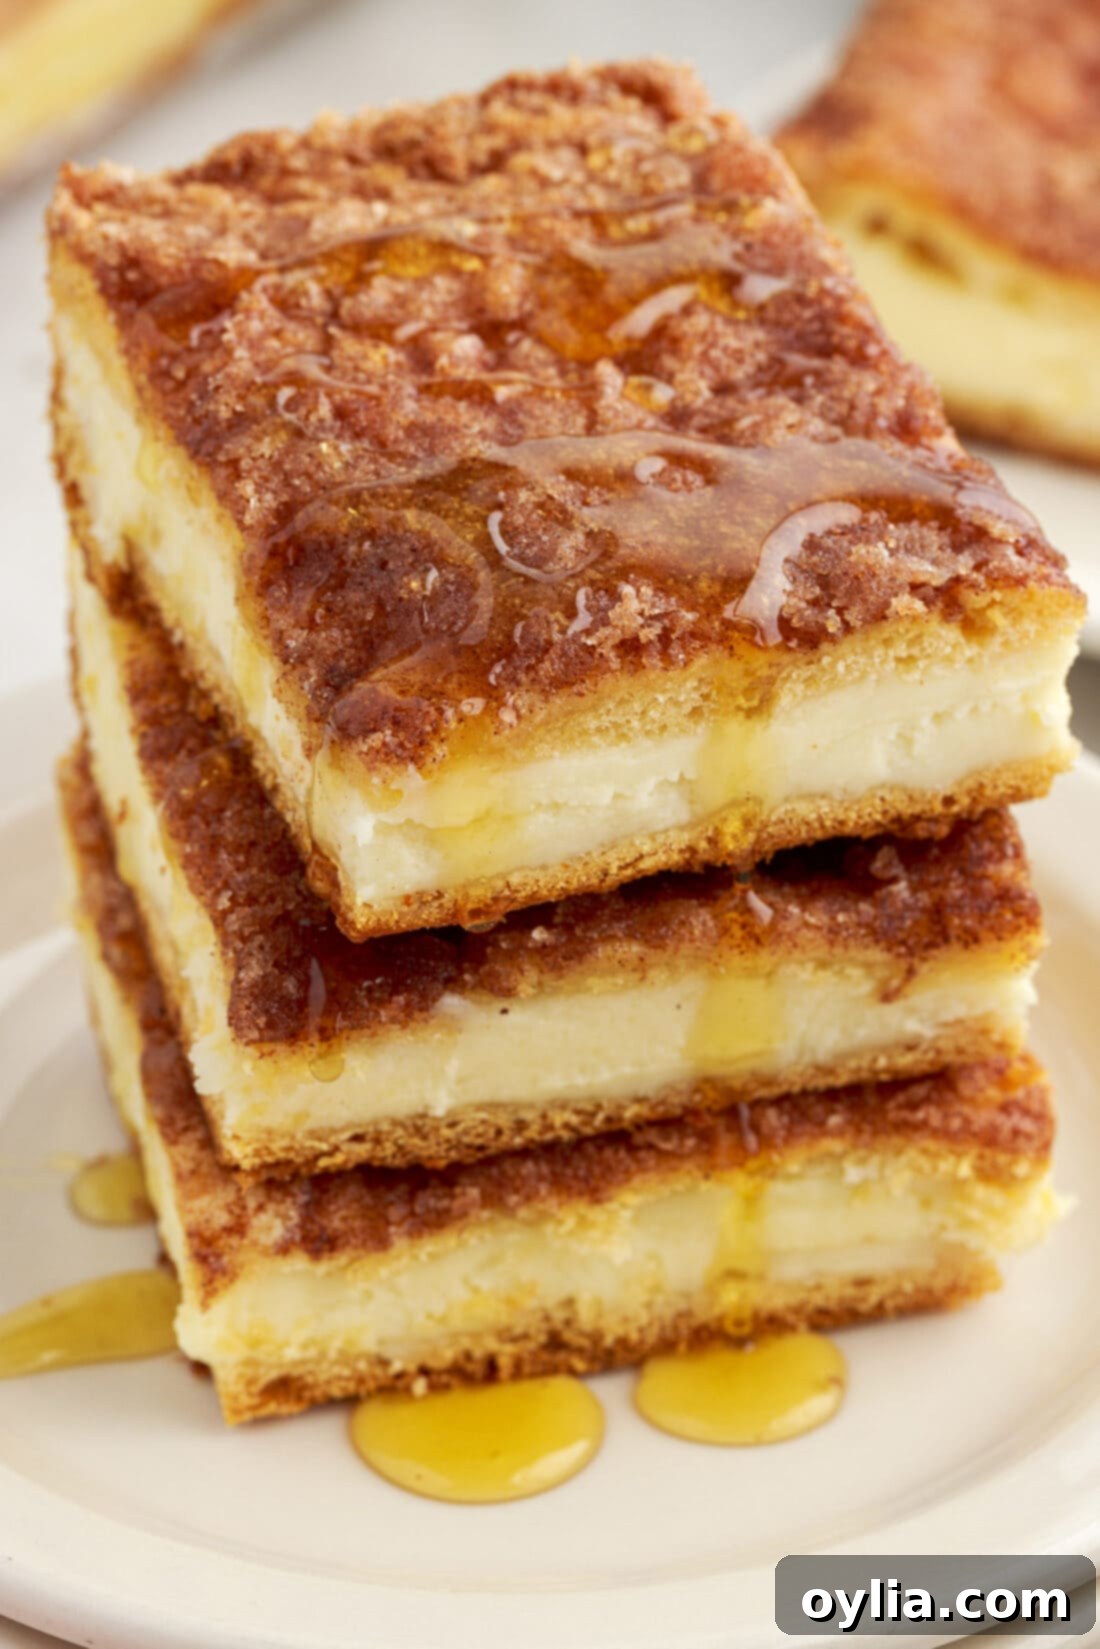
These Sopapilla Cheesecake Bars are undeniably delightful all on their own, offering a perfect balance of sweet, creamy, and spiced flavors. However, to truly elevate the experience and add an extra layer of indulgence, consider a few simple serving suggestions. A classic choice is a generous drizzle of warm honey over the top, which echoes the traditional way sopapillas are often enjoyed. The sticky, golden sweetness of the honey complements the cinnamon sugar and creamy cheesecake beautifully.
For the neatest cuts and a clean presentation, we highly recommend allowing the dessert to cool completely before slicing it into individual bars. A sharp knife will glide through the set cheesecake and flaky crust with ease. That being said, if you simply can’t wait (and who could blame you?), these bars are also incredibly delicious served warm, especially with a scoop of vanilla bean ice cream melting gently on top. The contrast of warm and cold, and the added creaminess, creates an unforgettable treat.
Other fantastic additions include a dollop of freshly whipped cream, a sprinkle of toasted pecans or walnuts for a textural crunch, or a swirl of caramel or chocolate sauce. For a burst of freshness, a few fresh berries like raspberries or blueberries can provide a lovely counterpoint to the richness of the cheesecake. Whether you keep it simple or dress it up, these Sopapilla Cheesecake Bars are sure to be a hit!
More Delicious Dessert Recipes to Try
If you loved these easy Sopapilla Cheesecake Bars, you’re in for a treat! We have a wide array of delicious dessert recipes that are just as simple and satisfying. Explore some of our other favorites:
- Fried Ice Cream
- Air Fryer Churros
- Cinnamon Roll Cookies
- Oreo Cheesecake Brownies
- Caramel Apple Cheesecake Bars
I love to bake and cook and share my kitchen experience with all of you! Remembering to come back each day can be tough, that’s why I offer a convenient newsletter every time a new recipe posts. Simply subscribe and start receiving your free daily recipes!
Sopapilla Cheesecake
IMPORTANT – There are often Frequently Asked Questions within the blog post that you may find helpful. Simply scroll back up to read them!
Print It
Pin It
Rate It
Save ItSaved!
Ingredients
- non stick cooking spray
- 16 ounces crescent rolls two 8 ounce tubes
- 24 ounces cream cheese three 8 ounce blocks at room temperature
- 1 ¾ cup granulated sugar divided
- 2 teaspoons vanilla extract
- ½ cup unsalted butter melted
- 2 teaspoons ground cinnamon
Things You’ll Need
-
Mixing bowls
-
Hand mixer
-
13×9 baking dish
-
Parchment paper
Before You Begin
- Crescent rolls typically come with perforations to easily separate each crescent roll. It’s easy to press the seams together to form a single sheet. Some stores also carry crescent roll “sheets”, which are in a single sheet, without perforations. If you have the option, grab two cans of the sheets so that you can skip the step of pressing the seams together.
- The top of the sopapilla cheesecake will turn golden brown – some areas will appear very dark from the cinnamon. To ensure that the crescent dough portion cooks (and puffs) without overbrowning the top, bake the cheesecake on the bottom shelf (or bottom third) of the oven.
- Don’t remove the cheesecake from the oven too soon. The edges start to puff first, but the center of the pan needs to also puff for the crescent dough to cook.
- The cheesecake needs to cool for at least 30 minutes before slicing. I would recommend cooling completely in order to cut into neat bars that lift easily from the pan. They are good warm, though, if you just can’t wait.
- If you’d like, you can reduce the amount of cream cheese to 16 oz. instead of 24 oz. Reduce the sugar that you mix in to just 1 cup. This will make a thinner filling and the cook time may be a few minutes less.
- If you use a greater ratio of cinnamon to sugar, the top will be darker.
- Store, covered, in the refrigerator for up to 5 days or freeze, wrapped well, for up to 1 month.
Instructions
-
Preheat the oven to 350°F. Spray a 9”x13” glass baking dish with nonstick cooking spray.
-
Opening one can of crescent rolls, roll them out into the bottom of the baking dish. Press to fill out the entire bottom of the dish and press any seams together. (see note below)
-
In a medium mixing bowl, beat together cream cheese, 1 1⁄4 cups of granulated sugar, and the vanilla extract. Beat until creamy and fluffy.
-
Spread the cream cheese mixture evenly over the bottom crescent roll crust.
-
Roll the second can of crescent rolls out on a sheet of parchment paper. Press the seams together well and pat out the dough to form a 9×13 rectangle that will fill out the top of the baking dish.
-
Lift the parchment paper and flip it upside down over the cream cheese mixture. Peel away the parchment paper and tuck the dough to each edge of the baking dish.
-
Pour the melted butter over the top of the dough and use a pastry brush, if needed, to spread.
-
Combine the remaining 1⁄2 cup sugar and the cinnamon to make cinnamon sugar.
-
Sprinkle the cinnamon sugar over the melted butter as evenly as possible.
-
Bake for 35-40 minutes, until the crescent dough is puffed across the top and the sopapilla cheesecake is golden brown.
-
Allow the cheesecake to cool and then cut into bars. Serve with a drizzle of honey, if desired.
Nutrition
The recipes on this blog are tested with a conventional gas oven and gas stovetop. It’s important to note that some ovens, especially as they age, can cook and bake inconsistently. Using an inexpensive oven thermometer can assure you that your oven is truly heating to the proper temperature. If you use a toaster oven or countertop oven, please keep in mind that they may not distribute heat the same as a conventional full sized oven and you may need to adjust your cooking/baking times. In the case of recipes made with a pressure cooker, air fryer, slow cooker, or other appliance, a link to the appliances we use is listed within each respective recipe. For baking recipes where measurements are given by weight, please note that results may not be the same if cups are used instead, and we can’t guarantee success with that method.
